In every living organism, there is something called deoxyribonucleic acid that contains genetic information that helps that organism to grow and function.
That name is quite a mouthful, and that is why it is more commonly referred to as DNA.
It is represented in a rather complex structure, and that can make it quite difficult to learn how to draw DNA, as it has such a specific physical structure.
This guide you’re about to take on will break it down and show you that it can be easier than you think, though!
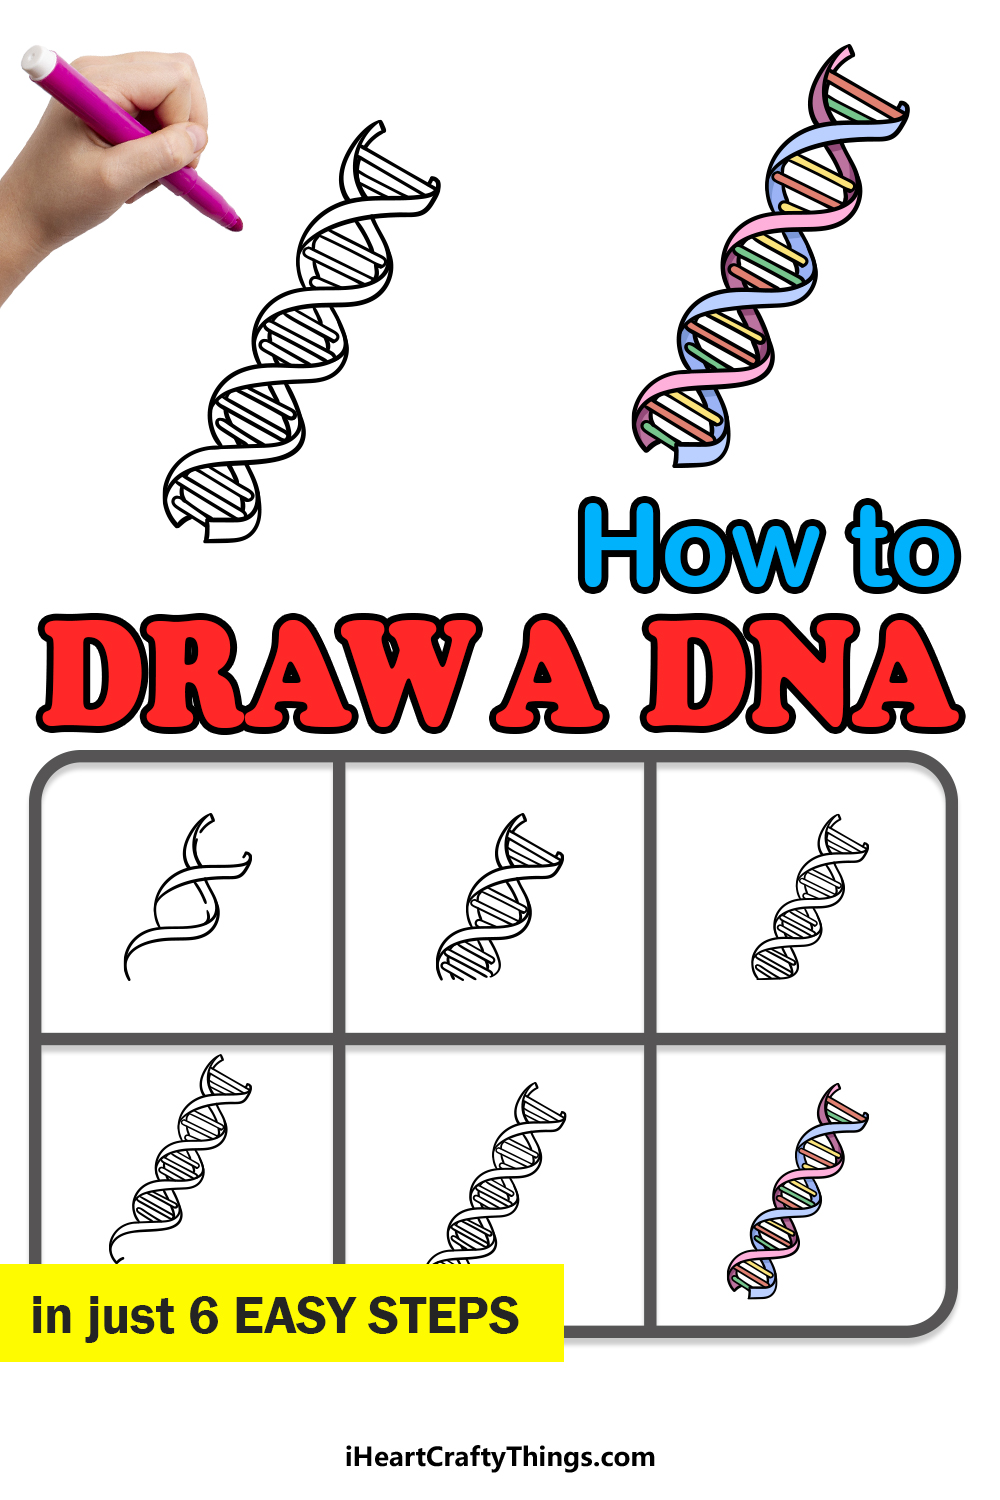
We hope that this step-by-step guide on how to draw DNA in 6 steps will make it fun and easy for you to draw this incredible structure!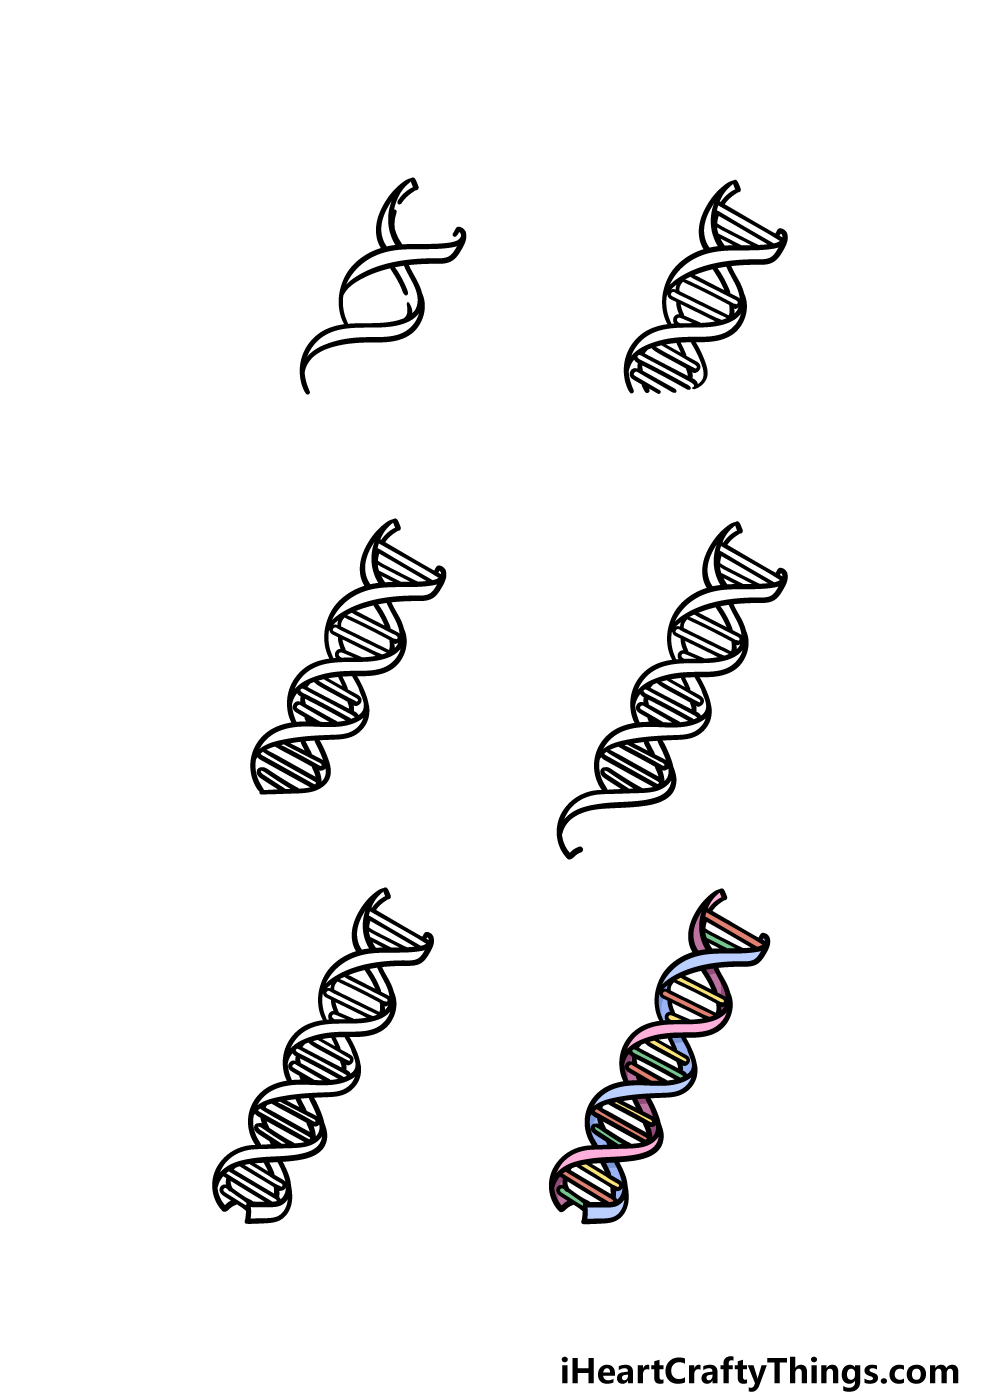
How to Draw DNA – Let’s Get Started!
Step 1
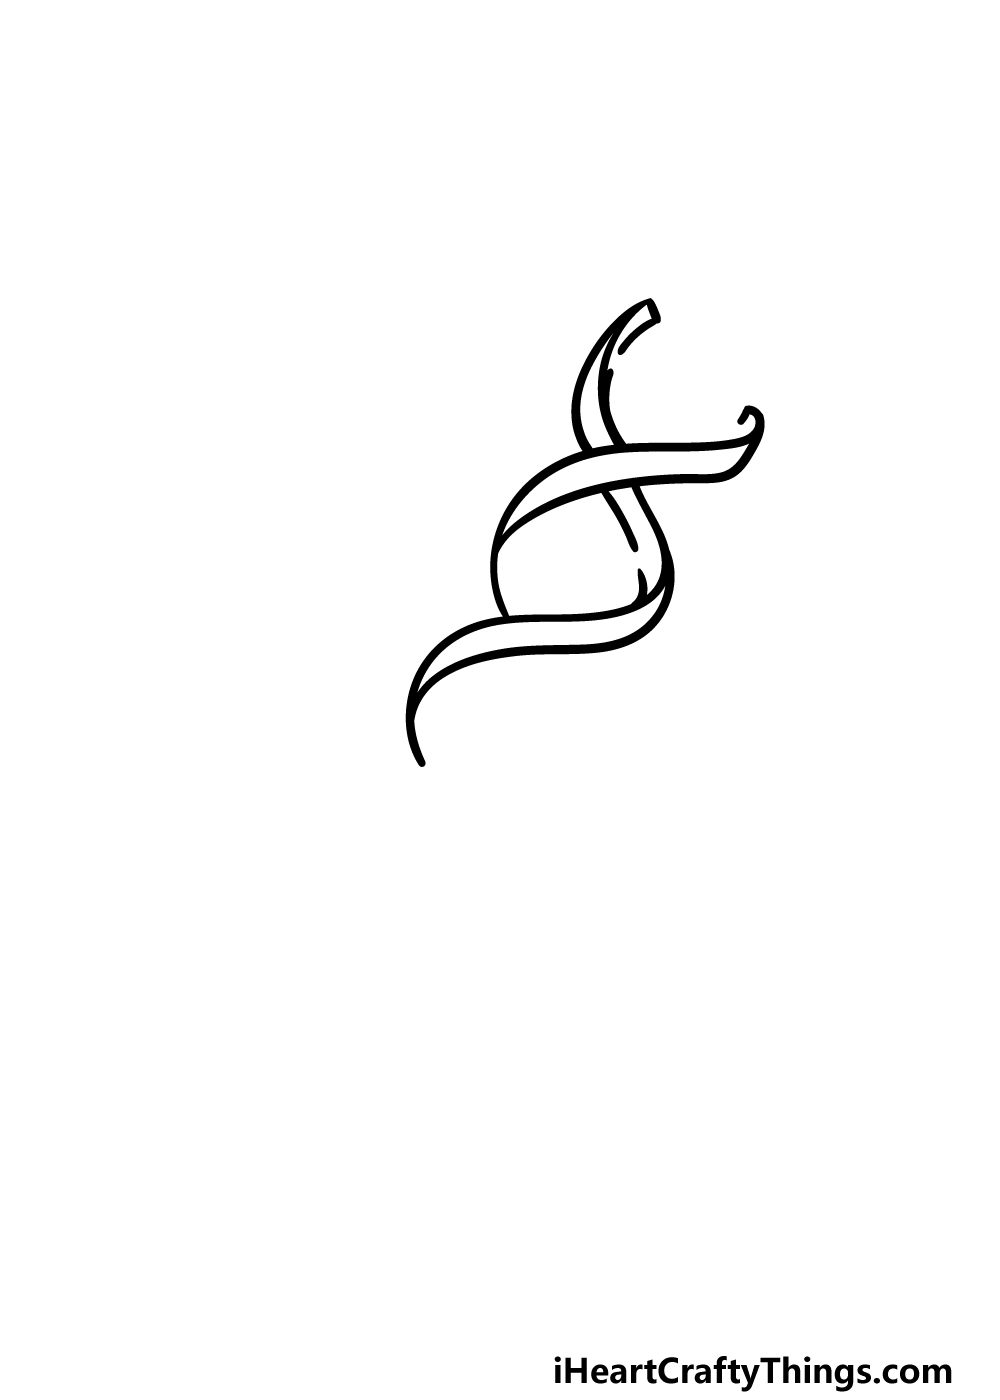
To get this guide on how to draw DNA started, we will begin with the twisty outer frame of the molecule. This is known as the backbone of the DNA, and it is what helps to keep it all together.
It also happens to be the trickiest part of the structure to draw! You need not worry, however, as we will take it slowly.
Here’s a trick that you could use to make things easier for yourself. Using a light pencil, look closely at our reference image and draw some simple pencil lines following the shape of the backbone.
Once you have these twisty pencil lines drawn, you can then go in with your pen or a darker pencil for the actual outlines of the backbones.
As you draw, try your best to replicate the lines exactly as they appear in the reference image, as we will be adding elements there later. Take your time with it, and then we can move on when you’re ready!
Step 2 – Next, draw the inner structure of the DNA

For this second part of your DNA drawing, we will be drawing the inner ‘ladder’ of the drawing. These straight structures are what actually contains the information of the DNA strand.
Using a ruler, you can draw the first two of these ‘rungs’ in the upper-most part of the molecule. With the way the backbone is curled in this section, we won’t see the very ends of these rungs.
It will be a different story for the next section, as seeing as we will see the inner section of the backbone, we will actually see the ends of these strands.
Then you can draw the next section of rungs as they appear, and then we can move on to step 3!
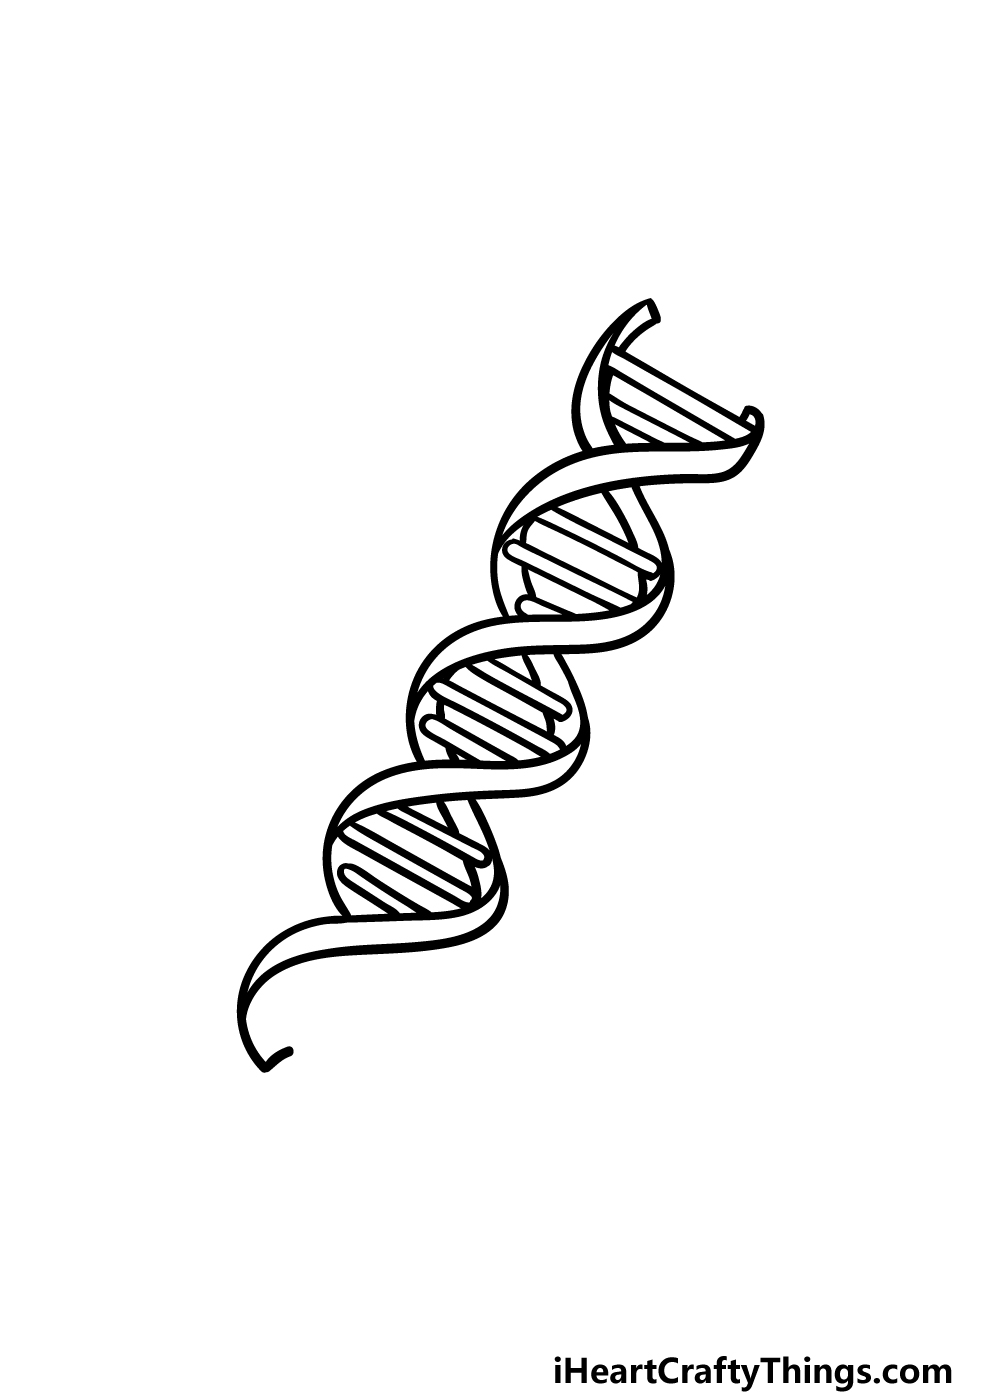
Step 3 – Draw the next section of DNA
Taking what you have learned in the previous two steps, you can now add another section in this step of our guide on how to draw DNA.
That means extending some curved lines down for the next section of the backbone, and then adding some straight lines for the next three rungs of that section.
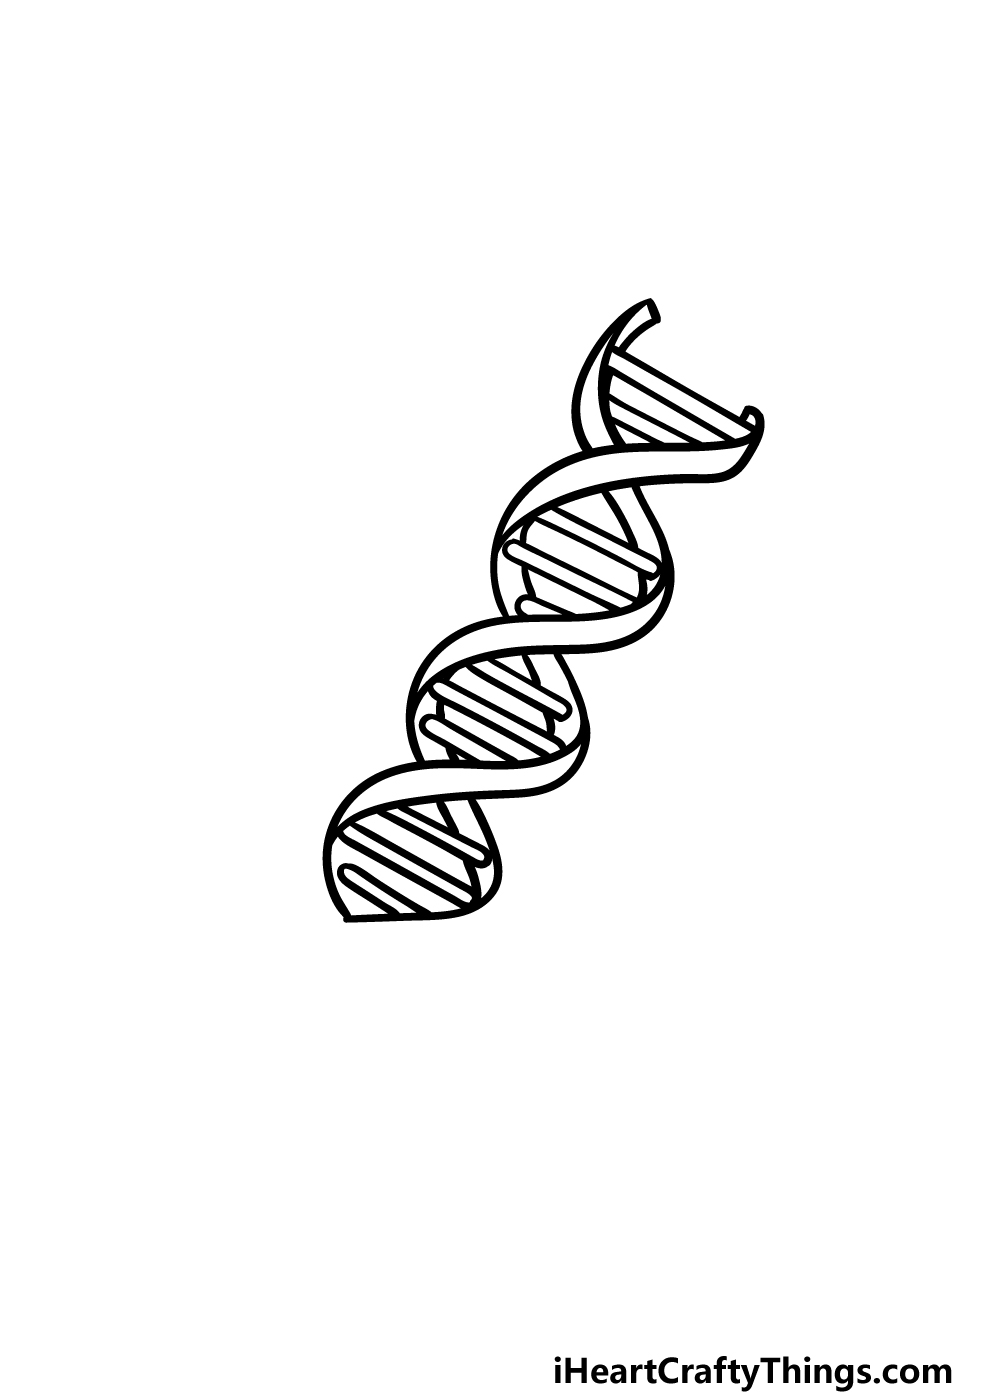
Step 4 – Now, draw some more of the backbone for the DNA
You’re really getting the hang of it now! There will just be one more section for this strand of DNA that you will be drawing, and in this following step of your DNA drawing we will add some more of the backbone.
This will be done in exactly the same way that you have been drawing it so far. Try to imagine the physical strand of the backbone and how it would be twisting if it were, say, made of ribbon.
That thought along with the reference image will guide you in getting this piece of backbone positioned correctly. Then we just have some final details to add in the next step, so let’s move on!
Step 5 – Finish off your DNA drawing
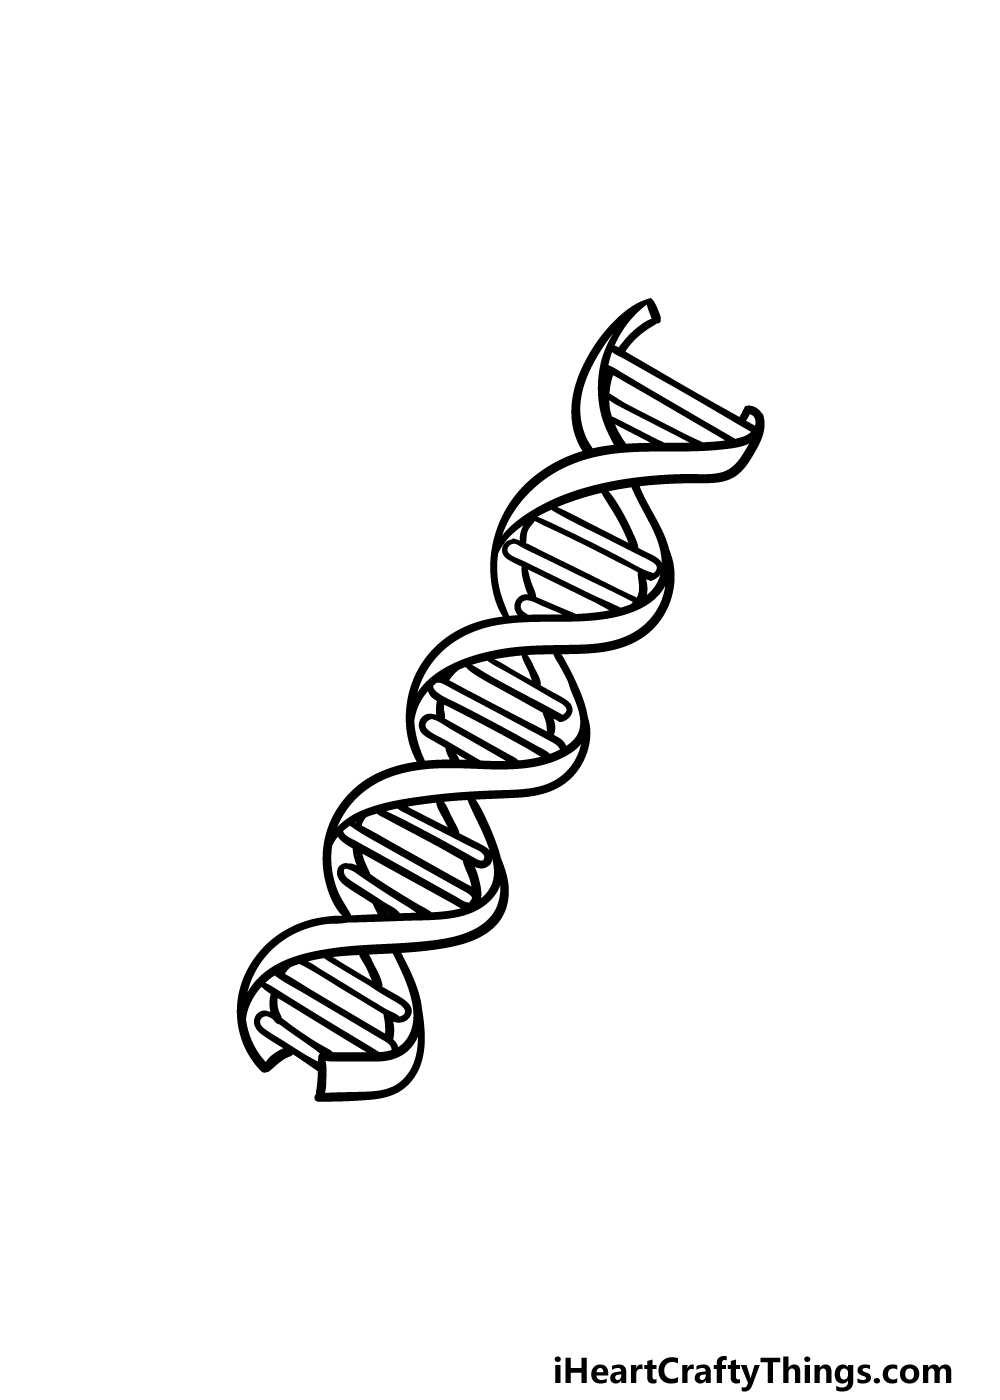
Now it’s time to finish off the structure of the molecule in this step of our guide on how to draw DNA! First, you can draw two more rungs of the DNA ladder, as shown in our reference image.
Then we will draw some more of the backbone for this final section around the ends of them. This strand of the backbone will flow logically from where it would join to the previous section.
Finally, you can add the last rung of the ladder and draw the ends of the backbone. Then you have finished the drawing!
There are also a few ways in which you could take this drawing even further, though.
One idea would be to look up a labeled diagram of DNA and label your own drawing. You could also draw some additional detailing or even add some more strands in the background!
These are just a few ideas that you could go for, but what else can you think of to finish it off?
Step 6 – Finish off your DNA drawing with some color
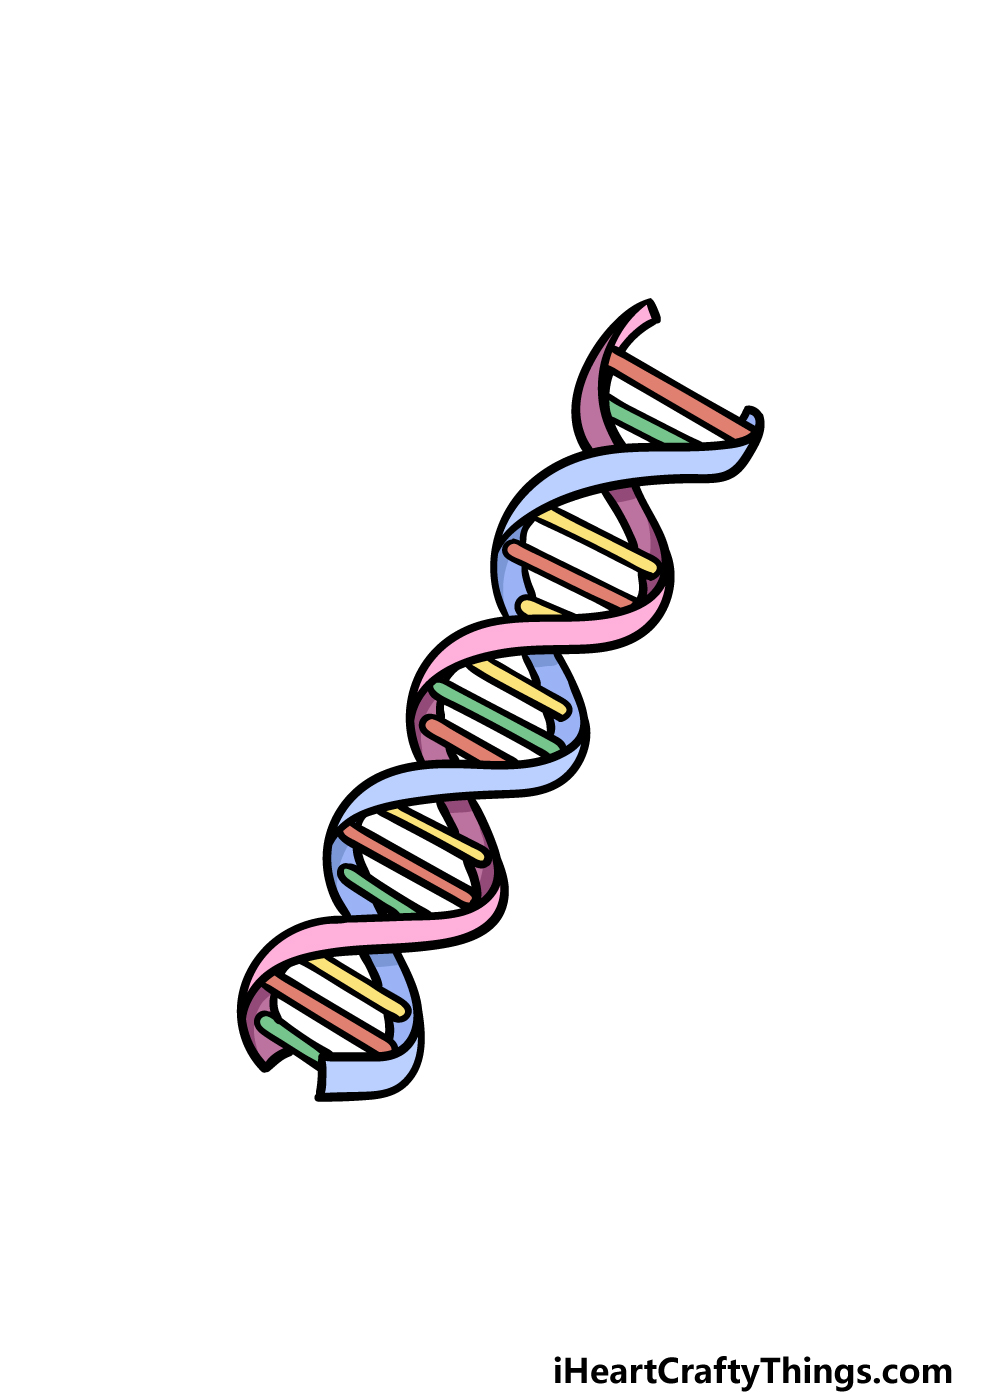
DNA is often depicted with lots of bright colors, and that is what we went with as we colored in our example for this DNA drawing.
You could use our reference image to replicate this set of colors, but you could also use some colors of your own to really finish it off nicely!
Once you have chosen your colors, you have a few options for which art mediums you could use. You may want to use some mediums that give you some more control over the intricate color details.
Colored pencils, markers or thin-tipped paintbrushes would give you the most control, but which colors and mediums will you go for?
3 More tips to make your DNA drawing easy!
Navigate the twists and turns of a DNA drawing with these 3 fun and easy tips!
Perhaps the trickiest thing about creating a DNA sketch is that they are so twisty and intricate. If you’re having a hard time drawing the structure as it appears in the guide, you could simplify the design.
There are quite a few ways you can do this without compromising the basics of the structure. You could make the main outlines of the DNA strand shorter and thicker.
Also, making the straight lines in the middle less frequent and a bit thicker can make them easier as well. Your drawing would still look great, but it would be so much simpler to draw!
We tried to make this easy to draw DNA even easier in the guide, but that doesn’t mean you can’t use some more outside help. There are lots of different resources you can use to refer to as you draw.
You can find countless DNA diagrams online that can help you as you draw. Science textbooks will also often have diagrams you can refer to.
Certain stores will even sell models of DNA strands that are one of the best resources you can use as you draw them. If you manage to find one of these models, you will also have a cool decoration at the end of it!
Using these extra resources will also let you create different variations on this DNA.
This DNA drawing can also be made easier if you put in some more preparation. It can be tempting to just dive in and start drawing, but a little prep can go a long way!
Using the guide, your extra references and your pencil, you can try to break the design down into basic shapes. Then, slowly start building up the details in order to create the lines for the final design.
When you’re happy with it, simply draw the final lines with your pen and erase your planning pencil lines. That’s all there is to it, and your drawing is complete!
Your DNA Drawing is Complete!
This complex structure is quite a tricky one to draw! In this guide on how to draw DNA, we aimed to show you that when you take it slowly and know what to do that it does not have to be such a challenge.
We really hope that we succeeded in this aim, and that it was both fun and easy for you to work with.
Now, how will you finish off this drawing with your own details, additions, colors and art mediums? We can’t wait to see!
We cover a wide variety of different subjects and styles with the many drawing guides we have on our website! There’s something for everyone, and we upload new guides frequently as well.
Once you have completed this DNA drawing, we would love to see the fruits of your hard work! You can let us see it by sharing your creation on our Facebook and Pinterest pages.