We experience many emotions and feelings in our day-to-day lives. Some are not very pleasant, like sadness, anger and mourning.
Others make us feel really good, and few things can compare to the floaty feeling of falling in love!
When you love someone, it can really make them feel special if you draw an image or card feating an I love you design.
Learning how to draw I love you is the perfect way to prepare yourself for creating a loving image for the apple of your eye!
If you would like to create a loving image, then you’ve chosen the right guide!
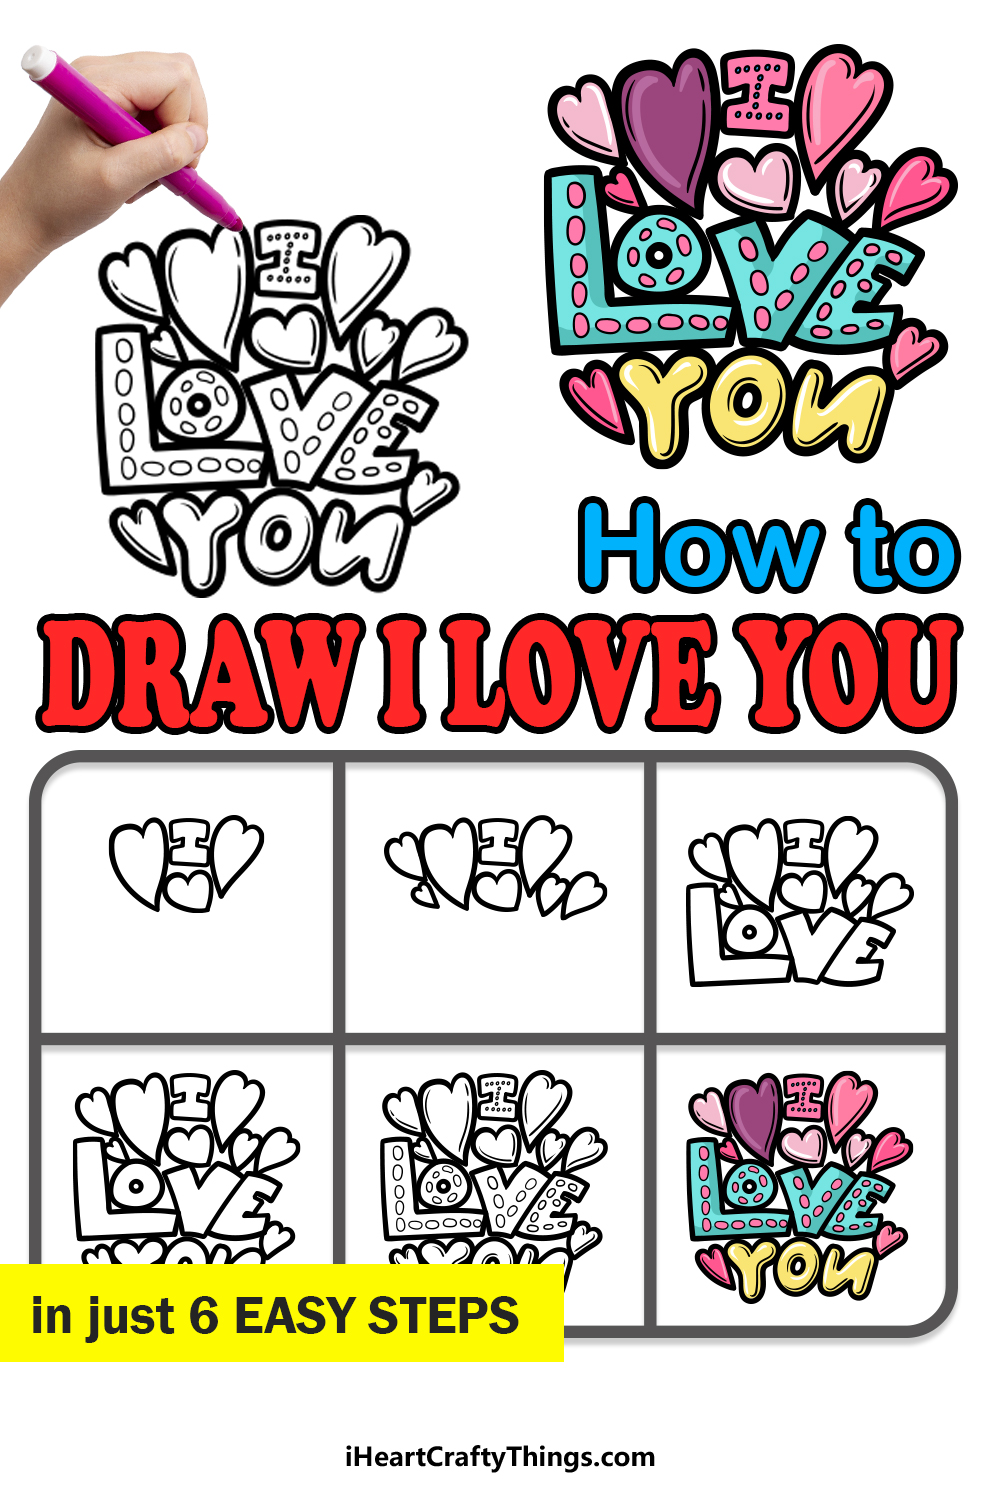
Our step-by-step guide on how to draw I love you in just 6 steps will show you how fun and easy it can be to share the love!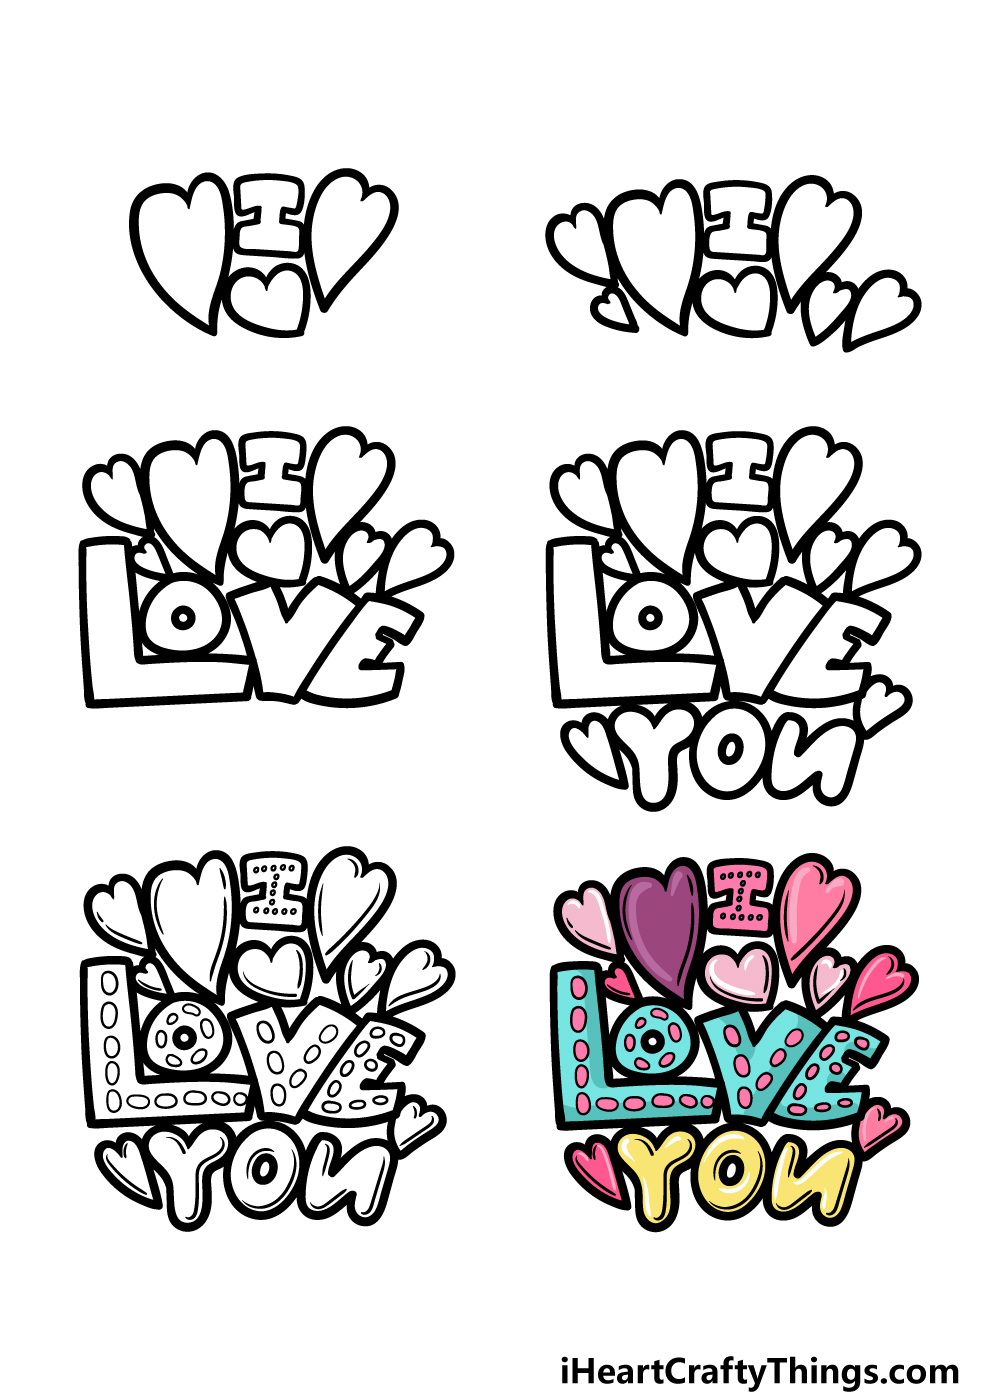
How to Draw I Love You – Let’s Get Started!
Step 1

We have a whimsical and heart-filled design for you to work on in this guide on how to draw I love you. To get things started, we will begin with the “I.”
The letters that we will be drawing in this image are thick bubble letters, and that is certainly true for this letter.
Using some thick lines and the reference image to help you, you can draw the capital letter I. This image will have a lot of hearts in it to represent the love theme, and we will add the first few now.
Draw two hearts next to the letter I, and then draw another more squat one underneath it. Once you have drawn these hearts, we can move to the next step.
Step 2 – Next, add some more hearts for the drawing

You can never have too many hearts with a drawing like this! For that reason, we will keep adding even more in this step of your I love you drawing.
For now, we will be adding four more hearts, and they will all be of varying sizes and shapes. You could also change up the sizes and shapes to your own specifications as well!
Later on you will be able to add even more hearts if you wish, but for now let’s go to step 3.
Step 3 – Draw the word ‘love.’

For the next part of our guide on how to draw I love you, we will be drawing the ‘love’ part. First, we will draw the capital L. This will be quite large, and the bottom will extend to the right.
The bottom of the L will serve as a little base for the O, which will be much smaller than the L was.
Finally, you can finish off with the V and the E, and these will be more or less the same size, larger than the O but smaller than the L.
The way you have drawn these letters will give it a nice vibrant feel! Then we can draw the rest of the phrase in the next step.
Step 4 – Now, draw the rest of the phrase

This I love you drawing would not be complete without the final word in the phrase! That’s why we will draw the final word before we move on to some decorative details.
First, you can draw another heart under the word love. After that, you cab then draw YOU in a similar style to the other words you have been working on.
Once that is drawn, you can then add one more heart on the other side of YOU. That will finish off this step, and next we will add those decorative elements that we alluded to earlier!
Step 5 – Add some fun details to the drawing
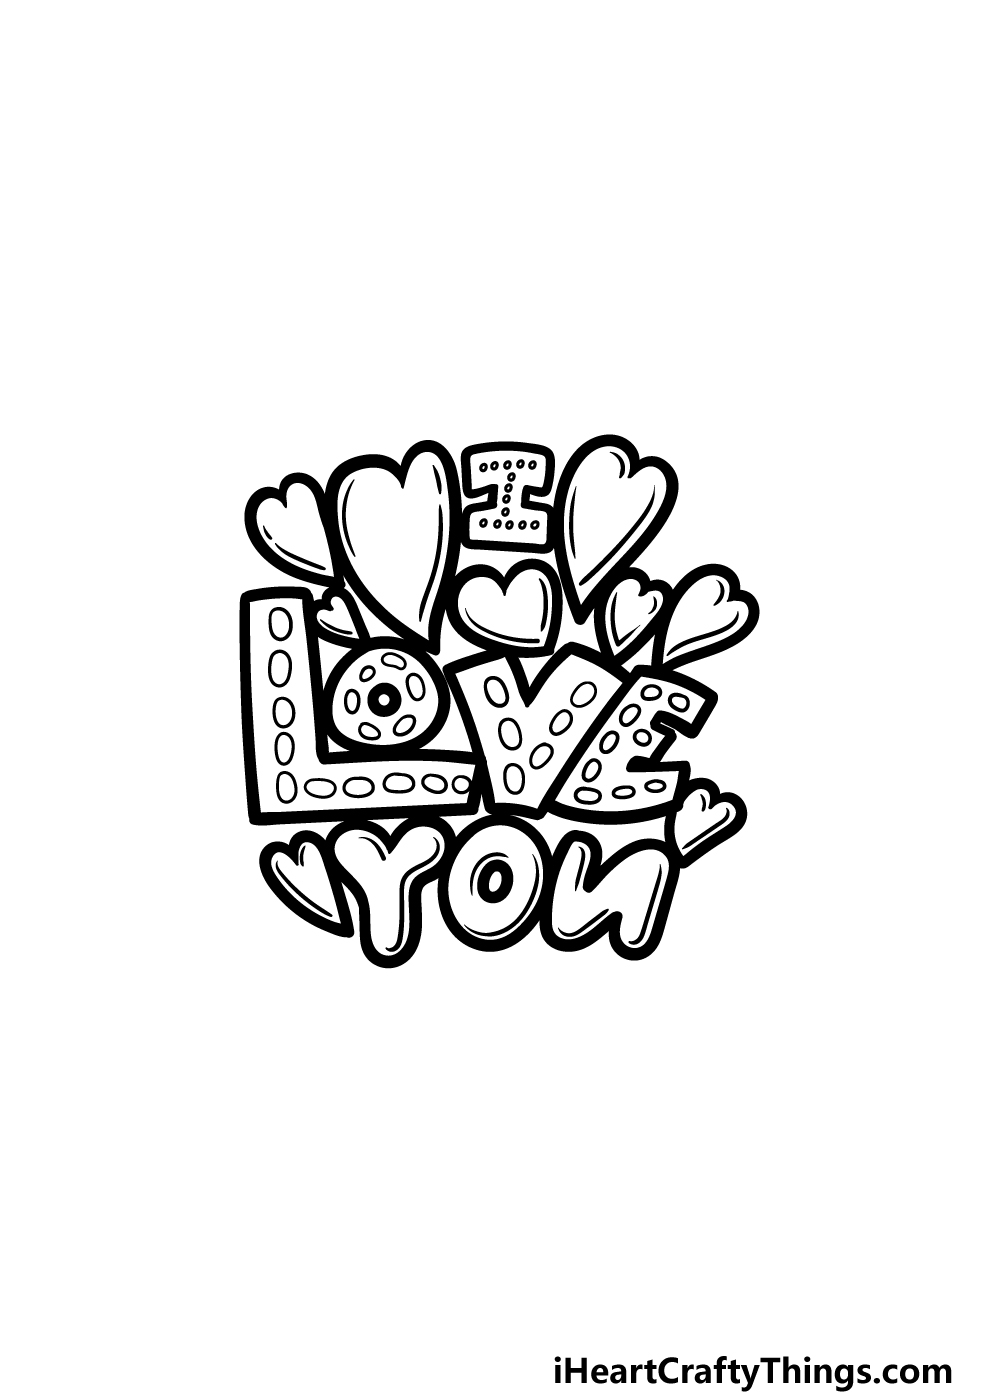
This fifth step of our guide on how to draw I love you should be a really fun one to do! You have worked hard drawing all of the outlines and shapes for the image, and now you can have some fun adding all sorts of cool details.
We decorated the words I and LOVE by adding lots of little circles inside the outlines of each letter.
Then we added some line details inside the outlines of not only the remaining letters but also all of the hearts that have been drawn thus far.
This is a step where you could also add any details that you would like! Maybe there still aren’t enough hearts for your liking, so why not draw even more?
You could also draw different shapes and patterns into the letters or add the name of your beloved underneath the drawing to turn it into a nice card. How will you finish off this delightful drawing for the final step?
Step 6 – Finish off your I love you drawing with some color
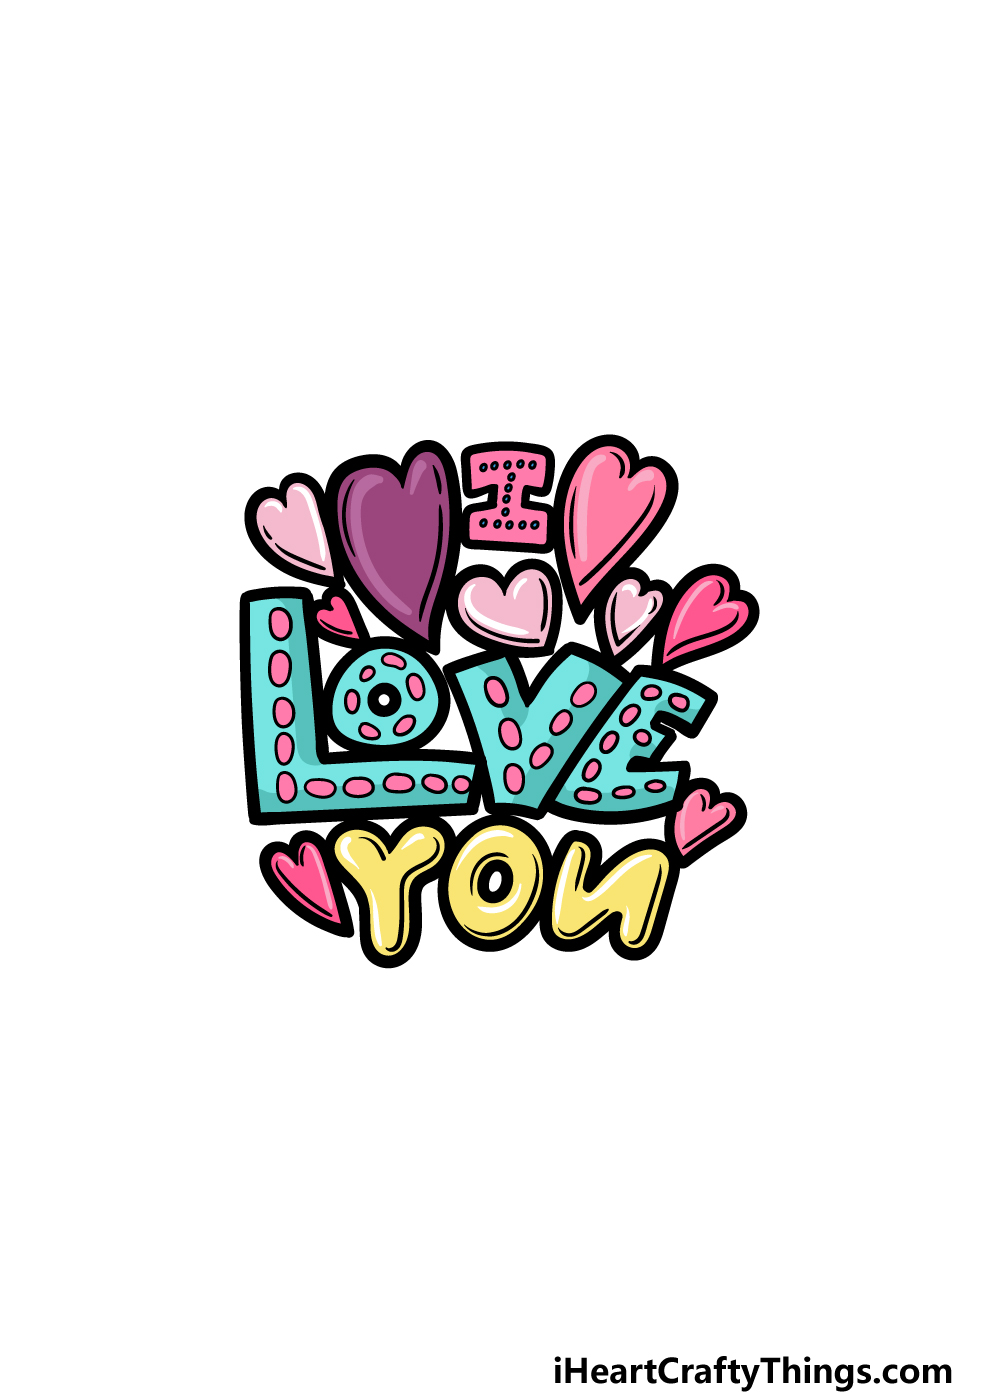
A nice and bright image like this needs some nice and bright colors, and that is what we will take care of in the final step of your I love you drawing!
We used a large variety of different pretty colors to really make our example image pop. as you may imagine, we used a bunch of pinks and purples, as those are often associated with love.
Then we mixed things up a bit by using some lovely blues and yellows.
These are our color choices, but feel free to incorporate your own as well. Using bright mediums like colored markers or acrylic paints would work brilliantly for an image like this, but anything you use will look amazing!
Bonus: Use Some Fun Ideas To Present Your Drawing!
You did an amazing job on this I love you drawing, and it looks incredible! We have even more ideas for you to try out later on in the guide, but for now we wanted to go over some ways you can present this drawing.
Chances are you drew this on some paper or cardboard, and now you may be wondering how you can display it. You may even want to give the drawing to someone special!
There are a few ways to prepare your artwork for display or as a gift. One of the simplest ways to preserve your drawing would be to get it laminated.
This can be done at various stores quite cheaply, and it will preserve your drawing for a long time. It will be safe from water damage if you do this, and it will be nice to hang.
However, laminating an artwork can make it so that glares from sunlight will make it hard to see the image, so for some people it may be preferable to frame the artwork.
A frame also just adds something special to an artwork and makes it look fancier. This would be ideal if you wish to hang the artwork or give it as a gift.
If you wanted to present this I love you drawing as a card to someone you care about, then it could be drawn on a folded piece of paper. Then you could write a lovely message inside and give it to someone to enjoy.
As you can see, there are many ways to elevate the amazing artwork you created! Now we would like to know how else you can display and gift the picture you have created.
Do this to take your I love you drawing to the next level
Spread the love with these tips on how to make your I love you sketch even more lovely!
When it comes to portraying love, you can never have too many hearts. We included a fair amount of these in our design, but there is always room for more!
You could get really creative with how you add these hearts to your I love you drawing. They could be surrounding the heart or even used as patterns on some of the letters.
What are some other ways that you can think to include even more hearts into this design?
We showed you some great colors you could use for this drawing of I love you, but this is your chance to show off your creativity! You can do this not only with the colors you choose but also with the art tools and mediums you use.
These could include different kinds of paints, or you could even use crafts like stickers and glitter. Using color may seem simple, but it can really take your drawing to a whole new level.
Another way to make this picture even better is by adding a message to it. This design would be perfect to give to someone you love!
You could do this by adding just their name, or you could incorporate a whole message. If you were to do this, you could also try to match the font to the ones used in this design.
Who would you give this lovely I love you sketch to?
This final tip will go nicely with the previous one, and it involves how you might present this page. You could draw the design onto some nice cardboard and then fold it to turn it into a card.
That would also allow you to write a longer message on the inside. Alternatively, you could get someone to help you to put this page into a lovely picture frame.
These are just a few ideas, but how else can you think to present this lovely picture?
Your I love you Drawing is Complete!
We’re really feeling the love at the end of this guide on how to draw I love you! We hope that you had a lovely time working on this image, and we also hope that it was fun and easy for you to use.
We also tried to leave a lot of room for you to express your own creativity, so go wild with your own details and see what happens!
Be sure to head on over to our website, because we have many more incredible guides just waiting for you! If that wasn’t enough, we have plenty more coming soon, so you’ll want to visit often.
We would really like to see how you showed some love in your I love you drawing, so when it is complete please be sure to share it on our Facebook and Pinterest pages!