Many artists will tell you that the human eye is one of the more difficult facial elements to draw. This might seem surprising, as we see eyes all the time!
The reason they can be more difficult is you have to make eyebrows, eyelids and eyelashes look realistic.
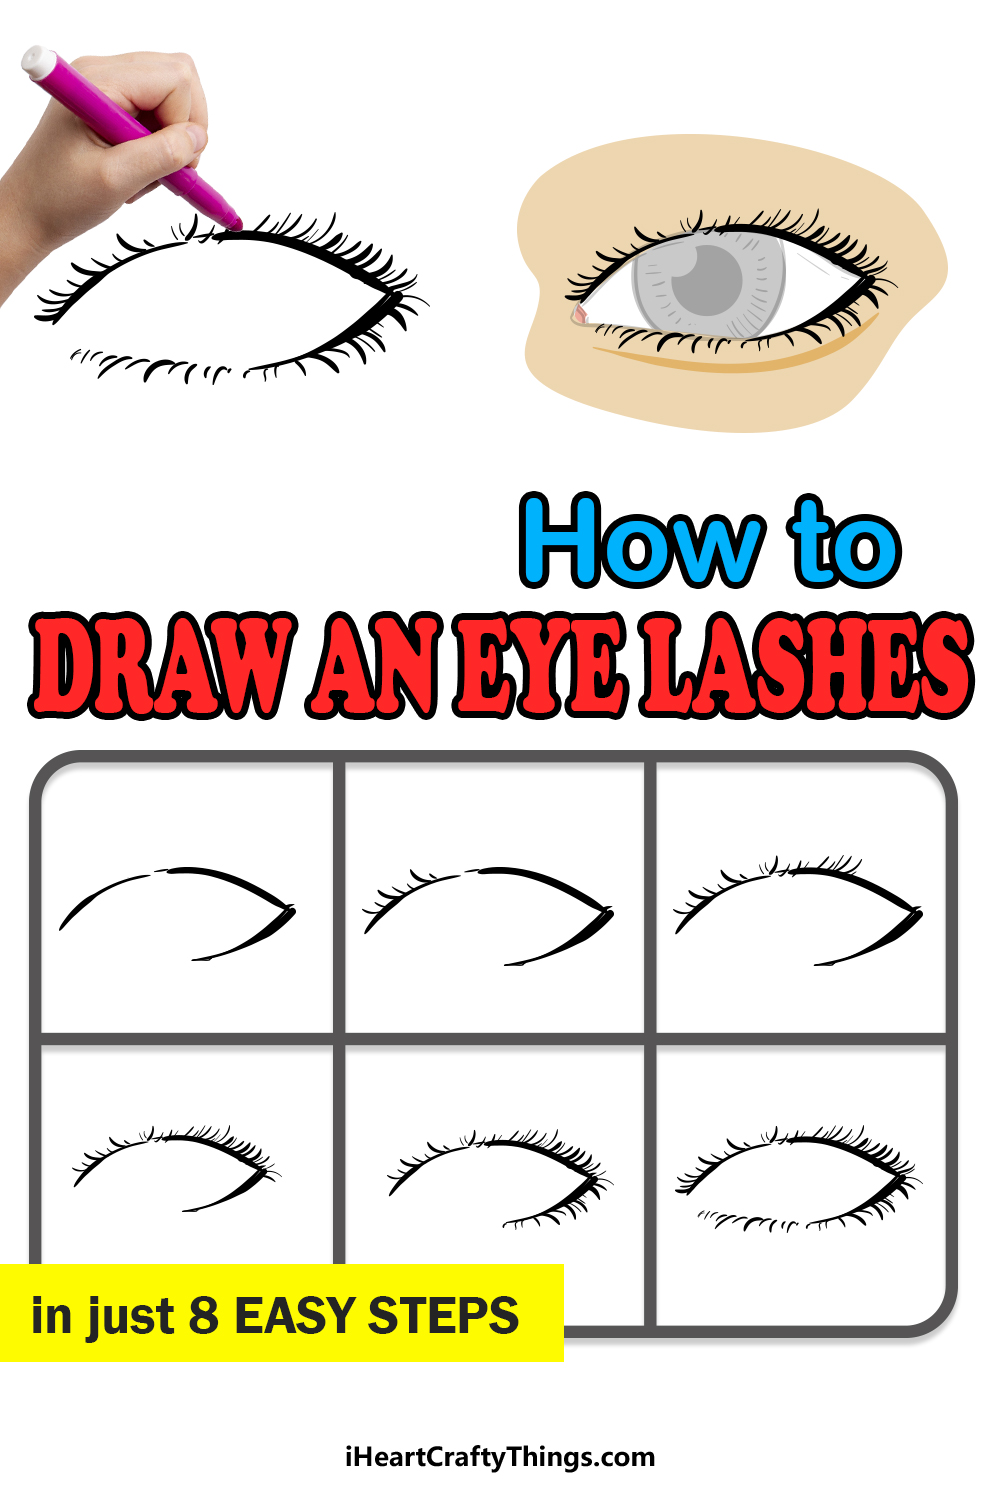
If eyelashes are the element that you struggle most with, you’ve probably wondered how you could ever learn to draw them. If that sounds like you, then this guide was made for you!
This step-by-step guide on how to draw eyelashes in 8 easy steps will show you how you can easily draw them in no time!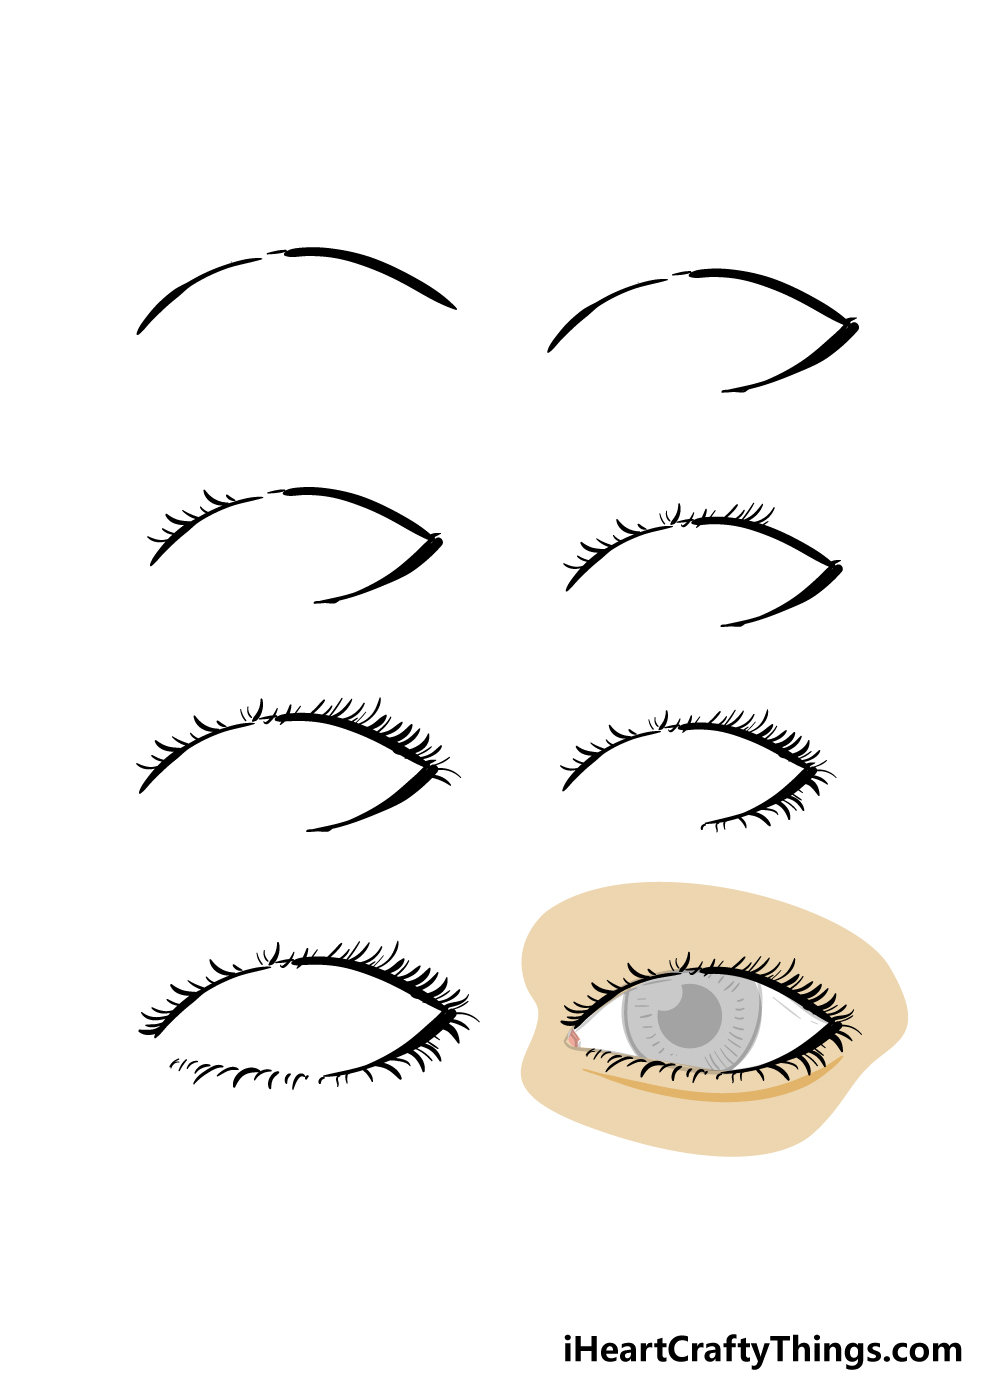
How to Draw Eyelashes – Let’s get Started!
Step 1
To make this guide on how to draw eyelashes easier, we shall begin by drawing in a rough guide shape.
To do this, you should use a light pencil as you will need to erase it later. You can use the final image in this guide as a reference to how you can draw an eye shape with your pencil.
Once you have that drawn, you can start with the first step.
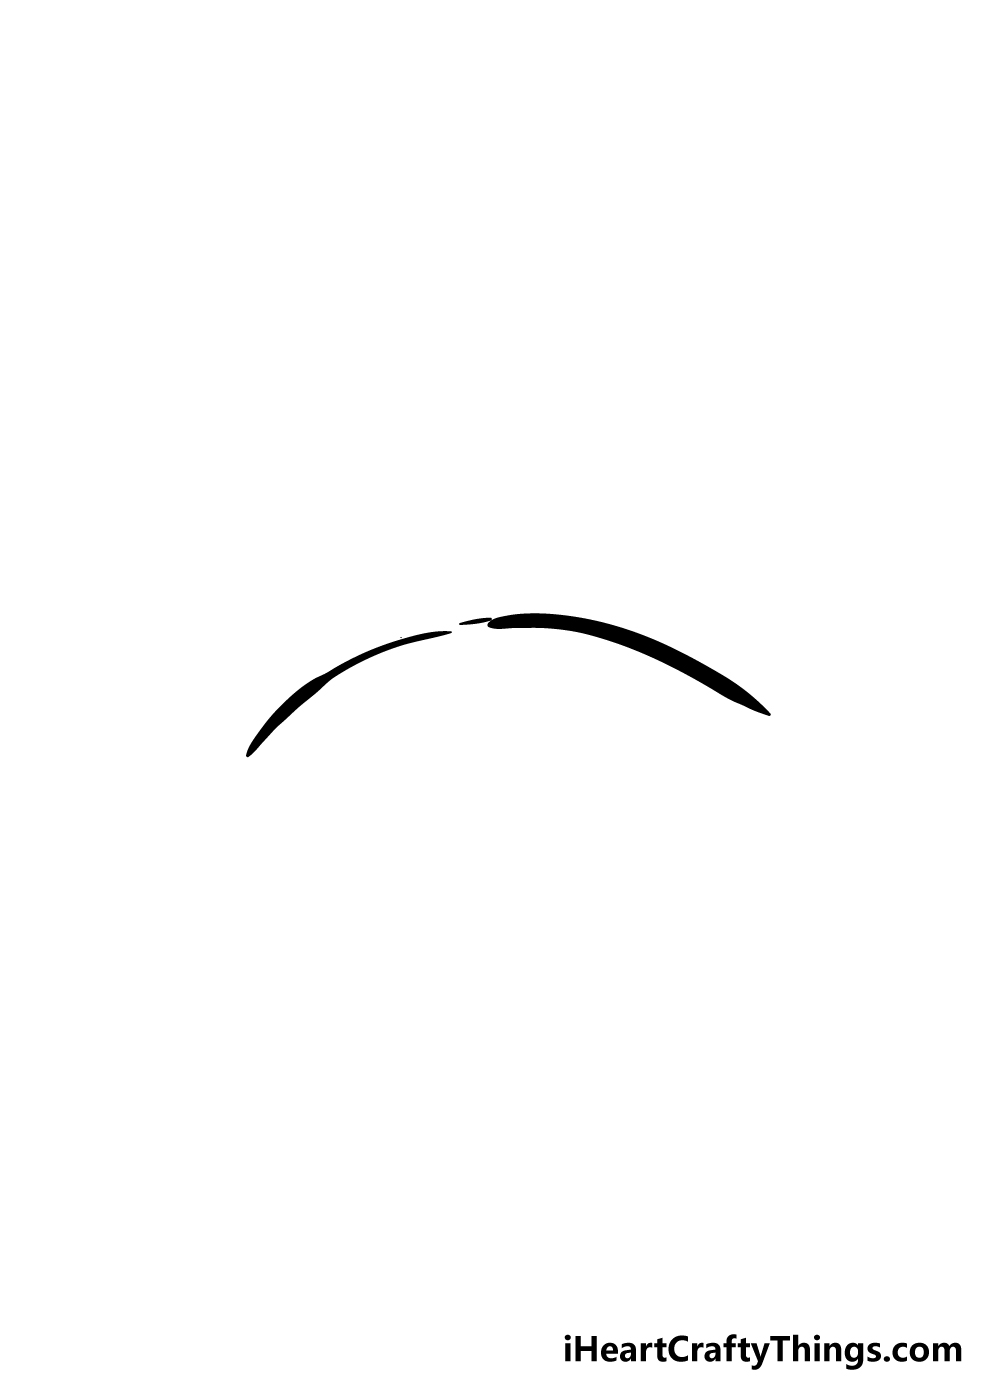
With your pencil guide drawn, use a pen or a much darker pencil to draw two lines on the top line of your guide.
As you can see in the reference image, they should just about touch but have a small space in between.
The line on the left should also be a bit thinner than the one on the right.
Step 2 – Now, draw in some more of the eye outline
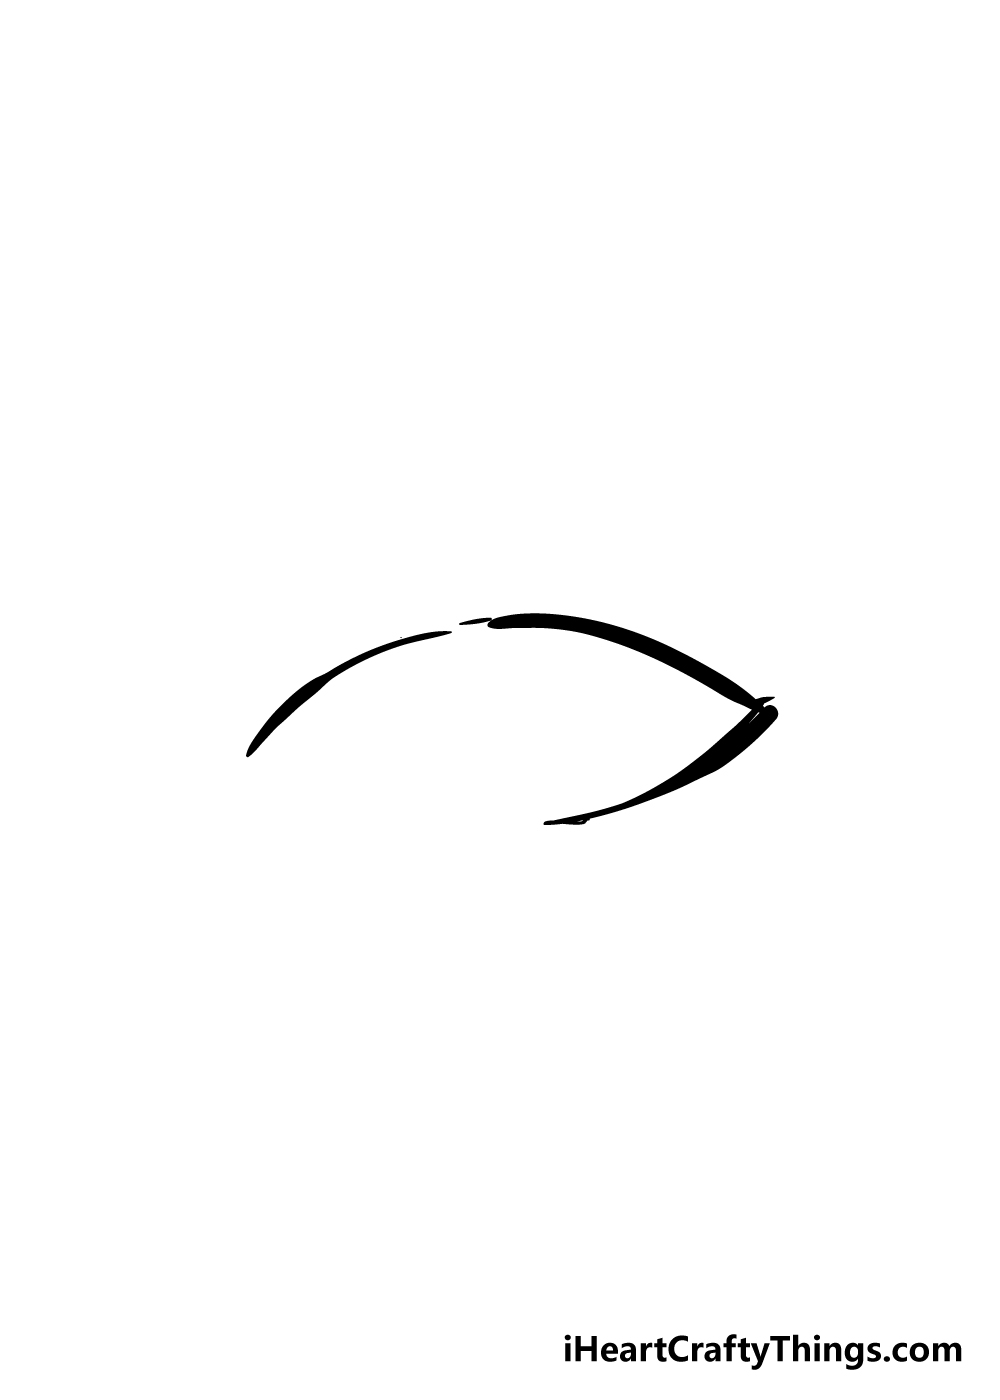
Using your pencil guide, you can add in more of the edge of your eyelashes drawing.
This edge will come down from the righthand corner of the eye and extend to just over halfway.
Once you have that line in, you can move on to step 3.
Step 3 – Add in the first eyelash hairs
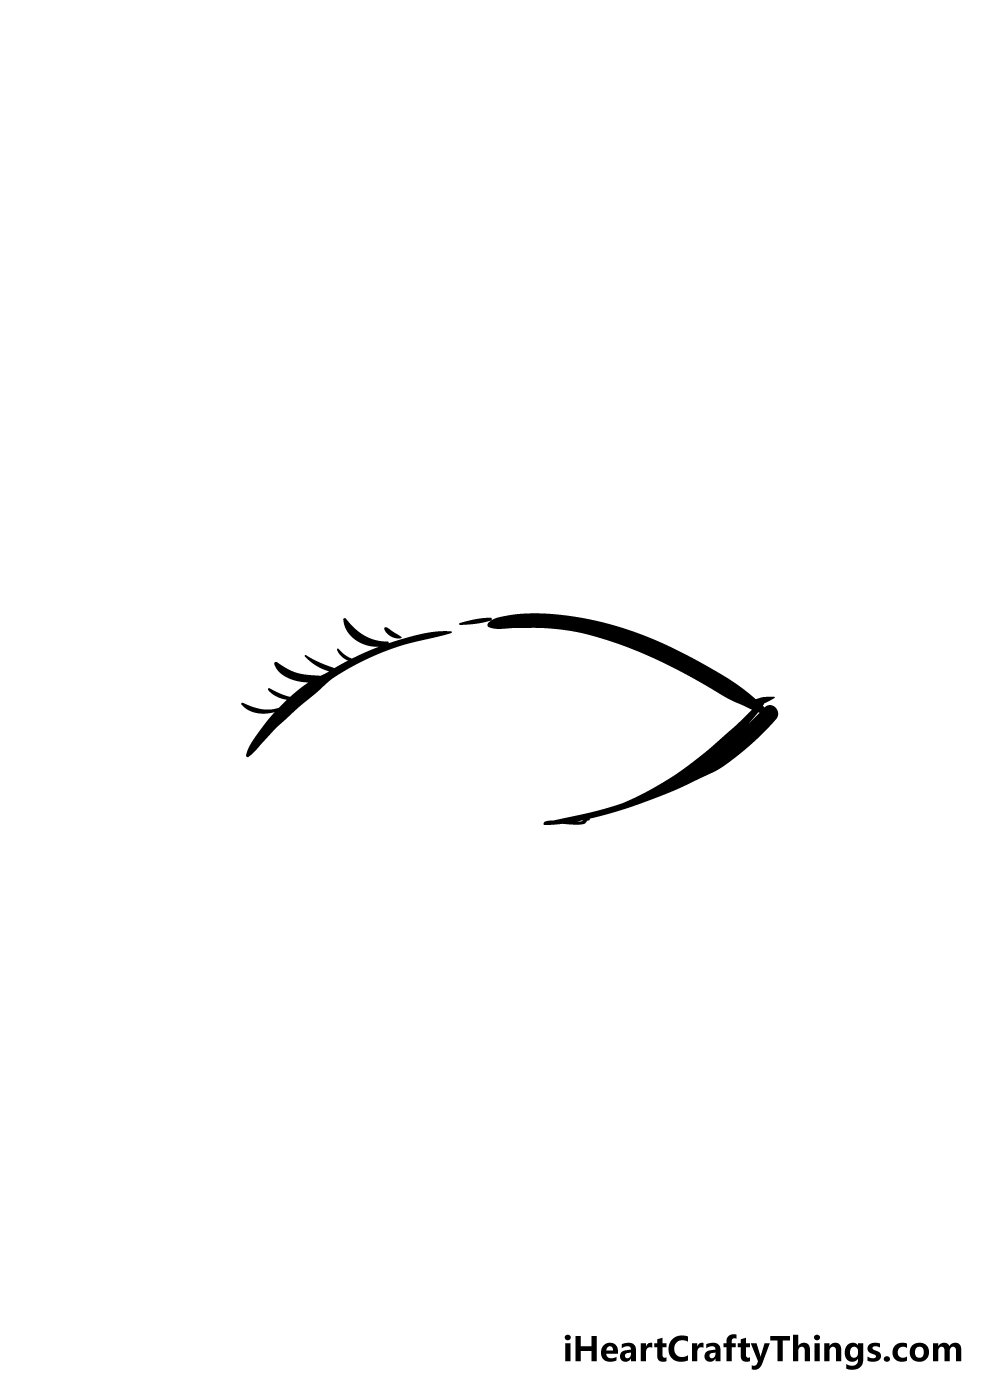
You can’t have eyelashes without eyelash hairs, so for this step in our guide on how to draw eyelashes, let’s start adding some of those hairs.
To do this, simply start drawing in slightly curved lines coming up from the left top side of your eye outline.
Step 4 – Next, keep adding hairs to the eyelashes
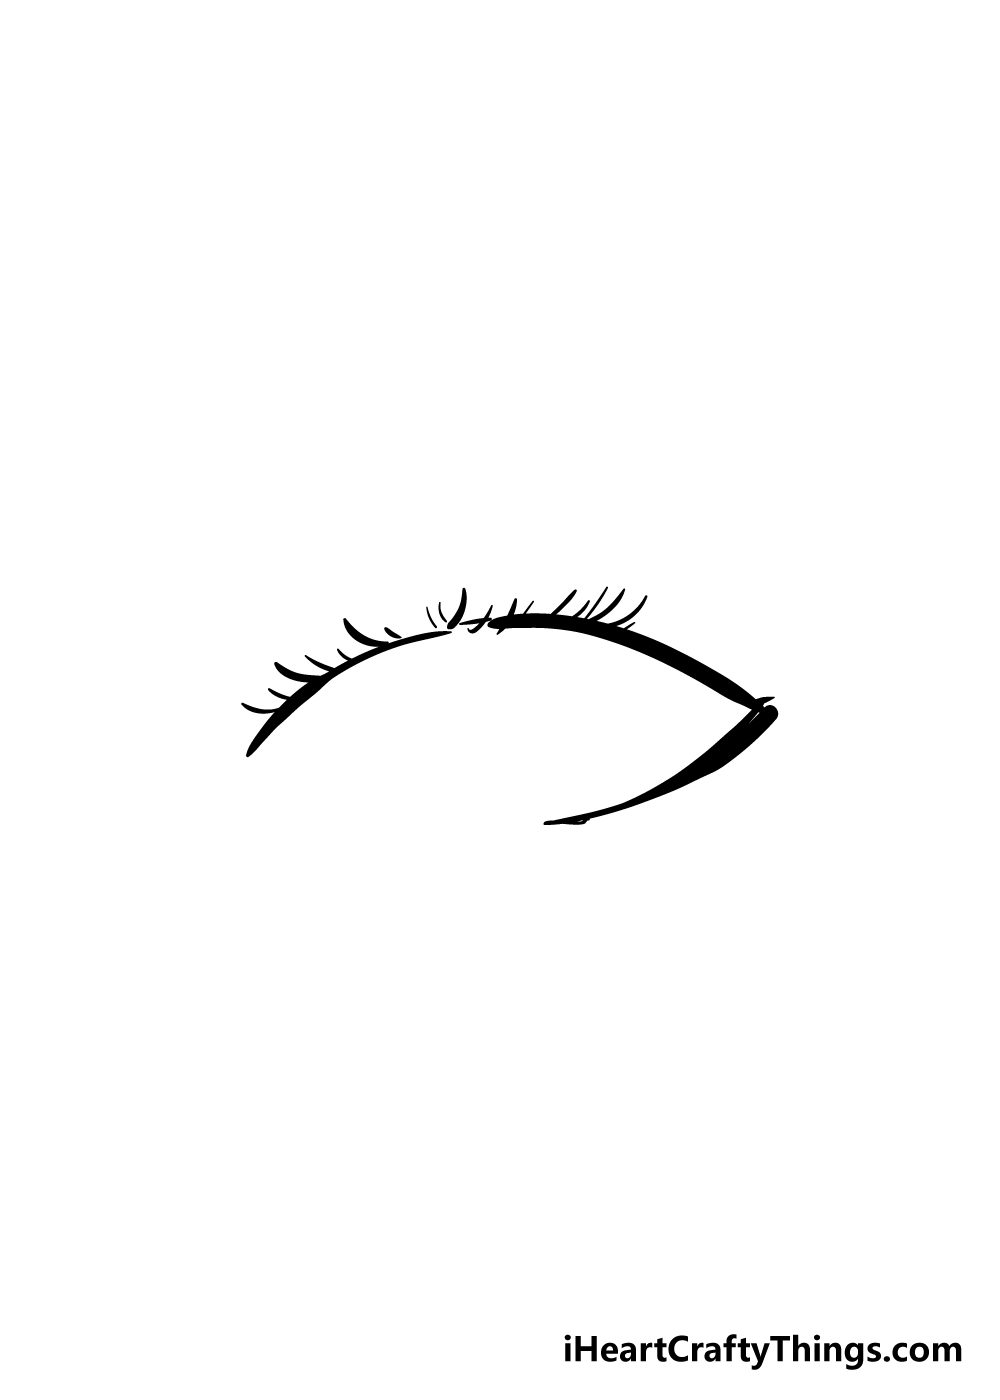
Now that you’ve drawn in some of the hairs, adding more to your eyelash drawing should be easier now.
Using some more small, thin lines, keep moving right along the eye from the previous hairs that you drew. As you can see in the reference image, these hairs will be small and at specific angles.
Step 5 – Draw in the last of the upper eyelash hairs
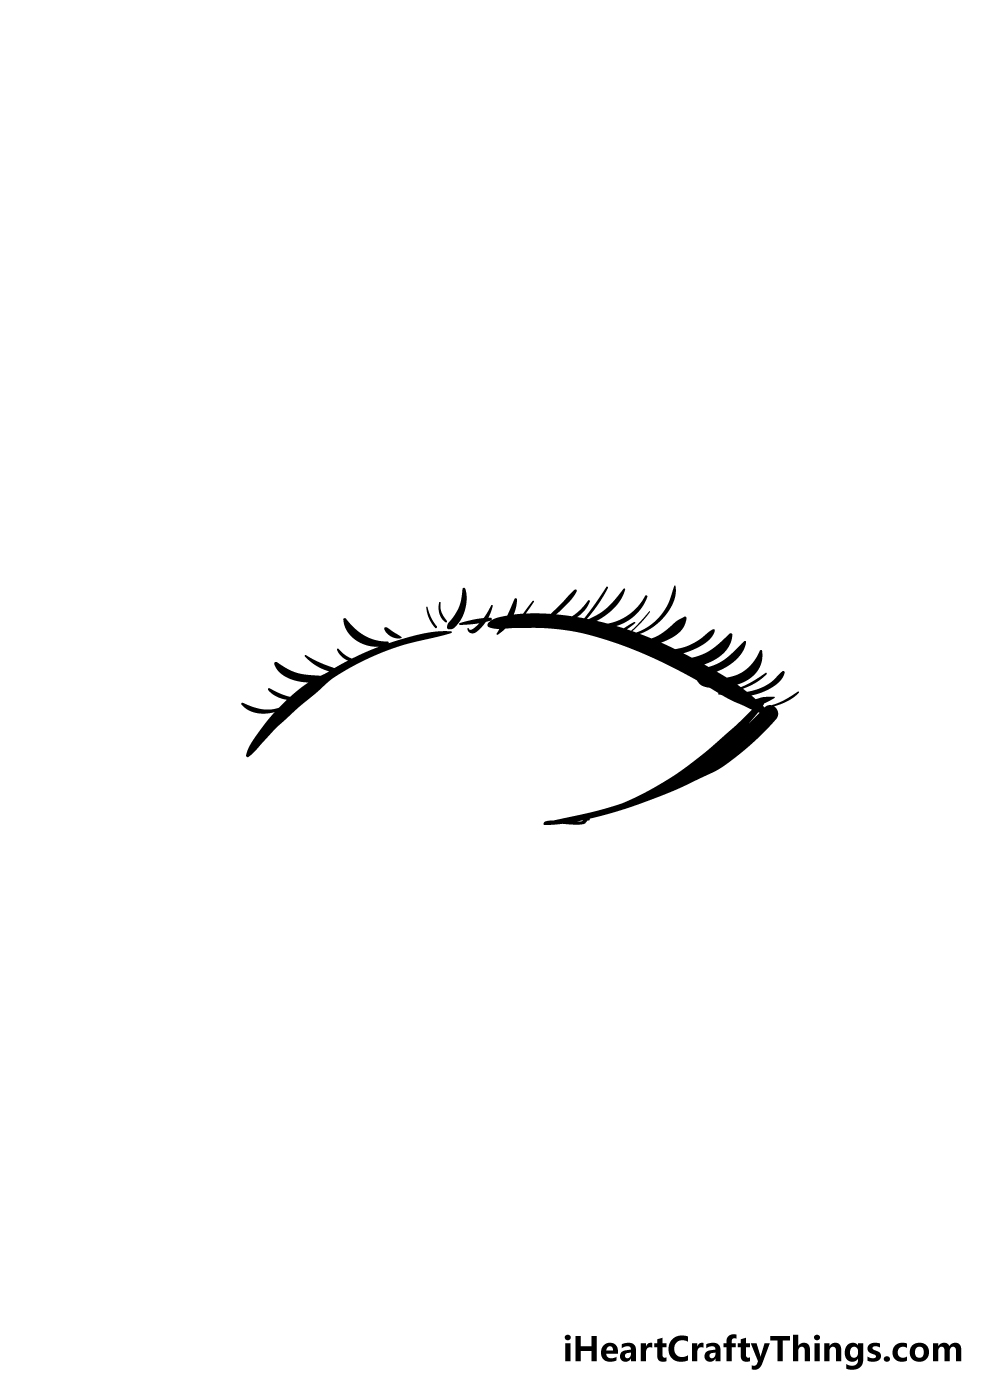
We will finish off the top row of eyelash hairs in this next step. These will continue on from the last few ones you drew but will be a little longer and more consistent.
These hairs will also stay at more or less the same angle as they go along.
Step 6 – Start to draw in the lower eyelashes now
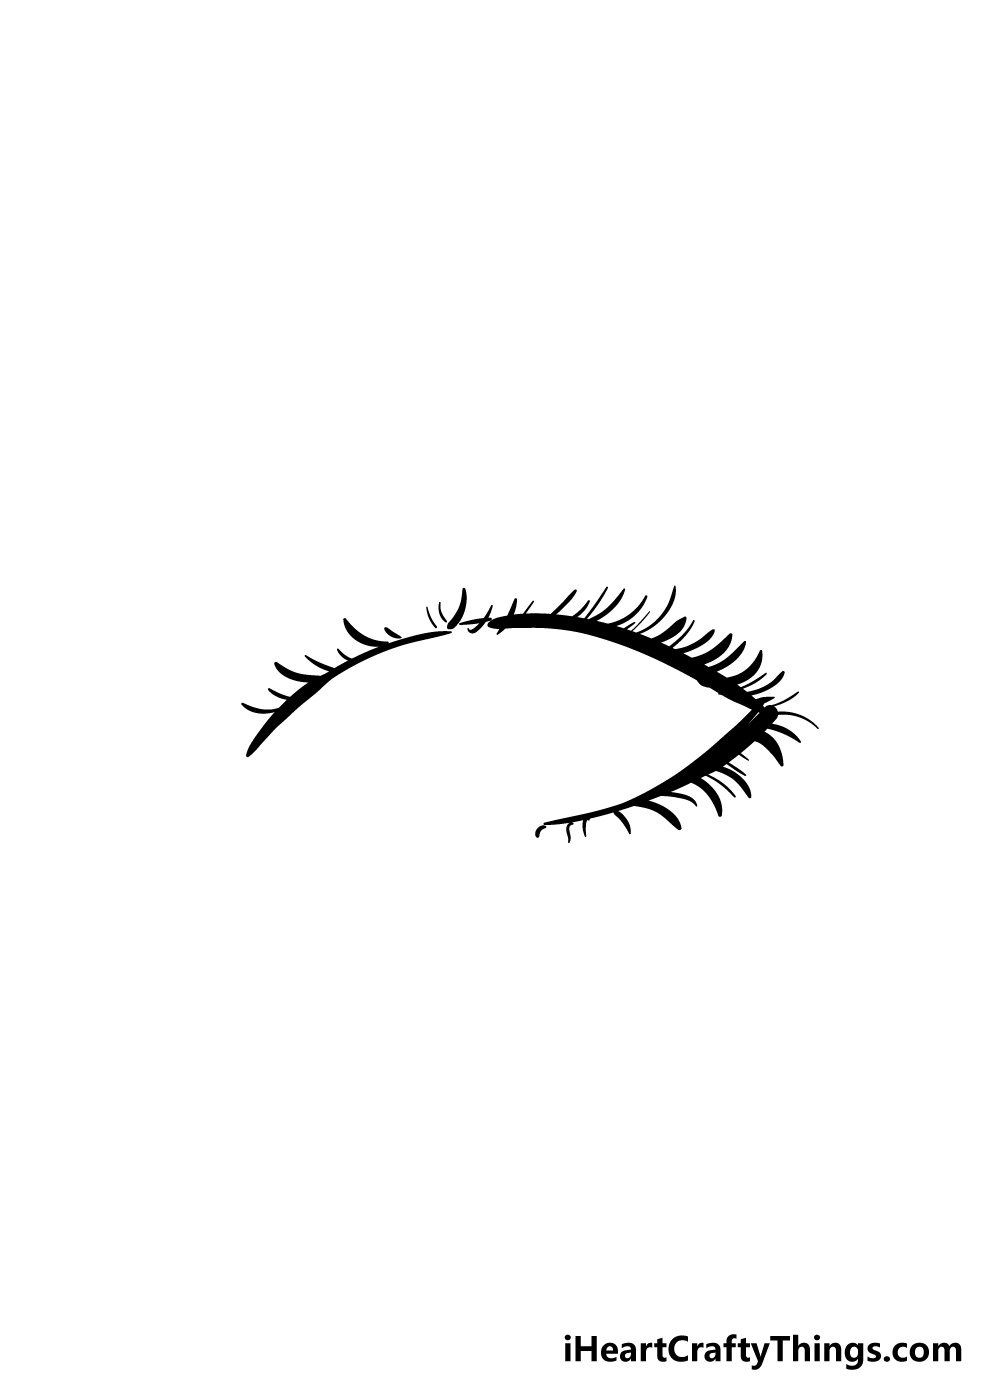
The top half of your eyelashes drawing is complete now, and that means it’s time to start drawing in some eyelashes on the lower side of the eye.
These ones will be a little thicker and longer than the ones on top, and the reference image will give you an idea of the angle they should take.
As you move further left on the edge while drawing the hairs, they should start to be a little smaller and further apart.
Step 7 – Add in the final details
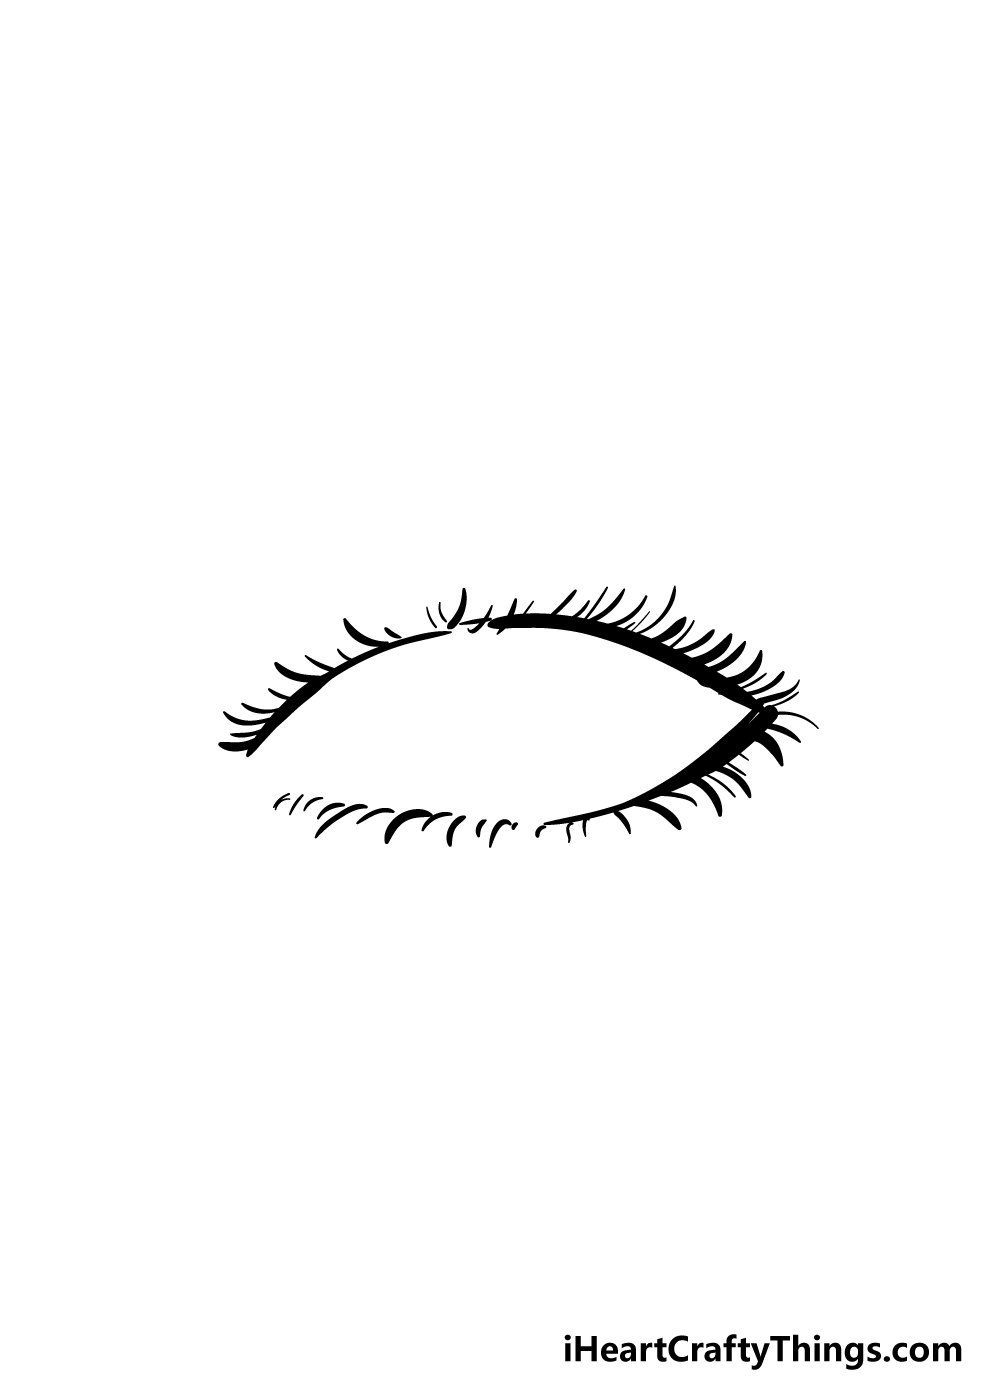
In this step of our guide on how to draw eyelashes, you will see why it was a good idea to draw in a pencil guide shape!
We won’t actually be drawing the bottom left edge of the eye, so having the guide shape will help you place the final hairs correctly.
These hairs will also be a bit smaller and further apart as they extend along the bottom edge of the eye.
As you can see in the image, you can also add in a few more hairs to the previous sections of the eyelashes drawing to make it look fuller.
Once you’re happy with how it looks, you can erase the pencil guide you drew in step 1. If you used a pen for the final drawing, be sure to let the ink dry before you start erasing, or it could smudge it!
Step 8 – Now finish off your eyelashes with some color
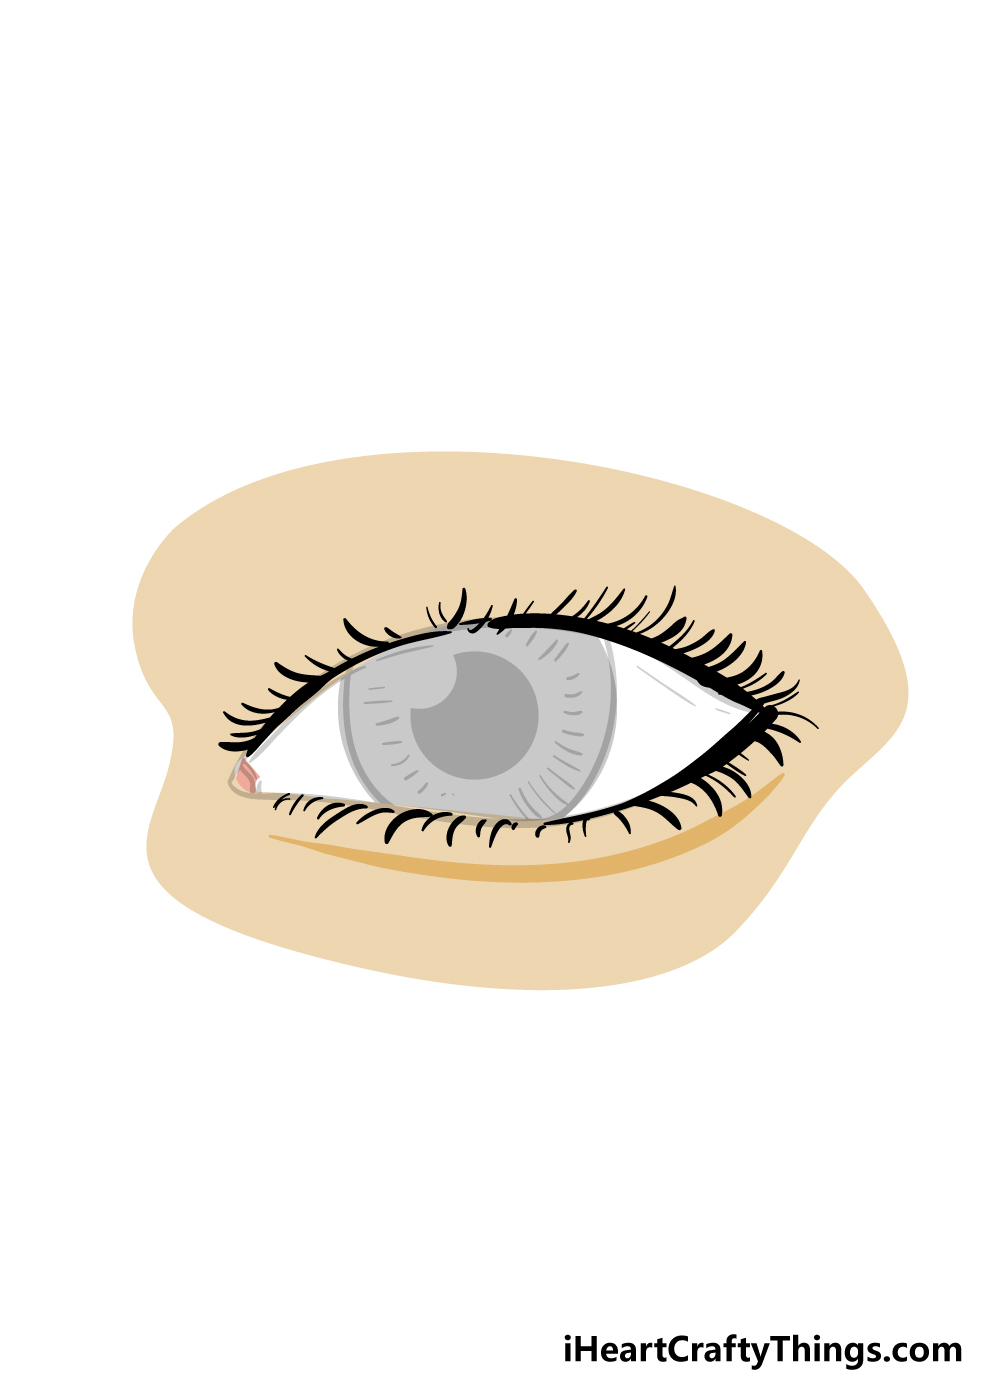
We’re at step 8 now, and seeing as you’ve reached this final step, it means that you have now drawn some eyelashes!
You’re not quite done yet, however, as you need some colors to finish off your drawing.
If you’re feeling a little more creative, you could draw in an eye inside your eyelashes shape. The reference image shows you one way you could do this.
If you do draw in the eye, you could color it to look like your own, and then color in the eyelashes to match yours as well!
Once you’ve decided on the colors, you then can have some fun playing with different art mediums.
I would use some pretty watercolor paints to give this a softer look, but you should use any of your favorite art tools to finish off your eyelashes drawing!
5 Tips To Make Your Eyelashes Drawing Even Better!
Make this eyelashes sketch even better in the blink of an eye with these fun tips!
With this drawing of eyelashes, the focus was kept on the eyelashes themselves instead of the eye.
We did draw a rough eye, but you may want to add more details to that part of the image.
If you need some help with this part, you could get a small mirror and then use your own eye’s reflection to aid you as you draw the smaller details.
Eyelashes are not all the same from person to person, so you could make these ones look a bit different. They might be a bit fuller than the ones we drew in the guide, or you may want them to be even thinner.
You could look at the eyelashes of various people in your house and see how they differ in order to get inspiration.
Instead of drawing the lashes themselves for this eyelashes drawing, you could instead add them with color. This is a great way to make the image look a bit more distinct.
When doing this, try to use mediums that have thin tips, as this will make each hair of the eyelashes look more like individual hairs. Colored pens or sharp colored pencils would be a good start, but what else can you think of?
Next, you can start building up the area around the eye and eyelashes by adding some more details. These could include more details for the eyelids and maybe even wrinkles in the skin.
Then, you could even add some eyebrows above the eye to take it even further!
If you have enough space left around your eyelashes sketch, you could even draw the rest of the face. This would be a great way to take our previous suggestion even further.
Once again, you could use your own face or the face of someone you know to make this process a bit easier. Do you think you will try to draw the entire face?
Your Eyelashes Drawing is Complete!
The final details are drawn, the colors have been beautifully added and you have reached the end of this guide on how to draw eyelashes.
You should be very proud of the amazing drawing you’ve ended up with! Drawing eyelashes can seem difficult, but with this guide breaking it down into easy steps, we’re confident you’ll master it in no time!
Once you’ve gotten the hang of it, you could even take it a few steps further and reverse the guide to draw in a matching eye with eyelashes to go with it!
This is just one idea, but you could also use different art mediums, colors and styles to bring a personal touch to your eyelashes drawing. How will you put your own spin on this drawing?
If you had fun with this guide, we have great news for you because we will be bringing out many more awesome step-by-step drawing guides constantly!
Be sure to check out our site often, as that’s the best way to never miss out on the fun.
We always love to see the finished products resulting from these guides, so once you finish your eyelashes drawing we hope that you will share it on our Facebook and Pinterest pages for us to admire!