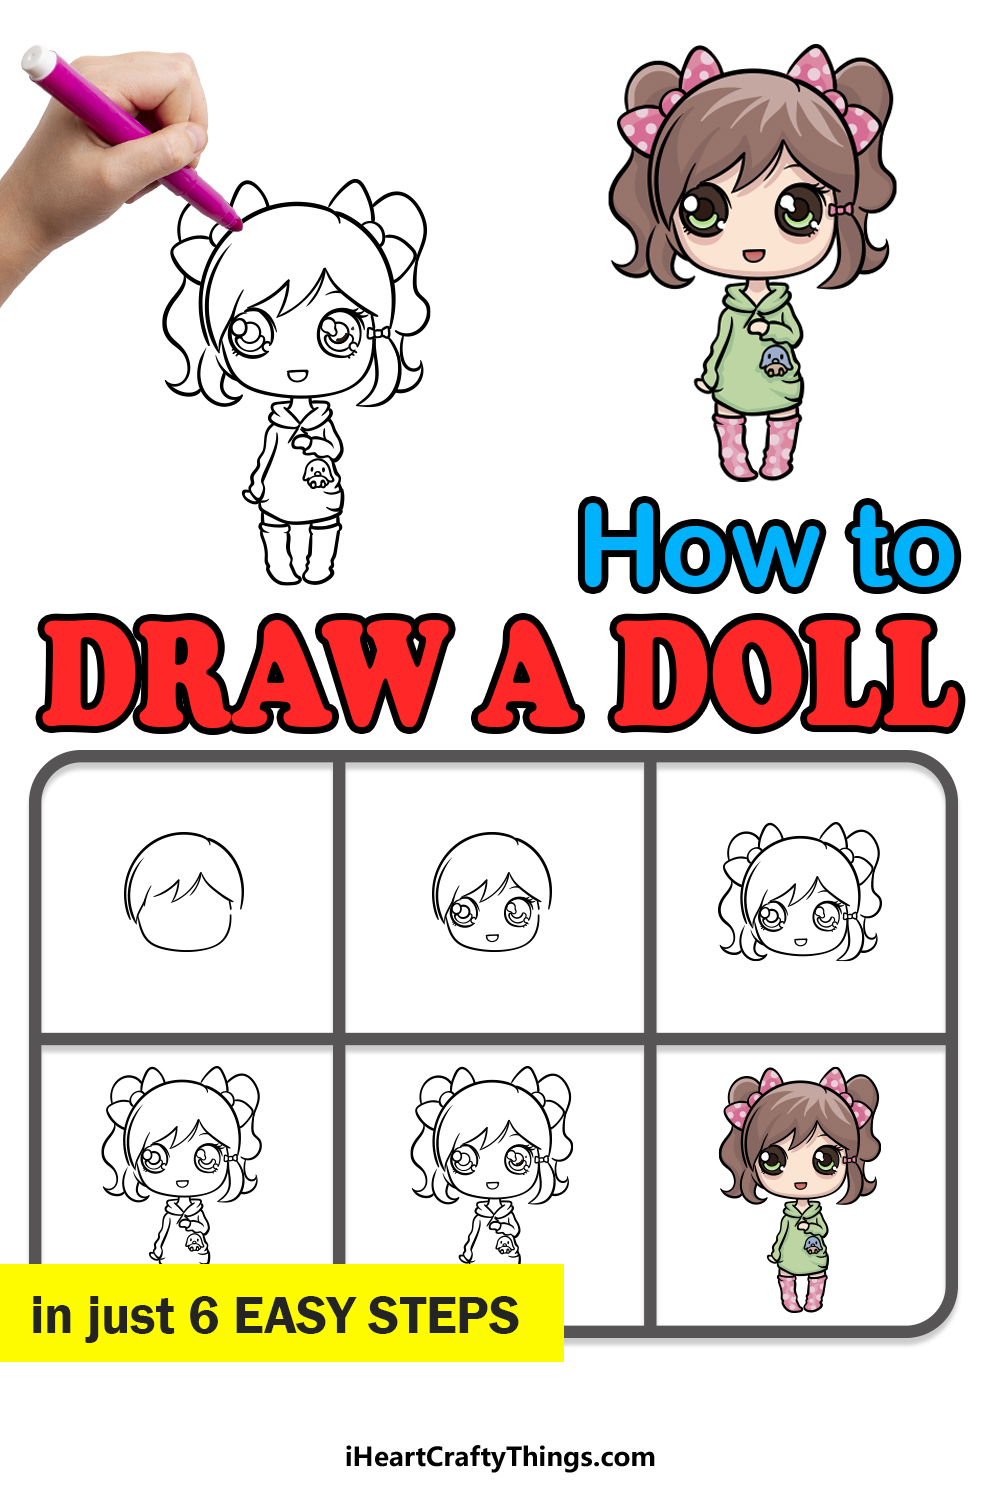
Dolls are some of the most popular toys in the world, and there are a seemingly infinite variety of different dolls to enjoy.
Some are styled to fit the latest fashions, others try to recreate a certain vintage style or profession and some are even made to be a bit spooky!
No matter what your tastes are, there is certainly a doll for you, and it can be fun to learn how to draw a doll so that you can imagine your perfect one.
If you have always wanted to create your own doll design, then this tutorial will give you the chance to do just that.
We hope that this step-by-step guide on how to draw a doll provides a ton of adorable fun for you to enjoy!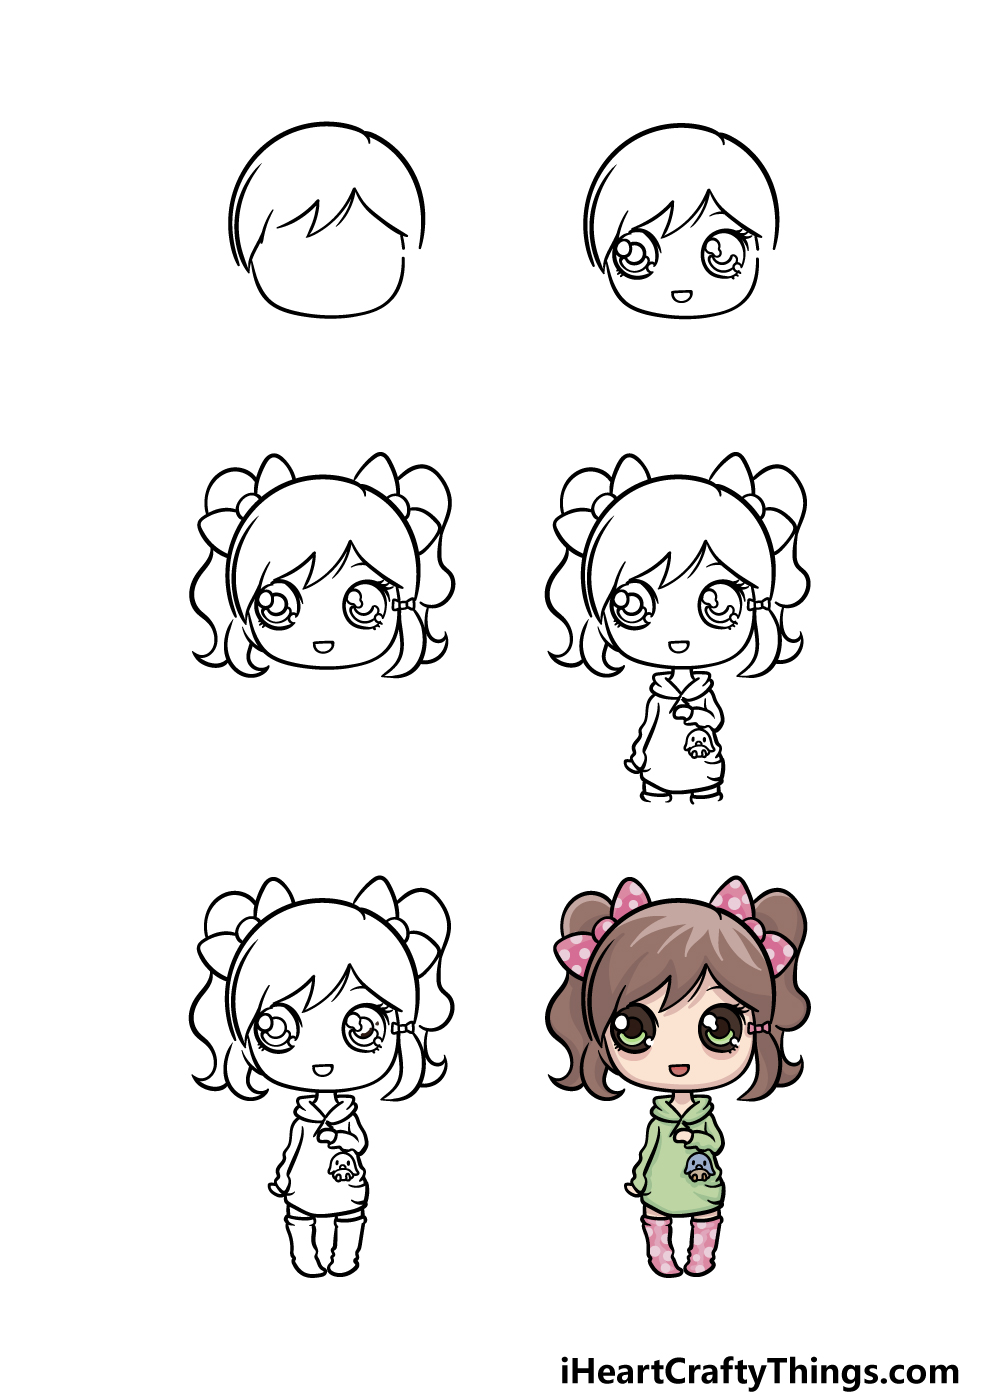
How to Draw A Doll – Let’s Get Started!
Step 1
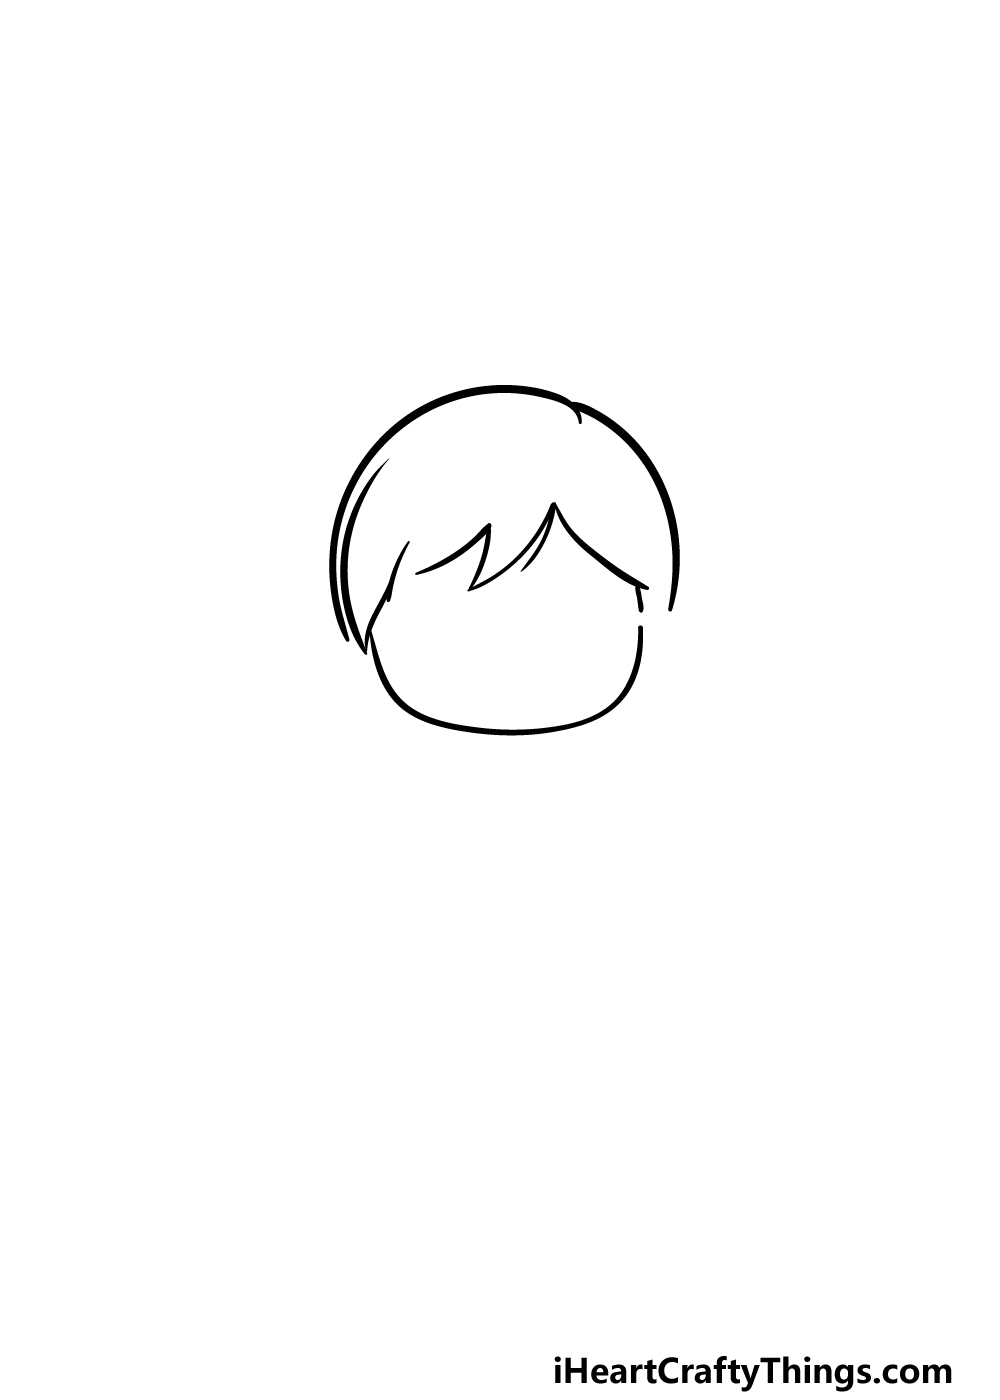
To get this guide on how to draw a doll started, we will begin with the head and hair of the doll.
The doll that we will be drawing in this guide will be a bit stylized, as it will have a large head with a small and thin body. To begin drawing this head, first you can draw a curved, rounded horizontal line.
This line will serve as the bottom of the face for your doll. Once that line is drawn, we shall next use some sharper lines to show the fringe poking over the face.
Finally for this step, we will use some more curved lines above the head to show the top of her hair.
Step 2 – Next, start drawing the face
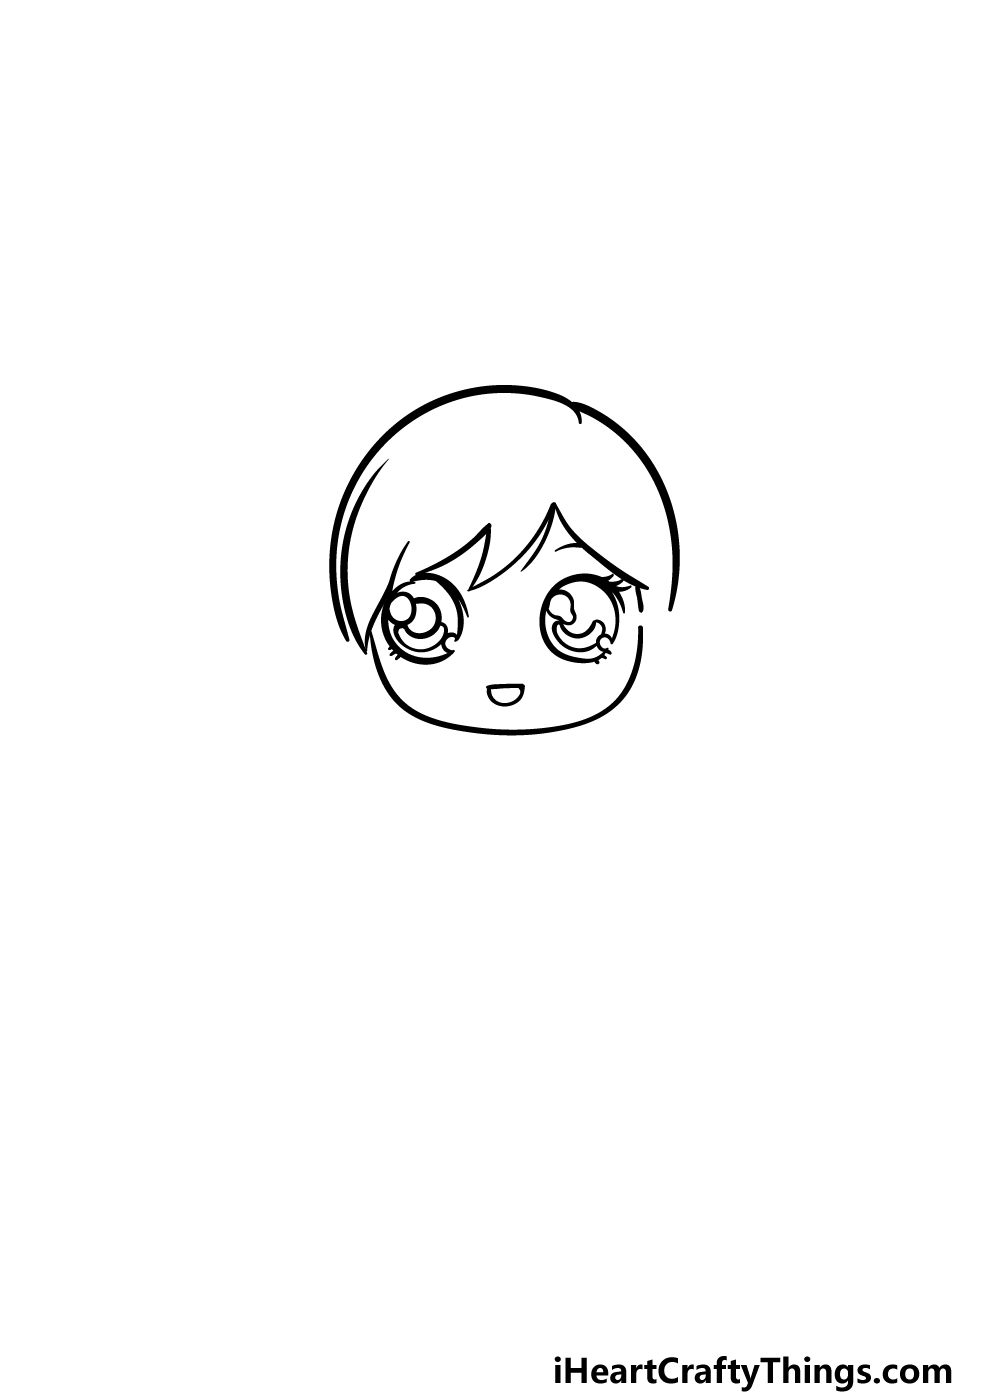
As we mentioned previously, this doll drawing will have a stylized look to it. This will be true for her face as well.
Her eyes will be relatively large, and you can draw their outlines by adding two fairly large circles to her face. The eyes will be fairly far apart and quite near to the sides of the face.
Then, we shall draw a reflective effect onto the eyes. You can do this by drawing a thin, crescent shape at the bottom of each eye.
There will also be a small circular shape at the base of each of these crescent shapes. The eye on the left will also have some more circular shapes above the crescent to finish off this effect.
Before you move on, you can also add some small lines to the base of the eyes for some eyelashes, and then draw a small smiling mouth.
Step 3 – Draw her hairstyle in this next step

Dolls will often have a pretty hairstyle that you can change and brush. We will be adding a cute hairstyle for this one in this next step of our guide on how to draw a doll!
You can start this hairstyle by using some simple rounded shapes to create a bow on each side of the top of her hair.
You can then finish off by drawing some more wavy lines dropping down from these bows to show her hair dropping down behind her head.
Step 4 – Now, draw the start of her outfit
In the same way that dolls usually have a pretty hairstyle, they also usually have a cute outfit as well. We shall be adding the start of that outfit to your doll drawing in this next part.
The outfit that we have designed for this picture is composed of a hoodie with a small accessory in her front pocket.
You can draw the flat hood of the hoody using some thin shapes at the base of her neck. Then, you can draw her one arm which is lifted up a bit and the other that is flat at her side.
Finally, we can draw the bottom of the hoodie, the start of her legs and the small accessory. Then you will be ready for the final details in the next step.
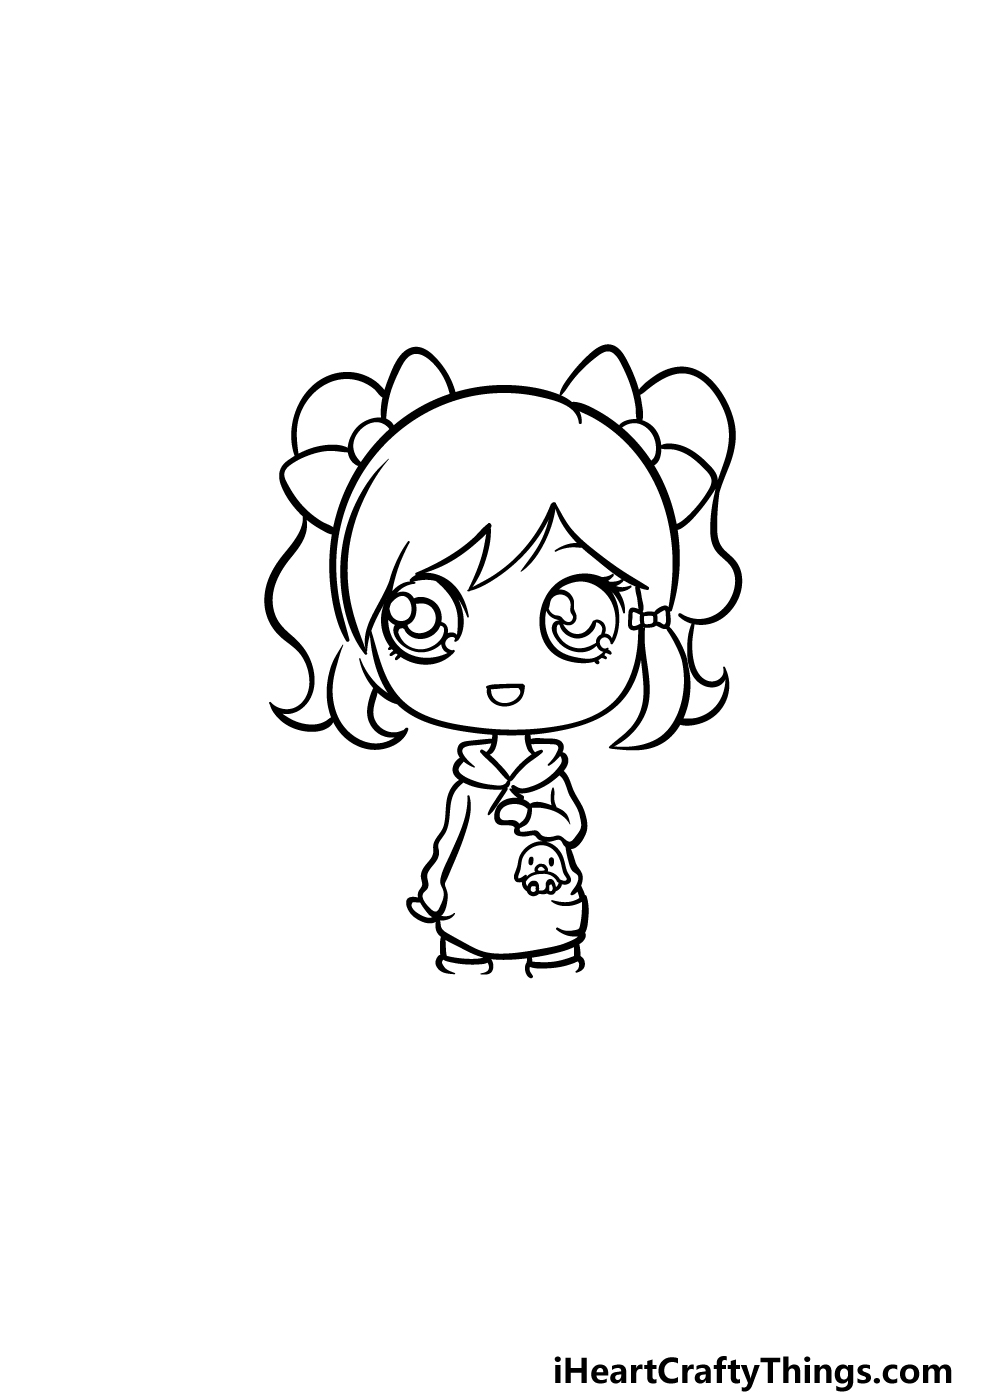
Step 5 – Add some final details to your doll drawing
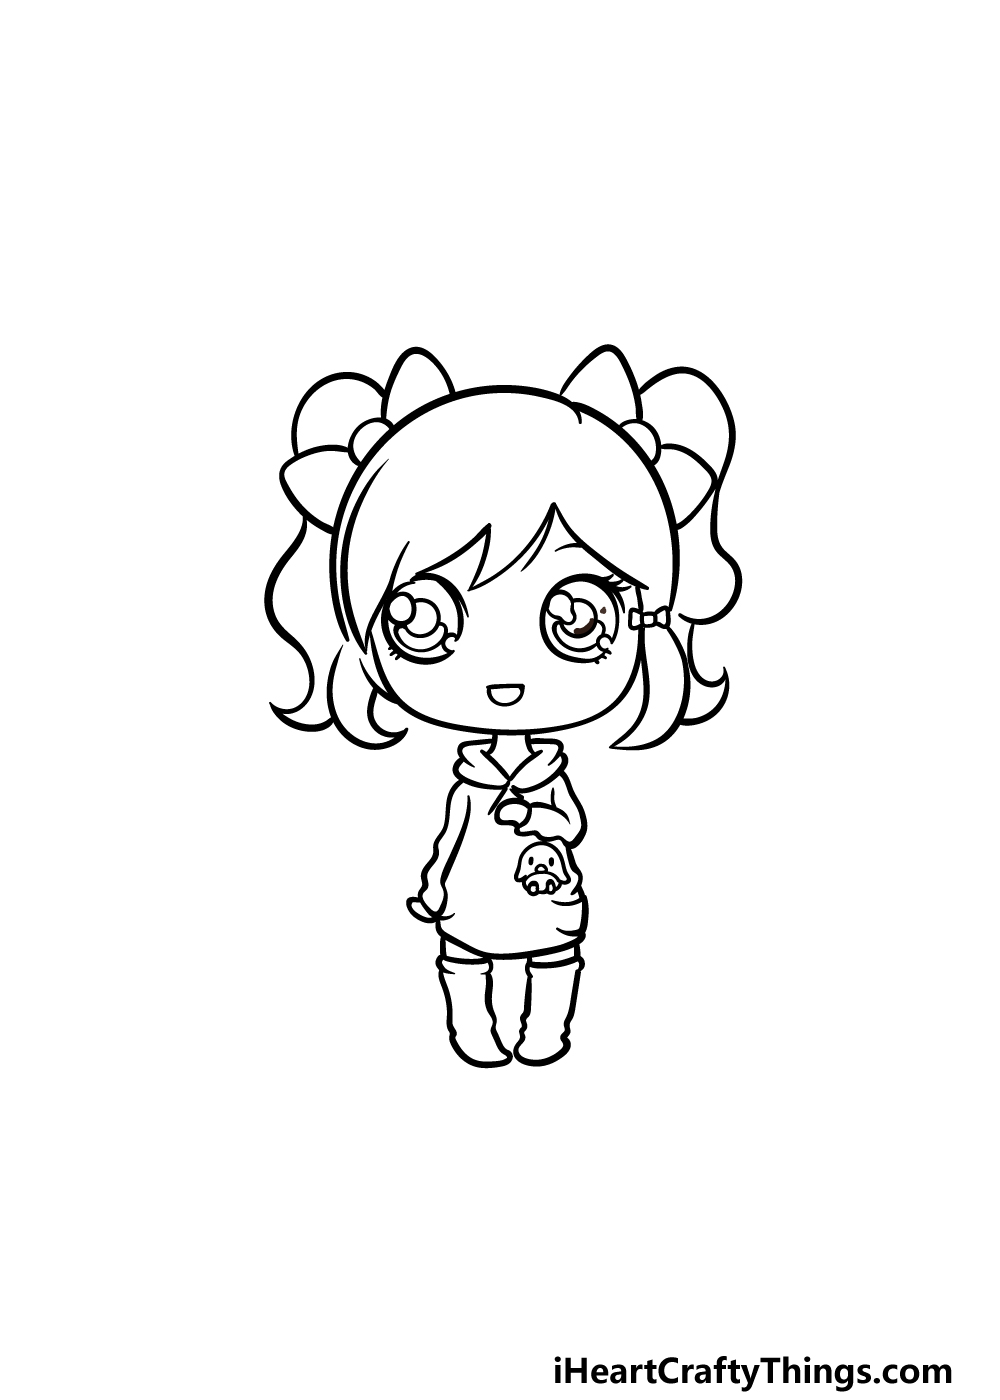
Now it’s time to finish off the final details and elements of the picture in this step of our guide on how to draw a doll.
The main thing to draw in this step are the boots that she is wearing, and you can draw these as some fairly simple thin shapes. You can then finish off by drawing some more detail into the eye on the right.
Before moving on, you could also change up the drawing with your own details and elements. You could do this by changing up the design to create a new doll, or you could draw a background set for her.
There are also tons of accessories and doll friends you could add for her, so be sure to have fun with it as you finish off!
Step 6 – Finish off your doll drawing with some color
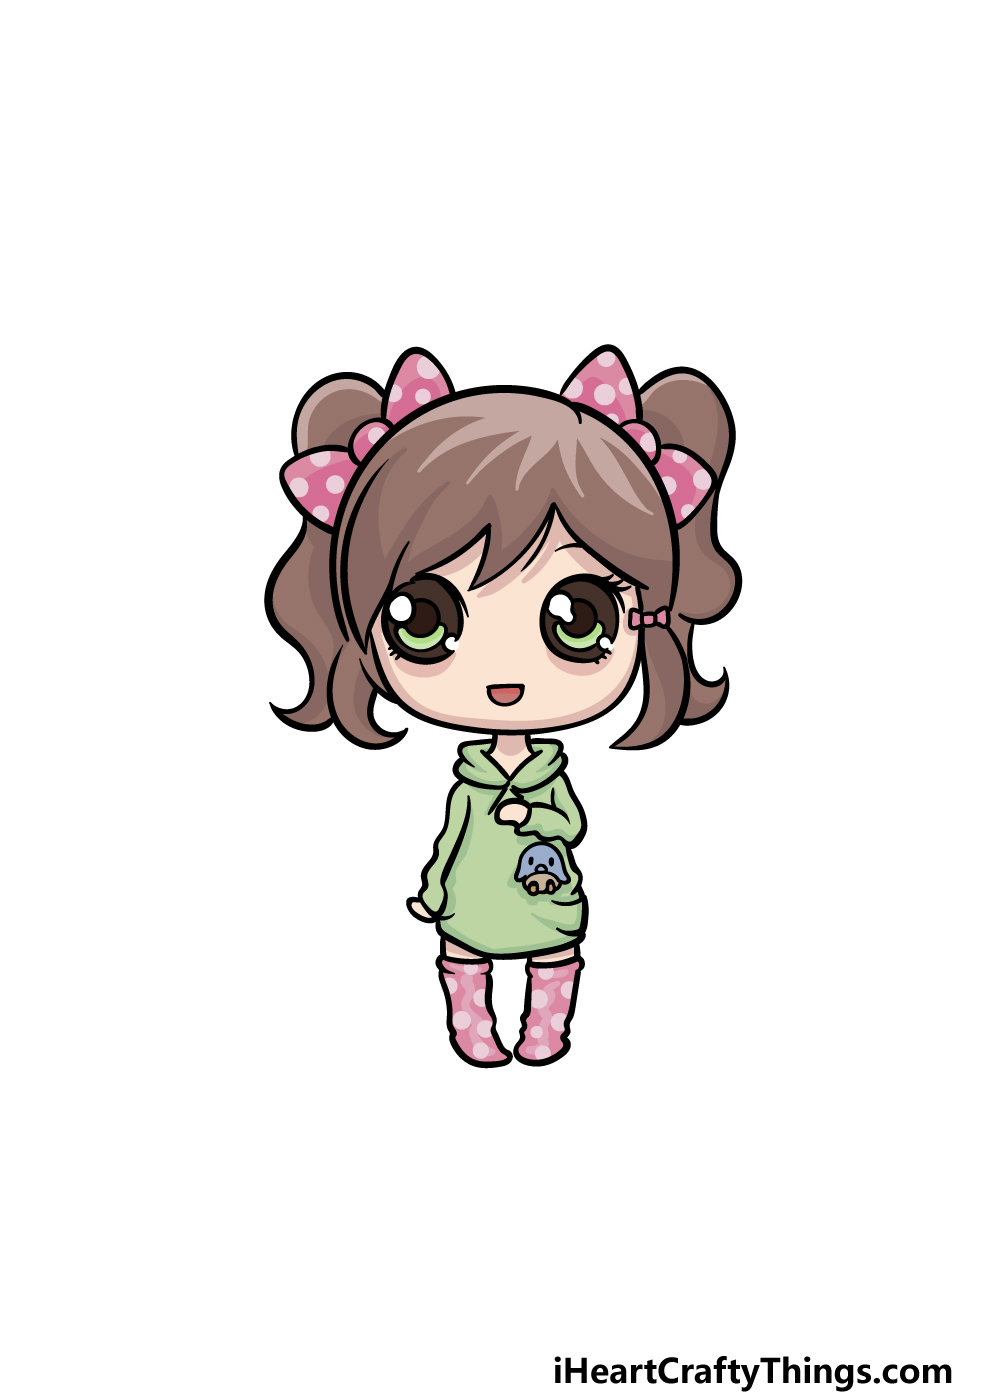
For the final part of your doll drawing, we shall finish her off with some great colors. In our reference picture, we used some browns for her hair and then went with pink with white spots for the bows.
We used a similar pink with white dots pattern on her boots as well.
Finally, we used greens for her outfit and a few more colors for the smaller details. These are the colors that we went for, but what colors and art mediums will you use to color in your own?
Do this to take your doll drawing to the next level
Dress up this doll sketch with some fun tips to make it even better than it already is!
What could be better than having a great doll? Having a collection of them would be the answer to that question!
For that reason, we think it would be great to add some more dolls to this drawing of a doll.
You could follow through the guide again to make the basic doll design and then change a few elements to make each one unique.
If you’re not sure how to make each one unique, read on as we share a few ideas you could use whether you add more dolls or not!
One simple way that you could make your doll look unique would be by changing the facial features or expressions. There are many ways to do this, but the changes could be simple.
For instance, the smile on the doll’s face could be wider or more subtle. Or, you may want to portray a different emotion entirely. What sorts of facial designs and emotions would you like to portray?
Next, you could give your doll drawing a whole new look by changing the clothing that it is wearing. Creating different styles is fun with real dolls and the same is true of this image, too!
You could replicate any style of fashion you like, and this is a great way to let your inner fashion designer out.
What kinds of styles would you like to use for this doll and any doll friends you may add?
Finally, every doll needs a place to live and hang out, so you could add a background for this doll sketch. One idea would be to create a dollhouse setting for the doll to be in.
If that doesn’t appeal to you, then you could create a real setting adjusted to be ideal for a doll. For a few ideas, you could draw a party setting or maybe a shopping mall.
Let your imagination run wild as you think of other locations!
Your Doll Drawing is Complete!
You have reached the end of this guide on how to draw a doll, and we hope that you had a great time designing and finishing off this cute doll!
In this guide, we aimed to not only make sure that the drawing would be fun and easy for you to do but that it would also give you room to add your own touches.
These touches could include anything from a background to some accessories, and there is no limit to the creative ways you could add some personal flair to this image!
There are many more drawing guides for you to enjoy on our website, so we hope to see you there soon! We also have many more guides we will upload soon, so stay tuned for those.
You can also share your finished doll drawing on our Facebook and Pinterest pages, and this is a great way to let us have a look at your artwork.