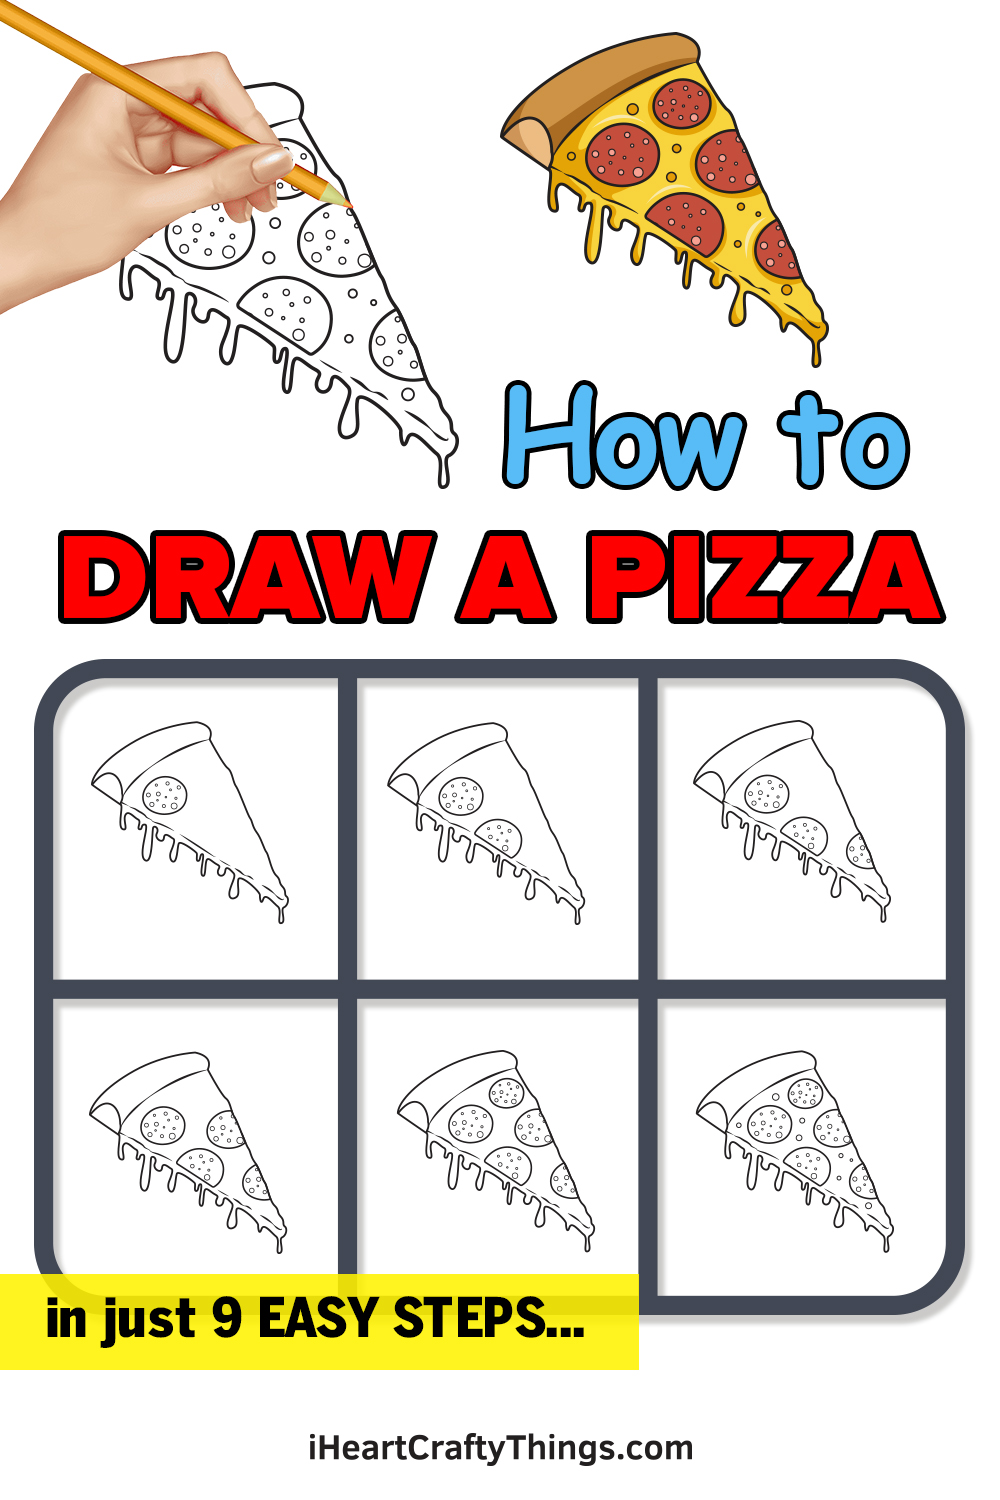
It’s easy to learn how to draw a pizza when you follow this guide for kids! You can easily bake up a delicious pizza slice when you follow the steps.
Finding someone who doesn’t like pizza at all would be a difficult task! They come in so many different forms that there is a pizza for every taste and preference.
Designing your own perfect pizza is a real challenge, and that’s true if you’re drawing one, too! In this guide, I will show you how to draw a tasty slice of pizza.
Little details like pepperoni and dripping cheese are included, but feel free to adapt these details to create your favorite type of pizza. You could even draw the rest of the pizza by using what you learn in the guide.
Get ready to begin the mouthwatering process of replicating a delectable pizza!
Watch And See How To Make A Tasty Pizza Drawing!
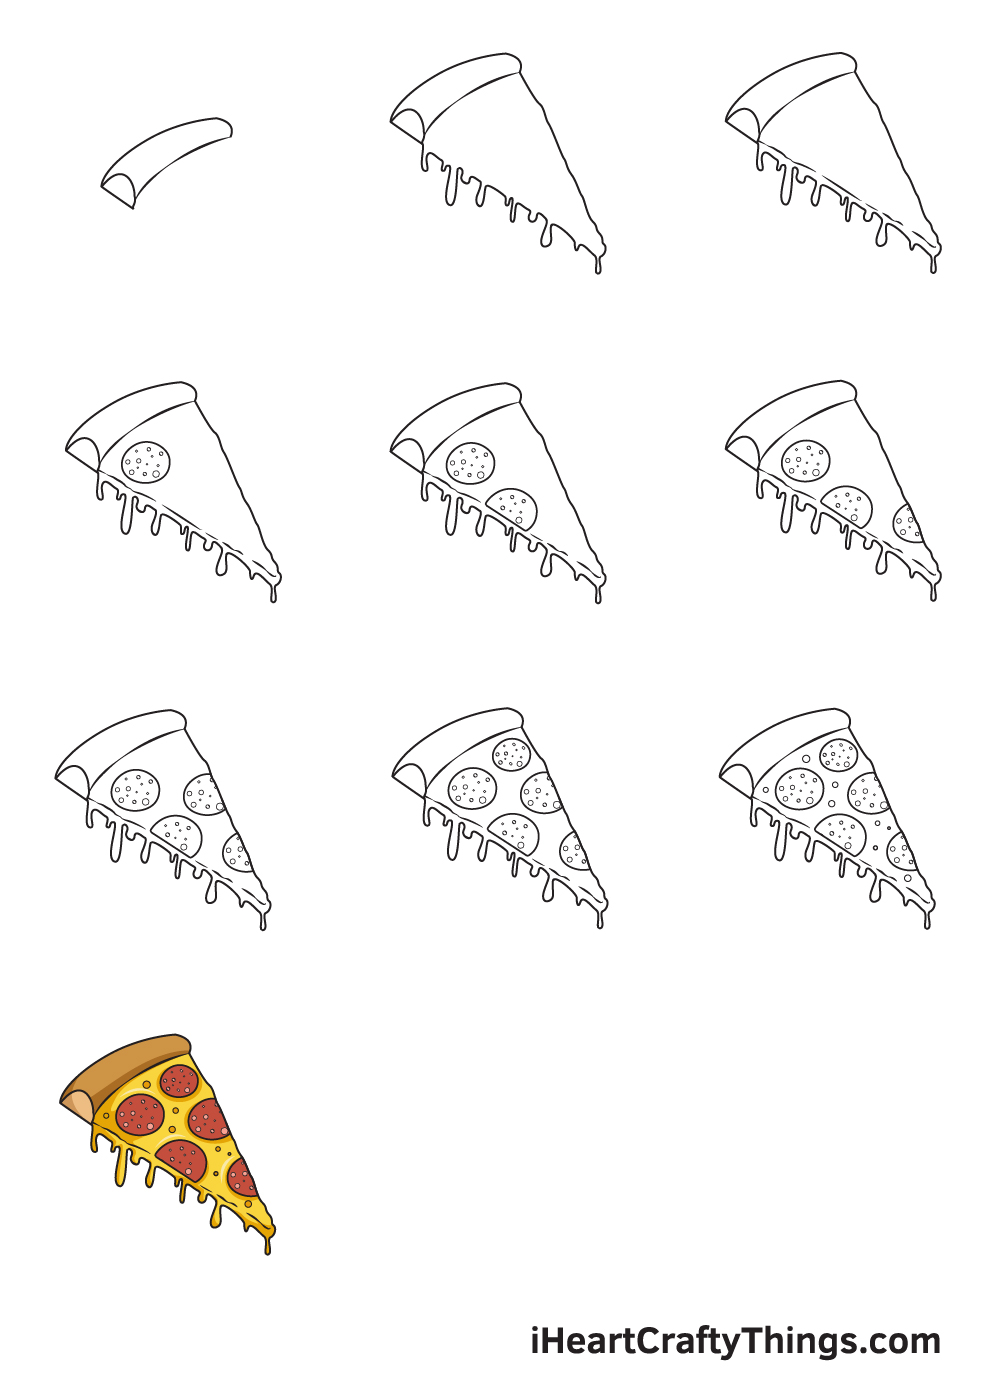
How to Draw a Pizza – Let’s get started!
Step 1
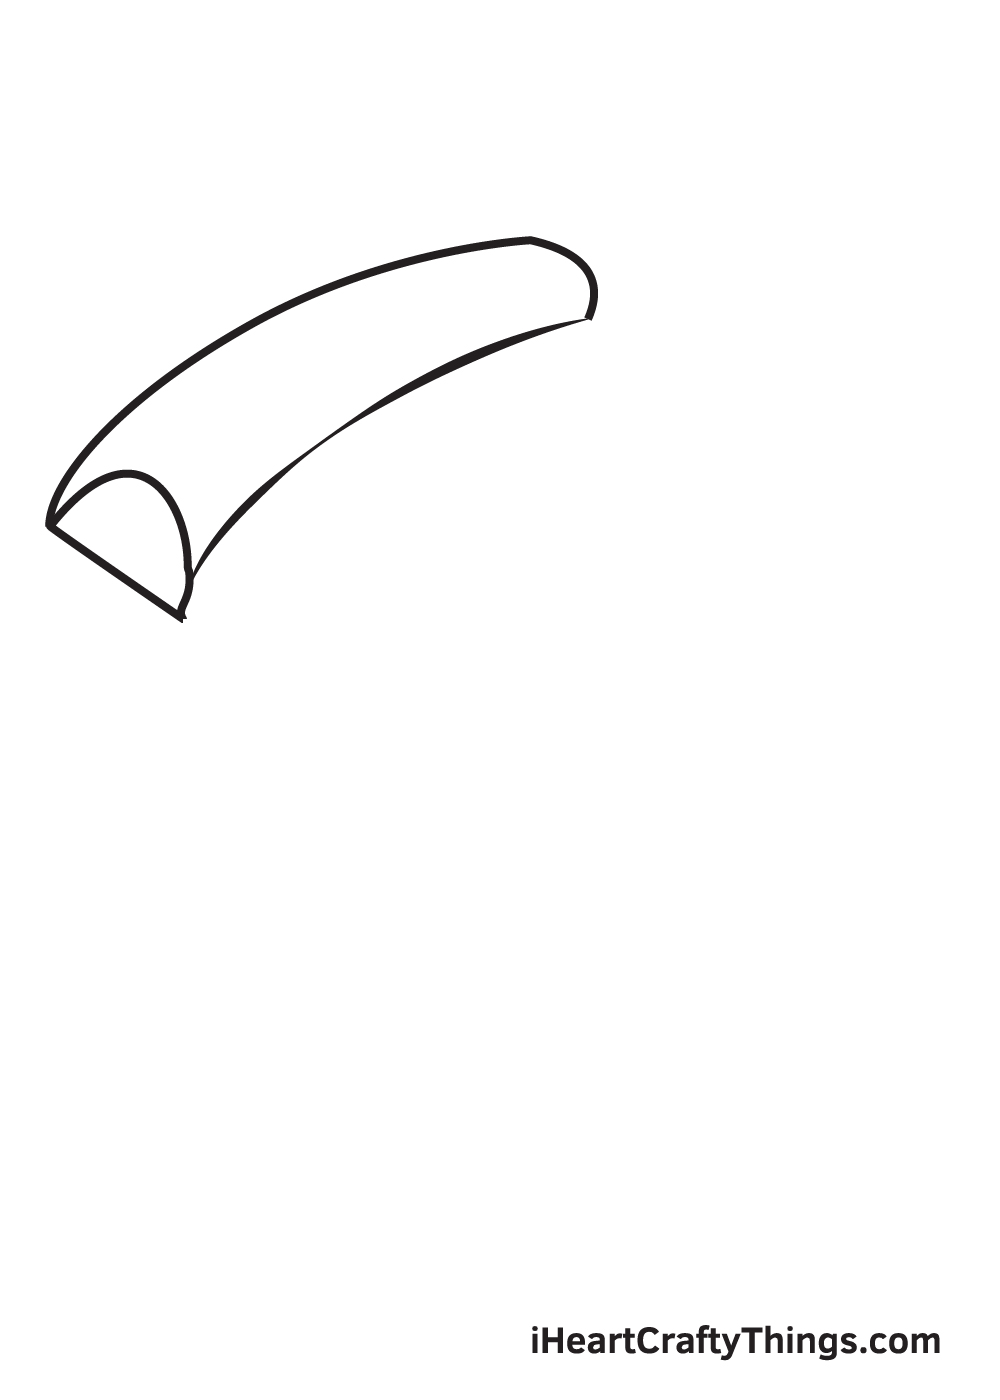
Starting on the upper left portion of your paper, draw two parallel curved lines forming the pizza crust.
Then, draw another two curved lines on both ends of the crust. Don’t forget to add a diagonal line at the bottom of the curved line to create a three-dimensional effect.
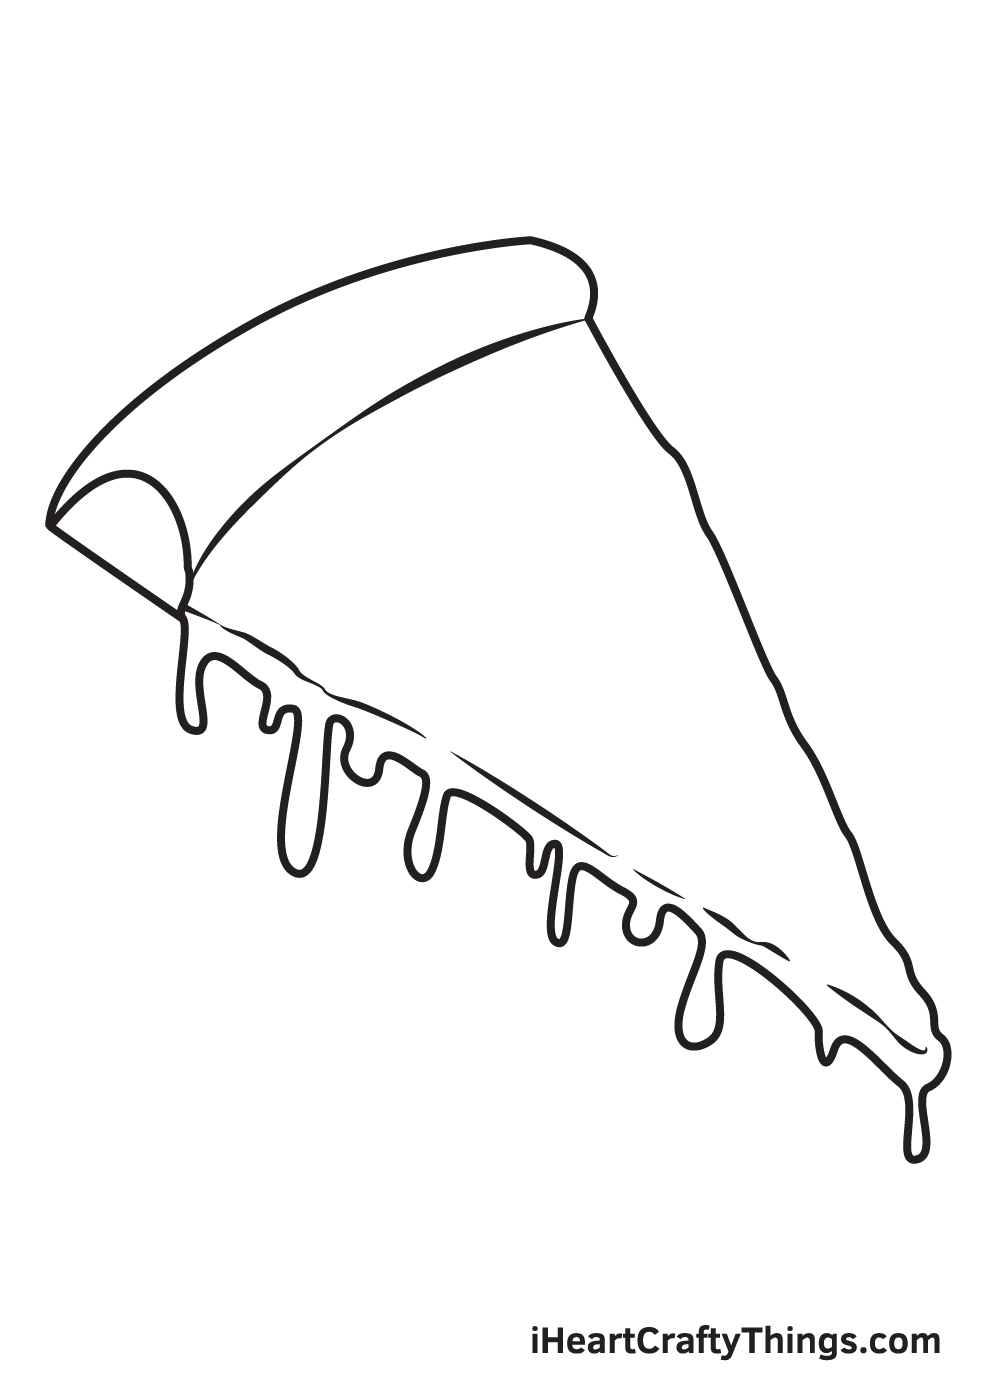
Step 2 – Create an Outline of the Pizza
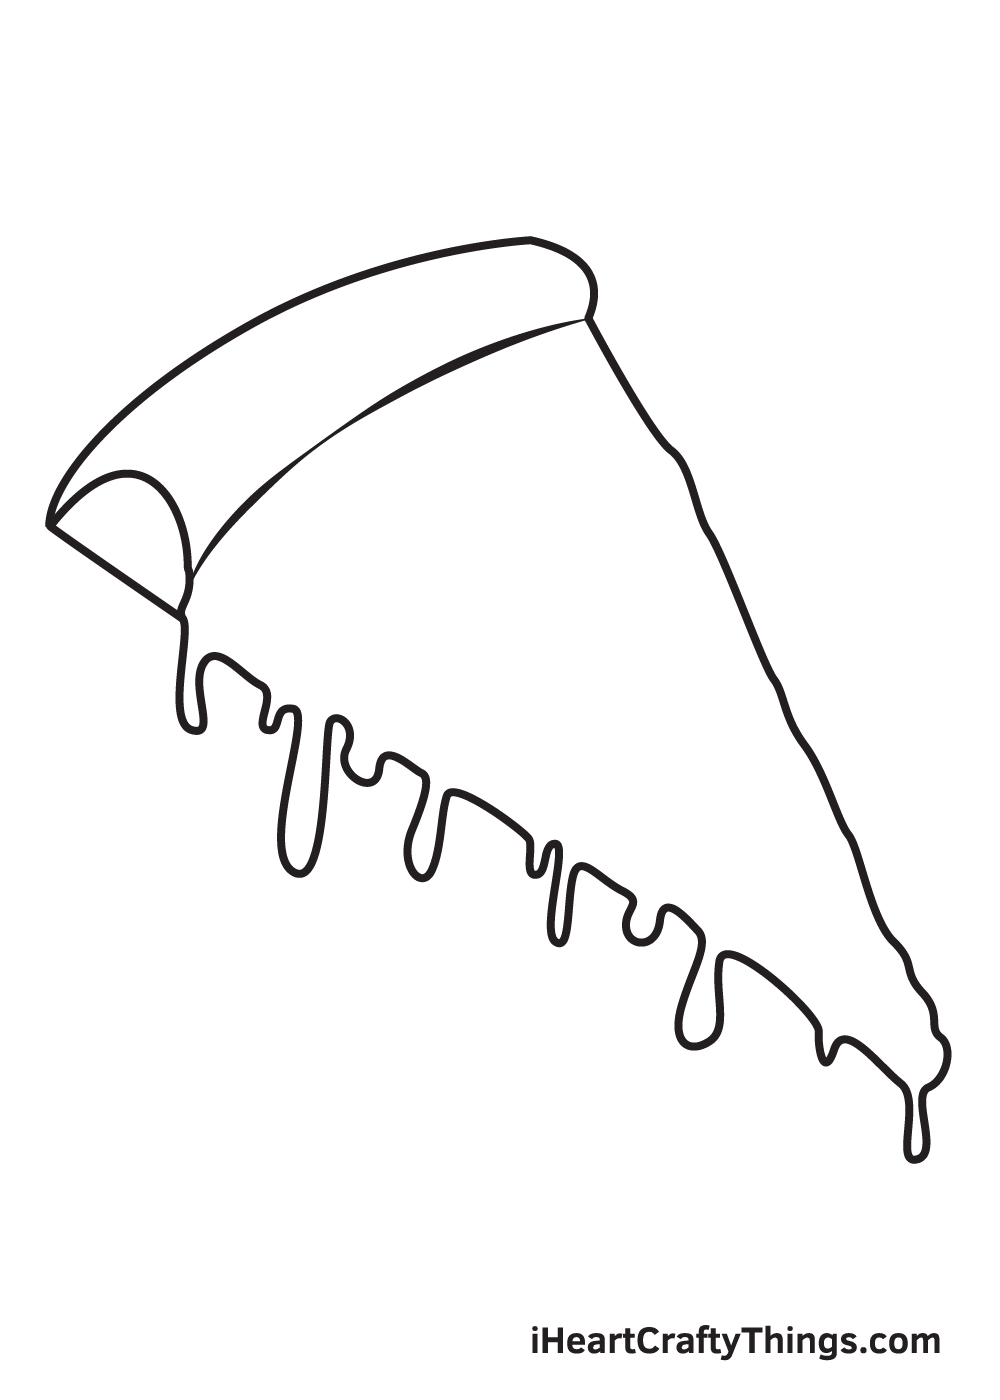
To complete the shape of the pizza, draw a sideways triangle shape connected to the crust. The top side of the triangle shape should be a slightly bumpy diagonal line while its bottom part should have a drip effect.
Drawing a drip effect is simple and easy! Simply draw multiple side-by-side droplets dripping from the same surface level.
Make sure to draw the dripping droplets in various sizes, as shown in the illustration above, to achieve the perfect drip effect!
Bonus: Use Craft Paper And Other Supplies To Make This Pizza Even Tastier!
We will soon cover some ways that you can color in this drawing of pizza, but we wanted to go over another way you may not have thought of. This involves using some craft paper, and you can get really creative with it.
The reason we wanted to cover this here is that using craft paper will cover some of the details or colors you would want to add. In the next few steps, we will show you some ways you can draw some details.
Before that, we wanted to show you an alternate way that you could go about it. To do this, you will need some craft paper, scissors and glue to stick it down.
When choosing the colors of your craft paper, try to think of the ingredients you would like on the pizza. If you would like it to be mainly cheesy, then you can stick to yellow and orange shades.
If you want pepperoni or other meats, then you could stick with red or brown paper. These are just a few options!
Then, using the outline as a reference, carefully cut out the paper to make the pizza. Try to keep in mind the layers they will go in.
So, the first one should be the cheese and crust, and then you can add the smaller details and ingredients. It can result in a more dynamic image, and it would be cool to contrast this version to a more traditionally drawn one.
Craft paper can come in any colors you could want, so you could make your ideal pizza and even draw a few final touches once it’s done! What kind of pizza could you make with craft paper?
If you would like to see how else you can draw this pizza, then keep reading!
Step 3 – Next, Add Details on the Pizza Slice
Draw detached lines right above the drip effect to magnify the outline of the pizza. Avoid pressing down too hard with your pencil when drawing these lines to keep them light and not harsh.
Don’t worry if the lines are not straight or if they look slightly bumpy. As a matter of fact, uneven light strokes are preferred to make your pizza look realistic.
Step 4 – Now, Add the Pepperoni on Top
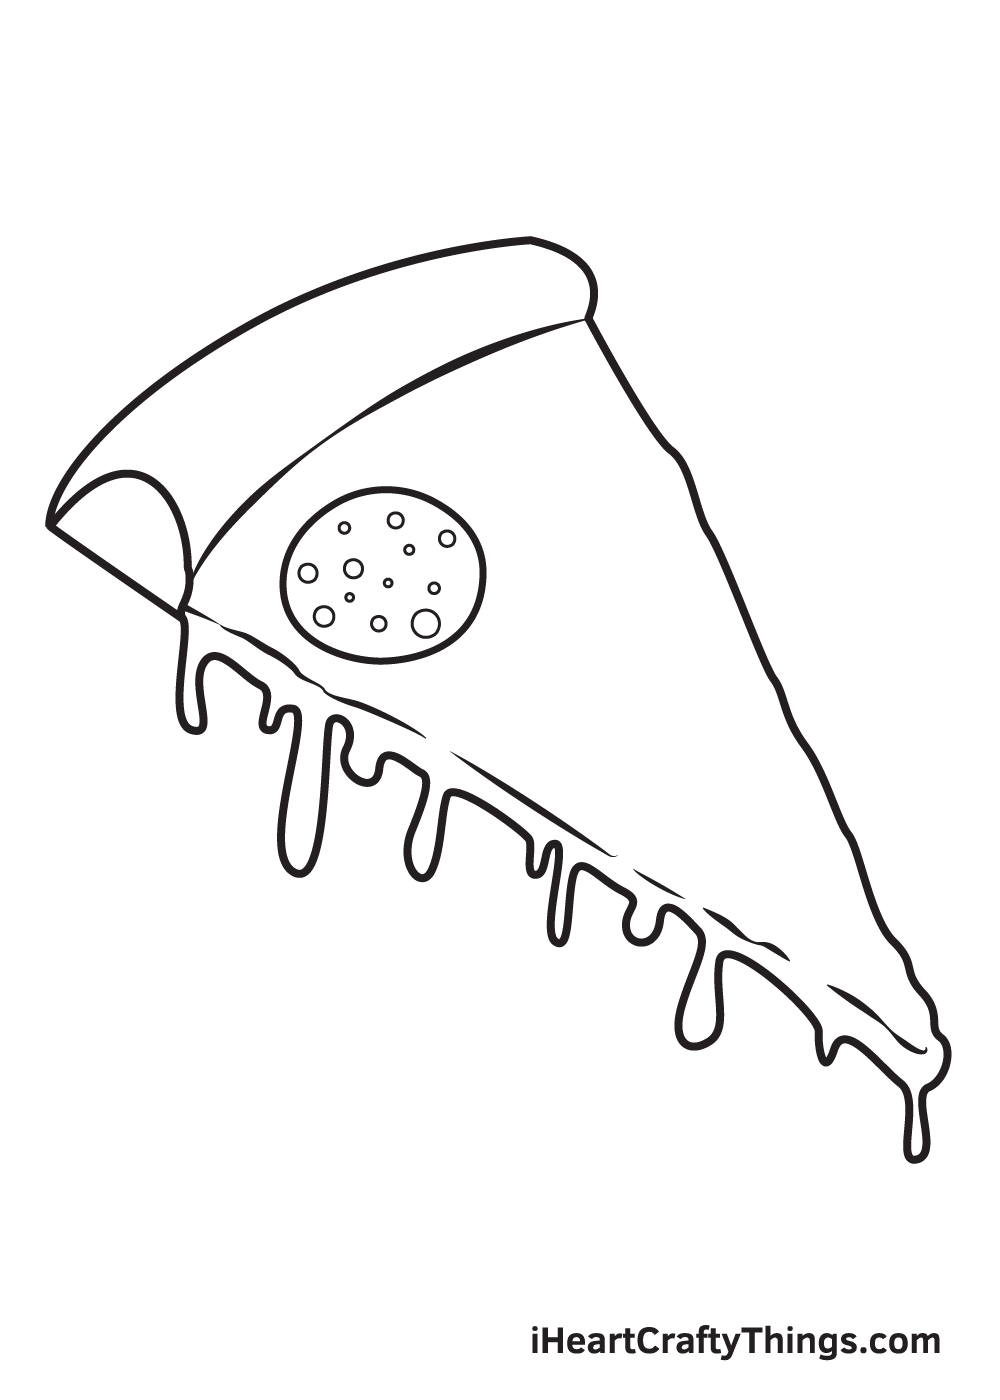
A slice of pizza wouldn’t be complete without pepperoni toppings on top, so that’s what we will be drawing on this step.
Draw a circle shape laid flat on the surface at the top of the pizza, forming the shape of a single pepperoni. Then, draw smaller circles inside to create a realistic-looking pepperoni!
Step 5 – Draw the Second Pepperoni Toppings
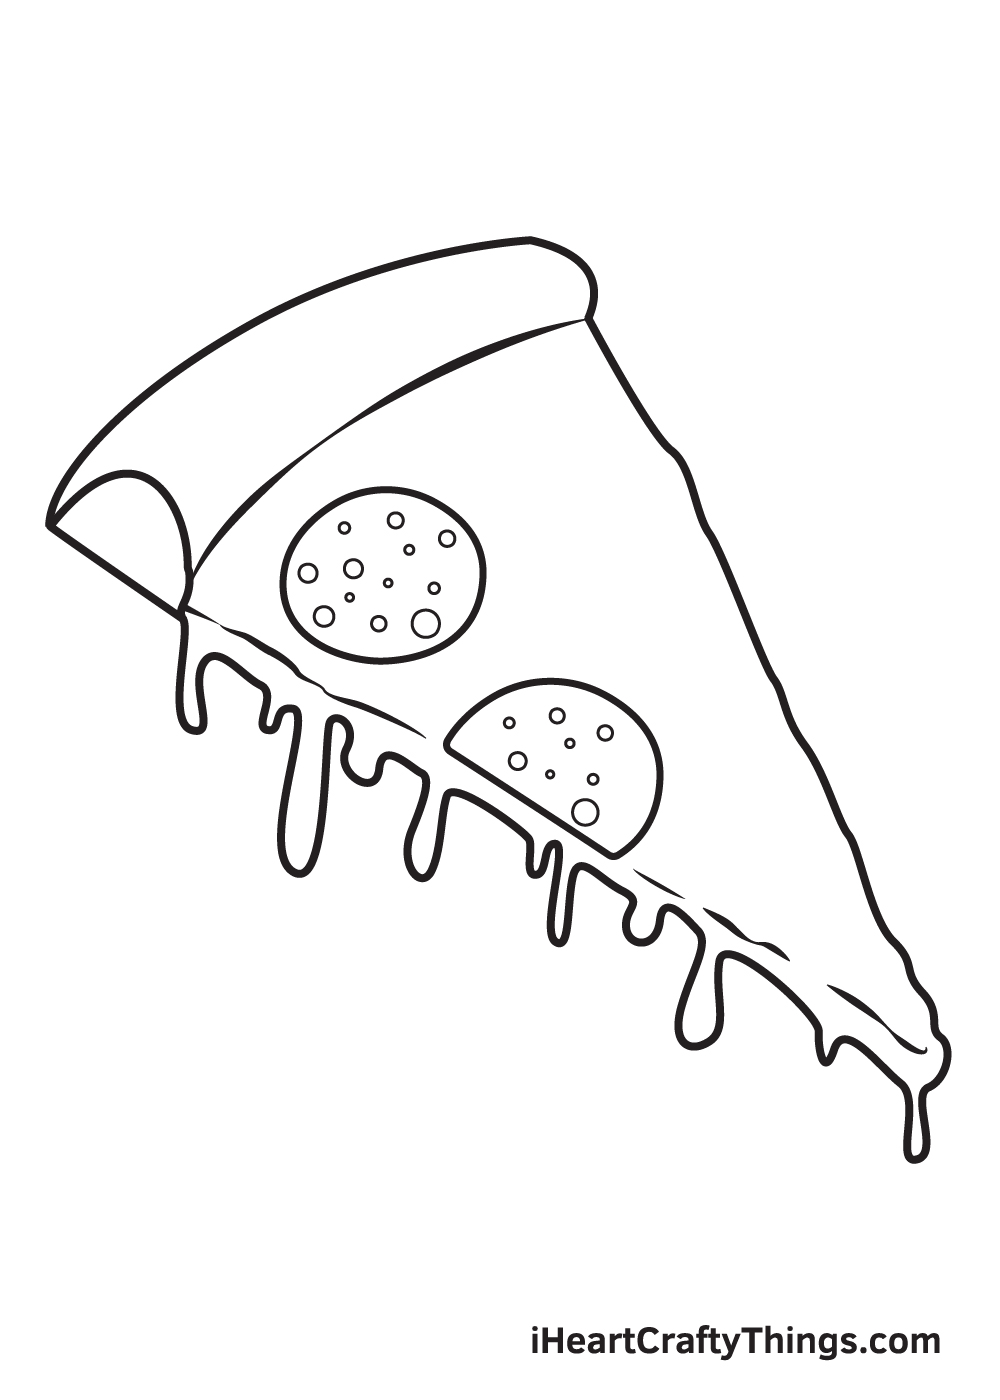
Let’s add more pepperonis on your pizza to make it more appetizing!
Draw a semicircle shape on the edge of the pizza slice.
Afterwards, draw tiny circles within the pepperoni, as shown in the illustration.
Step 6 – Afterwards, Add the Third Pepperoni
Two pepperonis on one slice of pizza is most definitely not enough, so let’s go ahead and add our third pepperoni.
Remember, if you are adding the pepperoni within enough space, then draw a full circle. On the other hand, if you’re adding one near the edge, then it should be a semicircle.
Also, make sure that there are gaps in between the pepperonis to make your toppings look evenly distributed.
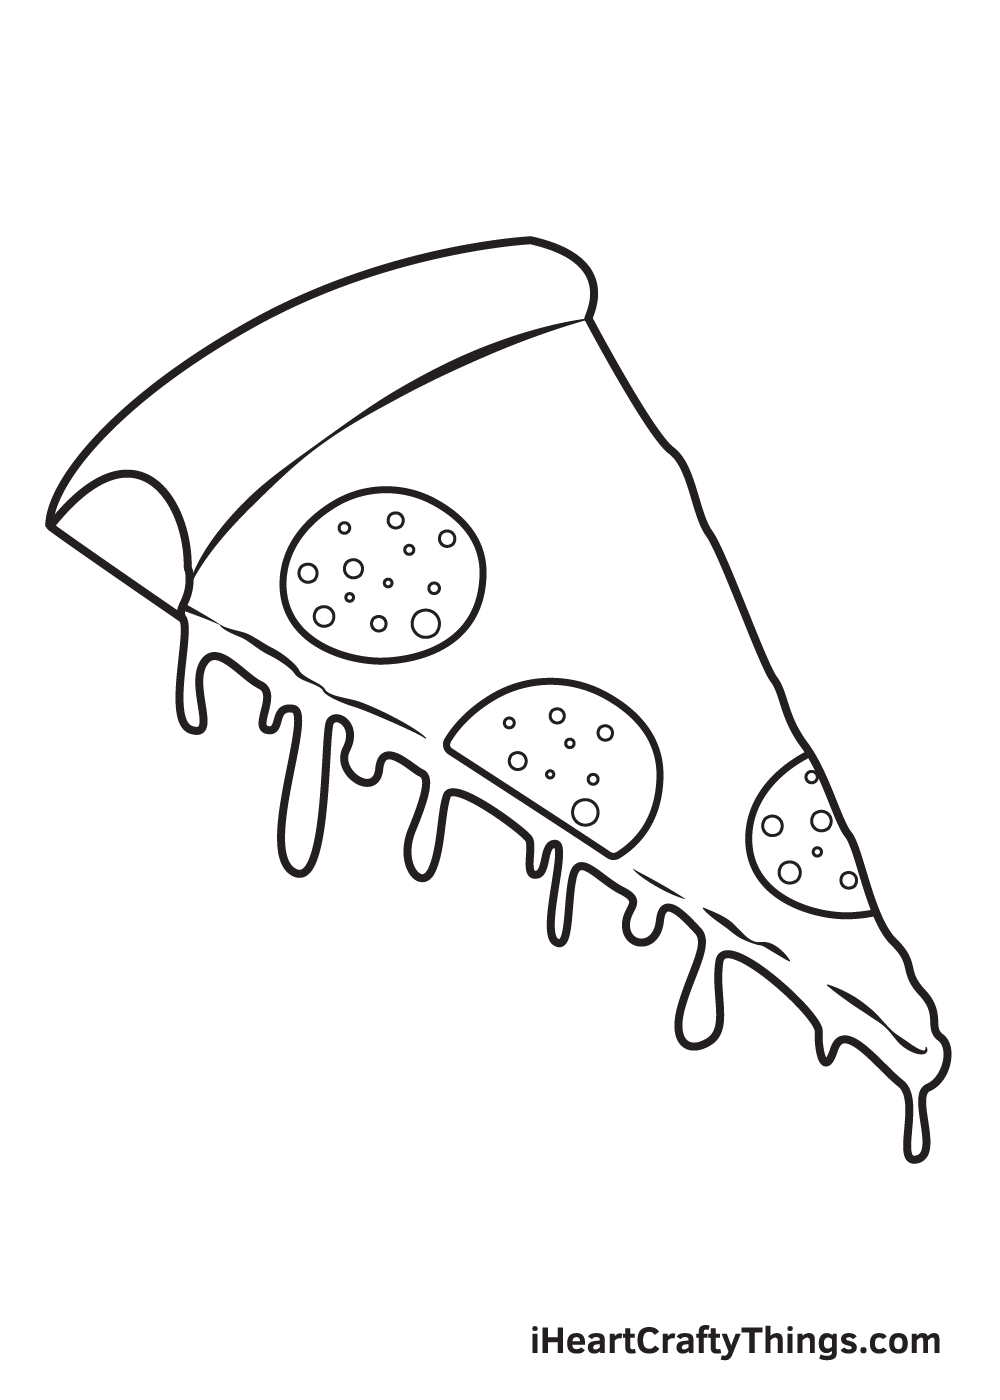
Step 7 – Then, Add the Fourth Pepperoni on Top
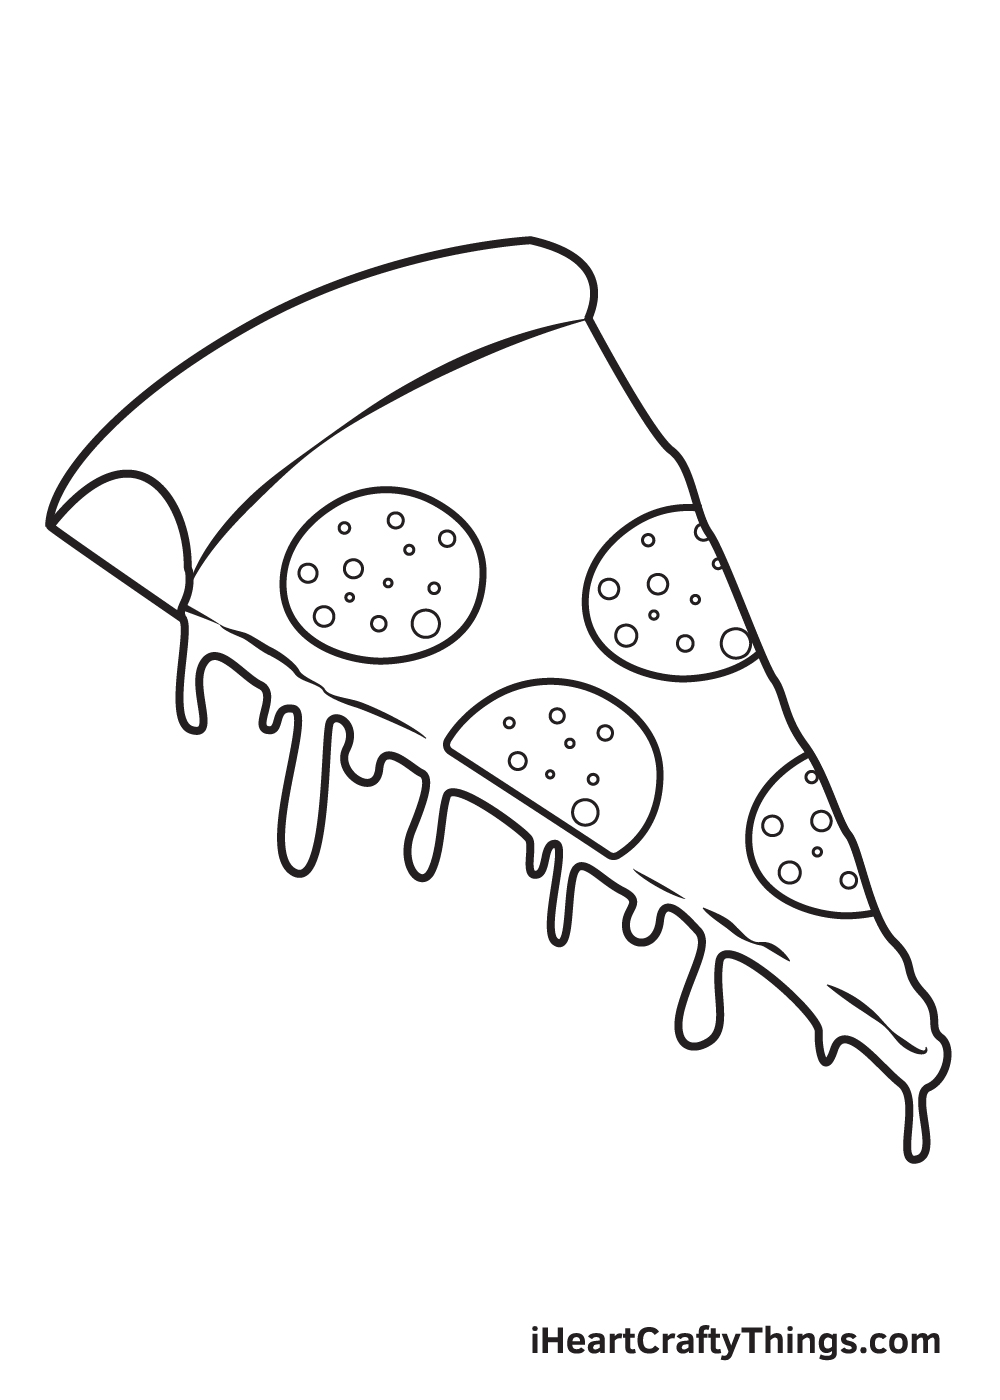
Keep repeating the previous step until you’re satisfied with the amount of toppings that’s on your pizza.
Don’t forget to add toppings over the edge of the pizza too!
Step 8 – Add as Much Topping as You Want
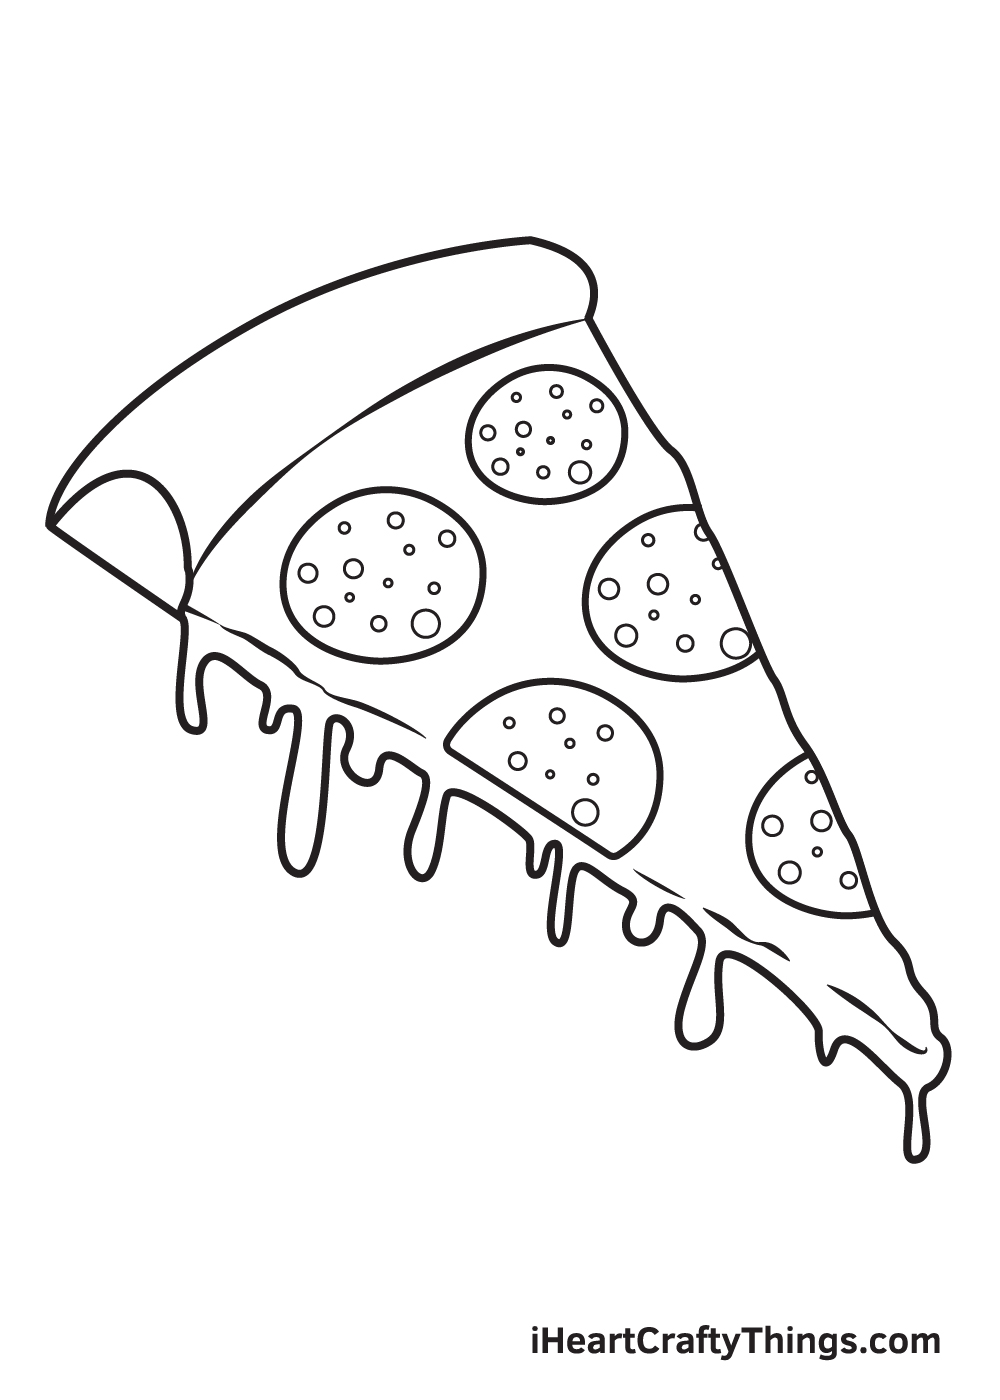
As you can see in the illustration, we kept our pizza plain and simple. We only have a bunch of pepperonis and melted cheese on top of our pizza.
Feel free to customize the toppings and add whatever toppings you like on your pizza! If you like some onions, bell peppers, or perhaps some more meat, go ahead!
Step 9 – Now, Add Details on the Melted Cheese
Cheese typically has bubbles, so make sure you add some to the melted cheese on top of your pizza!
Simply draw tiny circle shapes in various sizes all over the surface of your cheese.
Make sure to create a lot of bubbles to add texture, not too many.
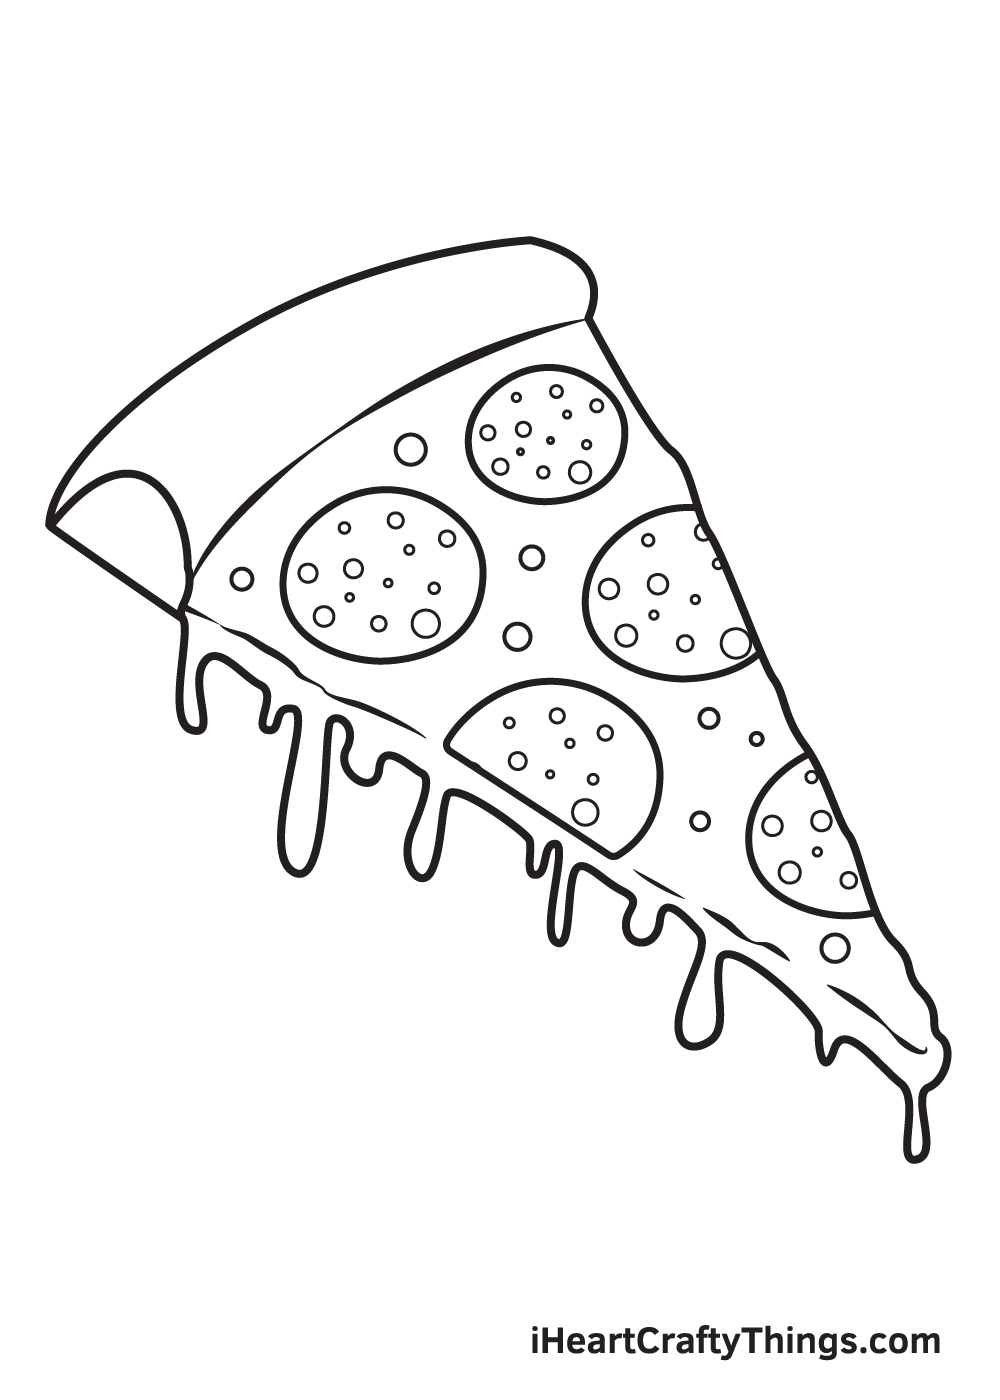
Now that we have successfully drawn a mouthwatering slice of pizza, it’s time for the most exciting part, which is handpicking the colors and coloring your drawing!
The pizza’s crust is typically cream or brown in color, depending on how well-cooked you prefer your pizza to be.
The cheese, on the other hand, is usually vibrant yellow while the pepperonis are pale red with pinkish details.
You can opt to color you drawing similar to how we’ve done ours or use a unique set of colors.
We recommend doing the latter so you can fully personalize your drawing and make the most out of your experience. We’re excited to see which colors you will be using!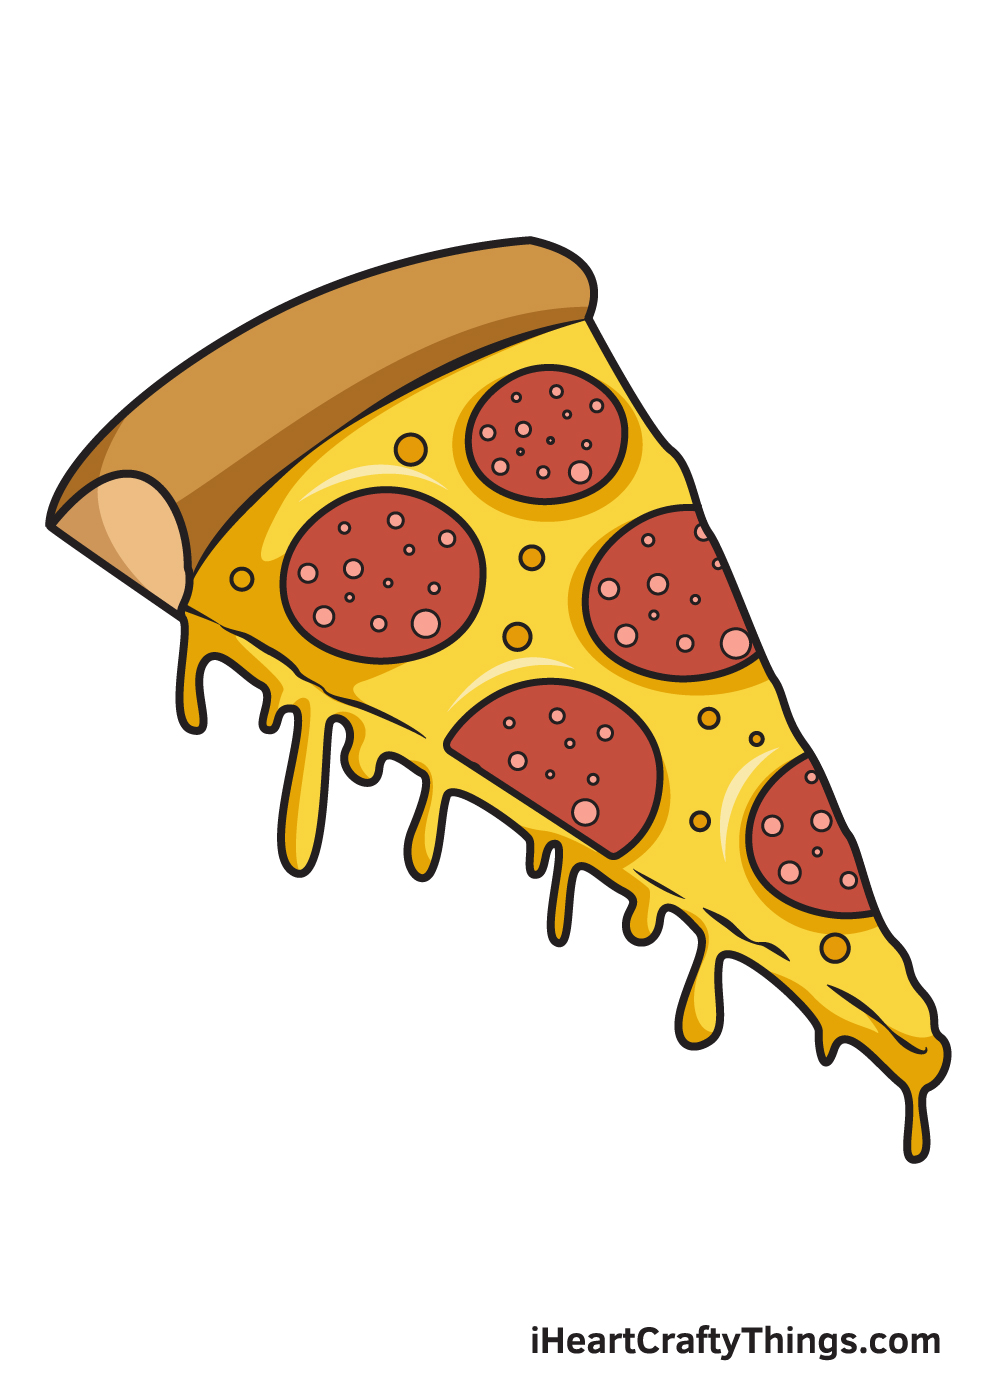
Do this to take your pizza drawing to the next level
Create a delicious masterpiece with these fun tips for your pizza drawing!
When it comes to pizza, there are so many variations that you can choose from for toppings and styles. You could make this pizza sketch even better by creating your own favorite type of pizza!
Whether you like pineapple, anchovies or mushrooms on your pizza, you can easily add them to this slice. Plus, adding these toppings will give you some more details to color in.
What are some kinds of pizza you would like to recreate for this delicious slice that we have drawn here?
Another truth about pizza is that it’s hard to stick to just one slice when you’re eating it. For that reason, it would be a good idea to add some more of the pizza that this slice is from!
If you were to do this, you could draw the rest of the pizza with this slice being taken out from it. Or, you could make a complete pizza for this drawing and remove the drooping cheese beneath the slice.
This drawing of a pizza would also look really great if you were to add some more food beside it. If you have some favorite food and beverages that you like to enjoy with this meal, then you should definitely add it!
This could include chicken wings, soda or maybe fries for a few ideas. What are some foods and beverages you would like to add to this pizza meal?
When you color this pizza drawing, you can choose the mediums you want along with the colors. There are certain art tools you may be used to using, but you can also try out some unique ones!
You could use some paint that’s a bit runny and then use it to make it look like the cheese is melting off of the pizza. Or, maybe you could find some stickers that look like small pizza toppings and then stick them onto the pizza.
What other fun mediums and art tools can you think of?
Your Pizza Drawing is Complete!
Pizza is undoubtedly an all-time favorite food. If you’re one of the many people who loves pizza, then you will surely enjoy this step-by-step pizza drawing tutorial.
The most enjoyable part about this tutorial is that you can add your favorite toppings!
We are regularly uploading new content on our “How to Draw” catalog, so make sure you keep re-visiting our website to continuously enjoy brand-new drawing tutorials.
Also, let us know what you would like to learn how to draw next!
As soon as you finish drawing and coloring a pizza, take a picture of your artwork and share it on our Facebook page and Pinterest.
Don’t be embarrassed to show off your masterpiece. You’ve worked so hard for it, so we can tell for sure that it looks incredible!
We would love to see your delectable and colorful pizza drawing!
Here Is A Pizza Sketch To Inspire You!
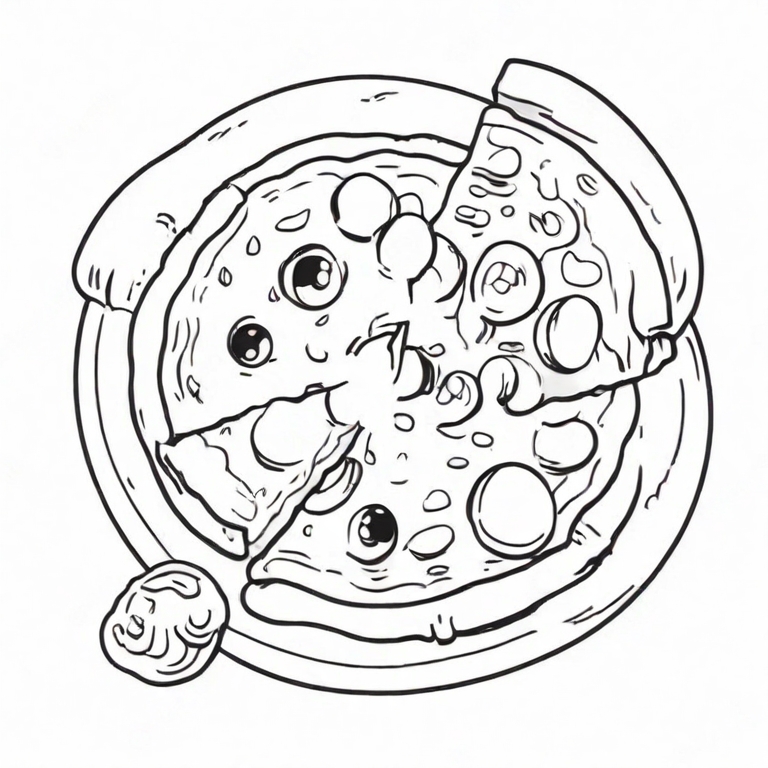
The best thing about pizza is that there is a pizza for every taste, so it’s hard not to love it. While buying a pizza is great, it’s even better to make your own pizza.
Creating your own pizza is the best way to make one that is perfect for you. This pizza sketch for kids was made by our artist Amanda to help you to create your own pizza.
Amanda has made this pizza indistinct enough that you could easily change the details to make it your own perfect pizza creation. You could start by thinking of your favorite pizza in real life.
Then, you could add some of the toppings that you love on this pizza drawing. It would be fun to make your very own perfect pizza creation, so let your imagination run wild!
What would you add?