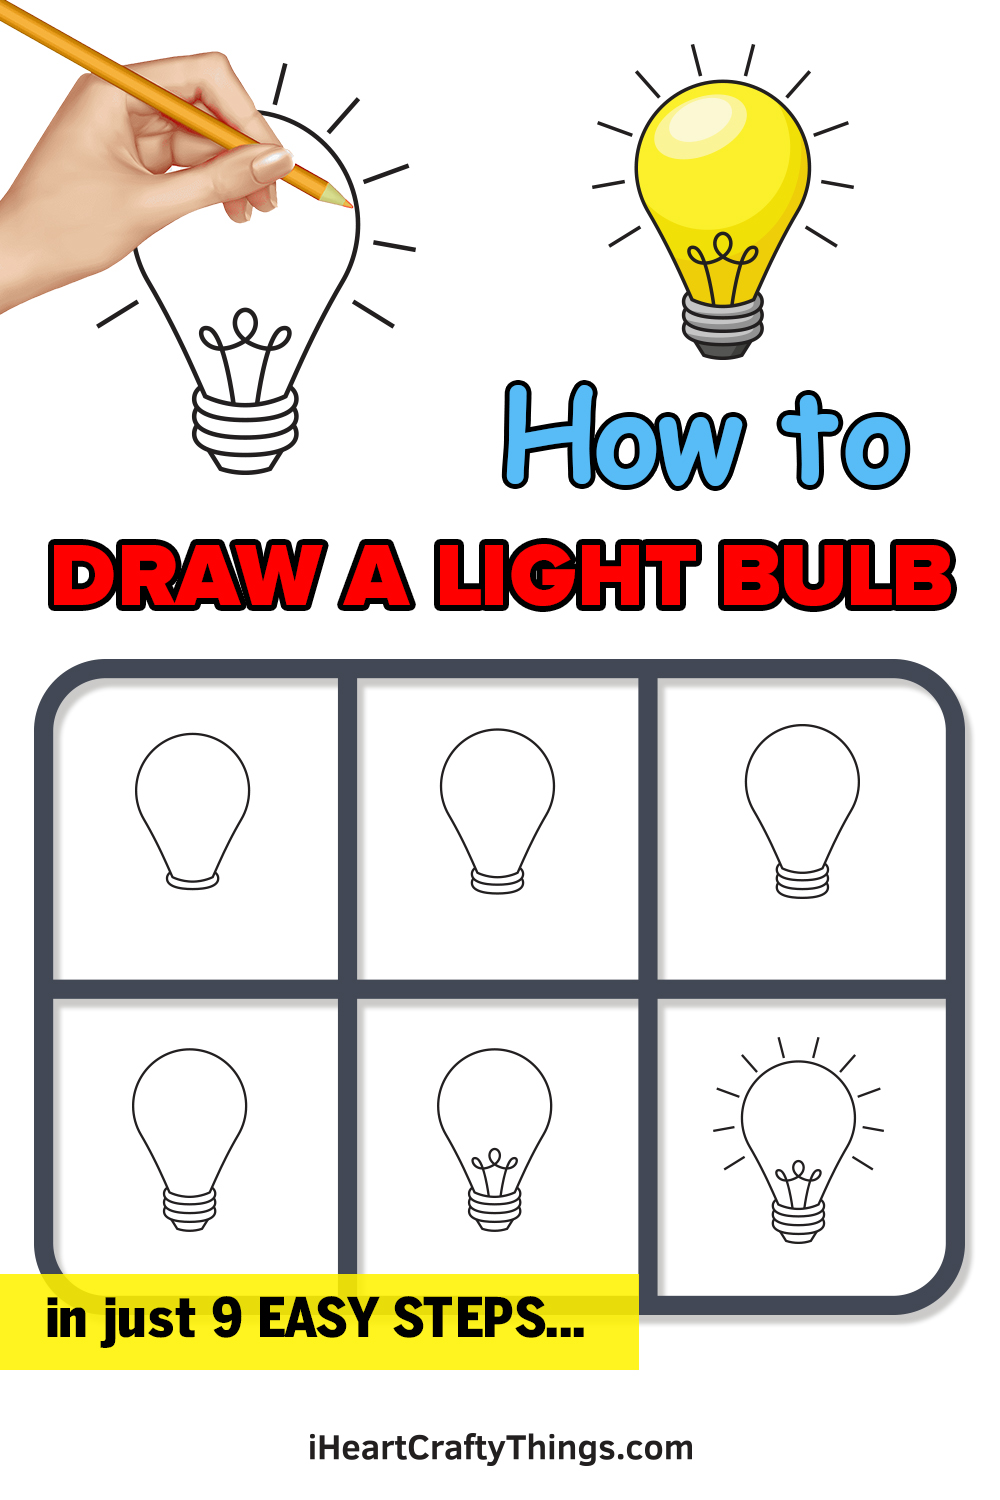
If you want to know how to draw a light bulb, then you’ve found the guide for you! This tutorial for kids will show you how to brighten your day with a cartoon light bulb design.
We all use light bulbs every day, even if it’s an invention we take for granted. I would bet that there is a light bulb shining on you right now as you read this!
They’re not just useful objects though, as they also have symbolic meaning. We associate a shining light bulb with a good idea, and we probably have cartoons to thank for this.
You may want to use your lightbulb drawing for that purpose, or you may have something else in mind. Whatever you want to use it for, you will see that making this design is easy when you follow the steps I have for you.
Watch And Find Out How To Make Your Light Bulb Drawing
How to Draw a Light Bulb – Let’s get started!
Step 1
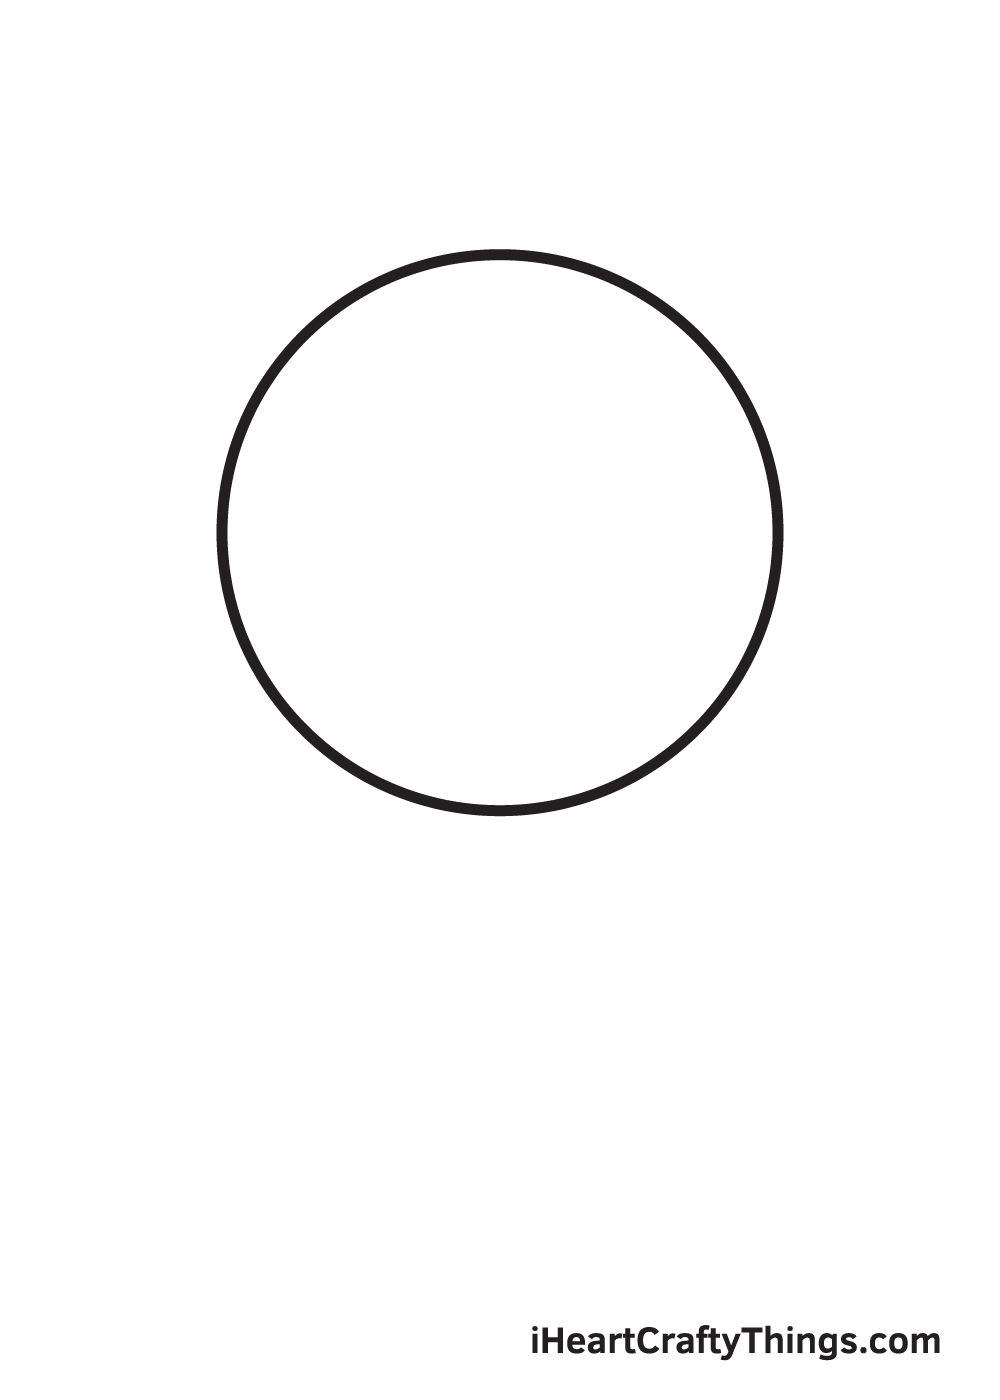
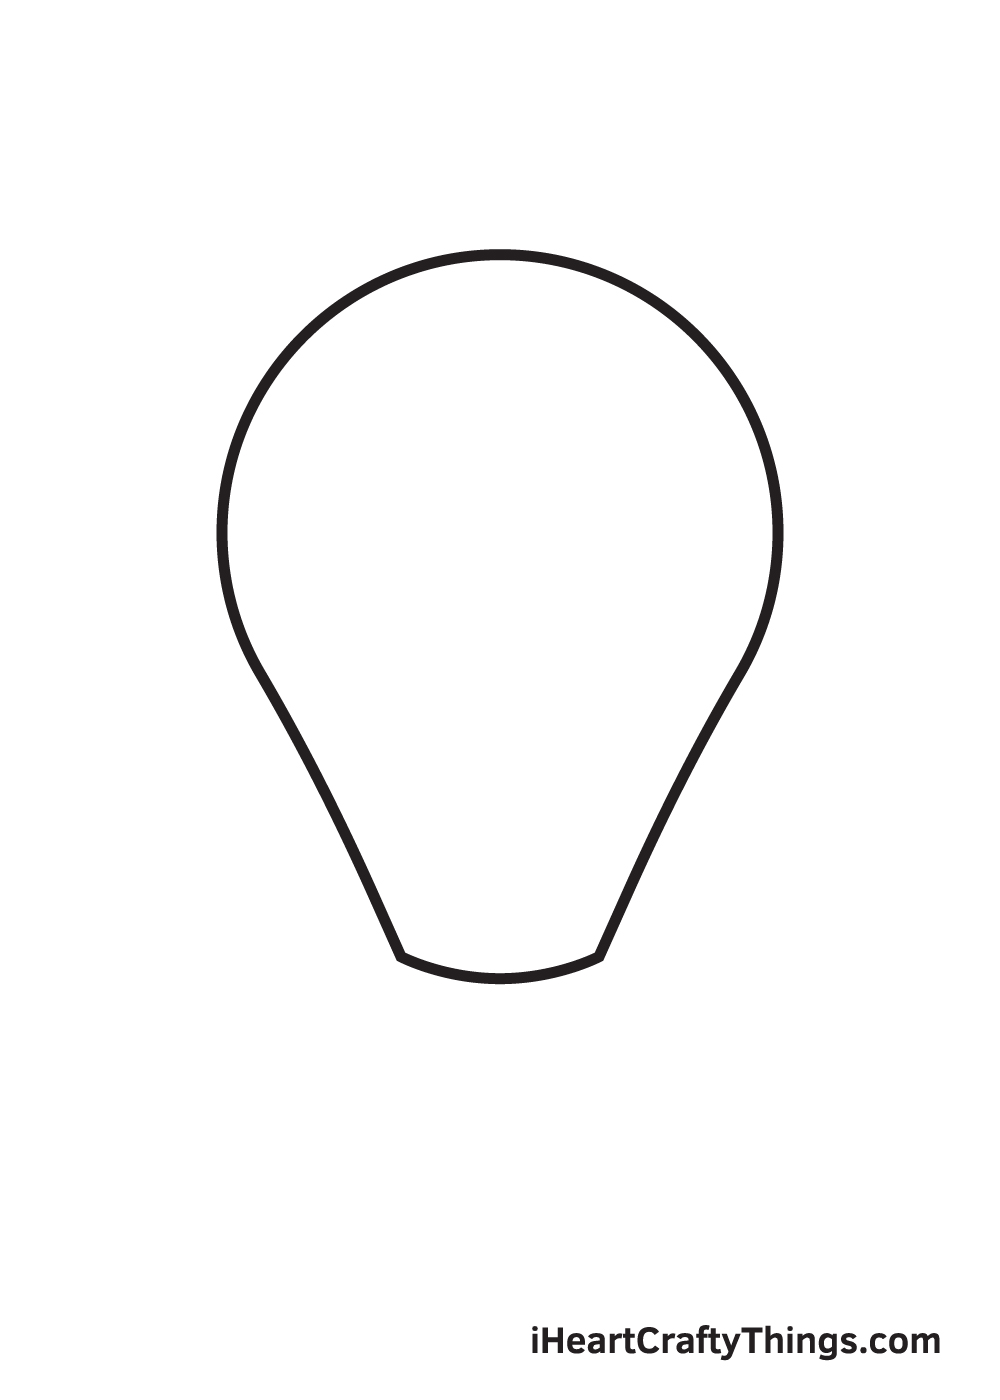
Draw a perfect circle on the upper portion of your paper. This outlines the circular body of the light bulb.
If you need help in drawing a perfect circle, you can always use a compass. It is a drawing tool that enables you to draw proportional circles quickly and easily.
Step 2 – Create a Rough Sketch of the Light Bulb
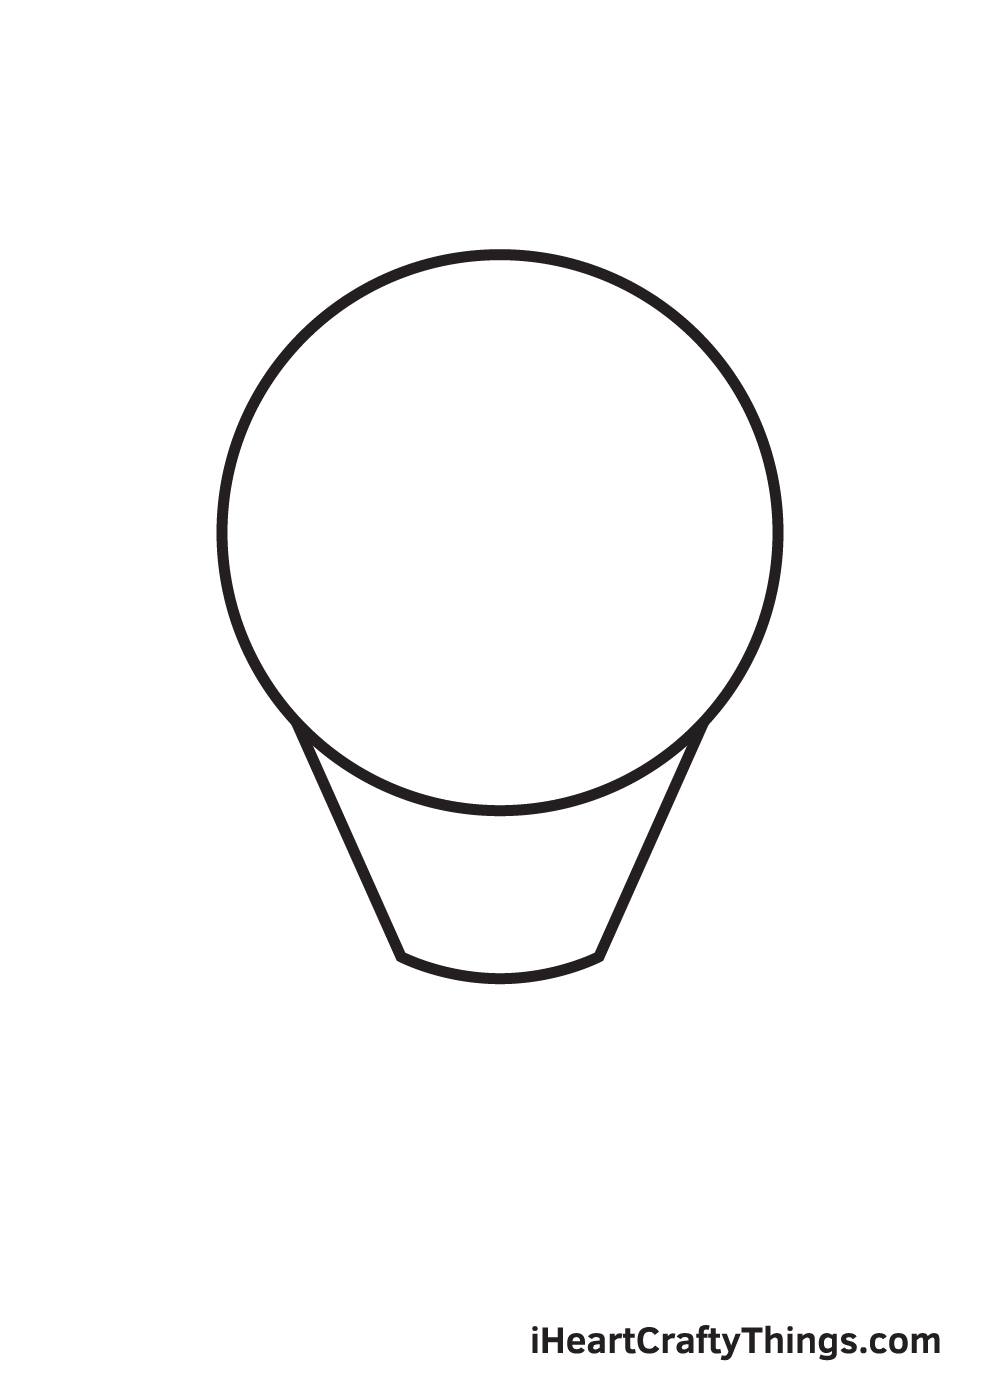
Right underneath the circle, draw a cone-shaped figure. The edges of the two different shapes must be aligned to perfectly form the structure of the light bulb.
Avoid pressing down too hard with your pencil when drawing the outline. It’s important to draw with light strokes so you can easily erase some part of the line that you no longer need later on.
Step 3 – Refine the Outline of the Light Bulb
Clarify the shape of the light bulb by simply erasing the bottom part of the circle overlapping inside the outline, revealing a refined light bulb figure.
Step 4 – Now, Draw the First Layer of the Bulb’s Cap
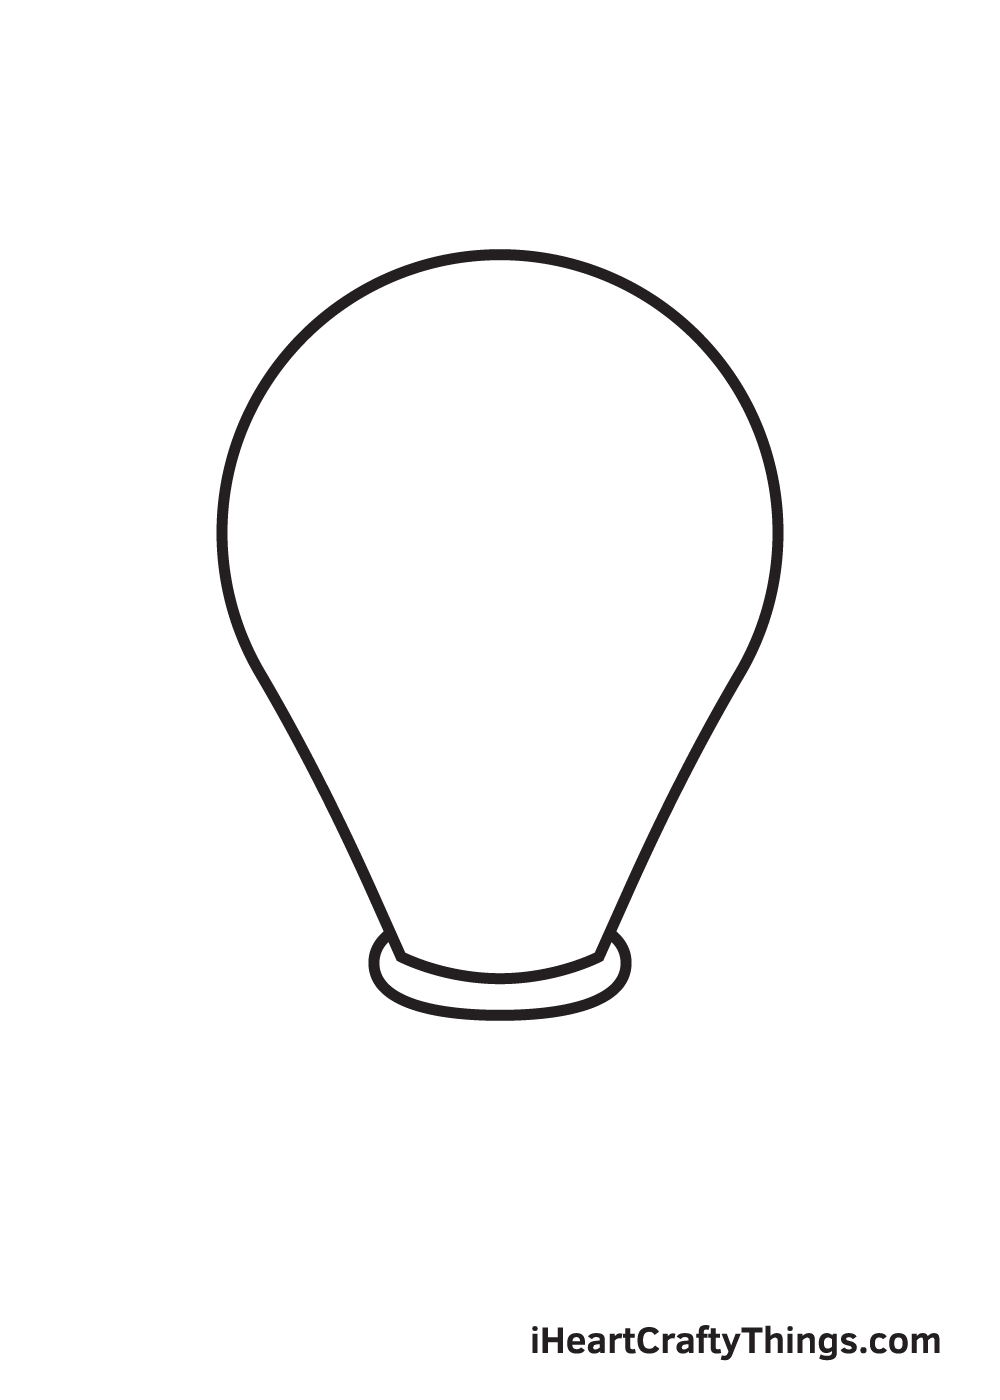
Draw a long, thin line right underneath the glass bulb, as shown in the illustration. This creates the first layer of the base.
The light bulb’s cap or base has three primary functions. First, it securely supports the light bulb while connected to an electrical source unit.
Second, it transfers electricity from the main electrical source to the light bulb itself. And lastly, it holds the glass bulb and all of the components within the bulb.
Step 5 – Then, Draw the Second Layer of the Base
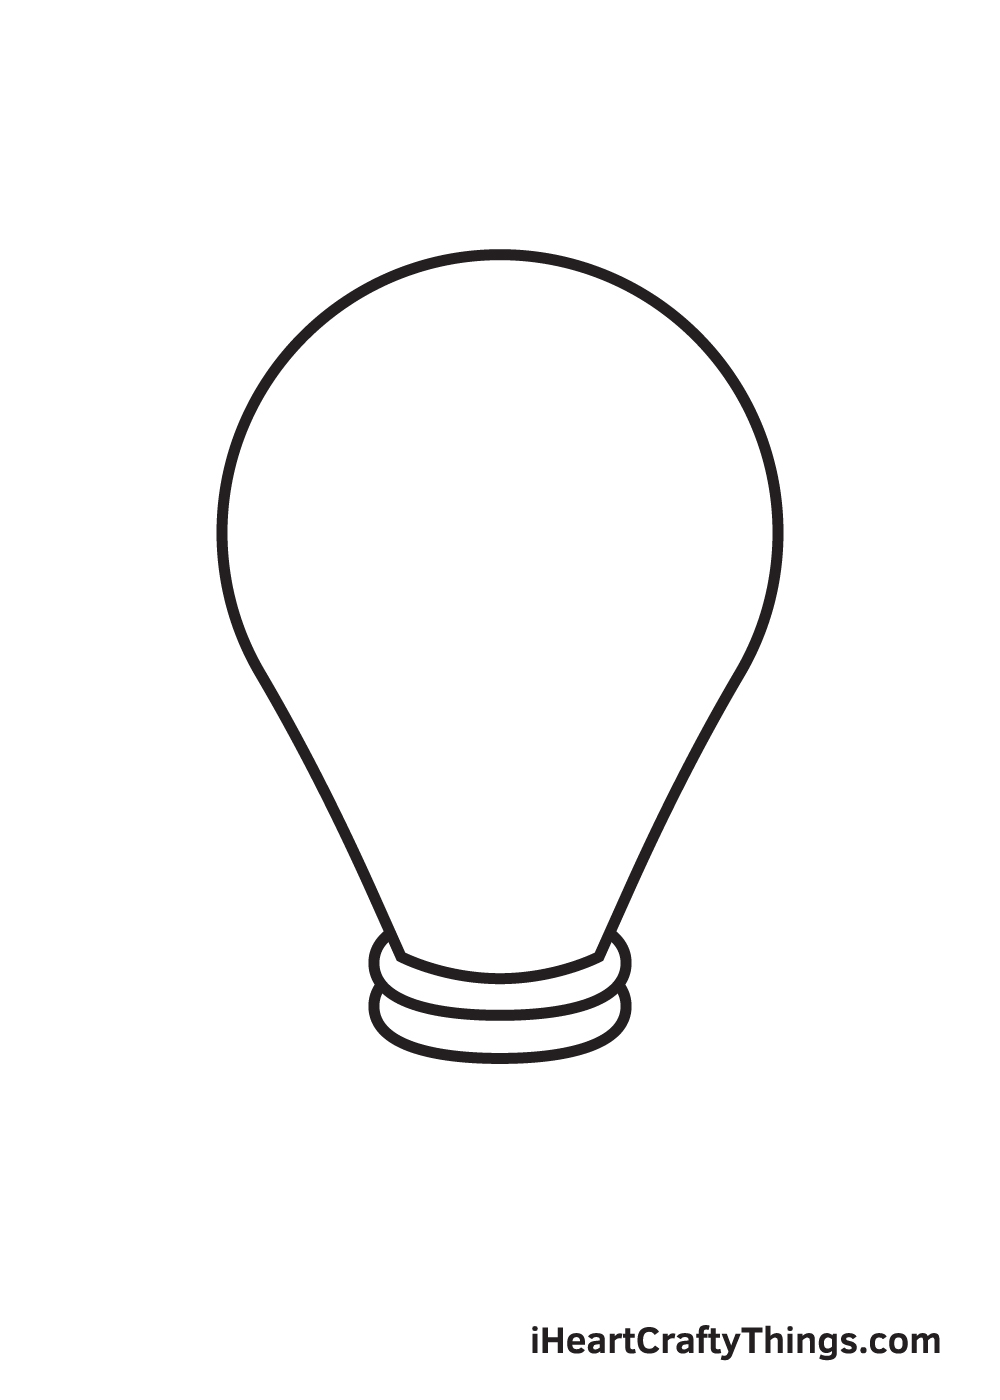
Draw another layer of the base right underneath the first layer we drew in the previous step.
At this point, you should now have a base with two layers on top of the other.
Step 6 – Afterwards, Add the Cap’s Third Layer
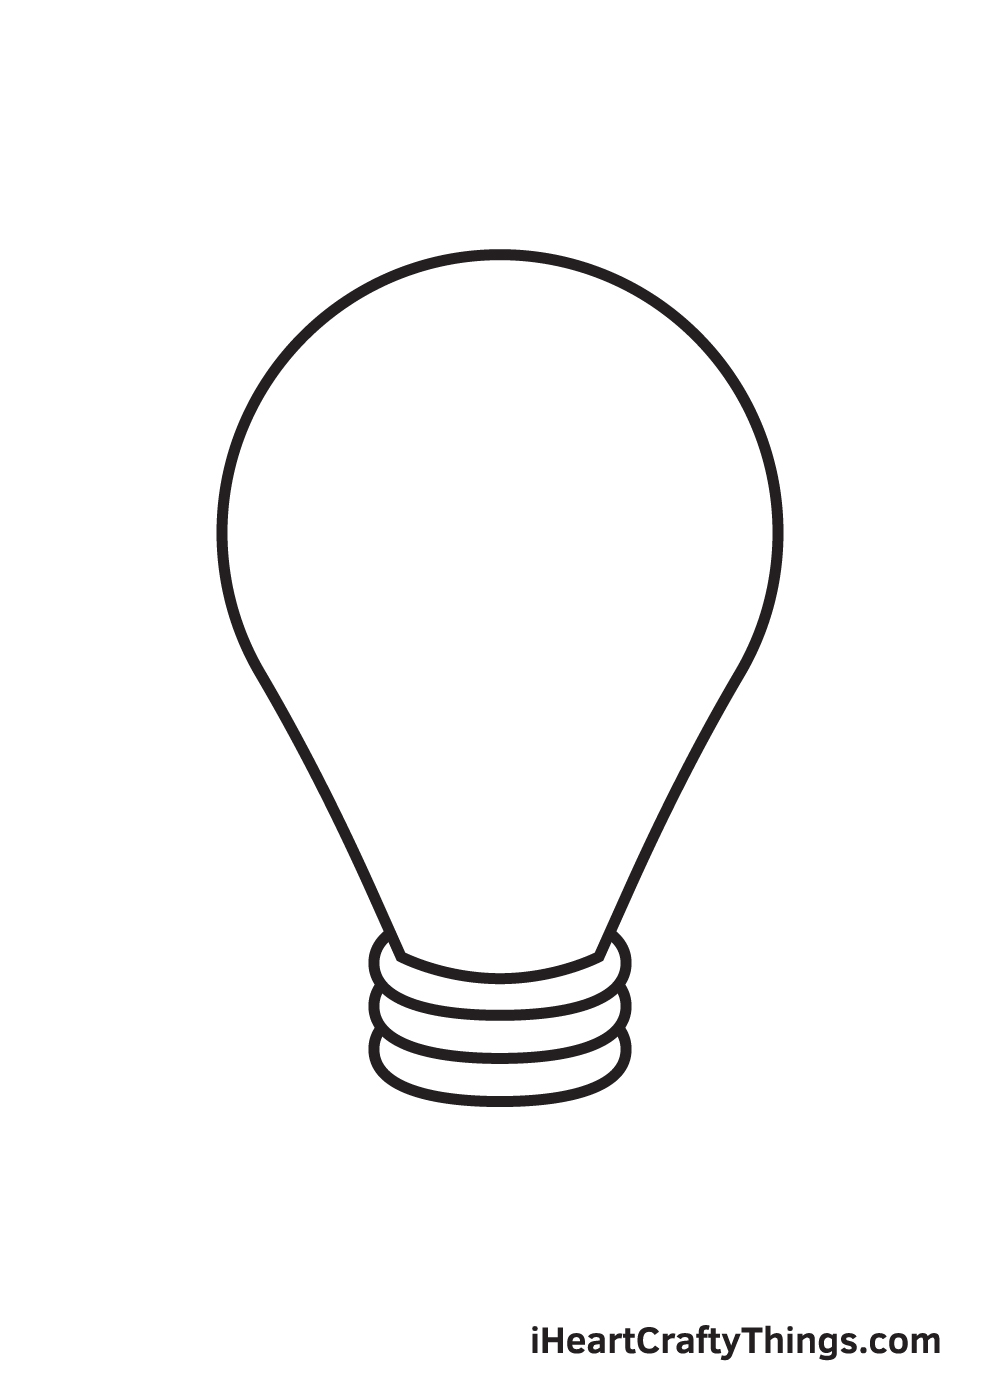
Repeat the previous step to create the third layer of the base.
After completing this step, you should now have a base with three equal layers.
Step 7 – Complete the Light Bulb’s Cap or Base
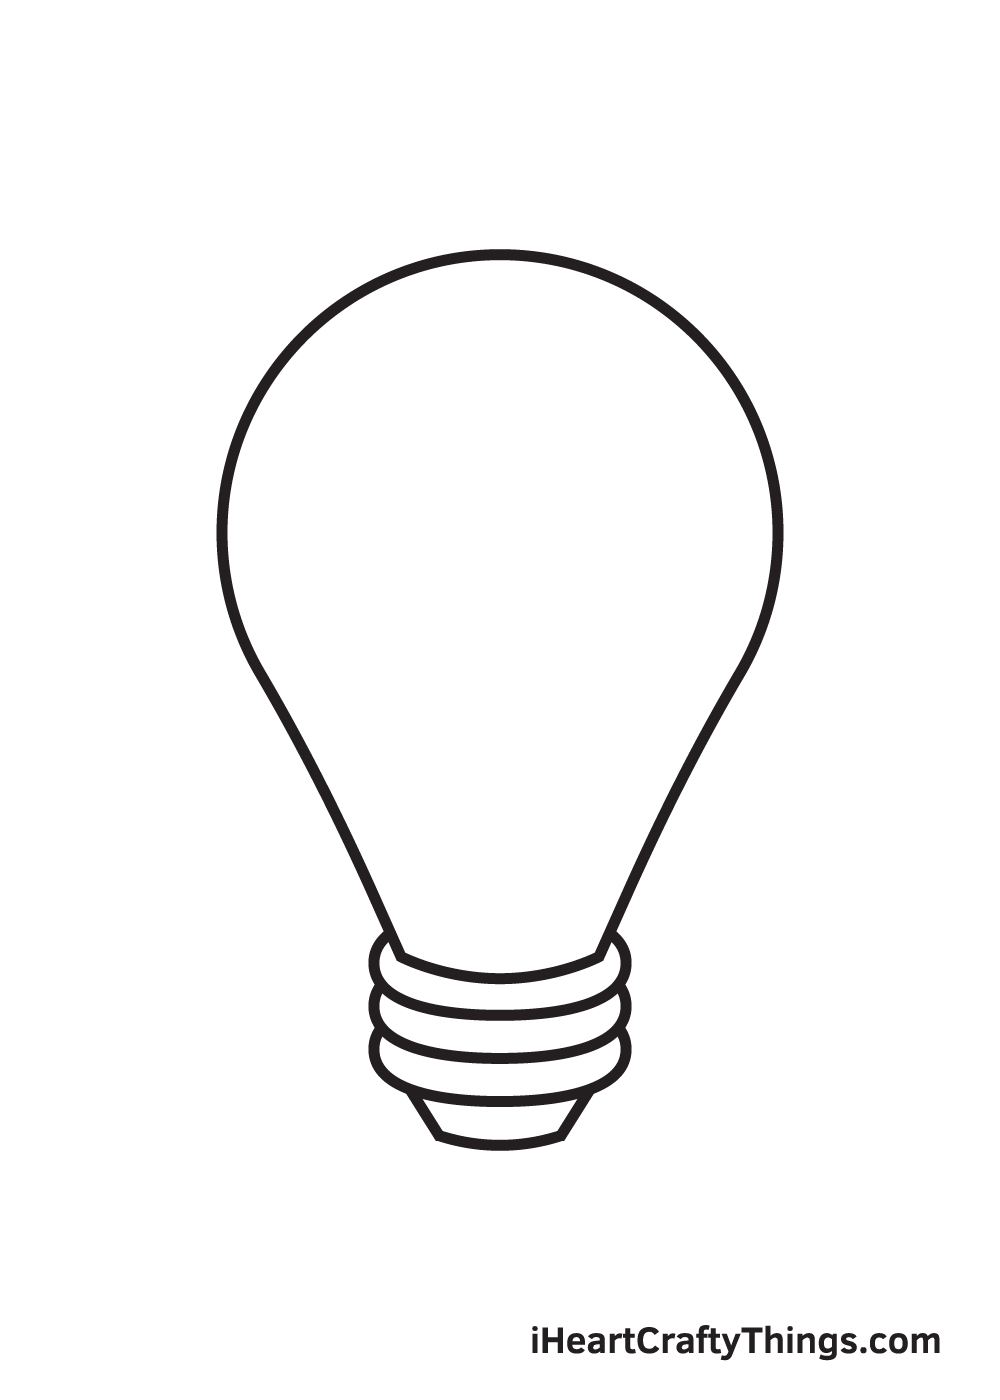
After finishing three layers of the light bulb’s base, it’s time to draw its bottom part that connects the light bulb to an electrical source.
Right underneath the three layers of base we drew in the previous steps, draw a short downward diagonal line facing each other on each side.
Then, draw a slightly curved horizontal line connecting both bottom end points of each diagonal line.
Step 8 – Draw the Filament Support and the Contact Wire
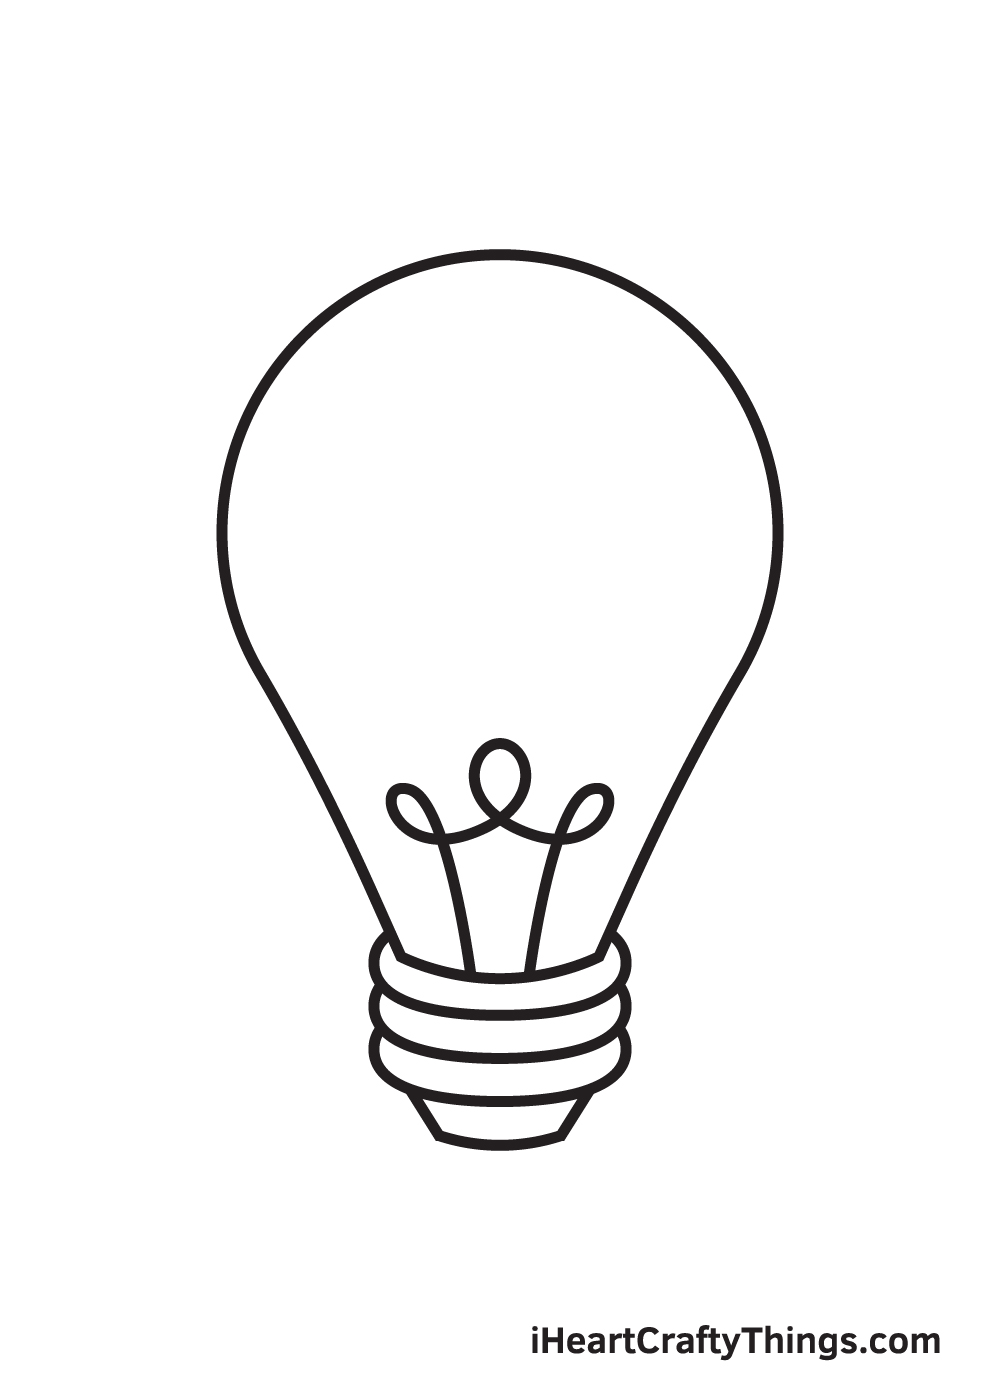
Finalize your light bulb by drawing the wire inside the bulb. Starting from the base, draw two straight lines going upwards.
Once you reach the desired length of the contact wire, which is about an inch, draw multiple spiral lines connecting both of the lines we drew just now.
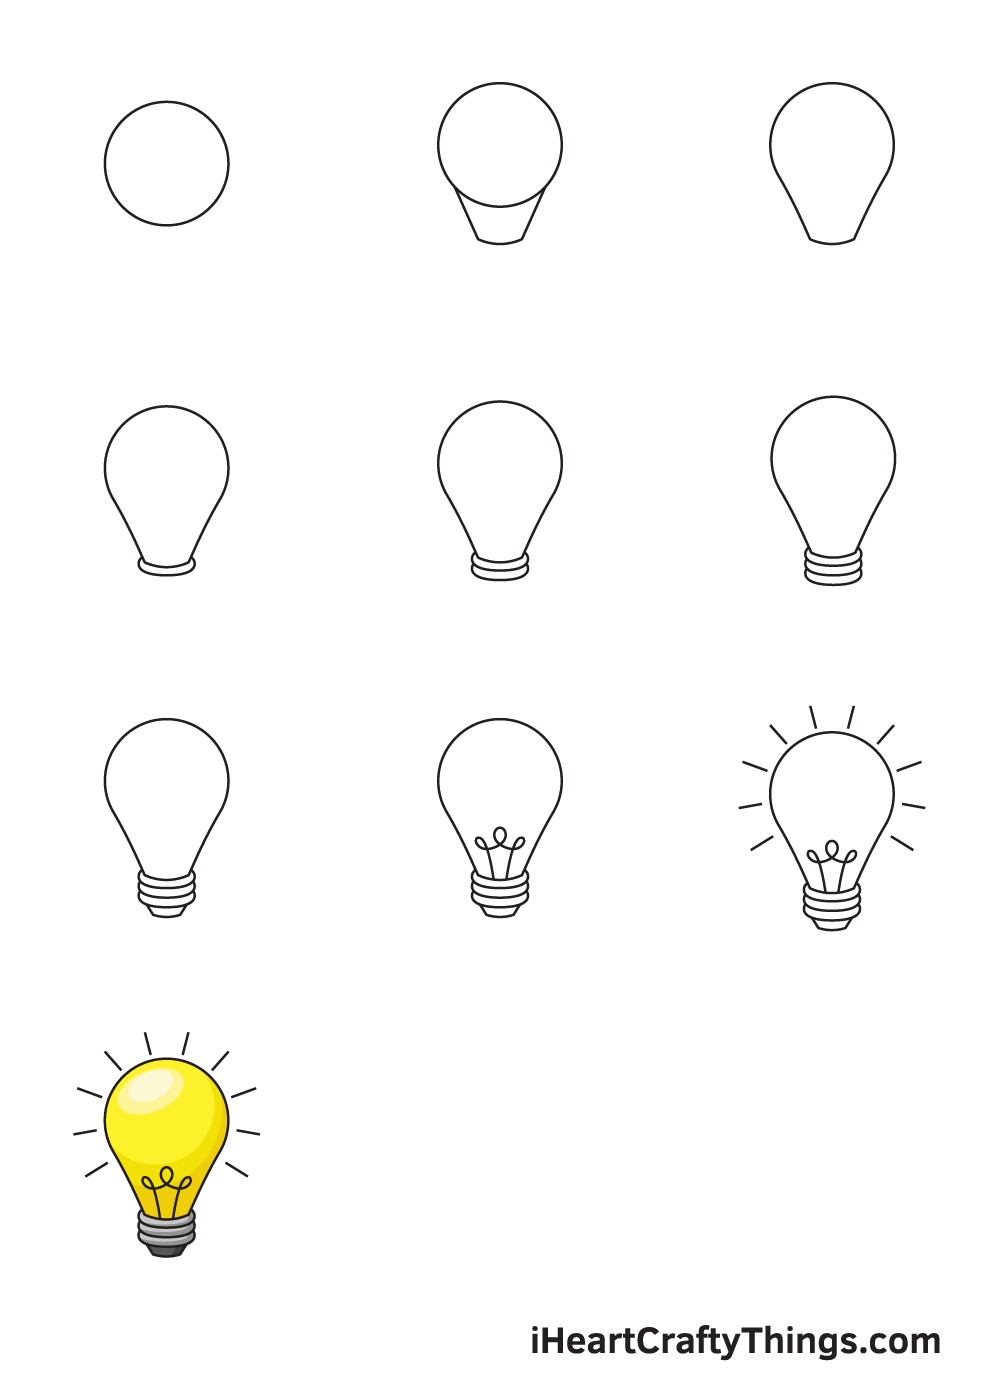
Step 9 – Now, Make the Light Bulb Appear Illuminated

Now, for an extra dramatic effect, draw multiple upright lines surrounding the glass bulb. This creates an illusion of luminescence and makes the light bulb appear like it’s glowing.
Now that we have successfully drawn a light bulb, it’s time for the most exciting part, which is choosing the colors and coloring your drawing!
This is the part where you can show off your artistic skills and your ability to mix and match various colors.
Light bulbs most commonly come in the traditional white and yellow colors. However, there are modern light bulbs with a wide range of fun colors such as red, blue, green, and more!
This gives you a lot of color options to choose from when coloring the light bulb.
Have fun playing with colors and watch as your light bulb illuminates radiantly!
Here’s how you can make your light bulb drawing even better…
Let’s shed some light on how you can make your awesome light bulb drawing even better!
We all use light bulbs every day to cast some light on our lives, and so they are a really practical product that is always needed.
While they are practical, they can also be used for symbolic purposes. For example, a light bulb can symbolize an idea, and cartoons will often show a light bulb over a character’s head.
This is one idea to try, as you could make this light bulb sketch even more fun by drawing a cartoon head beneath it!
Light bulbs are relatively simple, but that doesn’t mean that you can’t add some smaller details of your own to make it stand out even more.
For one example, you could draw the twisty filament inside of the bulb to be in pieces to show that the bulb has burnt out.
You could also draw some cracks in the glass to make it look like the light bulb has been dropped. Can you think of any other small details?
A light bulb will need to be screwed in somewhere in order for it to work. You could make this drawing of a lightbulb have more of a setting by drawing where it is screwed in.
This could be a fitting on a wall, or it could be screwed into an imaginative invention! That second idea would be a great excuse for you to be very imaginative with your design.
We covered the kinds of colors you could use for this light bulb earlier in the guide, but you can also play around with different mediums.
For example, you could use a very light wash of watercolor paints using blue or light brown to replicate the look of transparent glass.
When coloring, you can also use a real light bulb as a model to see how the glass looks as you color.
Using colors around the bulb can also create the feeling that it is actually casting light, so have fun experimenting!
Your Light Bulb Drawing is Complete!
We hope you enjoy this step-by-step light bulb drawing tutorial. Now that you’re capable of drawing a light bulb, you can incorporate it to more complex drawings in the future.
For instance, you can draw the interior of a house with a light bulb affixed in the ceiling.
We are uploading brand-new drawing tutorials on a regular basis, so make sure you keep checking back so you can continuously learn how to draw something new.
Don’t forget to share these tutorials with your friends too. That way, you can all have fun drawing together!
As soon as you have successfully drawn a light bulb and colored it, we’re sure you’re feeling very proud of yourself for completing a masterpiece.
Show off your work of art by sharing it on our Facebook page and on Pinterest.
We can’t wait to see your luminous light bulb drawing!