Many bird species have a rather unusual ad unique physical appearance. The pelican is certainly one of them, as it is a very interesting bird species that is instantly recognizable.
Its most recognizable feature is probably its large beak, and it has the added trick of having a pouch attached to help it capture fish in the water.
This bird has such a unique look that it can be equally fun and difficult to learn how to draw a pelican.
That’s what this tutorial is for, however, as we are here to show you that it can be easy as well as fun when you know what to do!
We hope that you have a great time working with us on this step-by-step guide on how to draw a pelican in just 6 easy steps!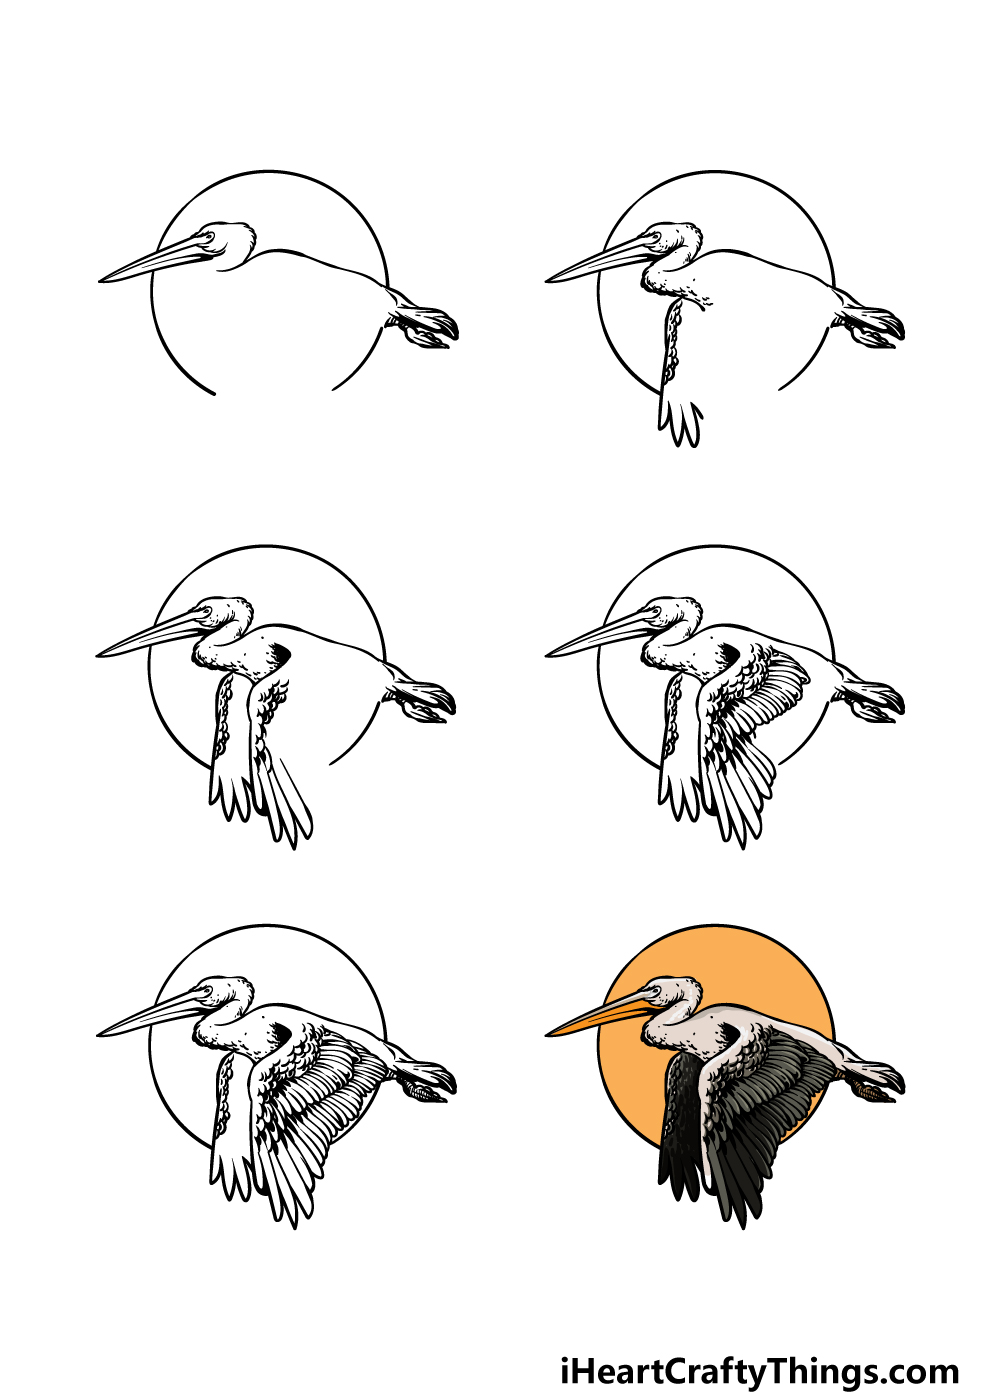
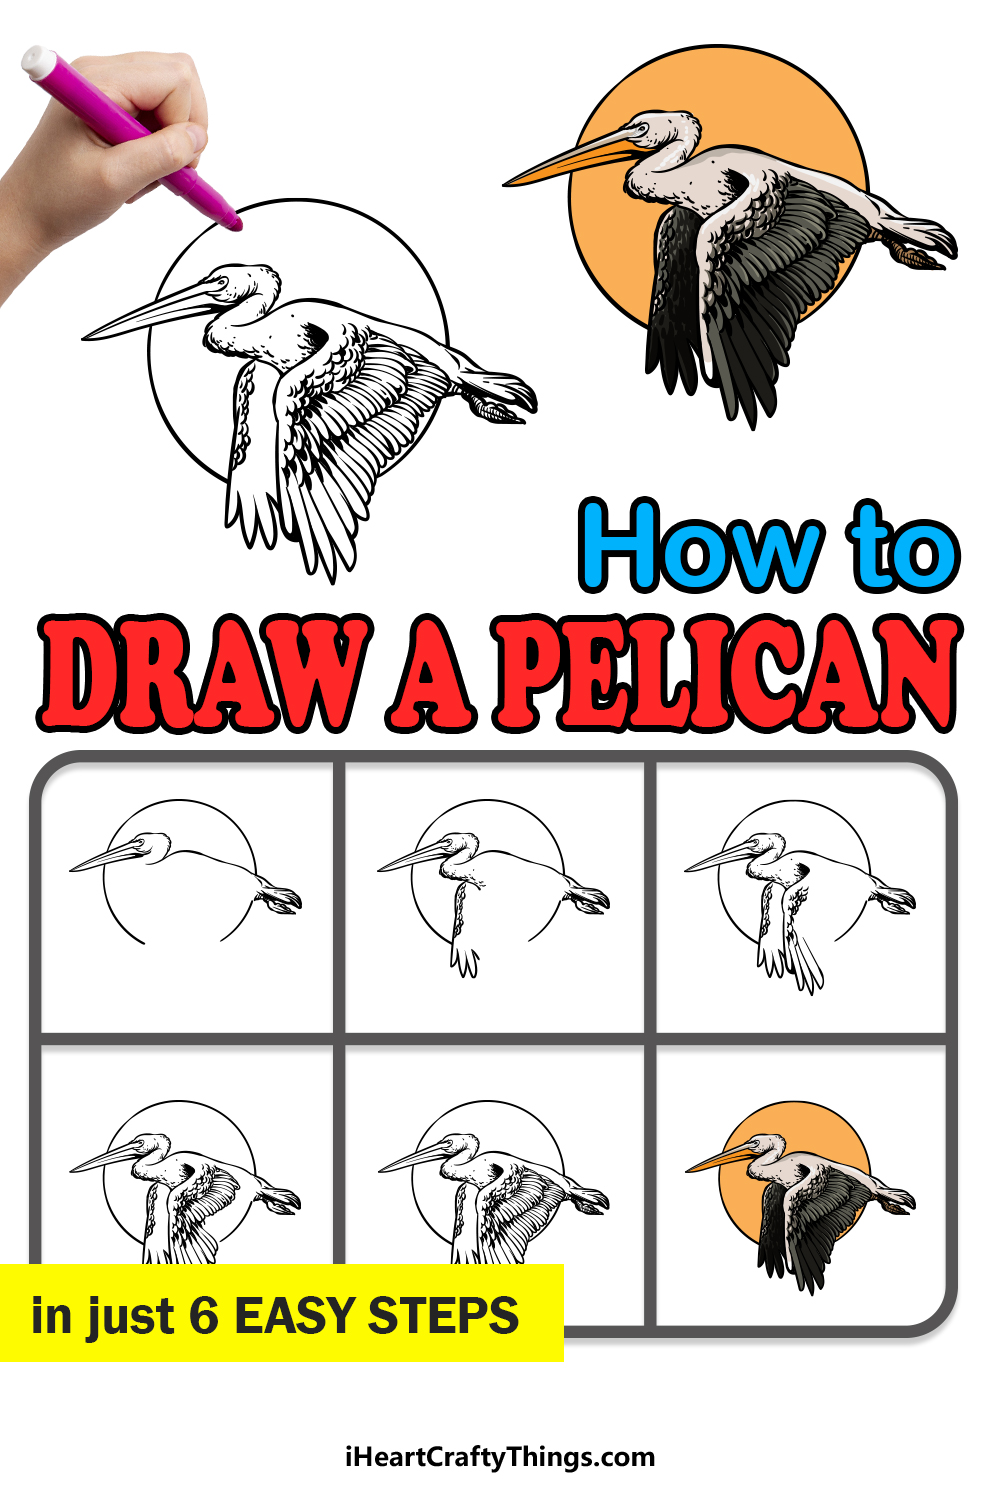
How to Draw A Pelican – Let’s Get Started!
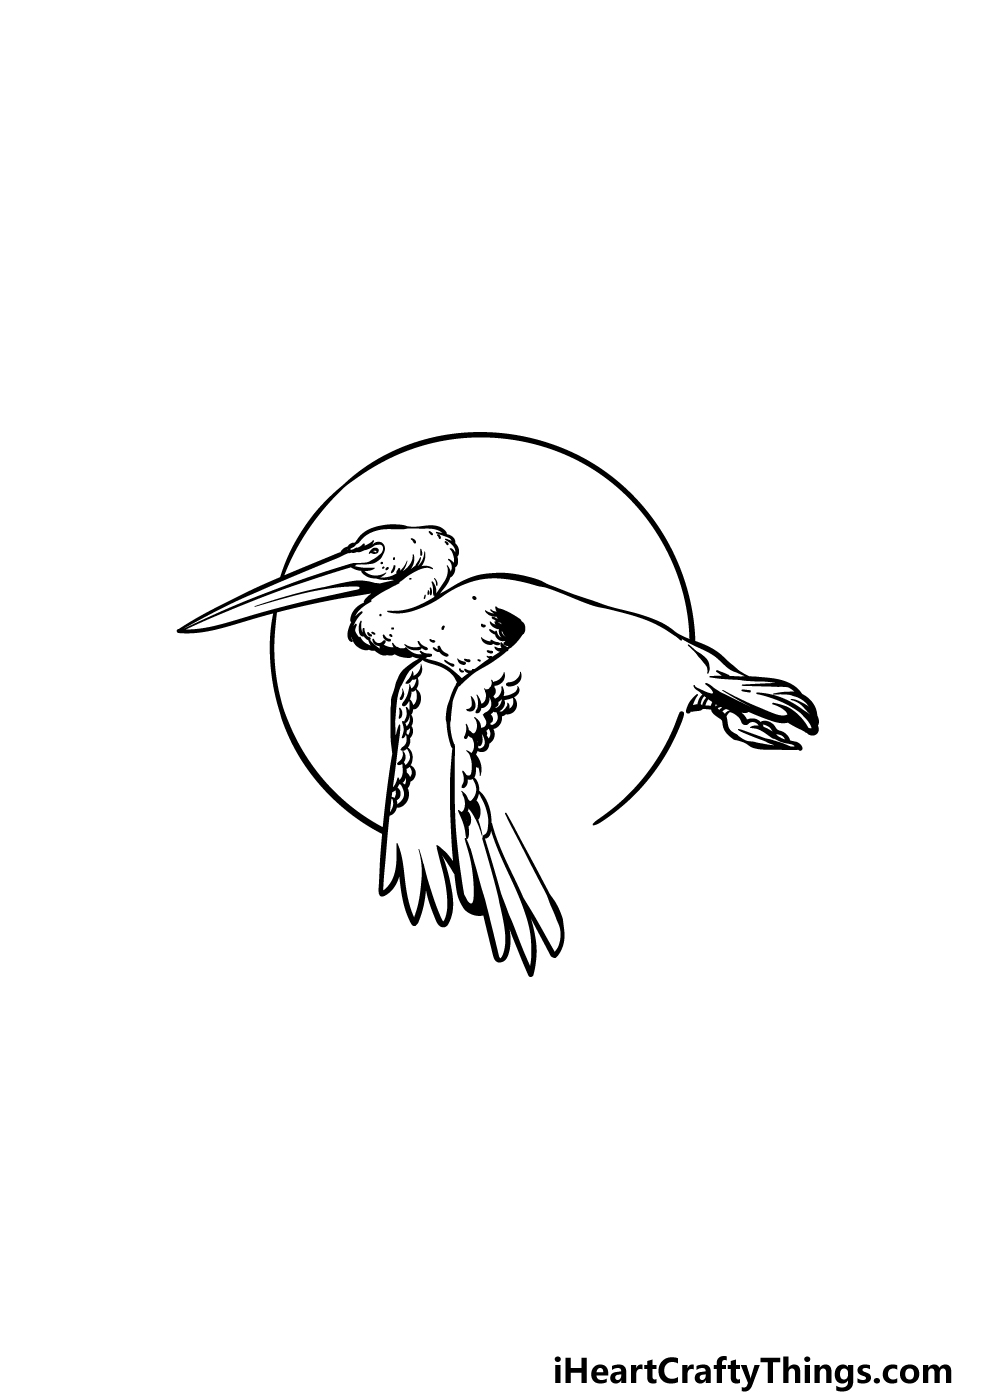
Step 1
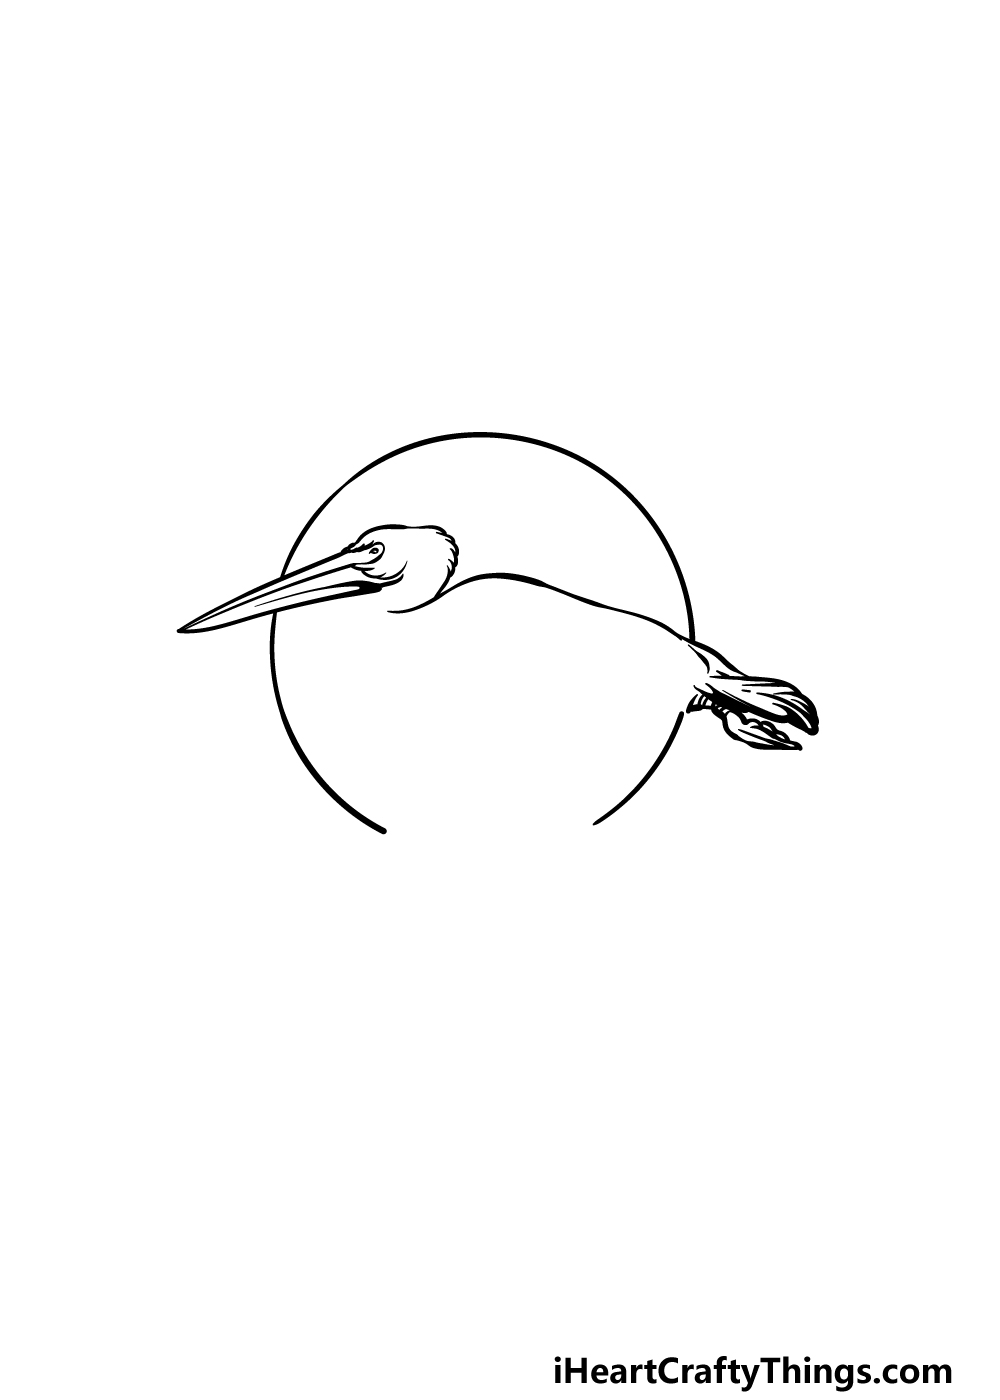
We have chosen quite a cool and dramatic image that we will be learning to draw during this guide on how to draw a pelican.
The bird will be depicted as flying in front of a circle that could be the moon or even the sun! We will be drawing that circle in this step, but first we shall start by drawing the pelican itself.
To draw the pelican, start by drawing the long, pointy beak. It will be separated into two separate parts, and then the head of the bird will be relatively small.
Use a small round shape for the eye, and then draw some bumpy lines for the back of the head. The next thing we shall draw will be the back of the pelican, and then we can start drawing the circle.
You can use a tool like a drawing compass to draw this circle, but be sure to leave a gap at the base of it.
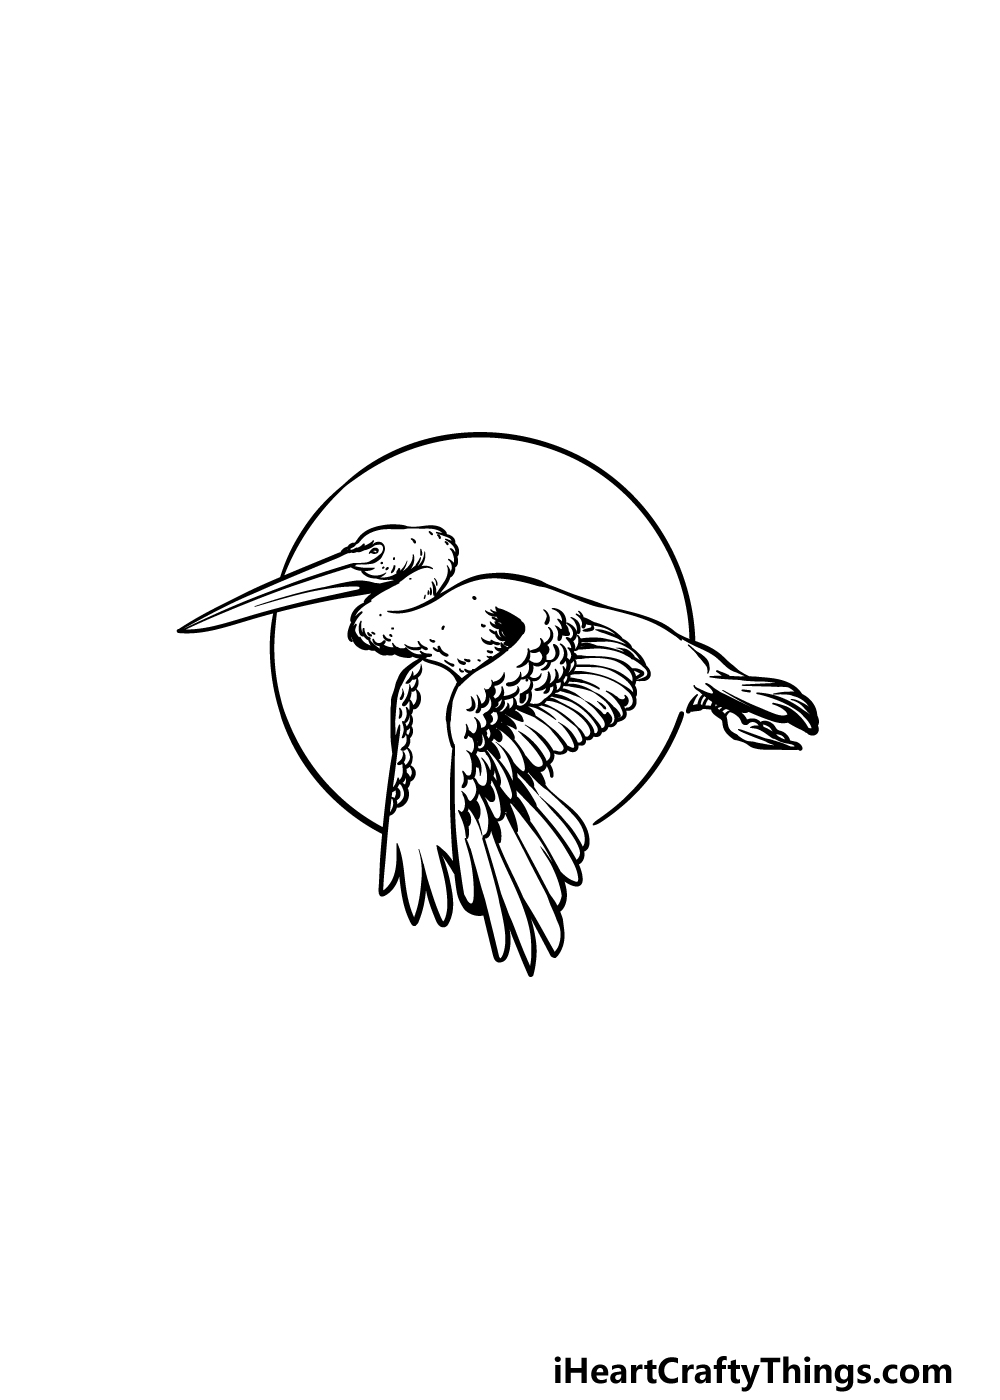
Step 2 – Next, draw the first wing and add some details
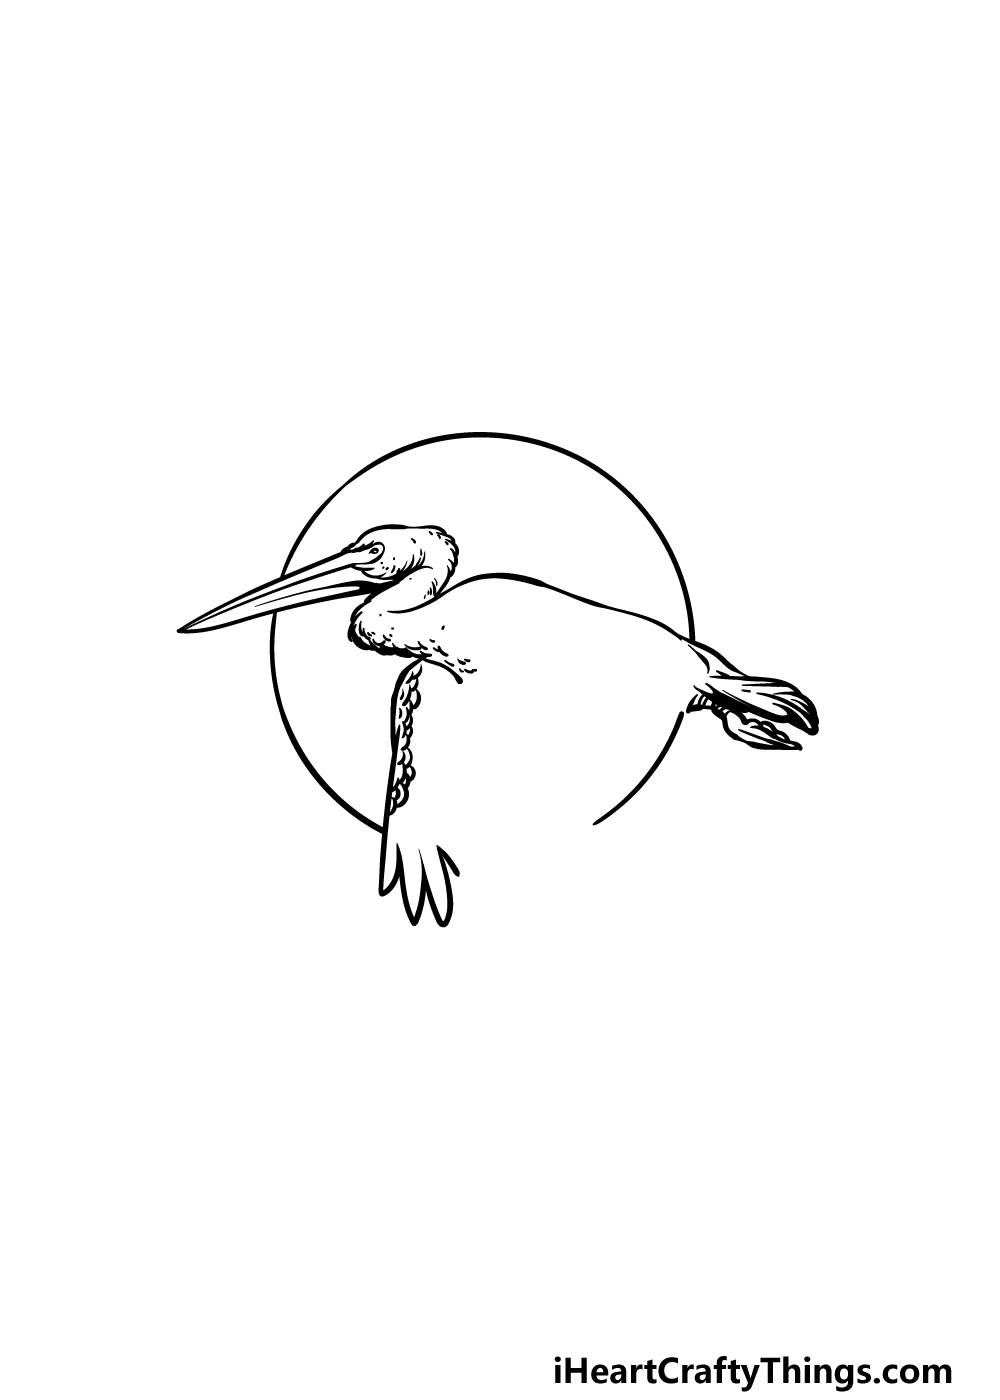
In this second part of your pelican drawing, we shall keep adding more elements to the bird. First, use some curved lines for the folded neck of the pelican.
These lines will be bumpy and a bit jagged to make them look more feathery. You can also draw some small line details around the neck to make it look even more textured.
Finally, we shall finish off this step by drawing the wing dropping down. This will be drawn with a curved line and will end in some rounded feathers at the base of it.
Step 3 – Now, draw the second wing
You started the first wing in the previous step of this guide on how to draw a pelican, and in this step you can draw the second one.
The good news is that now that you have already done it once, drawing a second one should be no problem!
This wing will be closer to us as the viewer, so it will look a bit larger. Other than that, it will look very similar to the previous wing that you drew.
Once this wing is drawn, we can then move on to the next step of the guide!
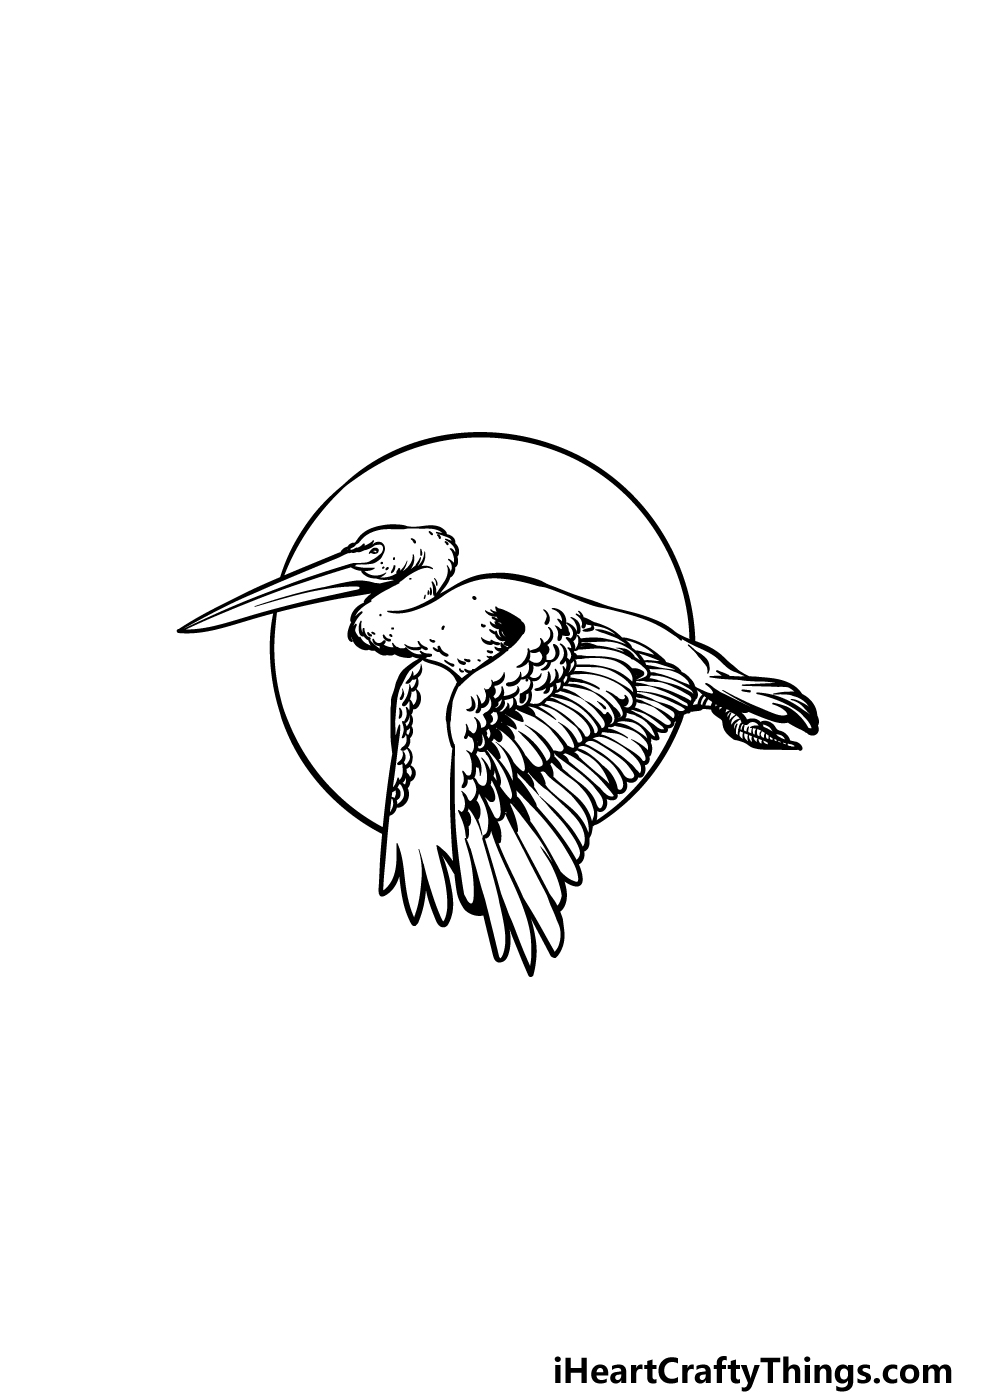
Step 4 – Next, draw the rest of the second wing
In this fourth step of your pelican drawing, we shall now be continuing with the wing that you drew in the last step.
We only drew the front of it last time, and in this one we shall be drawing some of the back. The back of the wing will be a lot more detailed, as there will be lots of feathers in that area.
Use lots of curved lines to draw these feathers until it looks as it does in our reference image.
With this wing completed, you can then move on to the final details in the next step!
Step 5 – Add the final details to your pelican drawing
Now you’re ready to add the final details and touches in this step of our guide on how to draw a pelican!
There’s one more layer of feathers to add to this wing, so use some more of those long, rounded lines to draw the back of the wing.
You can then finish off with some small details on the legs trailing behind the pelican.
Once you have drawn all of these details, you will be ready to move on to the final step! You don’t have to proceed just yet, however, as there are still some extra details that you could add too.
You could add some background details or even draw some more birds to go along with this pelican.
What can you think of to finish off this image before moving on?
Step 6 – Finish off your pelican drawing with color
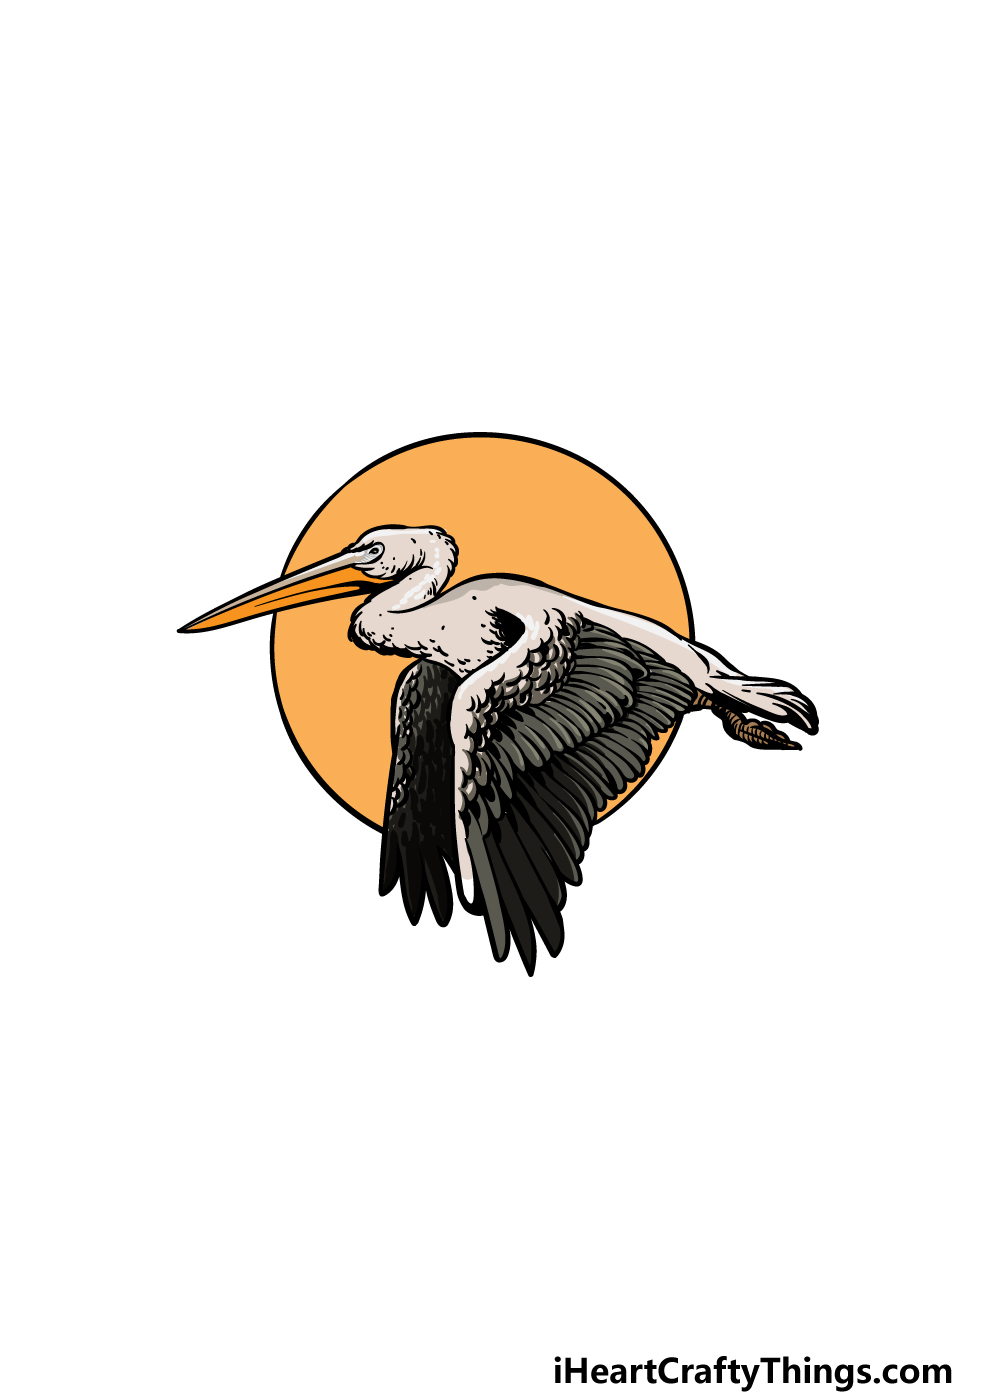
You have arrived at the final step of your pelican drawing, and in this one you can finish it off nicely with some colors!
In our reference image, we showed you one way that you could go about coloring in this pelican. For the pelican itself, we used some dark shades of brown for the ends of the feathers.
Then, we used some orange for the beak while coloring the rest in a light beige.
Finally, we colored the circle behind it in a rich orange to make it look like a full moon behind the bird. Do you think you will use these same colors or do you have others in mind?
Do this to take your pelican drawing to the next level
Let’s fly through some of these tips that we have for your pelican sketch to make it even better!
This drawing of a pelican shows one of these magnificent birds soaring through the air. This would be an amazing sight in real life, but it would be even more incredible if there were more than one.
Now you know how to draw a pelican, so you could add one or two more to this drawing. Adding even just that would help to make this look like a stunning formation of flying pelicans.
How many would you like to add to this drawing to create a formation?
If you wanted to populate this drawing, you don’t need to stick to just pelicans. It would also look amazing to add some additional bird species that you love!
These could include any species that you like, and it would be a great way to show off all of your favorite bird species.
If you need some help drawing other birds, then you could look up the birds online to help you.
This pelican drawing we created shows a stunning view of the pelican flying in front of the sun. you could make it look even more atmospheric by changing a few details.
For example, you could draw the outline of the pelican and then make it a black silhouette instead of adding the inner details.
This is one example of a way to change the whole mood of the picture, but there are a few other effects you could create, so don’t be afraid to get creative!
If you would like a more detailed background setting for this pelican sketch, you could add one of your own design.
This could be done by removing the sun behind the pelican, or you could incorporate that.
Whatever you decide, you could then create any kind of background setting that you like, and once again you could look up pictures online to help you draw your chosen landscape.
Your Pelican Drawing is Complete!
That takes care of all six steps in this guide on how to draw a pelican! As we mentioned, there were a lot of details to take into account when depicting this unique bird.
Hopefully by following the steps we laid out for you it was made much easier and more fun!
You can keep the fun going by adding even more to this image. We spoke about a few ideas for your own touches to this picture, but this is your chance to show off what cool ideas you can think of!
If you enjoyed this guide, please remember to check out our website for a huge collection of drawing guides! Stay tuned, as we have many more on the way.
We would love to see how your pelican drawing turned out, so please remember to share it on our Facebook and Pinterest pages for us to see.