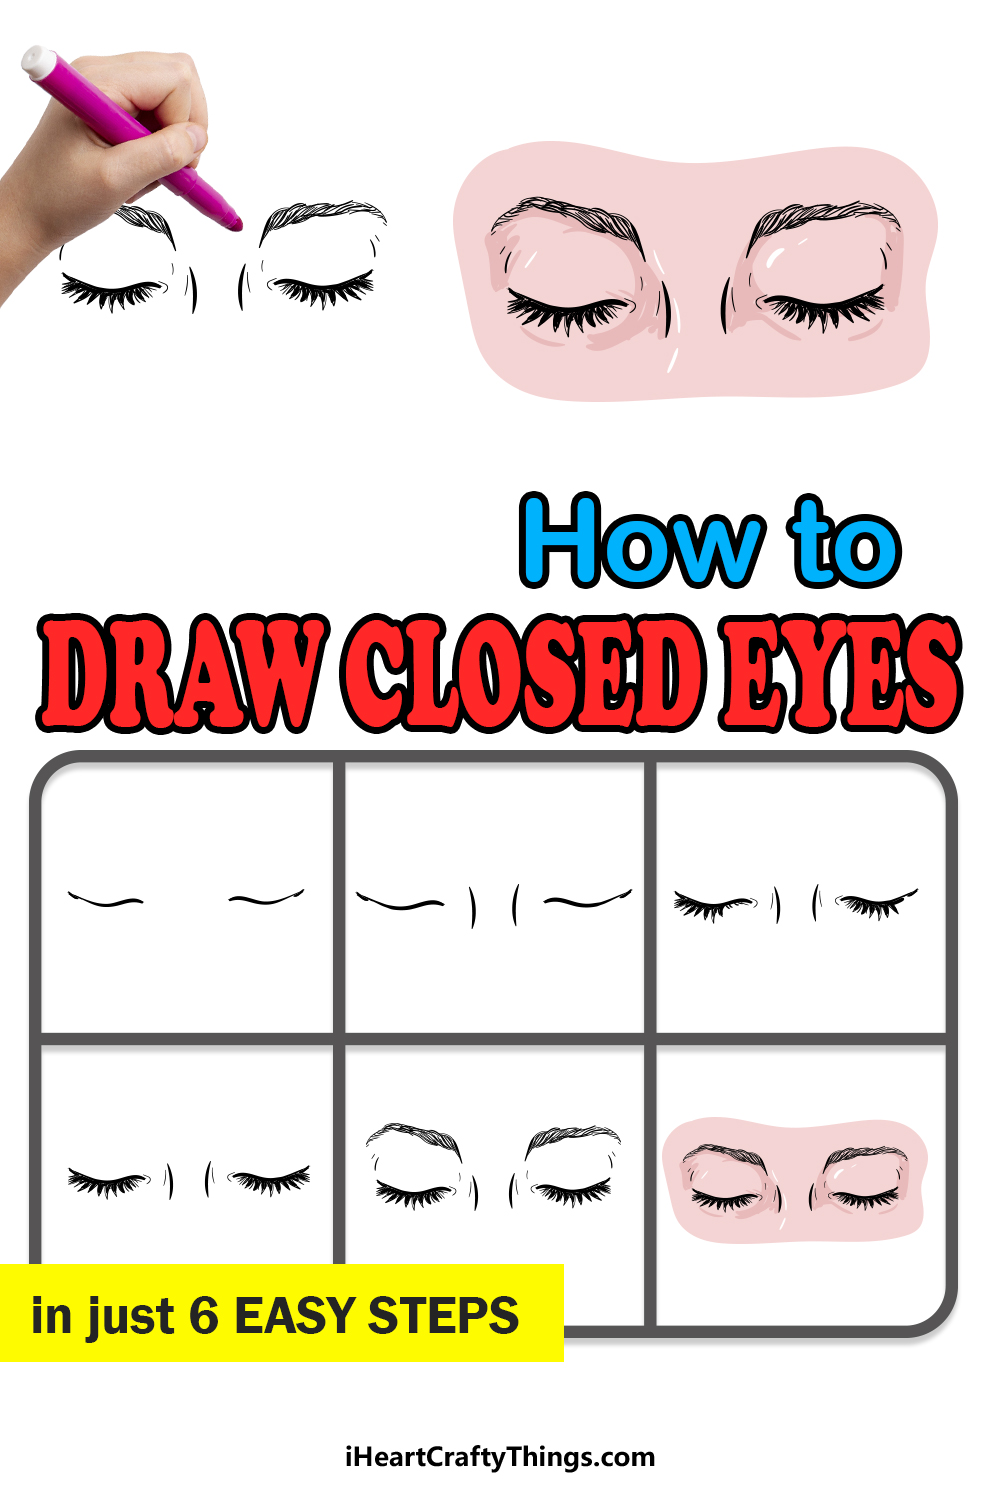
Drawing human eyes is never easy, and it doesn’t matter whether they are open or closed. We see many eyes in our lives, and we can even see our own in the mirror whenever we want.
That should make it easy to draw them, but they’re very easy to mess up. Even when they’re closed it can be really hard making learning how to draw closed eyes a potentially frustrating endeavor.
Luckily, once you have worked through this guide it won’t be frustrating anymore!
This step by step by step guide on how to draw closed eyes will help you easily conquer this drawing challenge.
How to Draw Closed Eyes – Let’s get Started!
Step 1
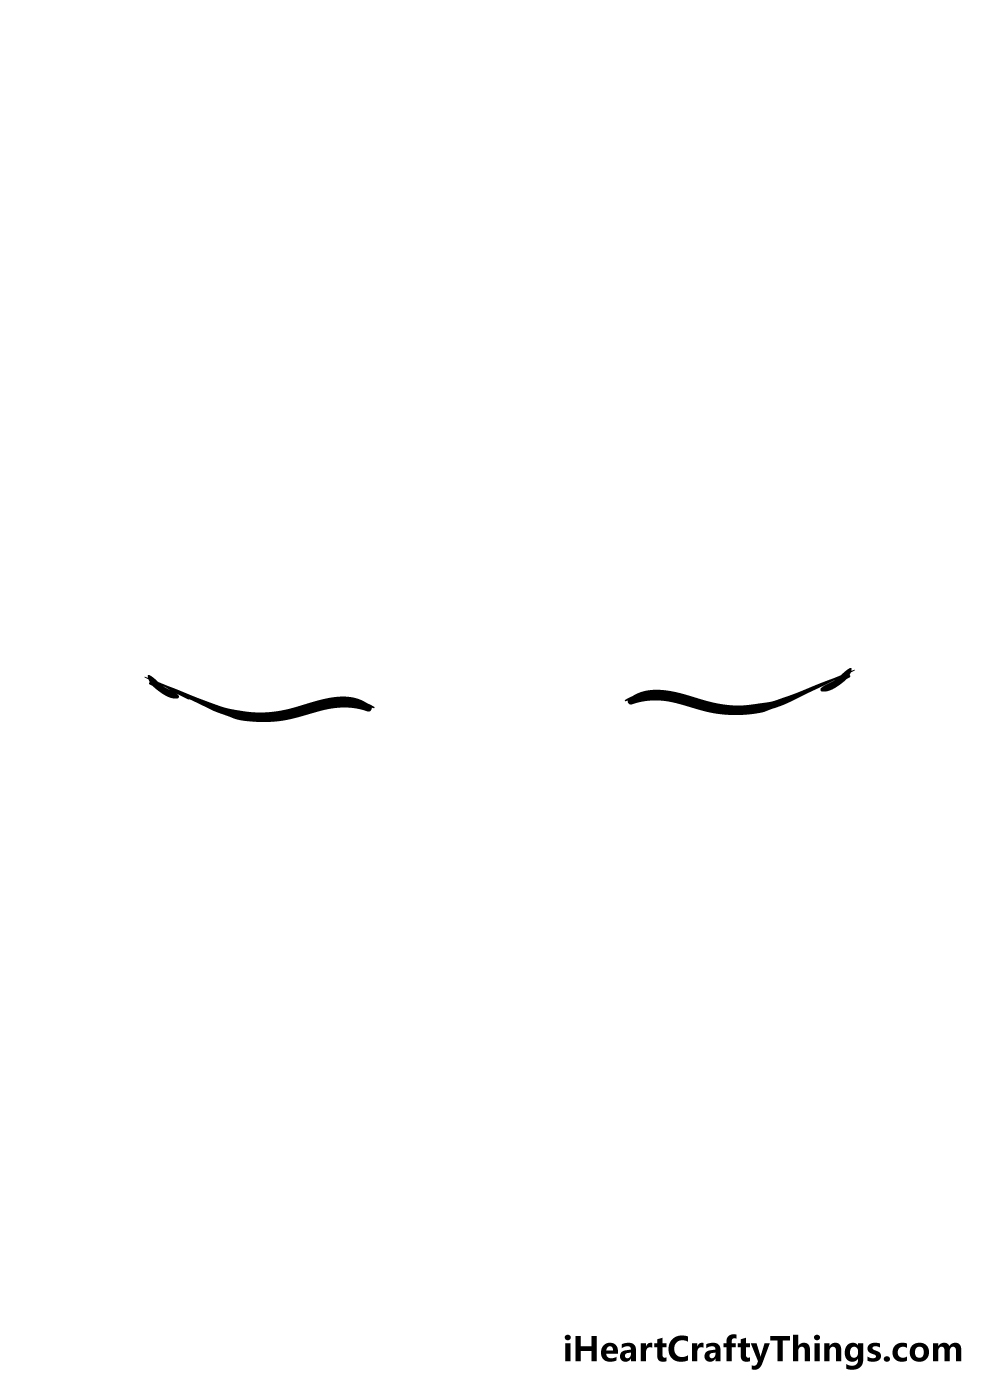
To get this guide on how to draw closed eyes started, we shall start with some lines for the eyes themselves.
This step will be made much easier for you if you follow the reference picture closely, as a big part of getting them to look right is how you space them.
As for the lines themselves, they are drawn as two wavy lines with a very slight dip in the middle.
They may look easy when you’re seeing them, but it can be surprisingly challenging when you have to draw them!
It might take a few tries, but you’ll definitely be able to do it. Once they’re looking like the example images, you’re ready for the next step.
Step 2 – Draw the start of the nose
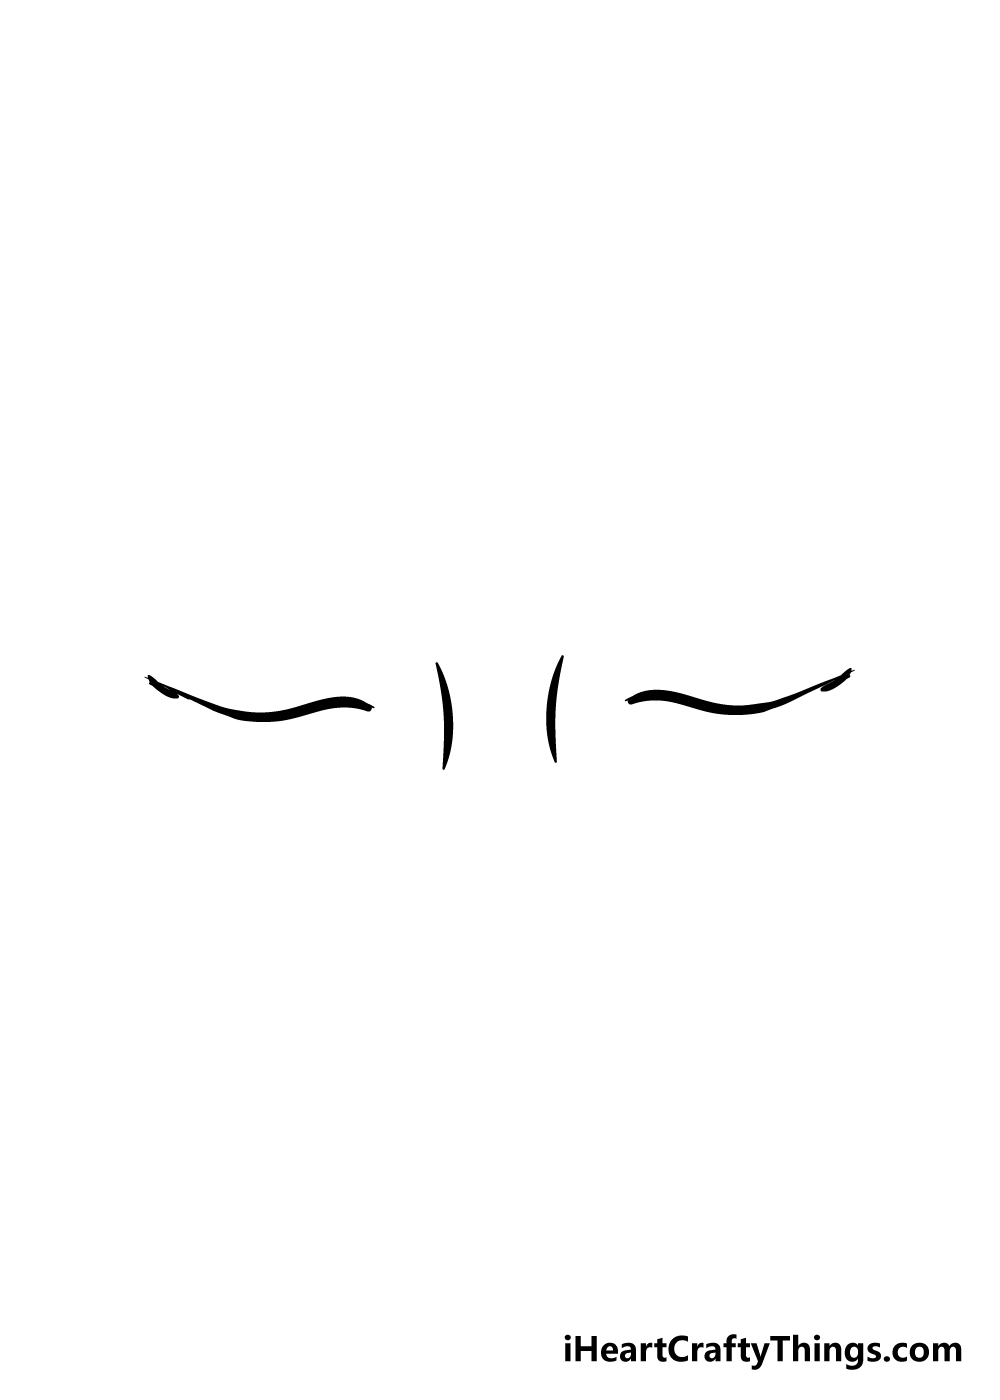
This next step of your closed eyes drawing won’t actually be dealing with the eyes themselves! Instead, you will be drawing two short lines that will form the top of the bridge of the nose.
You will be able to add on to the nose and draw the rest of it in a future step, but for now that’s it for this second step.
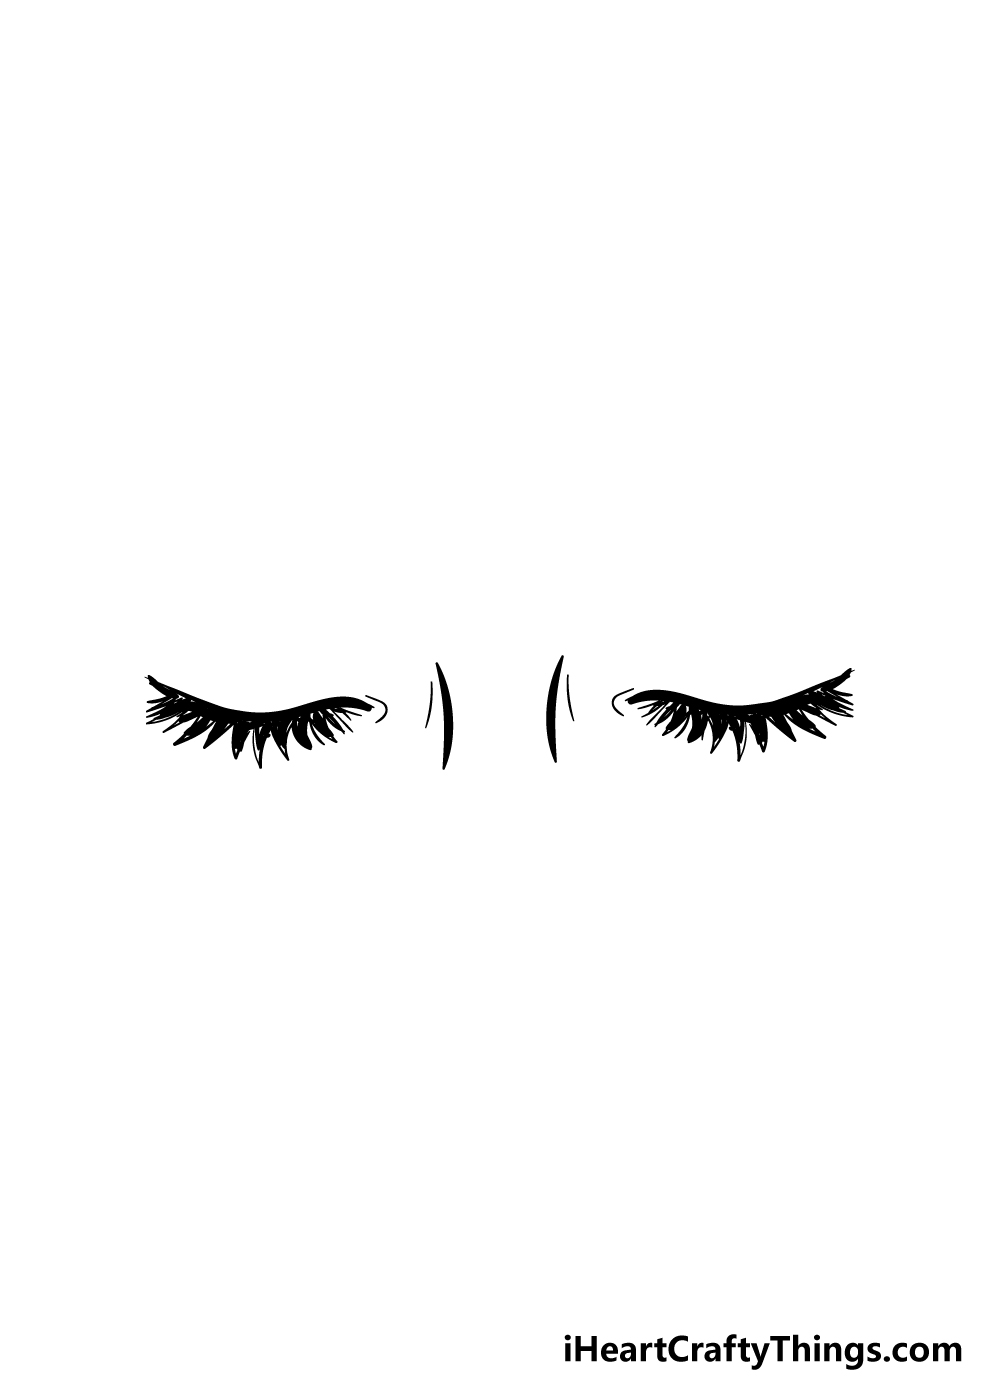
Step 3 – Now, we shall add some eyelash detail
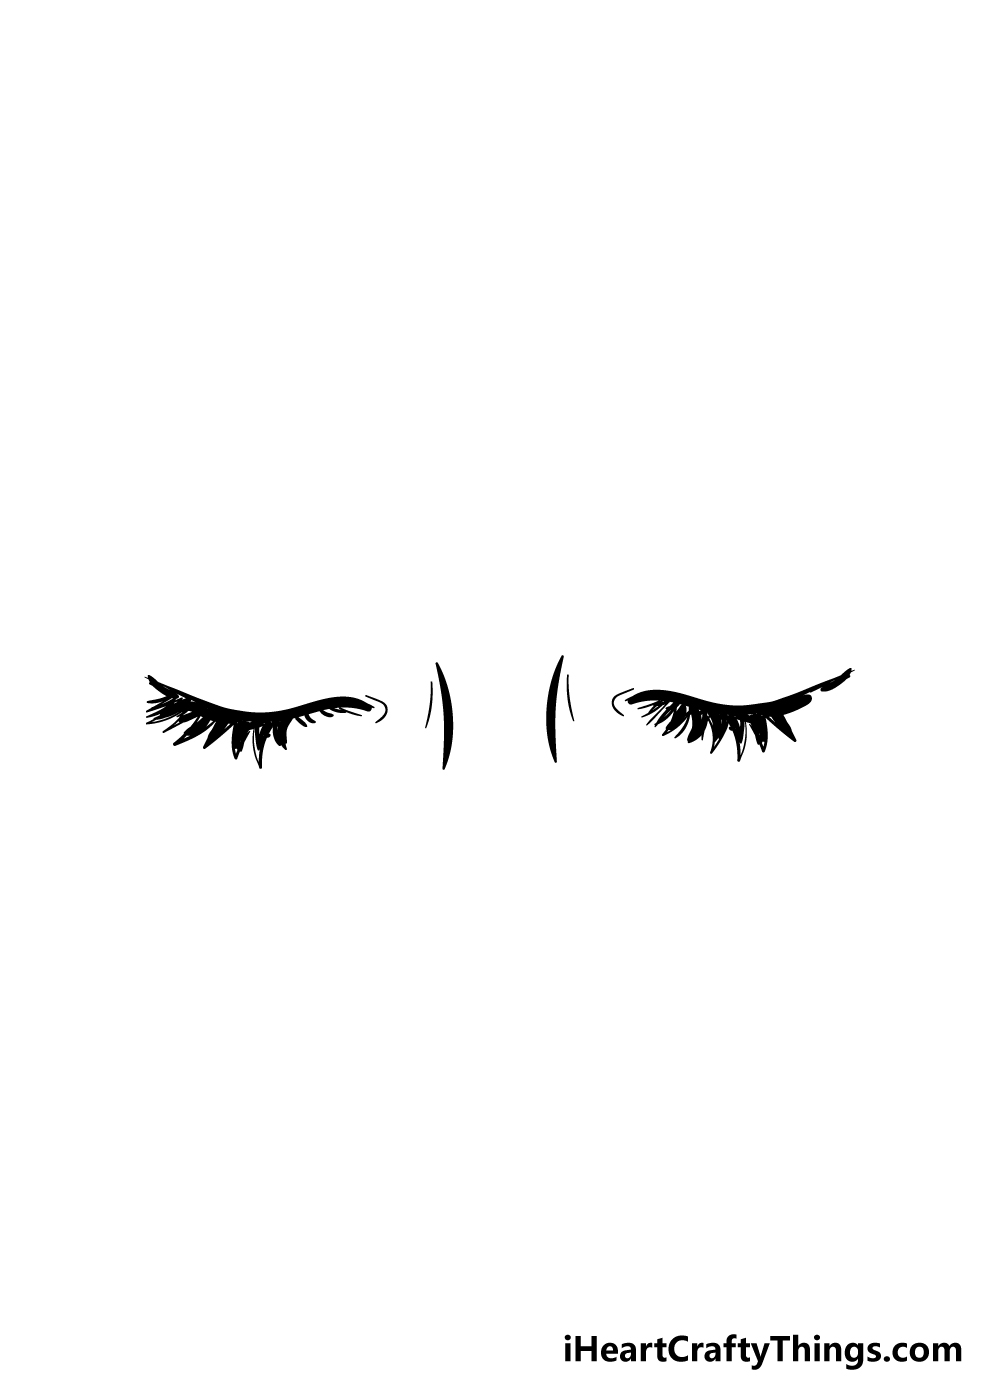
With a drawing like this, it’s often the simple details that end up making the biggest difference. Once you finish this step of our guide on how to draw closed eyes, you will see this in practice!
We shall be adding some eyelashes to your closed eyes drawing in this step, and they will go a long way towards bringing this image together.
To draw them, you can draw some fairly long jagged lines that come down from the lines of the eyes to form some thin, pointed shapes.
You can then color in these thin shapes to create the appearance of eyelashes. For now, these eyelashes can cover around three-quarters of the closed eyes line.
Just this one step has already made these look a lot more realistic!
Step 4 – Finish off the eyelashes
You started the eyelashes in the previous step of your closed eyes drawing, and in this step you can finish drawing them in.
You’ve got the hang of it by this point, so for this step you need only continue from what you started in the previous step to cover the rest of the closed eyes line.
Step 5 – Now, you can add some eyebrows
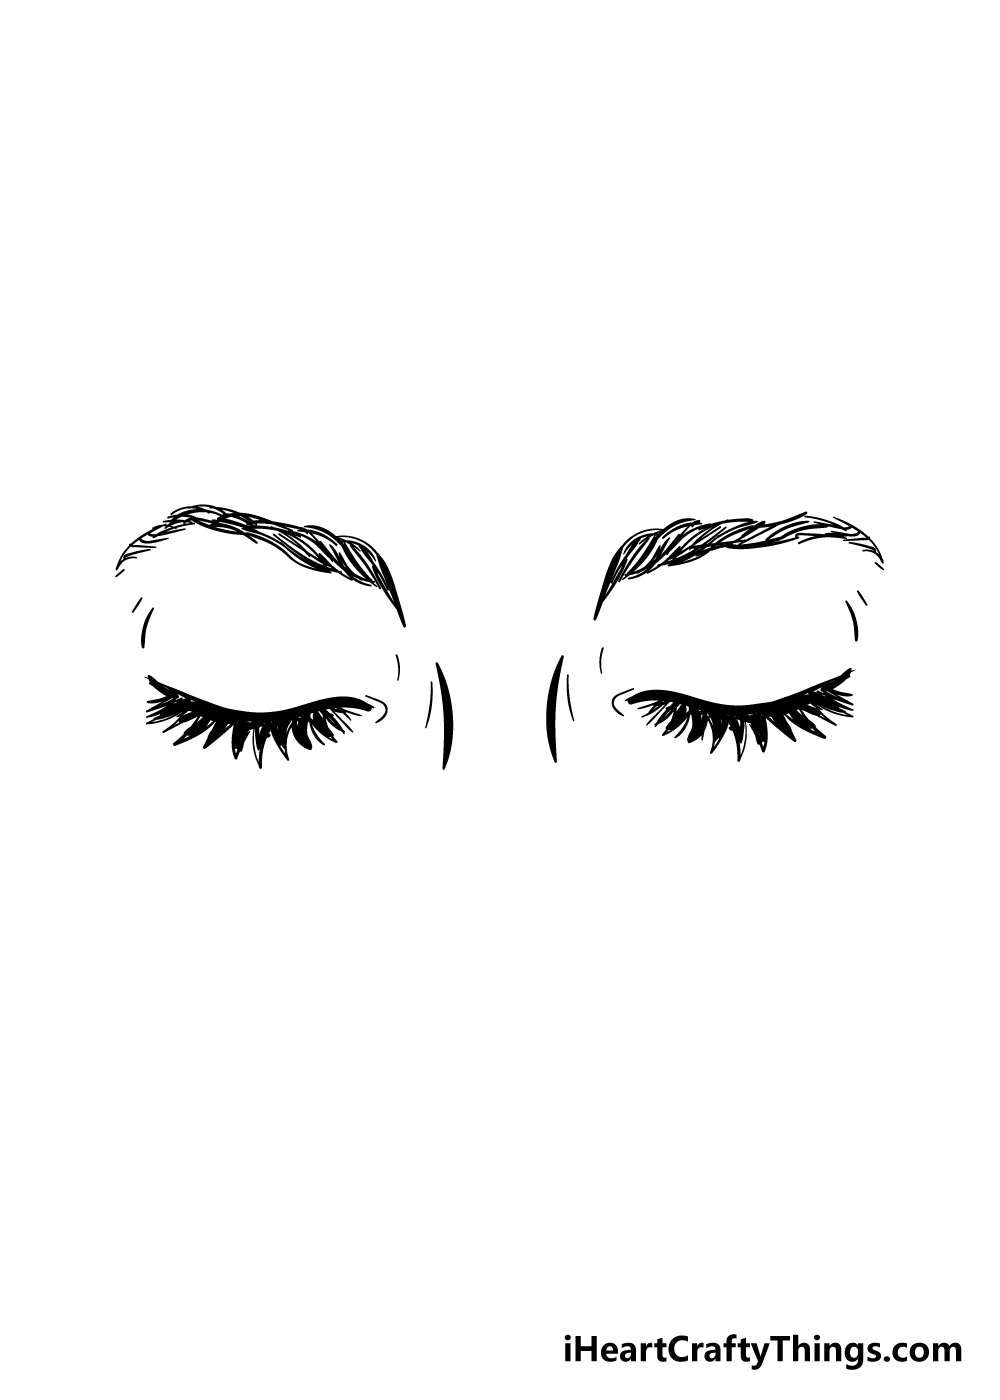
This fifth step of our guide on how to draw closed eyes will be all about adding some final touches, and you will also be able to put your own spin on the picture too!
For now, simply draw some eyebrows above the closed eyes.
These are drawn with a series of thick lines close together. To make things easier, you could draw the outline shape with a pencil first and then add the eyebrow lines within the shape.
Finally, you can draw some small, curved lines between the eyes and the eyebrows to show the eyes beneath the eyelids. That does it for our details, but you can still add some of your own as well!
When you drew the bridge of the nose earlier, we mentioned drawing more of the nose, and you could do that now.
If you’re feeling extra creative, you could even draw the rest of the entirety of the face as well. You could use your own face as a reference if this is something you would like to try!
How will you finish off this drawing before the final stage?
Step 6 – Finish off your closed eyes drawing with some color
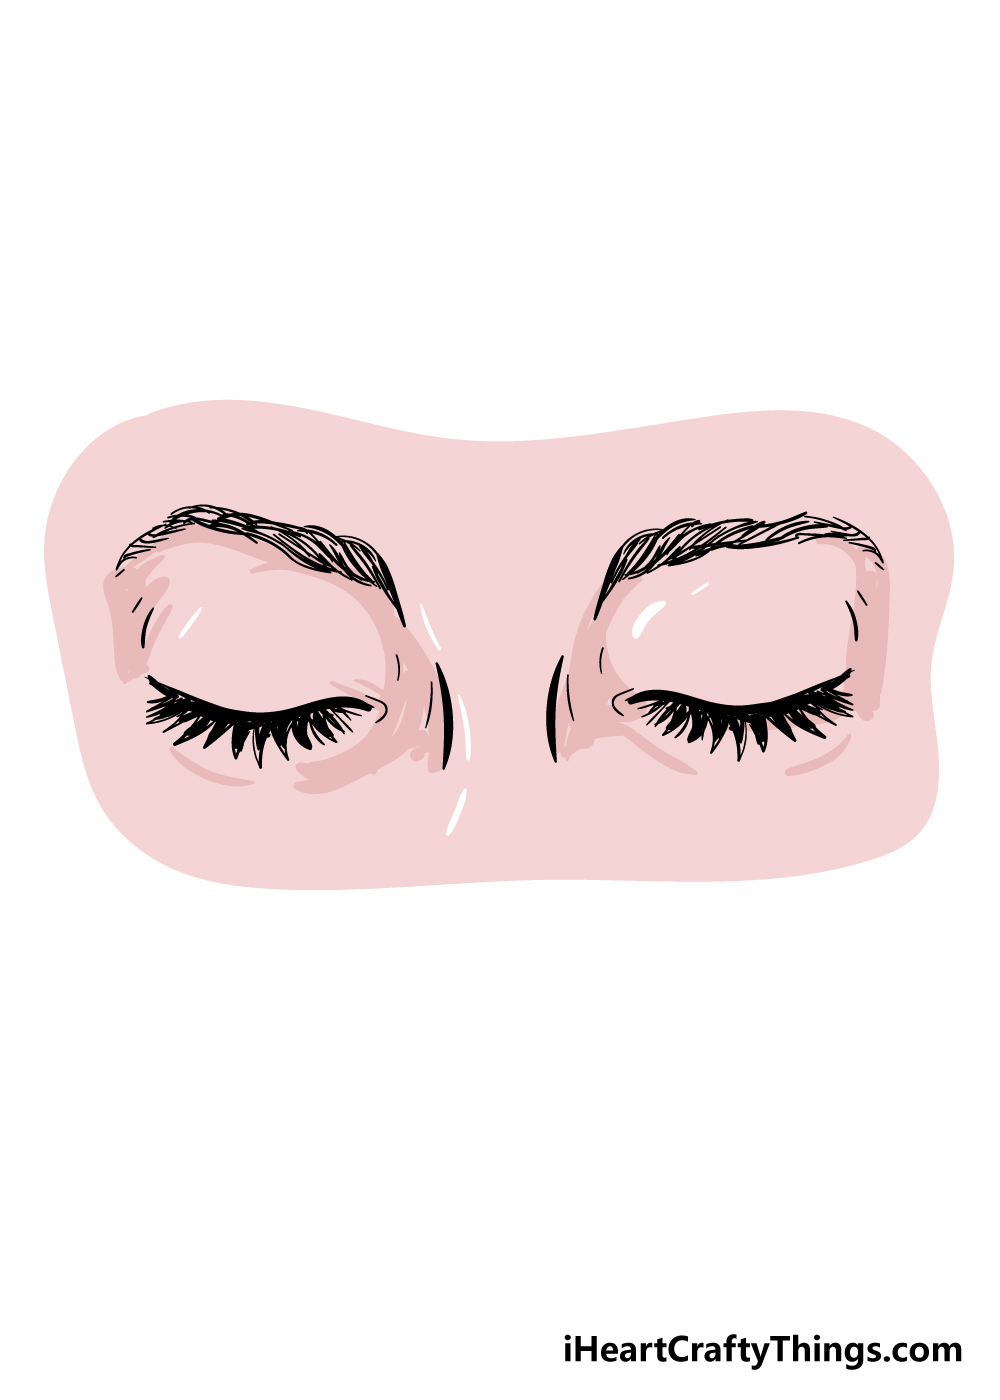
That brings us to the final stage of your closed eyes drawing, and this is where you get to be creative with some colors and fun art mediums!
We showed you one way that you can color in this image in our reference picture, but this is a stage where you get to take charge and get creative with your colors.
Maybe when coloring in this closed eyes drawing, you could use some of your favorite art tools to replicate your own skin color for this drawing!
If you drew the rest of the face using your own face as a model then this will be especially effective.
For skin color, using mediums like watercolor paints can be great to get more realistic tones, but there are many other mediums you could use that would also look great.
How will you color in this drawing you have done?
Do this to take your closed eyes drawing to the next level
Open your eyes to some great tips for your closed eyes sketch!
Now that you have mastered this closed eyes drawing, you could make some variations. For example, it could be interesting to make one eye open.
If you wanted to do this, then you could follow the steps from the guide as they are for the closed eye. Then, you could use a mirror and look at your own eye for the open one.
You could also use a friend or a family member as a model to help you out.
Even if you keep this drawing of closed eyes as is, you can still customize certain elements. For instance, you could change the shape of the eyebrows and eyelashes.
Not only that, but you could also change the colors of these elements as well as the skin tones. These changes could be pretty simple, but they can drastically change the look of these closed eyes.
We gave you a few ideas for how to alter the design, but what else could you do?
Another way to change the dynamic of this closed eyes sketch would be to create a new expression. Right now, the expression is fairly neutral.
This was done to make it easier to draw, but you may want to create different expressions. By changing the angle of the eyebrows you could make an angry expression, for instance.
You could also alter the expression by adding some lines to the eyelids and surrounding areas. Taking photos of people pulling various expressions can really help with this!
Finally, you could also really take this closed eyes drawing to new levels by adding some more of the face. This would depend entirely on how much of the face you wish to portray.
You could just draw more of the nose or maybe even show the mouth and face outline. If you were to do this, you could use a real person as inspiration for how the head will look.
Who would you use if you did this?
Your Closed Eyes Drawing is Complete!
You have reached the end of this guide on how to draw closed eyes, and you should be very proud of that accomplishment!
As we mentioned in this guide, drawing eyes is always challenging, so we hope that by following this guide you found it to not only be easier than expected but also lots of fun!
Now that you have completed this guide, you can keep it going by adding some of your own touches to it.
We mentioned drawing the rest of the face these eyes are on, but there are other things you could do as well.
Another idea would be to make a variation where one of the eyes is open while the other is closed! We can’t wait to see what creative interpretations you come up with.
Our website is full of awesome drawing guides like the one you just did, so we hope you will visit us there!
We upload new guides frequently, so visiting often is the best way to never miss out.
We would also love to see your finished closed eyes drawing, so please feel free to share it on our Facebook and Pinterest pages for us to enjoy!