A park is one of the most tranquil and relaxing locations that you can visit to unwind.
Whether you want to relax on a bench with a favorite book or throw a frisbee for a four-legged friend, there is a lot you can do to have fun in a park!
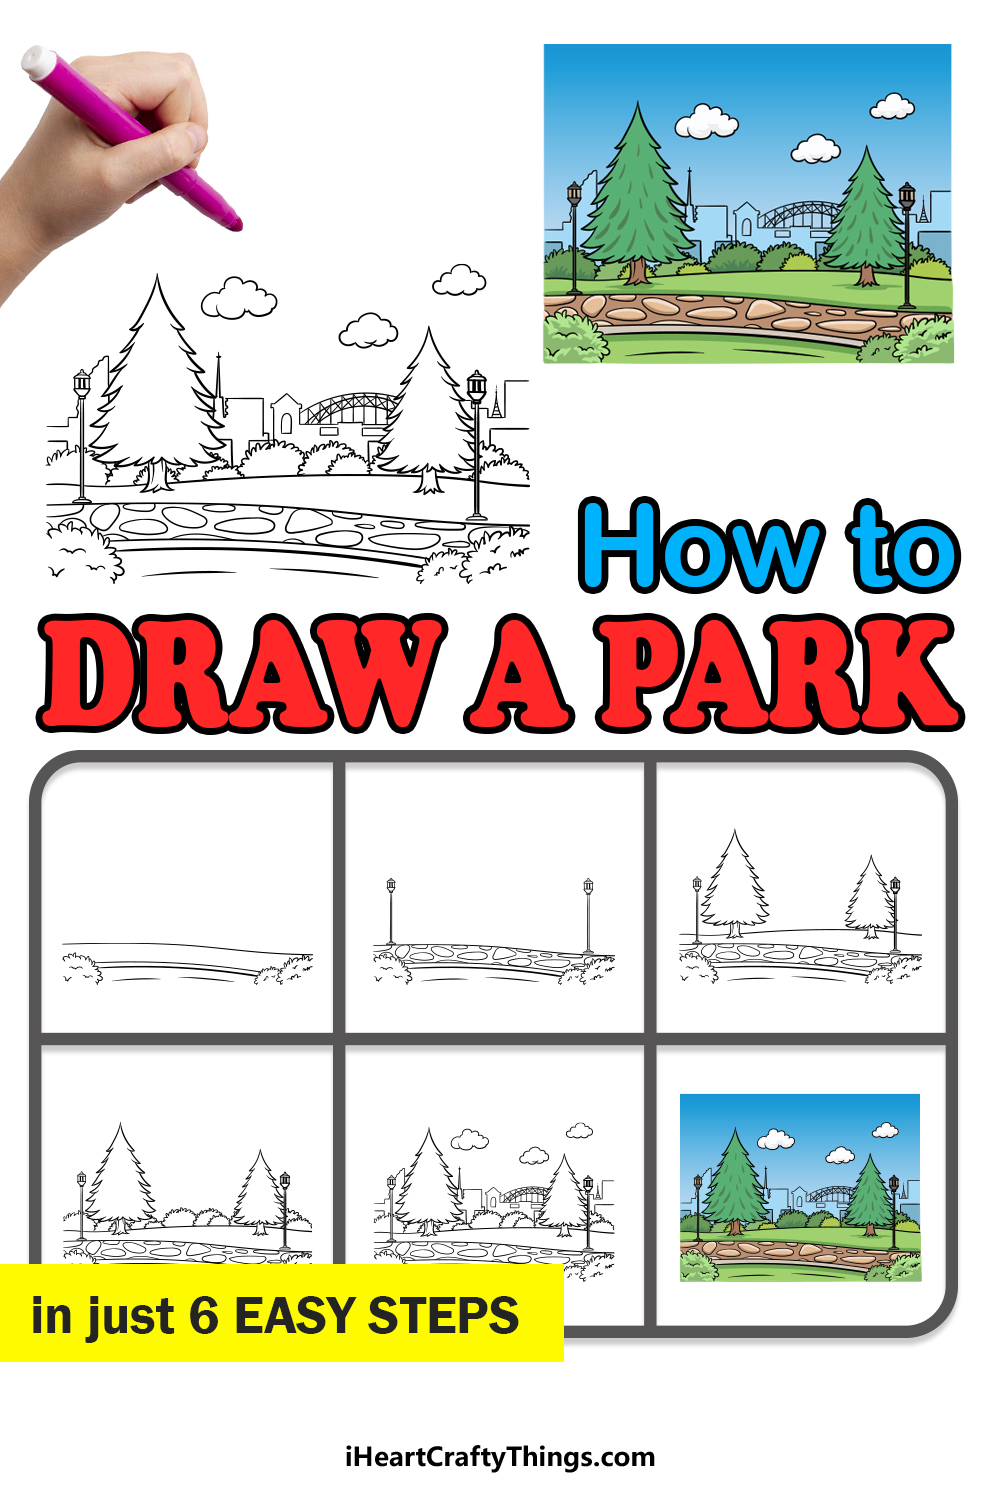
As fun as it can be to visit a park, it can also be lots of fun to learn how to draw a park so that you can create your own perfect location.
If you would like to design your very own perfect park, then look no further than this tutorial!
Our step-by-step guide on how to draw a park in just 6 steps will show you how easy and fun it can be.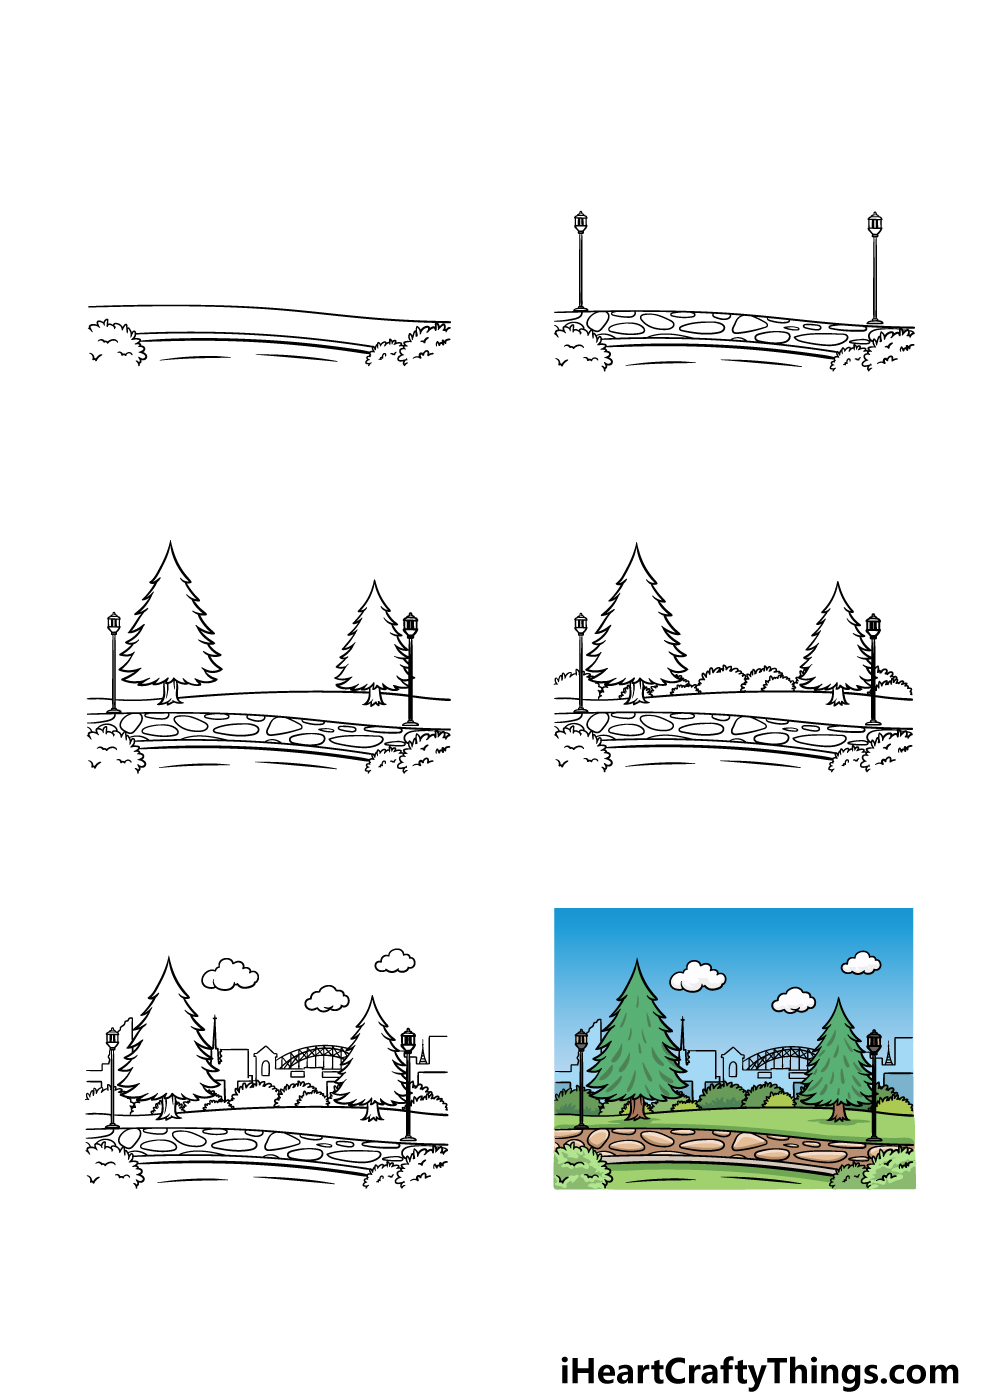
How to Draw A Park – Let’s Get Started!
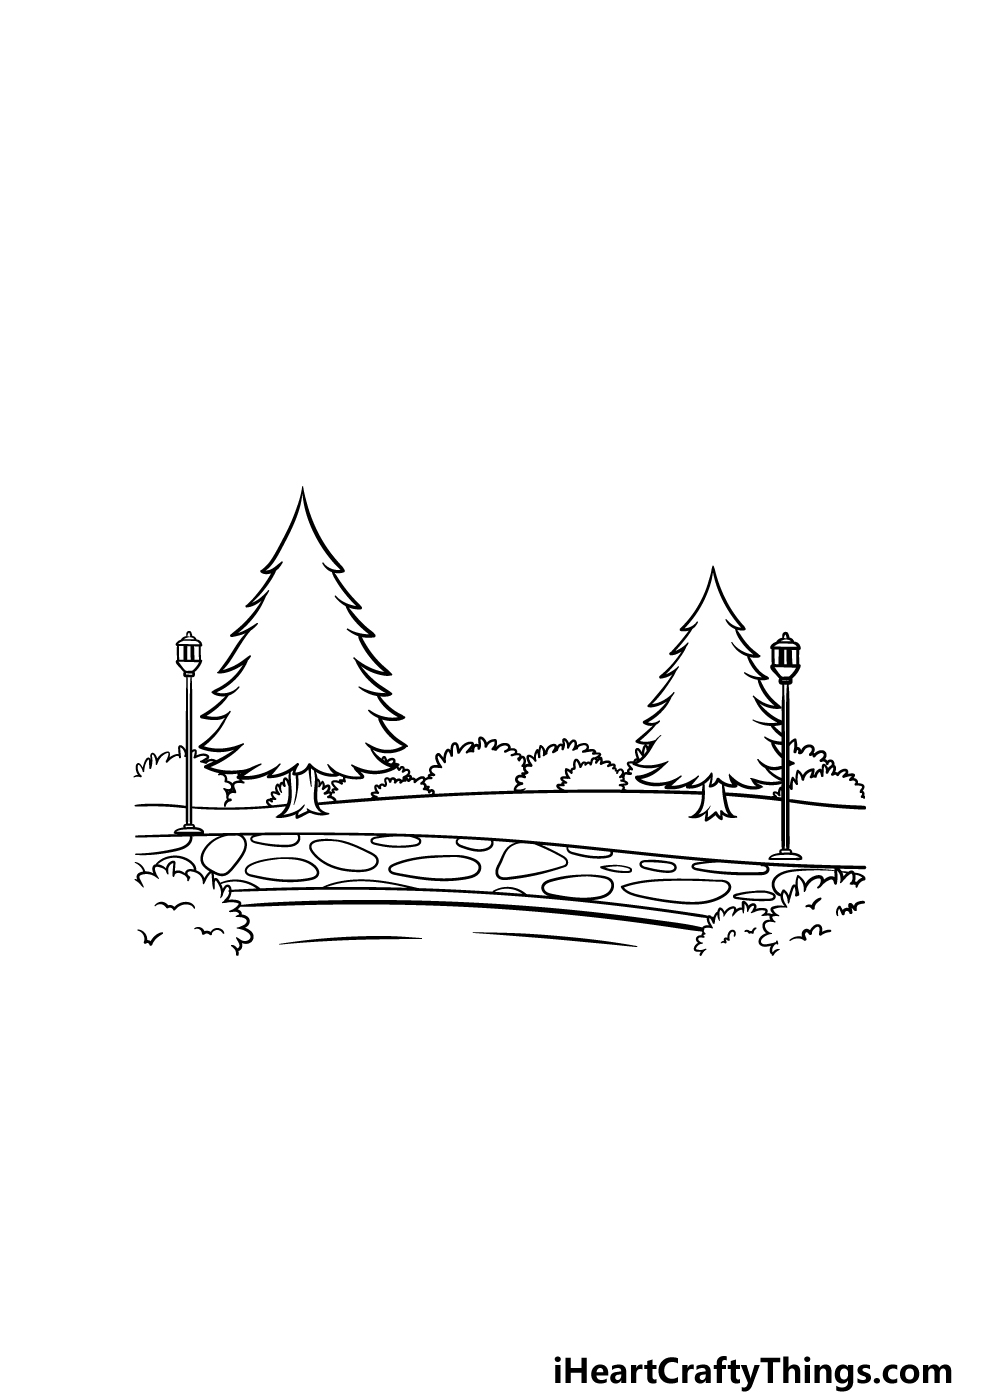
Step 1
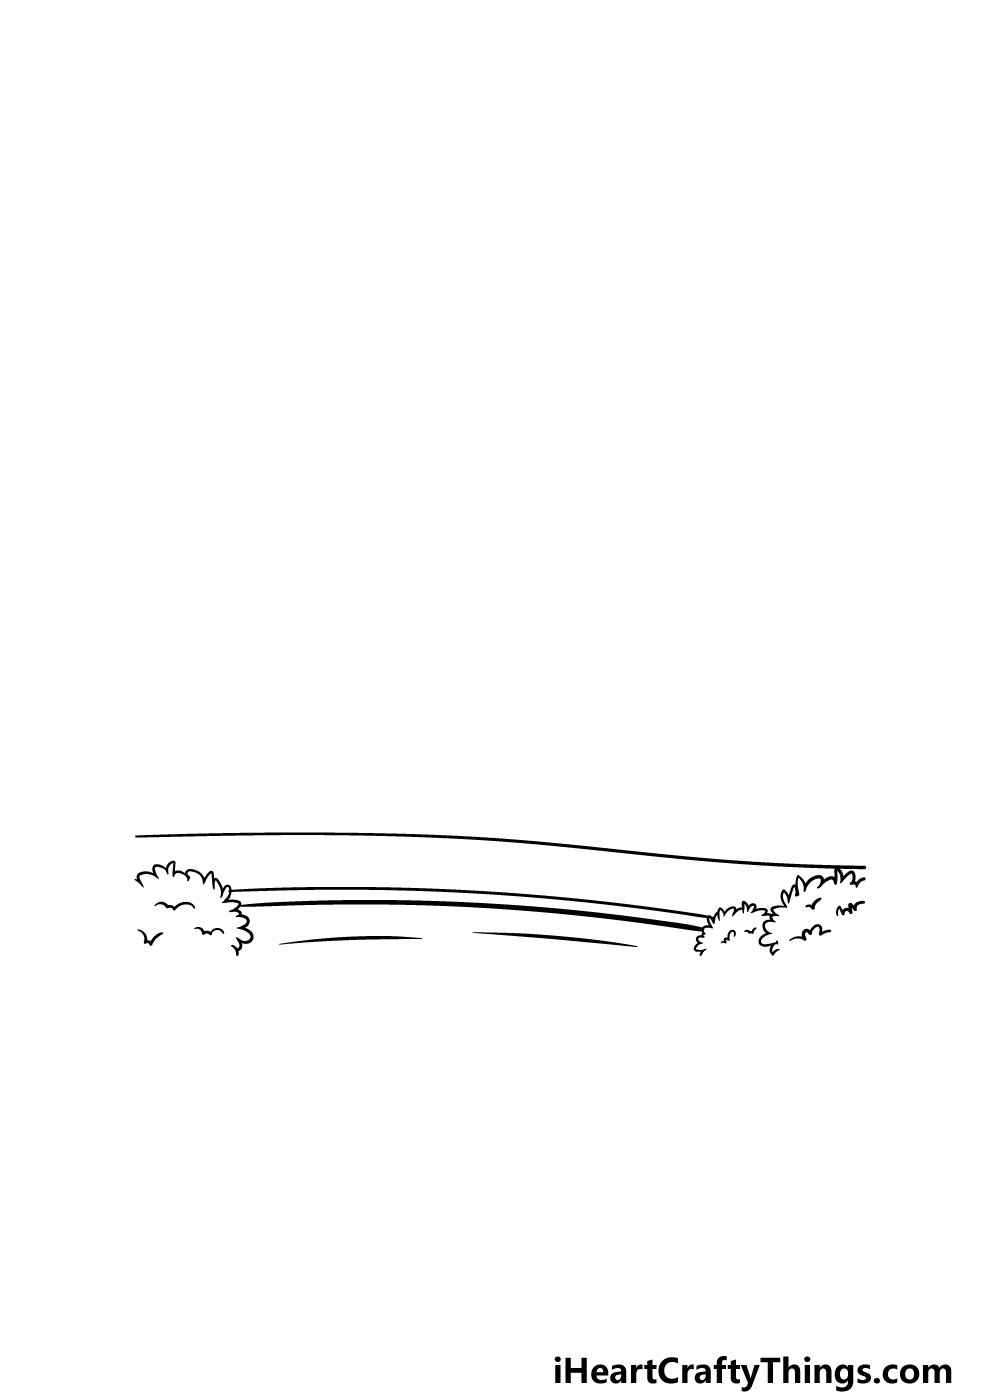
Throughout this guide on how to draw a park, we will be building up individual elements to create this wonderful park.
To do this, we will be working in layers starting from the bottom and moving up. First, we will begin by using some bumpy lines for some small bushes in the foreground of the image.
Once you have drawn these bushes, we will then be adding some simple curved lines nearby to them for some ground details.
Then, we will be drawing some longer curved horizontal lines for the start of the pathway that we will soon be adding to. Once you have this pathway outline drawn, we can start adding some of those details in the next step.
Step 2 – Next, start drawing some details and streetlamps

In this second part of your park drawing, we will be drawing some details for the pathway that you began earlier.
We will be going for a cobbled look for this pathway, and that effect can be achieved with some irregular round shapes all along the pathway.
Once you have drawn these rock details, we will be adding two streetlamps to the side of the pathway.
You may want to use a ruler for the poles these lights are on, and then finish off by drawing the top of the lamps.
Step 3 – Draw some trees and details for the park
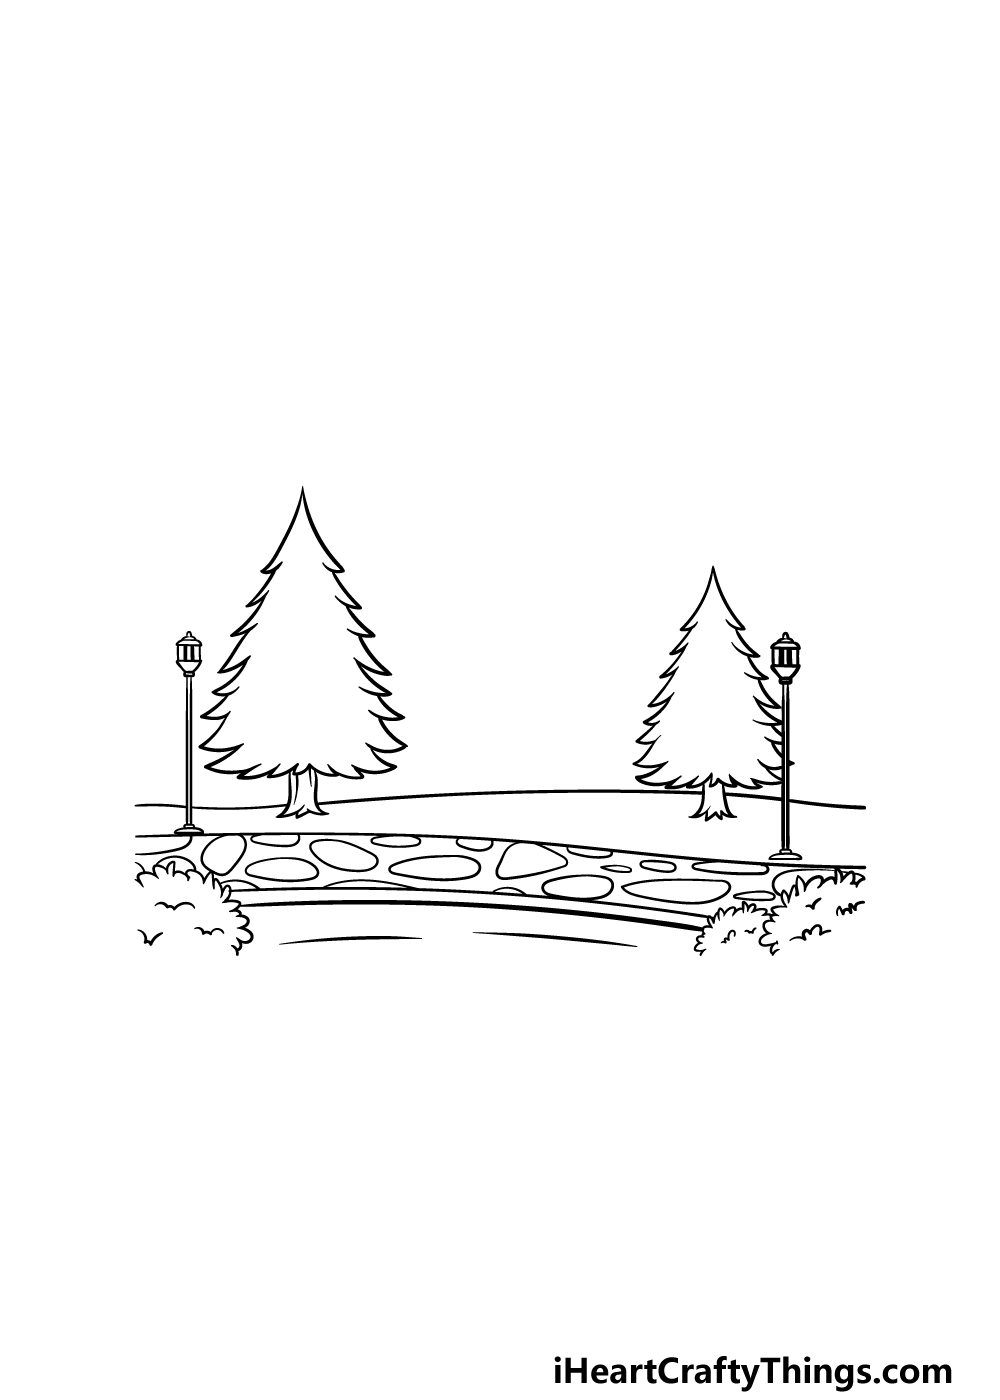
Parks will usually have some trees and other plant life growing in them to make them even prettier and provide some shade.
In this step of our guide on how to draw a park, we will be adding some lovely pine trees to the location.
These trees will have some short, slightly curved lines for their trunks, and then you can draw the rest of the trees using some more curved lines that curve into sharp points.
As shown in the reference image, they will also get thinner the further you go up. Finally for this step, you can then draw another slightly wavy horizontal line near the base of the trees for more of the landscape.
Step 4 – Now, add some little bushes to the scene
We mentioned earlier that parks will often have a lot of plant life growing in them, so for that reason we will add some little bushes to the image.
These bushes will be drawn with similar line-work to the ones that you drew in the foreground earlier.
These bushes will be more numerous, however, and you can add a row of them to that wavy horizontal line that you drew in the last step.
You could also change up the size and design of these bushes if you would like to personalize the image a bit!
Then we will move on to the next step where we will be finishing off the final touches.
Step 5 – Finish off your park drawing
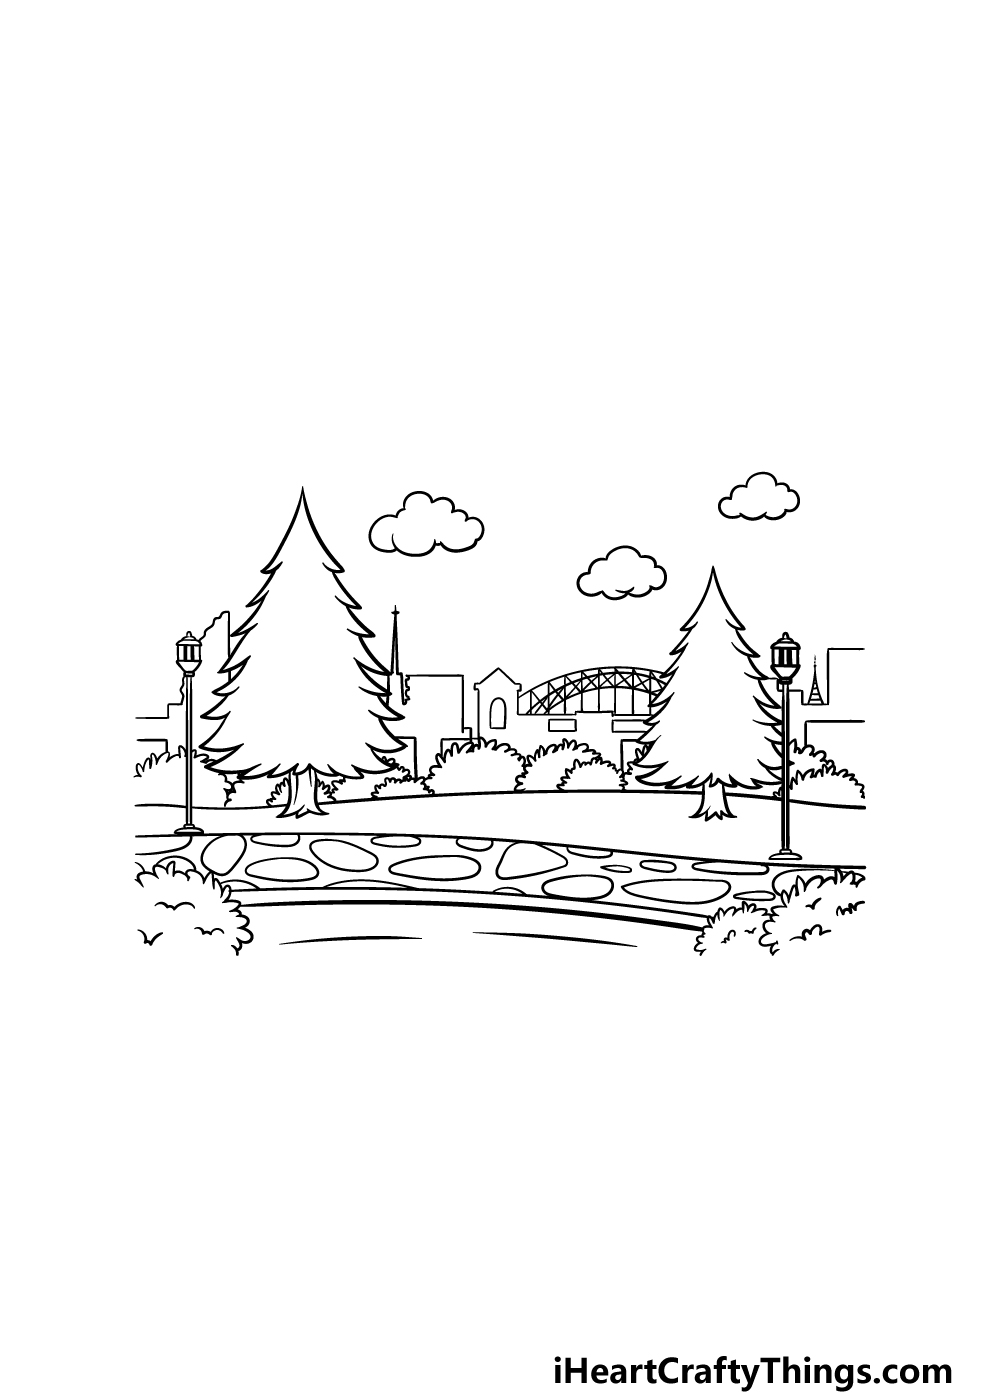
In this step of our guide on how to draw a park, we will be finishing off by drawing a great city backdrop for the park.
We used a combination of smooth curved and straight lines to create a backdrop of skyscrapers and even a church steeple. We also added a wire bridge by using some more curved lines, and then we finished off by adding some fluffy clouds above the city.
That will finish off our detail choices, but you could change it up a bit to suit your own preference!
One fun touch would be to change the city in the background to have some features of the city or town that you live in. You could also add some fun additions such as people walking in the park or some more features.
These are just a few of the ideas we have presented as possibilities for how you could personalize this image, but what else can you think of to finish it off?
Step 6 – Finish off your park drawing with some color
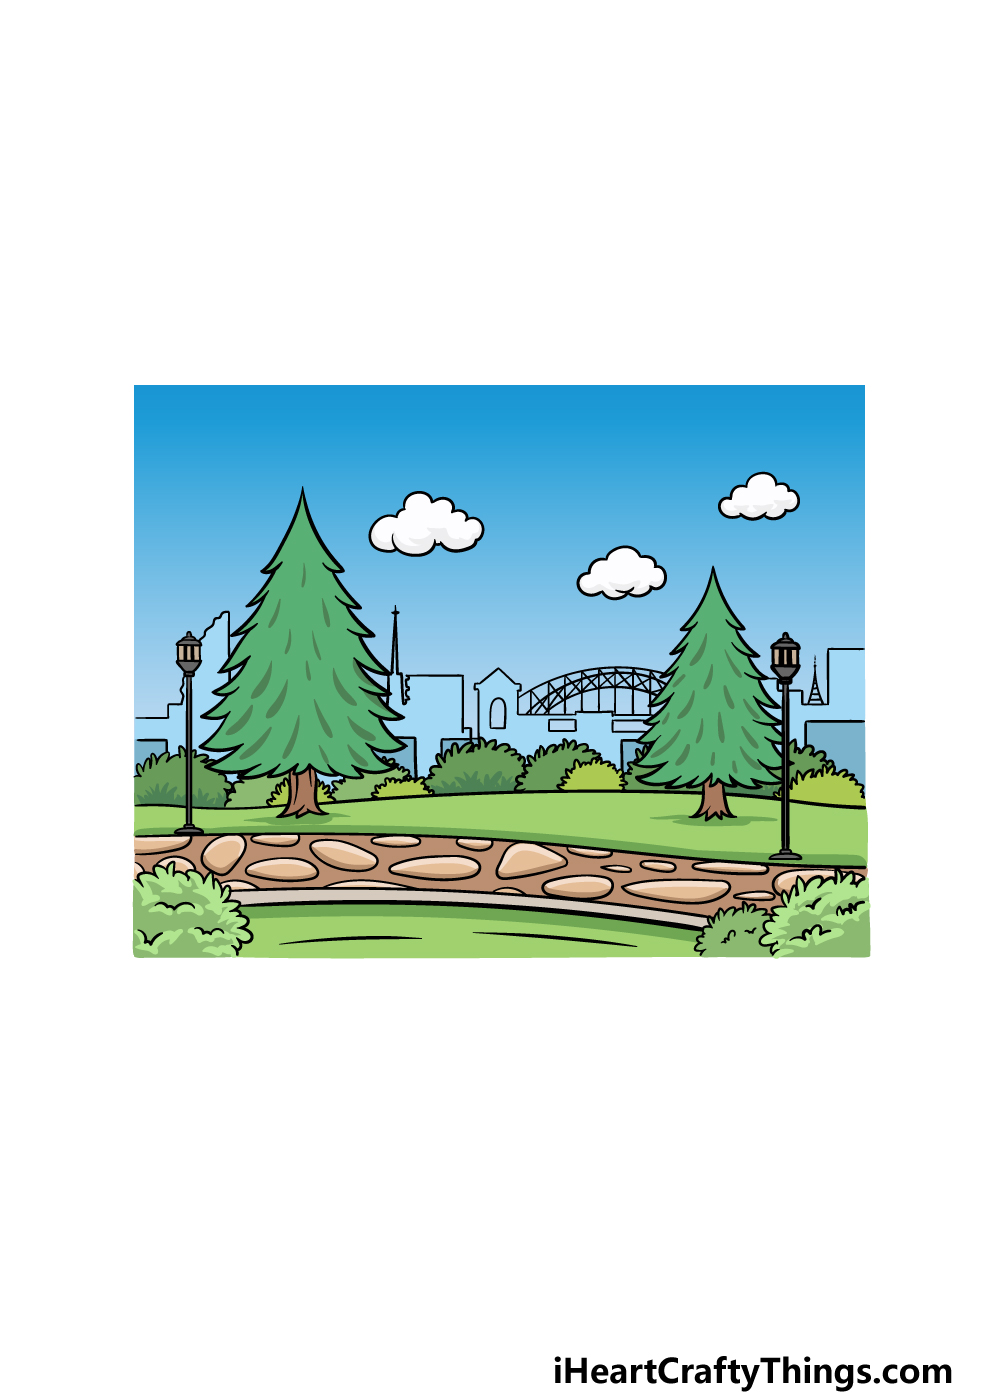
All this park drawing needs now are some incredible colors to finish it off! In our example image, we used various shades of green for the plants and trees.
We also incorporated some browns for the tree trunks and pathway, and then finished off with some lovely blues for the sky.
These are the colors that we chose, but you could also use different ones that you may prefer! You could even change the weather for the image by adding some greys to the skies, for one idea.
Which colors and art mediums will you use for this image?
Here’s how you can make your park drawing even better…
Relax and create a peaceful park sketch with these 4 fun and easy tips!
If you visit a real park, you are likely to encounter a few types of animals. You could add some of these animals to your tranquil park drawing!
Some of the most common ones to see at a park would be squirrels. They could be drawn in all kinds of fun poses and scenarios!
Other animals could include ducks, pigeons or maybe even raccoons. These are just a few animals you could use, but what else could you add to the scene?
A bench in a park is a great place to sit and relax, and you may want to add one to your drawing of a park. This is just one example of a feature that would improve any park!
A bench is just one idea, but you could also add features like seesaws and other fun things for kids to play with. If you were in charge of making your very own park, what would you add to it?
It’s great when a park is buzzing with activity, so it would be fun to add some humans to the image! They could be getting up to all kinds of fun activities as well.
You could draw a family having a picnic, or maybe have someone playing the guitar. It would be up to you to decide how many people you would like to add and what they could be up to.
What kinds of scenes would you like to create?
It would also be fun to try out some interesting colors and art tools for your park sketch. We showed you one way to color in your creation in the guide, but this is just one of many options.
If you want a nice soft look then watercolors and colored pencils would be perfect. Otherwise, you could try acrylic paints and colored pens for a brighter look.
It all depends on the kind of scene you want to create, so how will you color in your artwork?
Your Park Drawing is Complete!
Now that you have arrived at the end of this guide on how to draw a park, you have your own personal park to enjoy!
When taking on a drawing such as this, it can always be made easier and even more fun when you have it broken down into steps and layers.
That is what we attempted for you in this guide, so we hope that it was made easy and fun for you to do!
Now you can personalize this picture even further to create your ideal beautiful park. Have fun getting creative with it and see what happens!
Then you can check out our website for more awesome drawing guides and other fun! We upload new guides frequently, so there’s always something new to enjoy.
You can show us how your park drawing came out by sharing it on our Facebook and Pinterest pages. We hope you will do so, as we would love to see your artwork!