These days, there are a seemingly endless amount of superheroes in our various forms of media. Some manage to stick out from the crowd regardless, and the Miraculous Ladybug is certainly one of these!
This young French superhero has to balance her love of fashion with the double life of also being a superhero.
She also has many fans around the world, and it can be lots of fun for those fans to learn how to draw Miraculous Ladybug.
For those fans, this guide should be perfect for you!
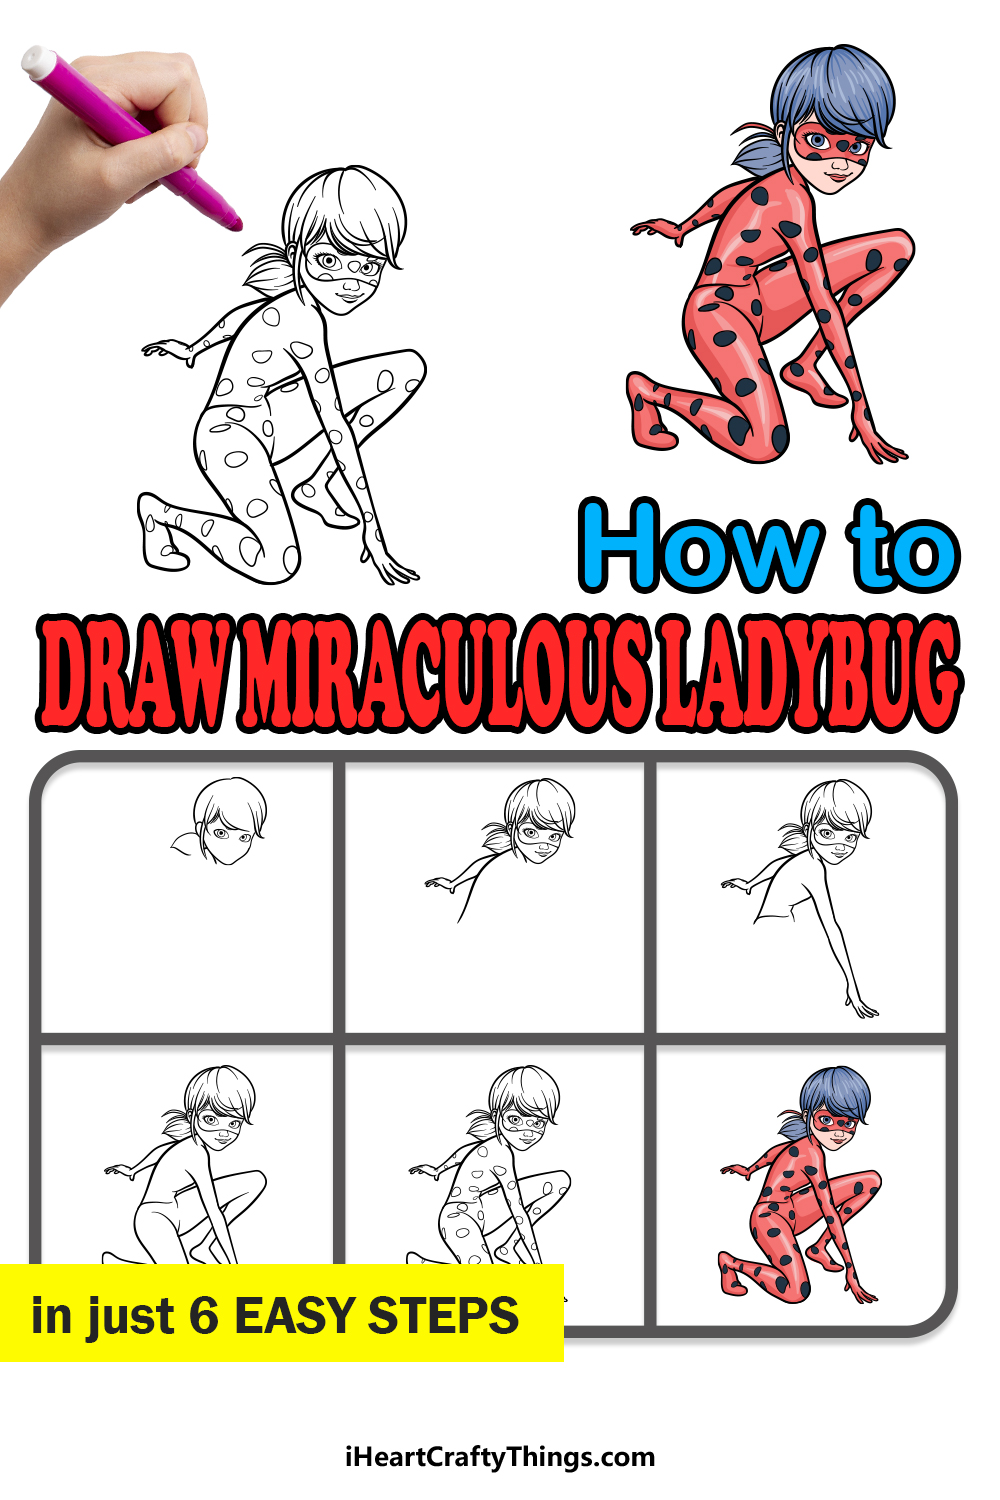
Our step-by-step guide on how to draw Miraculous Ladybug in just 6 steps will have you creating awesome artwork featuring this superhero in no time!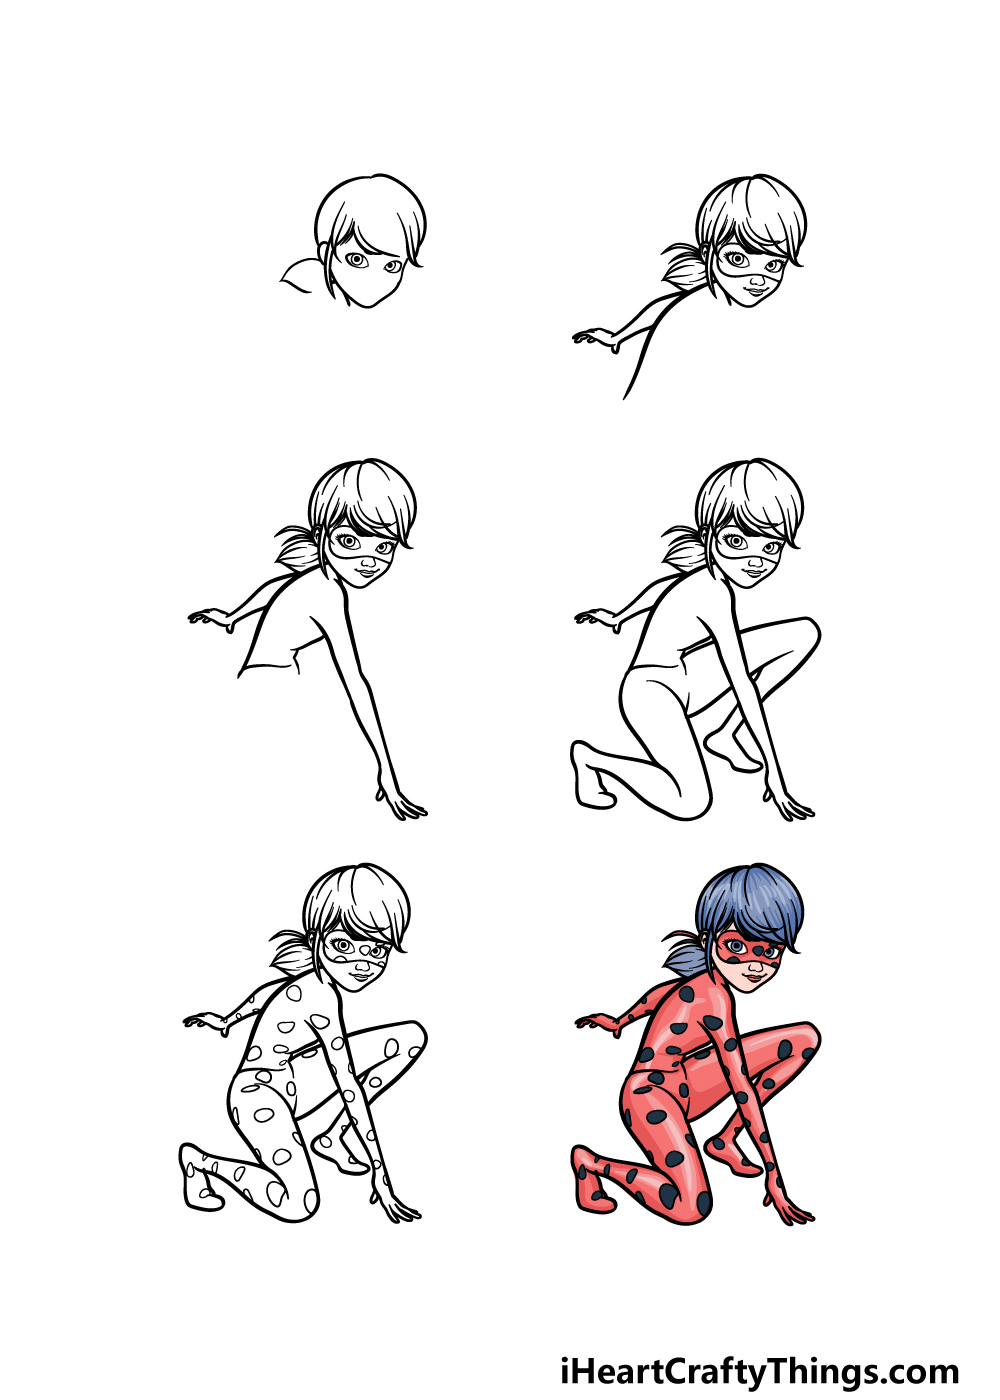
How to Draw Miraculous Ladybug – Let’s Get Started!
Step 1
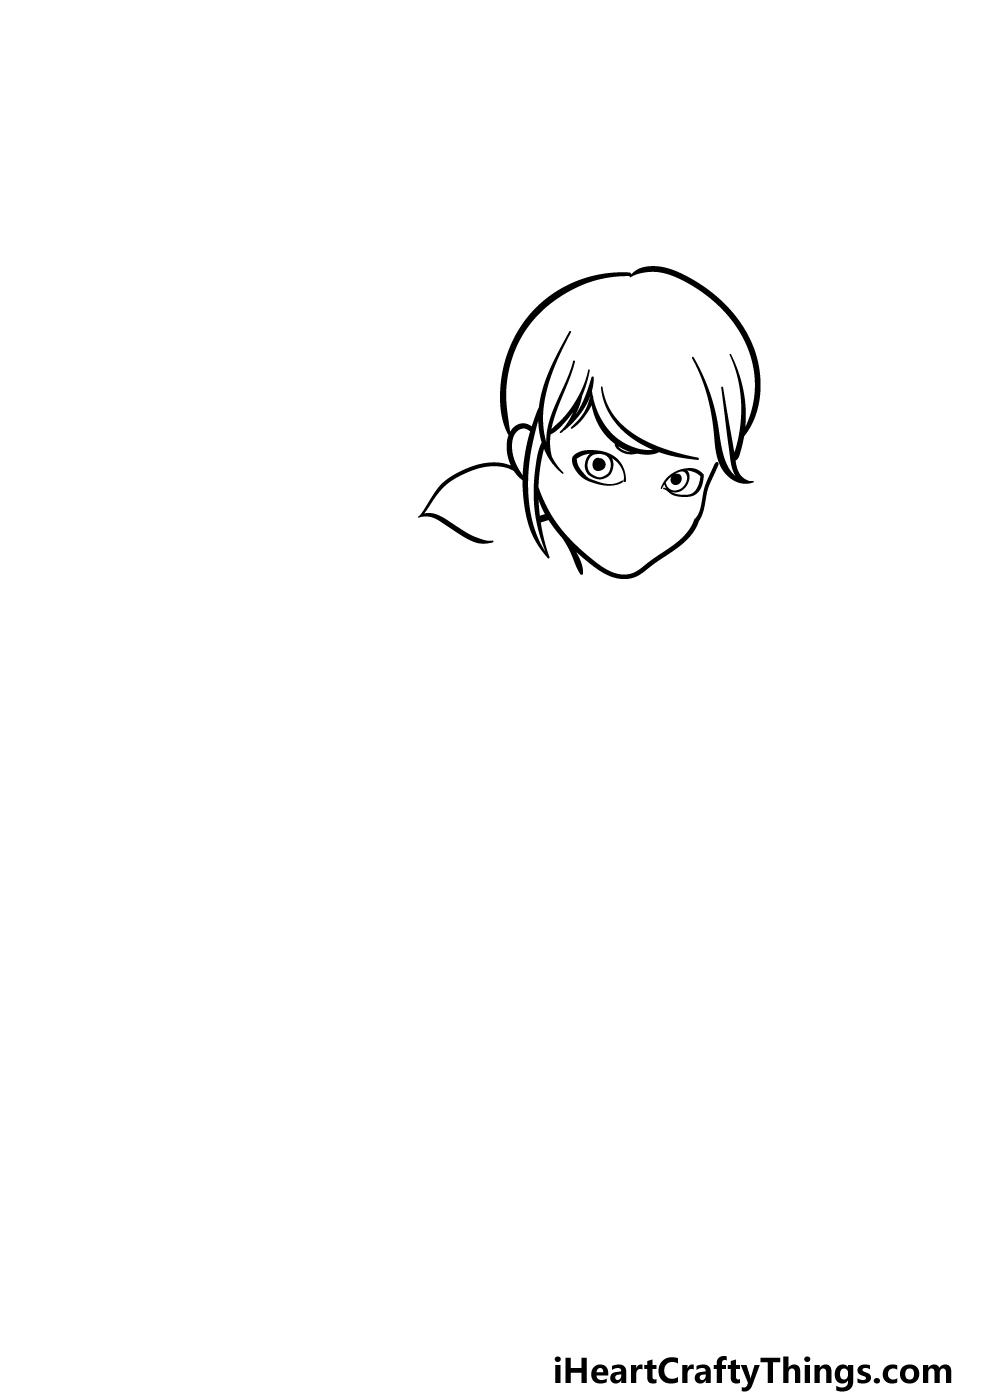
We shall start with the head and face of this superhero for the first step of our guide on how to draw Miraculous Ladybug.
You can start this by drawing two oval shapes with slightly pointy sides for her eyes. Then, her pupils can be drawn as two circles with relatively large dots inside of them.
Next, we will be using some curved lines to draw her jaw and face outline underneath her eyes.
Once those aspects are drawn, you can finish off by using some more curved and rounded lines for her hairstyle above her face. Then we will be ready to move on to step 2!
Step 2 – Next, draw some detailing and add her first arm
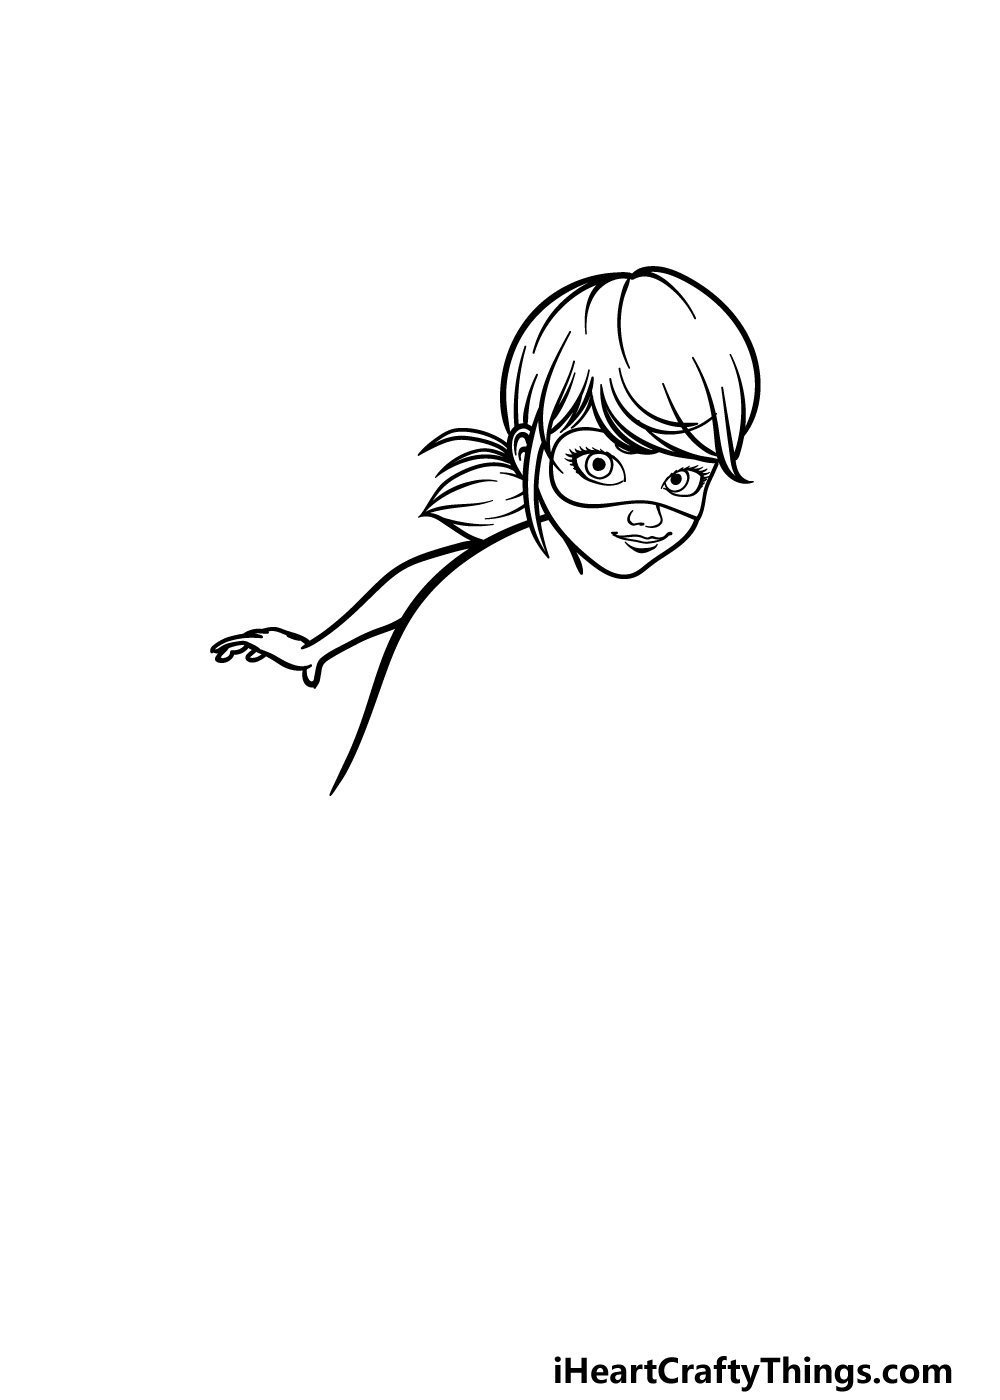
This second step of your Miraculous Ladybug drawing will see you adding some detailing to her face while also adding her first arm. First, draw a rounded shape around her eyes for the mask that she is wearing.
Her nose and mouth can then be drawn under the mask to finish off her smiling face. We will then be adding lots of curved and rounded lines to her hairstyle to give it more flow and detail.
You can finish off this step by using a thick curved line coming down from the back of her head for her back, and then draw her arm sticking out.
Step 3 – Draw the other arm

For the third step of our guide on how to draw Miraculous Ladybug, we will be adding her other arm outline.
In this picture, she will be striking a cool pose, so this arm will be extended to have her leaning on it.
The shoulder for the arm will start just underneath her face, and then you can extend some slightly curved lines down for the arm shape.
Once you have drawn the arm as it appears in the reference image, we will be ready for the next part.
Step 4 – Now, draw her leg outlines
We will be finishing off the outline for your Miraculous Ladybug drawing in this next step. That means that we will be drawing her leg outlines for this part.
As we touched on earlier, we will have Miraculous Ladybug in a cool pose for this image, so she will be leaning on her legs in such a way as to complete this action pose.
She will be leaning on the knee of one of the legs while the other will be extended in the air.
Then you will be ready to add some final details and touches in the next part!
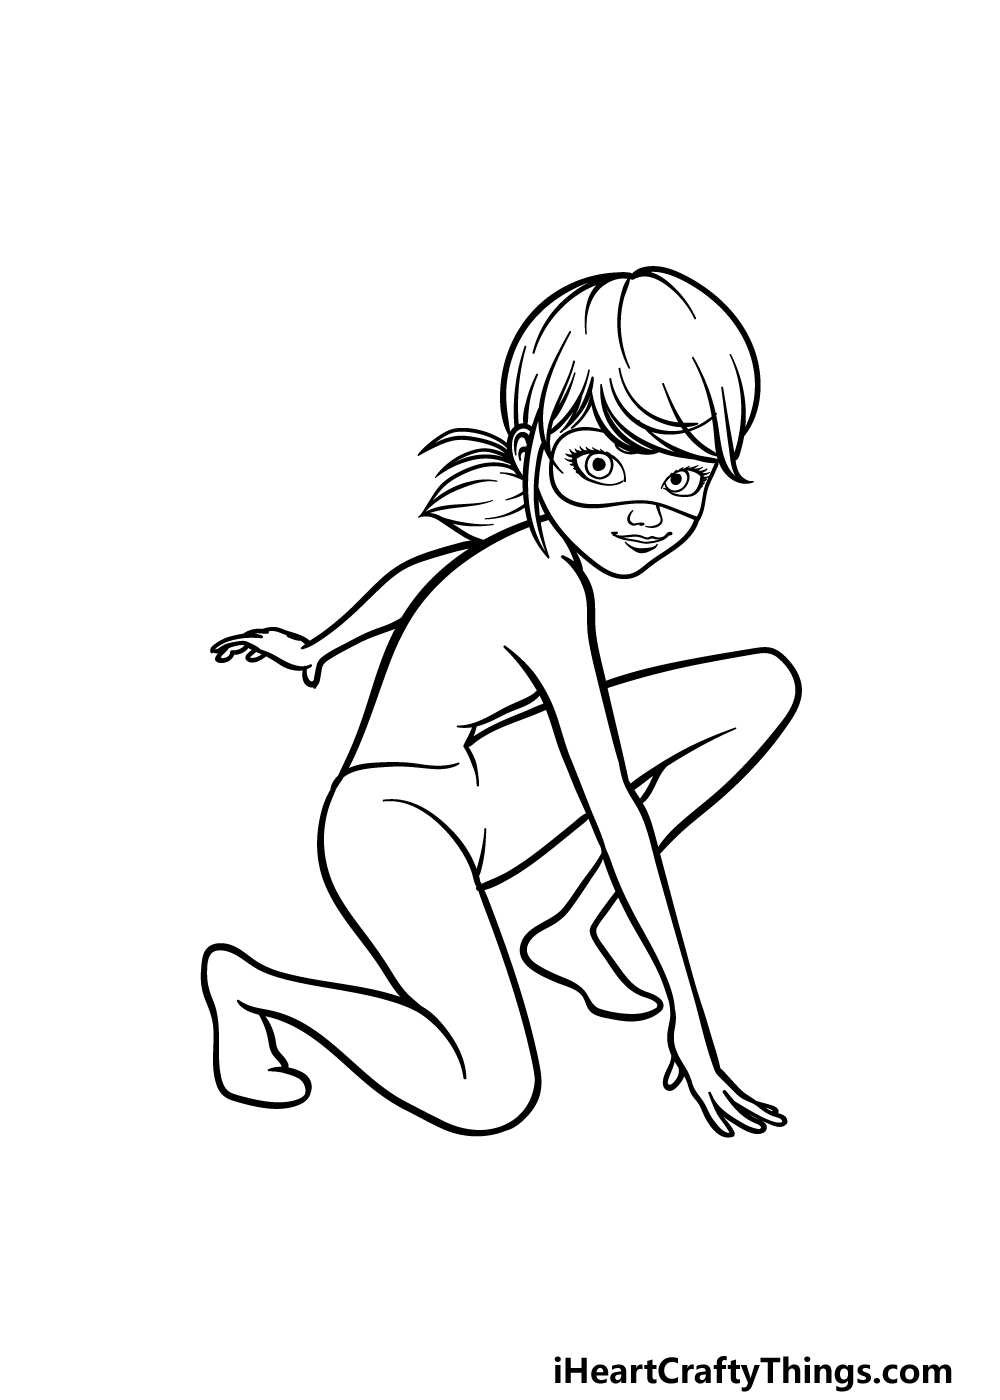
Step 5 – Finish off your Miraculous Ladybug drawing

This fifth step of our guide on how to draw Miraculous Ladybug will be all about adding some final details to this superhero to prepare you for the final step.
As is suggested by her title, this superhero is going for a bit of a ladybug theme! To suit that theme, we will be adding lots of spots throughout her outfit.
You can draw these with some simple round shapes all throughout her suit and mask.
Once these details are drawn, you can then add some cool details and elements of your own to add your own personal touch to the image.
There are lots of great ideas that you could go for in order to do this. One idea would be to draw in her superhero ally, Cat Noir.
You could also draw a background to show off your favorite Ladybug moment!
These are just a few ideas you could try, but what else can you think of to finish off this image?
Step 6 – Finish off your Miraculous Ladybug drawing with some color
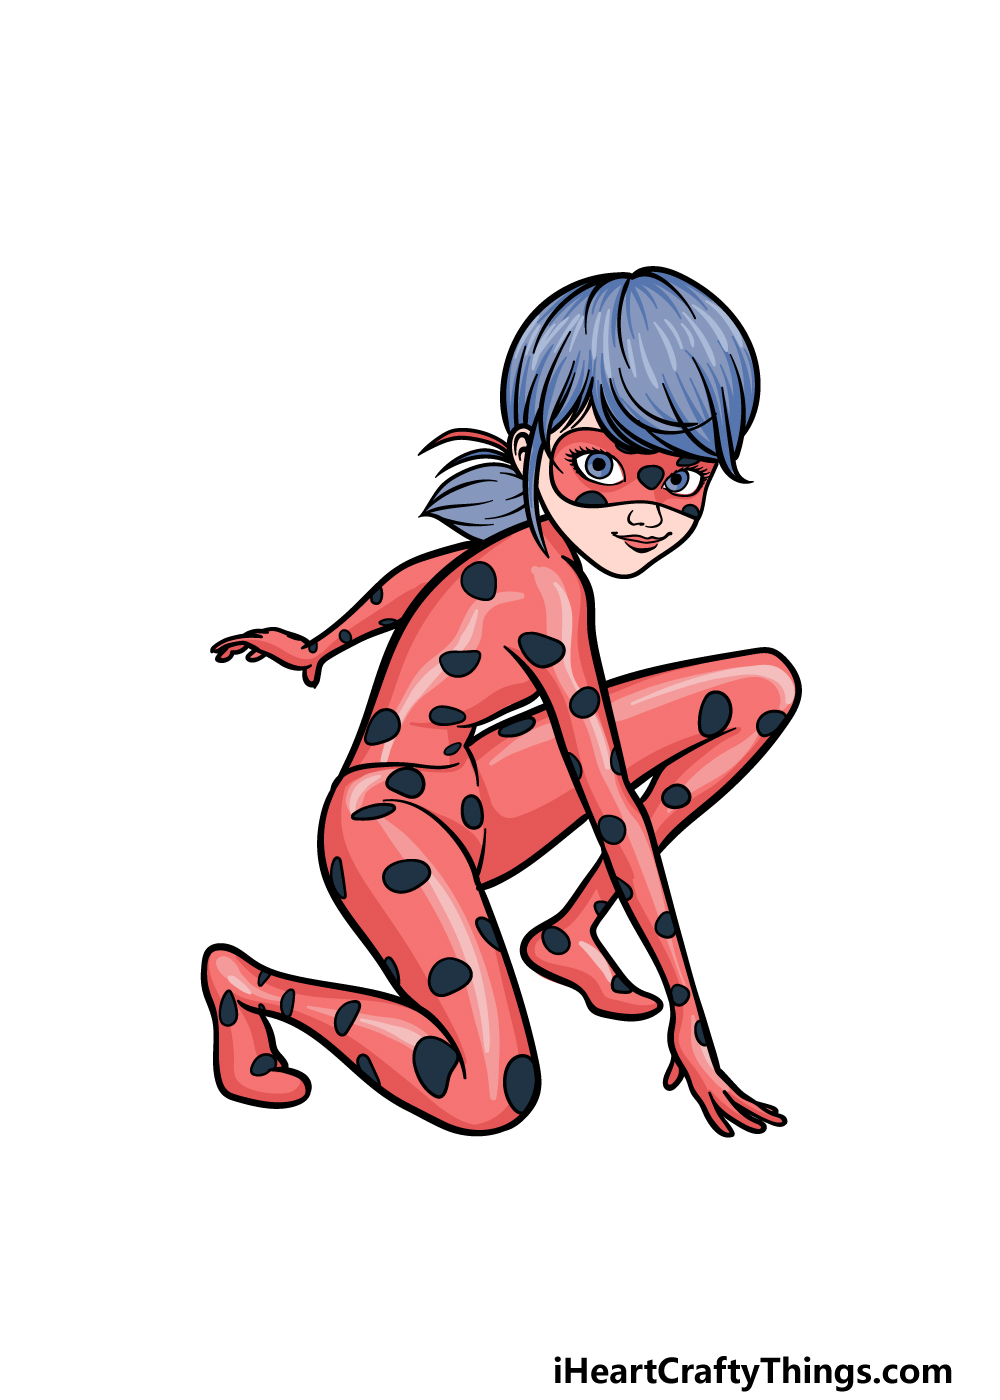
This is the final step of your Miraculous Ladybug drawing, and in it we shall be finishing off with some amazing colors!
We will continue the ladybug theme to her outfit by using the same colors she sports in the show.
That means that there will be lots of bright reds for most of her outfit along with black for her various spots. We also worked in some highlights of pink throughout the red of her outfit to give it an even more vibrant look.
These are the colors and shades that we went with, but you could change it up a bot for your own Miraculous Ladybug variations!
Then, you can choose which art mediums and tools you will use for the image. If you would like it to be nice and bright like our reference picture, then you could use something like acrylic paints or colored markers.
These are just two mediums you could use, and anything you use will look great!
Do this to take your Miraculous Ladybug drawing to the next level
Save the day with these tips on making your Miraculous Ladybug sketch even better!
The title character we recreated in this Miraculous Ladybug drawing is just one hero from the series. She may be the main character, but she is joined by her fellow hero Cat Noir in many adventures.
He is an example of one of the characters from the series that you could add to this picture! There are also many other heroes and villains that you could add to the artwork.
Using the show to inspire you, you should certainly feel free to add any of your favorite characters!
Now that you have mastered this particular drawing of Miraculous Ladybug, you could try to show her in other poses.
She is striking a hero pose here, but there are many other cool poses you could show off.
It could be as simple as showing her with her hands on her hips. You could also have her doing an upward punch as she battles a villain.
These are just a few of the ideas you could go with, but what other poses could you show off?
The Miraculous Ladybug persona is the alter ego of teenager Marinette. One cool way to bring a new angle to this Miraculous Ladybug sketch would be to add her in her normal look.
The civilian look for Marinette could be standing beside her to show off the contrast. It’s another case of where the show could help you out as you draw this addition!
If you added Cat Noir, you could add his alter ego as well.
Finally, you could finish off your Miraculous Ladybug drawing with a background. The series is set in Paris, so that gives you a beautiful backdrop if you want to show the city in the background.
If you have some specific scenes you love from the series, you could use the backgrounds from those scenes to recreate them. What are some background settings you could use for this picture?
Your Miraculous Ladybug Drawing is Complete!
You have completed all six steps in this guide on how to draw Miraculous Ladybug, and you have an awesome picture to show for it!
We hope that the steps in this guide made it fun and easy for you to complete this image and show your love for this character.
Once it is complete, remember that you can also add some touches and details of your own, such as additional characters or a cool background. You can also change up the colors and mediums that you use for it!
When you’re ready for more, you can check out our website for more great drawing guides to enjoy. We have more on the way, so be sure to keep checking in!
Please also be sure to share your Miraculous Ladybug drawing on our Facebook and Pinterest pages. We would love to see your creation!