There are always lots of signs that start popping up that show that Christmas is around the corner.
Christmas trees are one of the most notable signs of the Christmas season, but as December 25th approaches there are also bound to be lots of ornaments popping up all over.
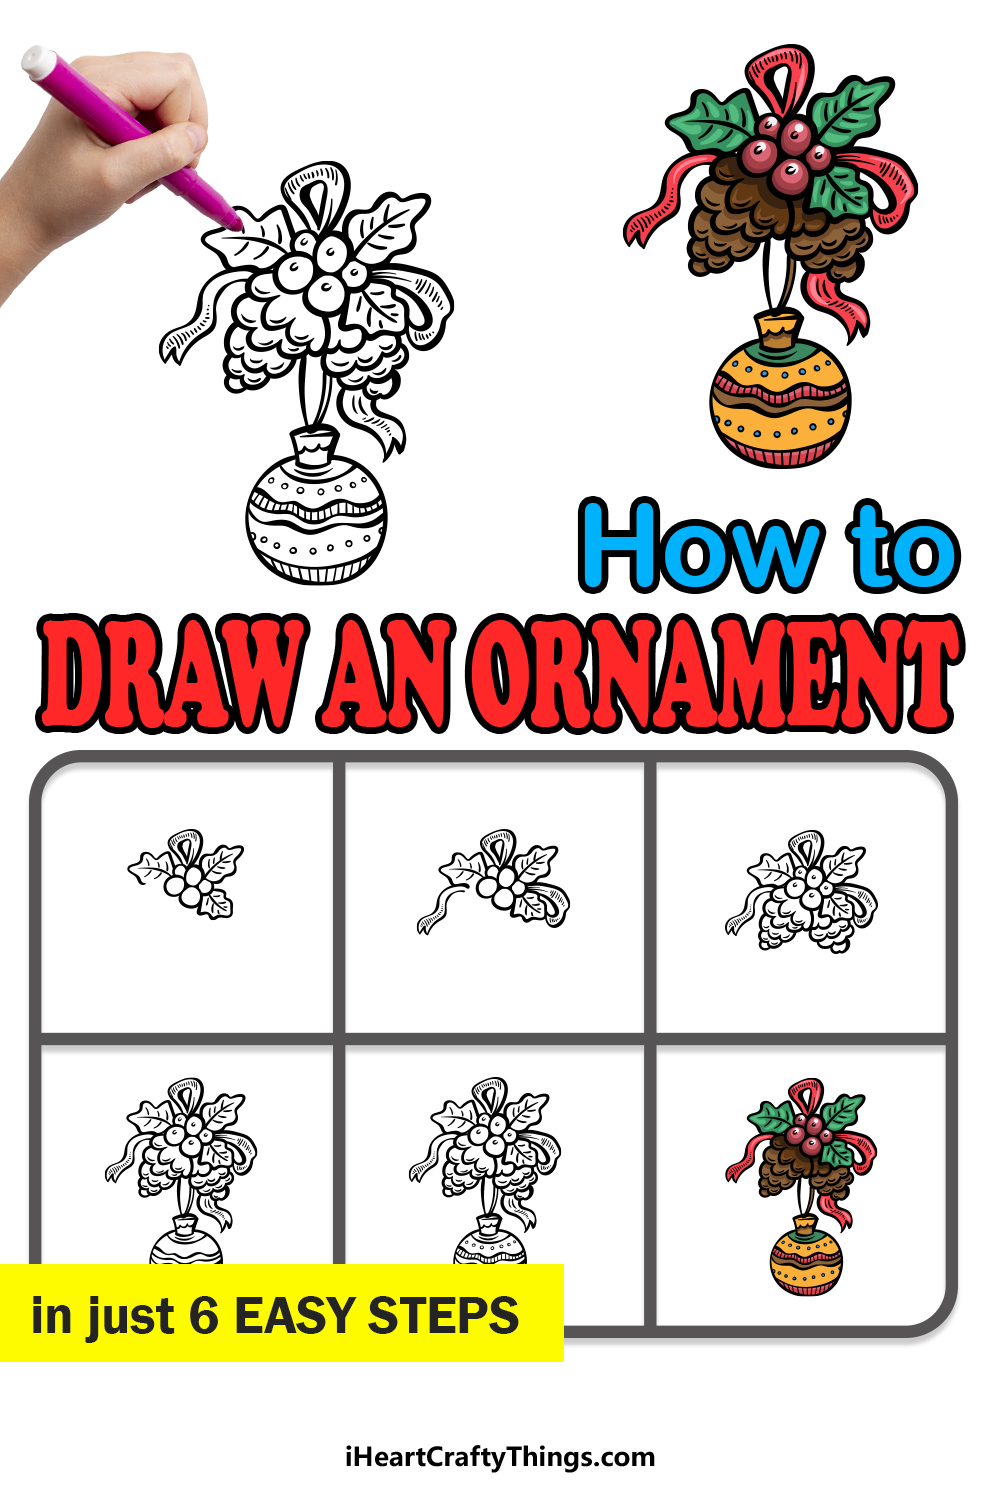
These can come in many different variations and forms, and learning how to draw an ornament can be a great way to imagine what you would like to display for Christmas time.
If you would like to design your own festive ornament, then this is the guide to be on!
Our step by step guide on how to draw an ornament is the perfect way to get some Christmas spirit into your day!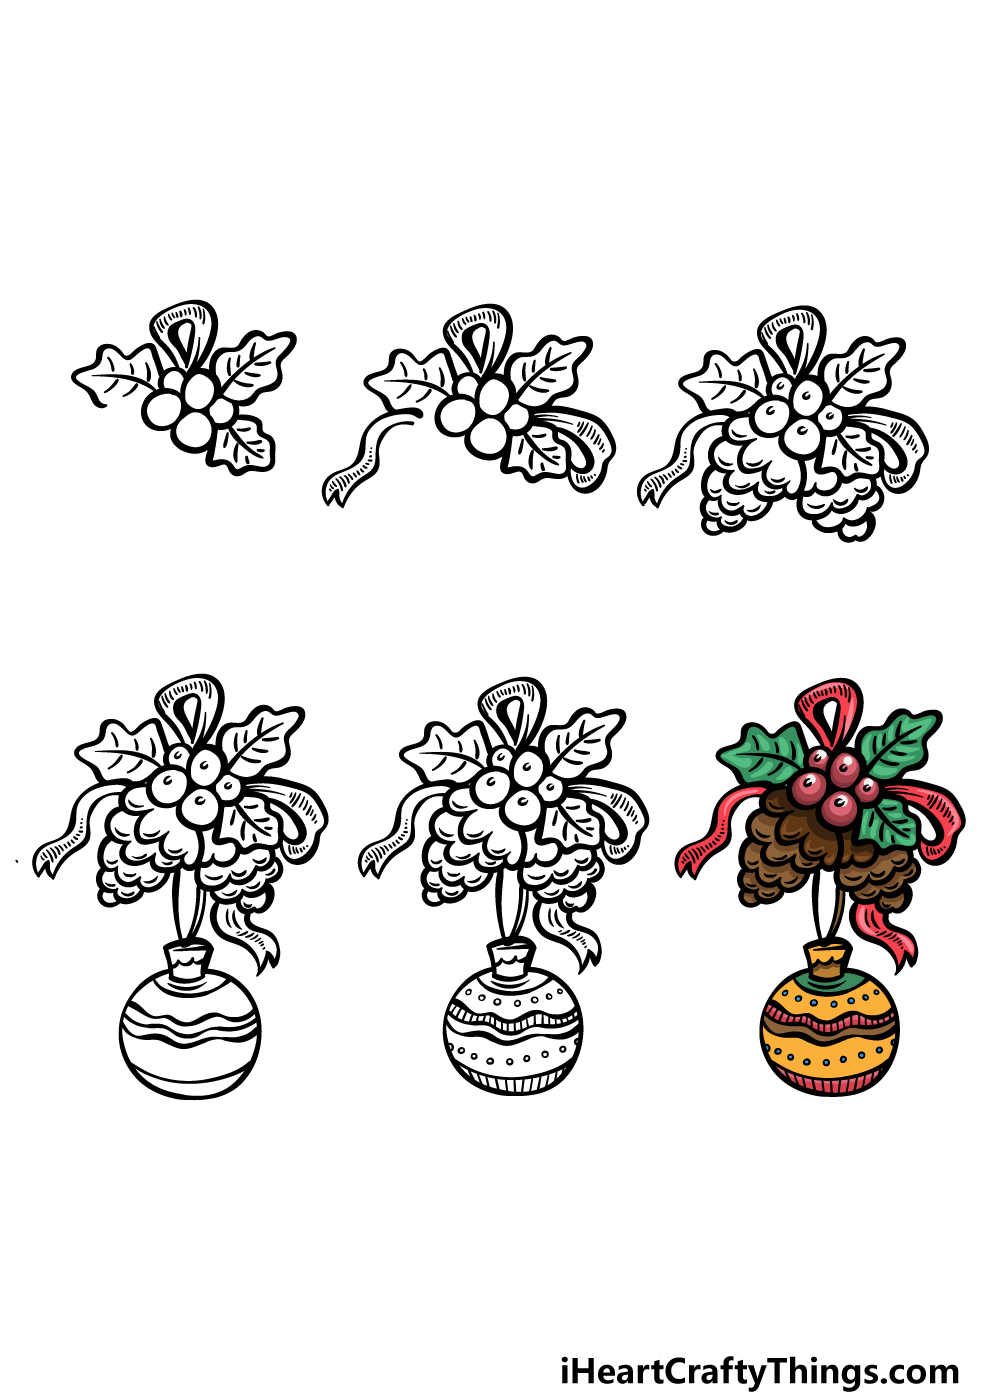
How to Draw An Ornament – Let’s Get Started!
Step 1
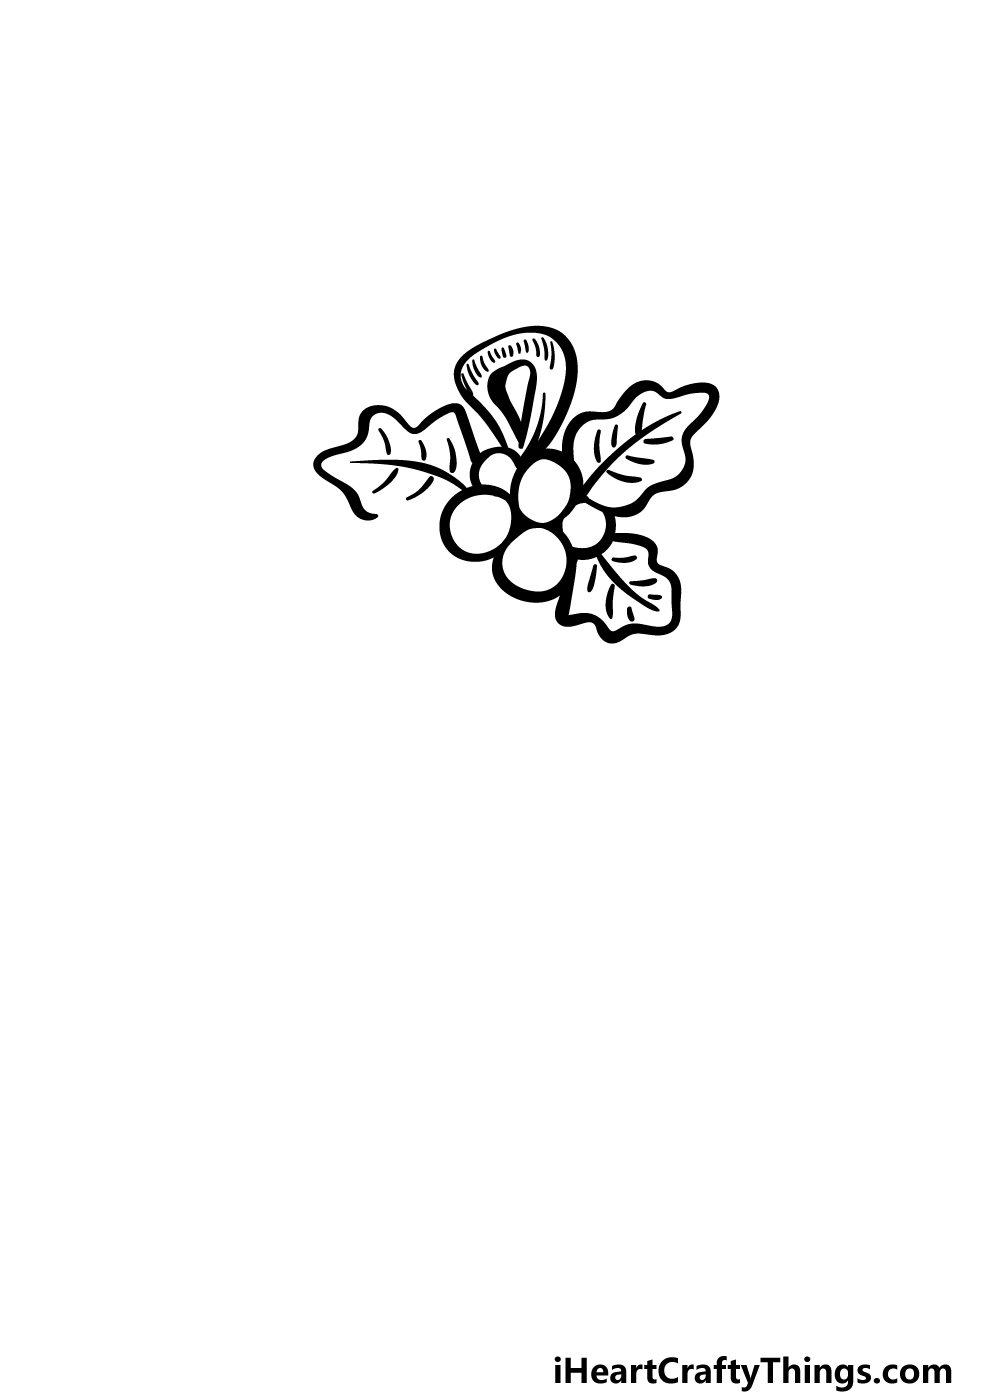
With Christmas decorations, you’re bound to see lots of holly plants incorporated, and that is what we shall start with in this first step of our guide on how to draw an ornament.
To begin this aspect, you can start by drawing five small circles of varying sizes connecting to one another in the same way that they do in our reference picture.
These circles will form the berries of the holly, and then once they are drawn you can add the leaves around it.
We will be drawing three leaves around the clump of berries, and each one will have some rounded lines for the outline.
You can then add a central line inside each leaf and have some smaller ones around it for the veins of the leaves.
The final aspect of this guide will be to draw some curved lines above the holly for the looped piece of ribbon this ornament will hang from.
Step 2 – Draw some more of the ribbon for the ornament
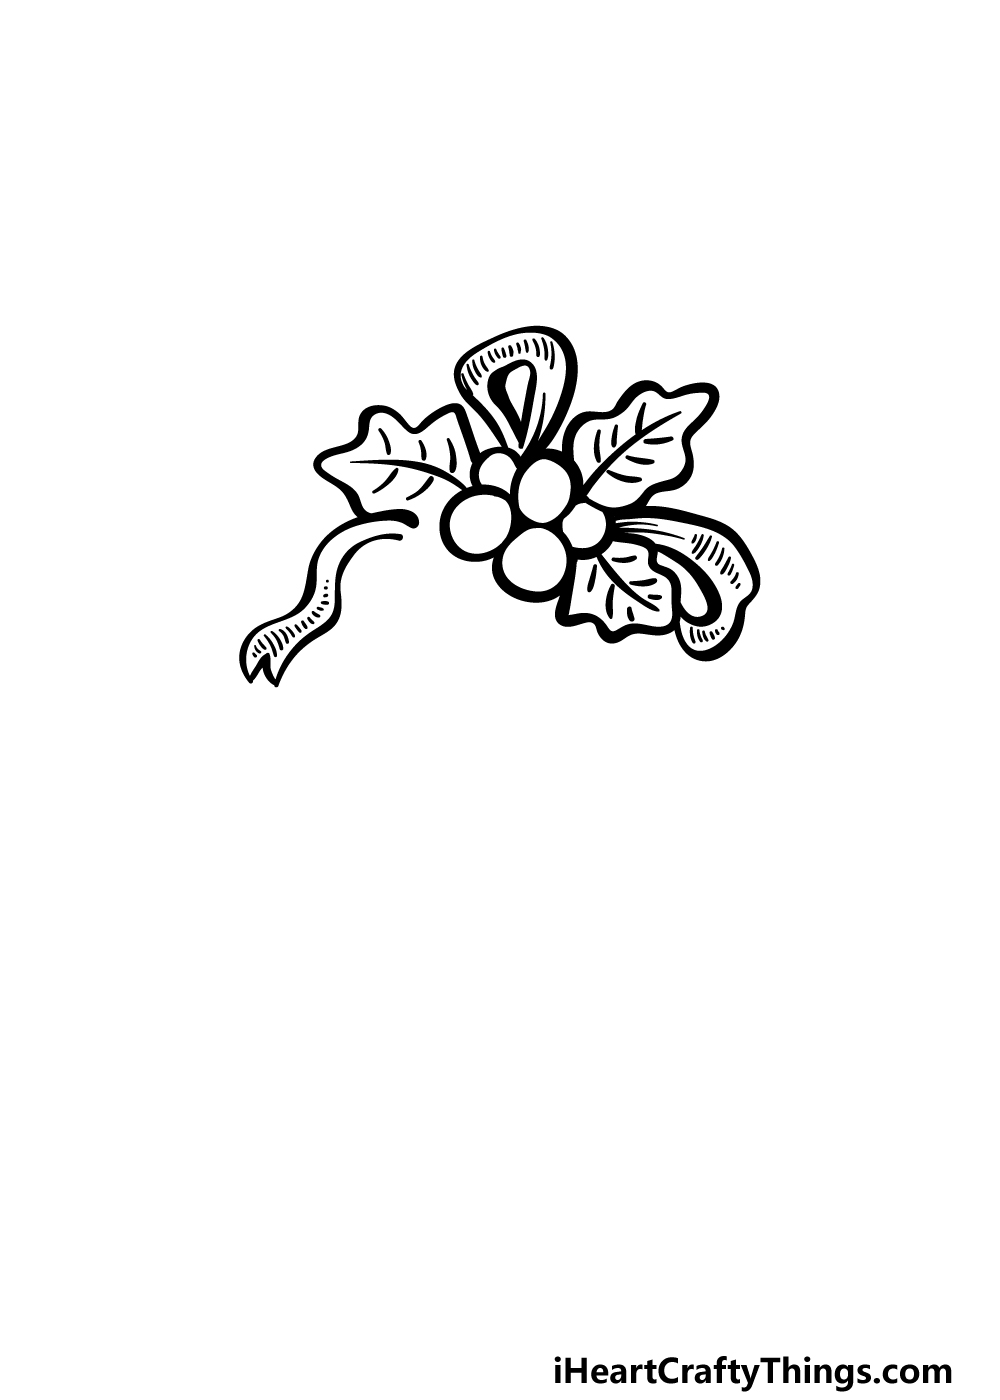
For the next part of this ornament drawing, we will add a bit more to the ribbon tied around the holly.
On the left-hand side of the ornament, we will use some wavy lines for the outline of the ribbon there, and there will be a forked edge at the end of it.
You can also add some smaller line details to it, as shown in the reference image. The edge of the ribbon on the right-hand side of it won’t be connected to anything at the moment, but we will attend to that in a future step.
Finally, use some more rounded lines to draw another loop of ribbon on the right-hand side of the holly. You can also add similar line details to the ones you added on the other piece of ribbon.
Step 3 – Next, draw some details for the berries and add pinecones
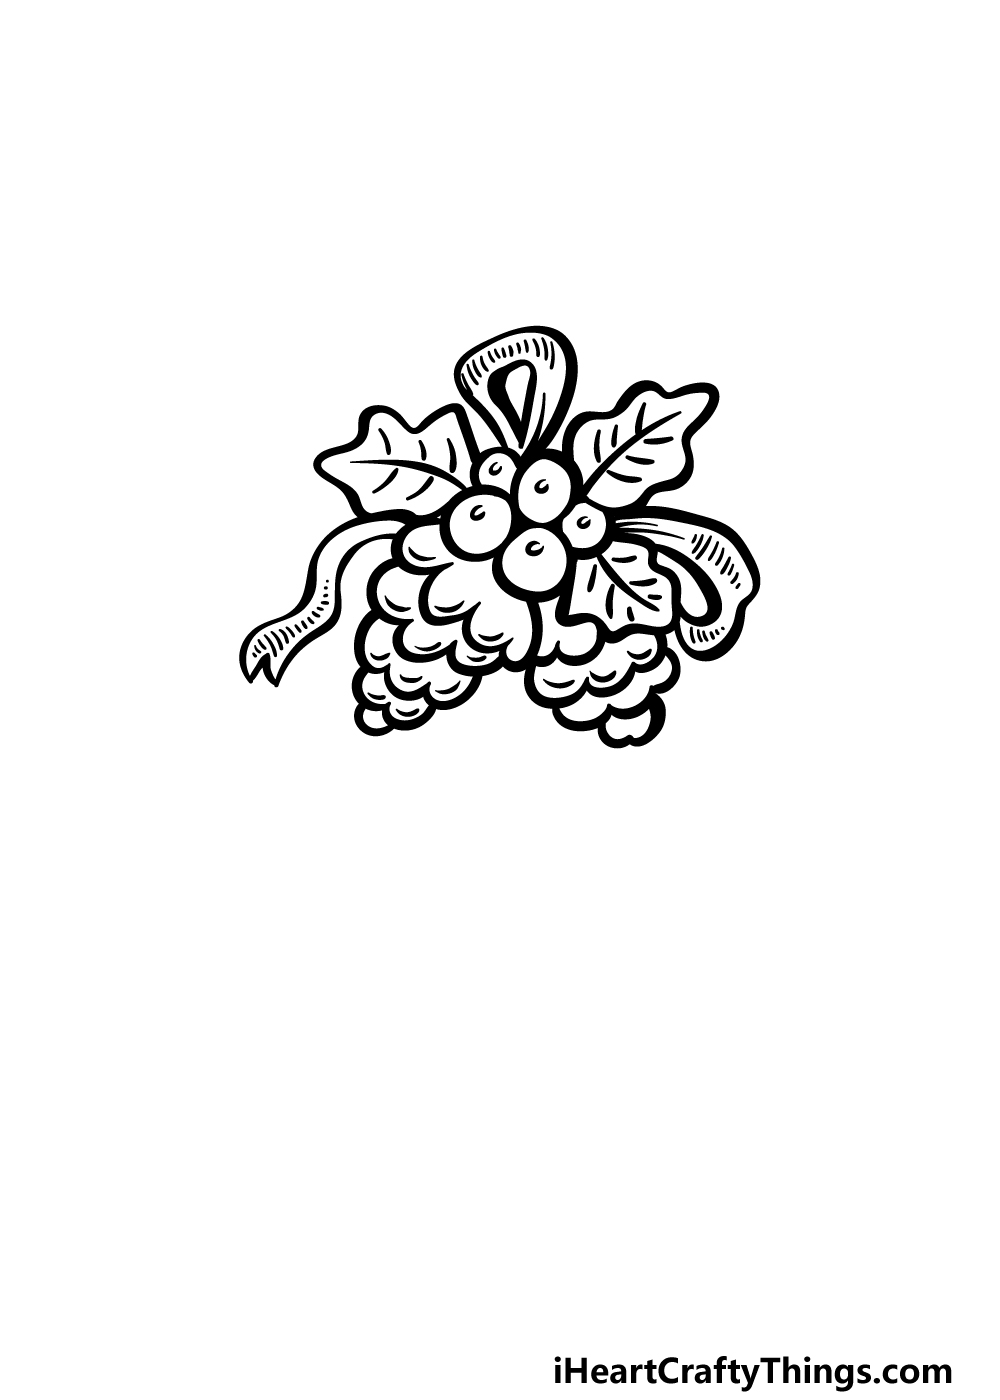
This third step of our guide on how to draw an ornament will see us adding some detail to the berries that you drew as well as adding some pinecones to the ensemble.
First, add a small circle near the center of each berry. Then you will be ready to draw two pinecones. Each pinecone will be drawn in several layers, and each layer will be drawn with a bumpy line.
You can also add some simple line details to each section of the pinecone, and then you’ll be ready for the next step!
Step 4 – Now, draw a bauble for the ornament
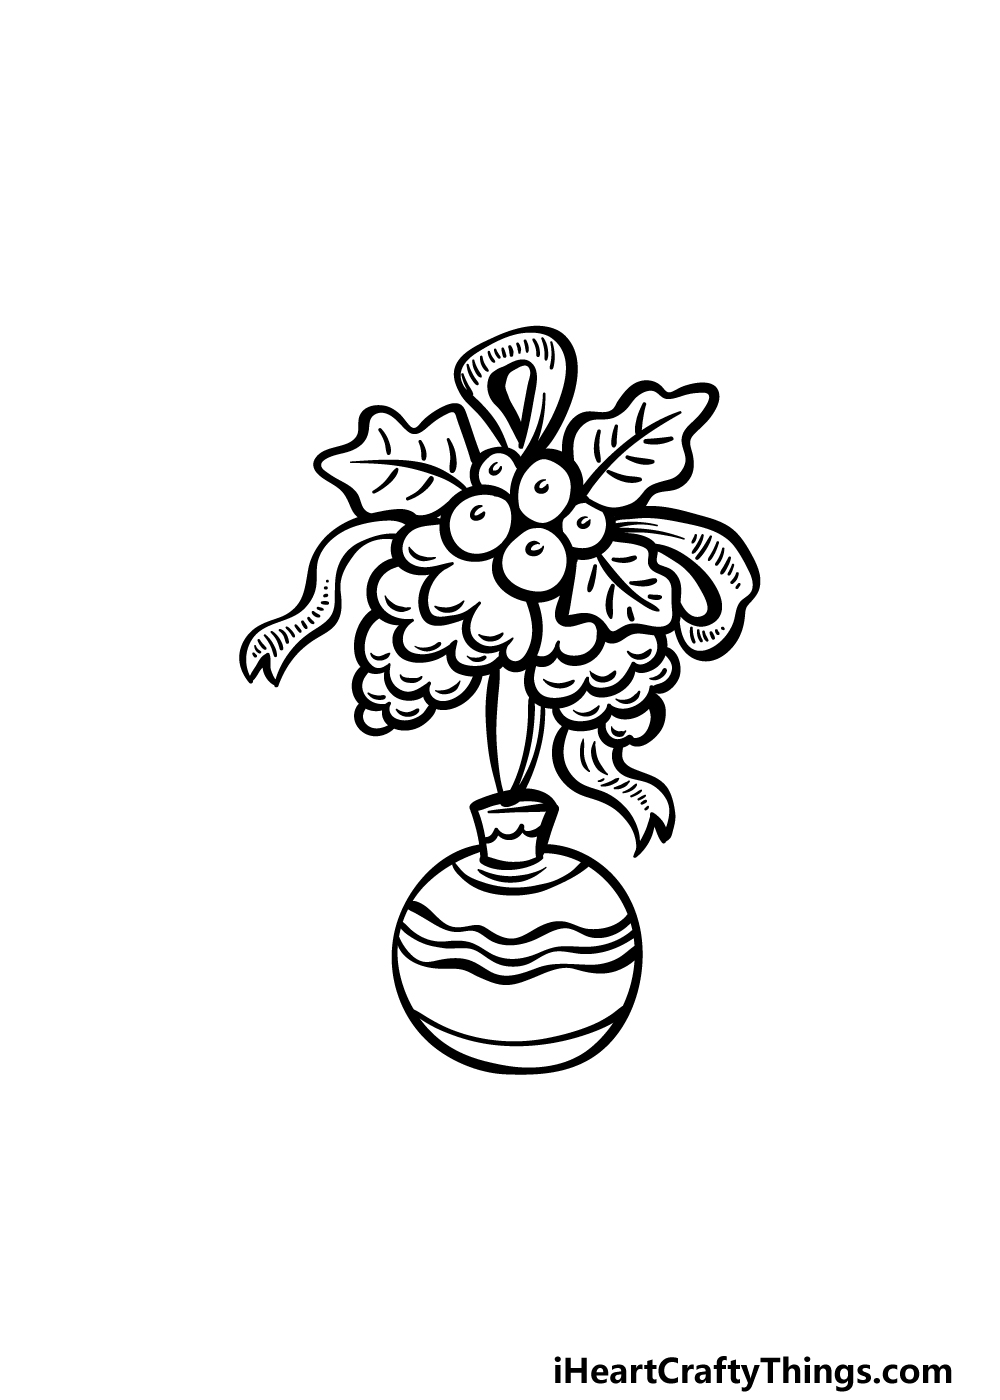
Christmas decorations will often have colorful baubles attached to them, and that is what we will start to draw in this part of your ornament drawing.
First, you can draw two strings dropping down from between the pinecones.
Then, there will be a squared shape attached to the end of the strings which you can then draw a large, circular shape to attach to it.
Before moving on, you can draw some wavy decorative lines across the bauble. It will still be looking a bit bare, but we will add more decoration details to it in the next step.
Step 5 – Add some final details to your ornament drawing

As we mentioned in the previous step of this guide on how to draw an ornament, we will be adding some more decorative detail to the bauble in this step.
The details that we added in our example are composed of some small dots lined up on the bauble along with lines between the wavy lines that you drew in the last step.
These are the decorative details that we chose, but you should also feel free to use any other details that you would like for it!
You could also add more pieces for the ornament or draw a pretty Christmas background for the image.
Step 6 – Finish off your ornament drawing with some color
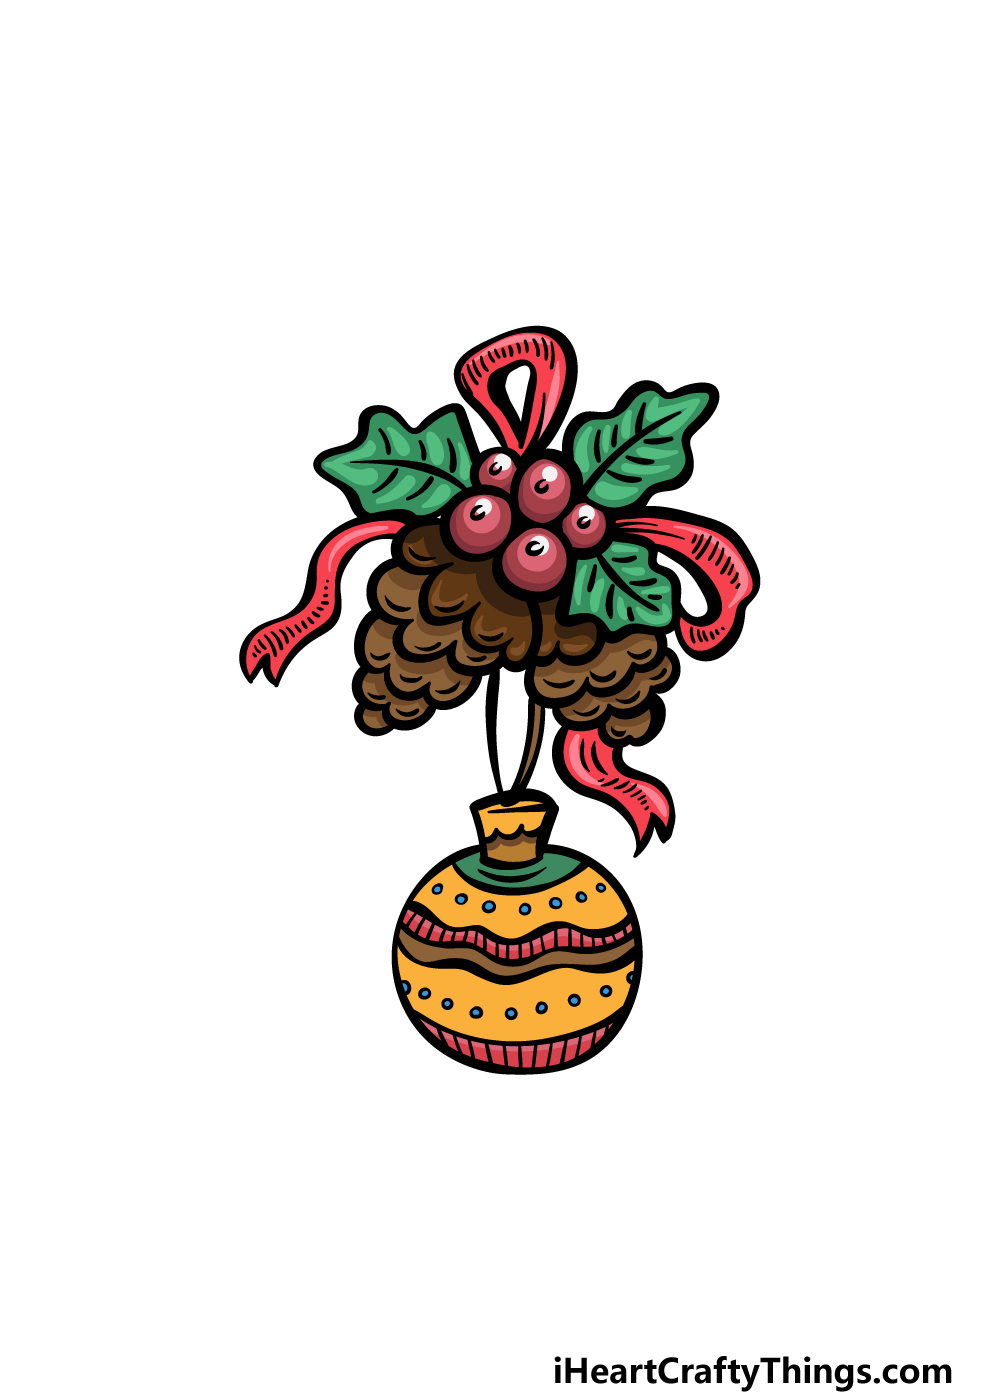
No Christmas decoration would be complete without some color, so adding some is just what we’re going to be doing in this part of your ornament drawing.
For the holly part of the decoration, we used reds and greens for the berries and leaves, and we also used a lovely red for the ribbons.
Then we used some shades of brown for the pinecones, and we finished off with some bright and vibrant colors like red and yellow for the bauble.
This is your chance to let your creativity flow, so you should definitely go ahead and use all of your favorite colors and art mediums to finish this off!
Here’s how you can make your ornament drawing even better…
Decorate this pretty ornament sketch with these 4 fun ideas to try out!
When you hang up an ornament, you will rarely just have one on its own. For that reason, we would recommend having a few more in this drawing of an ornament.
They could be the same design as this one, or they could be completely different. It all depends on you, and it would be great to either create variations on this one or completely unique designs.
Which approach would you take when adding some companion ornaments to this drawing?
The ornament we created in this guide is a Christmas decoration, but there are many other seasons and occasions we will celebrate with their own ornaments.
It could be fun to draw some ornaments from other holidays and celebrations to contrast this ornament we have created!
For example, you could show some ornaments you would hang up around Halloween or maybe Easter.
These are a few ideas, but you could show us what your favorite celebrations and holidays are!
When bringing some color and detail to this ornament drawing, you shouldn’t feel limited by traditional art tools and mediums.
You could try out some less typical mediums to make the colors and details pop!
For example, using glitter or glitter glue would help this ornament sparkle on the page. Or, you could use some craft paper, beads or stickers to make this ornament look even more dynamic.
These are just some ideas, but what other creative mediums would you like to use for this artwork?
Once your ornament sketch looks exactly as you want it to, you could then show where you would display your creation. This could be done by adding a background to the picture!
For example, this Christmas ornament would look great in a cozy home setting, perhaps above a fireplace. Or, you could draw a festive mall display for another idea.
The setting would also depend on any other ornaments you may or may not have added!
Your Ornament Drawing is Complete!
You have finished all of the steps of this guide on how to draw an ornament, and we hope that you had a fun and festive time designing this beautiful decoration!
This guide was made to show you how easy drawing a pretty ornament can be, but we also wanted to give you some room to add some of your own details and touches to it. We can’t wait to see what you do!
There were a few ideas such as adding a background or additional pieces that we discussed during the guide, but what else can you think of to add to this image?
When you’re ready for a new fun drawing challenge, be sure to head over to our website for more incredible drawing guides! We upload new ones often for you to enjoy, so be sure to check in regularly.
Please also be sure to share your finished ornament drawing on our Facebook and Pinterest pages so we can enjoy your beautiful artwork!