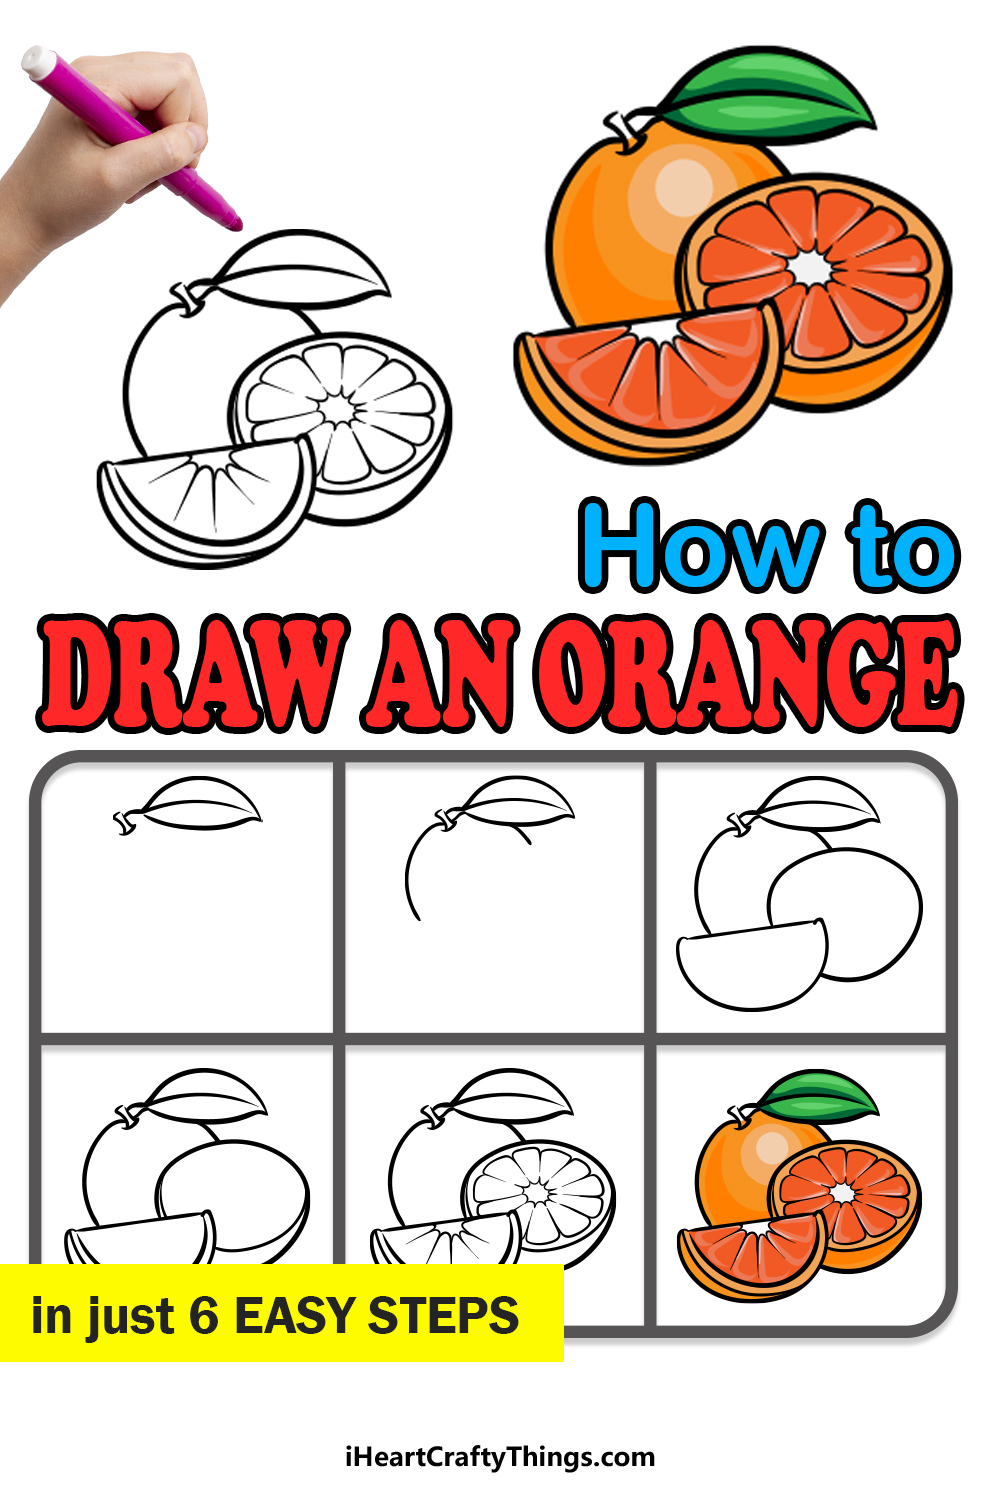
Find out how to draw an orange by following this simple guide for kids! You won’t believe how easy it is to do when you know the right steps.
Oranges are not only a delicious treat on a hot Summer day but are also very good for you. They also look beautiful with their color and the different textures they have throughout.
You may think it would be a breeze to draw one, but they are deceptively tricky to get right. This guide will show you how to draw an orange in 3 ways.
First, you will see how to draw a whole orange. Then, you will see a half-orange and then finally an orange segment.
Once you have mastered all of these forms, you could then change the design and add your own ideas and elements! It all begins now, so let’s start with the first step.
Watch And Learn How To Make Your Orange Drawing
How to Draw An Orange – Let’s get Started!
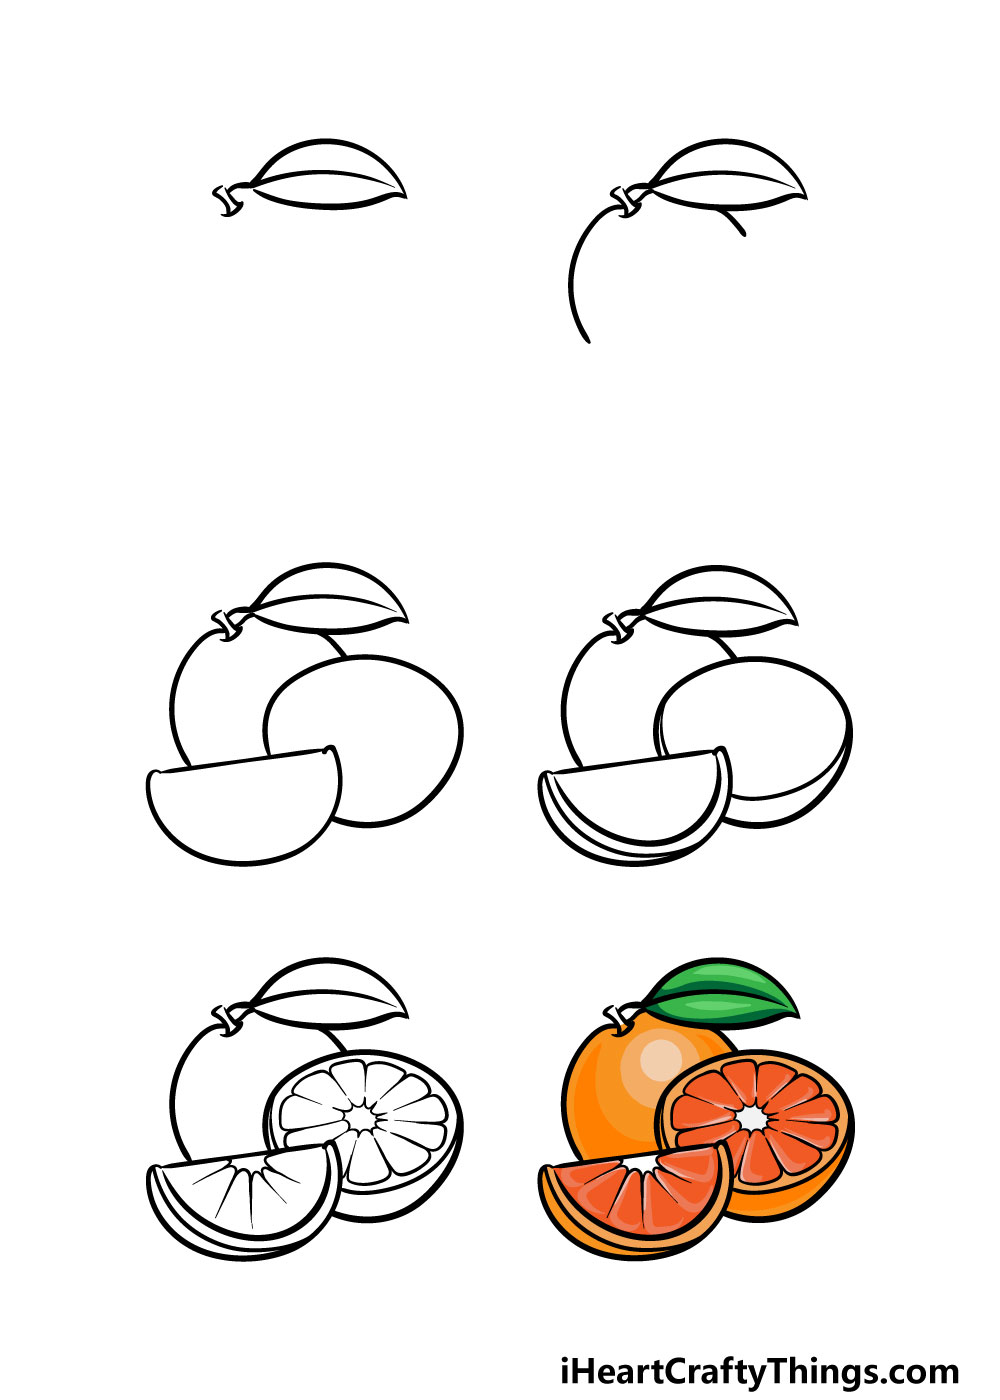
Step 1

For this first step of our guide on how to draw an orange we will start with the stalk and the leaf of the fruit. The leaf is drawn with some curved lines that come together in a point at the end.
Then, you can add a line down the middle for the central vein of the leaf. Then, you can draw a small, rounded rectangular shape for the stem of the orange.
Finally, you can use a thick line connecting the leaf to the stem to finish off this step.
Step 2 – Draw the outline of the orange next

Now that you have the leaf and stem of the orange, you can start to draw the outline of the body of the fruit for this part of your orange drawing.
It may be tempting to just draw a perfect circle, however we won’t be doing that as we will have other slices of orange in front of this one later in the guide.
For now, simply draw a curved line underneath the stem and leaf, as if you would be drawing a full circle.
For now, it should look like a half-circle at the angle that we have shown in the reference image.
Step 3 – Now, draw the outlines of the other orange slices
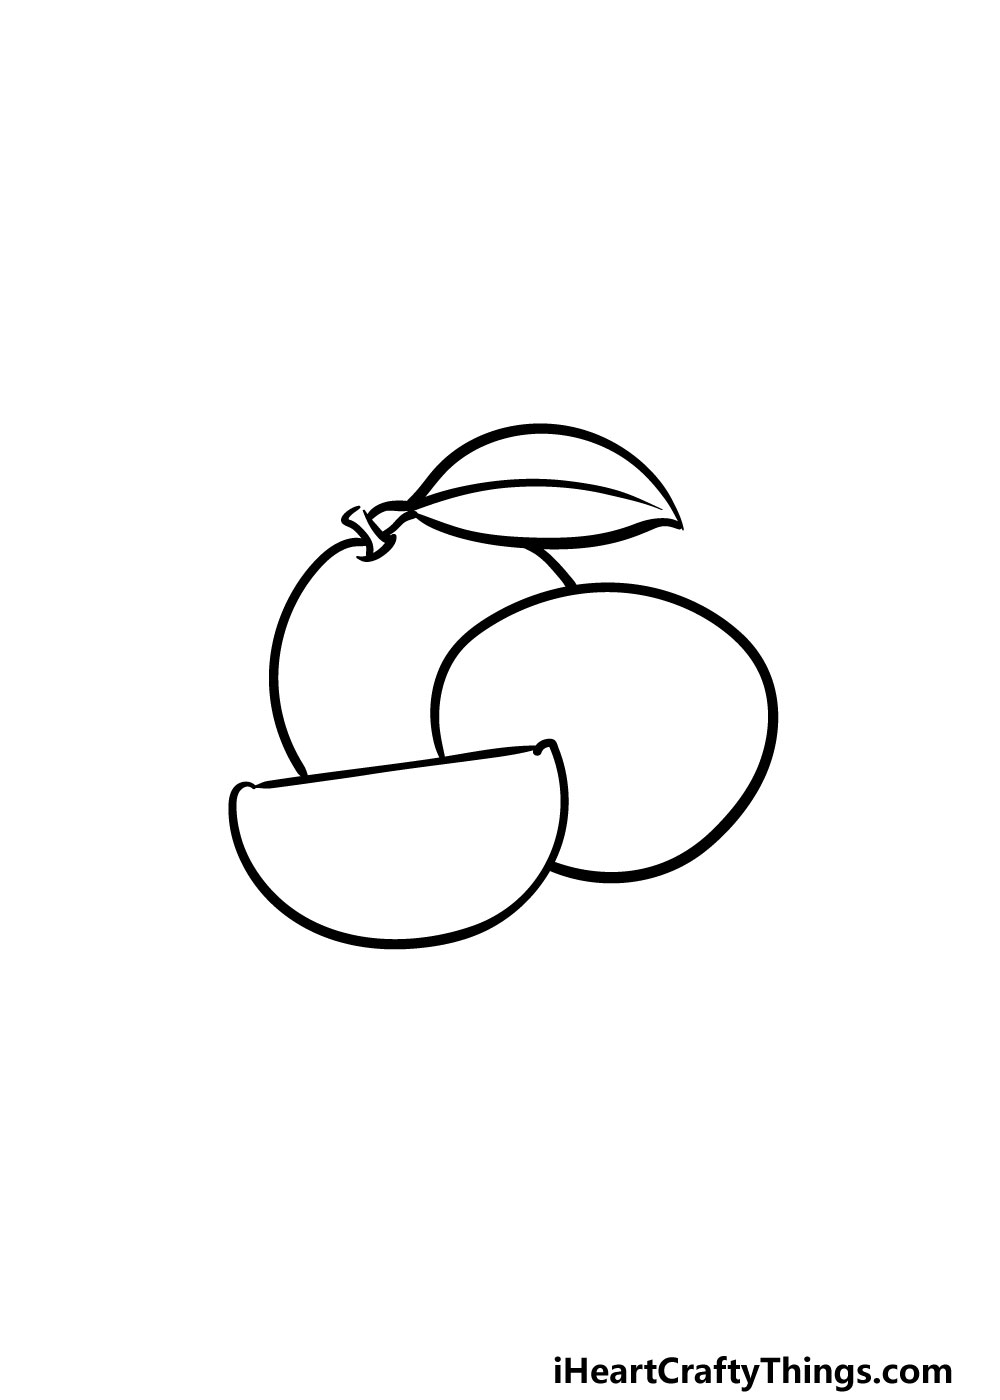
You’ll be glad that you didn’t draw a full orange in the previous step of our guide on how to draw an orange.
That is because we will be filling the space that was left in the outline of the full orange. First, you can draw what will look a bit like a half-moon shape for one segment of the orange.
Then, you can draw a rounded shape that has a top that is ever so slightly flat so that it won’t be a perfect circle.
Step 4 – Next, draw the skins of the orange slices
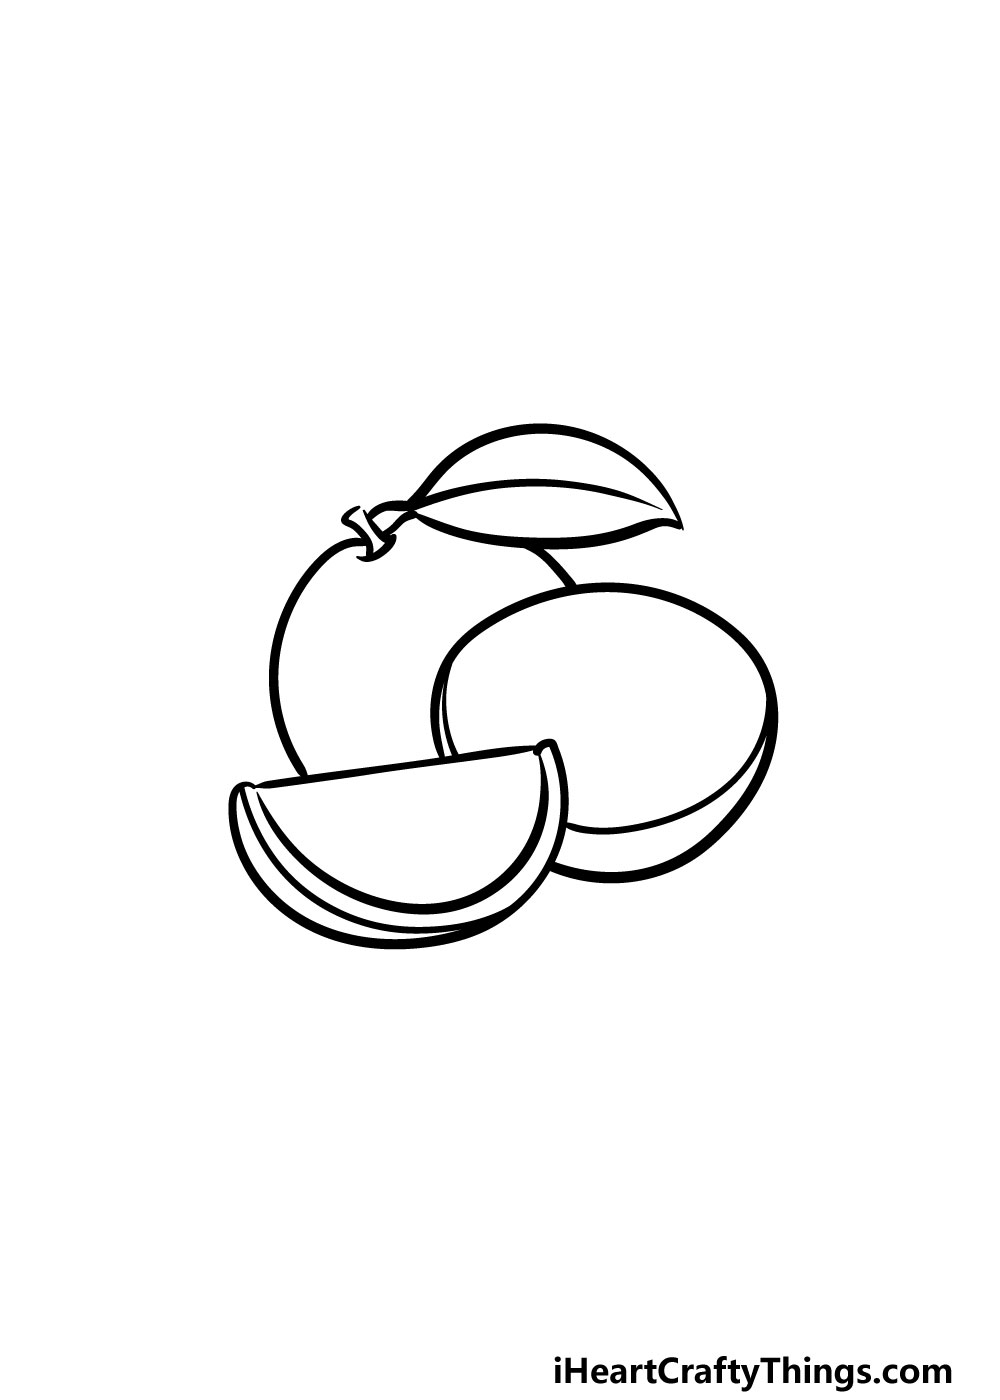
The next few parts of your orange drawing will be all about adding some final details to finish it off. This part should be pretty simple to do, as all that you need is to add some curved lines for the rinds of the orange slices.
For the half-moon slice that you draw, you can add two rounded lines closely along the perimeter of the edge.
Then, for the half orange on the right you can add another line a little bit over the bottom line of the outline. If it sounds confusing at all, it should become very clear once you refer to the reference image!
Step 5 – Now, you can finish off the details inside of the orange
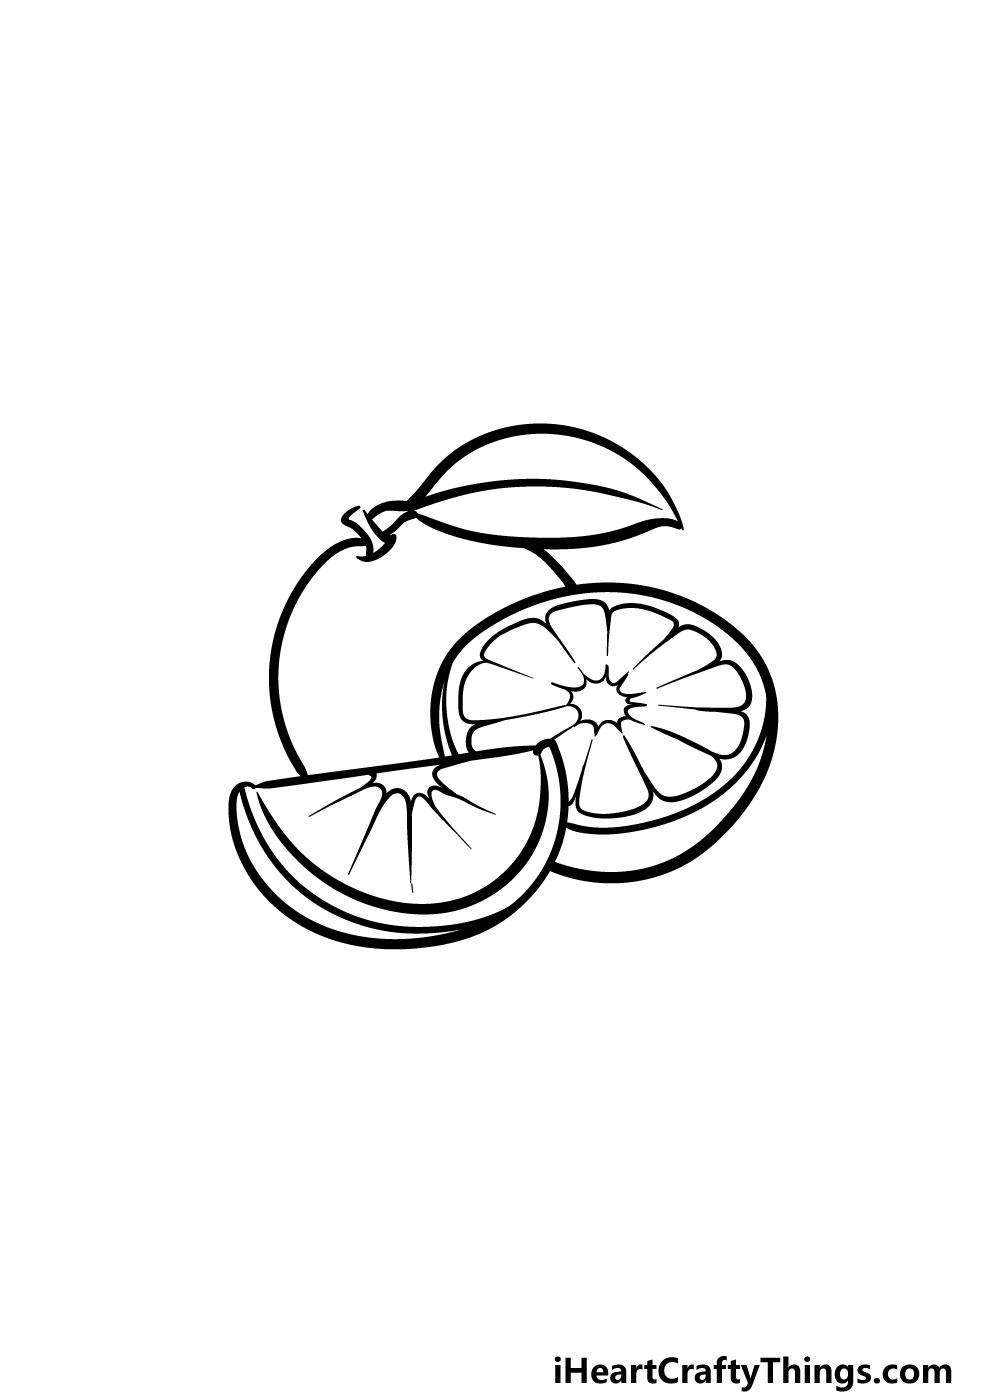
Before we start to add some color to this picture, we have a few final details to add in this step of our guide on how to draw an orange.
For the small orange segment, you can start off by drawing what looks a bit like a start shape to the center edge. Then, extend a line from each point of that star shape outwards into the orange in various different lengths.
The detailing on the half orange will be a little more complicated, but once you get the hang of it then it should be easy! To start with, simply draw another star shape at the very center of the orange.
Then, you will be drawing what looks a bit like a row of rounded triangular shapes forming a circle inside the inner part of the orange.
There will be a small gap in the side line of each of these triangular shapes, and they will also extend inward to line up with the center star shape that you drew.
If you get lost at all, then be sure to closely refer to the reference image to help you out!
Step 6 – Finish off your orange drawing with some color
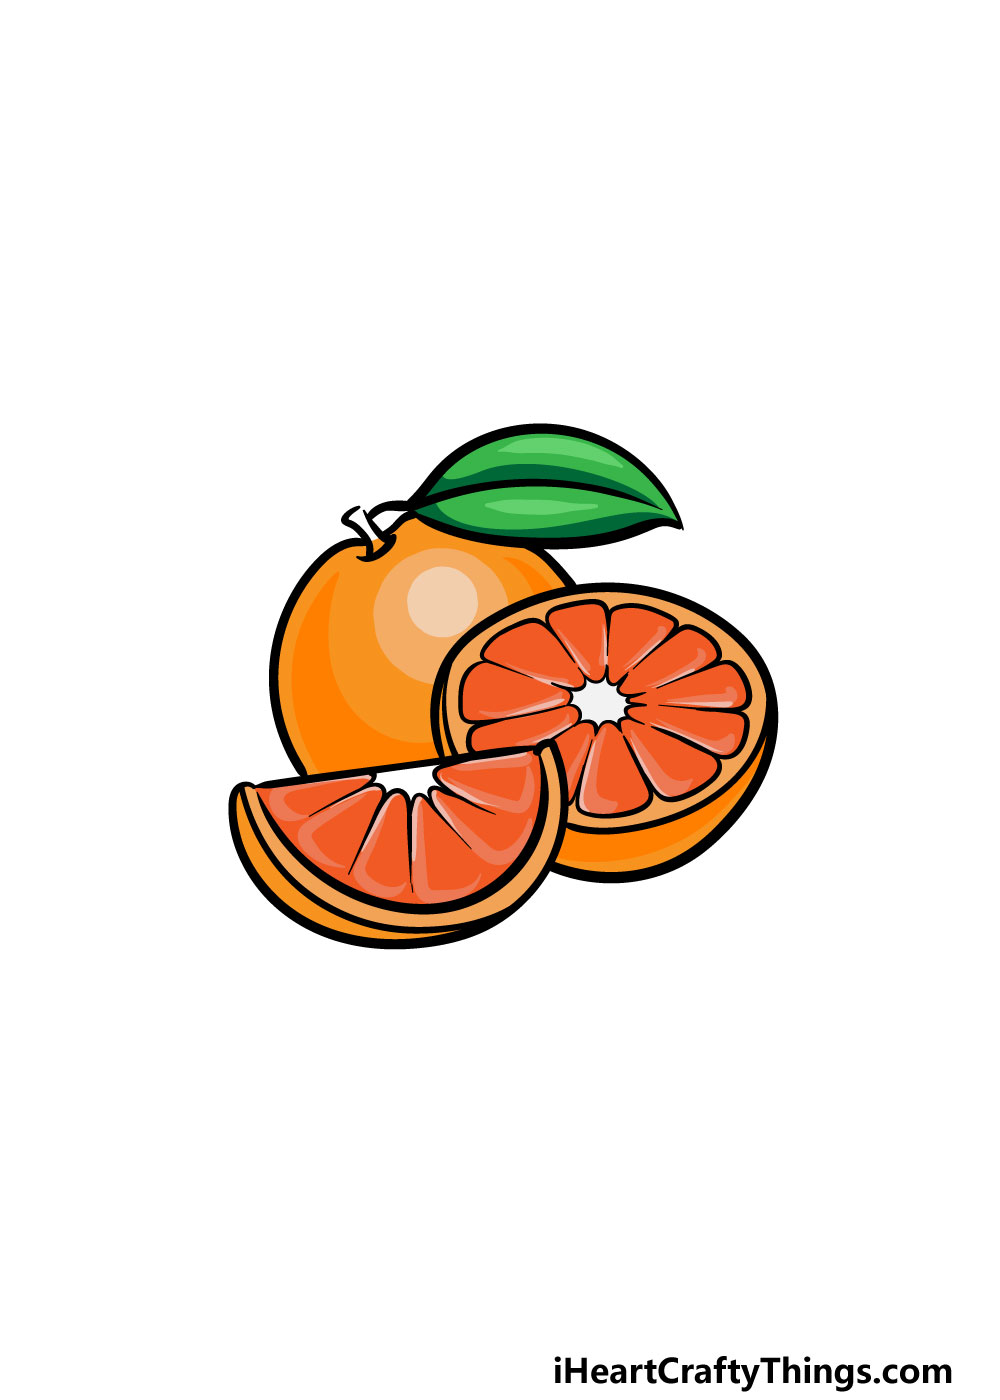
Now that you have finished the final details, it’s time to add some amazing colors to your orange drawing.
You probably know what the primary color of this drawing should be, as it’s in the name! If you’re looking to keep this image more realistic, then you will probably be using a lot of orange as you color.
Even if you do keep to this color scheme, there are lots of ways that you can bring some color variation!
You could replicate what we’ve done in the reference image by using several shades of orange.
If you would like a more stylistic image then you could incorporate some of your favorite colors instead. We can’t wait to see what you go for!
Here’s how you can make your orange drawing even better…
Make this orange sketch even juicier with these tips we have for you!
For this orange drawing, we showed it in two different forms, sliced and unsliced. This creates a more dynamic image, but you could show it in even more forms!
For example, you could show individual segments of the orange arranged around the pieces already there.
You could even show some of the orange peel twisting around the arrangement.
These are just a few ways that you could showcase this famous fruit, but how else could you do it?
The orange is one of the most beloved fruits around the world, but there are tons of other fruits people love. Adding them to this drawing of an orange would be a great way to showcase your favorites!
These could include other citrus fruits like lemons, or they could include grapes and apples. That is just a tiny selection of fruits that you could use!
You can probably think of many more, and you should definitely add any of your favorites.
Oranges can be enjoyed in many different ways, and they could be fun to depict in this orange sketch. For instance, many people like to drink orange juice, and that could look cool in this picture.
There are also orange jams, spreads and other forms that it can be turned into. Even if you keep the arrangement exactly as it appears in our guide, these could be really cool details to add!
What other orange variations can you think of?
For the last tip we have for this orange drawing, we would suggest drawing a background! If you kept the design as we made it in this guide, you may want to draw it in a house setting on a kitchen table.
Or, you could take it outside and show the orange on a picnic blanket. If you remove the orange slices, you could also show the full orange hanging on a tree with other oranges.
These are a few ideas, but what other backgrounds could you depict?
Your Orange Drawing is Complete!
That brings you to the end of this guide on how to draw an orange! You should be very proud of the incredible drawing that you have ended up with, as there is more to this drawing than one may assume!
As with any drawing challenge, as long as you follow the steps and take it slowly then you can be surprised with what you end up with.
Now that you have completed this guide, you can take it even further by adding your own elements and details. Perhaps you could draw a background or use some creative art mediums for just a few ideas.
You’ve mastered this guide, but the good news is we have plenty more drawing guides for you to enjoy on our website! We upload new ones frequently, so please be sure to check in often.
Once your orange drawing is complete, we hope that you will share your artwork on our Facebook and Pinterest pages! We can’t wait to see your creative drawing!