There’s always a sense of wonder instilled when you take a moment to look up at the endless expanse of the sky.
Maybe you’re looking at a brilliant sunrise or a sky full of clouds, but there’s something uniquely awe-inspiring about looking at a night sky.
If you can find a location free from skyscrapers and city fumes, then you’re likely to behold a sky full of stars and the moon shining down on you.
Learning how to draw a night sky is a great way to capture the feeling of this incredible sight.
If that is something that you would like to do yourself, then you’ll want to work all the way through this guide.
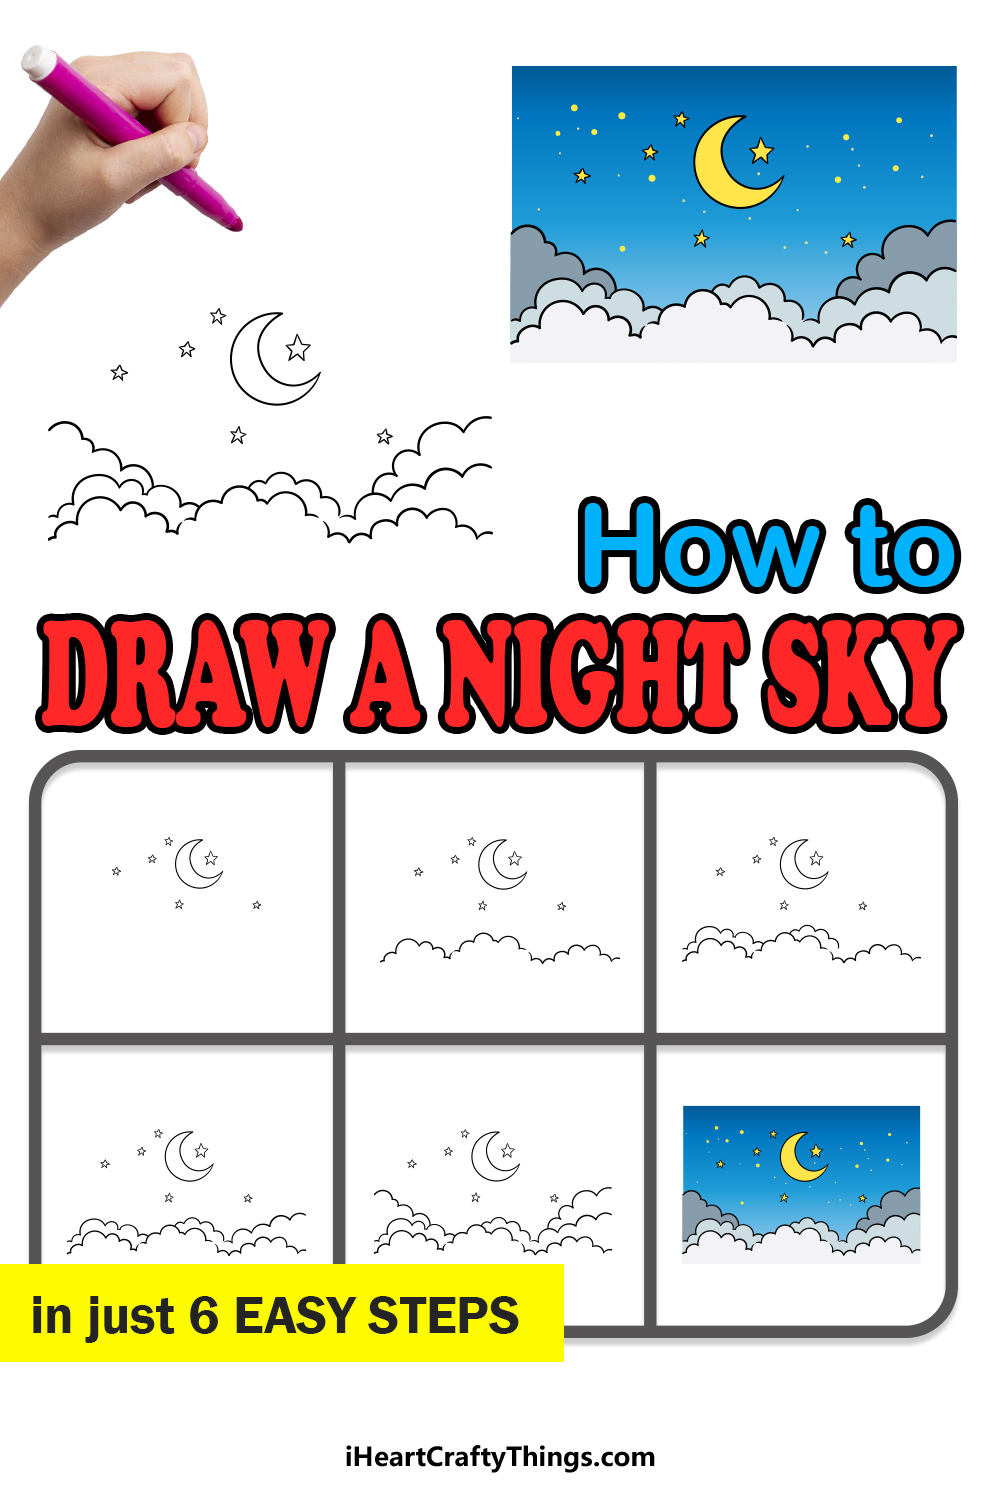
Our step-by-step tutorial on how to draw a night sky in just 6 steps will help you to recreate this amazing natural sight!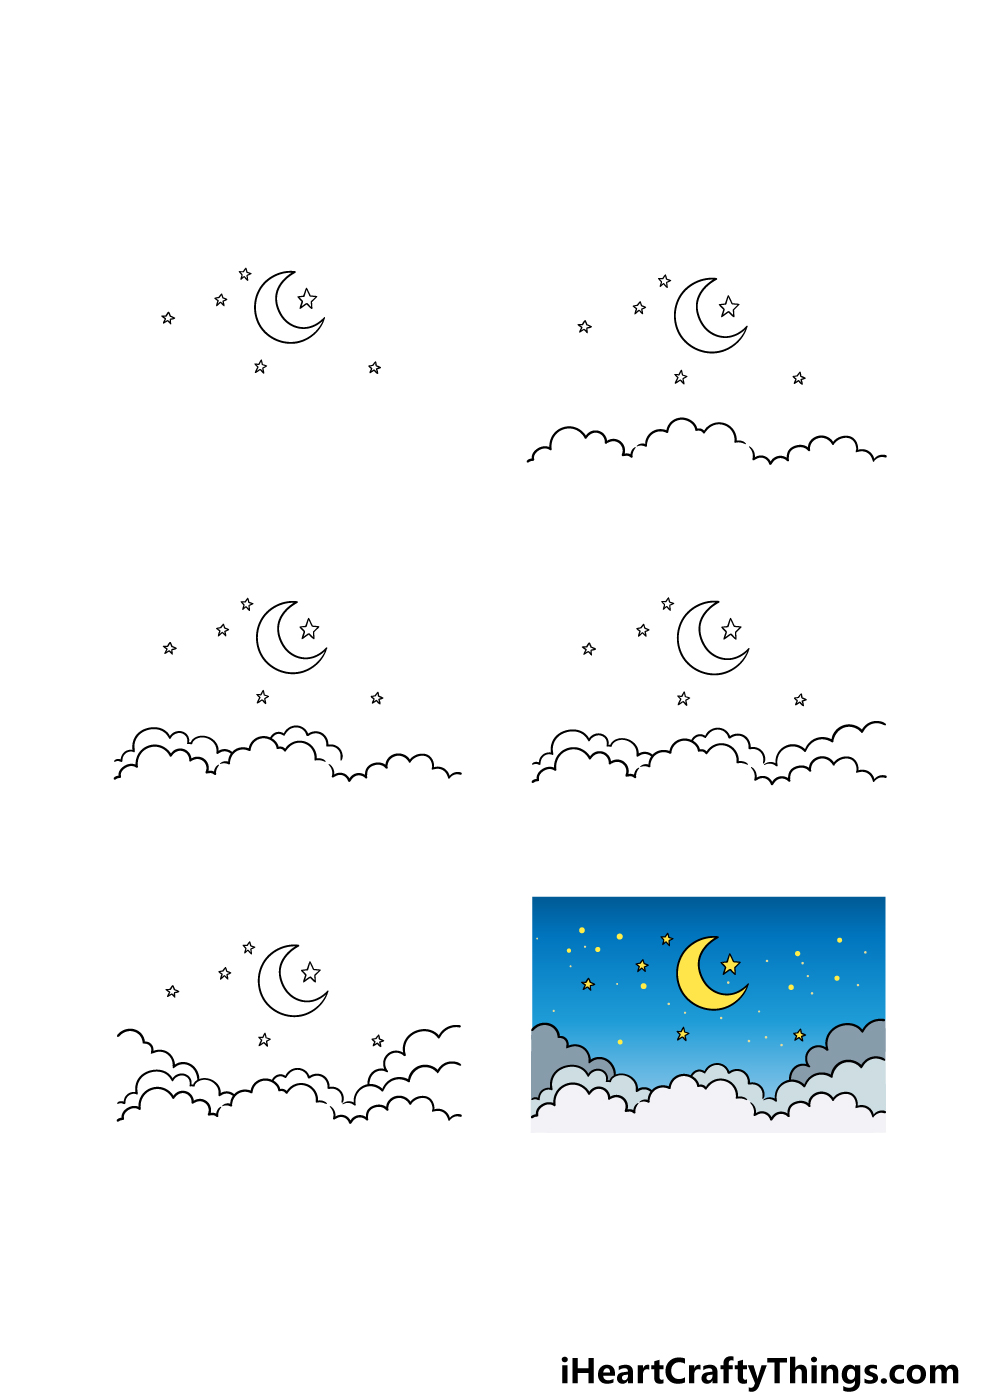
How to Draw A Night Sky – Let’s Get Started!
Step 1
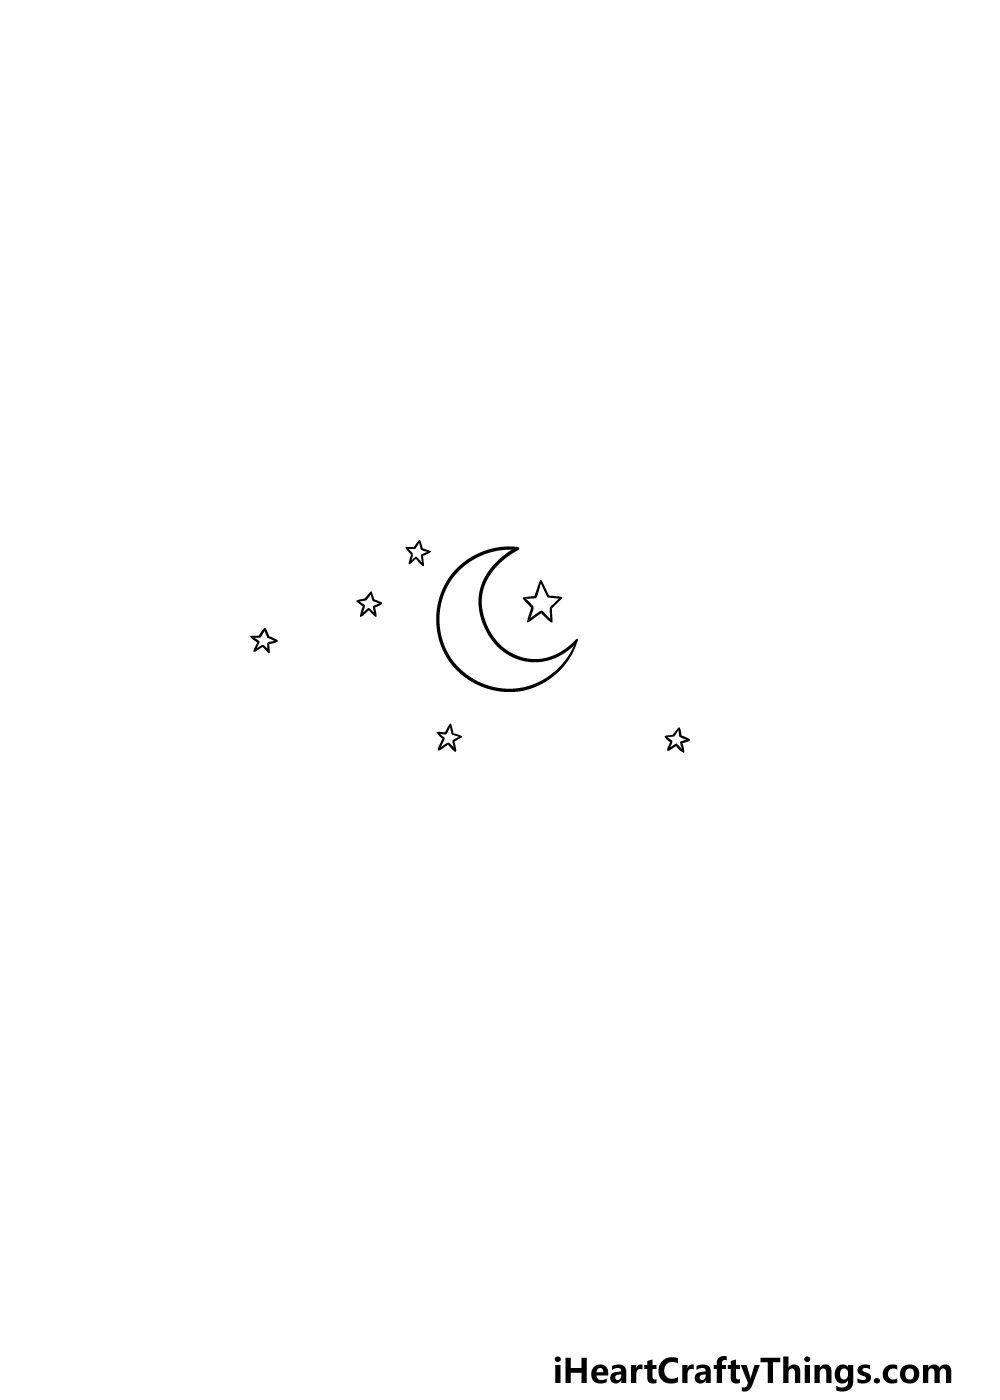
As mentioned in our introduction, two of the most defining features of the night sky are some stars and the moon.
For that reason, that is what we will begin with in this guide on how to draw a night sky. We shall start with the moon itself first.
For this picture, we went with a crescent moon, as it is one of the most beautiful phases of the moon. One way that you could make this moon easier to draw would be by using a tool such as a drawing compass.
Using this compass, you could draw the outer edge of the moon as if you were drawing a circle. Then you could use it to draw the inner edge of the moon.
If you don’t have something like a drawing compass on hand, then simply try your best to draw it free-hand.
However you end up drawing the moon, once it is done you can start drawing some stars. In this image, we drew six stars of varying sizes, but you could draw more if you wish!
We will also be adding some more in the final step when we add some color.
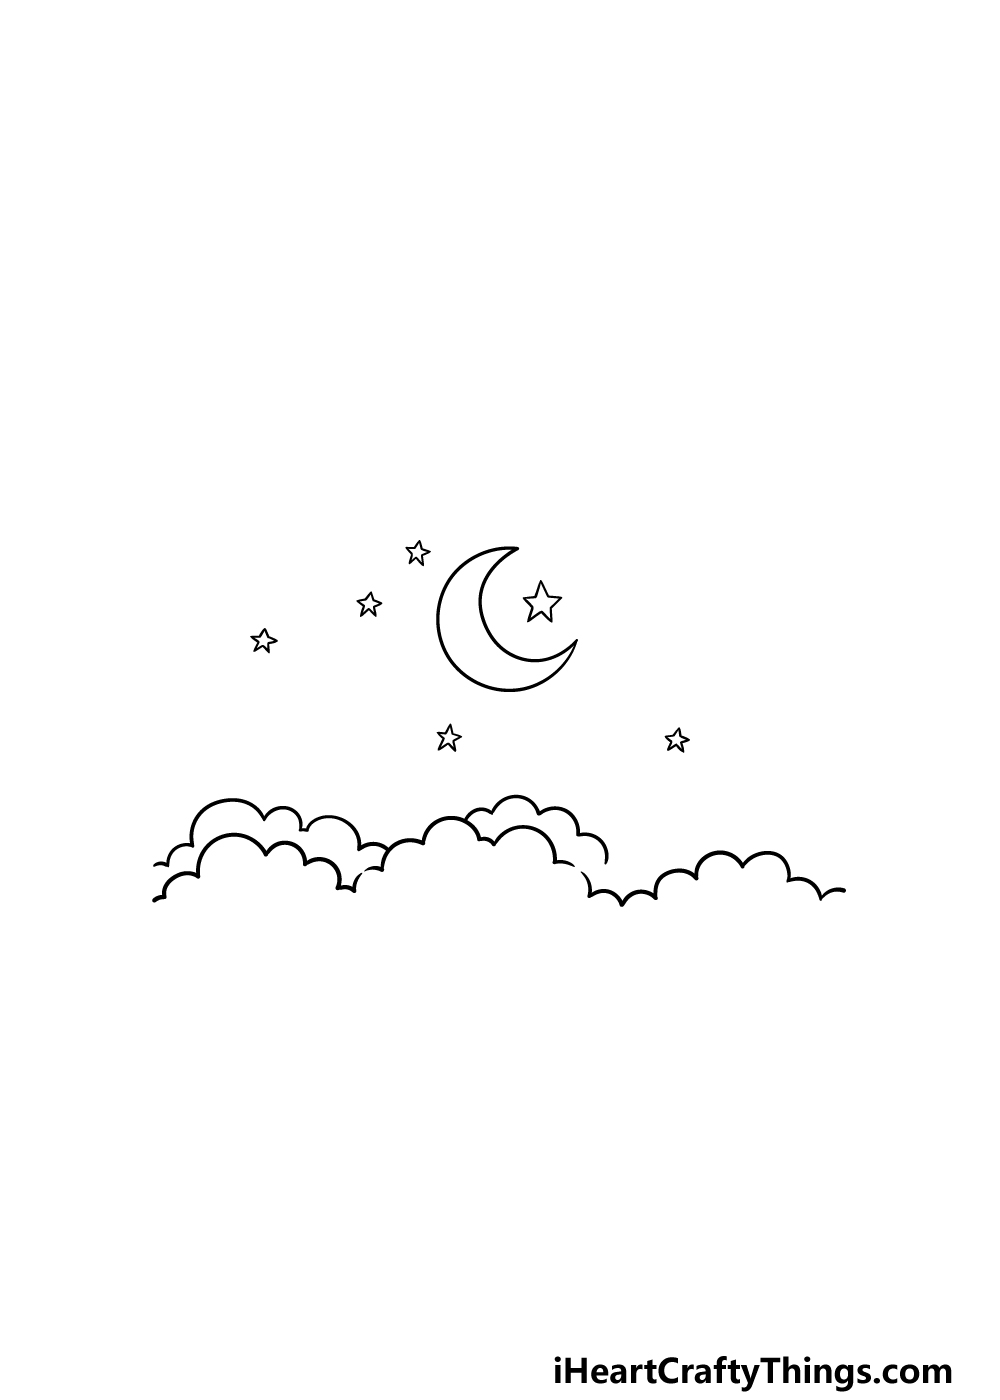
Step 2 – Next, start drawing the clouds in this image
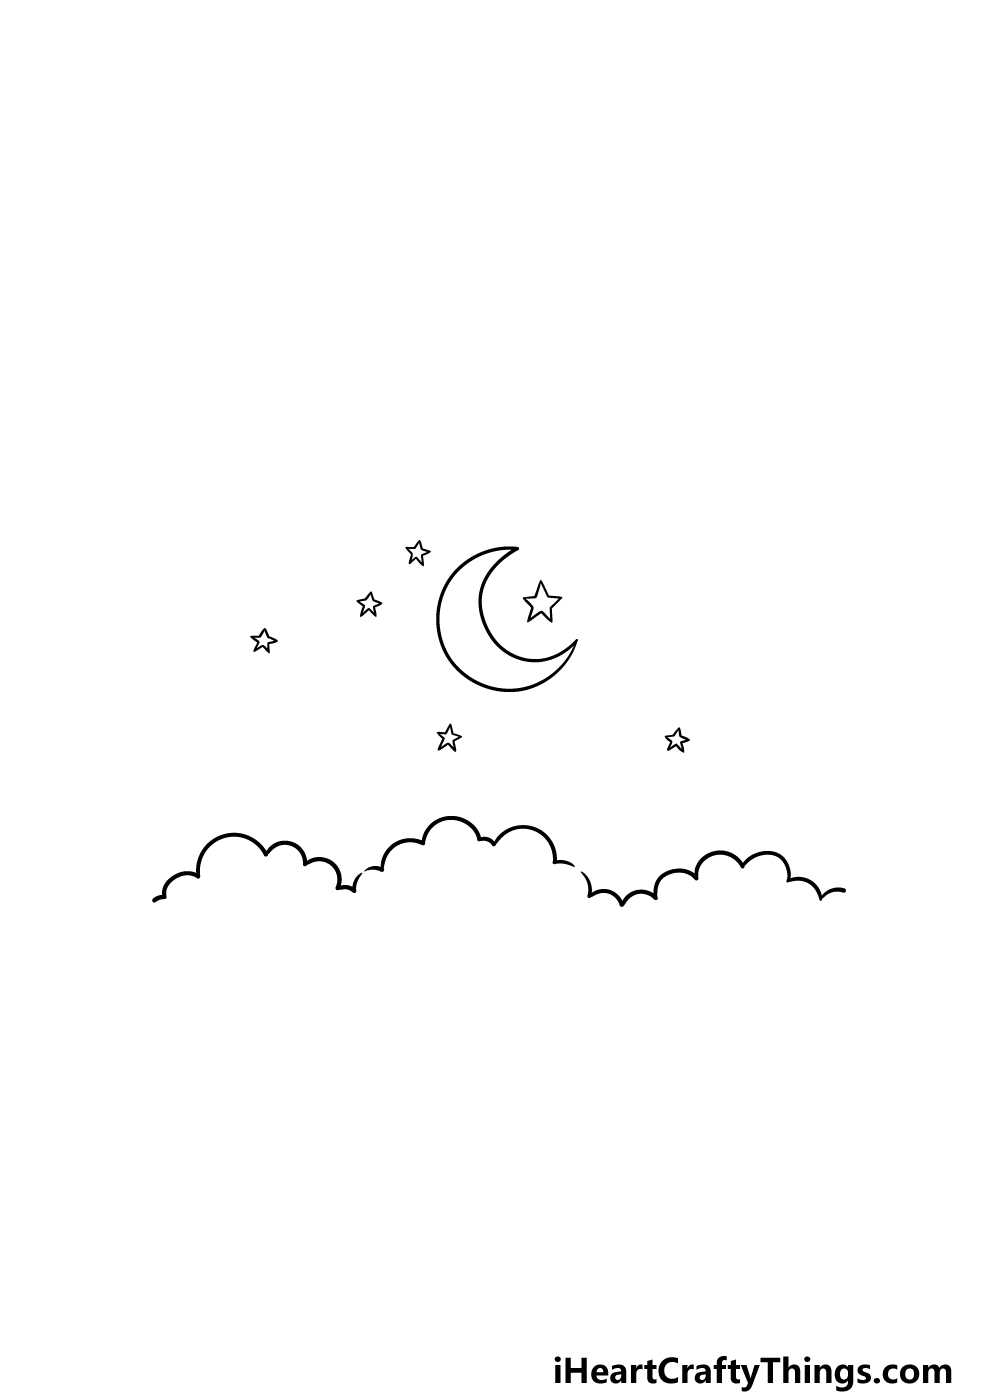
Now that you have the moon and stars drawn, you can start drawing the clouds that sit at the base of the image in this part of your night sky drawing.
These clouds will be drawn as one continuous line, and this line will be drawn with lots of rounded little hills in it. The line of clouds will also bulge up in three sections, as shown in our reference image.
We will be adding even more layers of cloud to give it some more depth in the next few steps, so let’s proceed to the next part!
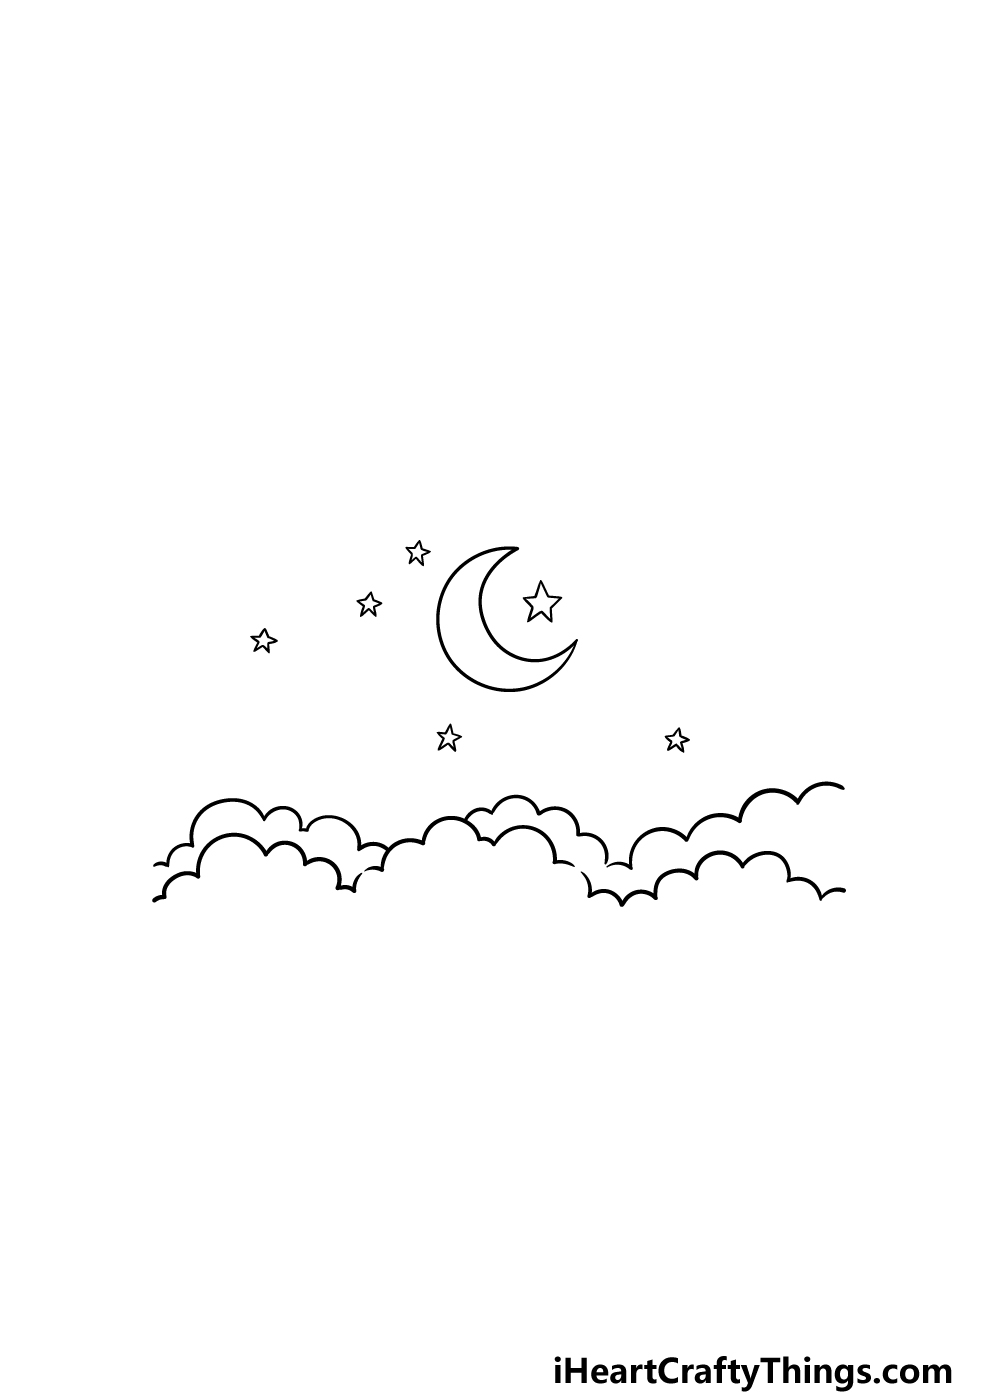
Step 3 – Draw the next layer of clouds
As mentioned in the previous step, the next few parts of this guide on how to draw a night sky will be based on increasing the volume of the various cloud layers.
Using some similar bumpy lines to the ones that you used for the first layer of the cloud, we will add another section above the first and second bulges of the first layer.
Then, another bumpy line will extend from the right-hand side of the second bulge, but there will be a gap at the end of it.
Step 4 – Now, keep drawing the clouds
We will be finishing off the second layer of the clouds in this part of your night sky drawing.
You can extend the final section of this layer to the right of the space that you left with the part that you just drew in the prior step.
Once you have finished this layer, we can finish off the final touches in the next part and have you ready for the final step!
Step 5 – Finish off your night sky drawing

Now you’re ready to finish off your picture in this step of our guide on how to draw a night sky. We will be adding even more clouds to the picture in this part.
To do this, we used similar bumpy lines extending from the sides of the page and down to the upper layers of the cloud. Once you have added these next cloud sections, you will be ready to move on to the final step!
You could also add any extra details that you would like for your image, and there are lots of creative ideas for this!
Drawing more details for the background would be a great way to do this, so if you were to draw one then what kind of setting would you choose for it?
Step 6 – Finish off your night sky drawing with some color
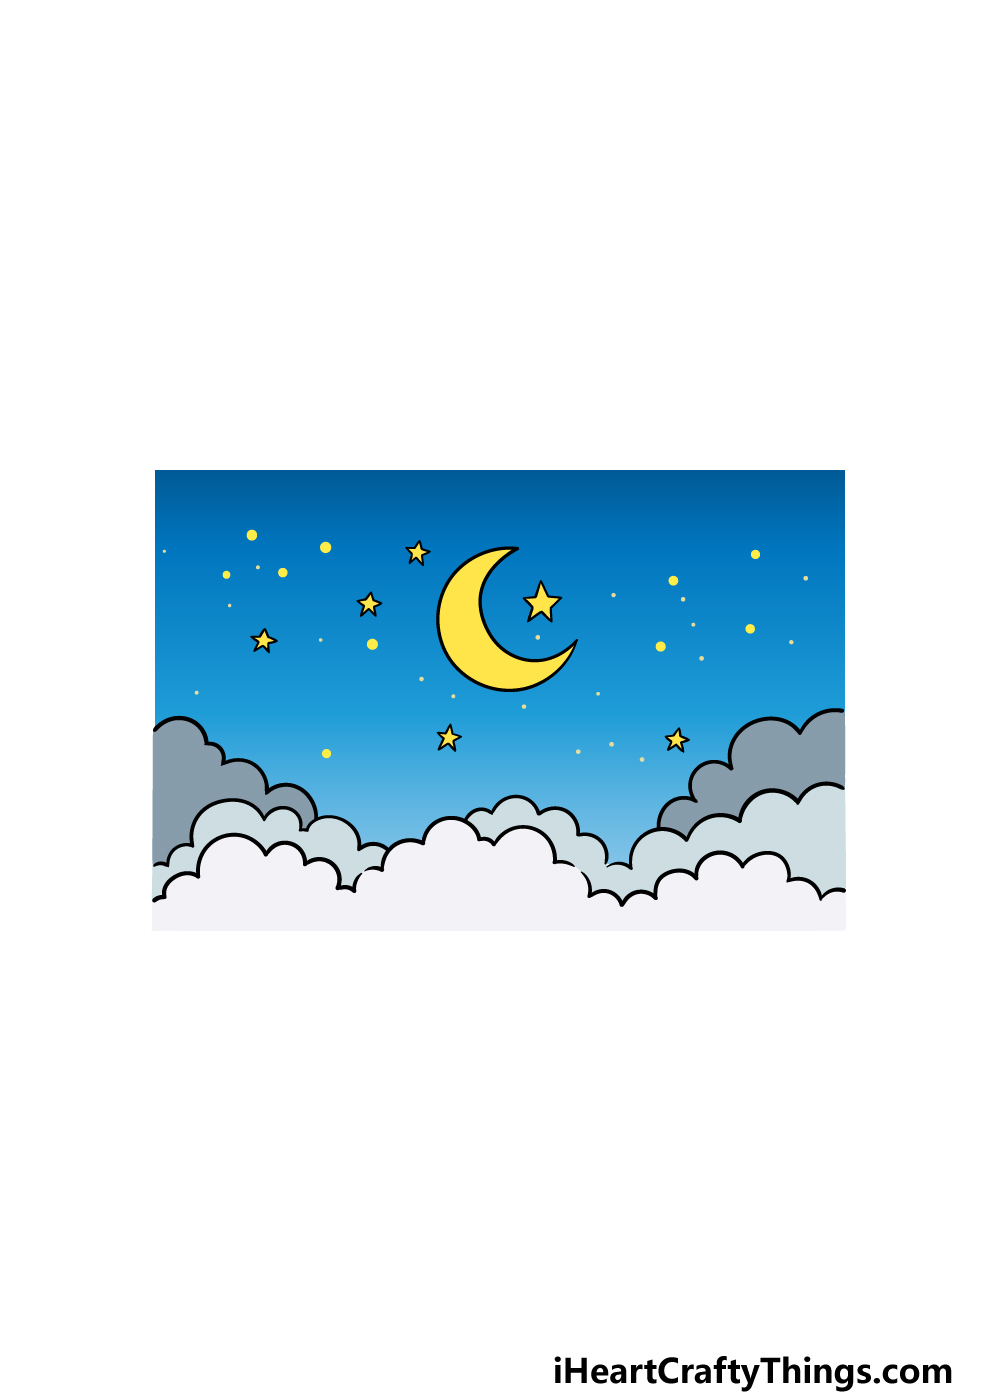
This is the last step of your night sky drawing, and in this one we can finish off with some coloring fun!
We used shades of blue in a gradient throughout the sky to give it a lovely soft look, and then used some bright yellows for the moon and stars.
We even added more stars to the drawing by using some yellow dots throughout the sky.
You could incorporate any amazing colors that you would like for this image, and then bring them to life with your favorite art mediums. We know that whatever you decide on will look incredible, so be sure to let your creativity flow!
4 More Ways To Make Your Night Sky Drawing Unique
Look to the stars as we show you how to make your night sky sketch even better!
When you look up into the night sky, you will sometimes see all sorts of incredible things. That means that you would have many options for extras you could add to this night sky drawing.
These could range from more stars to other celestial bodies like shooting stars or maybe even planets.
Additionally, you could also add more cloud cover to make the scene even more atmospheric.
These are a few ideas, but what other features could you add to the night sky?
We covered a few natural things you could add to your drawing of a night sky, but what about some more man-made features? If you wanted, you could add some kind of flying vehicle, for example.
These could include airplanes, helicopters or maybe even a blimp. Those would be some normal ideas, but you may even want to add something even more extreme like a rocket ship or an alien spacecraft!
What are some vehicles you could add to this night sky scene?
If you wanted to extend your night sky sketch even more, you could do so by showing more of what is beneath the clouds. That would give you a great chance to create a wonderful landscape!
By doing this, you could also make the drawing look more unique by having weather effects such as rain falling down. There are so many different settings you could create by adding to the background!
Lastly, you should try and experiment with different art tools, colors and techniques. The mediums you choose can have a huge impact on the mood of your artwork.
Using paints can help to give the drawing a classic feel. Brighter mediums like colored pens and markers can be better for a more stylized look.
If using something like paint, you could even take inspiration from famous artworks! Starry Night by Vincent Van Gogh would be a great example, but there are plenty you could use for ideas.
Your Night Sky Drawing is Complete!
All six steps of our guide on how to draw a night sky are complete, and at the end of it you have an incredible depiction of this wondrous sight!
We designed this guide with the goals of making it fun and easy for you to work with, and we also wanted to leave some room for your own creativity and details.
Be sure to have lots of fun as you create your own amazing night sky variations using this guide. We can’t wait to see what incredible artworks you will be able to come up with!
We have many more guides already on our website for you to enjoy right now. We also will be uploading new ones soon, so stay tuned for that!
Once you have completed your night sky drawing, please share your finished artwork on our Facebook and Pinterest pages for us to see!