New York is known as the city that never sleeps, and it has become a popular destination for people around the world.
Every year, millions of people travel to see the lights, sights and sounds of this impressive city.
It also appears in countless movies, TV shows, video games and other forms of media, and there seems to be no end to the stories that can take place in the city.
As such an iconic location, the city features in many artworks, and people may like to learn how to draw New York so they can create their own.
If you’re enamored by this city, then you’ll want to read all the way to the end of this tutorial!
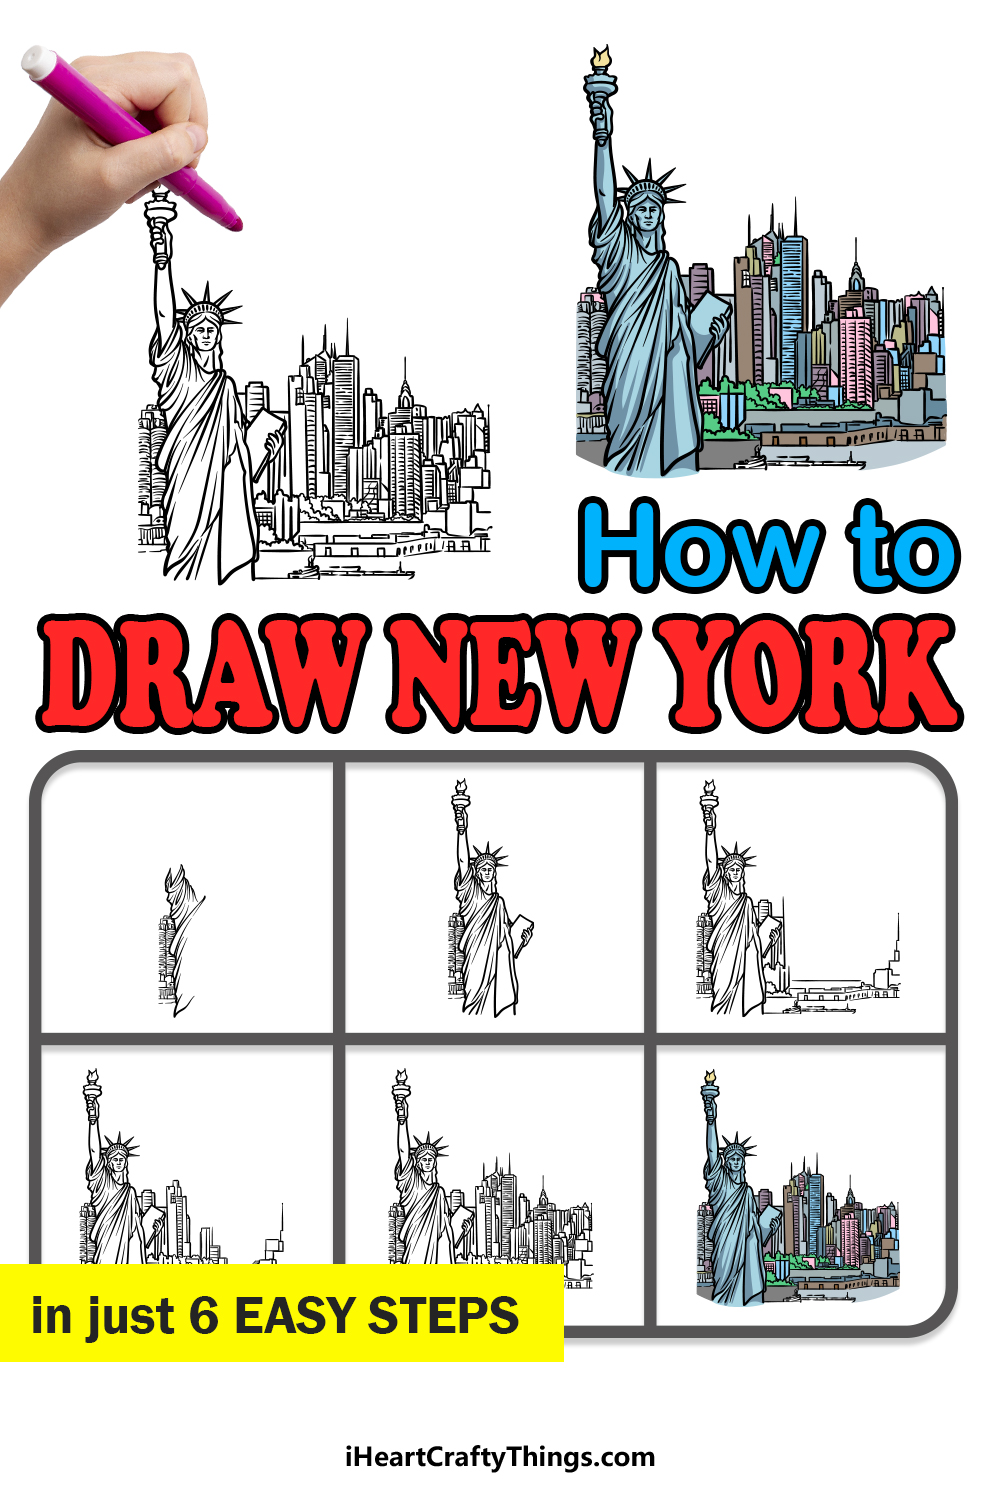
We hope you enjoy our step-by-step guide on how to draw New York in just 6 steps.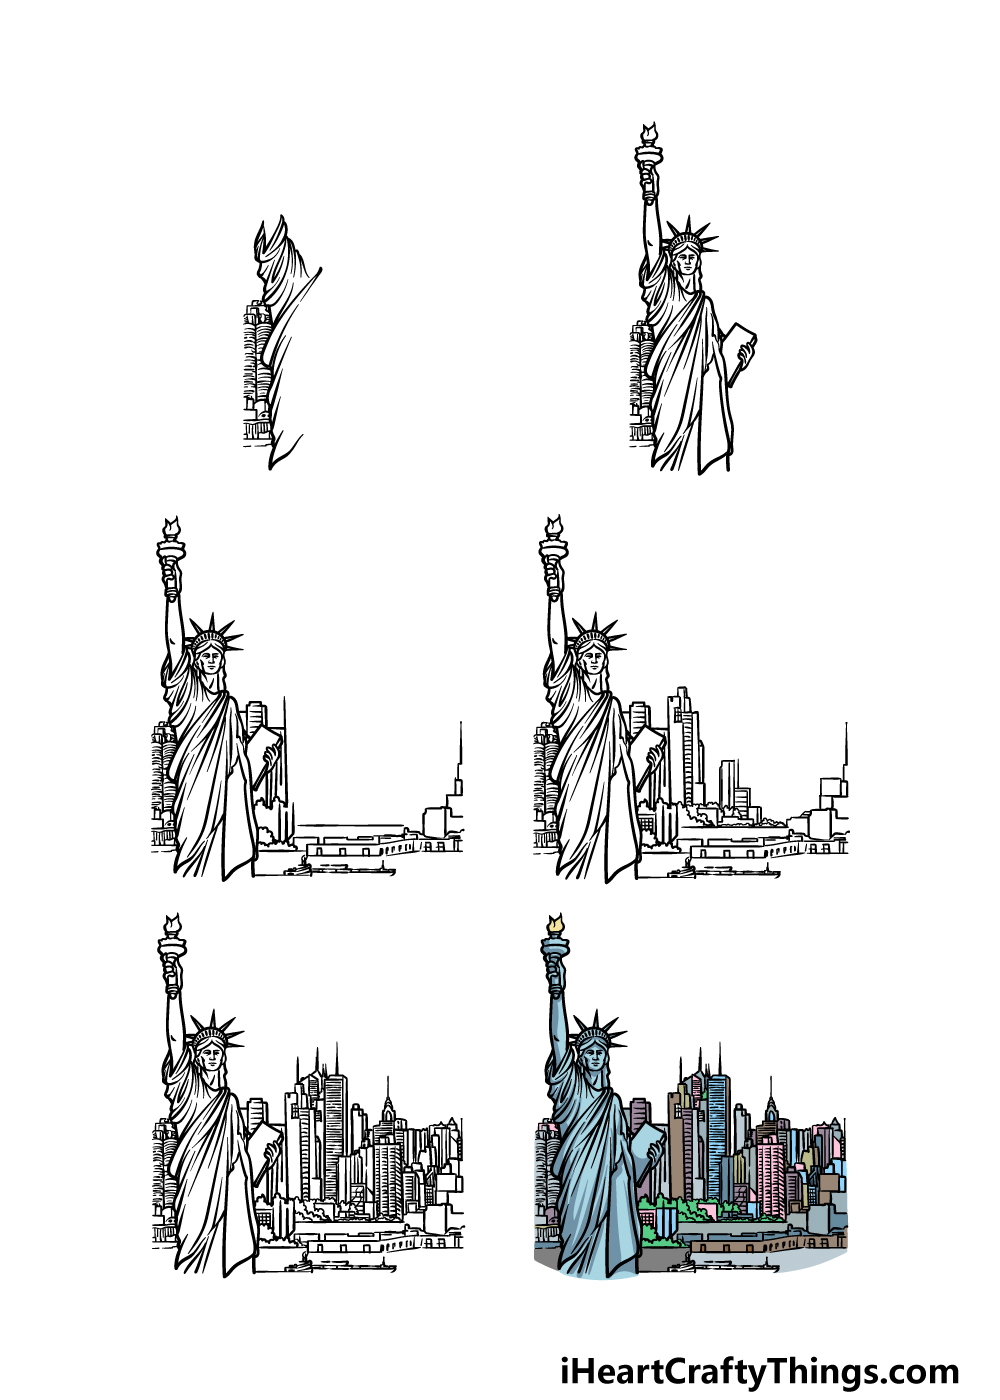
How to Draw New York – Let’s Get Started!
Step 1
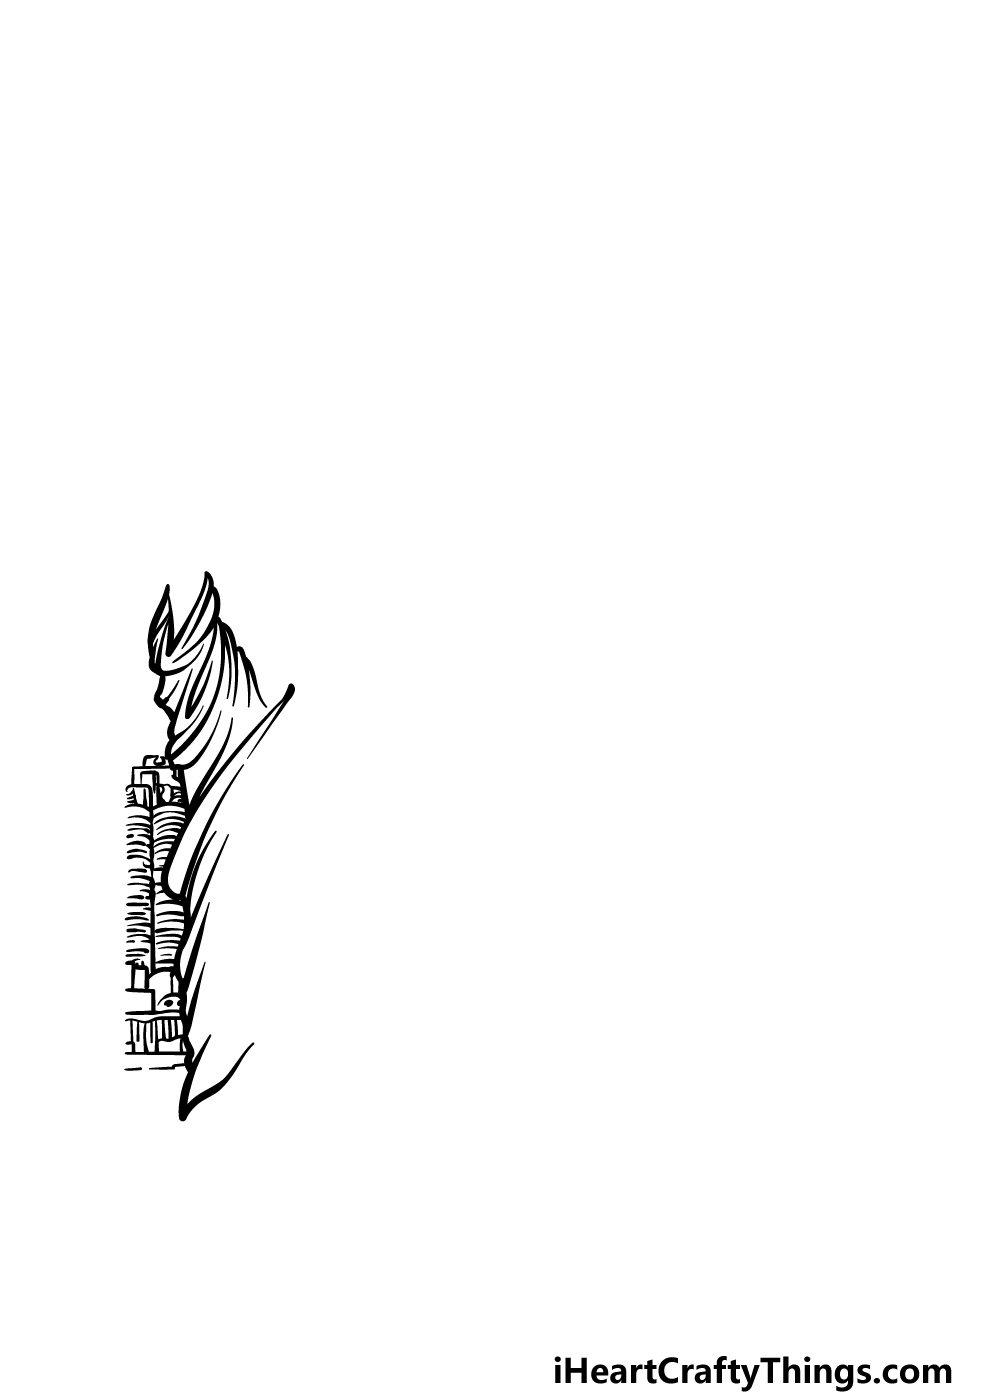
New York is a city full of iconic structures and landmarks, and few of these are more well known than the Statue of Liberty.
This statue is what we shall be focusing primarily on for this first step of our guide on how to draw New York.
For now, we shall be drawing the arm on the left that is raised up, and then we shall be drawing the side of the statue’s body.
Both of these areas are depicted as being covered in fabric, so we will be using lots of curved lines connecting to one another as we draw these areas.
This helps to give the appearance of creased fabric that is depicted on the statue. Finally, you can start drawing the buildings on the left side of the statue.
These buildings have many small details, so you may want to enlarge the reference image and copy them exactly as they appear there.
Step 2 – Now, draw the rest of the statue
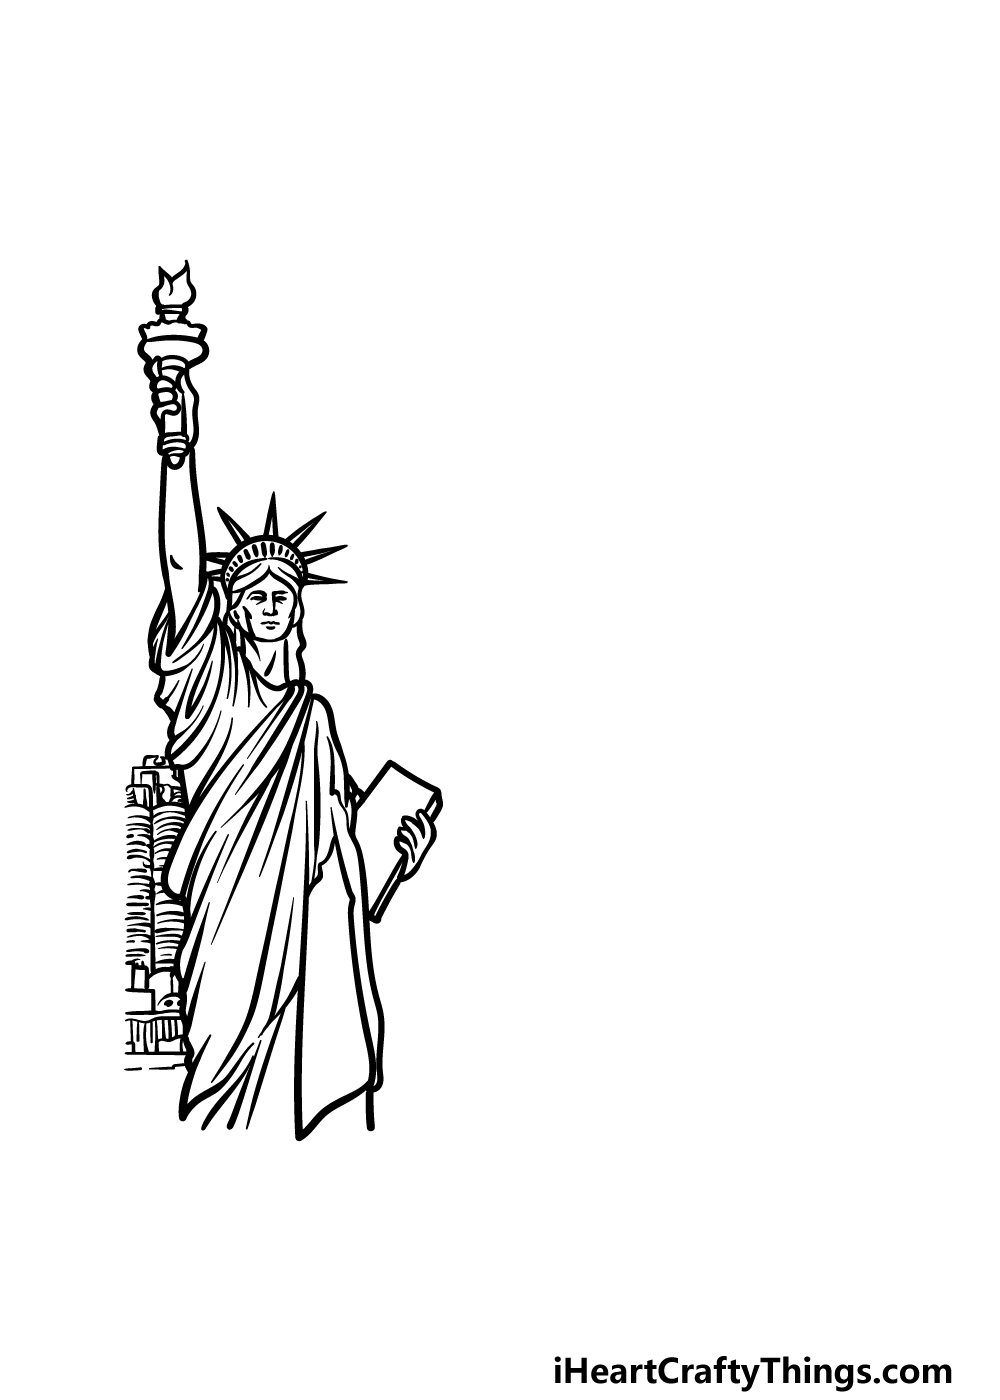
In this second step of your New York drawing, we will be drawing the rest of the Statue of Liberty that you began in the previous part.
To do this, use some more of those long, curved lines connecting to one another. Using the reference image to guide you, you will be able to draw the rest of her body this way.
Once the fabric parts are complete, draw a hand holding the book on the right, and then add the arm being extended straight up on the left. This hand will also be clutching a torch.
The last thing we will add in this step will be the head for Lady Liberty. She has a rather solemn expression, and you can also draw her characteristic pointy crown on her head.
When you have drawn all these aspects, we shall proceed to step 3.
Step 3 – Draw some more of the city itself
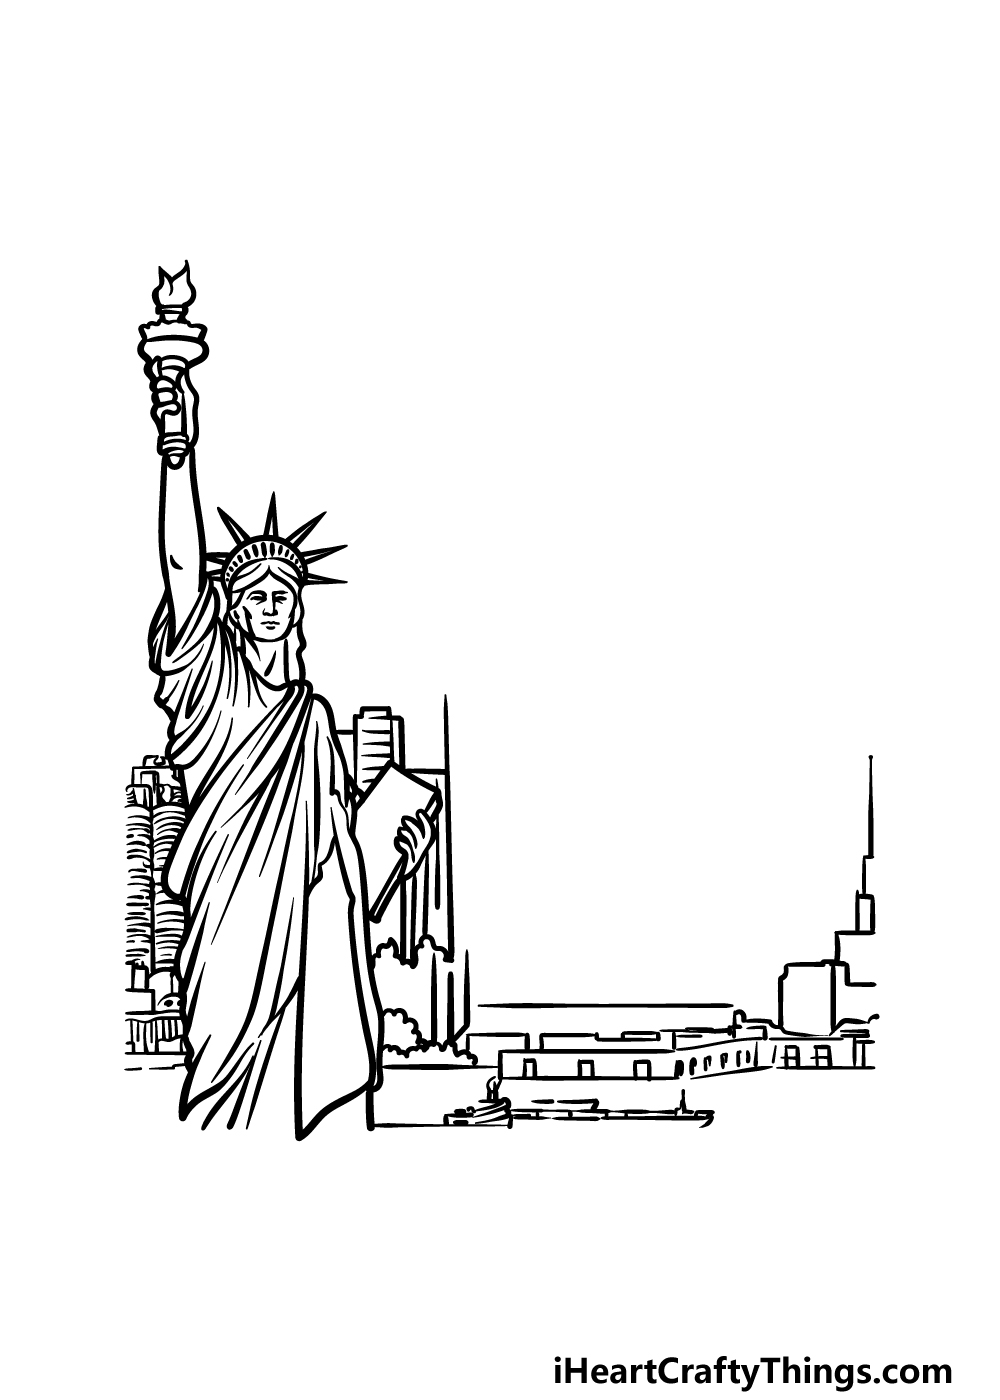
We focused on the Statue of Liberty in the previous few steps of this guide on how to draw New York, and for the next few we shall turn our focus to the city itself.
The city will be the trickiest part of this drawing as there are many smaller details to get right.
Drawing is no race, however, so if you take your time with it and follow the reference image closely then you’ll be able to do it!
For now, you can draw a base section of smaller buildings and structures that some of the taller skyscrapers will go above.
You can start drawing some of these taller buildings on the left and right of this base section, and then it will be time for step 4.
Step 4 – Next, draw some more tall buildings for the city
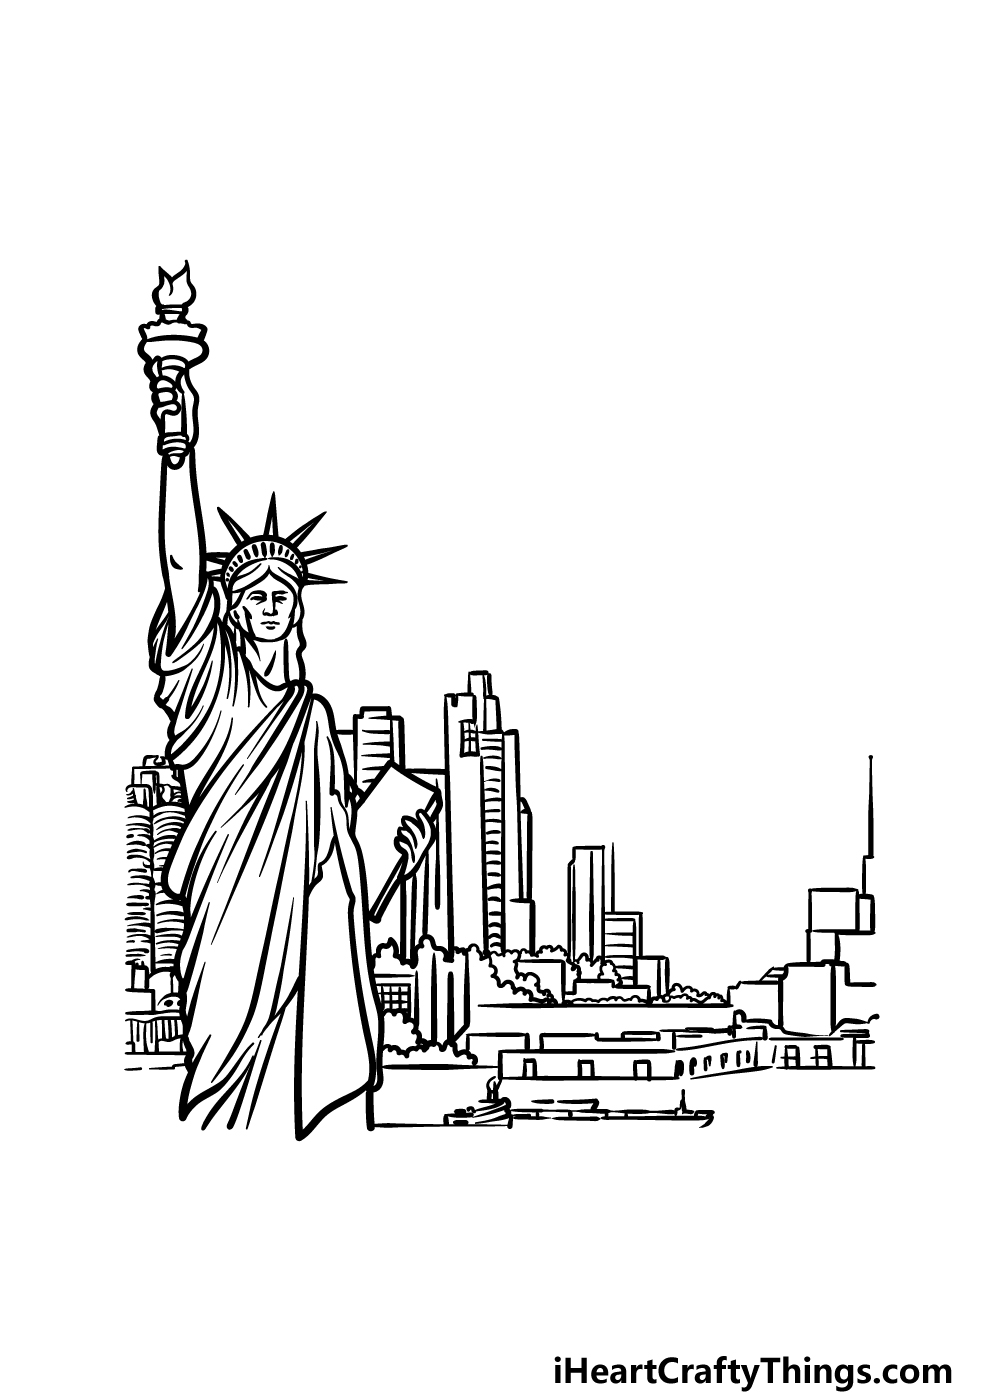
This step of your New York drawing will see you adding some more tall skyscrapers to the image. Once again, these will be quite detailed and drawn using several sections.
Try to vary the heights of the buildings as well as this will help to make the city look more dynamic and realistic.
When these buildings have been drawn, you will be ready to add some final touches and details in the next step of the guide.
Step 5 – Add the final details to your New York drawing
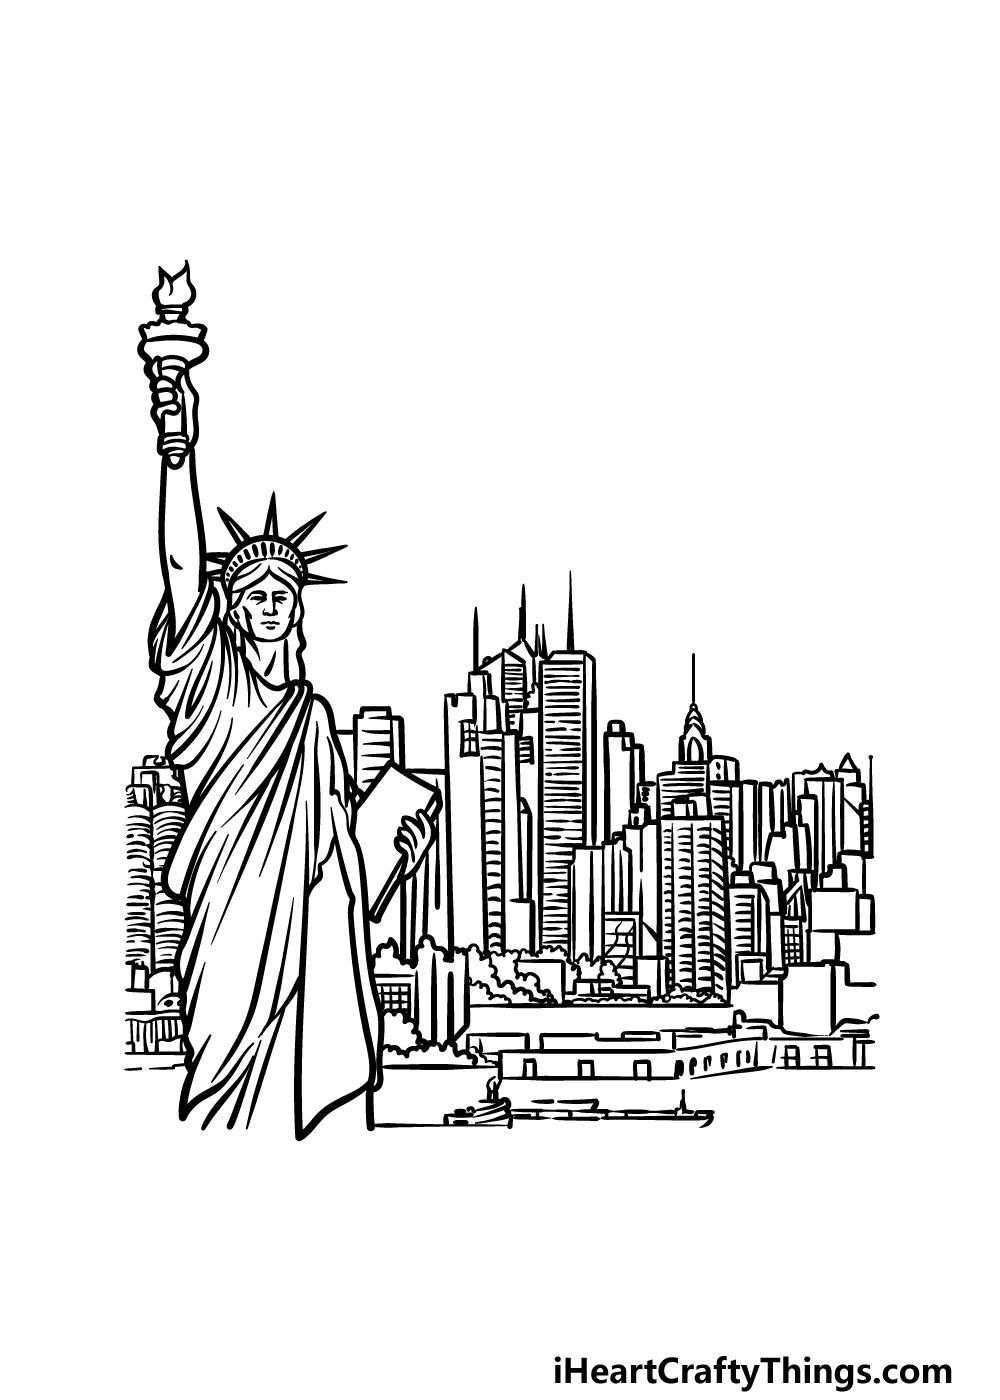
You will be drawing the rest of the city in this step of our guide on how to draw New York. This will be the largest and most detailed section of skyscrapers in the picture.
You could also use a ruler to help you with the edges of the buildings if you would like it to look neater and more structured.
When you have drawn all of the city sections, you can also add some details of your own!
You could draw aspects like clouds for some weather effects or even add some more landmarks, cars or other vehicles. What else can you think of to finish off this image?
Step 6 – Finish off your New York drawing with color
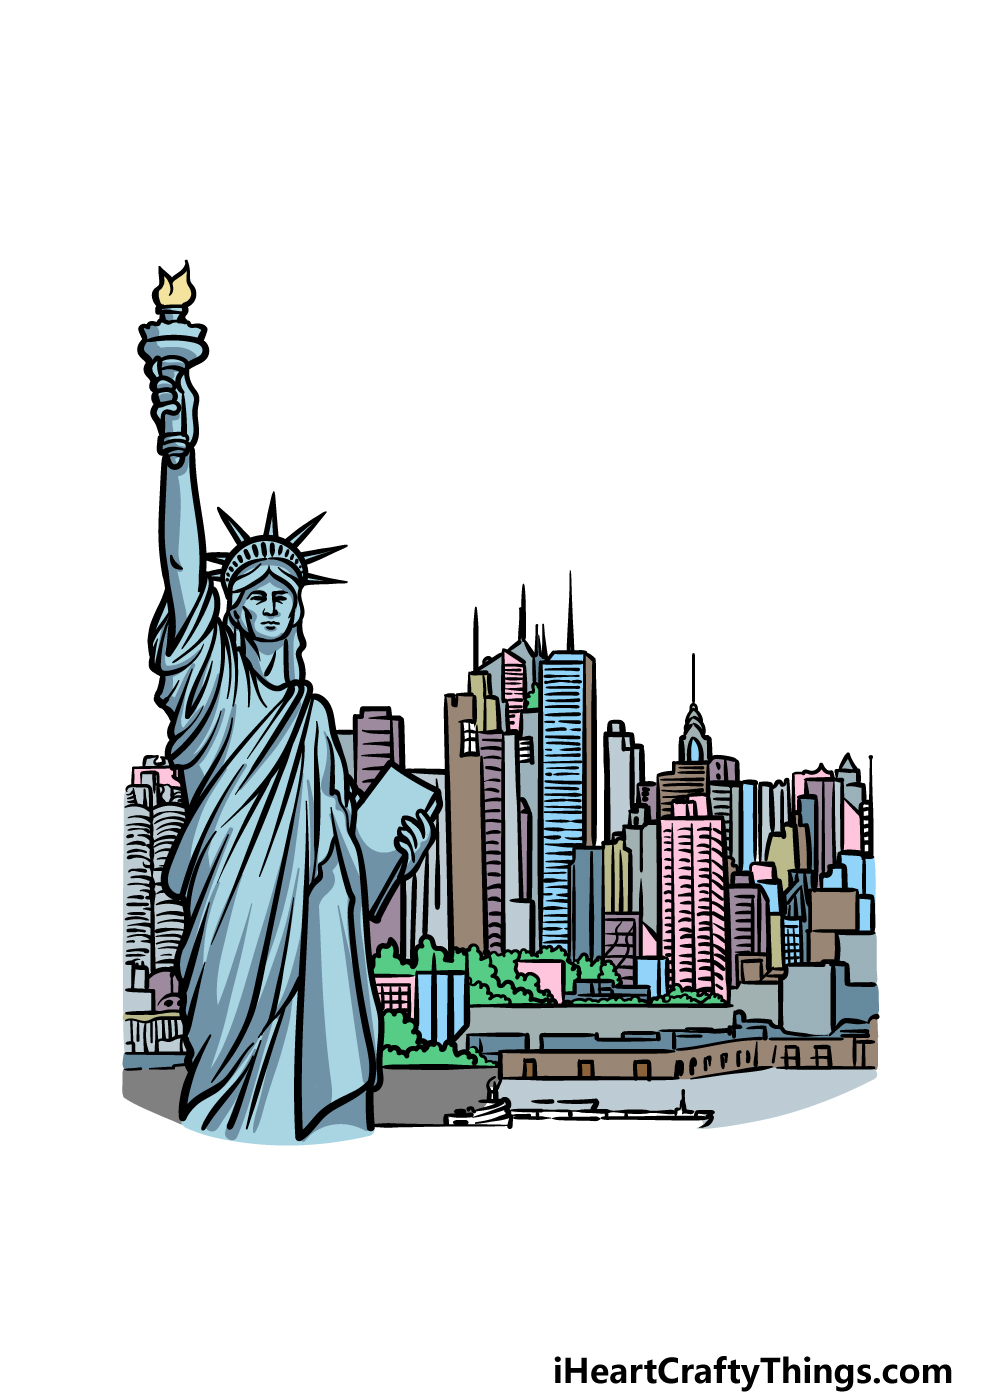
The final step of your New York drawing will see you finish it off with some color. In our reference image, we helped to create a more realistic look by keeping the colors a bit more grey and muted with some light blues incorporated.
You could go for a similar color scheme, but you could also use some bright colored dots on the buildings if you’re going for a nighttime setting.
What colors and art mediums do you feel would best suit this image? We can’t wait to see what you choose!
5 Tips To Make Your New York Drawing Even Better!
Take a trip to the Big Apple as we make your New York sketch even cooler!
For this drawing of New York, we left the sky pretty blank. This opens things up for you to add some weather details.
It could be as simple as a bright blue sky with some clouds. Or, you could create a grey and rainy day for a moodier atmosphere to the image.
What kind of weather could you create for this scene?
New York at night is a beautiful sight, so you could also change the time of day for a different feeling. By making it a nighttime setting, you could show lights in the windows for a stunning view.
Or, maybe you would like to show the beauty of a New York sunset. What other times of day could you portray?
This New York drawing shows just a small portion of the city. You could make it more complete by drawing some other views of the city!
This could be done in a collage form where you have four small views of the city on one page. To get inspiration, you could look up some images of New York City online to find some of the major landmarks.
Another way you could use the collage idea would be by adding views of other iconic cities to the page. For example, you could have London, Dubai and Rome for a few ideas.
This would be a great way for you to show off places you love or places you want to visit one day. Once again, photos online could help you to draw these other destinations.
Finally, a fun way to present this New York sketch would be to make it look like a postcard. This could be done by adding some colorful text and details like a barcode.
You could take this even further by drawing the picture on a small rectangular piece of cardboard. Then you could write a message on the other side like a real postcard!
Your New York Drawing is Complete!
You have completed this guide on how to draw New York, and now you have an incredible picture of this amazing city!
This was a tricky drawing to take on, as there were a lot of small details and elements to get right.
We hope that this guide helped to show you that despite these many details it can be fun and easy to do!
Now it’s up to you to finish off this image with your own details, elements, ideas and color choices.
Then, when you’re ready to take on a new drawing you can find some more guides on our website. We upload new ones to enjoy often, so keep checking in!
When you have completed this New York drawing, you can show off your artwork on our Facebook and Pinterest pages. We will be looking forward to seeing how it turned out!