When it comes to fashion, there are many accessories you can use to create a unique style.
There are things like earrings, rings and shoes that you can wear, but one of the most popular items to use would be a necklace.
Necklaces can be incredibly varied, and there is certainly a necklace to suit every style and taste. It can be great fun imagining your perfect necklace accessory, and learning how to draw a necklace can be a great place to start when doing that!
If you would like to unleash your inner fashion designer, then this will be the tutorial for you!
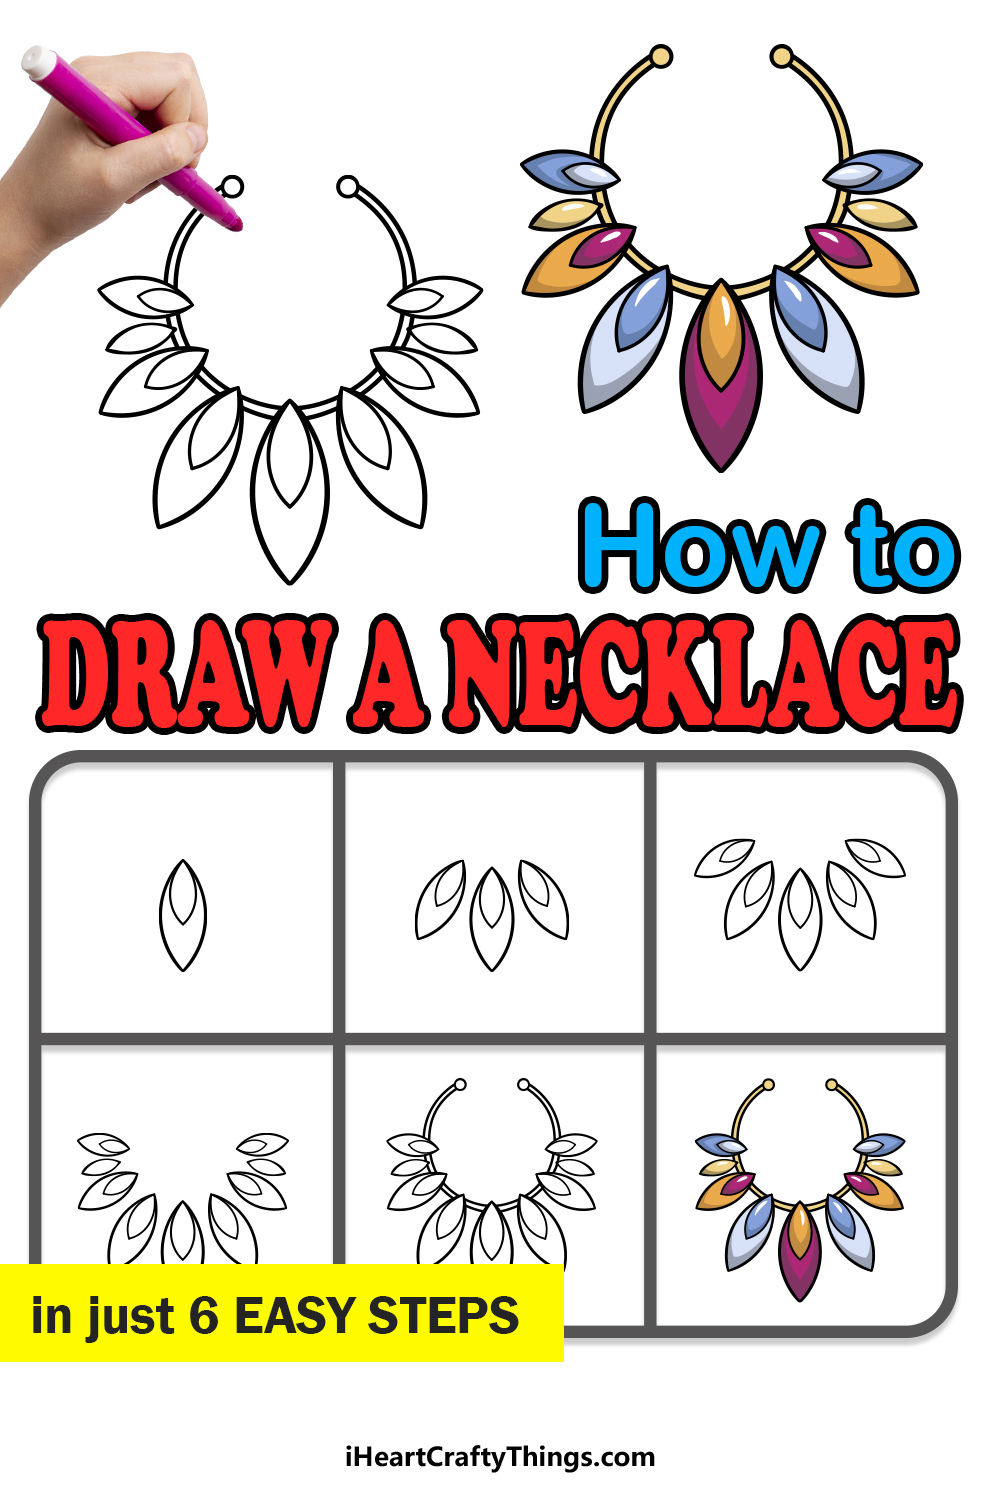
Our step-by-step guide on how to draw a necklace in just 6 easy steps will show you just how fun and easy it can be to draw your very own necklace!
How to Draw A Necklace – Let’s Get Started!
Step 1
This guide on how to draw a necklace will have some room for your own designs later on, but for now we will be sticking to the design we have prepared in this guide.
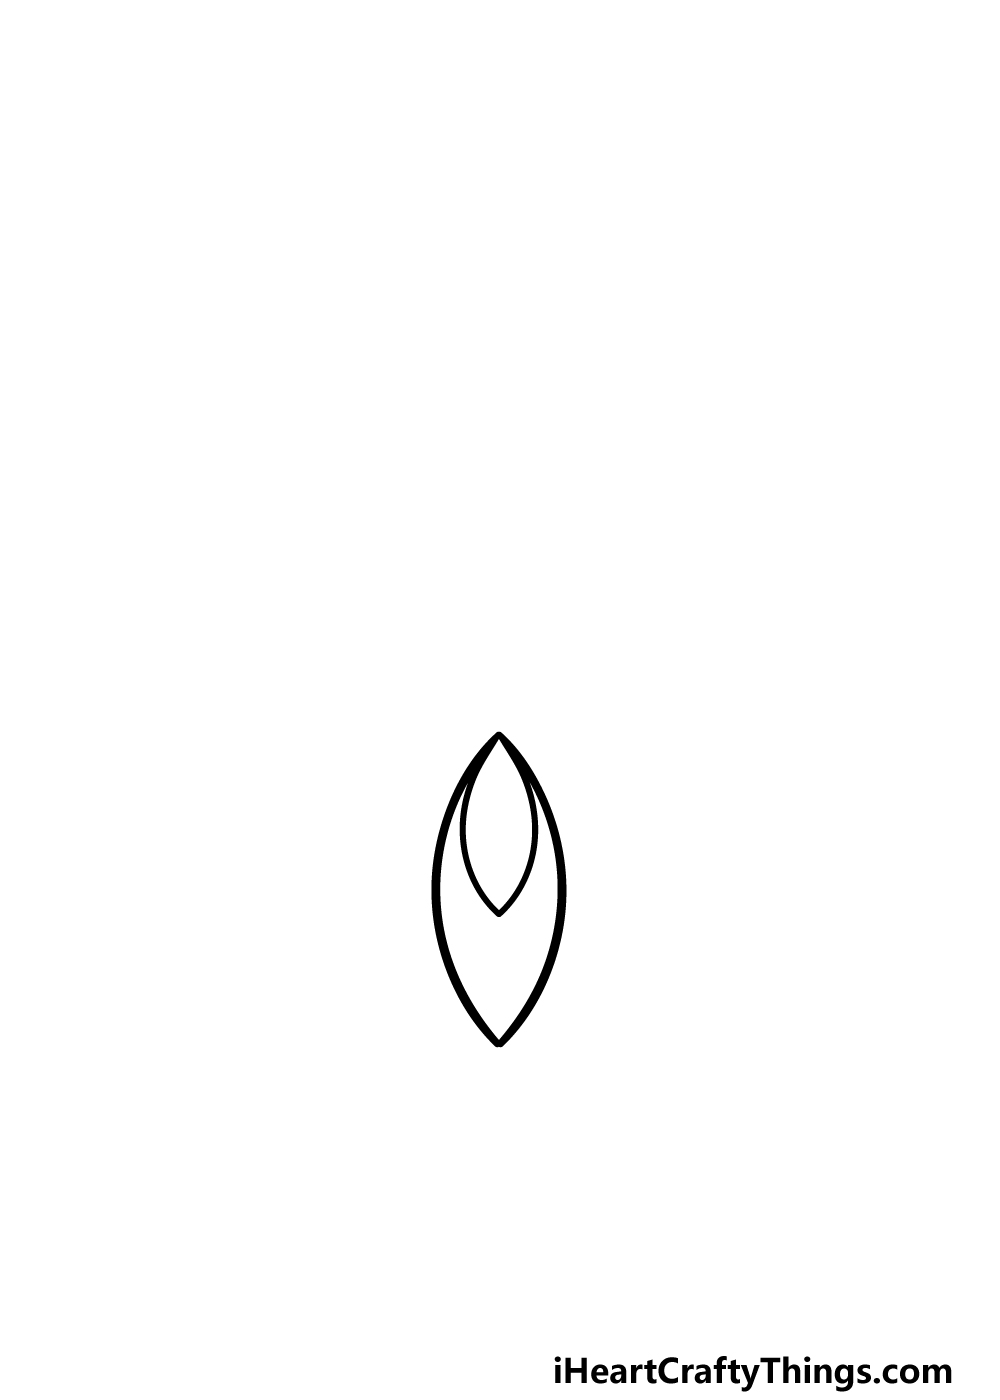
This necklace will have some beautiful beaded sections all along it, and we will be drawing the first of these now.
Start by drawing a few curved lines to create a rounded shape with two pointy tips at the top and bottom.
This will form a sort of leaf shape for the bead, and you can then draw a smaller replica of this shape inside of it. Once this is drawn, you will be ready to add some more in the next steps!
Step 2 – Now, draw some more of these beaded sections for your necklace
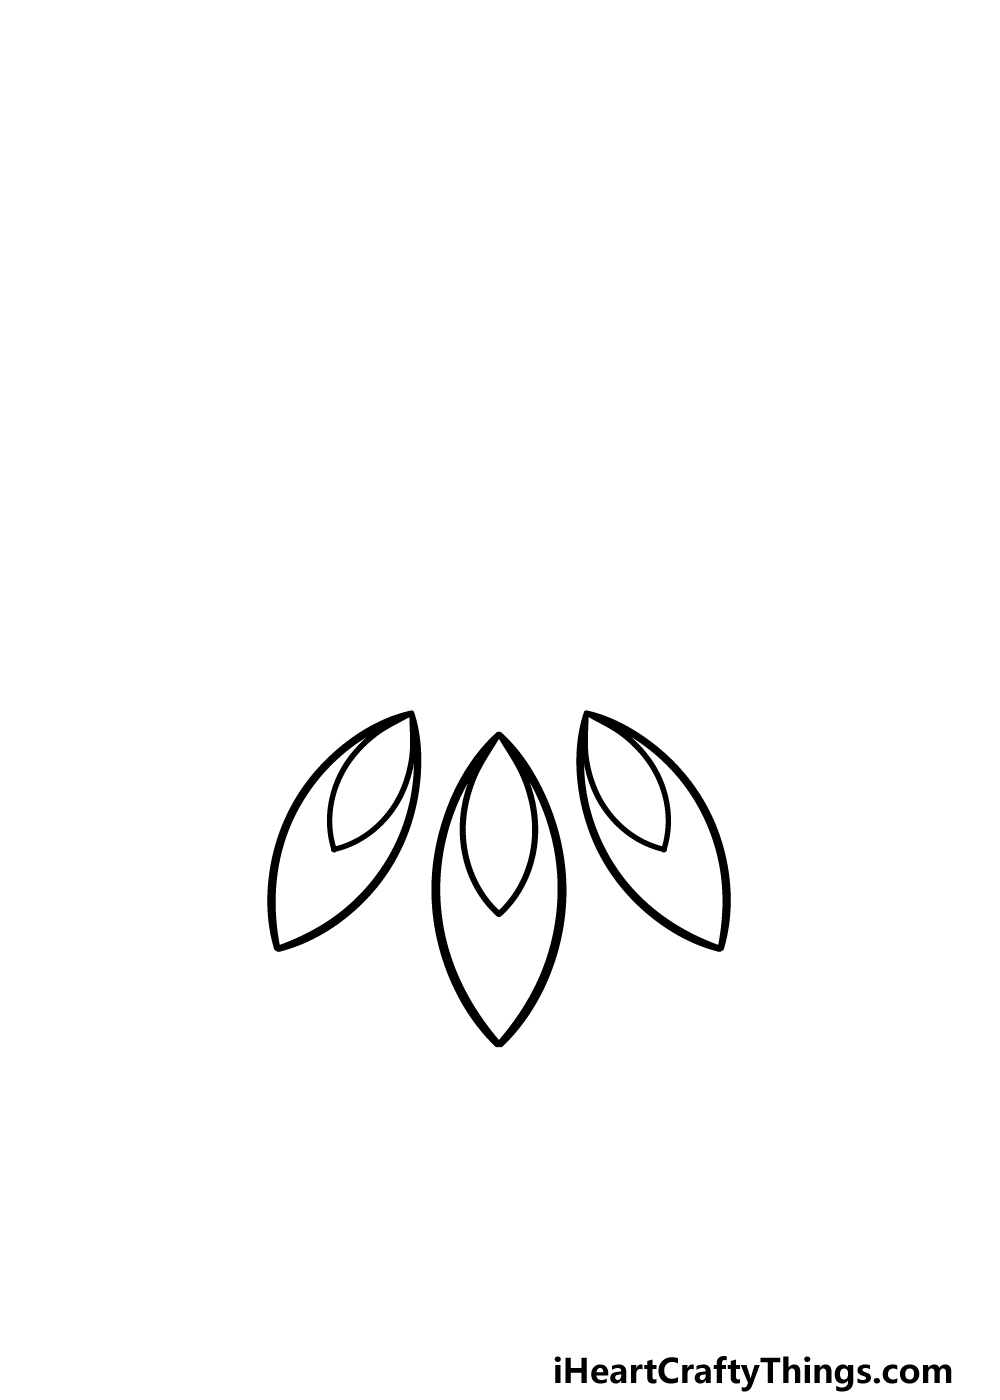
Now that you have drawn the first of the beaded sections for this necklace drawing, you are ready to add some more!
In this second step of the guide, you will be drawing two more of these leaf-shaped sections.
There will be one on either side of the first one, and that means using some curved lines with sharp tips at the top and bottom.
They will be more or less the same size as the first one, but the angles will be a bit more diagonal, as shown in the reference image.
Step 3 – Draw some more sections for the necklace
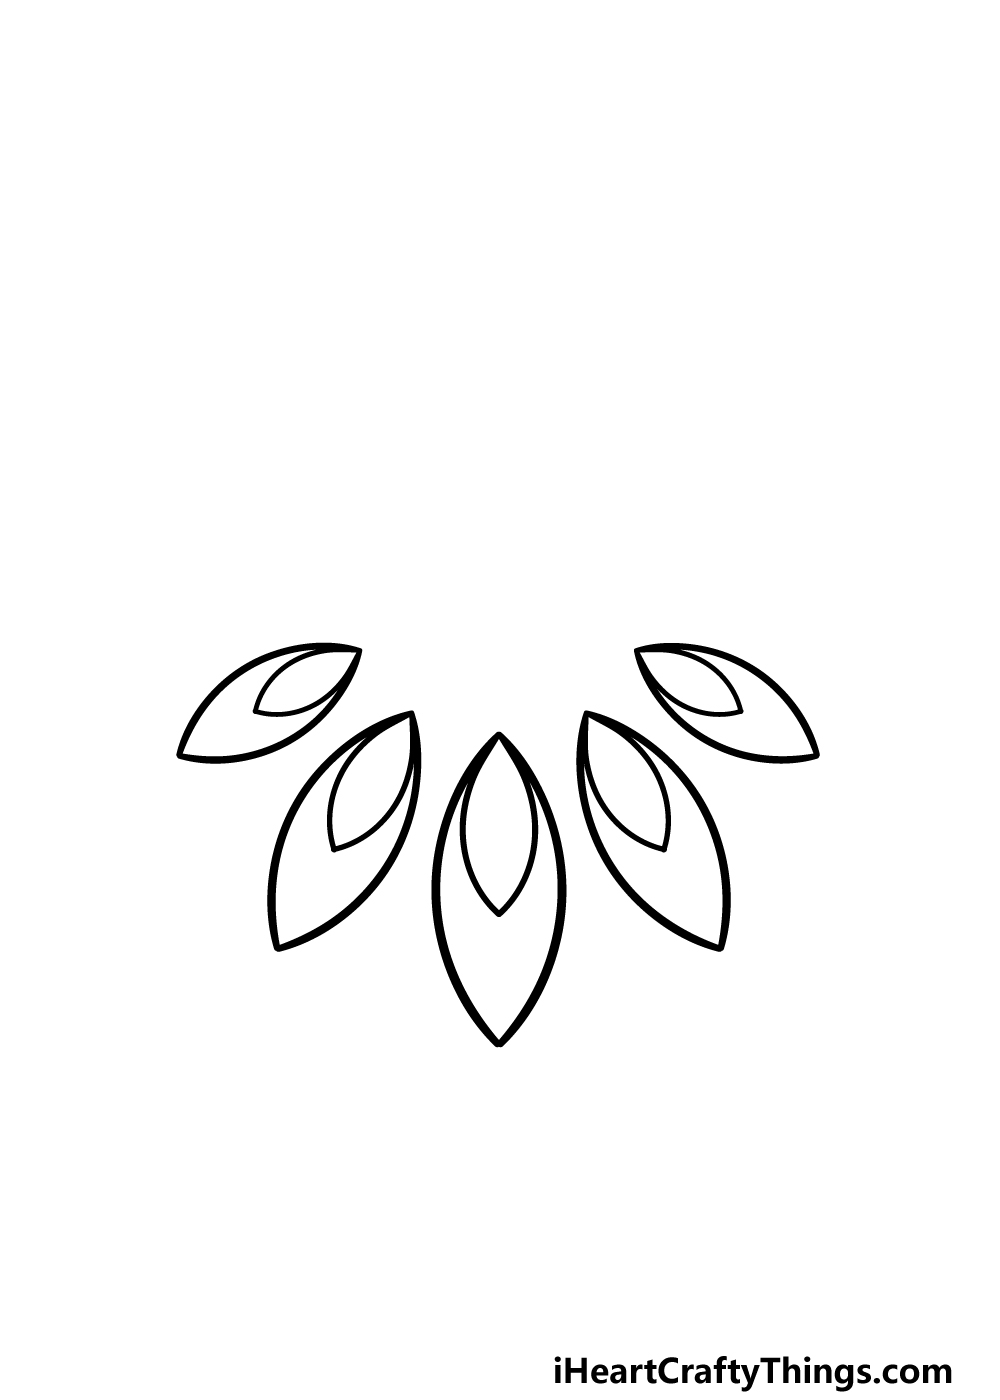
In this third section of our guide on how to draw a necklace, we will be adding two more sections for the necklace.
Once again, you will be creating the same beaded shape that you used for the first beads and the ones in the second step.
Much like that second pair of beads, these will also be at a slightly diagonal angle. These ones will be further differentiated, as they will be slightly smaller than the previous sets of beads.
Other than this difference, they will be pretty much the same, and once they’re drawn we can then move on to step 4 of the guide!
Step 4 – Next, draw the next sets of beaded sections for the necklace
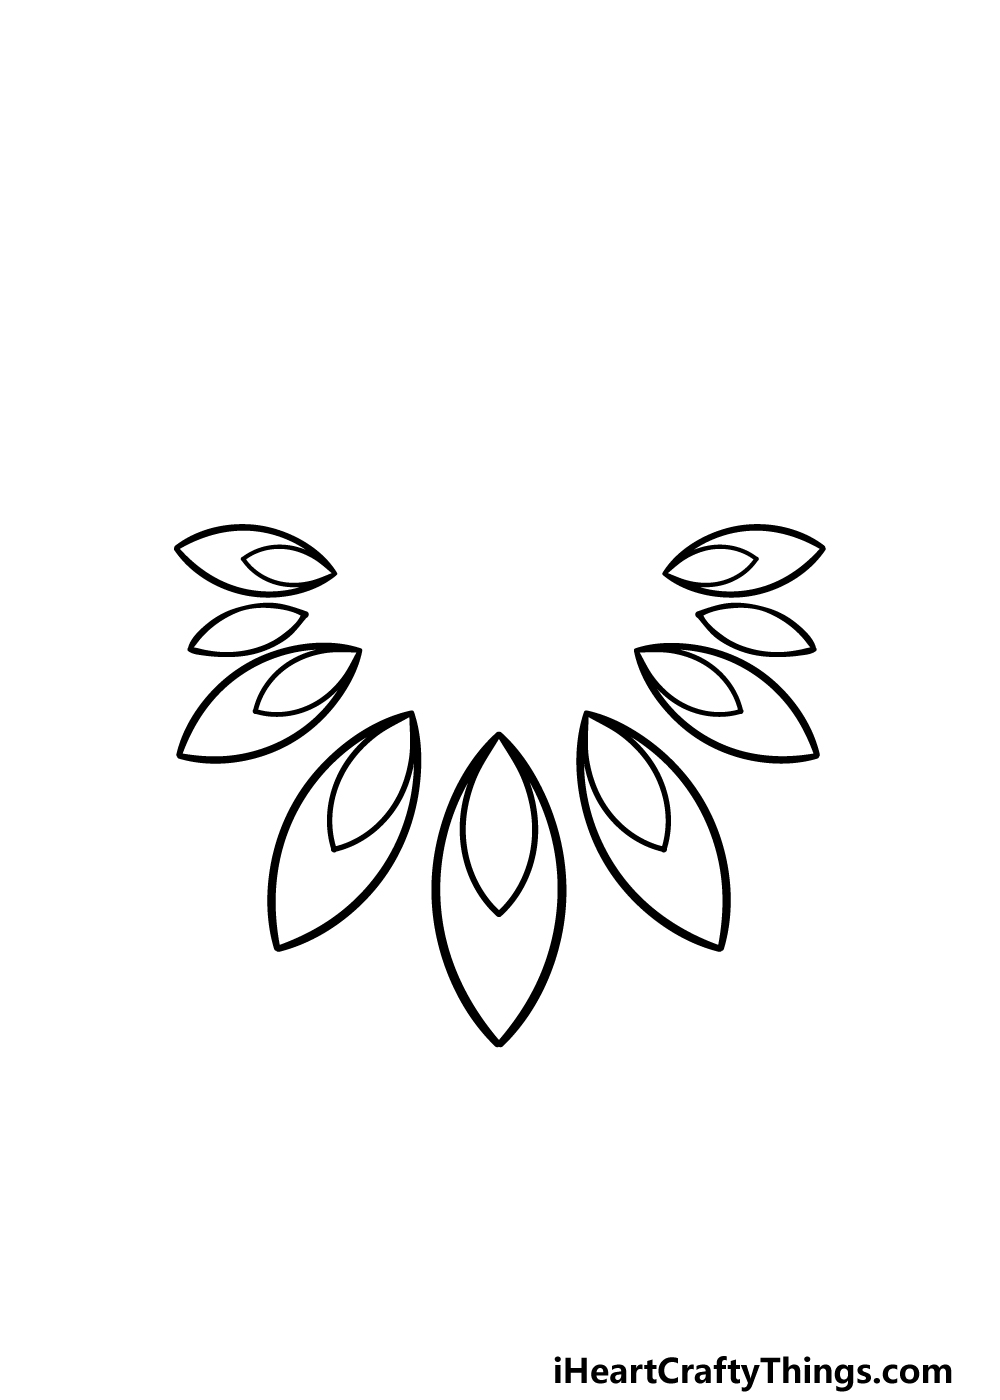
This necklace drawing is already looking nice and stylish! We have just a few more final sections and details to add in the next few steps, so let’s get started on these elements!
For now, we will be drawing some more beads. The next two will be the smallest ones yet, and unlike all of the others they will not have a smaller shape inside of the outline.
Then, we will be drawing two more shapes that will be the same as the ones from the previous steps.
These will be smaller than the beads from steps 1-3, but they will be slightly larger than the ones you just drew. When these are done, we can begin the final details in the next step!
Step 5 – Add the final details to your necklace drawing
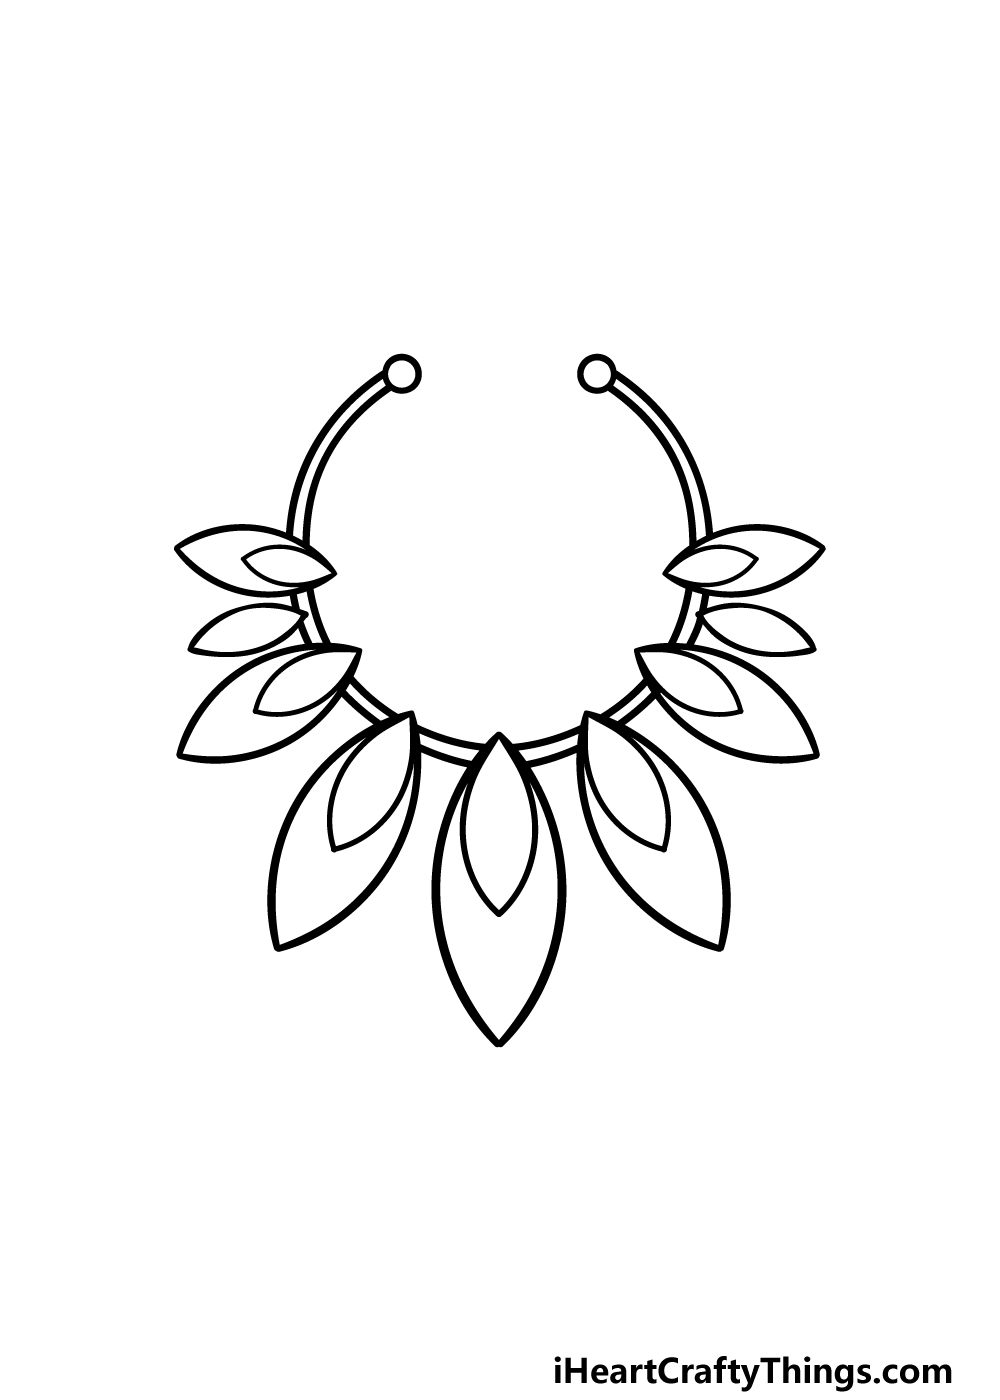
Before you add some colors in the final step of this guide on how to draw a necklace, we will first add the metal band that the beads you’ve been drawing will be attached to.
You can start this band by drawing two small circles that will be at either end of it. Then, you can draw the thin wire extending in a curved shape that all of the beads will be attached to.
Once this is drawn, you will be ready to move on to the final step! Before you do, this is your chance to add your own decorations and ideas.
These could range from adding more beads and objects onto it to creating completely new bead designs of your own.
How will you finish off this amazing drawing?
Step 6 – Finish off your necklace drawing with color
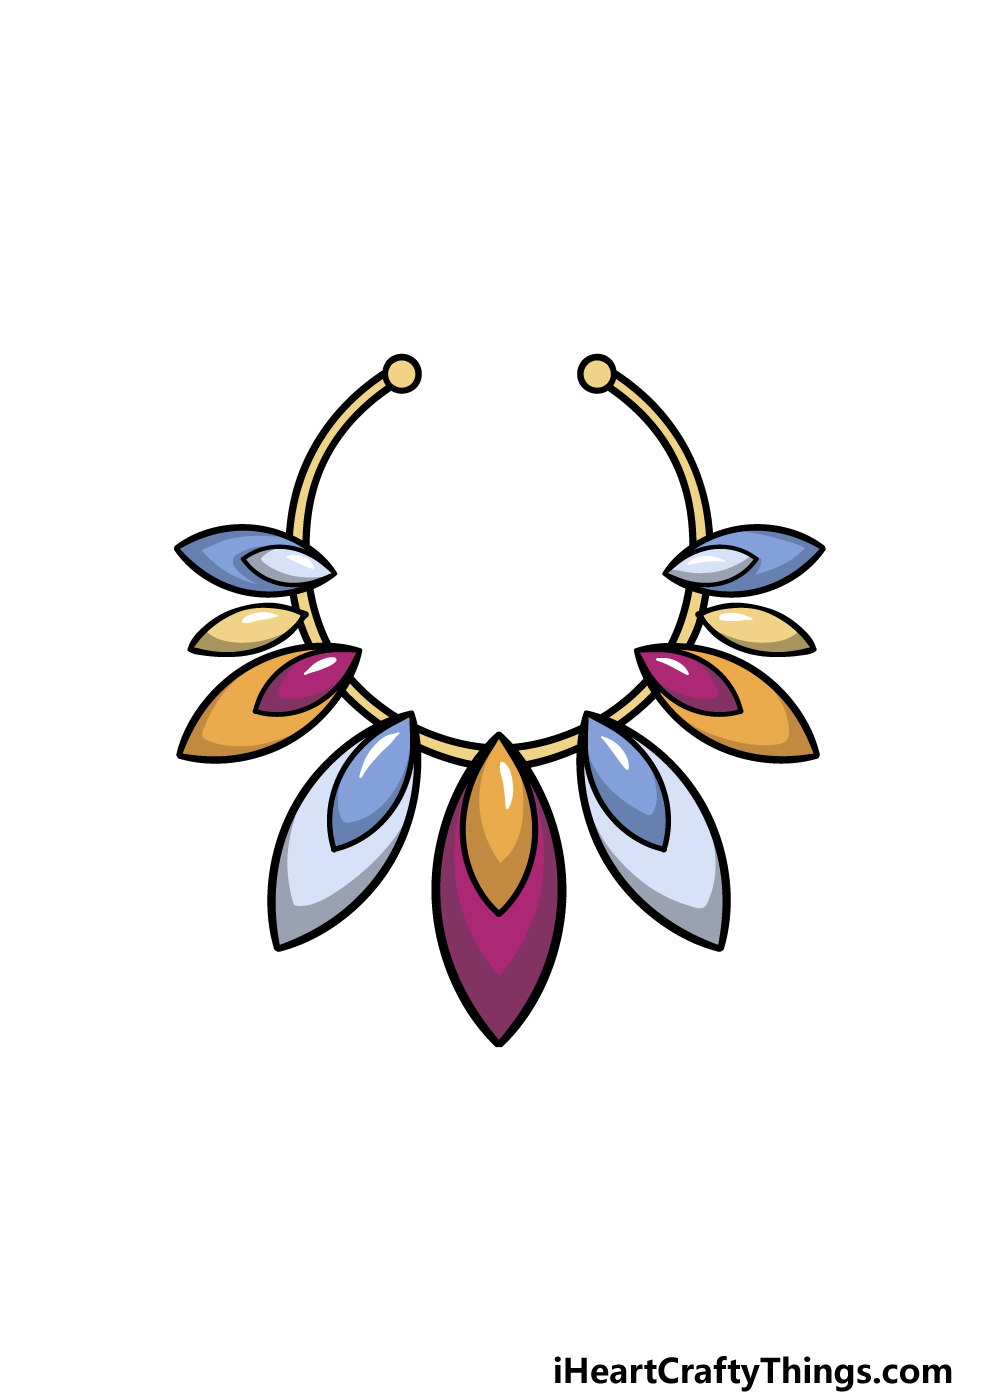
This is the final part of this necklace drawing, and in it we shall finish off with some colors. In our reference image, we showed you just one set of colors that you could go for.
We used a nice variety of bright colors such as oranges, blues and purples, so while you could also use similar colors you should feel free to use some color choices of your own!
When coloring in, you can also have some fun choosing the art tools and mediums that you will use to achieve your color choices.
Will you go for a painterly medium or stick to mediums such as colored pens and pencils? We can’t wait to see what you choose!
4 More Ways To Make Your Necklace Drawing Unique
These tips for your necklace sketch will help you to make it even better!
This drawing of a necklace has some wonderful parts and colors, but a necklace can take many forms. You could keep this in mind as you customize this particular necklace design!
You may think that the design looks great as is but that it could use something a bit extra. If that is the case, then maybe you could add some beads or smaller elements between the larger parts.
Or, you may like the color of the links but not the shape. If that’s the case then you could change the shapes to fit your preference.
A great necklace is best paired with other complementary jewelry. You could show what you would like to wear with this pretty necklace by adding some other pieces of jewelry.
This could take any form that you like, and once again it would depend on your preferences.
Whether it’s earrings, bracelets or even a second necklace, you could have fun creating a great style!
Pairing this necklace with other jewelry would be one of constructing a look, but you could also add clothing to this necklace drawing.
This would be a great way to finish off the style that this necklace is a part of.
Perhaps you could include an elegant ballgown or a pretty sundress for a more casual look. This could also depend on how you chose to finish off the necklace itself.
What kind of look would you like to create?
A great outfit is pretty useless if there is no one there to wear it, so you could add a character to this necklace sketch to finish it off. The character doesn’t have to be random, and you could base it on someone real.
Perhaps you would like to show yourself wearing this necklace, or you could draw someone else you know.
If you need some star power for the image, then you could draw a favorite celebrity wearing the necklace instead.
Your Necklace Drawing is Complete!
Designing your own jewelry and fashion accessories is a great way to imagine your own perfect style, so we hope it was fun to do that in this guide on how to draw a necklace!
If you follow the steps in this guide, you will know everything you need to know about not only recreating this necklace but also how to create your own designs.
This is your chance to show off your creativity as you add your own design choices and make the image pop off the page with your colors and art mediums!
If you enjoyed working on this guide, you can find many more like it on our website to enjoy. We upload new designs often, so be sure to keep checking in!
It would be great to see how this necklace drawing turned out, so please be sure to share your creation on our Facebook and Pinterest pages to enjoy. We can’t wait to see it!