The human body is always quite a challenge to draw, no matter what part you’re focusing on. Unlike some other drawing subjects, body parts have to be correctly proportioned or they can look very off.
Drawing muscles is no exception, and it can be quite the challenge to try and learn how to draw a muscular arm, as it can be frustrating to have it looking just right.
However, by breaking it down into smaller steps and taking it slow, you can make it much easier on yourself.
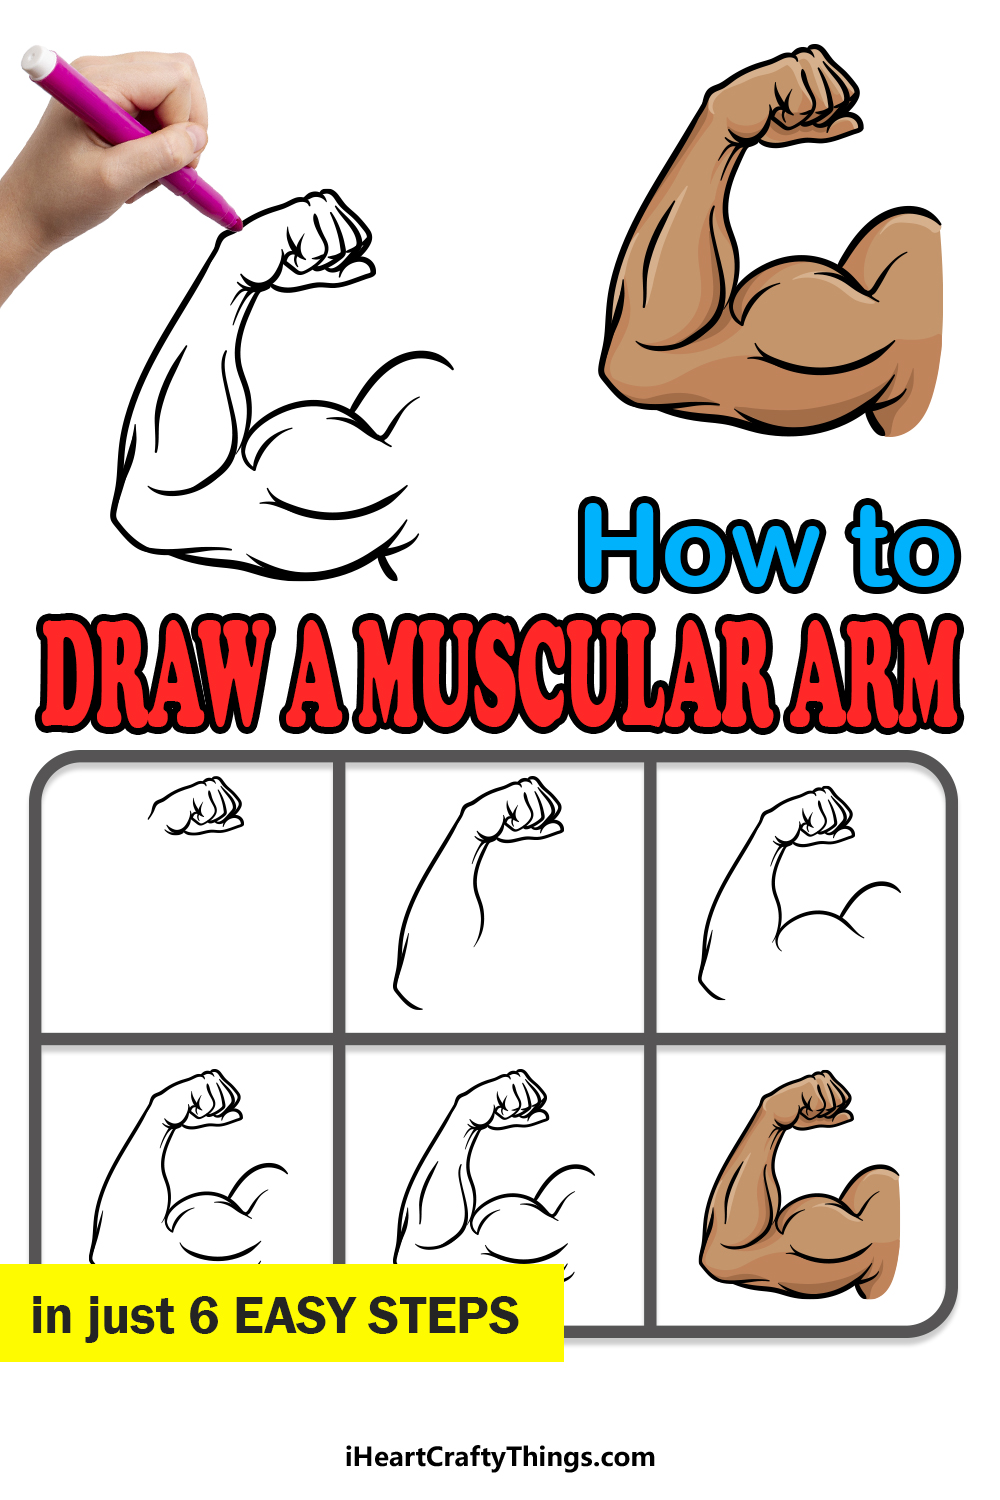
That’s what we will do together in this step-by-step guide on how to draw a muscular arm in just 6 easy steps!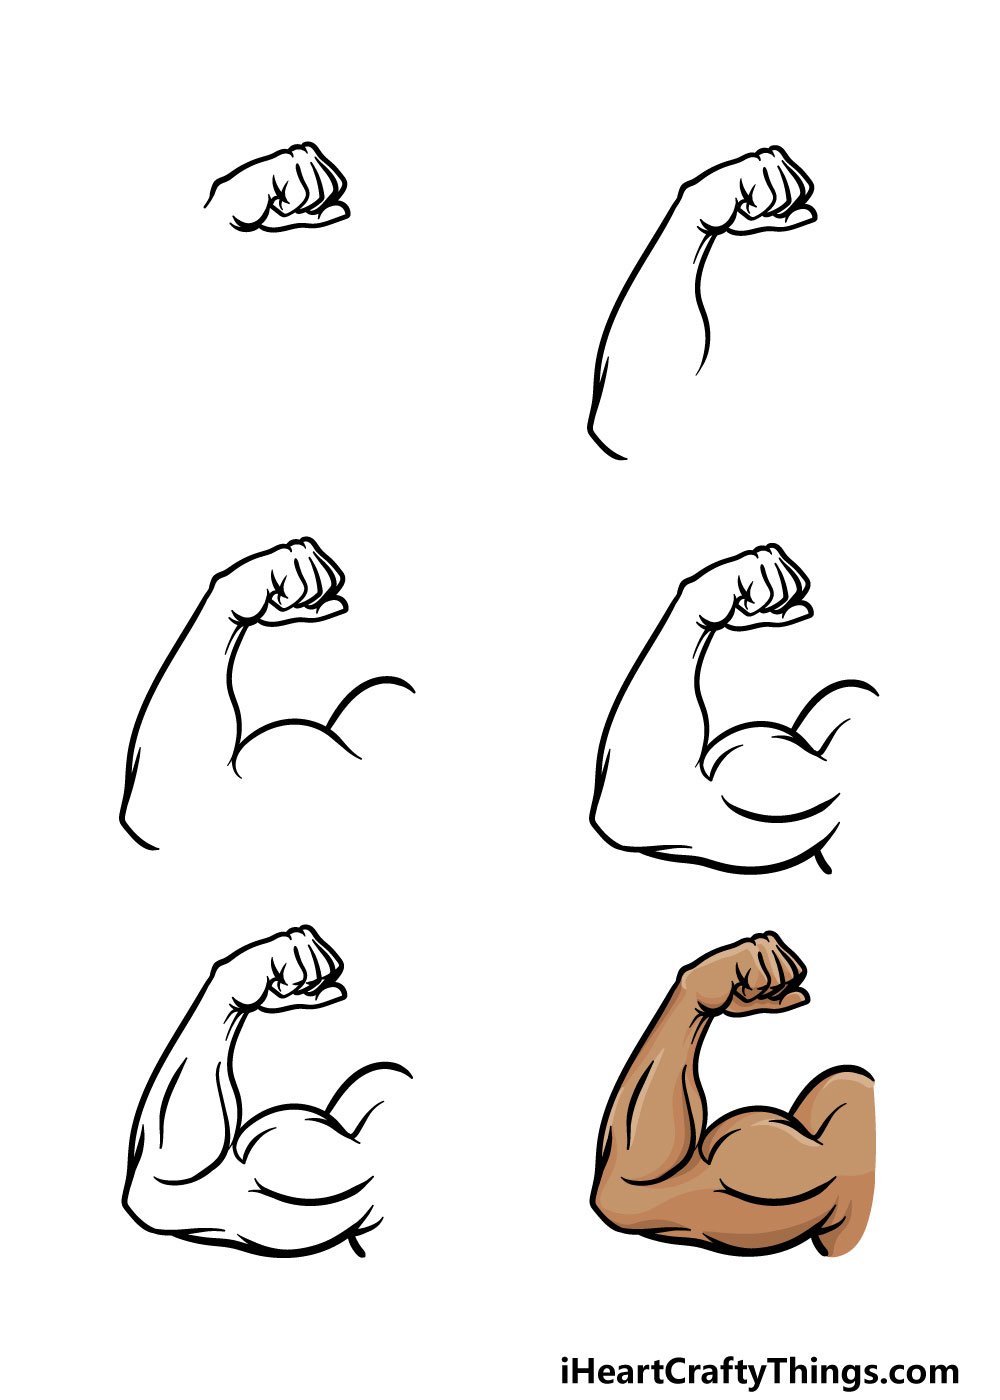
How to Draw A Muscular Arm – Let’s Get Started!
Step 1
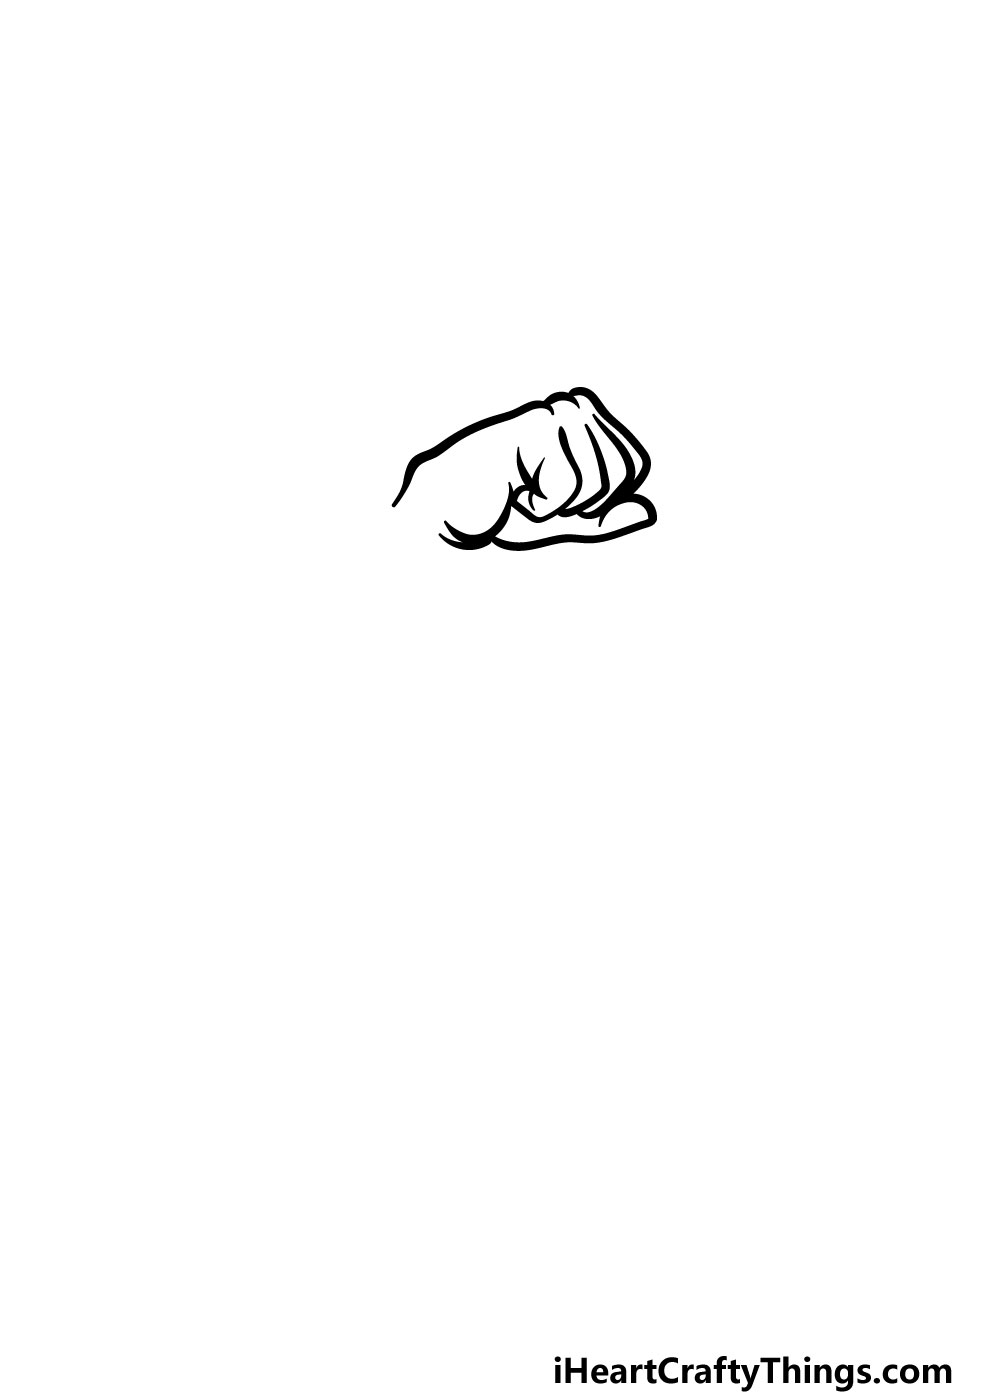
If there’s one thing that’s even harder to draw than muscles, it would have to be the human hand. Drawing hands can strike fear into the hearts of even the most seasoned artists, so we will take it slow drawing one in this first step of our guide on how to draw a muscular arm.
Two suggestions for this drawing would be to use a pencil at first, and also to follow the reference picture very closely as you draw.
The reference picture will show you how to draw the proportion of the hand and the fingers. The wrist and hand will be drawn with some fairly bumpy lines that will then lead to the fingers curled over.
Once you are happy with how the hand looks then you’re ready for the next step!
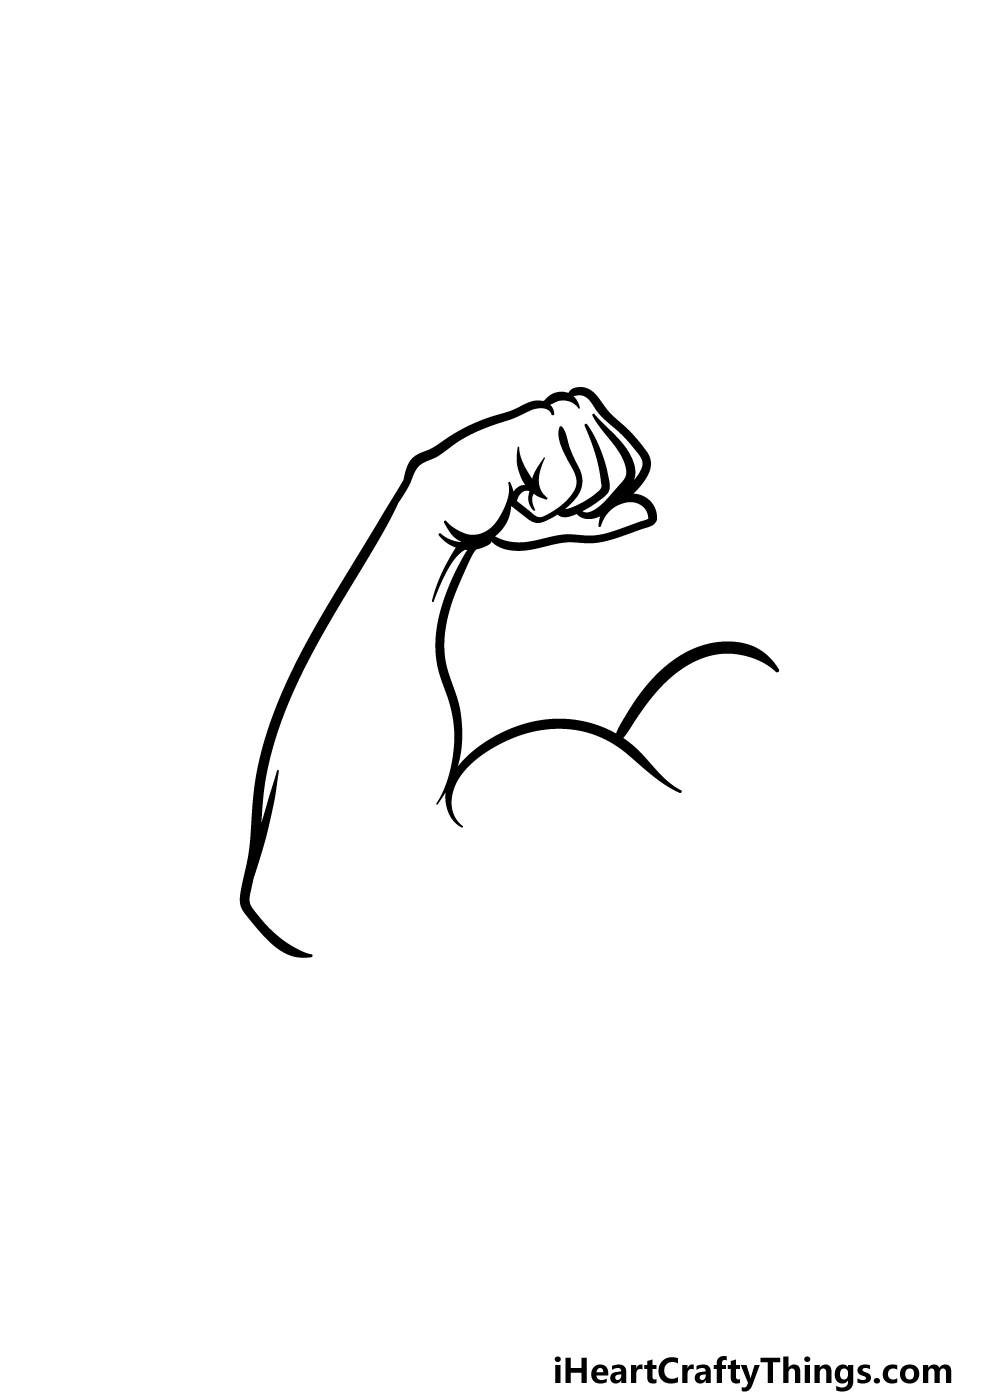
Step 2 – Draw the wrist and first muscles for the arm
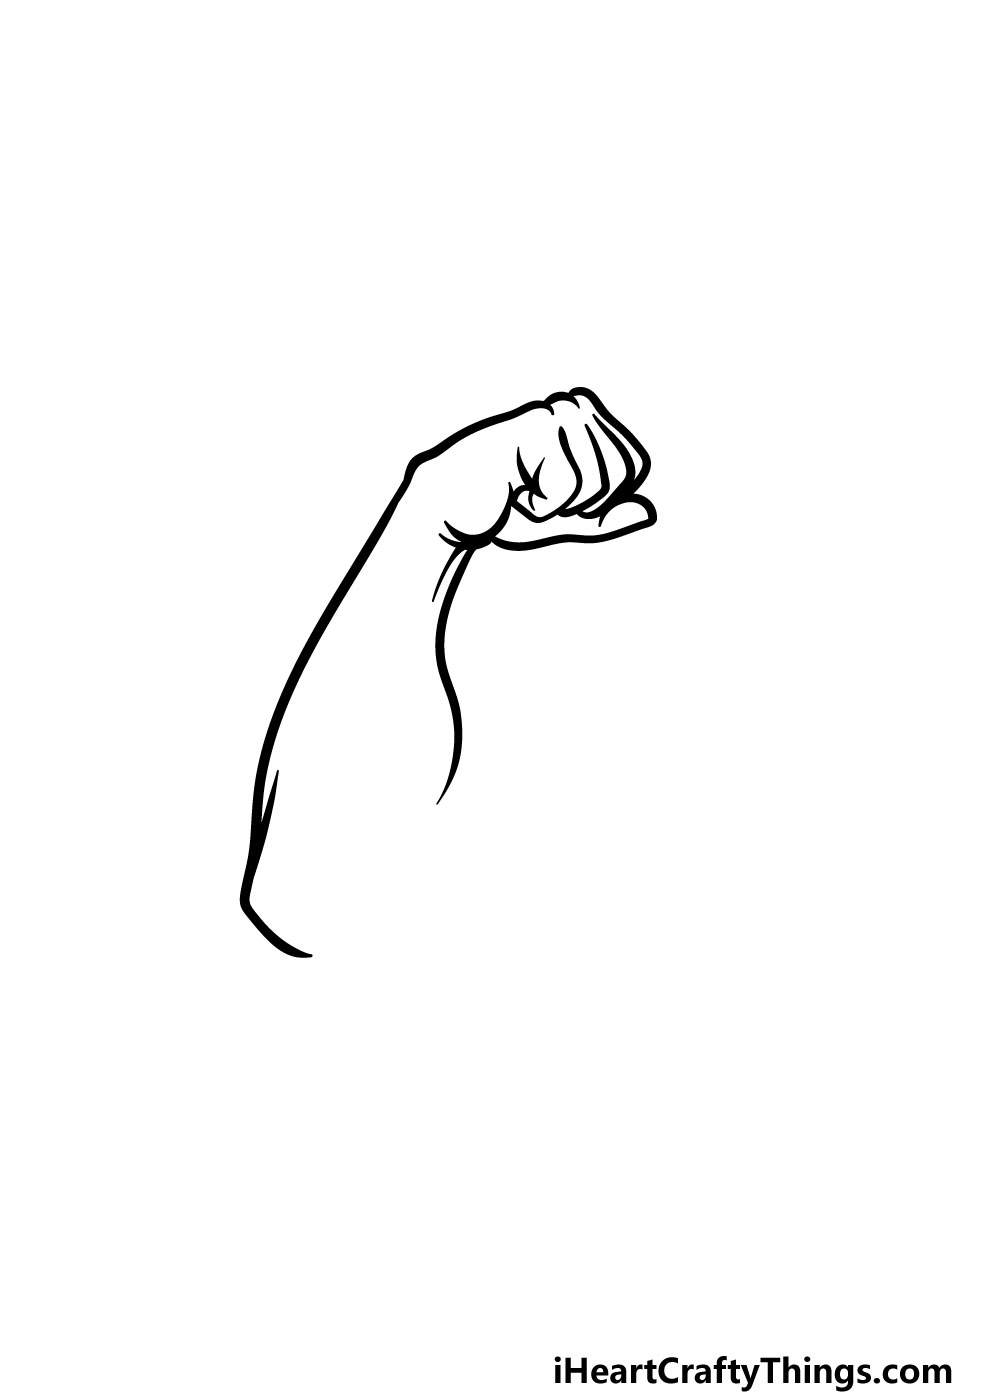
For this second part of your muscular arm drawing we will be extending the arm down from the hand that you drew previously.
The hand will lead to some fairly straight lines for the wrist of the arm. Then that line will curve a bit on the left for some subtle muscle detail, and there will be a sharp curve at the bottom for the elbow.
The line on the right-hand side will be even more curved out for the muscle there.
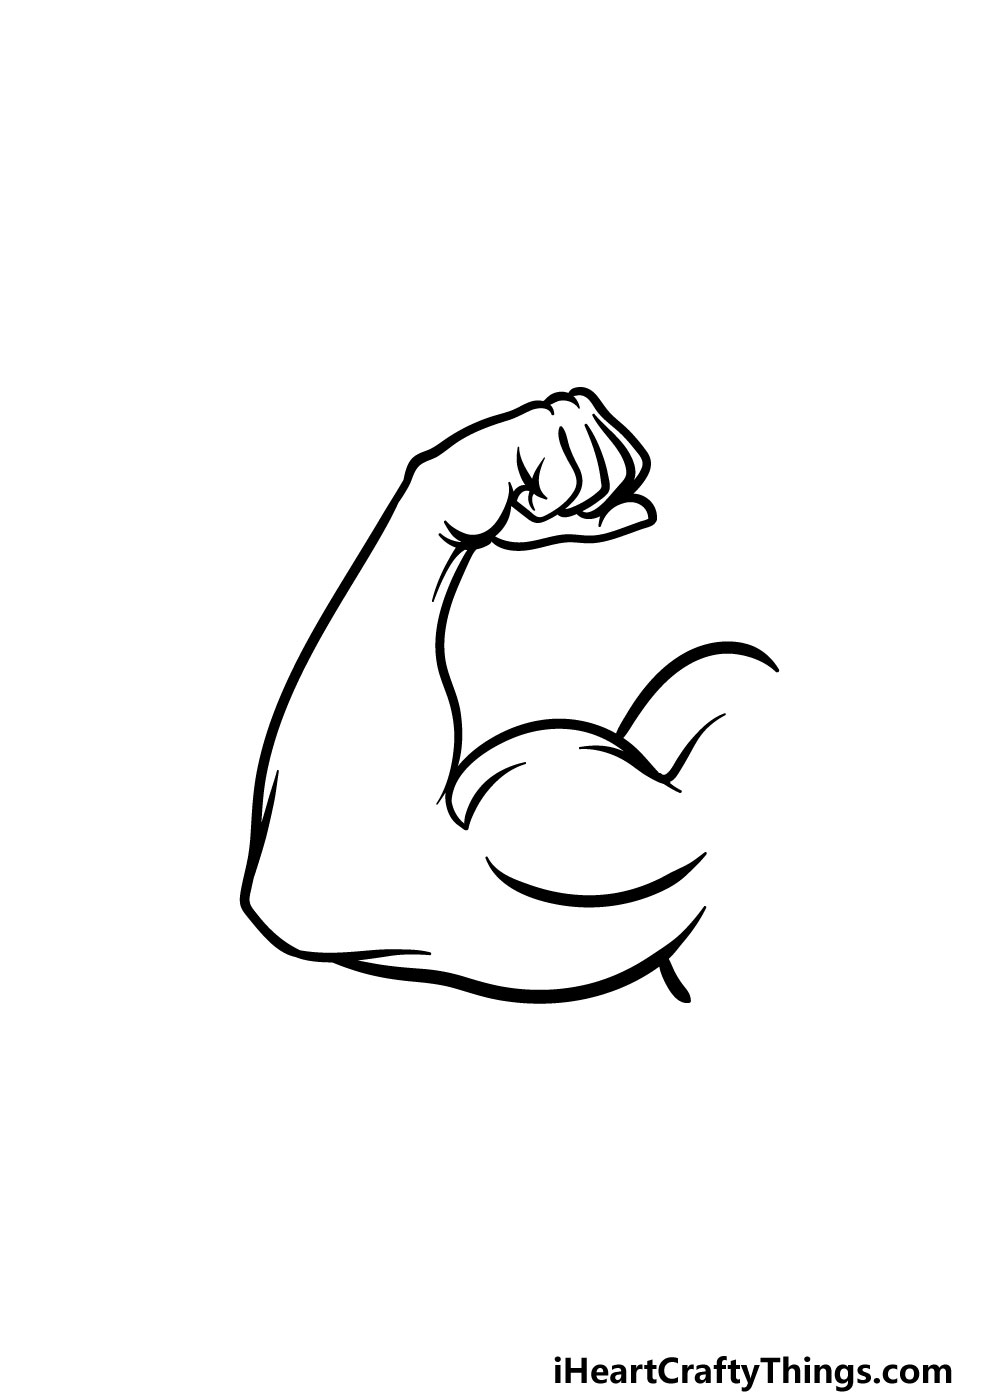
Step 3 – Next, add some more muscles onto the arm
In this third part of our guide on how to draw a muscular arm, we will be drawing some more muscles for the arm.
To do this, you will be using two large, round lines for the muscular biceps of the arm. These lines will overlap with one another to show that the muscles are up against one another.
Once you have it looking like it does in our reference image you’re ready to proceed!
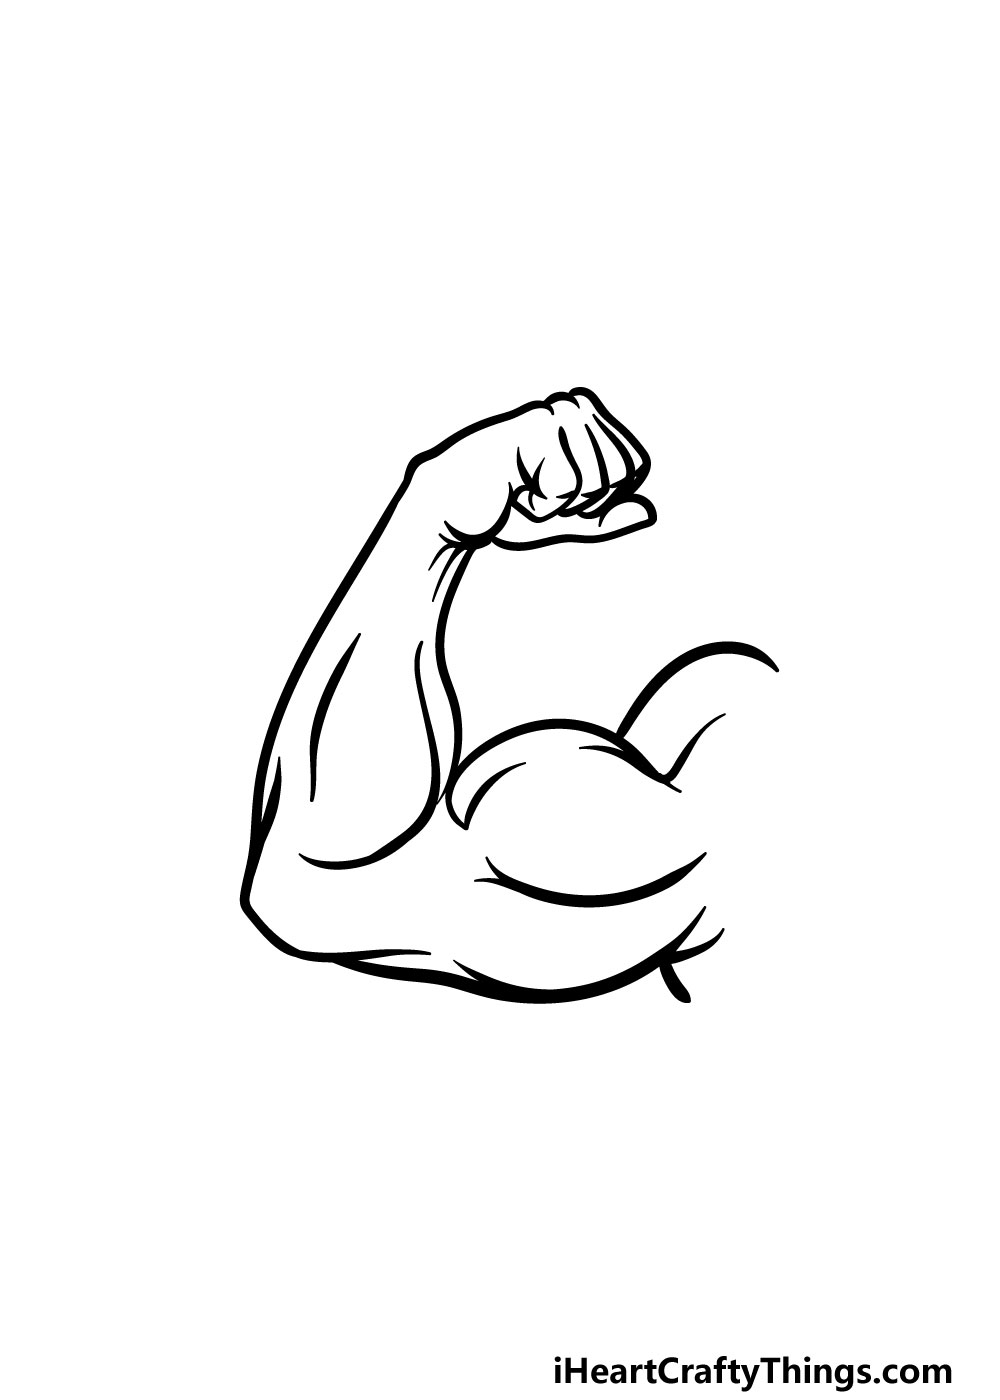
Step 4 – Draw some more muscles for the arm
We will be drawing some muscles for the bottom of the arm for this part of your muscular arm drawing. First, use another curved line extending from the elbow for the bottom of the bicep.
Then, you can add some more rounded lines into the interior of the arm for some muscle definition, as shown in the reference picture. Once you have drawn these lines, we will be ready to add some final details in the next step.
Step 5 – Now, you can add some final leaves to the muscular arm
Soon we will be adding some colors to your picture, but first we have some final details to add in this fifth step of our guide on how to draw a muscular arm.
Using our reference picture as a guide, you can add some curved lines throughout the arm to add even more muscle definition. These lines are a simple touch, but they will be very effective in making the arm look more realistic.
Then you’re ready for the final step, but before you move on you can add some details of your own! There is a lot that you can do to put your own spin on this drawing. You could draw a background that can be a setting or more stylistic with various shapes.
If you’re feeling extra creative, you could also draw some more of the body that this arm is attached to. Perhaps you could draw a cool tattoo onto the arm as well!
These are just a few ideas, but the possibilities are endless! How will you go about finishing off this muscular arm drawing before the final step?
Step 6 – Finish off your muscular arm drawing with some color

This is the sixth and final step of your muscular arm drawing, and you can relax with this one as you add some amazing colors to it.
We showed you one tone that you could use for this drawing, but this is a step where you can get creative with it and use any of your favorite colors.
Choosing your colors is just part of the creative fun, however. You can also have a great time choosing which art mediums and tools you will use to color in your picture.
If you would like the colors to be brighter and more intense then you could use colored pens, markers or acrylics for a few examples. It would also look great with some more subtle colors, and for that you could use some watercolors, colored pencils or crayons.
These are just a few suggestions, but it’s up to you now! We can’t wait to see what you choose to color in your picture.
4 More Ways To Make Your Muscular Arm Drawing Unique
Get an artistic workout as we make your muscular arm sketch even better!
Now that you have mastered drawing this muscular arm drawing, you could try drawing it in other poses. If you wanted to try this, you could get a friend or family member to pose their arm for you.
Even if their arm doesn’t look like this one, it will still help with portraying how the different muscles relate to each other. It will also help with the proportions and positioning of various details.
What are some arm poses you would like to create for this drawing?
Some people like to get tattoos on their arms in order to express themselves. You could do the same for this drawing of a muscular arm, and this would be a lot less permanent!
Tattoos can come in all different styles and variations. Some are composed of text and some are picture designs.
Many have a combination of both, and it all depends on your own personal preference! This is your chance to really show off your creative ideas, so what tattoos could you add to this arm?
If you’re not much of a tattoo fan but would still like to portray some personalization, you could also add some clothing to the arm. This could be a shirt or a vest or pretty much anything you like!
It could even be as simple as an armband with a logo on it. These are just a few ideas, but what is some clothing you would like to add to this muscular arm sketch?
Finally, if you really want to finish off this muscular arm drawing, you could add some more of the body it’s attached to. This would also go really well with some of our previous tips and tricks!
If you want to try this, you may want to look up some pictures of famous bodybuilders, as drawing more of the body could be challenging.
By doing this, you could also portray some interesting scenes and poses, so have fun getting creative!
Your muscular arm Drawing is Complete!
You have added all of your final details and color choices, and that means that you have completed this guide on how to draw a muscular arm!
As we mentioned during this guide, drawing body parts can be really tough, so you should be very proud of completing this guide.
By breaking it down into smaller steps that you can take slowly, we know you will master this drawing.
We will also be looking forward to seeing what amazing details and extra elements you choose to finish off your picture!
There are plenty of incredible drawing guides available for you to enjoy on our website. We also upload new ones frequently, so be sure to visit often!
Once your muscular arm drawing is complete, we would also love to see your artwork. You can share it on our Facebook and Pinterest pages for us to enjoy. We can’t wait to see your amazing picture!