Mulan is an animated film from 1998, and it is widely considered as one of the best animated films that Disney has ever made.
The film centers on Mulan and her adventures, and it is filled with great characters, animation, music and story moments.
It proved so popular that the film has spawned sequels and even a recent live-action remake. Learning how to draw Mulan can be a great way to show appreciation for this incredible character.
If you are a big Mulan fan, then you will love this tutorial that we have prepared for you!
We hope that you have a great time working with us on this step-by-step guide on how to draw Mulan in just 6 easy steps.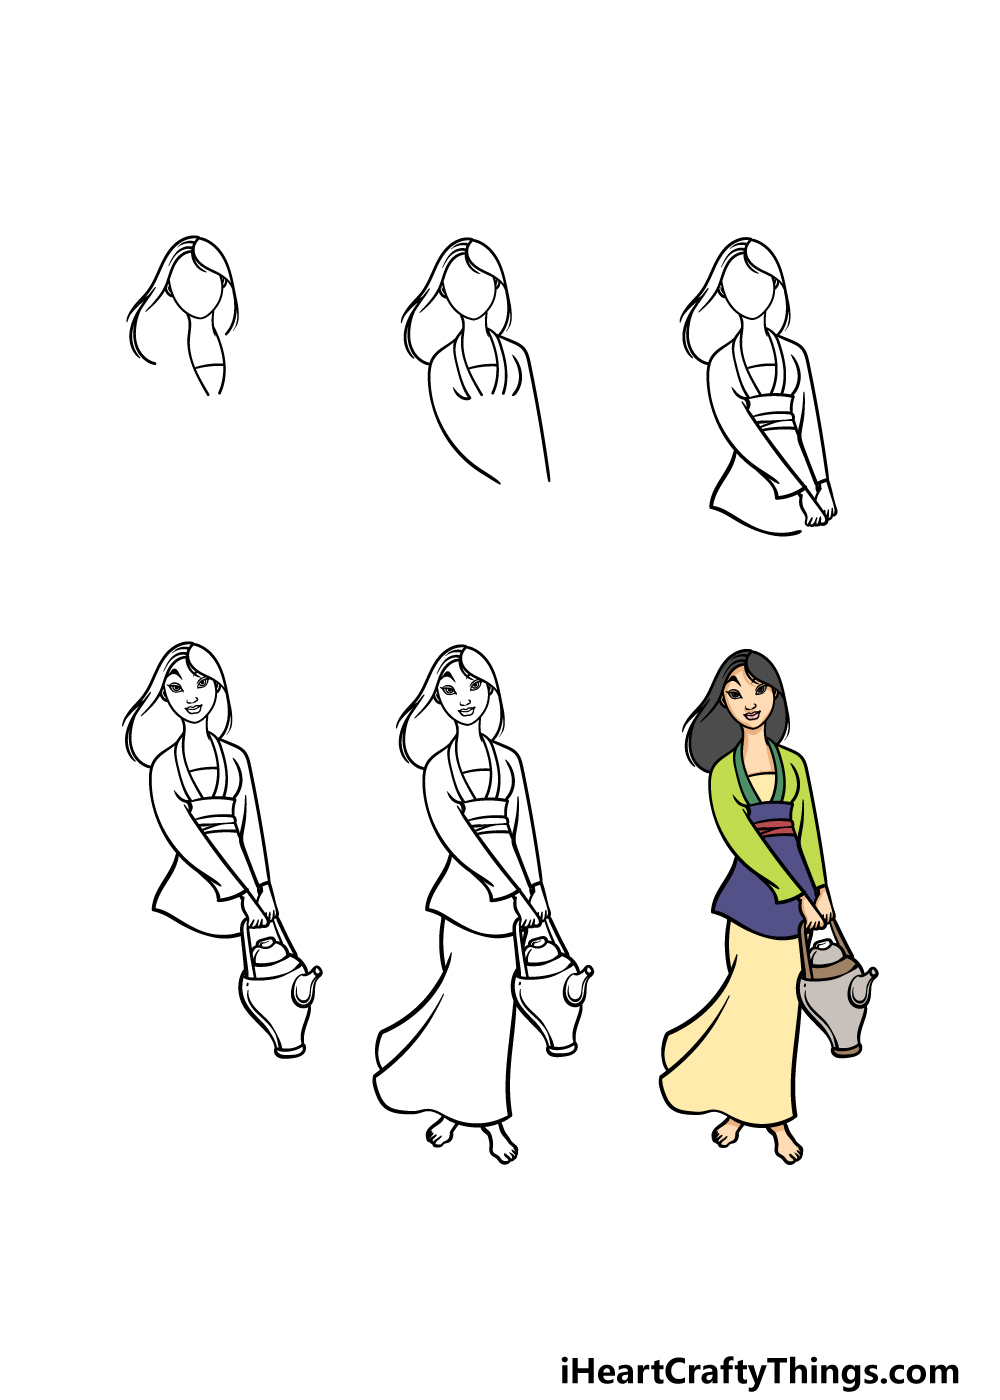
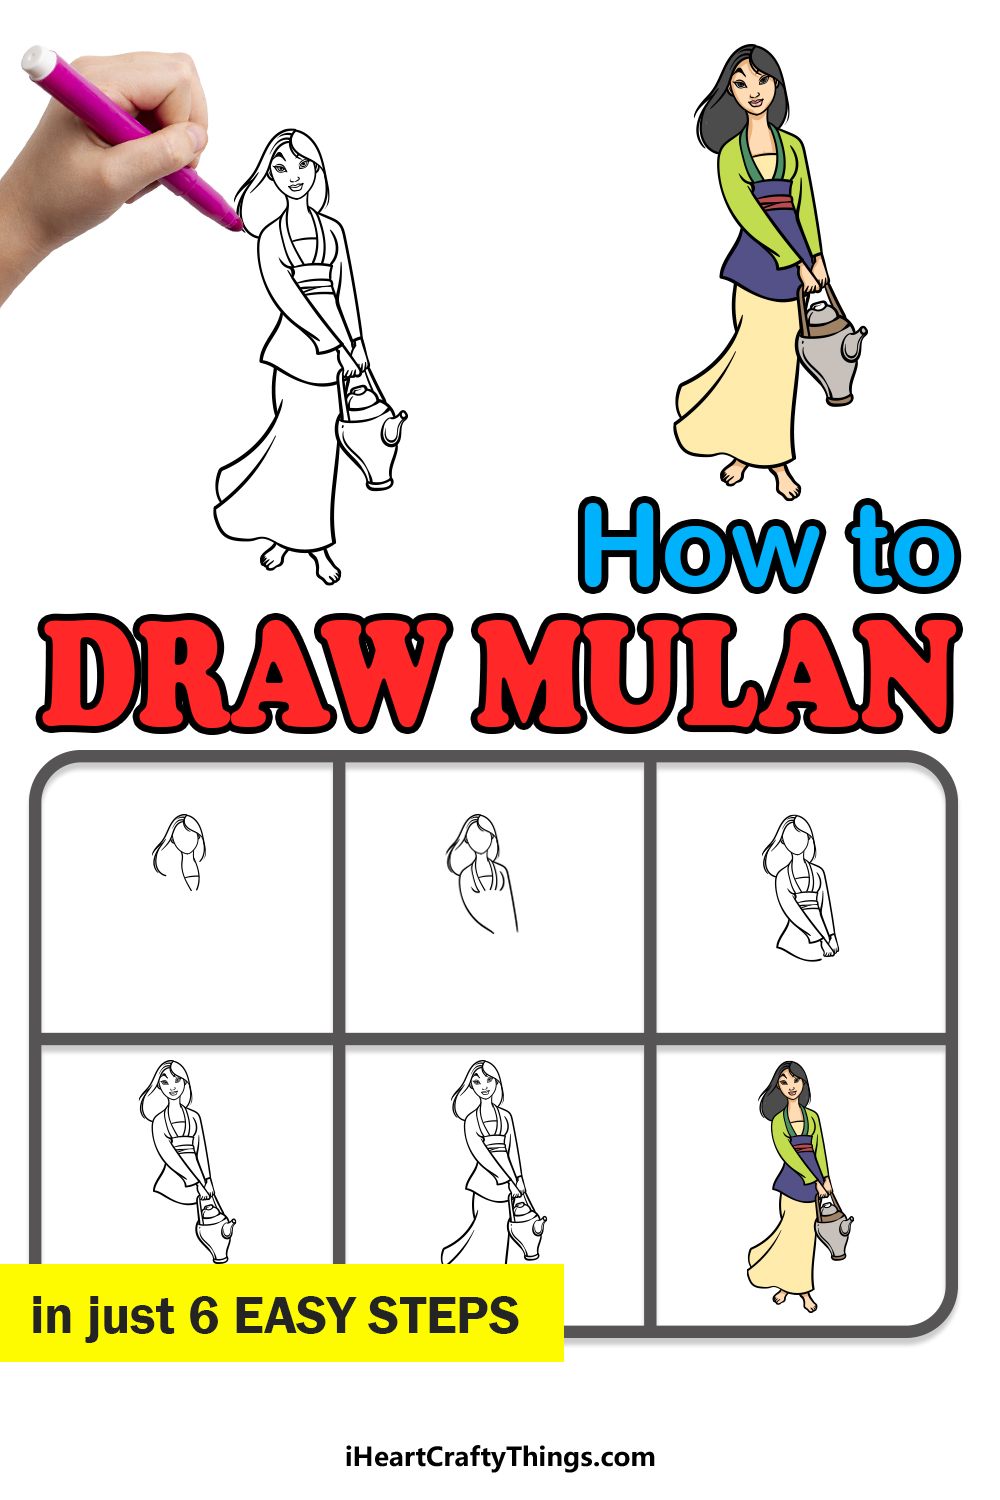
How to Draw Mulan – Let’s Get Started!
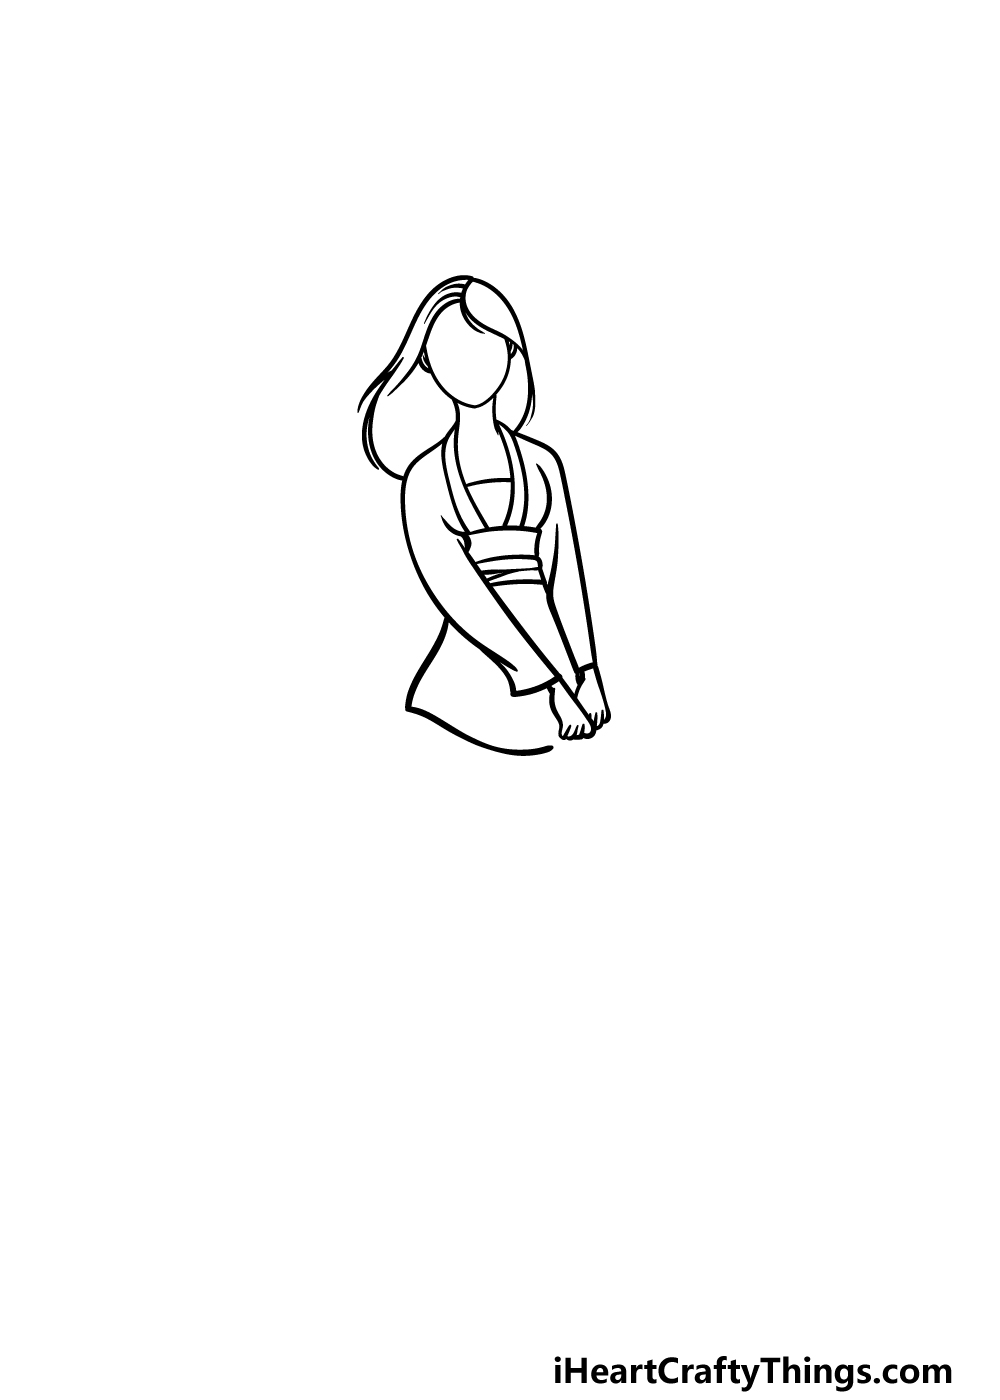
Step 1
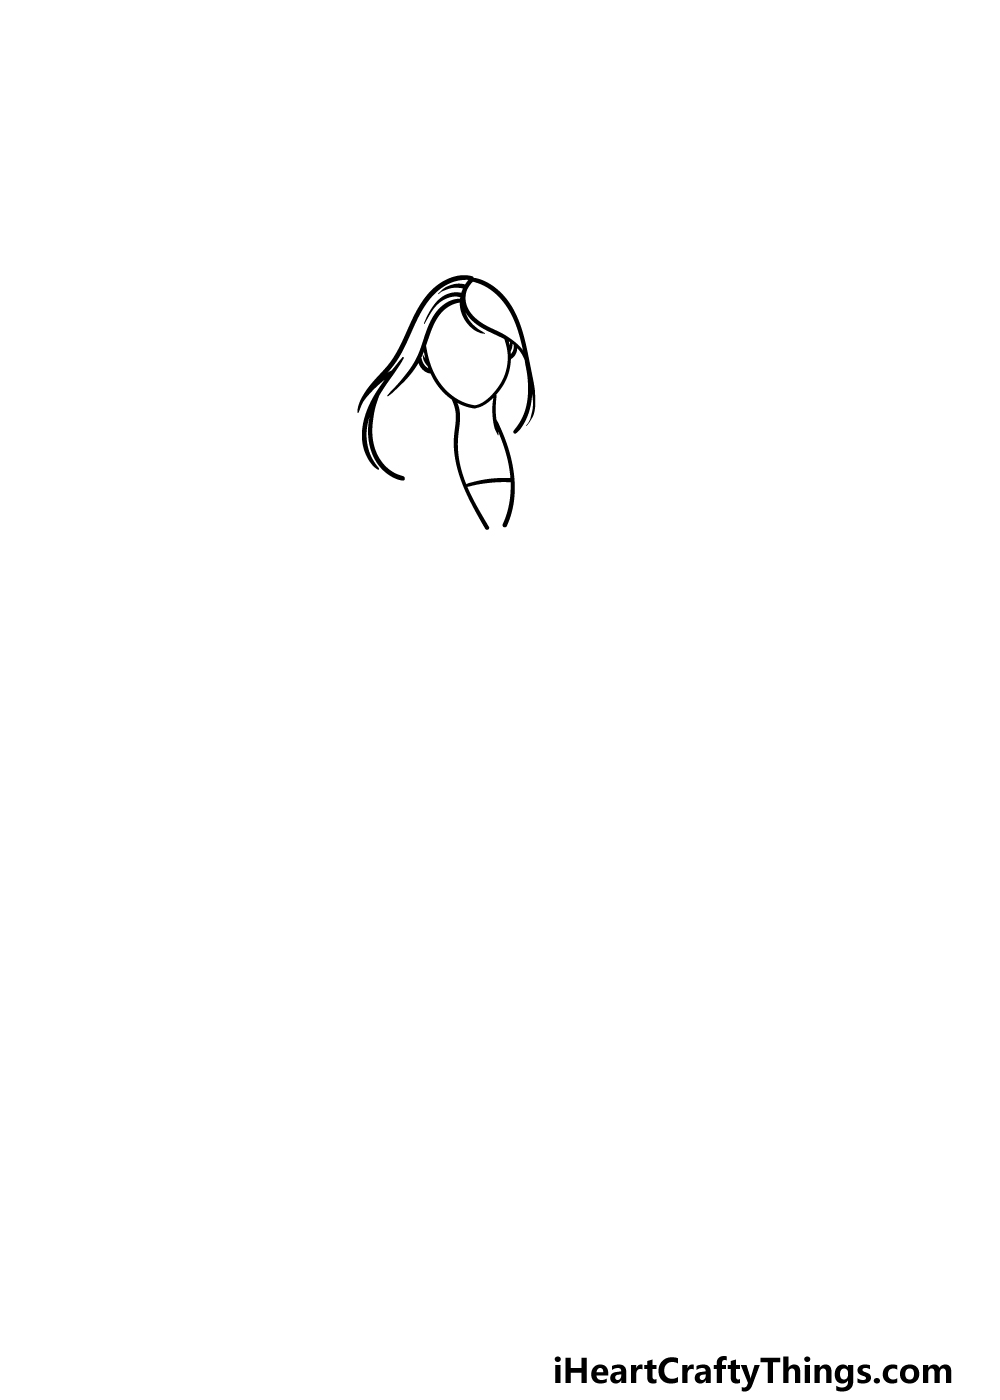
Like most animated Disney film characters, Mulan is detailed and quite realistically proportioned. We will keep this in mind as we work through this guide on how to draw Mulan.
To get this started, we will begin with her face outline along with her flowing hair. It would be easiest to start with her facial outline, so we shall draw it using a curved that has a very minor tip at the bottom for her chin.
Then, we can use some wavy curved lines for the parting of her hair on the right, and it will also frame the side of her neck, as shown in the reference image.
Then, use some similar wavy lines on the left side of her head for the other side of her hair flowing down.
Finally for this step, draw some more rounded lines coming down from the bottom of her head. These lines will form the neck and start of the chest for Mulan. Then we will be ready for step 2!
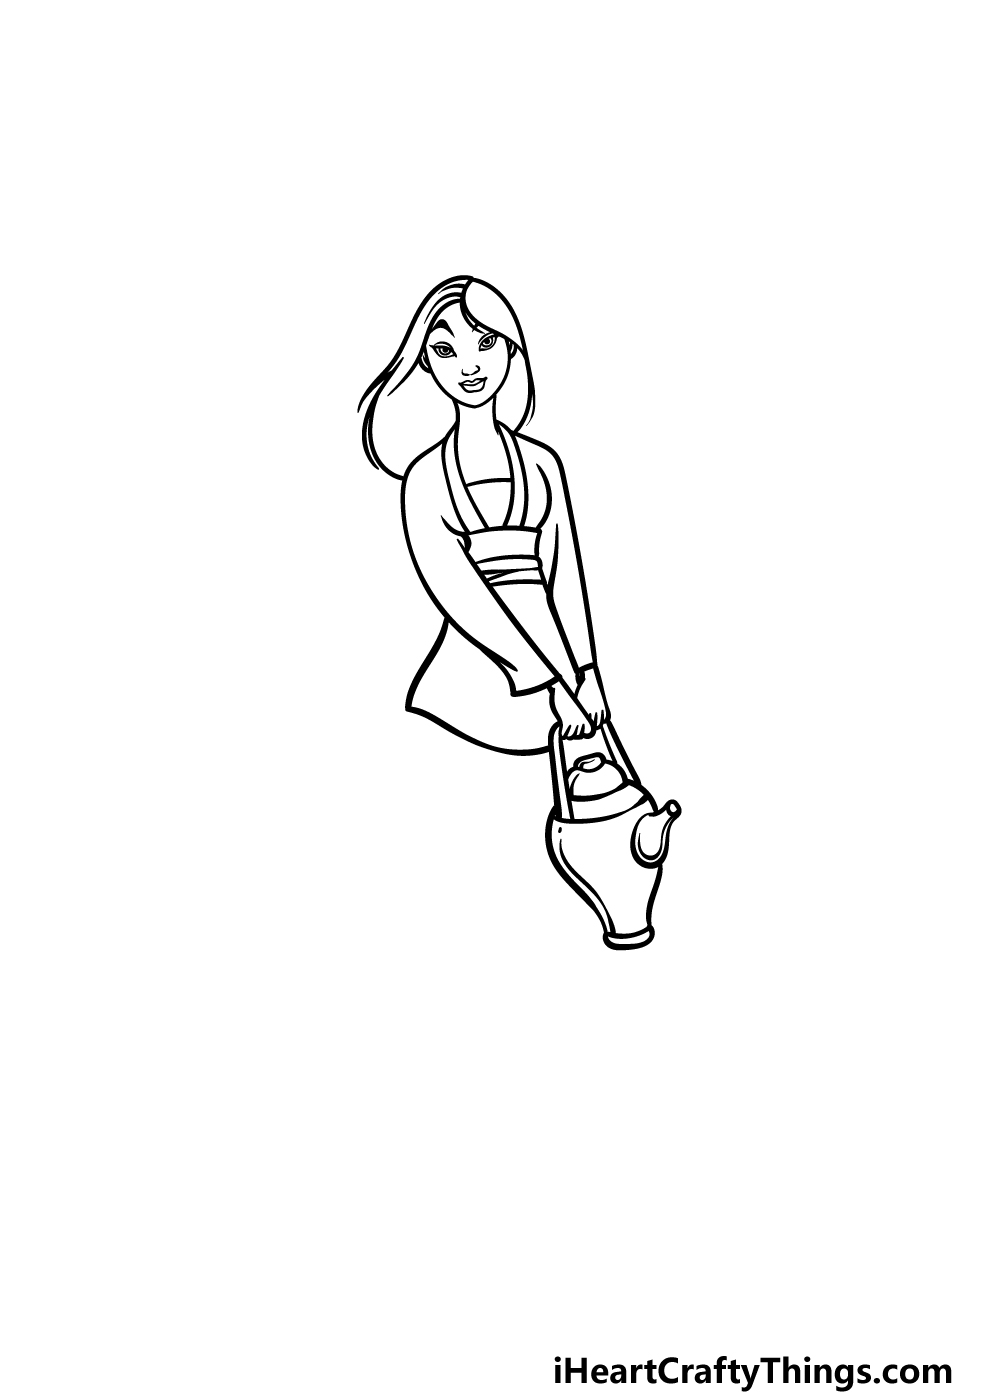
Step 2 – Draw her chest and shoulders now
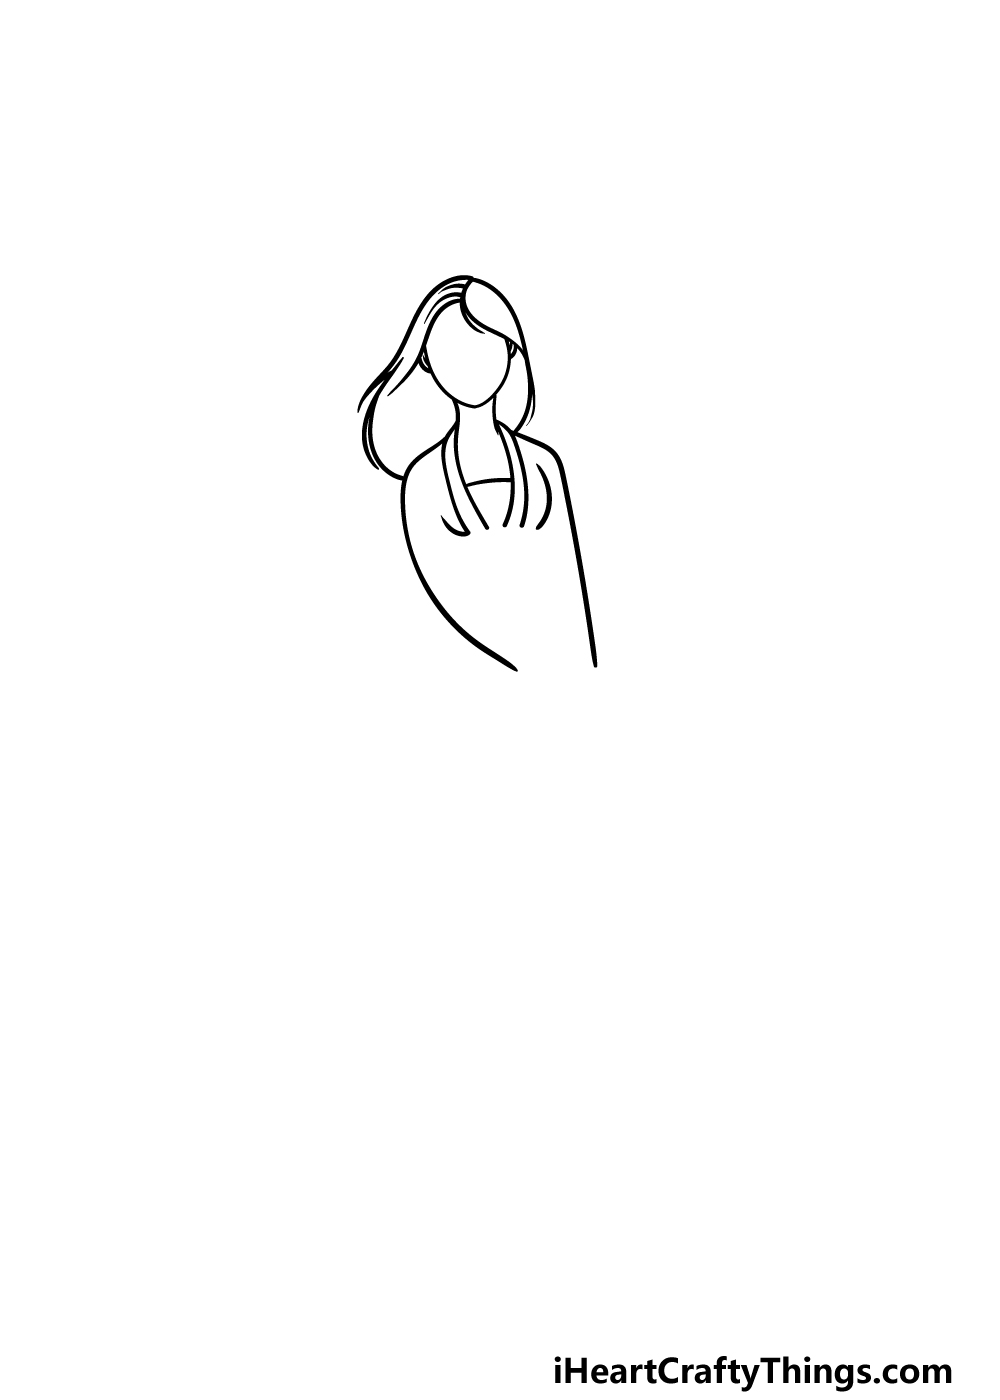
Now that you have her face and hair outlines drawn, we can next start drawing her shoulders. First, draw some lines outside of the collar of her top that she is wearing. Once that is drawn, we will then draw her shoulders.
To draw them, simply add some curved lines coming down from the sides of that collar that you drew.
These lines will come down fairly far, as they will turn into her arms which will be holding something in a later step.
Step 3 – Next, draw the rest of her arms and more of her outfit
We will now extend her arms even further and add some more of her body in this step of our guide on how to draw Mulan.
First, draw a flat, rounded shape for the top of the garment she is wearing around her waist. Then, there will be a band tied around her waist, and you can draw this with some more rounded lines.
To finish off this garment, you can then use some more curved lines to have it flowing outward.
When that garment is drawn, you can then draw the other side of the sleeve for her arm on the left. You can then finish off this step by drawing her wrists and hands at the ends of the sleeves.
Try your best to make them in the same position that they are in our reference image. In the next step, we will be drawing a teapot that they are holding.
Step 4 – Now, draw her facial features and the teapot that she is holding
We’ve mentioned a few times in this guide that Mulan will be holding a teapot, and now it is time to draw it! Along with this, we shall also be adding facial features to your Mulan drawing.
First, use some thin lines for the handle of the teapot slotting into her hands. The teapot will then have a lid with a wide top that gets thinner as it goes down.
Once that teapot is drawn, we will draw her face. We will be drawing her eyes, eyebrows, nose and mouth in order to create the expression she has in this depiction. Then it’s on to the final touches!
Step 5 – Add some final details to your Mulan drawing
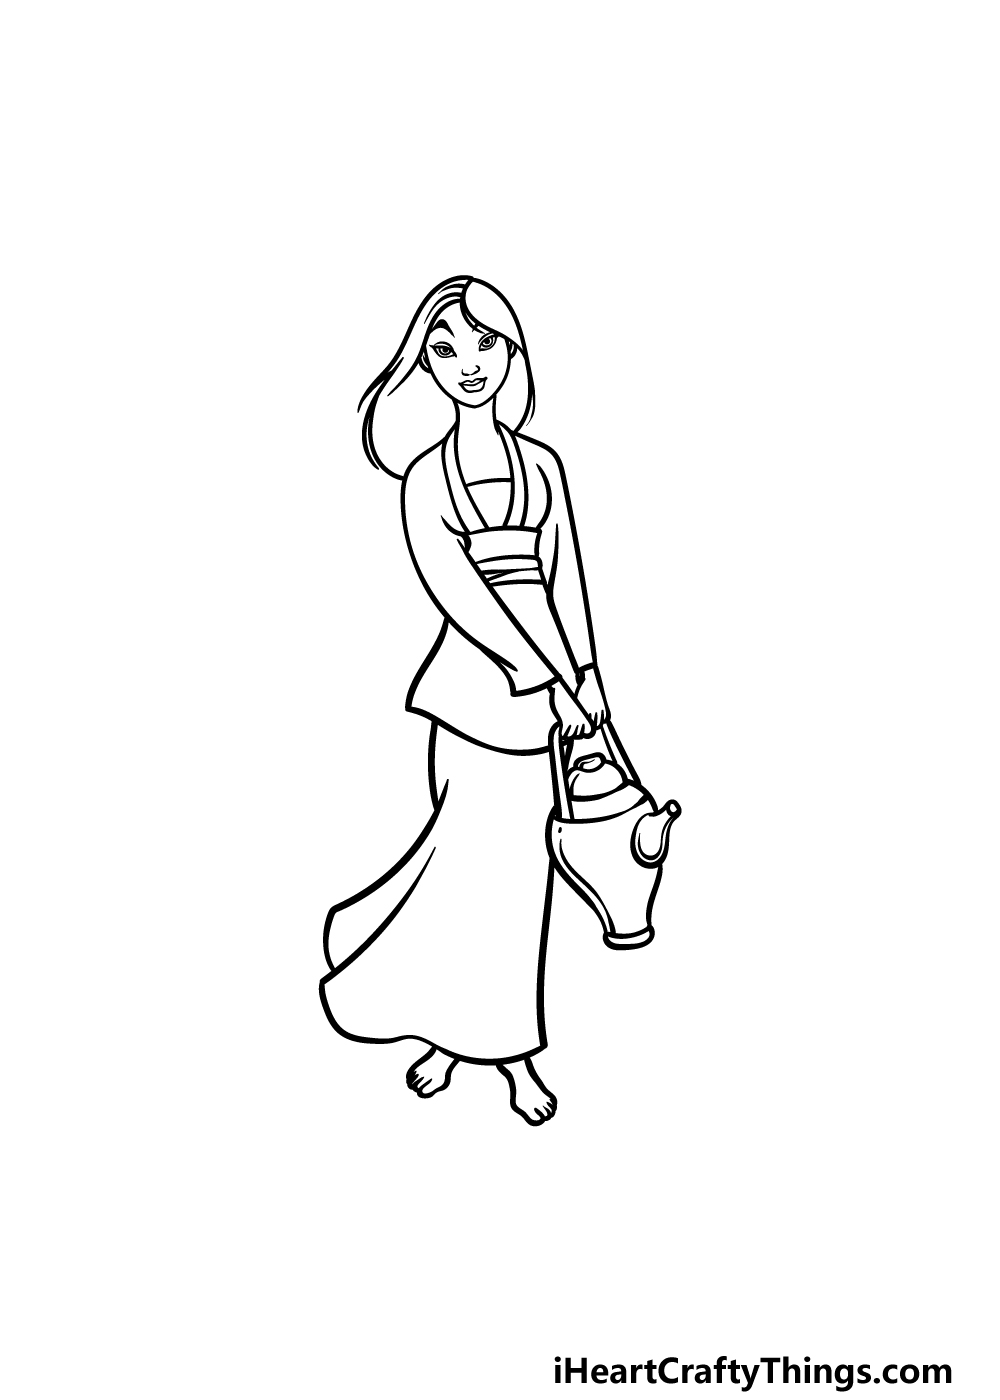
Before you color your artwork in, we must first finish off the final details in this step of our guide on how to draw Mulan.
Use some curved lines flowing outward to draw the skirt of her dress as it appears in our reference image.
Finally, we will be drawing her feet coming out beneath the skirt. Then, you could draw a background or add some elements or characters from the movie to really finish it off!
Step 6 – Finish off your Mulan drawing with some color
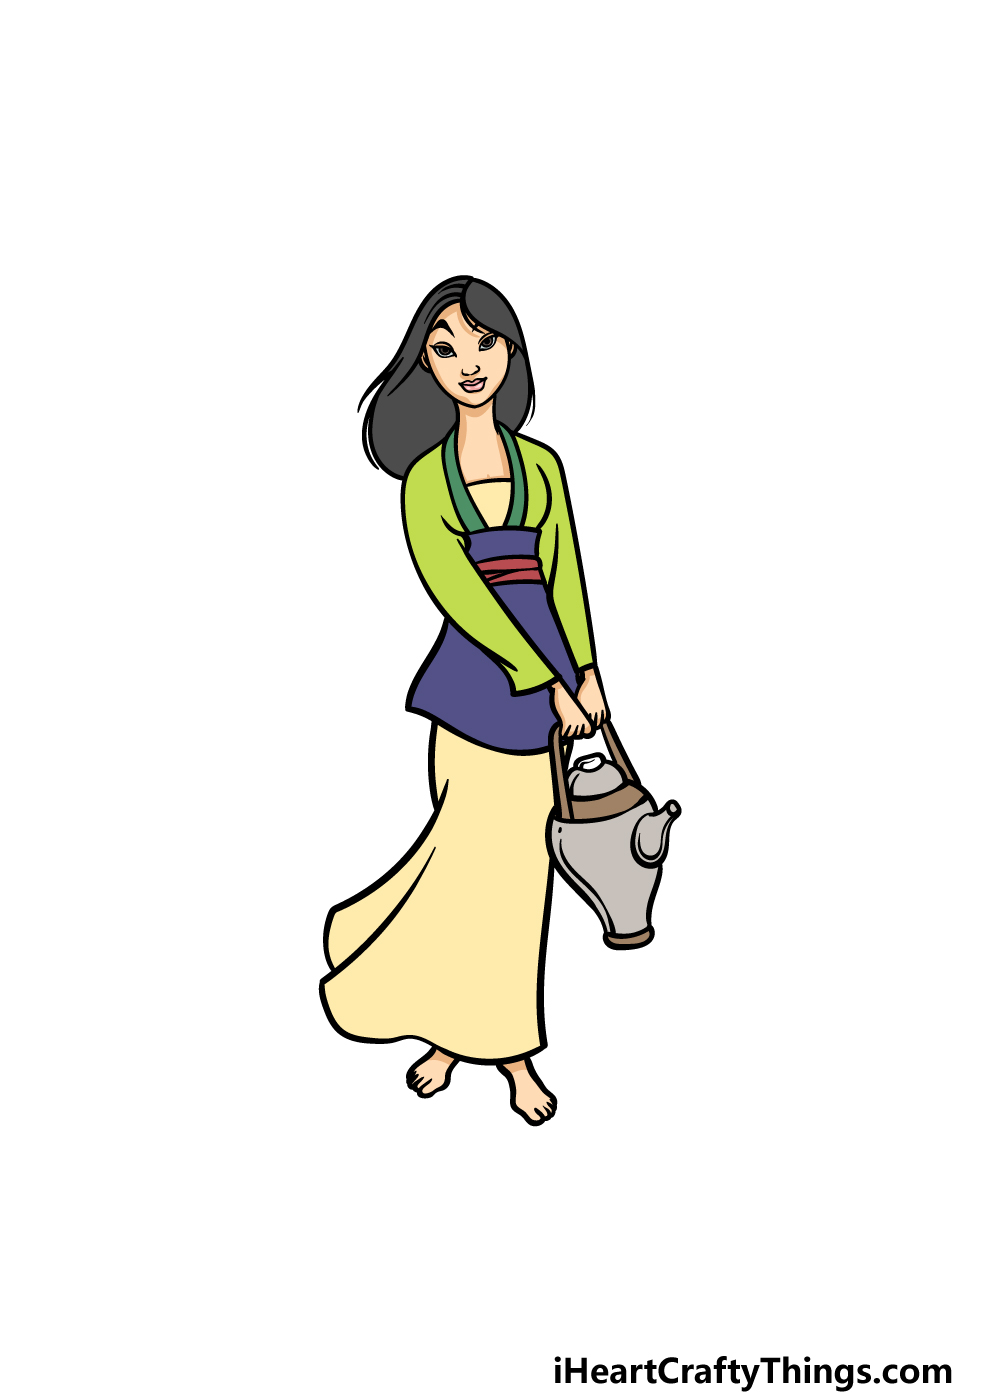
In our example image for this Mulan drawing, we kept the colors looking quite accurate to how they looked in the film.
We used shades of green for her top while using purples and reds for the garment at her waist. Finally, we went with a light beige for the skirt of her dress.
Will you go for similar colors in your own drawing, or will you change them up? We look forward to seeing the colors and mediums you use to complete this incredible Mulan drawing!
Here’s how you can make your Mulan drawing even better…
Celebrate this classic character with these tips for your Mulan sketch!
The depiction we created in this drawing of Mulan shows her in the opening scenes of the film. You could make this depiction more complete by adding the background as it appeared in the movie.
If you want to try this, you could play the movie and pause it at this scene to help you with the details of the setting. You could also go for a brand new setting design if you are feeling a bit more creative!
Mulan goes on a grand adventure in the movie. She is not alone, though, and you could add some of her companions to this Mulan drawing!
These could include the feisty dragon Mushu, Cri-Kee the cricket or any of the human allies she is helped by in her adventures. You could add just one or two or fill the page with your favorite characters!
We gave you a few ideas you could use, but which characters would you choose to include to finish this off?
As we mentioned, this depiction of Mulan shows her in an earlier scene. She also appears in many other outfits and appearances in the movies, and you could change her to look like one of these appearances for your artwork.
For example, you could maybe draw her in her soldier disguise which plays a big role in the movie. Once again, you could use the film itself to help you draw this alternate outfit.
It could be fun to make a few drawings that show off her various styles!
Finally, you can make this Mulan sketch look quite different depending on the art tools and mediums you use to color it. For example, watercolor paints would make the picture have a softer, more classic look to it.
Or, you may want to use colored pens or acrylic paints to make the colors more bright and vibrant. What kinds of colors do you think would best suit the depiction you have in mind for this drawing?
Your Mulan Drawing is Complete!
This is such a classic character that we have been depicting in this guide on how to draw Mulan, and we hope that you had tons of fun recreating her!
As we mentioned before, Mulan is a fairly detailed character, and this can make it more difficult to draw her. That’s why we broke it down into smaller steps, so as long as you follow the guide and take it slowly then you’ll have no issue with this drawing!
Finishing the drawing is just the start of the fun, as you can also keep it going by drawing your own background details to finish it off.
You can also use some awesome colors and art mediums to express yourself, so have fun getting creative and see what happens!
Our website has many more drawing guides for you, and lots of them have famous characters like Mulan along with animals, objects and many more. Be sure to keep checking it out, as we upload new ones frequently!
It would be great to see how you finished off this Mulan drawing, so please remember to share your artwork on our Facebook and Pinterest pages. We will look forward to seeing it!