Lace is one of the prettiest and most dainty fabrics out there. It comes in many different variations and can be used for anything from fashionable clothing to household decorations.
Its association with classiness and elegance has made it very popular around the world as a decorative element.
If you love this fabric and you would like to learn how to draw it and maybe even design some variations of your own, then you’re on the right guide!
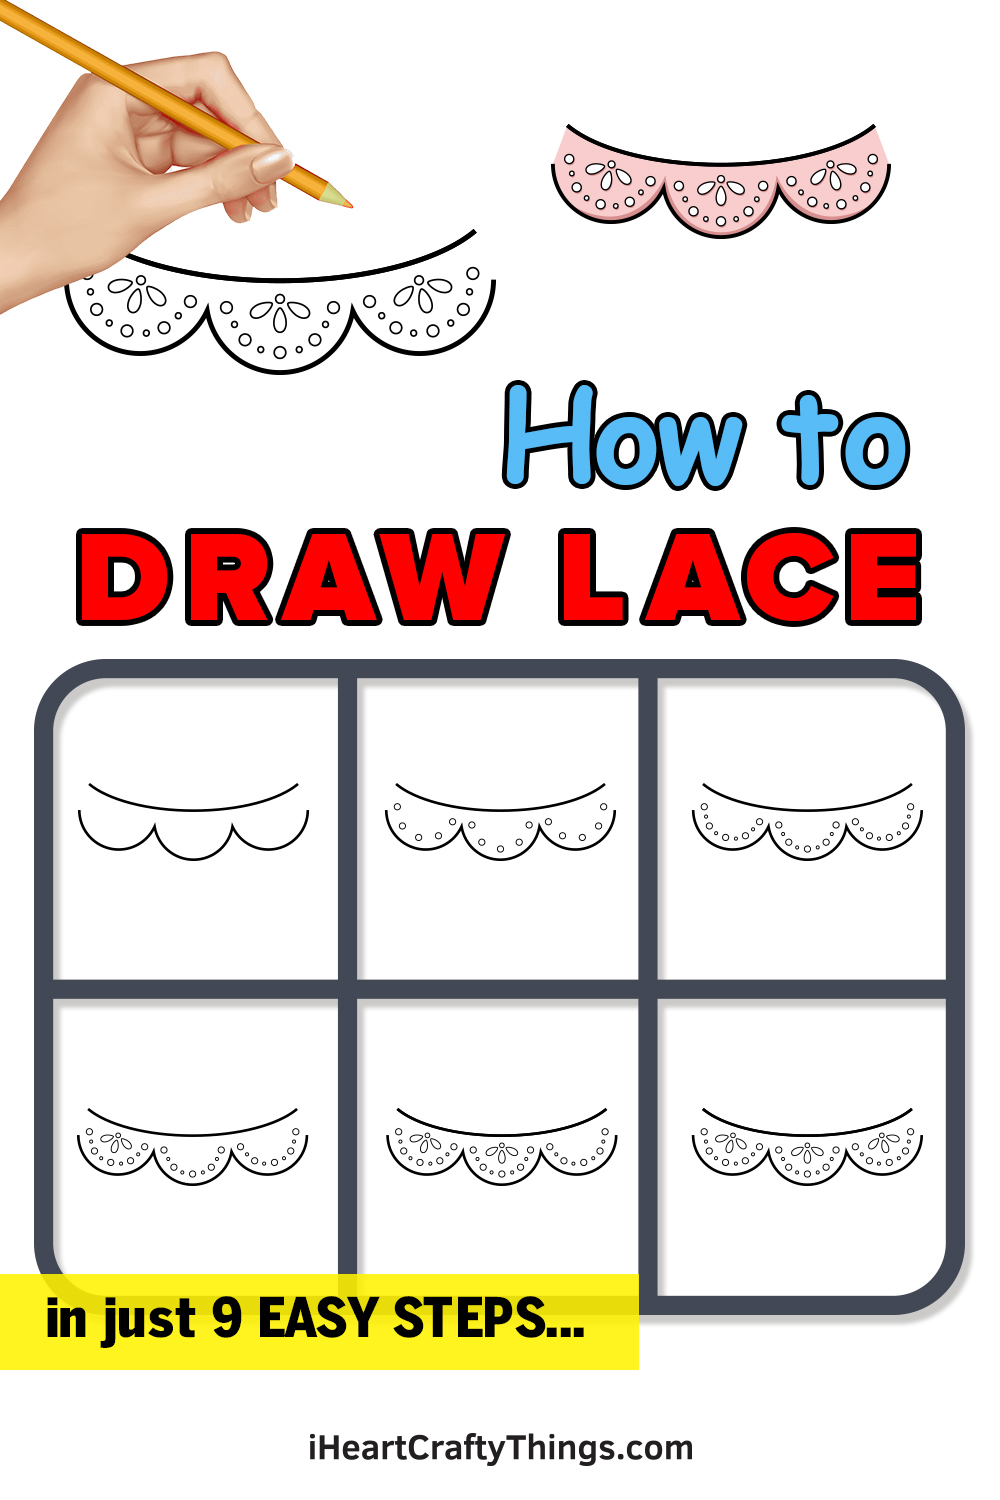
This step-by-step tutorial on how to draw lace in 10 steps will show you how to easily draw your own pretty lace patterns.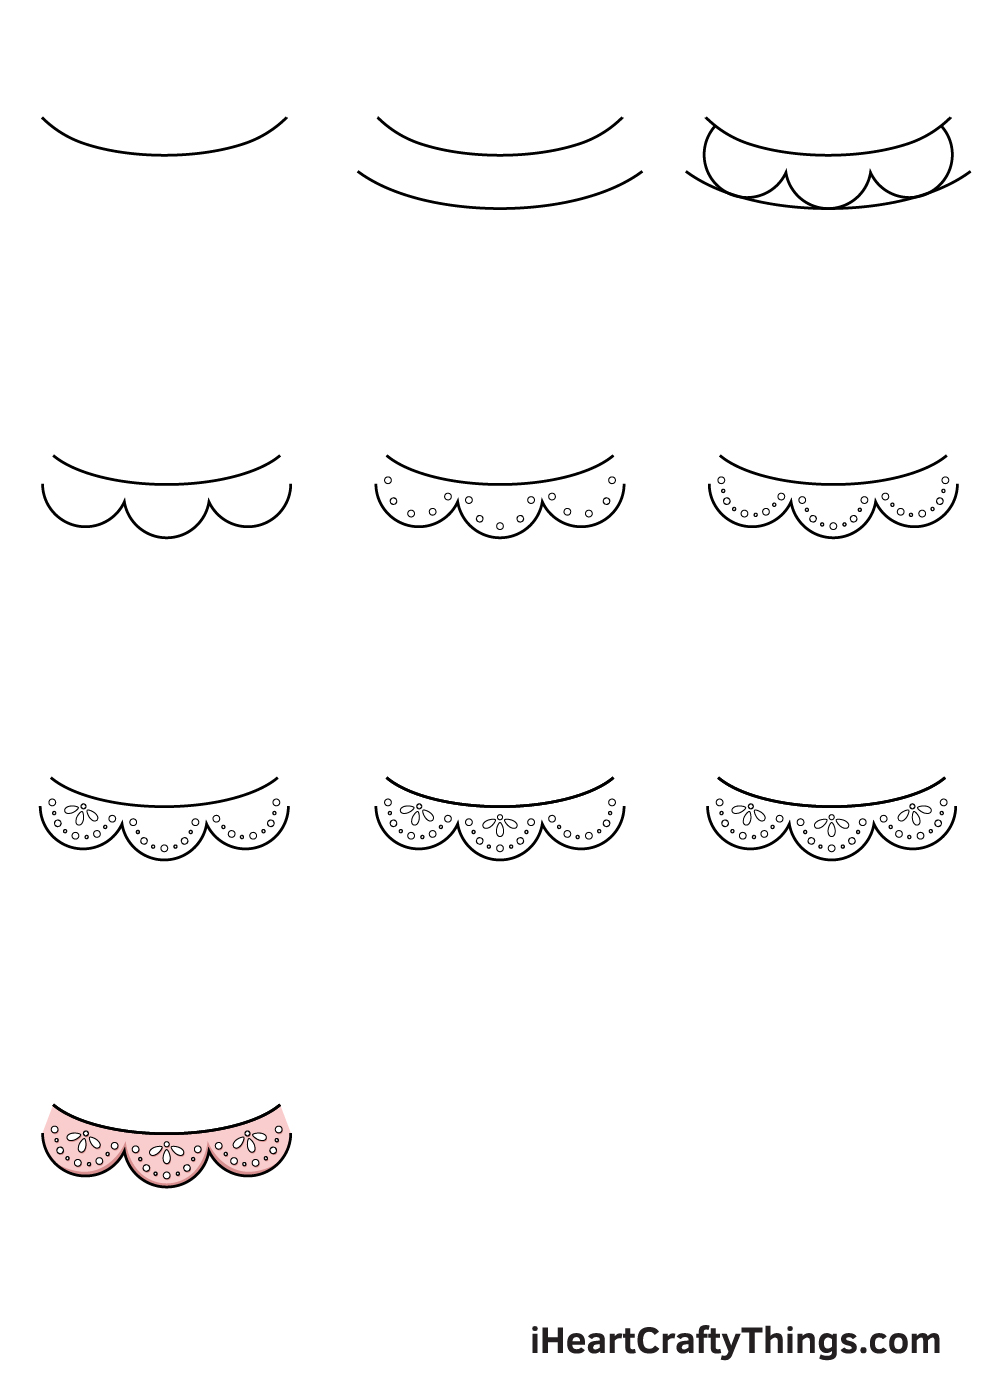
How to Draw Lace – Let’s get Started!
Step 1

This first step of our guide on how to draw lace will be a simple one.
All you need to do is draw a curved horizontal line that we will add to in the following steps.
Step 2 – Draw a pencil line as a guide
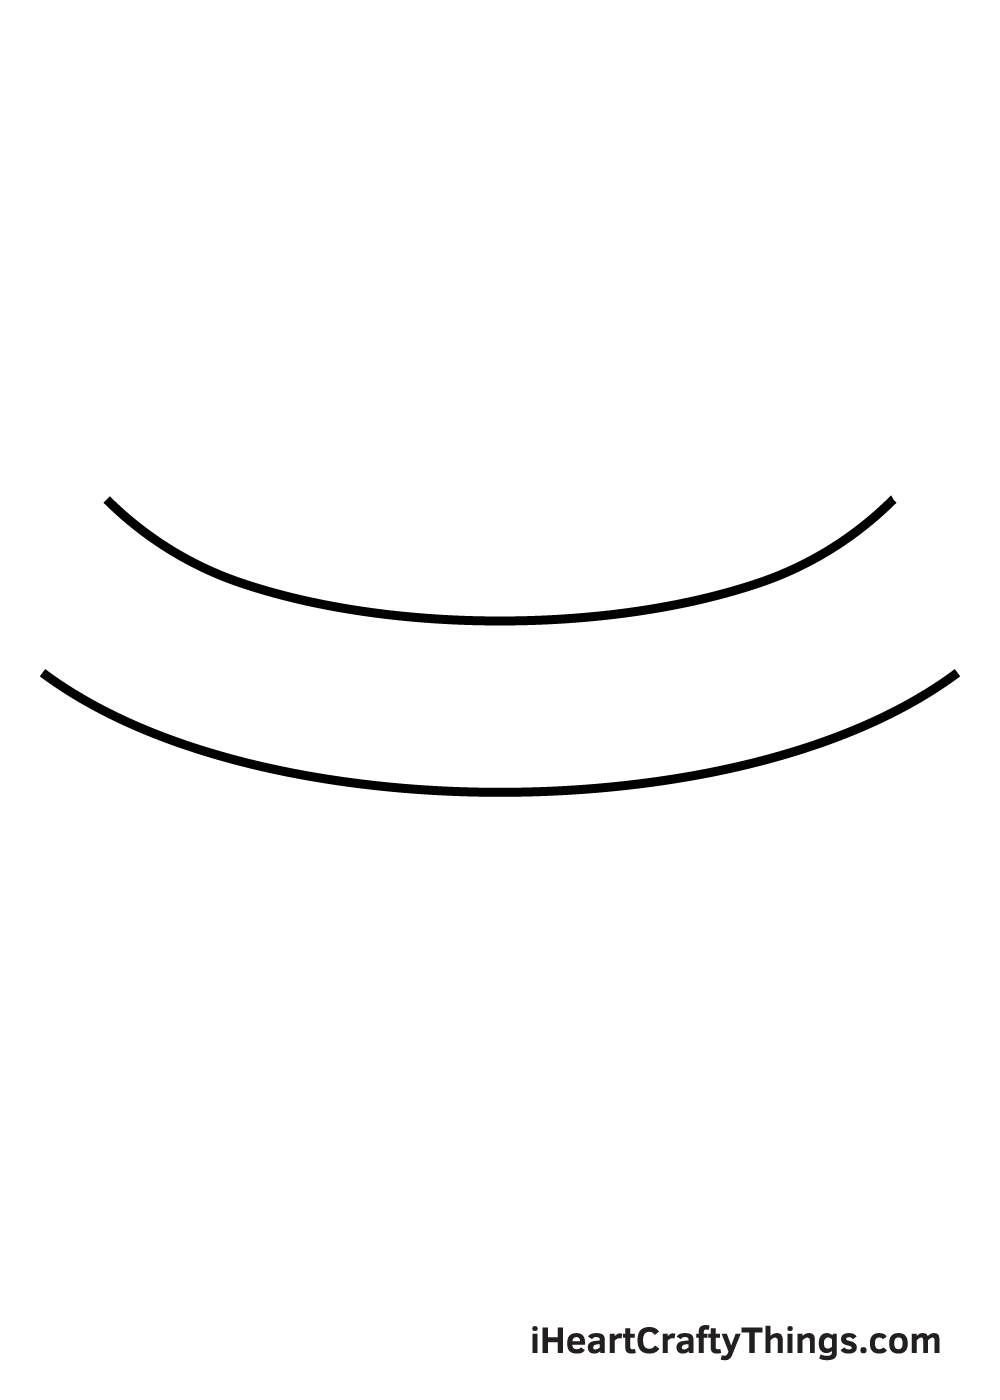
In this part of your lace drawing, we will be using a pencil to draw the next line.
The pencil will be used because this line won’t be appearing in the final drawing but will be used to guide you in a future step.
For this line, simply draw a curved one that is identical to the one from the previous step but lower down.
You can position it a bit lower or higher than in our reference image if you prefer as well!
Step 3 – Now, draw some looping lines for the lace
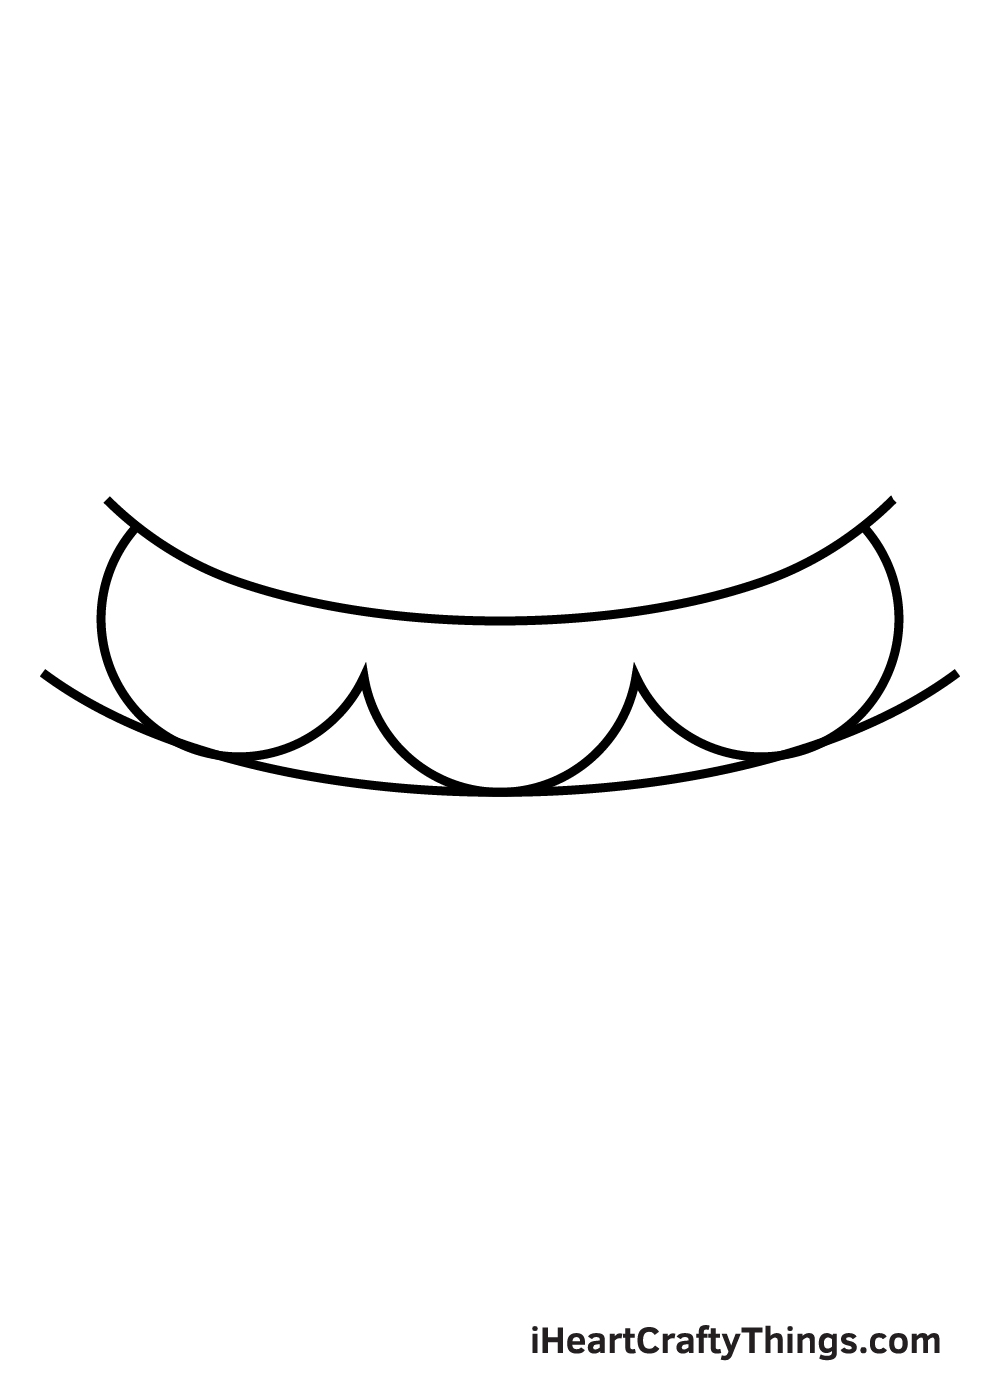
You used a pencil for the previous step, but for this one you can switch back to the pen, as these elements will appear in the final image.
All you need to do for this step is draw some looping curved lines that start from the top line, extend low enough to hit the bottom one and then come back up to the top line.
Step 4 – Erase the pencil lines

This part of your lace drawing is another simple one, as all you need to do is erase the pencil line from earlier steps.
If you used a pen to start drawing over the pencil, then be sure to let the pen ink dry before you start erasing! You wouldn’t want to smudge pen ink all over your drawing by erasing too soon.
Step 5 – Next you will start to draw the pattern
Now that you have the outline of your lace drawn, you can start to decorate it in this step of our guide on how to draw lace.
Start by drawing a row of small circles along each curved line of the bottom of your lace.
For these decorative elements, don’t be afraid to vary things up a bit if you would like a new pattern of your own for the lace.
Step 6 – Keep adding more to the pattern

You can keep adding to the pattern of your lace drawing in this step of your lace drawing.
You drew some slightly larger circles in the previous step, yet for this one you can draw some smaller ones in between them. This will help to create the distinctively pretty pattern that characterizes lace.
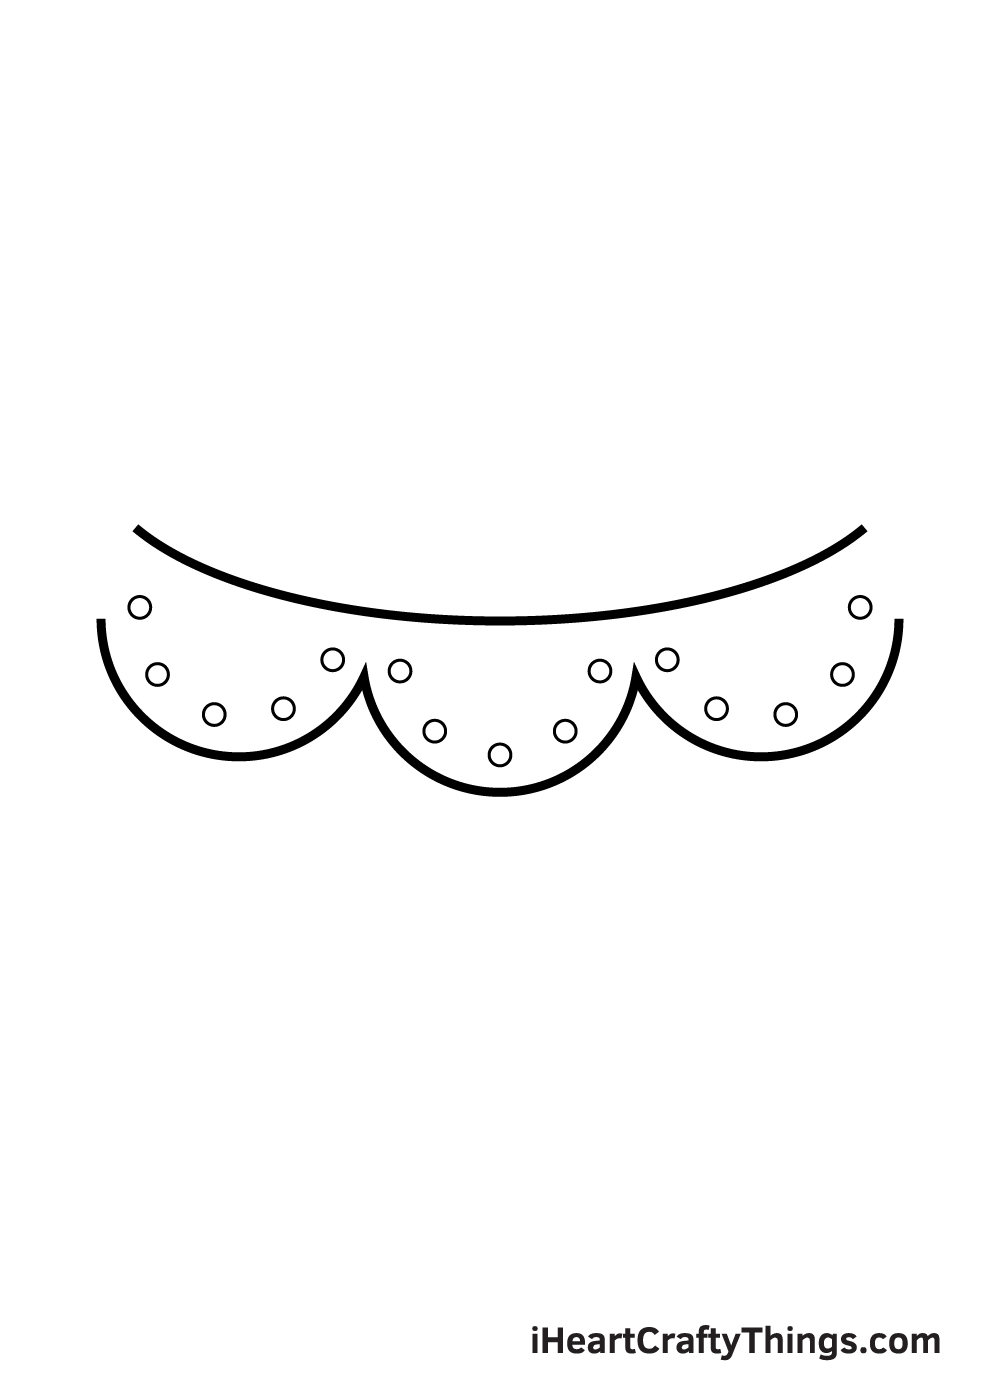
Step 7 – Start drawing the main pattern of your lace
We will continue to draw more of the pattern for your lace in step 7 of our guide on how to draw lace.
To do this, we will be drawing some shapes above the rows of circles that you drew previously. The pattern that we have is made up of another small circle closer to the top of the lace and then three ovals underneath that circle.
Once again, you could change the design of this pattern a bit if you would like, but be sure to keep the pattern consistent for the other sections.
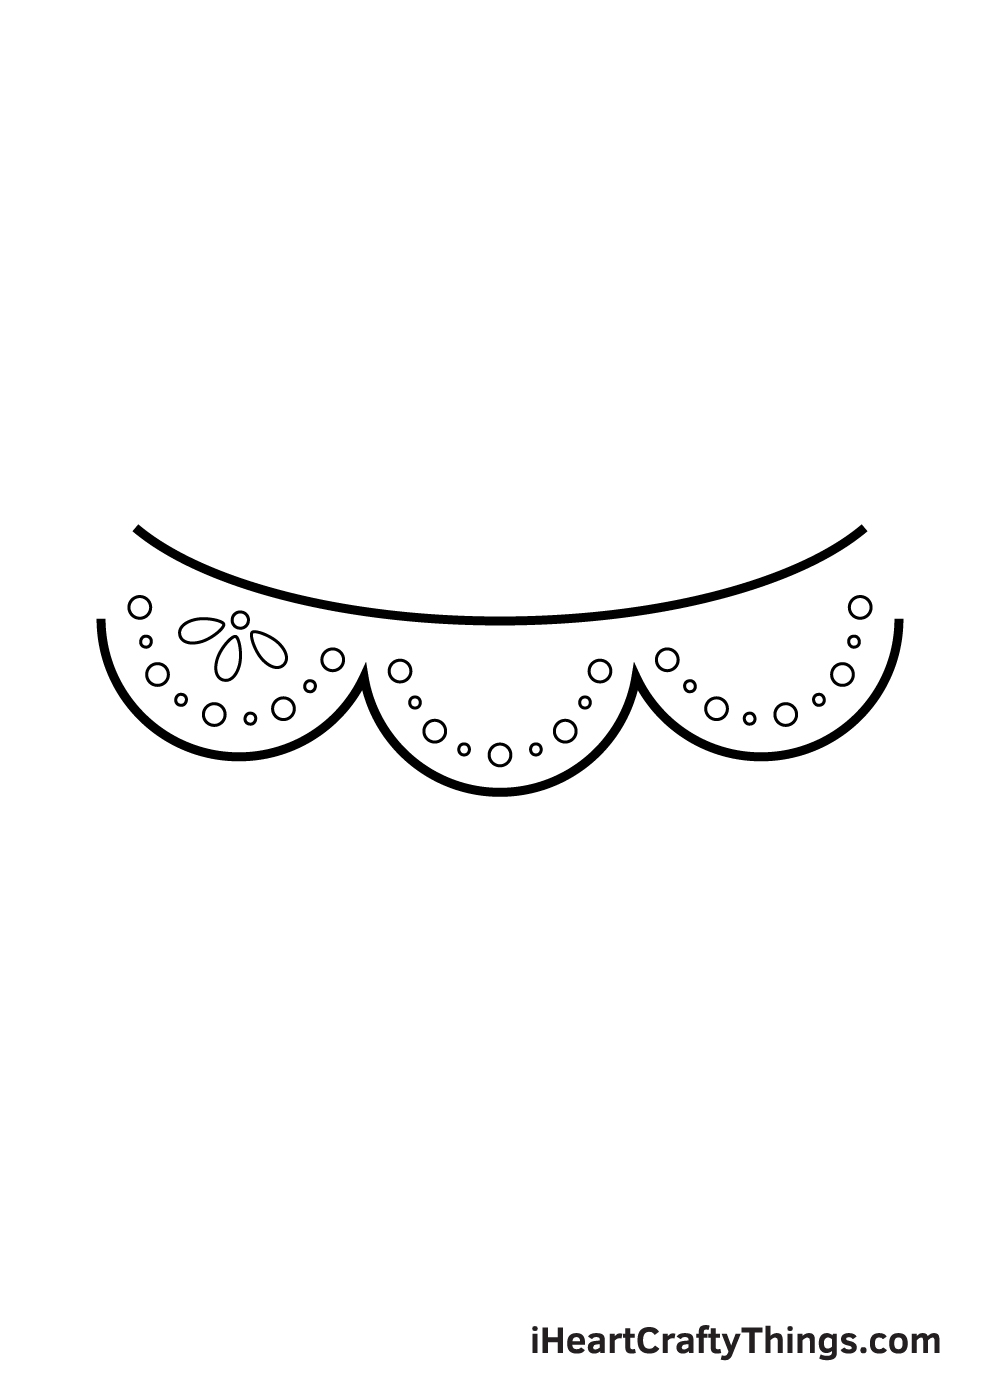
Step 8 – Keep drawing the patterns
The next few steps of your lace drawing should be quite simple for you to do, as you will be continuing the pattern that you started in the previous step.
Simply draw the shape you made using a circle and three thin ovals in the next section of the lace.
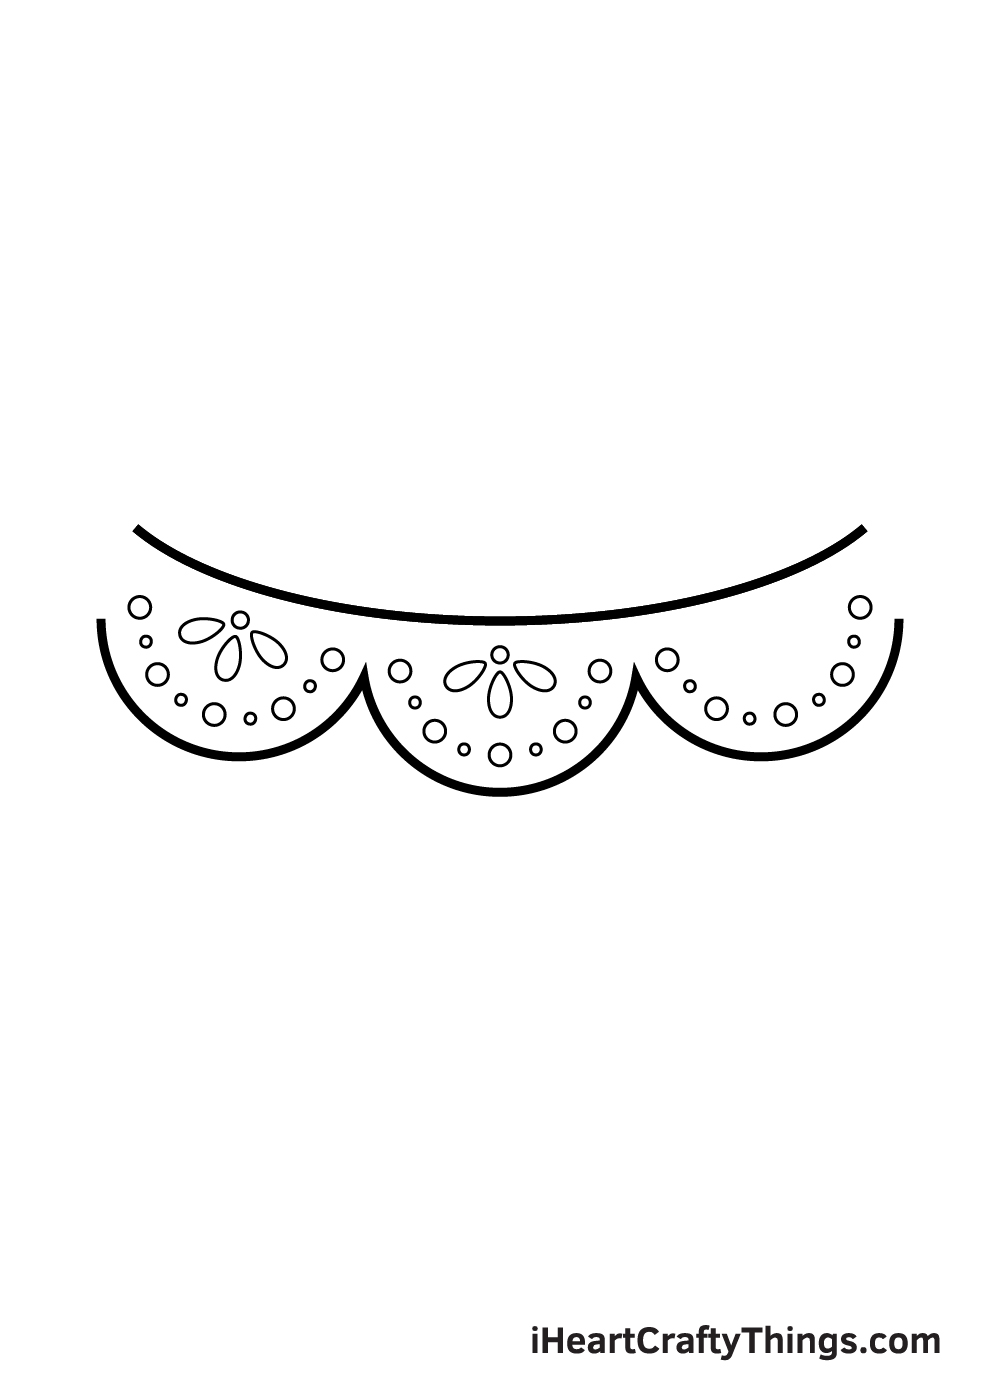
Step 9 – Draw the final pattern details
You know the drill now! Before we move on to step 10 of our guide on how to draw lace, you can draw in the last bit of the pattern. Once more, this will look the same as the one that you drew for the previous two steps.
Now that you have drawn this section of lace, you know how to do it and you could easily make it even longer if you would like a bigger strip of lace!
That brings us to the final step of this guide, and it’s one where you can let loose and have a great time expressing yourself with color for your lace drawing.
We have used a pretty pink for our image, as that is a color that works well for the daintiness of lace.
You could also use some classic colors like light yellows or purples if you would like a nice classic look for your lace.
You shouldn’t feel constrained by that, though, and you should use any colors that you love for your drawing.
Which art mediums do you think would work well for your beautiful drawing? If I were coloring this picture, I would use watercolors for a softer, more elegant look.
Any medium you choose would work wonderfully for your picture as well, and we can’t wait to see what you choose!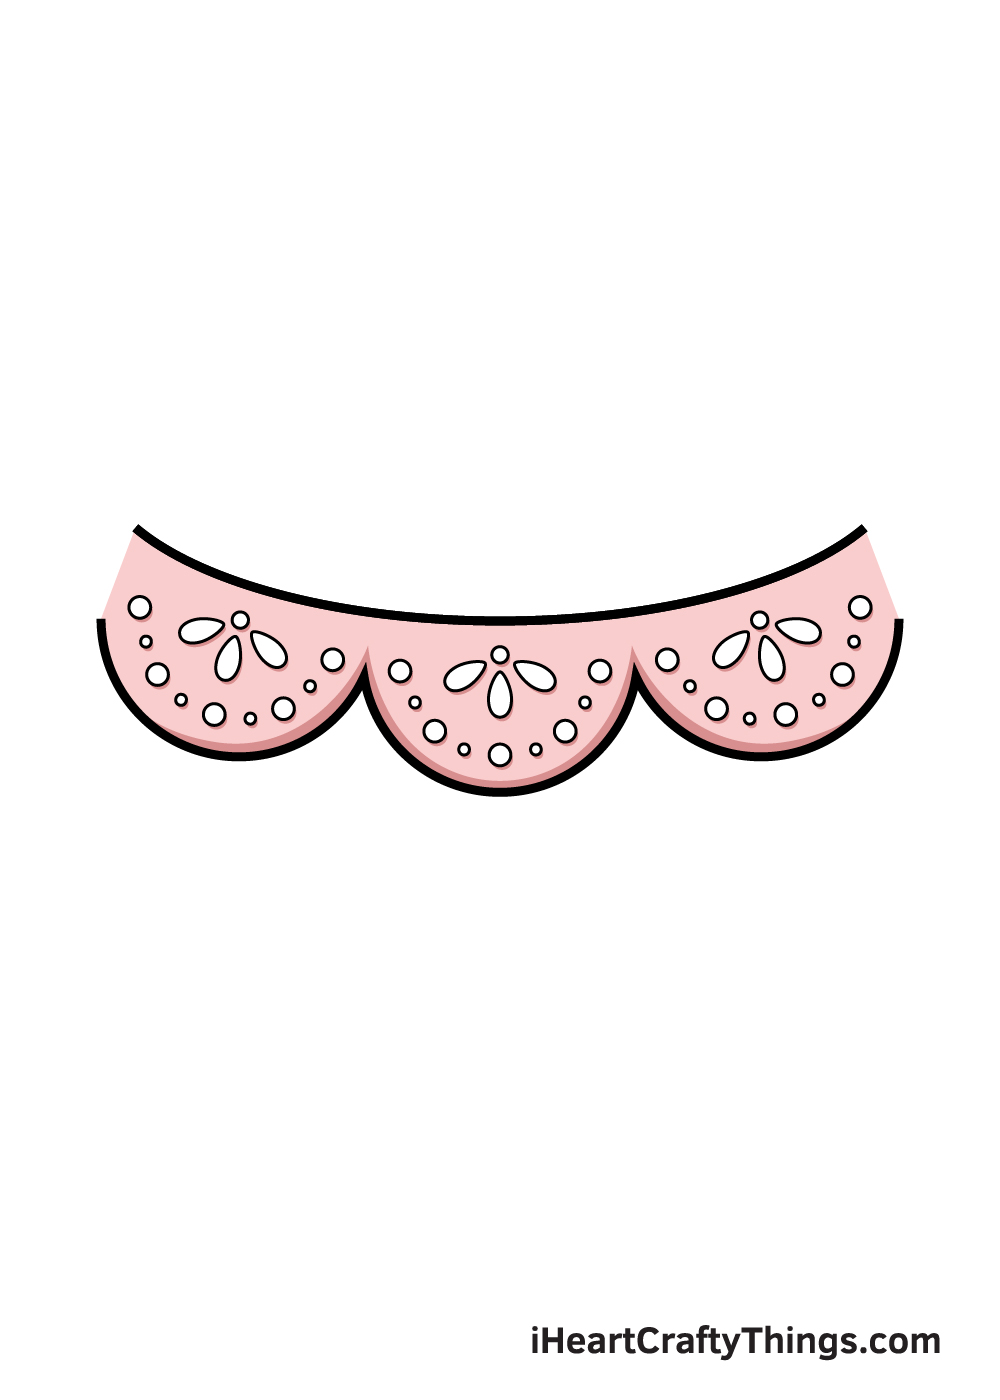
5 Tips To Make Your Lace Drawing Even Better!
Create a dainty artwork with these tips for your lace sketch!
This drawing of lace looks so pretty as is, but now that you know how to draw it you could extend it as much as your page allows!
If you’re drawing a larger picture or scene that includes this lace, then you could make it as long as need be to incorporate it into the scene.
How long would you like to make this banner of lace for your artwork?
The pattern on this lace is dainty and simple, but you could also make it a bit more complex and personalized if you wanted. This would depend heavily on your own preferences!
You could go for a pattern or maybe just go for some shapes that are pleasing to you. What are some patterns you could use?
Next, you could personalize your lace drawing by changing the actual outline shape. This could be more angular and triangular, or you could retain the rounded look and make each section a bit longer.
These are just a few ideas for different shapes you could use for this lace banner. How else could you customize the shape of the lace?
Earlier, we mentioned incorporating this lace into a larger picture. We think it would be wonderful to add a background to your artwork!
For example, this lace could be part of a beautiful tablecloth. Or, maybe it could be used as the banner for a fancy party scene.
You can certainly think of many more scenes and settings for this image, and we would love to see what you come up with!
Finally, you could use some craft materials to really elevate your lace sketch. One idea would be to use some fancy craft paper.
You can even get some great punches and craft tools to punch wonderful shapes and patterns into the paper.
This way, you could make some real life banners with this lovely lace design!
Gluing on bits of string or beads would be more examples of crafts for this artwork.
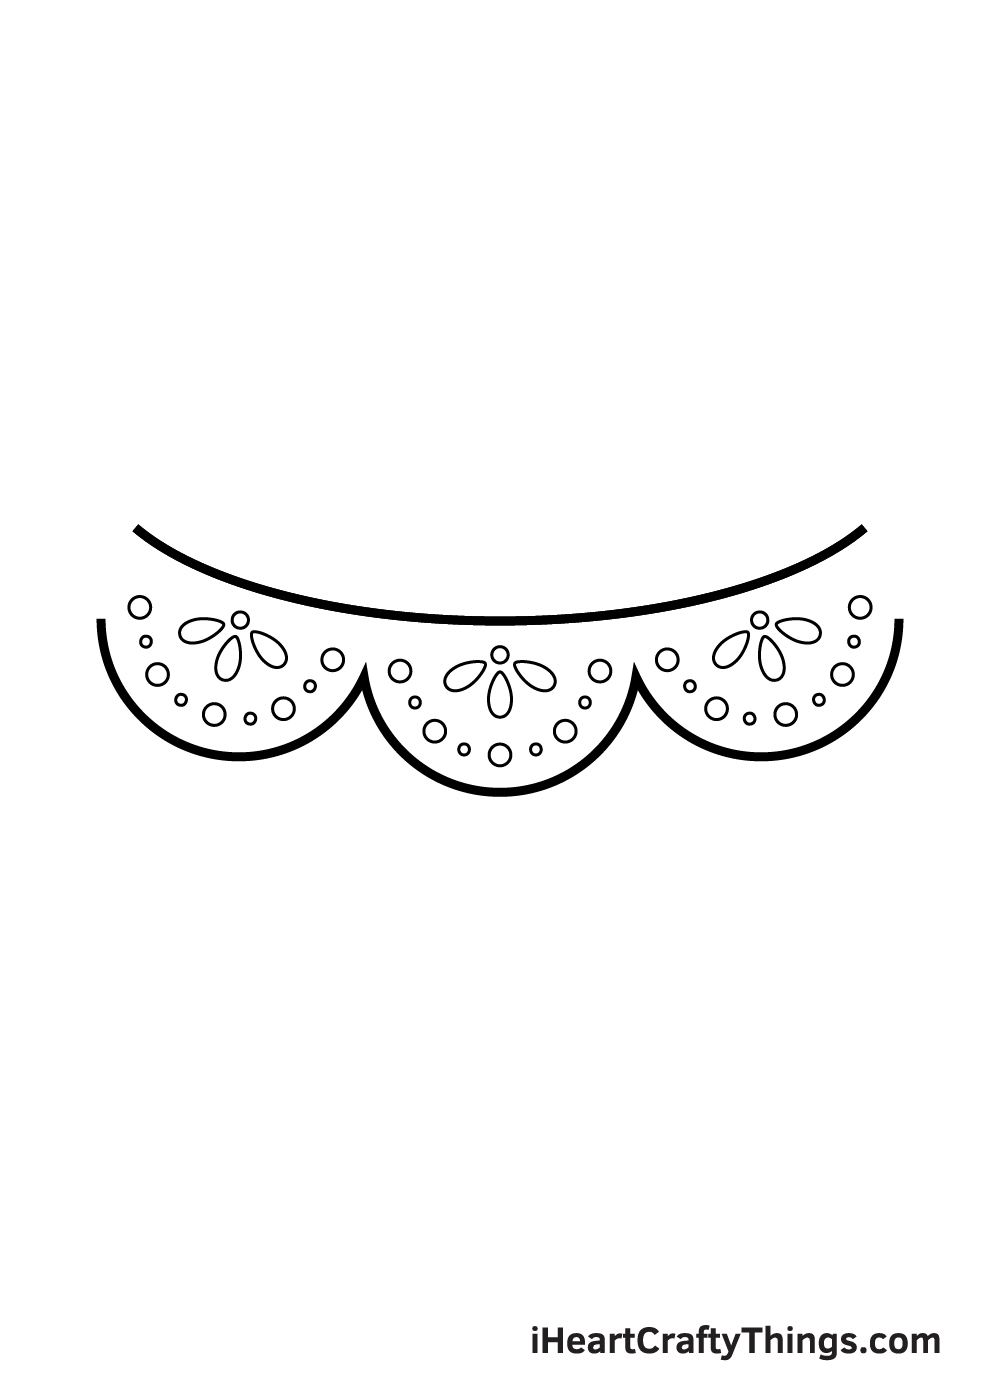
Your Lace Drawing is Complete!
We hope that you had a great time using this step-by-step guide on how to draw lace! Our goal was to show you that you can create a beautiful lace pattern by breaking it down into manageable steps.
Now that you have mastered our lace design you can have some fun with coloring it in and experimenting with some beautiful art mediums. You could even design some of your own lace patterns using our guide as a basis.
We have many more fantastic step-by-step guides for you to enjoy, so be sure to check out our site frequently as we upload new ones often.
We would also love to see your gorgeous lace drawing, so please be sure to share it on our Facebook and Pinterest pages when it’s done so we can enjoy your creativity!