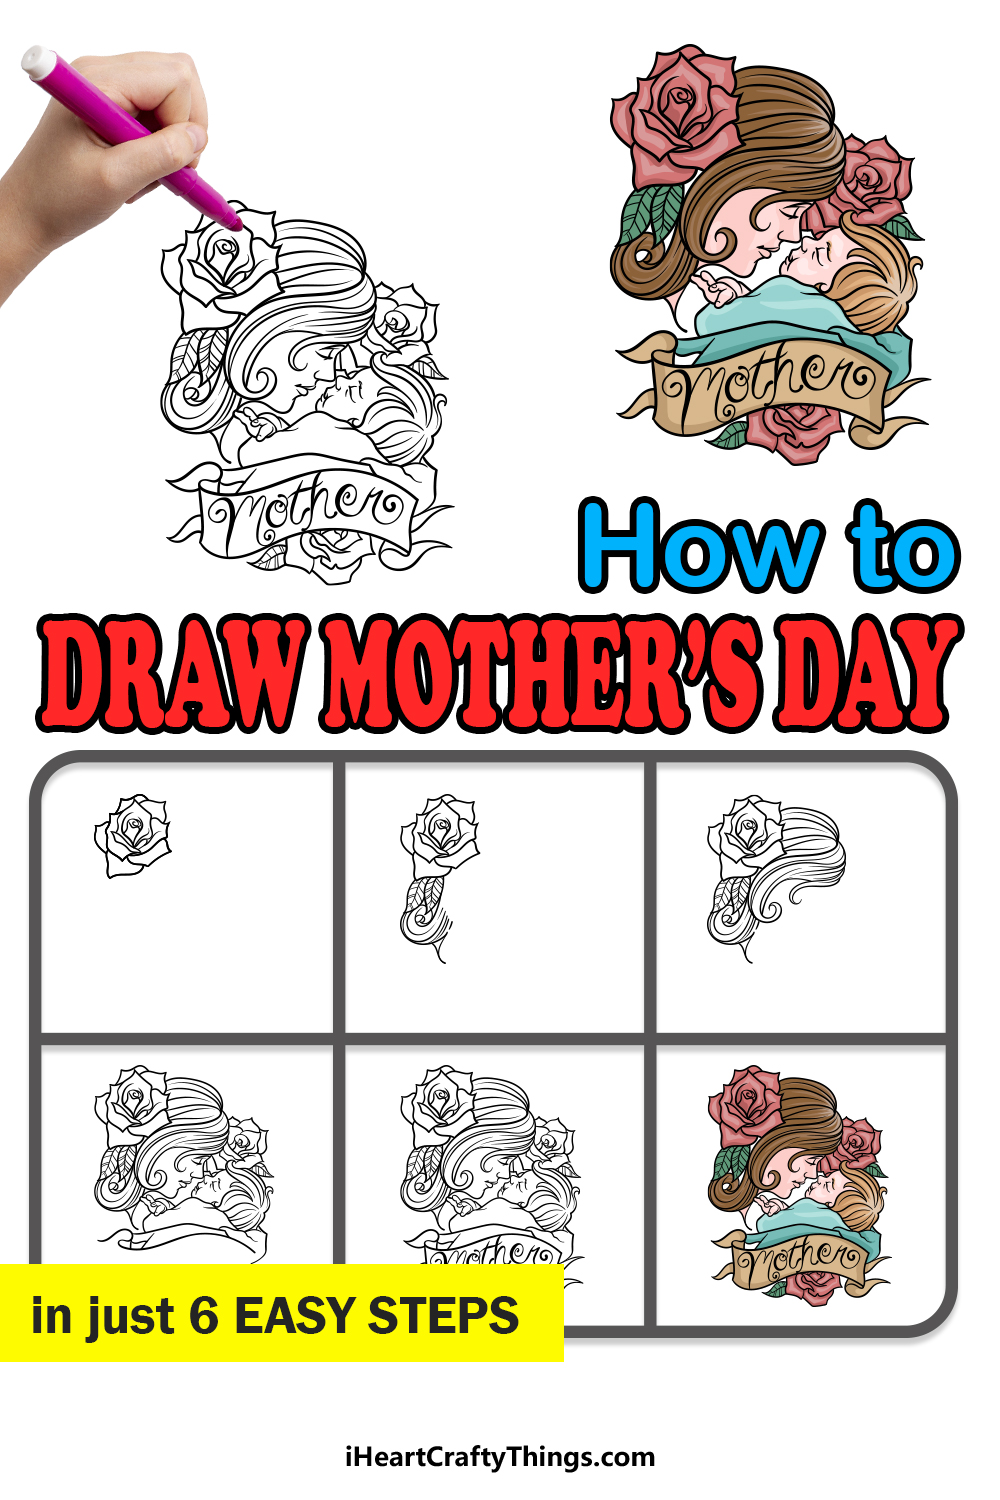
There are few bonds as special as that between a mother and child. This special bond is celebrated each year on Mother’s Day, where gifts, cards and other treats are bestowed on mothers to show them how loved and appreciated they are.
It can be a great gift to draw a picture or card for your mother, and for that reason learning how to draw Mother’s Day images is essential for this day.
We have a really sweet and special image that we will be drawing in this guide, so read on!
This step-by-step guide on how to draw Mother’s Day will show you how to create a wonderful image for this special day!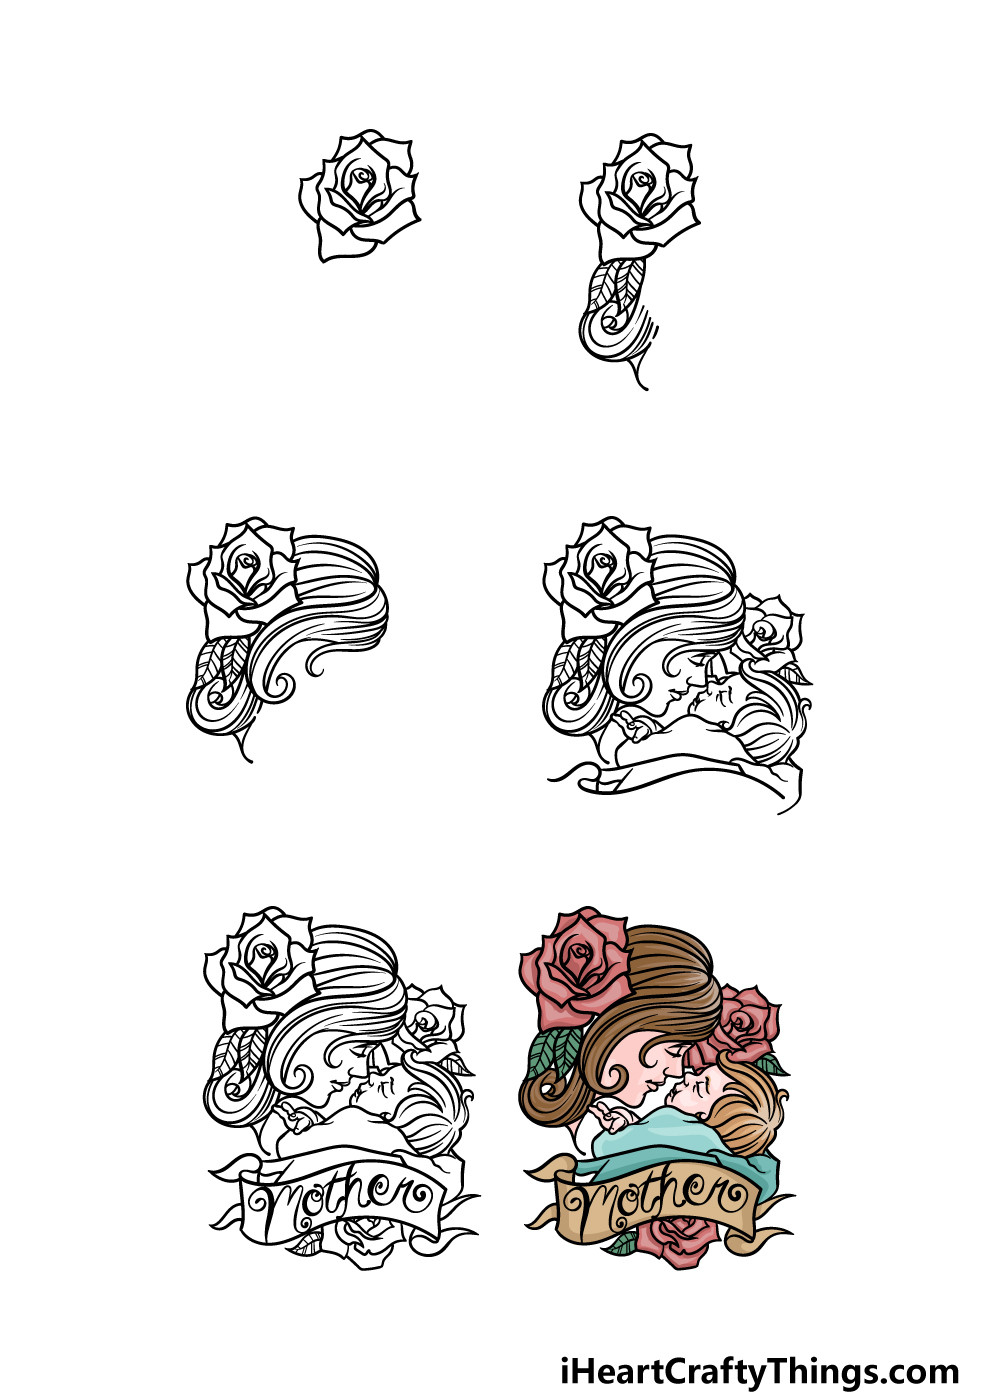
How to Draw Mother’s Day – Let’s Get Started!
Step 1

The image we will be drawing in this guide on how to draw Mother’s Day will have a strong floral theme to it. To that end, we will be drawing a rose in this first step.
Drawing a rose can be a bit on the tricky side, as there are lots of intricate petals connecting to one another.
To make this a bit easier, there are a few things that you can do. First, you may want to use a pencil to start with so that you don’t have to worry about mistakes.
Then, follow the reference image very closely and then start from the center outward until you have the whole rose. Once you have drawn this pretty flower you’re ready for step 2!
Step 2 – Next, draw some more of the pattern
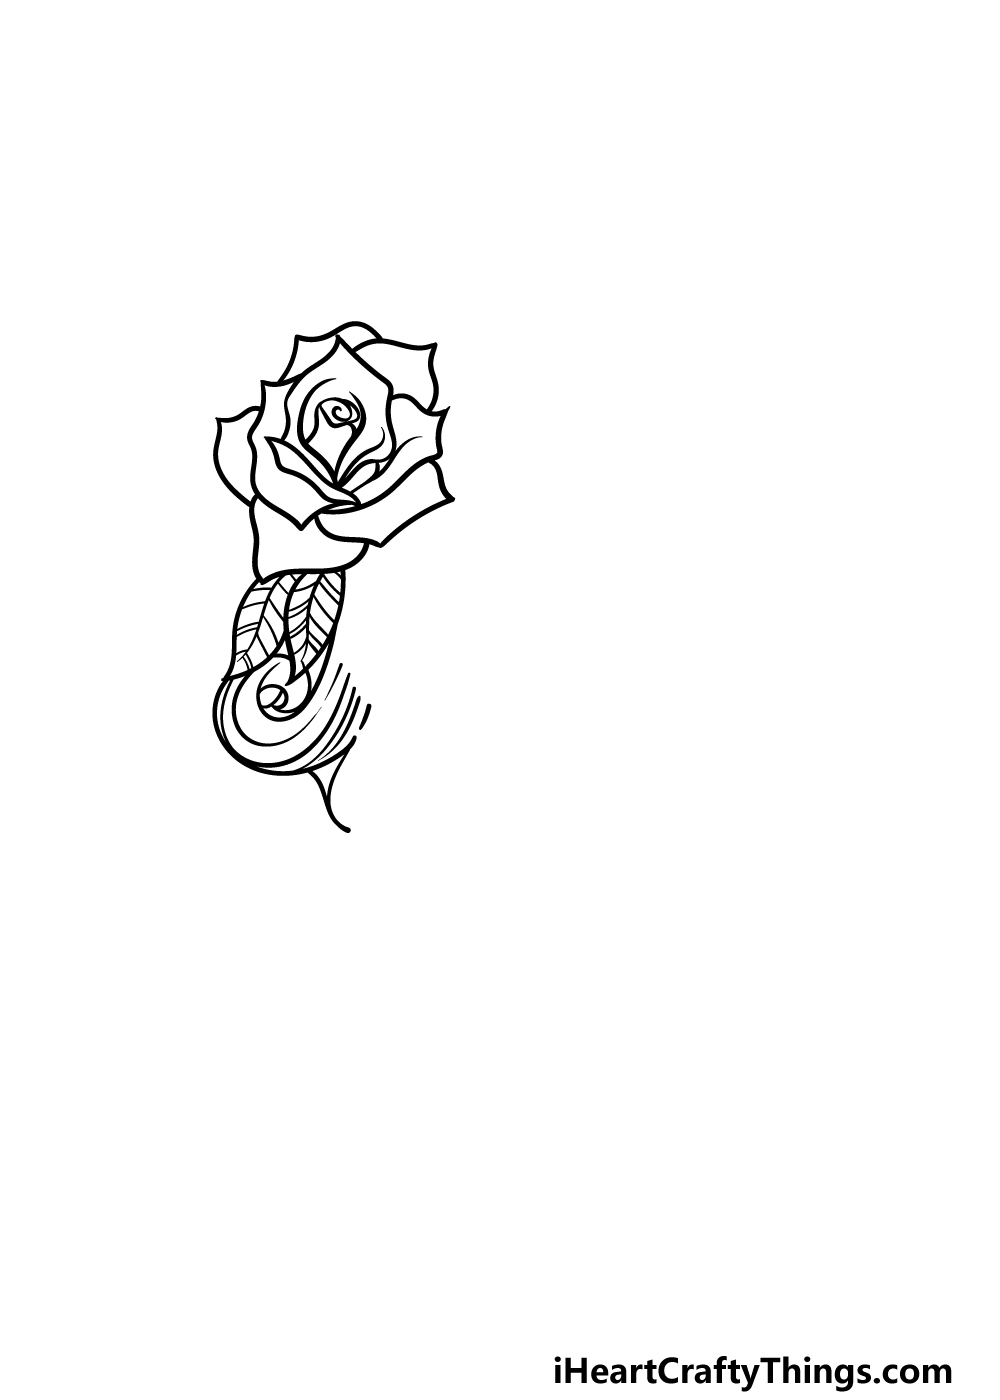
For this second part of your Mother’s Day drawing, we will be adding some more to the flower as well as starting one of the hair curls for the mother.
To do this, you can use some rounded lines with sharp points for the two leaves coming down from the flower. Then, you can use some curvy lines for the hair curling down.
Step 3 – Draw some more of her hair
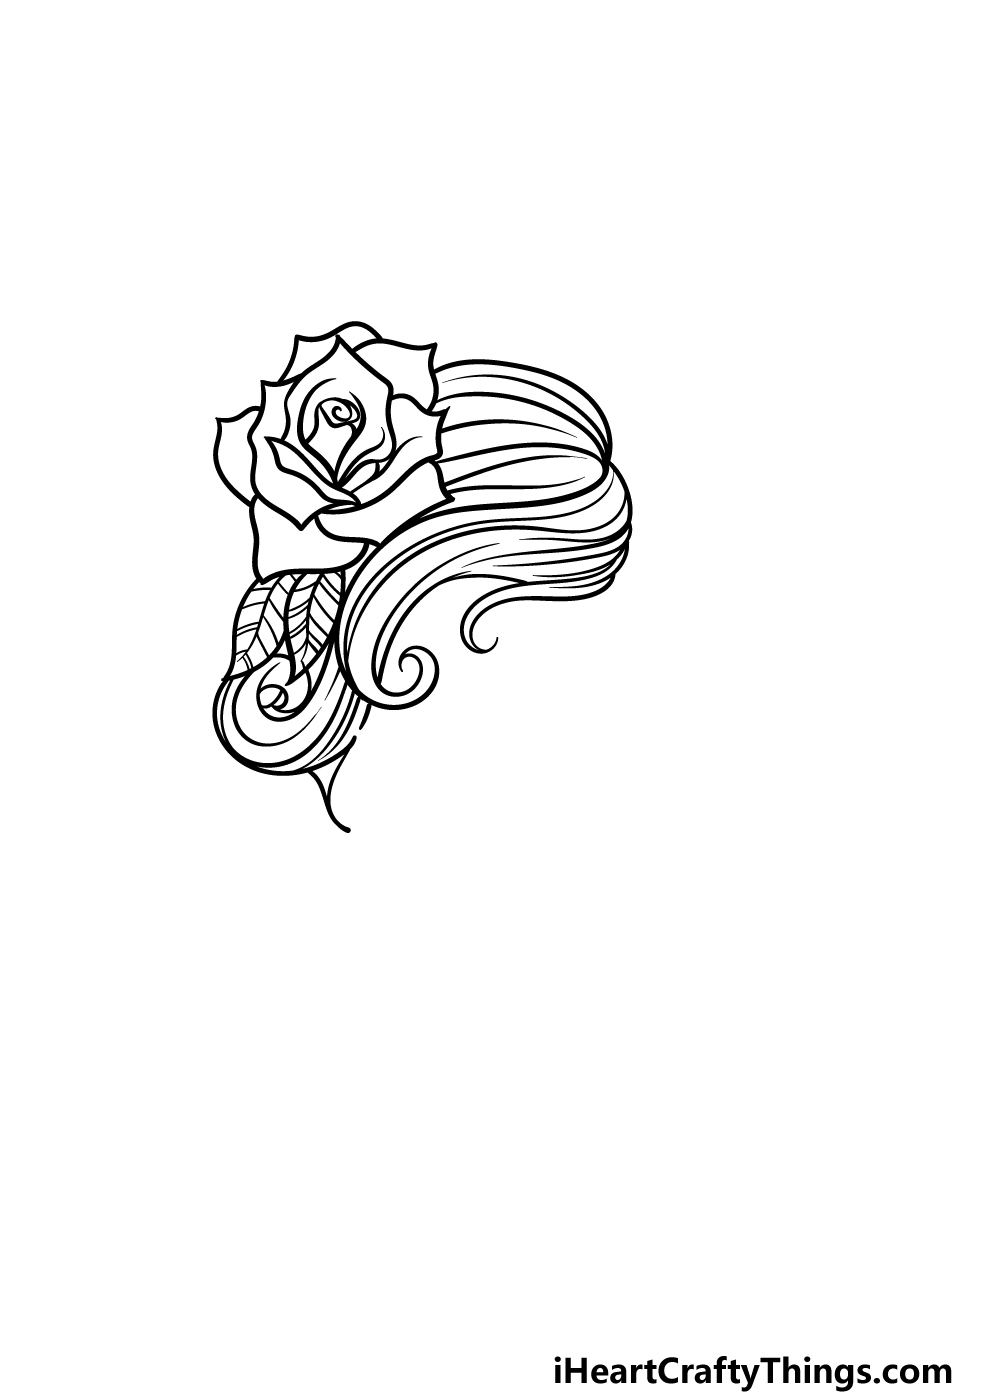
We will be drawing some more of the hair on top of the hair for this part of our guide on how to draw Mother’s Day.
The outline of this portion of the hair will be one solid shape, and it will be drawn with lots of rounded lines to have more curls poking out of it.
Step 4 – Now, draw some of her eyes and some more of her hair
There is a lot that we will be adding to the Mother’s Day drawing, so be sure to take it slowly and follow the reference image closely. We will also take it bit by bit, so let’s get started!
First, we will start with the face for the mother, which you can ‘attach’ to the hair shape that you drew in the previous step.
You can use some simple lines for the eyes, nose and mouth for the mom, as shown in the reference picture.
Then, you can use the methods you used for the mother’s face and hair to draw the head and face of the little baby that is with her.
You can then use some more curved lines for the blankets the baby is wrapped in along with its little hand.
You can also draw a second rose between their heads. With these elements added, we just have a few final details to add in the next step.
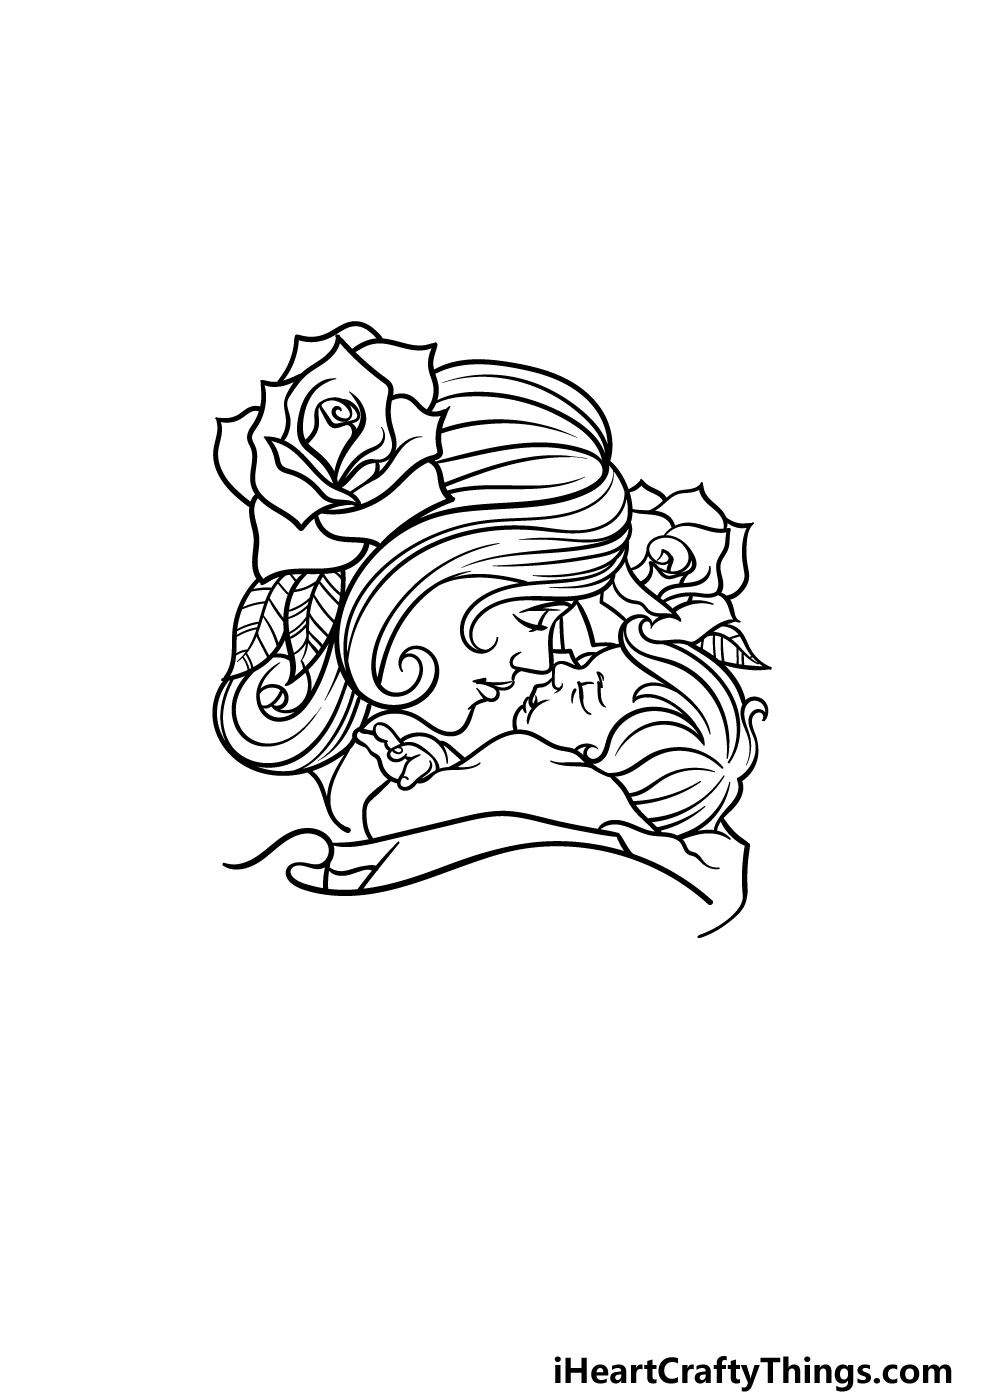
Step 5 – Finish off the final details of the drawing
It’s almost time to start coloring in your picture, but first we have a few elements to add in this step of our guide on how to draw Mother’s Day.
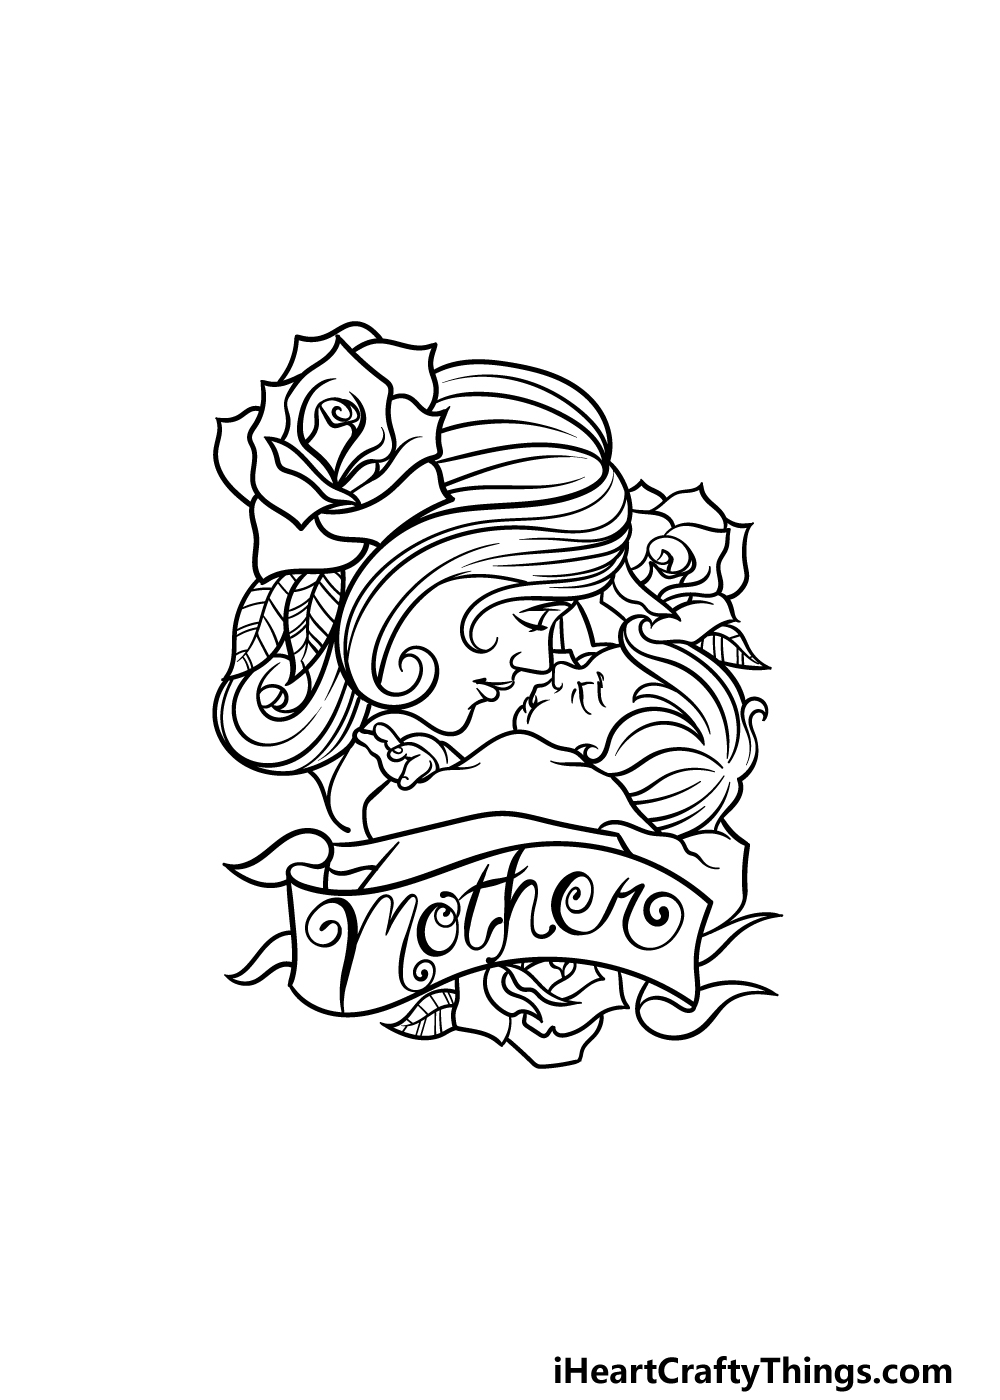
First, use some curvy lines to create a wavy banner at the base of the drawing. In our image, we wrote the word ‘mother’ in some fancy font to finish off the theme of the image.
If you wanted to use this picture as a card for a loved one, you could also add your own words or phrase to the banner instead!
We also added some more flower details around this banner for more pretty elements for the picture. With those added, you have finished all of the details in this guide!
This is your drawing, so you can also add some elements and additions of your own that you may like as well.
Perhaps you could change up some of the details and make the mother in the picture look like your own mother or even yourself! How will you finish off this drawing before the final step?
Step 6 – Finish off your Mother’s Day drawing with some color
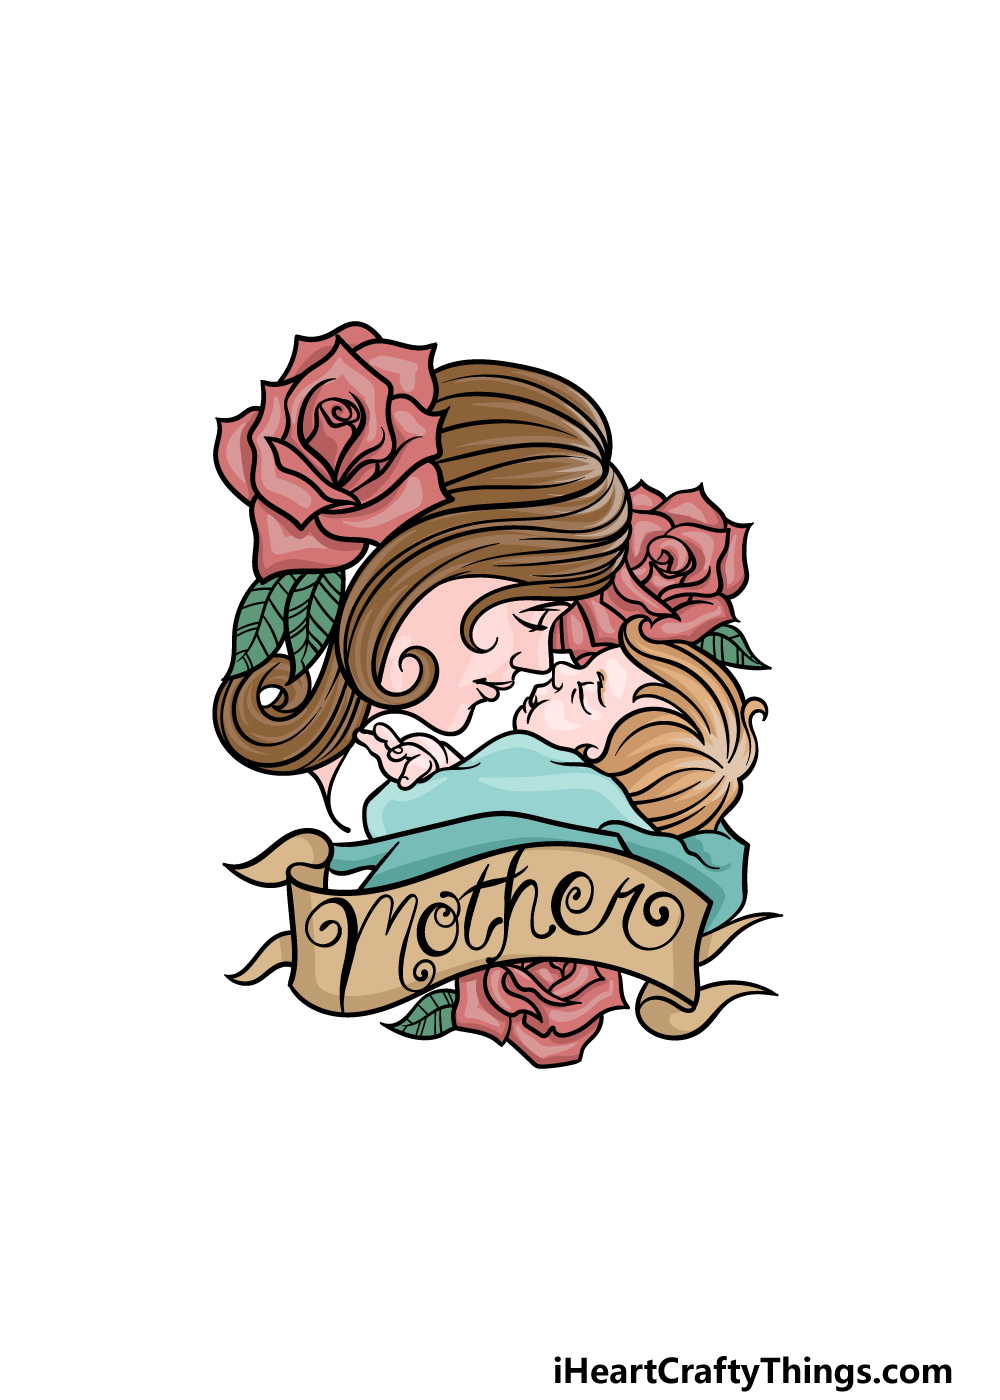
The final step of your Mother’s Day drawing will be all about finishing it off with some amazing colors. In our reference image, we showed you some colors that we would choose for this picture.
These could be colors that you use as well, but you could also use some colors of your own that you may love.
You could keep the colors more realistic, but it would also look great if you used some more stylistic colors for it.
Then you can have some fun while choosing which art mediums and tools you will use to bring your colors to life.
There are many options you could go for, so what do you think you will do to color in and finish this picture?
3 More tips to make your Mother’s Day drawing easy!
Celebrate that special woman in your life with these tips for your Mother’s Day sketch
This drawing of Mother’s Day has a beautifully detailed depiction of a mother and a baby. It is a touching portrait, but all of these details could be quite hard to draw.
You could easily capture the power of this image even if you decide to remove some of the details. This would depend on what you are finding most difficult to draw.
For example, the hair and flower texture details could be rather tricky, so you could simplify them to just their outlines so that they will still look like what they’re supposed to be.
Continuing from the first tip, you could take it even further by completely changing the art style of this Mother’s Day drawing.
Anyone who loves to draw will have styles that they find comfortable to work in.
If that is the case for you, then you could use that style for this artwork. What this style could be would depend on you, and there are many options to choose from!
For example, you could go with a simpler cartoon style. That would also change the mood of the depiction a bit, but it would still look great in its own way.
What is a style that you like to draw in that you could use for this lovely drawing?
Finally, you could use real people to help you as you work on this Mother’s Day sketch. This would not only make the drawing easier, but it would also make it more personalized.
For example, maybe you could use a picture of your own mother and even find a picture of yourself as a baby. Then, you could adapt these to the drawing to create a wonderfully personal image.
This would help to draw the proportions and finer details of these two characters as well. Once it’s done, it would then make for a wonderful gift to give to your own mom on Mother’s Day!
Your Mother’s Day Drawing is Complete!
You have made it through all six steps of this guide on how to draw Mother’s Day, and you have ended up with a wonderful image to commemorate this special day.
There were quite a few intricate details to this drawing, so that’s why it can really help to break it down into smaller steps and take it slowly to make it easy and fun.
This drawing has a lot of elements that you could change up and customize to suit your needs.
You could change up some of the details, change the message in the banner or use your favorite colors and art mediums for some beautiful colors.
We have many more lovely guides for you on our website! Be sure to visit us there often, as we upload new guides frequently.
Once you have completed this beautiful Mother’s Day drawing, we would love to see the finished product! You can share it on our Facebook and Pinterest pages to let us see how you finished it off.