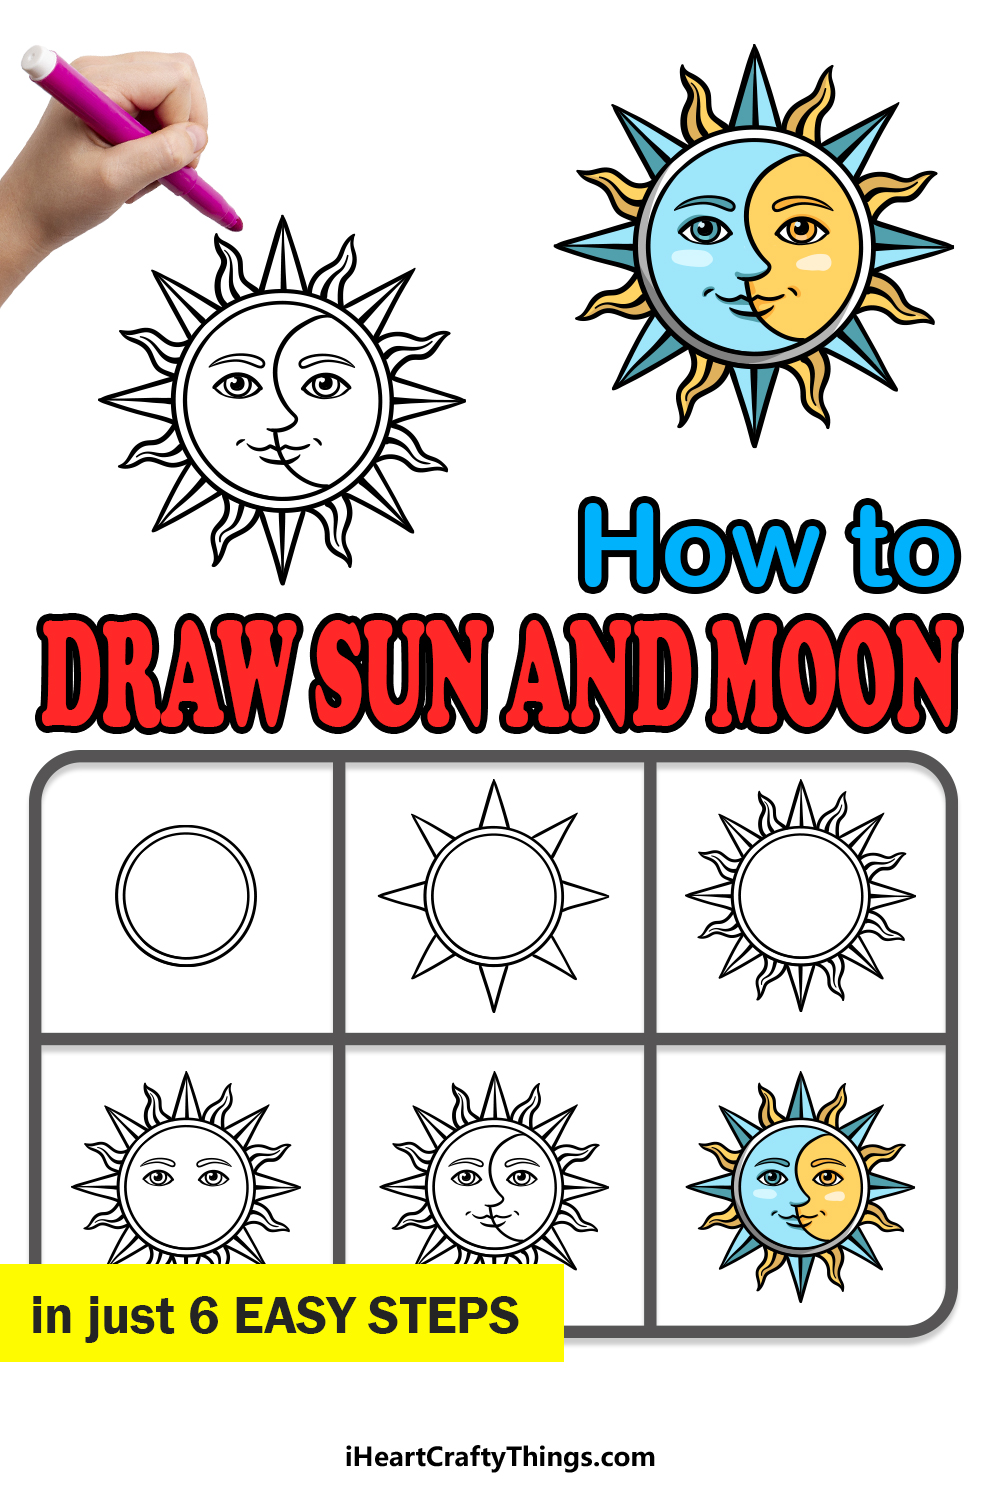
You’re about to see how to draw a sun and moon in just a few steps! This guide for kids will allow you to make this gorgeous design that you can then customize with your own details.
We’re all very familiar with the effects of the sun and moon. Even if we may not always be thinking about it, these two celestial bodies play a huge role in our lives.
There’s a reason the sun and moon have featured so heavily in many belief systems, religions and artworks throughout the years. Now, you can create some art of your very own!
This design incorporates both the sun and moon into one elegant design. Even though it is so detailed, I will walk you through each and every step to show you exactly how it’s done.
Then, you can add your own ideas so that it will be more unique to you!
Watch How To Make Your Sun And Moon Drawing
How to Draw A Sun And Moon – Let’s get Started!
Step 1
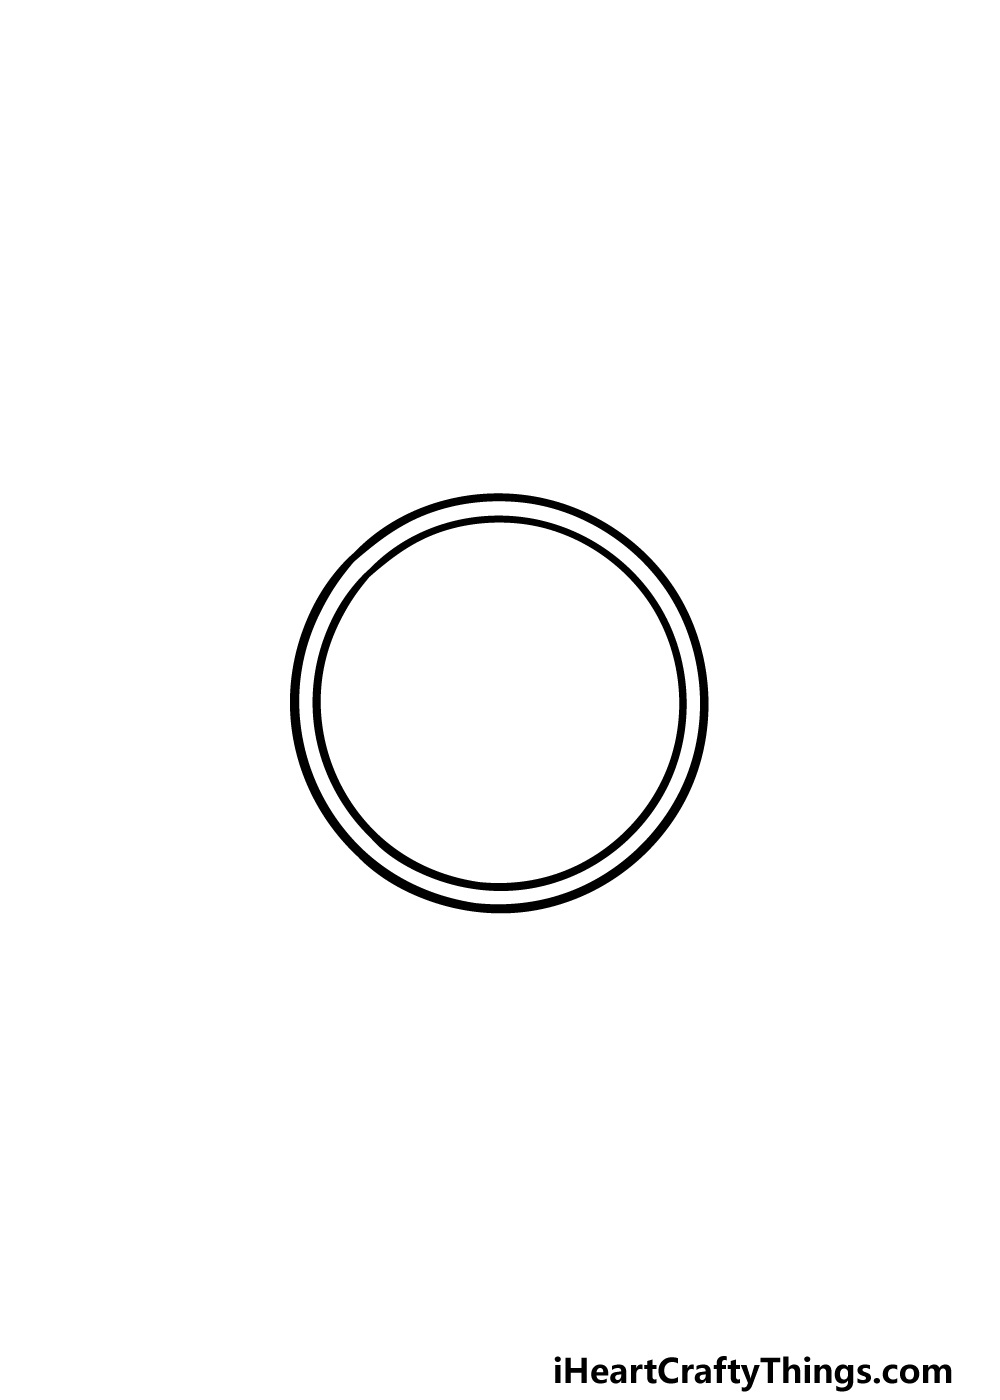
.In this guide on how to draw a sun and moon, we will be starting with two circles. When drawing a circle, it can be next to impossible to draw a perfect circle freehand, but luckily there are a few tools you can use to make it easier on yourself.
The best one you can use is a drawing compass, and these are great because they are not costly to get and make drawing circles with a pen or pencil a breeze!
If you have a compass, clip your pen or pencil onto it and then use the sharp point to draw the outer circle.
You can make it as big or small as you wish, but just leave some space on the outer edges for the extensions that we will be drawing later. Then, use your compass to draw another circle within the first one, and it will be quite close to the outline.
If you don’t have a compass, then try your best to draw it freehand or trace around some round objects. However you do it, you’re now ready for step 2!
Step 2 – Next, draw some ray extensions coming off the sun
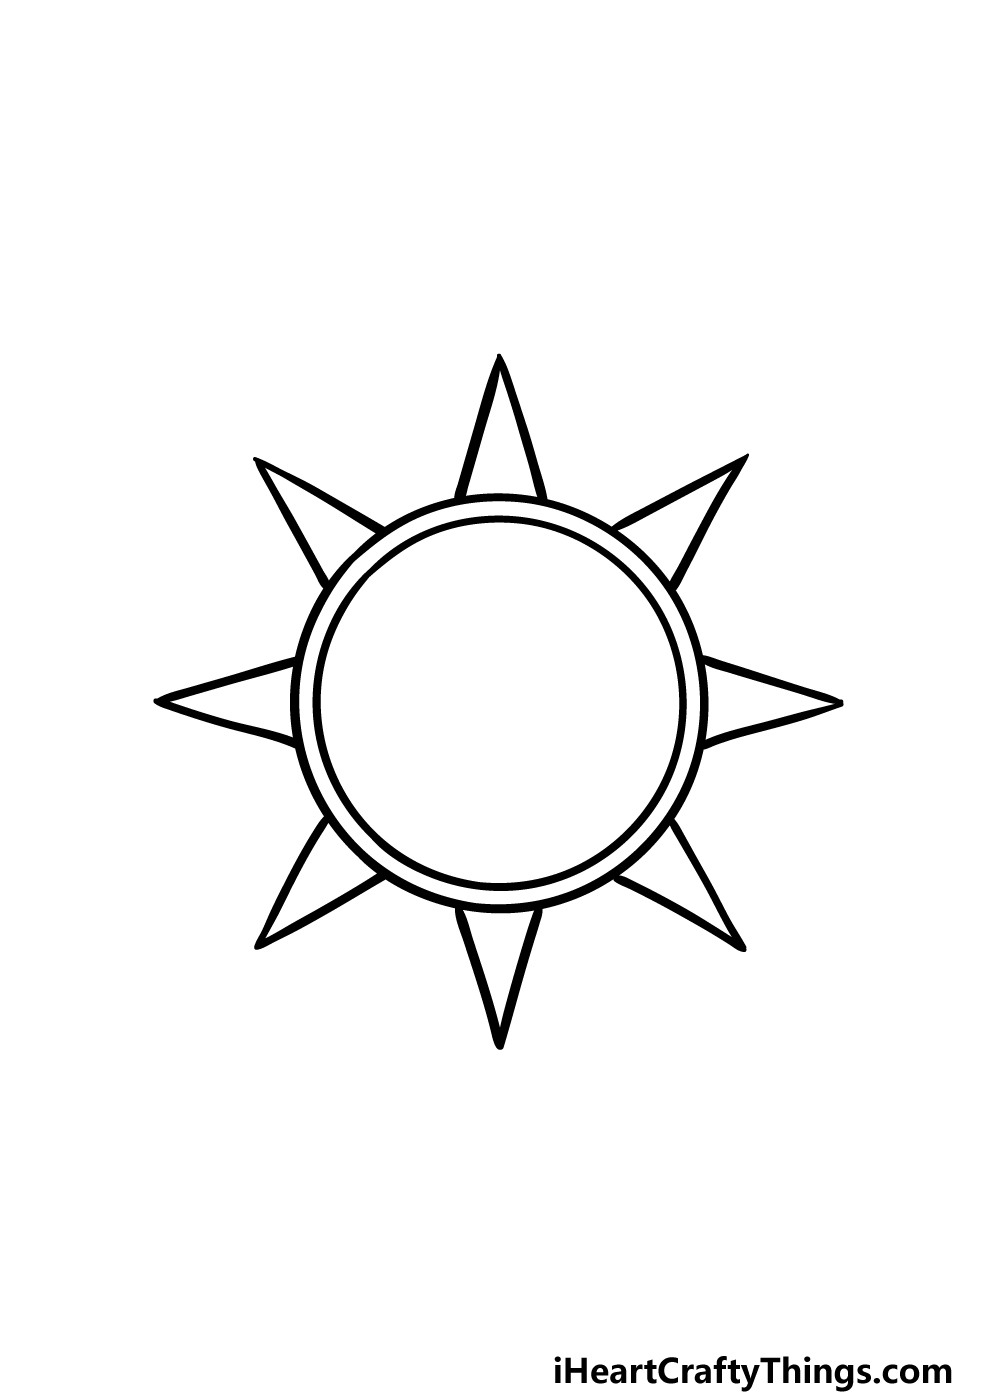
For this second step of your sun and moon drawing, you will find it much easier if you have a ruler on hand, as you will be adding lots of straight lines on it.
For this part, we will be drawing lots of pointy shapes onto the sun.
There will be equal space between the rays of the sun, as we will be drawing more shapes between them in one of the upcoming steps.
Try your best to space these pointy shapes as they appear in the reference image, and if you can keep the spaces between them even then that would be perfect!
Step 3 – Now, draw some more shapes between the pointy ones
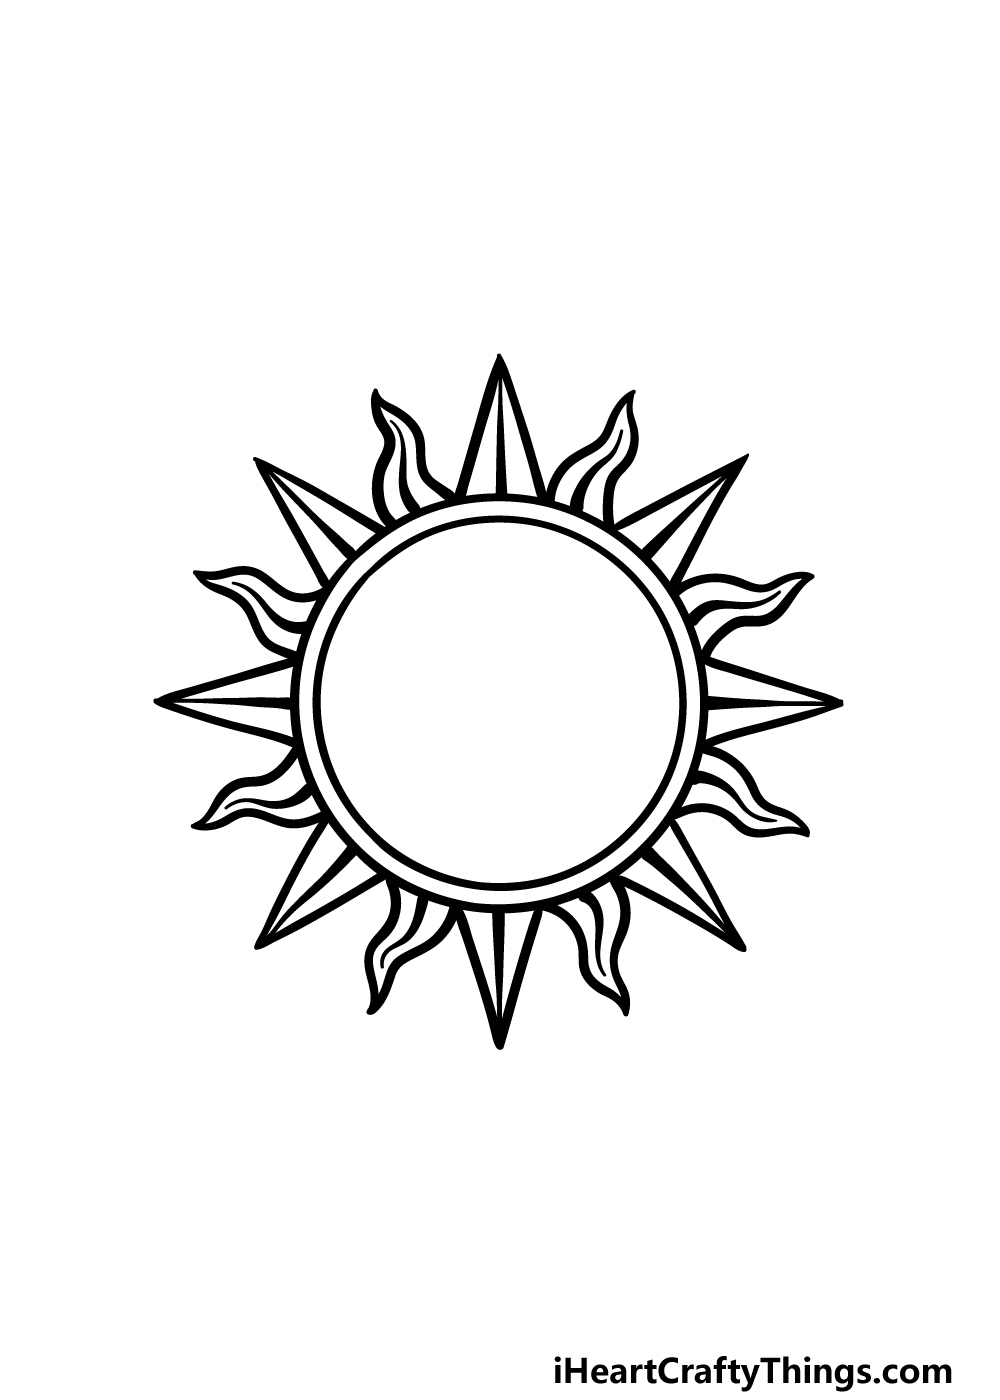
Now that you have added the pointy shapes onto the picture, we will be adding some wavy ones between them in this step of our guide on how to draw a sun and moon. Simply use some wavy lines to create some bendy shapes that end in sharp points.
Once you have drawn them as they appear in our reference image, we will add some details to them.
Use your ruler to add a line to the center of each of the straight pointy shapes, then draw freehand to add a line to the center of each of the wavy shapes.
Step 4 – Next, draw the eyes and eyebrows
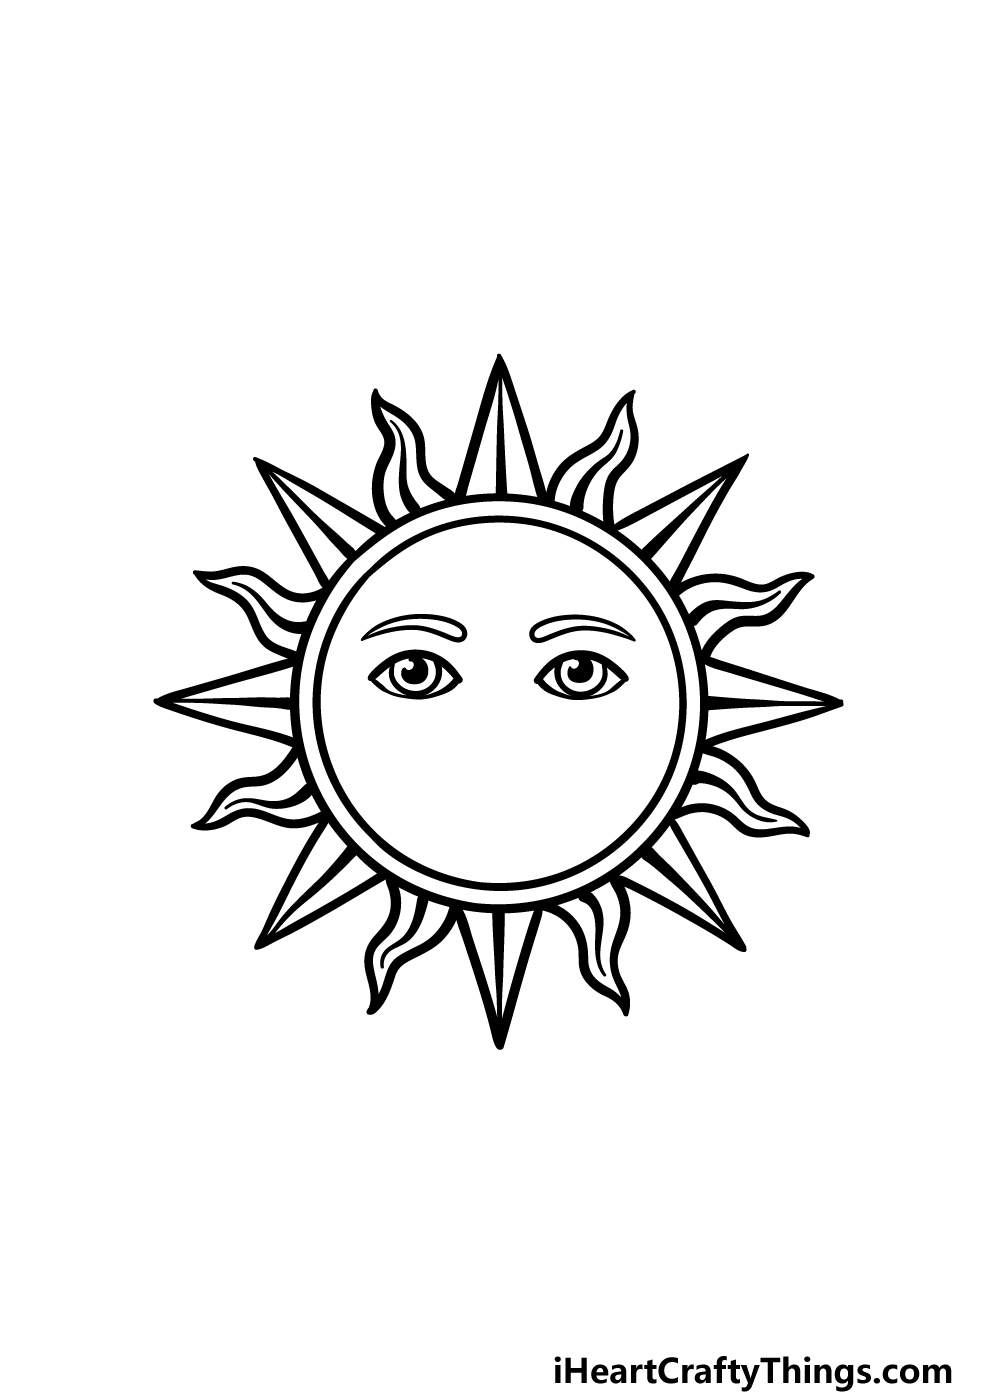
The outline of your sun and moon drawing is complete, so now we shall add some facial details to the picture.
We shall start with the eyes, which you can draw with two rounded shapes with points on each side.
Then, draw a circle inside of the eyes with a black dot inside each one. Then, once you have drawn the eyes, you can add some eyebrows above them.
To draw them, we will be using some long, thin shapes that are rounded on the inner edge. Then we have just a few more final details to add in the next step before you can color in your picture!
Step 5 – Now, finish off your sun and moon drawing
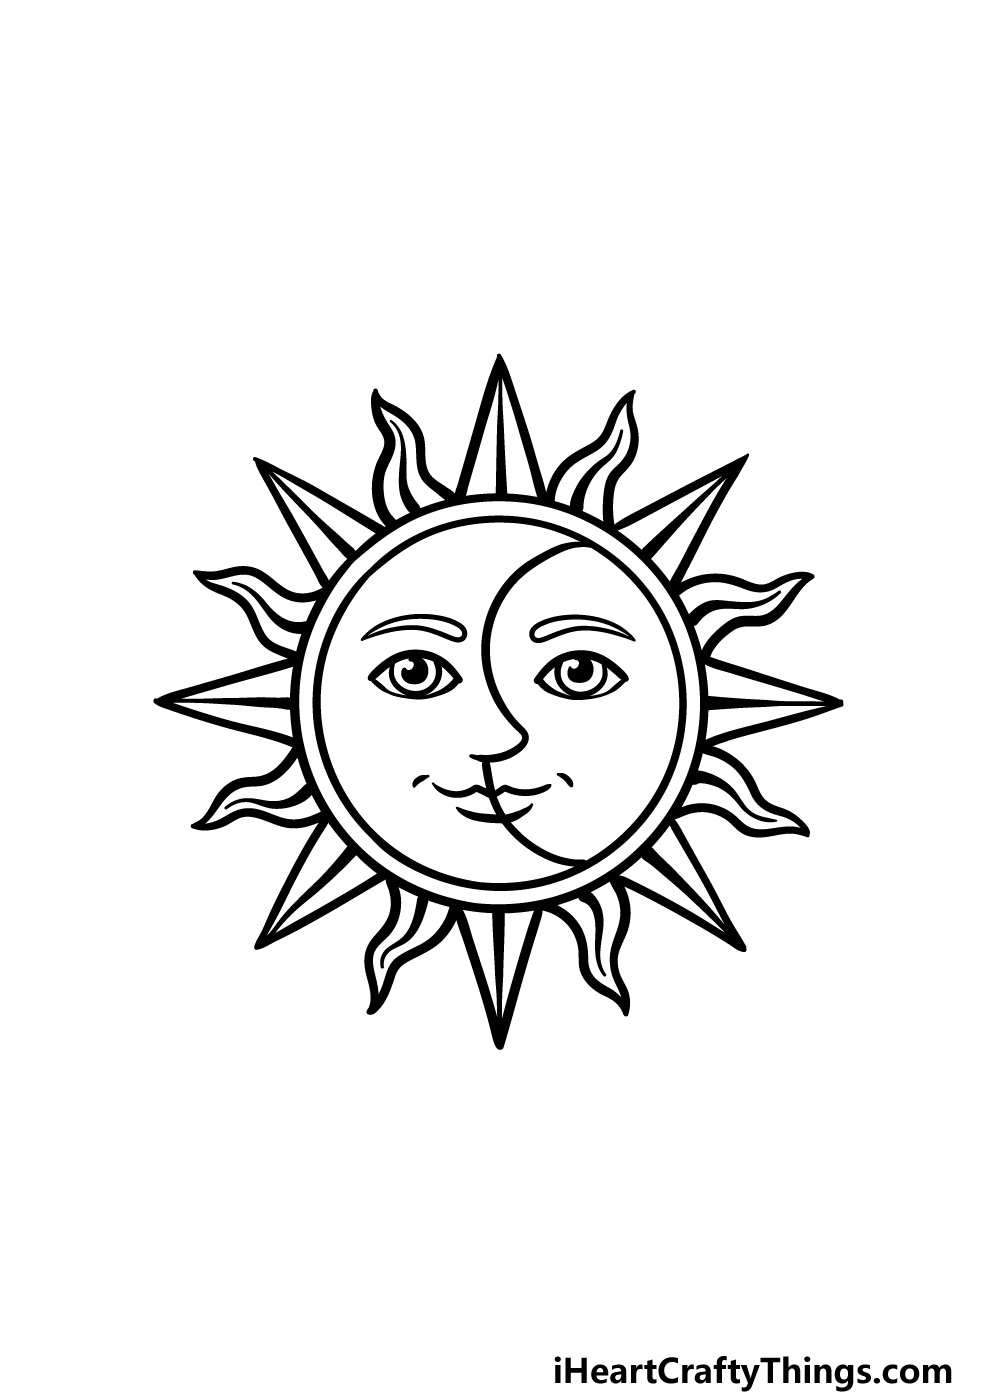
Before we add some colors to your image, we will finish off the face in this step of our guide on how to draw a sun and moon.
This will also be where we finish off the effect of the half sun half moon. First, draw a curved line coming down from the top of the sun, and then have it poke out into a nose.
Then, continue the line from under the nose to the bottom of the face. Finally, you can draw a smiling mouth that will be in both the sun and moon side.
With these details drawn, you have finished all of the steps in this guide! You don’t have to move on just yet, however, as you can also draw some background elements or extra details.
Now that you have finished the drawing, there is a lot that you could do to get creative with it. We can’t wait to see what you choose to do to put your own spin on the picture.
Bonus: Try Out These Extra Details For Your Drawing
This drawing of a sun and moon is just about ready to be colored in, but before we get to that final step we had a few ideas for some extra details that you could add.
In this image, we are essentially showing the difference between night and day. If you wanted to take the theme of change and progression further, you could add a few more details pertaining to seasons.
For example, you could separate the drawing into a grid of four sections. Then, you could add some elements of the four seasons, like sunlight for Summer, snow for Winter and then flowers for Spring.
If you wanted to break it down even further, then you could instead break it down to times of the day. Elements of morning, noon and night could be incorporated into the image in some interesting ways.
Just a few simple changes could drastically alter the feeling of this picture and give it some more meaning. If you would like to add some of these kinds of details but not change the drawing, then you could focus on the background.
The sun and moon could remain as is but you could separate the background into the sections we discussed earlier. You could also keep it subtle by changing just the colors instead of drawing more elements.
Even the art tools and mediums you use can make a big difference, so it can be a matter of finding the theme you want to portray and then figuring out how you can portray it with the tools available.
What kinds of themes or ideas would you like to show off in this sun and moon drawing?
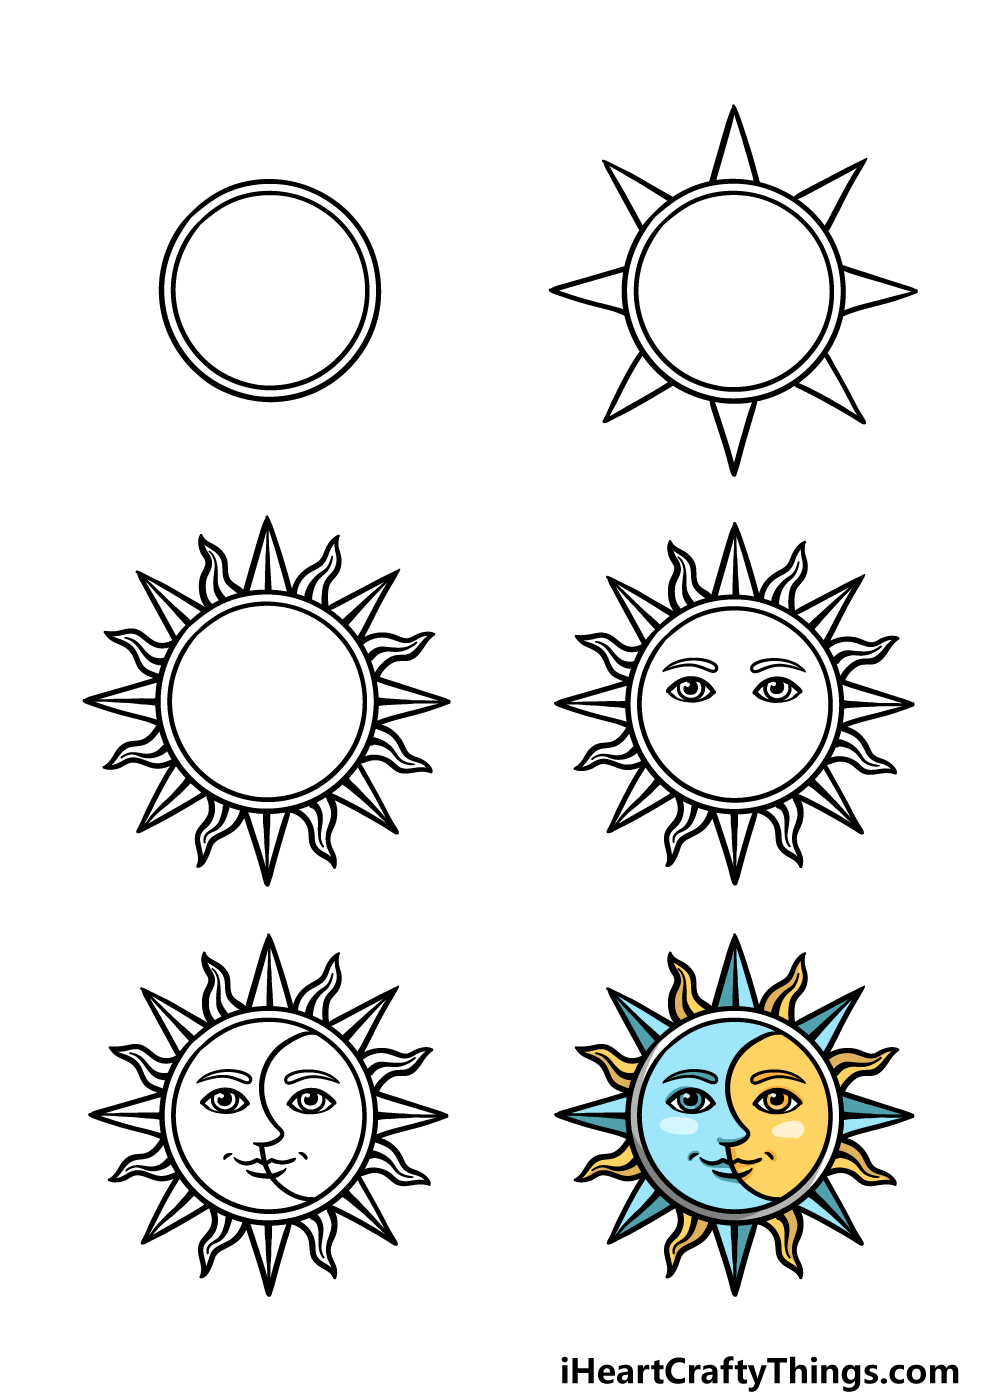
Step 6 – Finish off your sun and moon drawing with some color
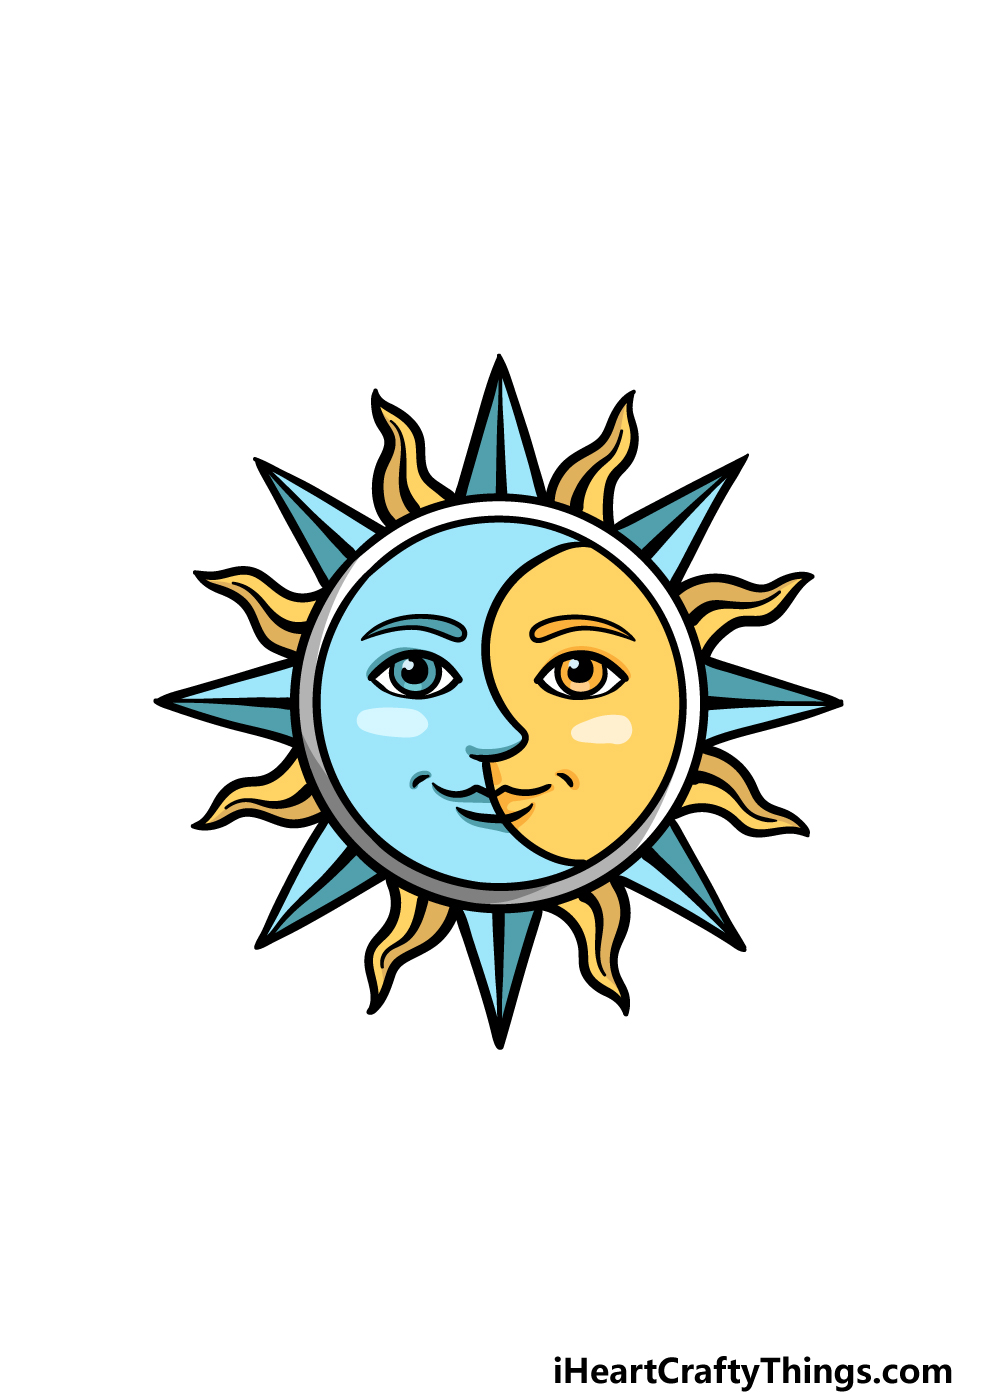
This is the final step of your sun and moon drawing, and for this one you will be finishing off with some amazing colors!
The colors are what will really finish off the effect of the picture, and in our reference image we used some pretty blues and yellows. The blue represents the cooler side of the moon with the yellow nice and warm for the sun.
You could go for these colors or try some variations of them, but you could also use some unique colors of your own! What colors, art tools and mediums will you use to bring this drawing to life?
5 Tips To Make Your Sun And Moon Drawing Even Better!
Here are a few tips on how you can make your sun and moon sketch even greater!
We love the facial design of this sun and moon sketch we have created, but you could also give it a new one.
There are so many different styles you could draw the face in, and you could create different expressions.
The face could be looking angry, surprised or even happier for a few ideas! What styles and expressions can you think of for this face?
The design of this sun and moon drawing looks great on its own, but you could also add some additional objects and designs.
For instance, maybe you could add some stars drawn in a similar style beside the sun and moon.
If you were to add these, they could even have facial expressions like the sun and moon. That would be a great way to bring a new dimension to this page.
Another way you could potentially make your drawing of a sun and moon even better would be by extending the design. For instance, you could make the curly details around the outline even larger and rounder.
Changes like this can be minor, but they can really help with making the image even more unique!
Adding extra details and effects is another fantastic way to make this drawing even better. These could include many different details.
For some ideas, you could use the side of the design that has the sun and add flames and vibrant shapes. Then, for the moon side you could add snowflakes, ice cubes and softer shapes.
This final tip we have for your sun and moon sketch ties in nicely with the previous one! We would suggest really using your colors with purpose as you finish off.
When you have chosen your colors, you can also enhance them with the kinds of art tools and mediums you use.
Mixing mediums like colored pens, markers and paints can also help to make your color details pop!
Your Sun And Moon Drawing is Complete!
That will conclude this guide on how to draw a sun and moon! We hope that this guide made it easy and lots of fun for you to complete this awesome drawing.
By breaking it down into smaller, more manageable steps it can be made so much easier to tackle a new drawing like this.
Now you can take this drawing to the next level by adding your own details, background elements and amazing colors. Be sure to get creative as you have fun with it and see what you can come up with!
Don’t forget to keep visiting our website, as we upload tons of amazing guides for you to enjoy.
We would be thrilled to see your sun and moon drawing when it’s complete, so please remember to share it on our Facebook and Pinterest pages.