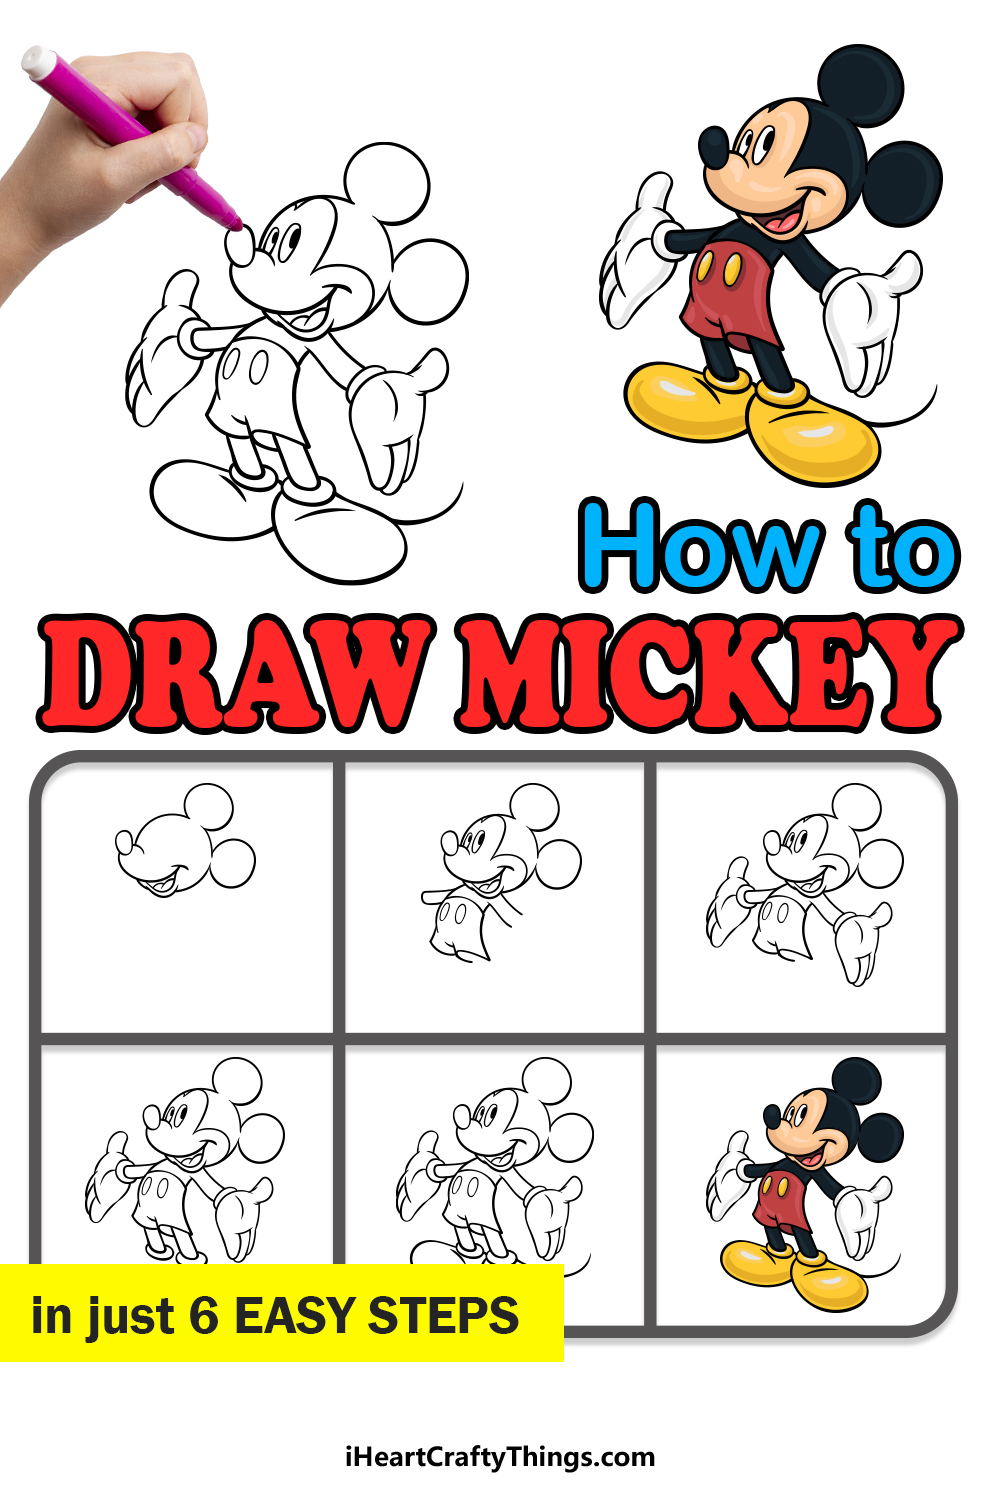
Find out the secrets to learning how to draw Mickey with this fun guide for kids! Anyone can recreate this icon of animation by following the steps.
Mickey Mouse may be the most famous cartoon character to ever exist. Even though almost everyone recognizes him, not everyone knows how to draw him.
It can be surprisingly difficult to get right, but that’s why I have this guide for all Mickey fans out there. Here you will be guided through the steps to creating iconic aspects of Mickey such as his ears, gloves, pants and friendly facial expression.
It would also be fun to add some of his friends like Donald or Goofy once you have mastered the process of drawing Mickey! It’s easier than you think to draw him, so let’s take on this challenge together.
Easily Create Your Mickey Drawing By Watching This Guide!
How to Draw Mickey – Let’s Get Started!
Step 1
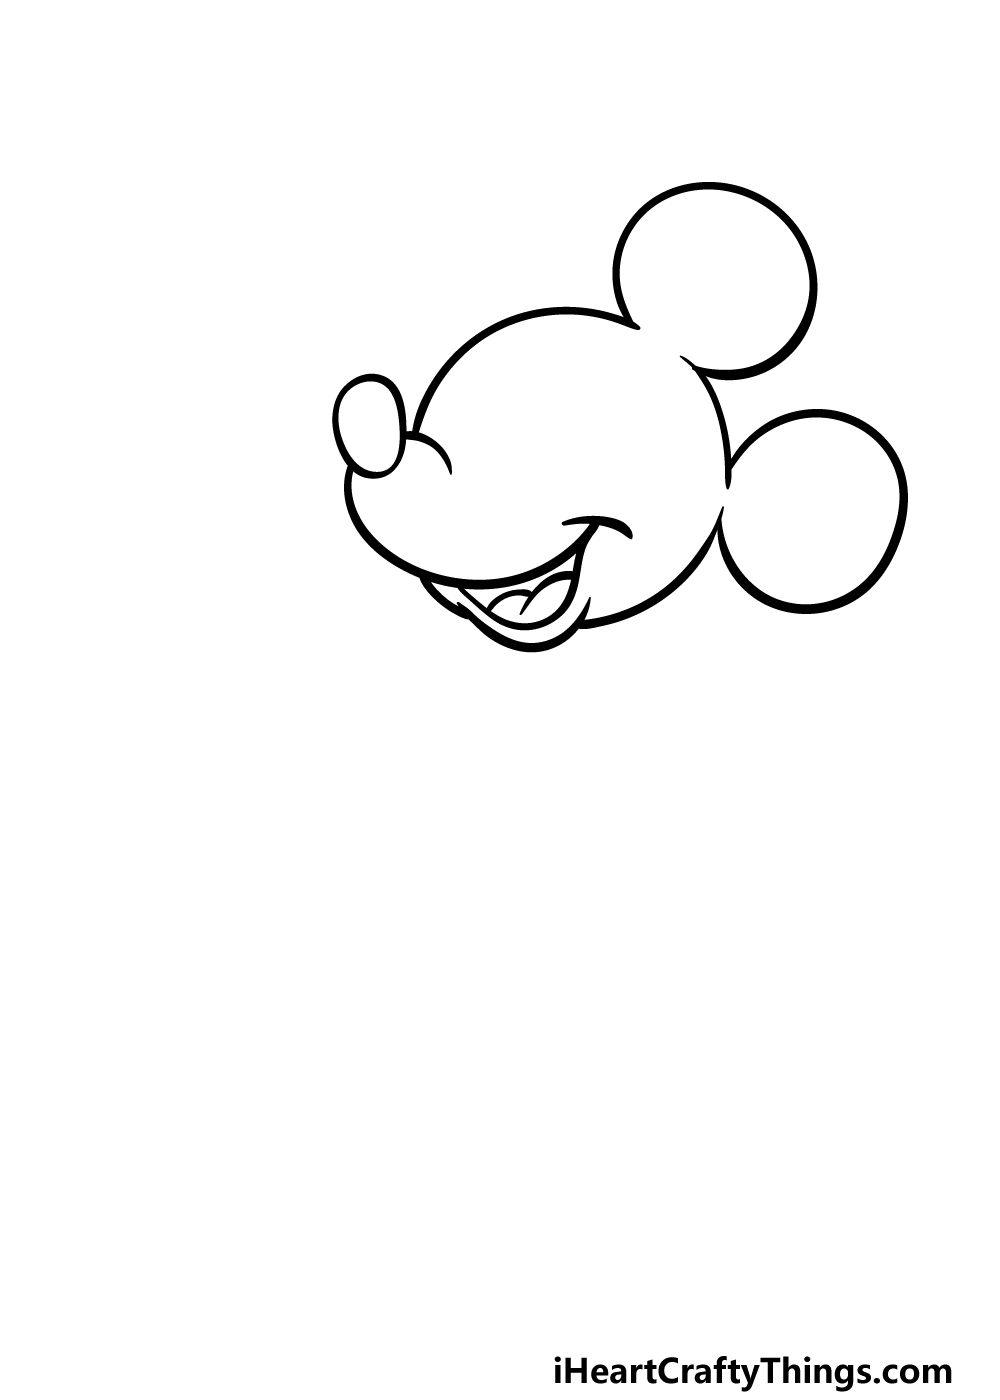
In this guide on how to draw Mickey, we will be depicting his classic modern design. To do this, we will first be drawing his head and face outline, as this is the most recognizable part of his design.
Start by drawing a small, rounded oval shape for his nose. This will be attached to some rounded lines for the top of his muzzle and his smiling mouth beneath.
You can then use some more rounded lines for his open mouth beneath that and then draw his tongue inside.
Then, we will be drawing the most iconic aspect of Mickey; his ears! His ears are really rounded and almost circular in shape, and they will go on top of his head, attaching to some rounded lines.
Once you have finished this outline, you can move on to step 2!
Step 2 – Now, draw some facial details and start his body

To continue this Mickey drawing, we will now be adding not only some facial details but also the start of his body. First, we will begin with his eyes.
These can be drawn using some thin oval shapes for the outlines. Then, we will add some smaller black ovals for his pupils within them.
To finish off his face, simply draw some rounded lines around the face to make it a separate section.
Then, use some curved lines for his arms extending outward. We will add his gloved hands shortly in a future step! Next, use some rounded lines to draw the shorts that he is wearing.
These shorts wouldn’t be complete without his iconic buttons, so you can draw them using some small ovals at the front of his pants.
Step 3 – Draw his gloved hands
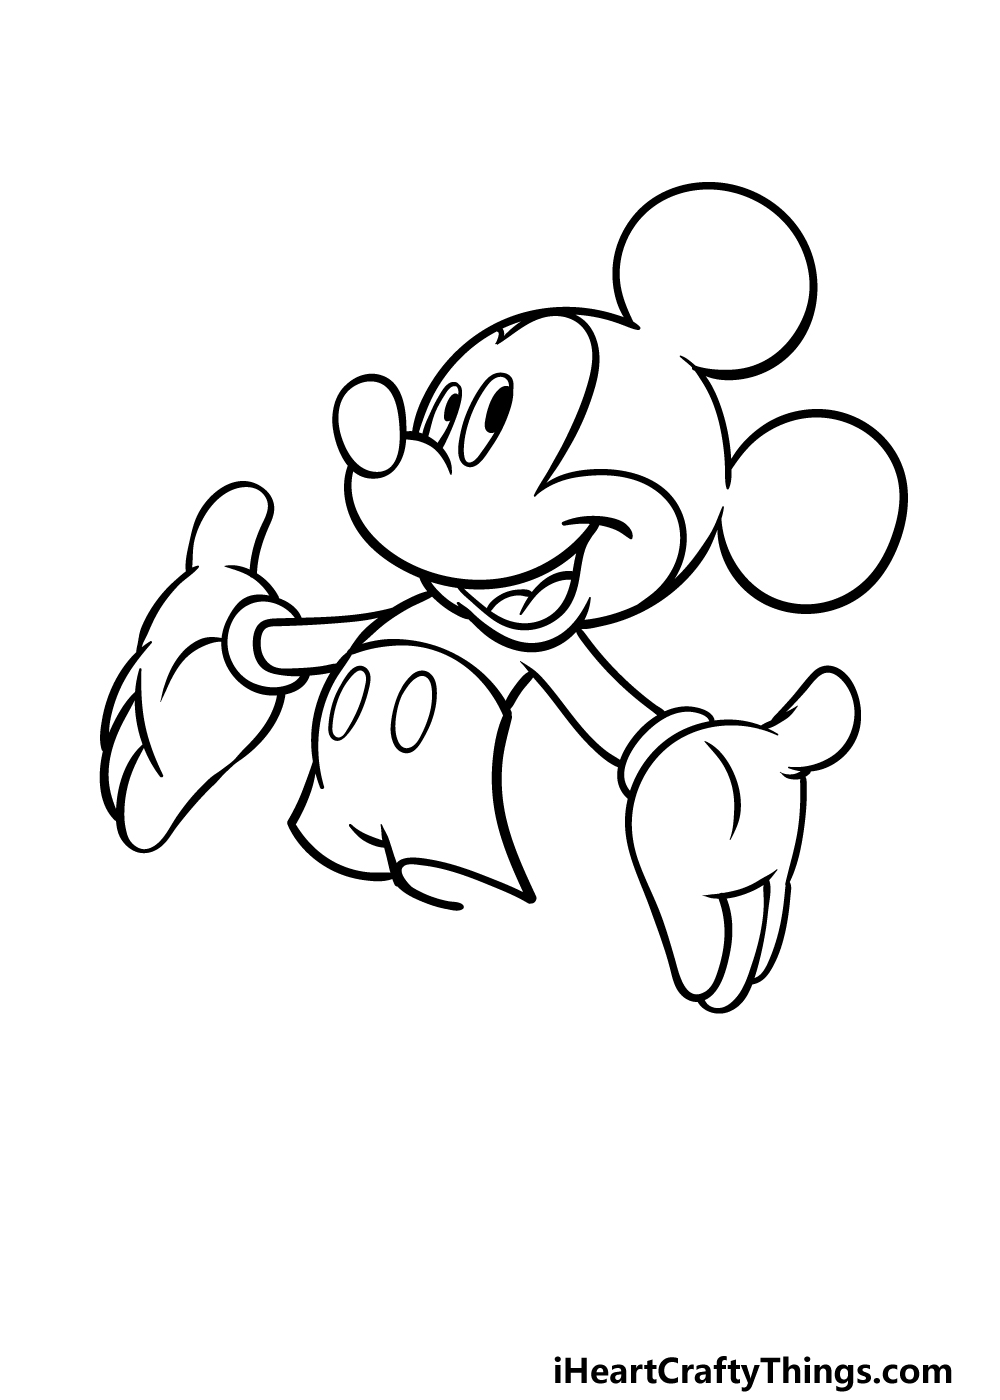
Mickey is almost always seen wearing his big white gloves, and we will be adding these in this third step of our guide on how to draw Mickey.
Each hand will have a rounded rim where the glove attaches to the arm, and then you can use some more curved lines to have them extending out.
The hands can be a little tricky to draw, so this is a step where you may want to work closely with our reference image as you try to replicate what we show there.
Once the hands are there, you will be ready for step 4 of this guide.
Step 4 – Next, draw the start of his legs
This fourth part of your Mickey drawing will see you beginning his legs as we move to the final few elements and details of this drawing.
Extend some very slightly curved lines down from the legs of his pants to begin them. These lines will have some slightly rounded bases to create the shapes of his legs.
To finish off this part, we will then be drawing some more rounded rims at the base of his legs, as shown in the reference image.
Once the legs have been drawn, we will proceed to the fifth step of the guide, and this will be where you finish up the final details and elements of this drawing.
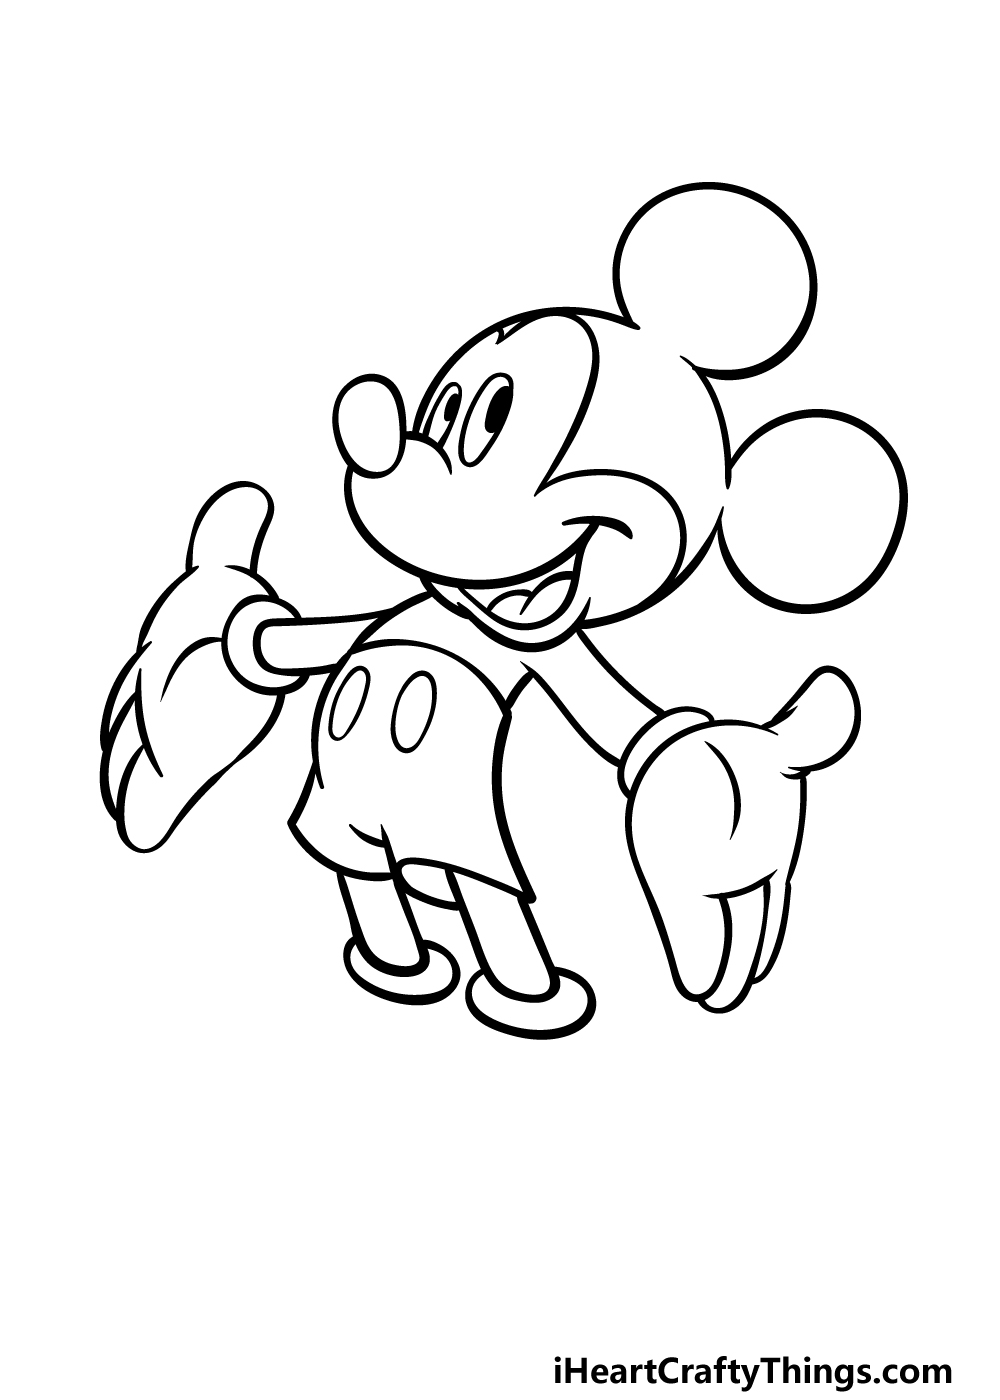
Step 5 – Add the final details to your Mickey drawing
Now you’re ready to finish up the final details and elements of this guide on how to draw Mickey.
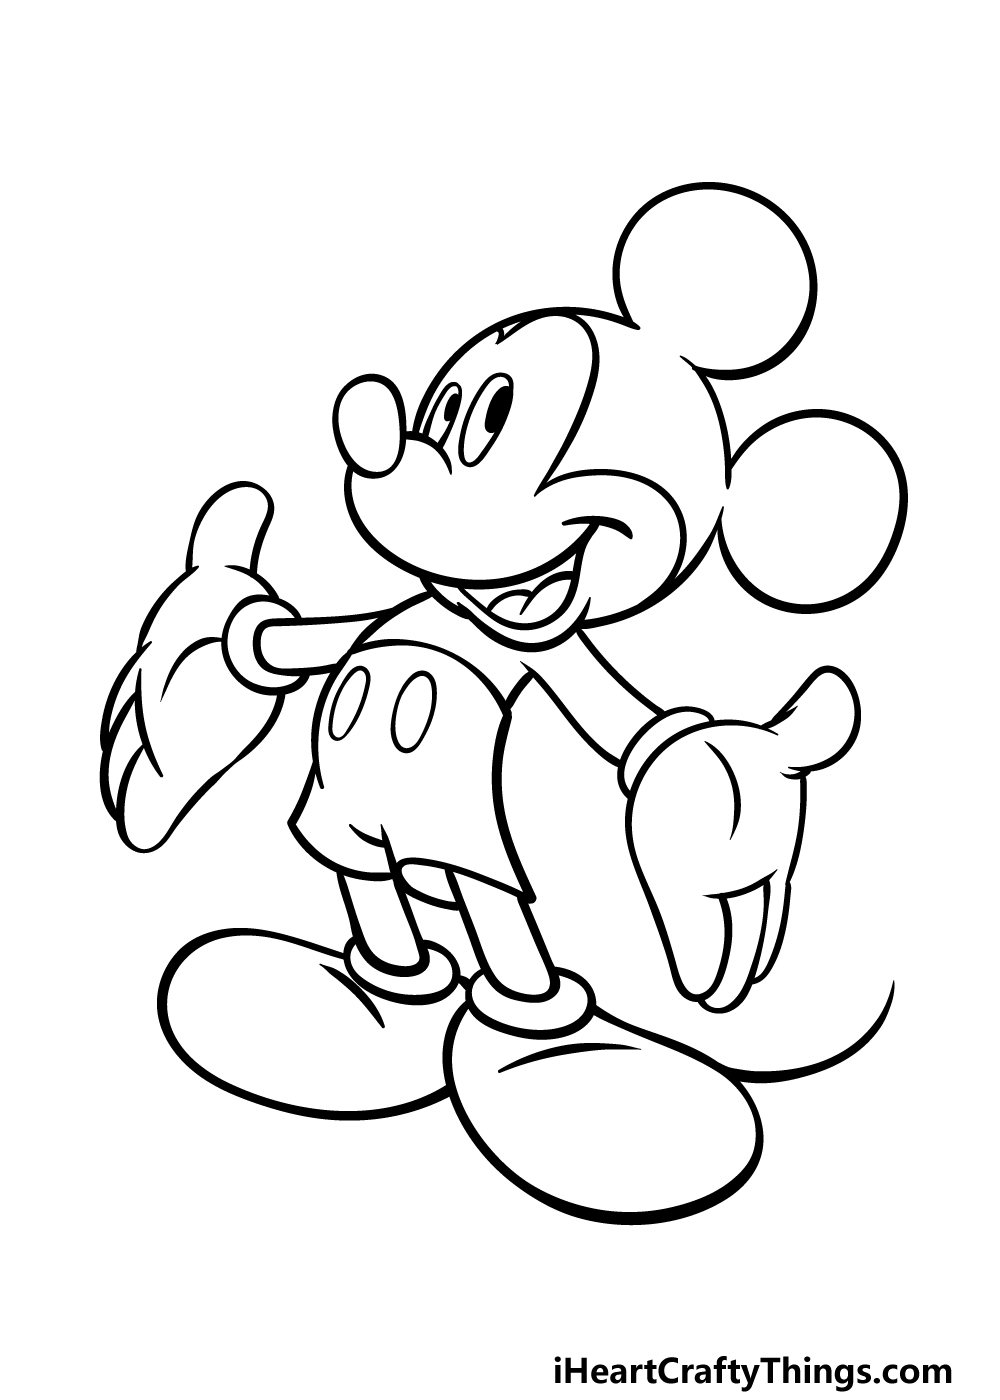
Once these final touches have been added, you’ll be ready for the final step where you can color him in! For now, we will be drawing his famous shoes.
These will attach to the rims at the base of his legs, as shown in the reference image. His shoes are quite large and very rounded, and the backs of the feet will be up against each other.
You can finish off his shoes by adding a curved crease line to the top.
The final element of this drawing will be to add a thick curved line coming from the back of his shoe on the right for his tail lying on the floor.
Before moving to the final step, you could also add some fun elements such as a background or maybe other Disney characters! What can you think of to finish off this image?
Step 6 – Finish off your Mickey drawing with color
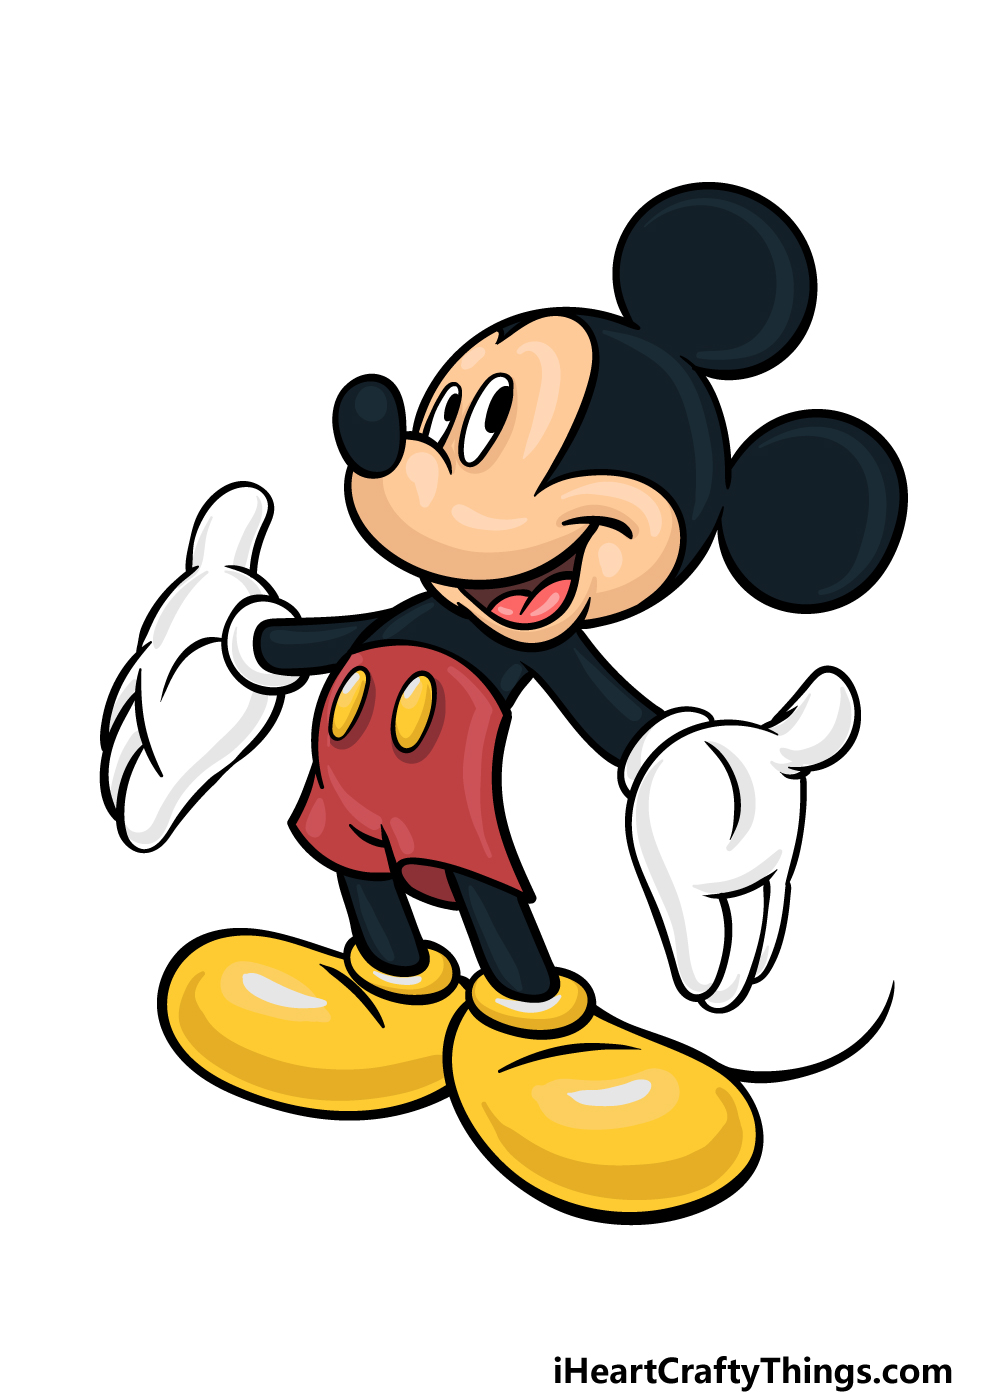
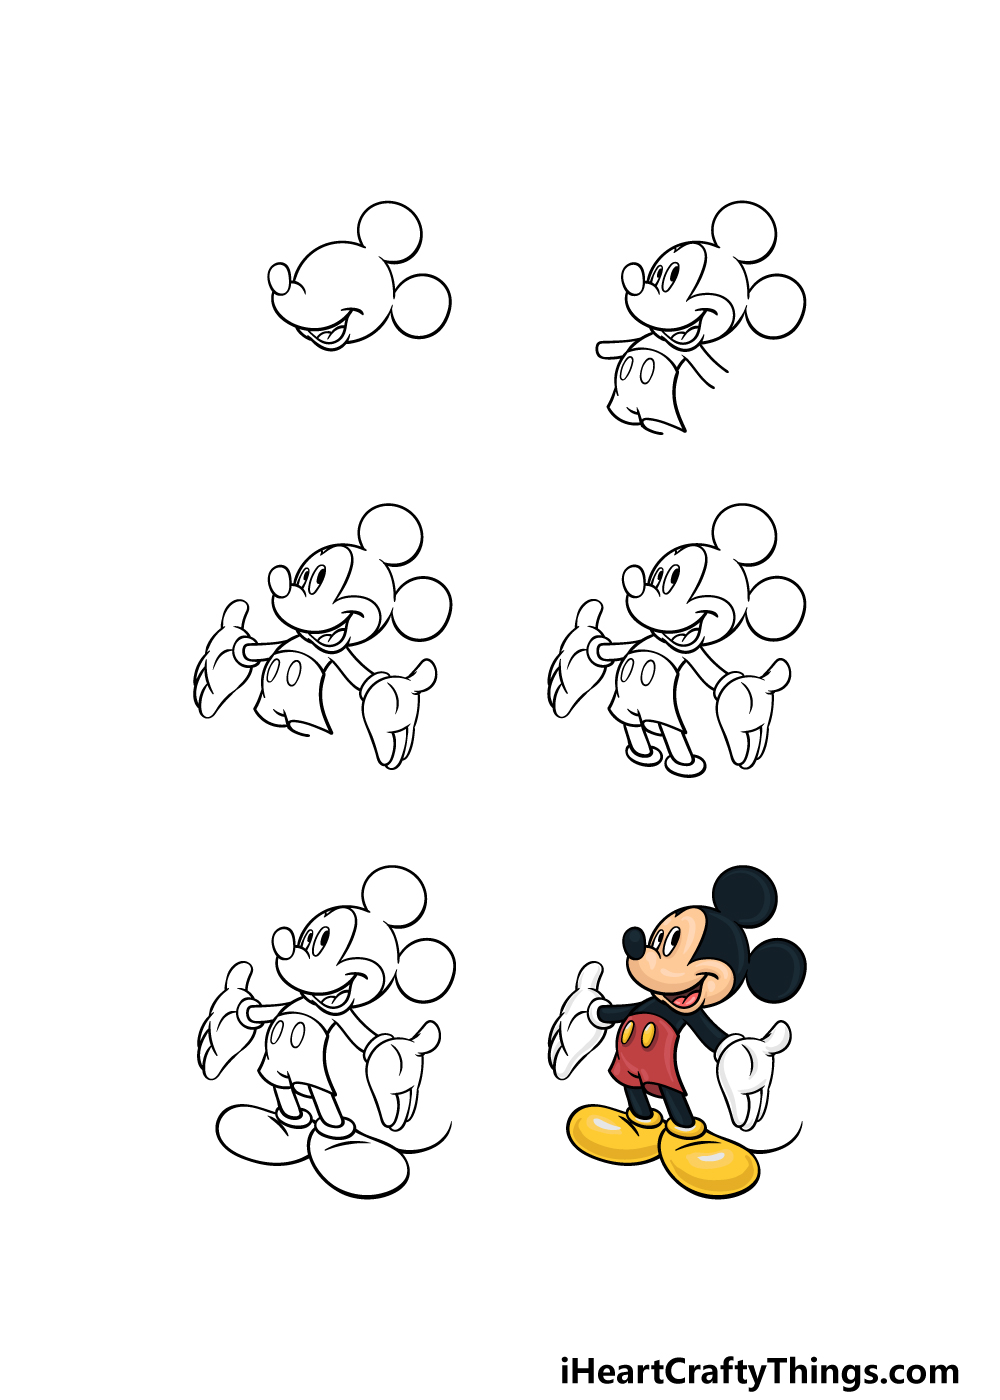
It’s time to finish off this Mickey drawing with some colors! In our reference image, we went with the classic colors that Mickey is almost always seen with.
This means using some beige for his face, black for the rest of his body, white for his gloves, red for his pants and yellow for his shoes and pants buttons.
You can use this reference image to help you as you color, but feel free to also use any other colors you think would finish off this image nicely!
3 More tips to make your Mickey drawing easy!
Make this iconic character even easier to draw with these tips for your Mickey sketch!
This drawing of Mickey may look quite detailed and complex, but you can simplify it by breaking down his design. This is actually something even the artists who draw Mickey officially will do!
First, get a pencil so that you can draw some basic shapes. Then, try to break down his design into simple shapes.
There are circular shapes for his head and ears with thinner ones for his limbs and body. Drawing these simple shapes with your pencil will make it easier as you start to add finer details.
Do this by using more and more layers of detail until you’re ready to add the final pen lines.
This Mickey drawing shows him portrayed in his modern incarnation. This is how he will appear in most appearances today, but he has gone through many design changes throughout the years.
Some of these designs are much simpler than this one, so you could change this portrayal to match one of those simpler designs. You can search some of these designs online to help you.
For example, his very first cartoon appearances were much simpler in detail and proportion, so that could be a good style to use for this picture.
It could also depend on which animation design appeals to you more!
Continuing on from our last point, you can make this Mickey sketch easier by referring to as many sources as possible. First, pick the style you would like to use when drawing Mickey.
Let’s say that you want to stick with the style we used in the guide. If so, try to find other pictures online of him drawn in this particular style.
The poses don’t have to be the same as the one in our guide, as you will be using it to portray smaller details.
You could use these alternative sources to aid you in creating new poses for Mickey as well!
This will work no matter what style you choose for Mickey, too!
Your Mickey Drawing is Complete!
That brings you to the end of this guide on how to draw Mickey!
This is such a beloved character, and we hope that this guide made it easy and fun for you to learn how to create a great portrayal of him.
Don’t forget that you can also add your own fun details, additions, ideas and even color choices to really personalize this image!
When you’re ready for more, you will find your next awesome drawing guide to enjoy on our website. We have a huge selection for you there with more on the way soon.
Finally, when your Mickey drawing is complete you can share it on our Facebook and Pinterest pages for us to see and enjoy!