For lovers of beautiful flowers, there is a seemingly infinite variety to choose from. Whether you prefer the bold statement of a rose or the elegance of a lily, there’s something for every taste.
The magnolia flower sits somewhere in-between these two extremes, as it has a large structure with wonderfully subtle colors and elements.
For that reason, people love to feature them in artworks, and learning how to draw a magnolia flower will allow you to do that as well.
Make sure to read through every step of this guide to see how you can also recreate this amazing flower!
This step-by-step guide on how to draw a magnolia flower will show you how fun and easy it can be to do just that.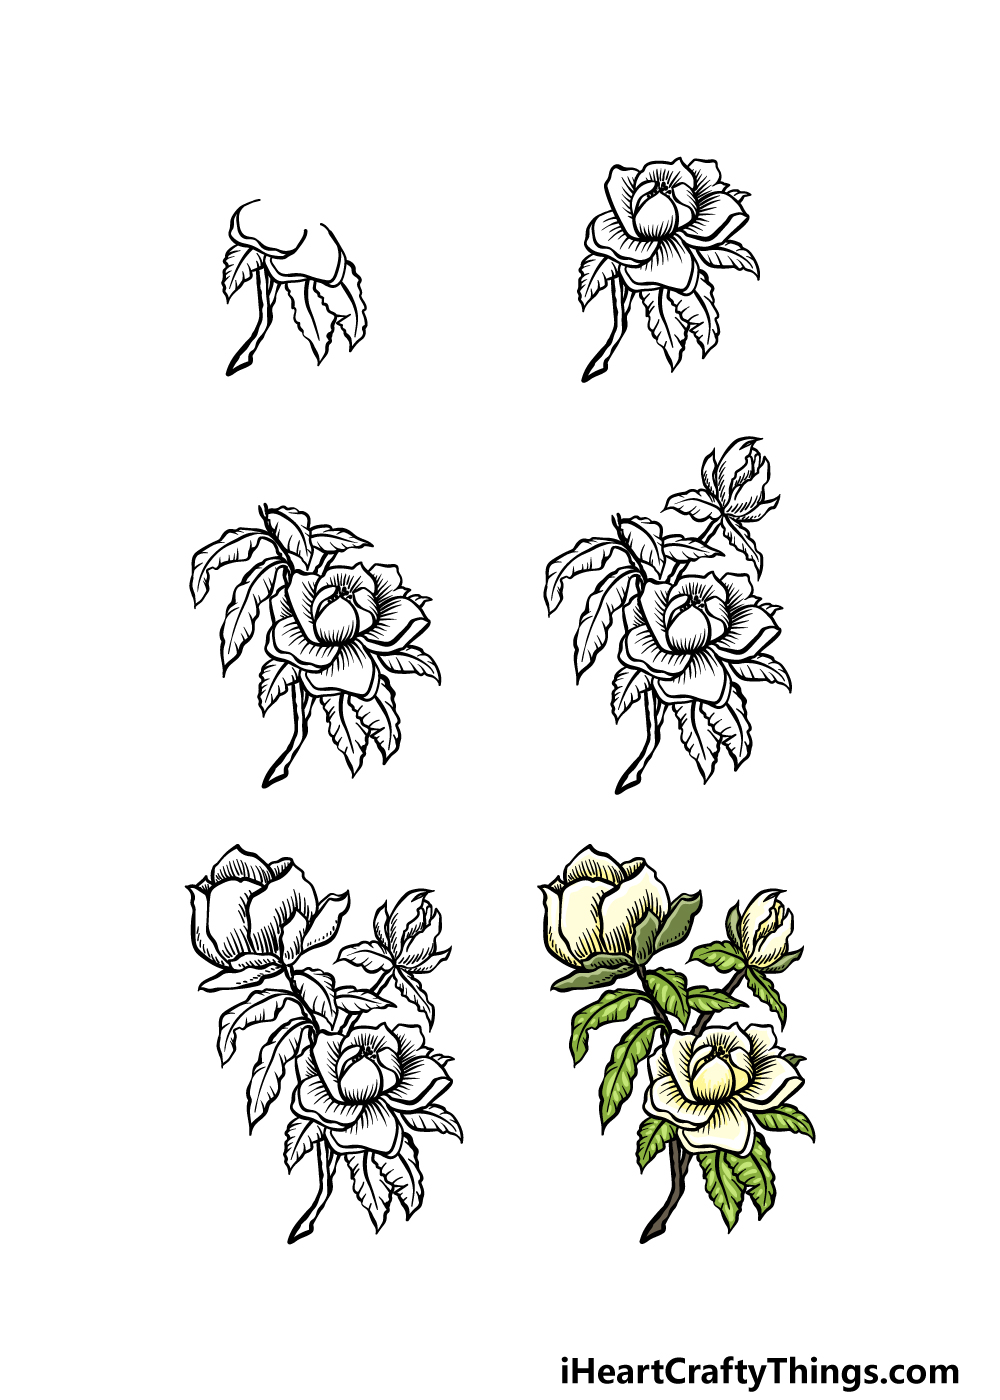
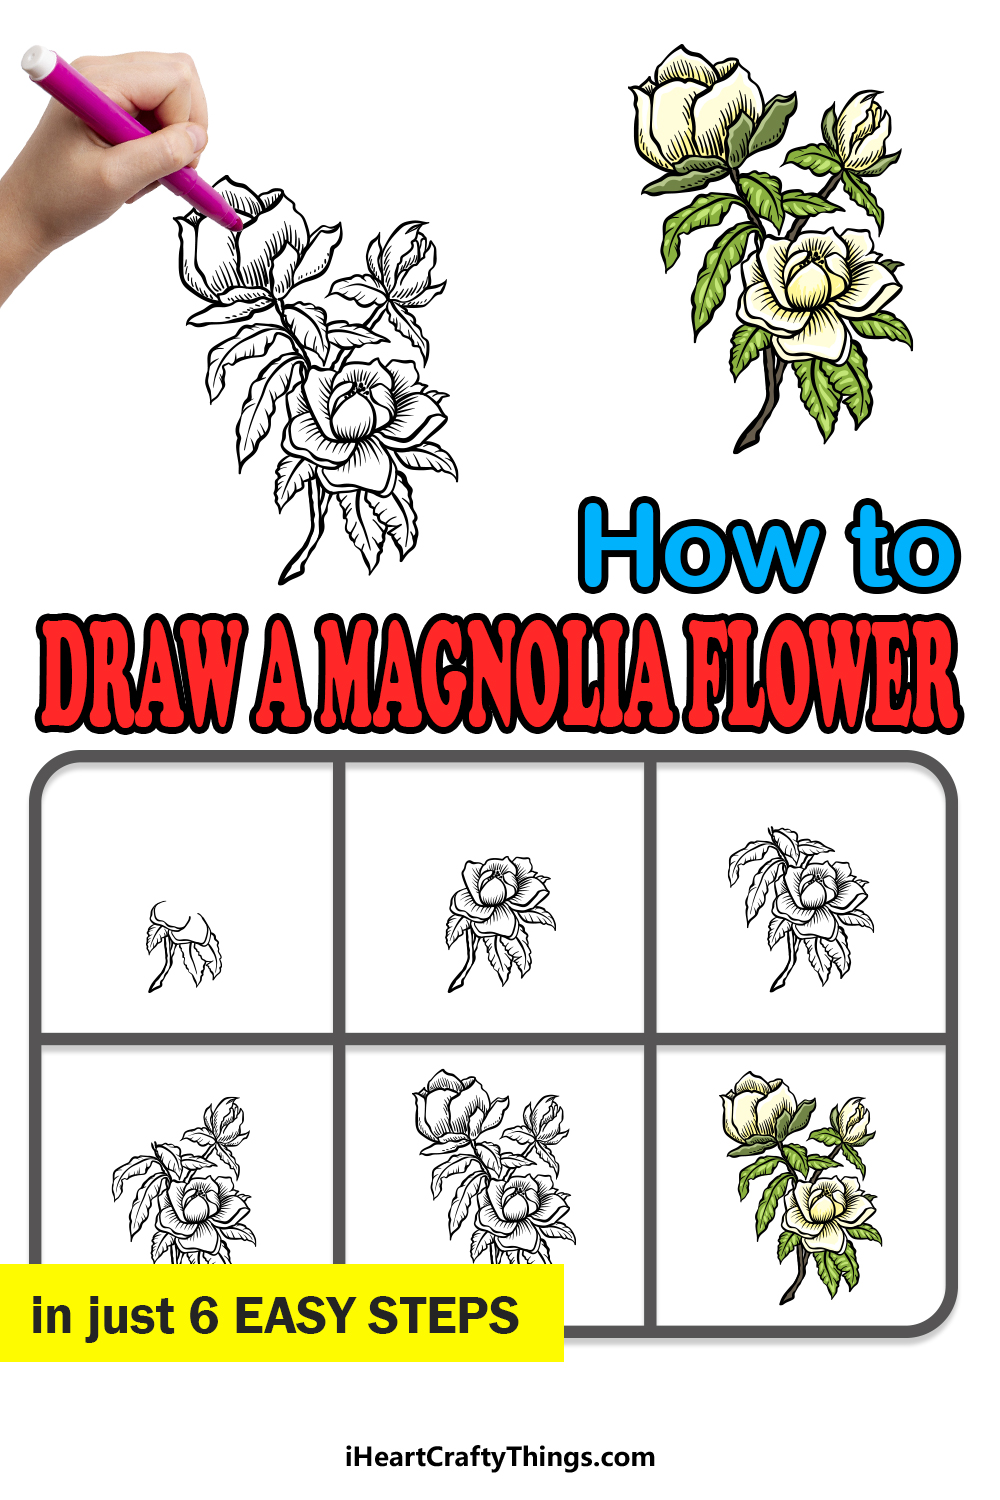
How to Draw A Magnolia Flower – Let’s Get Started!
Step 1
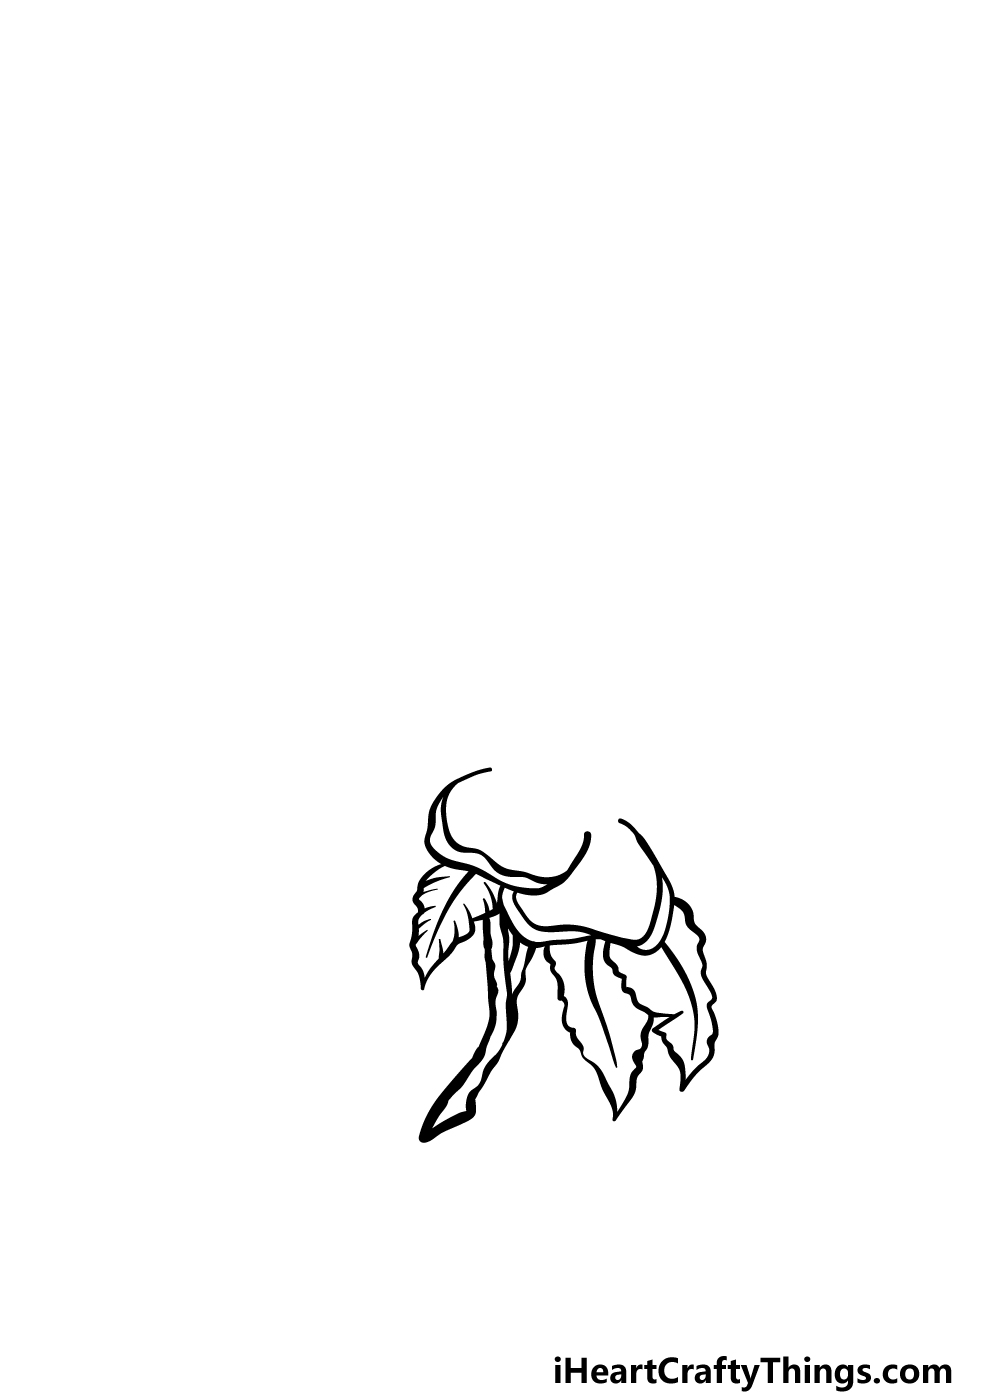
In this first part of our guide on how to draw a magnolia flower, we will start with the stem and the first leaves of the flower.
You can draw the stem with a thick, bumpy line forming a sharp angle like the stem in our reference image.
Then, you can draw the first leaf poking off of the bottom of the flower. The leaf will have a rough rounded outline with a pointy tip.
Then, you can draw some line details on the edges going in and then draw a central vein for the leaf.
Finally for this step, draw two large, rounded petals above this leaf. The final thing to draw will then be two more leaves on the right-hand side.
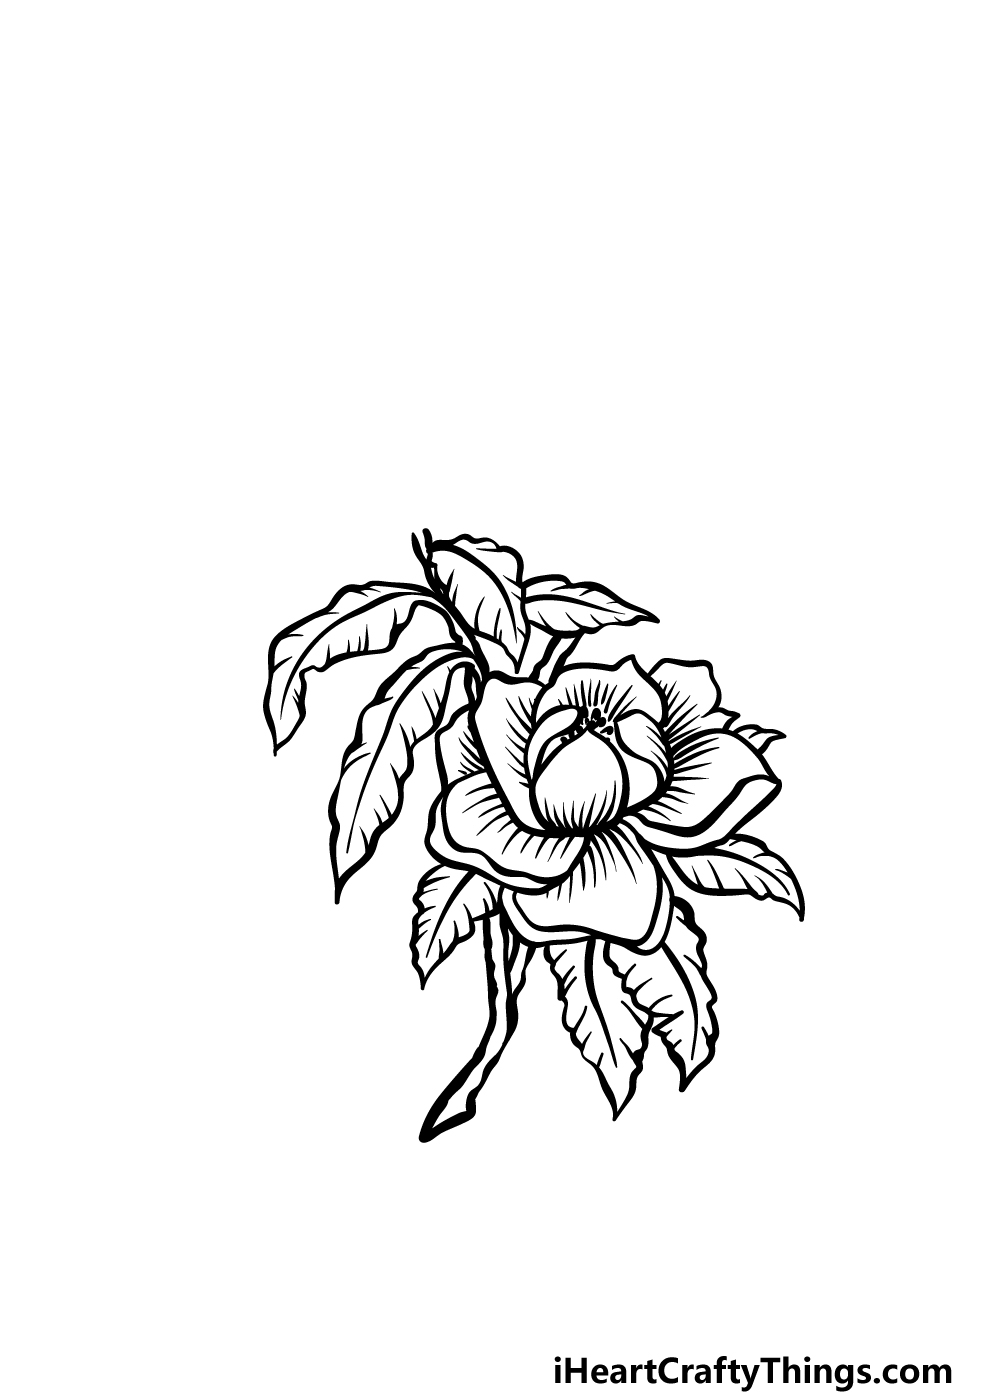
Step 2 – Now, draw the rest of the first flower and add some leaf details

You will be drawing the rest of the first flower in your magnolia flower drawing in this next step. This will be built onto the petals that you drew in the previous step.
This flower is made up of several petal layers, so try to build on the individual petals that you see in the reference image to create the entirety of the first flower.
Once you have drawn that first flower, we can then move on to the leaves that you drew in the last step.
Simply add some more line details onto the leaves, and then you’re all set to move on to step 3!
Step 3 – Next, draw more leaves on a stem
Continuing on with this guide on how to draw a magnolia flower, we shall be adding some more leaves on a stem.
These leaves will be longer and thinner than most of the other leaves that you have been drawing so far in this guide.
Other than those details, they will look essentially the same! These leaves will all connect to a central stem that extends from the top of the flower head.
This stem will not be super visible, but it will be drawn with the same thick, bumpy line that you used for the main stem.
Finally, start drawing another stem poking up as well, but try to keep it short as we will be adding a flower onto it shortly.
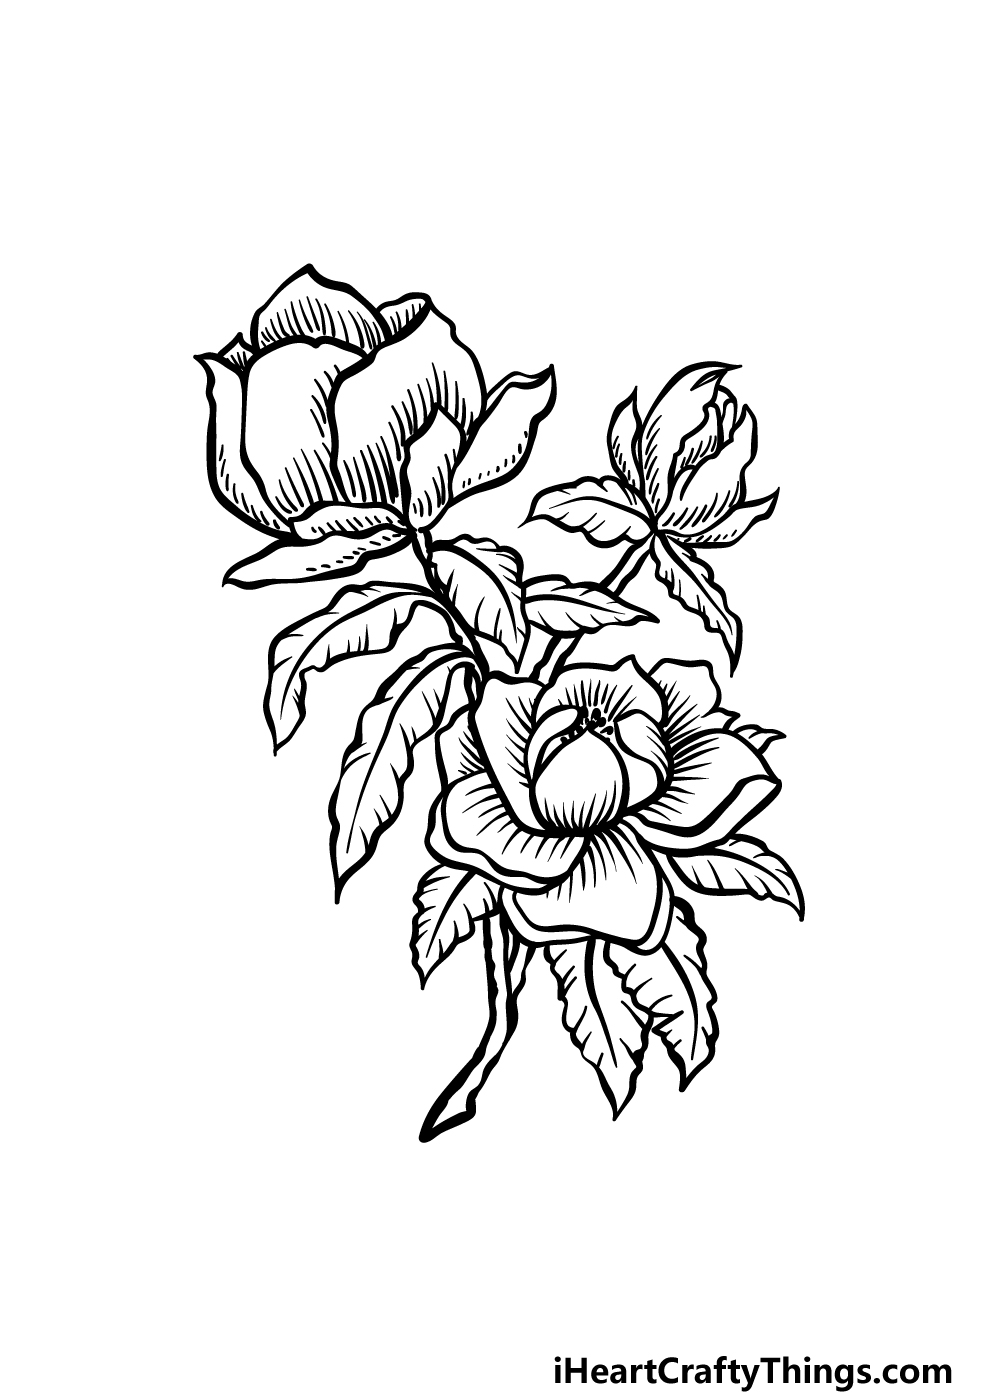
Step 4 – Now, draw another flower onto the stem
This magnolia flower drawing of yours is looking great already! For this and the next step, we shall be adding a few more flowers to the picture to really finish it off.
For now, we will be adding a flower onto the short stem that you drew in the previous step.
This one will also have some leaves at the base and have layers of petals, but it will be smaller and thinner than the other flowers.
Then it will be on to the final details in the next step!
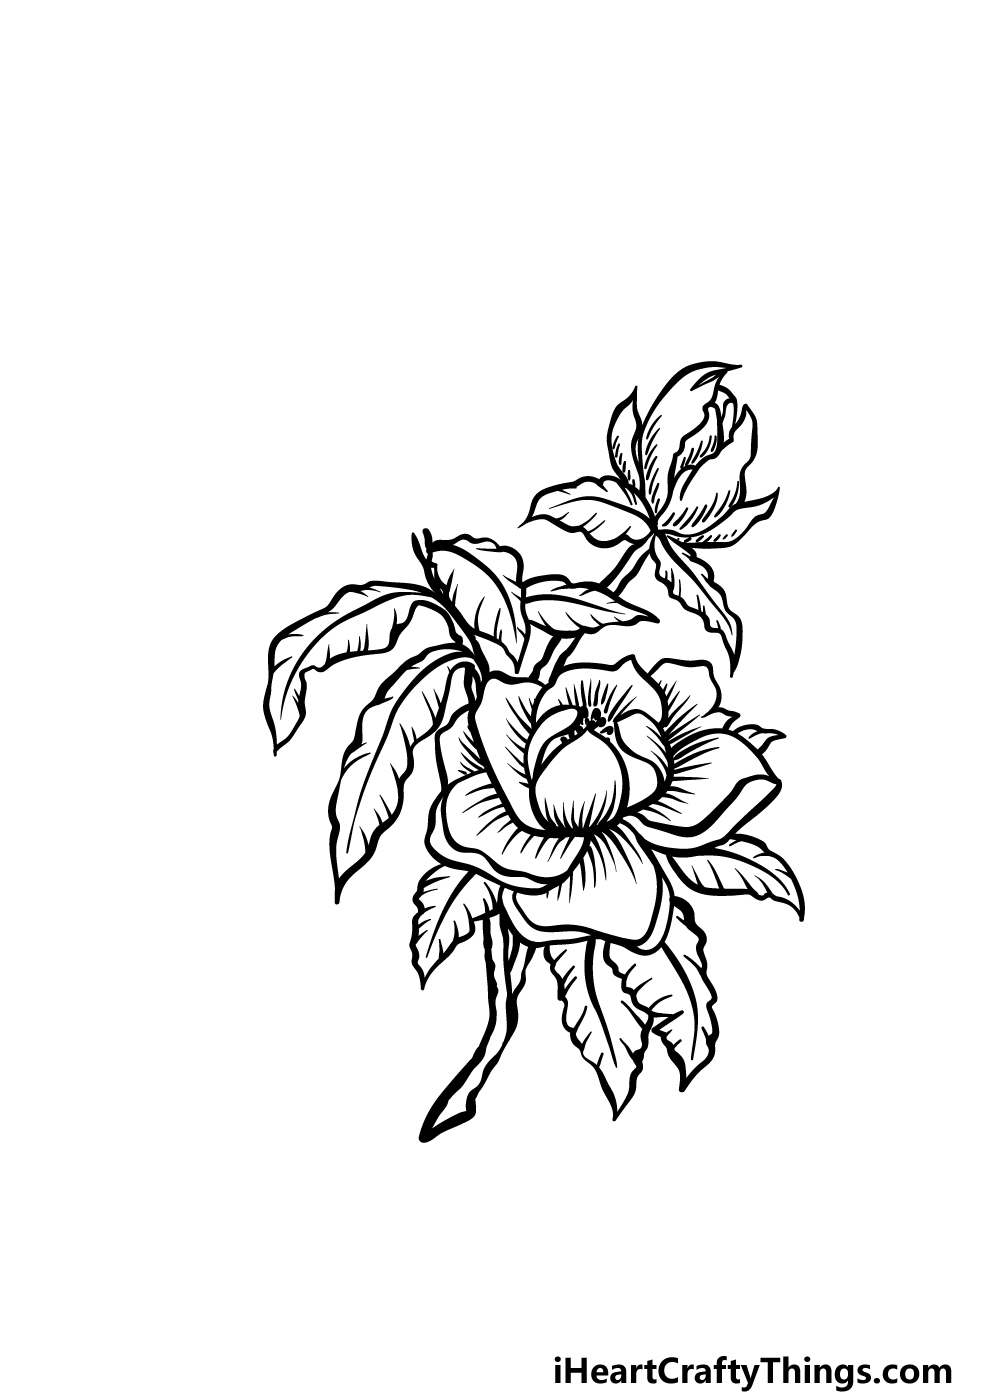
Step 5 – Add the final details to the magnolia flower drawing
To finish off the drawing in this guide on how to draw a magnolia flower, we shall finish it off by adding one more flower onto the stem.
This will have you ready to color your beautiful drawing in the final step! For now, draw one more flower onto the main stem.
This one will also look a bit different to the first flower you drew, as it is at a different angle to that one.
This flower is about as large as that first one, but it will be more rounded as we’re viewing it from the side. This also means that we won’t get to see the interior of this one.
Once you have drawn this flower, feel free to add your own elements or background ideas to finish it off and put your own spin on it!
Step 6 – Finish off your magnolia flower drawing with some color
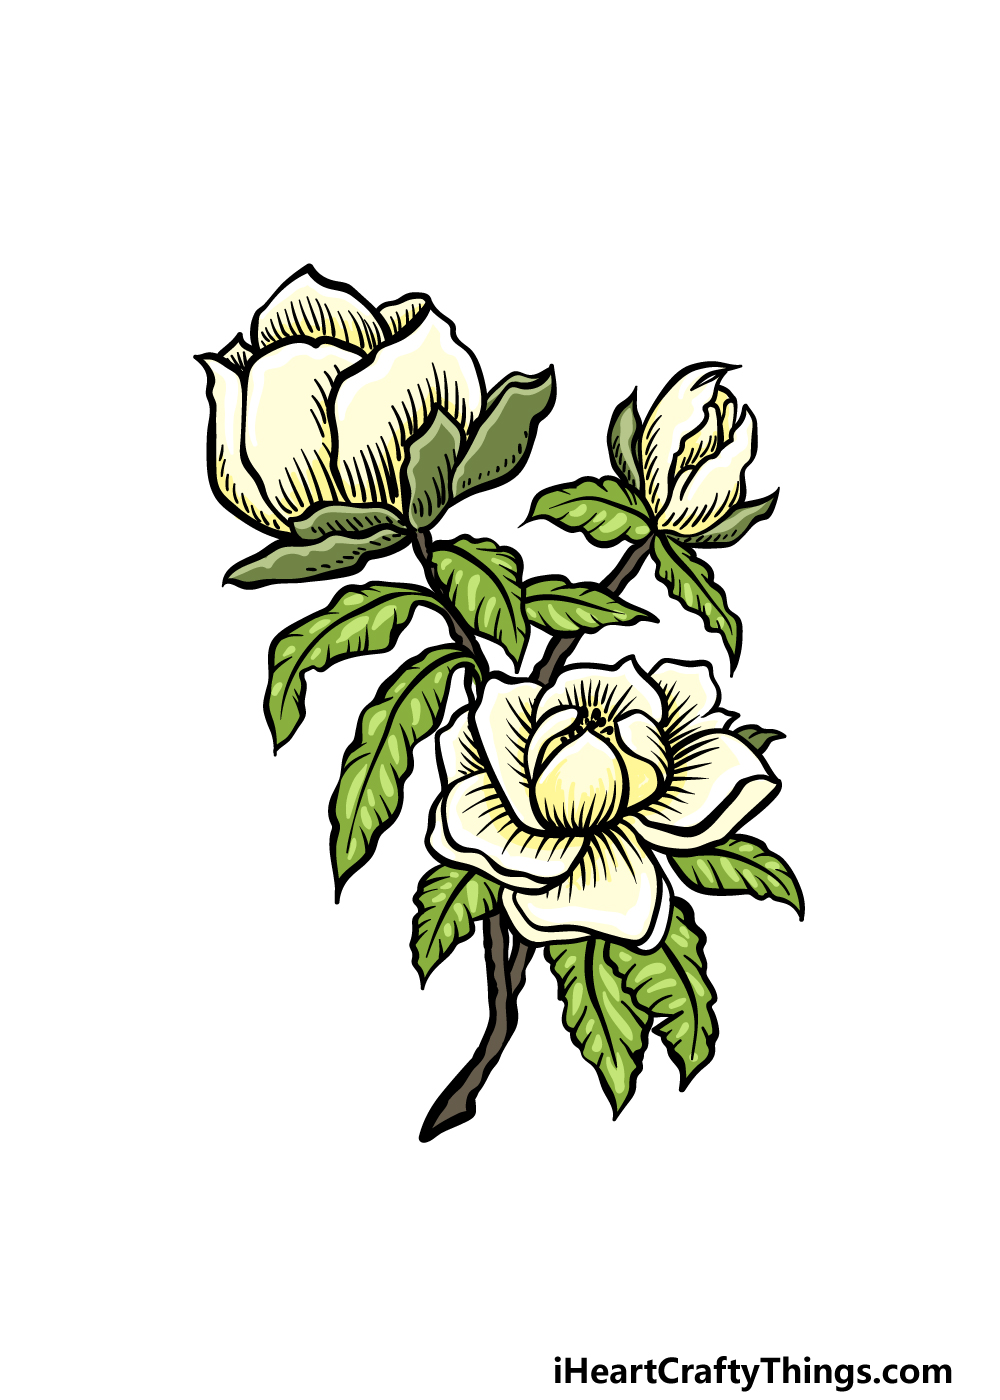
We mentioned in the introduction that this flower has a wonderfully subtle color to it. That is what we went with in our example image for this magnolia flower drawing.
That means that we used some soft yellows for the petals of the flowers, and then we used some greens for the leaves and stems.
If you love this color scheme, then be sure to use them for your own image! You could also incorporate some unique colors of your own if you prefer as well.
It can also be fun to experiment with various art tools and mediums, so have fun getting creative with it!
4 More Ways To Make Your Magnolia Flower Drawing Unique
Make your beautiful magnolia flower sketch look even better with these 4 tips!
This drawing of a magnolia flower shows a small bunch of these beautiful flowers. If it’s not enough for you, you could add some more of these flowers to this branch!
Now you know how to draw this flower, you could add as many as you like. When you add some more, try to incorporate small changes so that each one is unique.
How many magnolia flowers do you think you would want to add to this image?
If you want to add more flowers, you don’t have to stick to just magnolias. In fact, you could add any flowers you like! The flowers you add could be growing around the magnolia flowers.
Or, you could take the magnolia flowers off the branch and have them as part of a flower arrangement or a bouquet. The flowers you add would depend on what you love the most!
If you need some help drawing these additional flowers, you can look up pictures online to help you.
Whether you add more flowers to your magnolia flower drawing or not, it would be great to add a background. What that background would be would depend on you!
For example, the magnolia flowers could be growing in a lush garden. Perhaps you have a location near where you live that you could use as inspiration.
Or, they could be part of a wedding flower arrangement. What other backgrounds could you portray?
Flowers are a wonderful thing to behold, so adding a human character to this magnolia flower sketch could be a great way to finish it off!
For example, this character could be enjoying the wonderful aroma of the flower.
If you were to add a character, then basing it off someone you know would be a great way to personalize this picture. You could even use yourself as a model for this character!
Who do you think you would like to add, and what kind of pose would they be in?
Your Magnolia Flower Drawing is Complete!
You have reached the end of our guide on how to draw a magnolia flower!
It’s easy to see why this is such a beloved flower around the world, and we hope that you had a wonderful time creating this drawing of one with us.
By following the steps in this guide, you should have no problems recreating this amazing flower!
When it’s done, you can also add some details and elements of your own.
We mentioned how you can change up some of the details or add a background, but now you can also choose some ideas of your own! We will be very interested to see what you come up with.
Please remember to check out our website for more drawing guides like this one when you’re done! We also have more on the way soon, so keep on the lookout for those.
You can also let us see your magnolia flower drawing when it’s complete by sharing it on our Facebook and Pinterest pages. We would love to see your artwork!