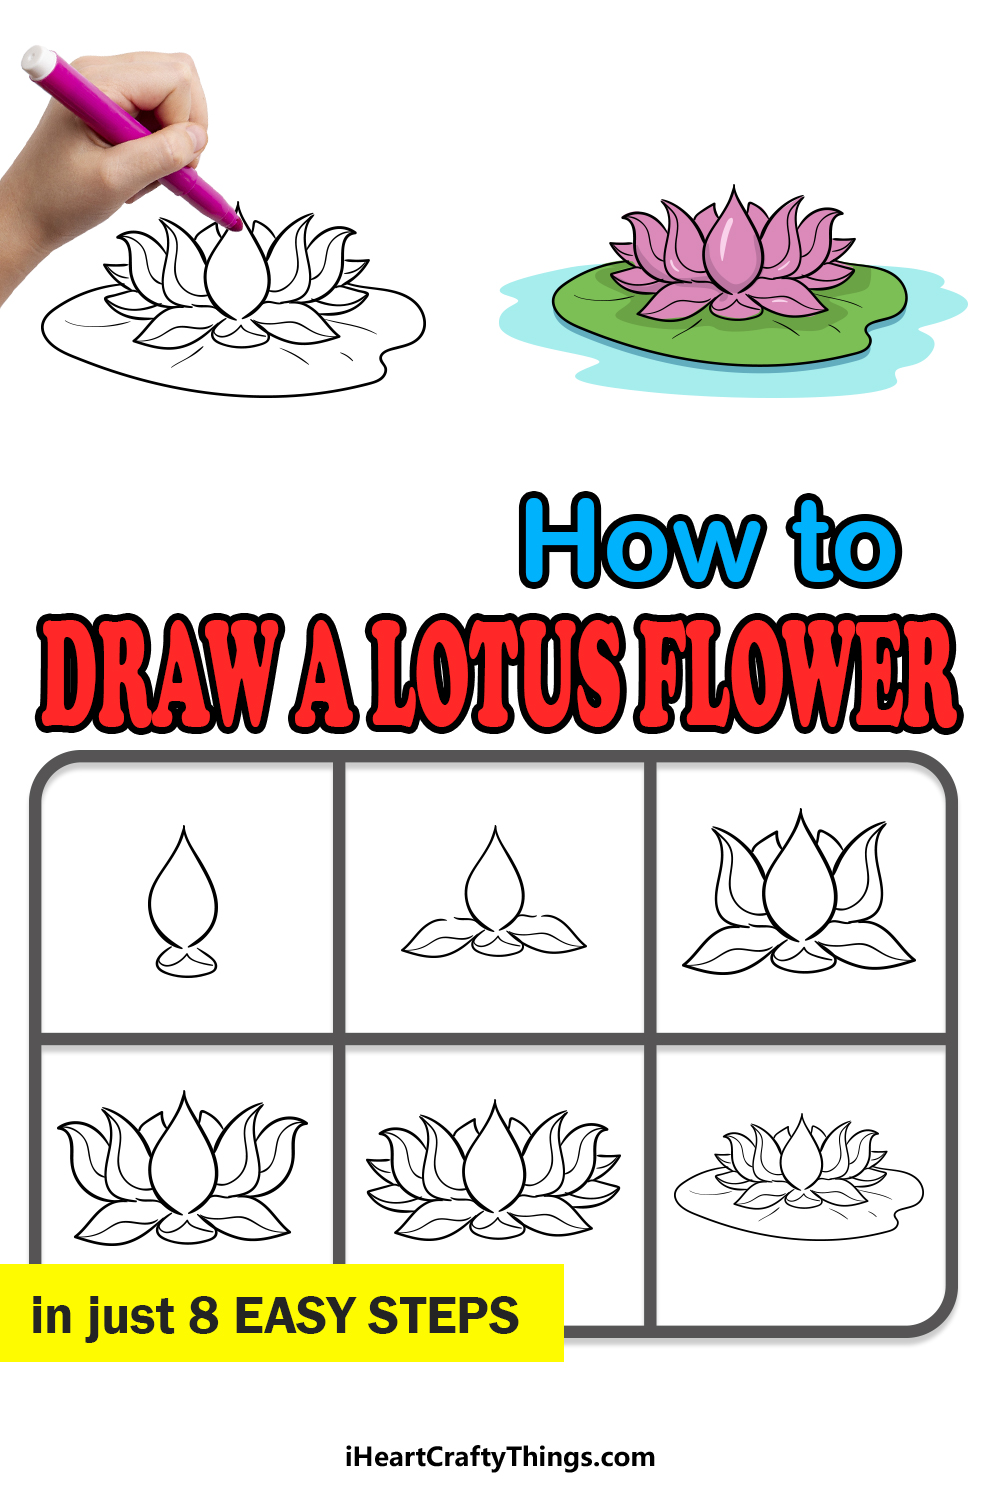
Anyone wanting to learn how to draw a lotus flower will find this step by step guide for kids to be very helpful! Anyone can recreate this gorgeous flower with the help of these steps.
Lotus flowers bring about such a sense of calm and beauty in anyone who sees them. They have such a delicate and unusual appearance as they float gently on the water.
It’s no wonder why people would want to learn how to draw them, but it’s not always easy to know where to start. I wanted to help make it easier for anyone who loves this flower which is why I’ve broken it down for you.
Simply follow along with each step and you will soon see how to build up the drawing. Then, you can take it even further and add a background setting that can make your drawing even more stunning.

Create A Lotus Flower Drawing With These Steps
How to Draw A Lotus Flower – Let’s Get Started!
Step 1

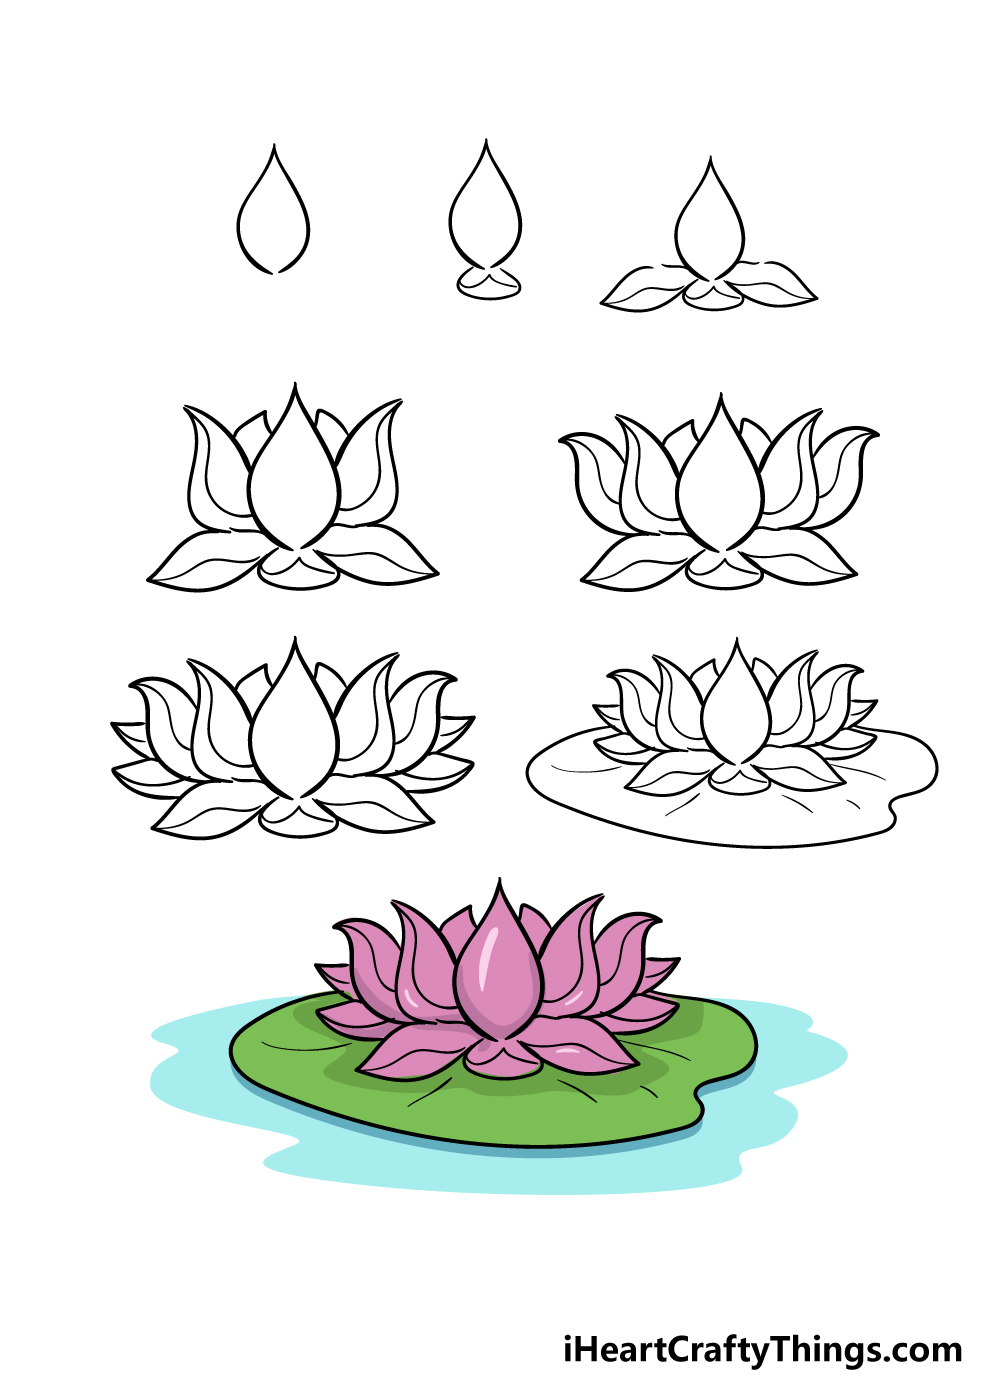
To get this guide on how to draw a lotus flower started, we shall begin with the central petal of the flower.
This petal will be drawn as a tear shape which is shown in the reference image we provided.
This means it will have a sharp point at the top with a rounded bottom. Be sure to leave a very small space right at the bottom of this shape.
Step 2 – Next, draw another petal

We will be adding another petal in this step of your lotus flower drawing. This petal will be flat on the lilypad that the lotus flower is sitting on.
First, draw a curved line underneath the petal from the first step. Then, inside this curved line draw another line inside of it with a tip in the middle of it to show the petal poking up.
Step 3 – Now, draw two more petals

The petals that you will be drawing in this step of our guide on how to draw a lotus flower will also be flat on the lilypad like the previous one you drew, except these ones will be pointing to the side.
You can draw these ones coming off from the central one and the flat petal from the first step.
They will be drawn with some curved lines to form a typical leaf shape, and then they will also have a line inside each one that has a curved point in it.
Step 4 – Next, draw some more vertical petals

This step of your lotus flower drawing will have you building on to the central petals of the flower.
You can draw two more vertical petals coming off from the central one, and these ones will each be pointing outward.
Then, once you’ve drawn these two petals you can draw two more small ones between them and the central vertical petal.
Step 5 – Now, draw even more petals

You’re really getting the hang of drawing petals now! We shall be drawing a few more in this step of our guide on how to draw a lotus flower.
To do this, simply draw a petal coming off each side of the flower and pointing outward as is shown in the reference image.
The tips of these ones will be even more curved out than the previous ones were.
Step 6 – Next, you can finish off the final petals

In this part of your lotus flower drawing, you will be able to draw the final petals in. to do this, simply draw two more petals on each side for a total of four in this step.
These ones will be flat against the lilypad as well and will fill in the empty space on the sides. Then, it’s on to some final touches in the last two steps!
Step 7 – Draw the lilypad in this step

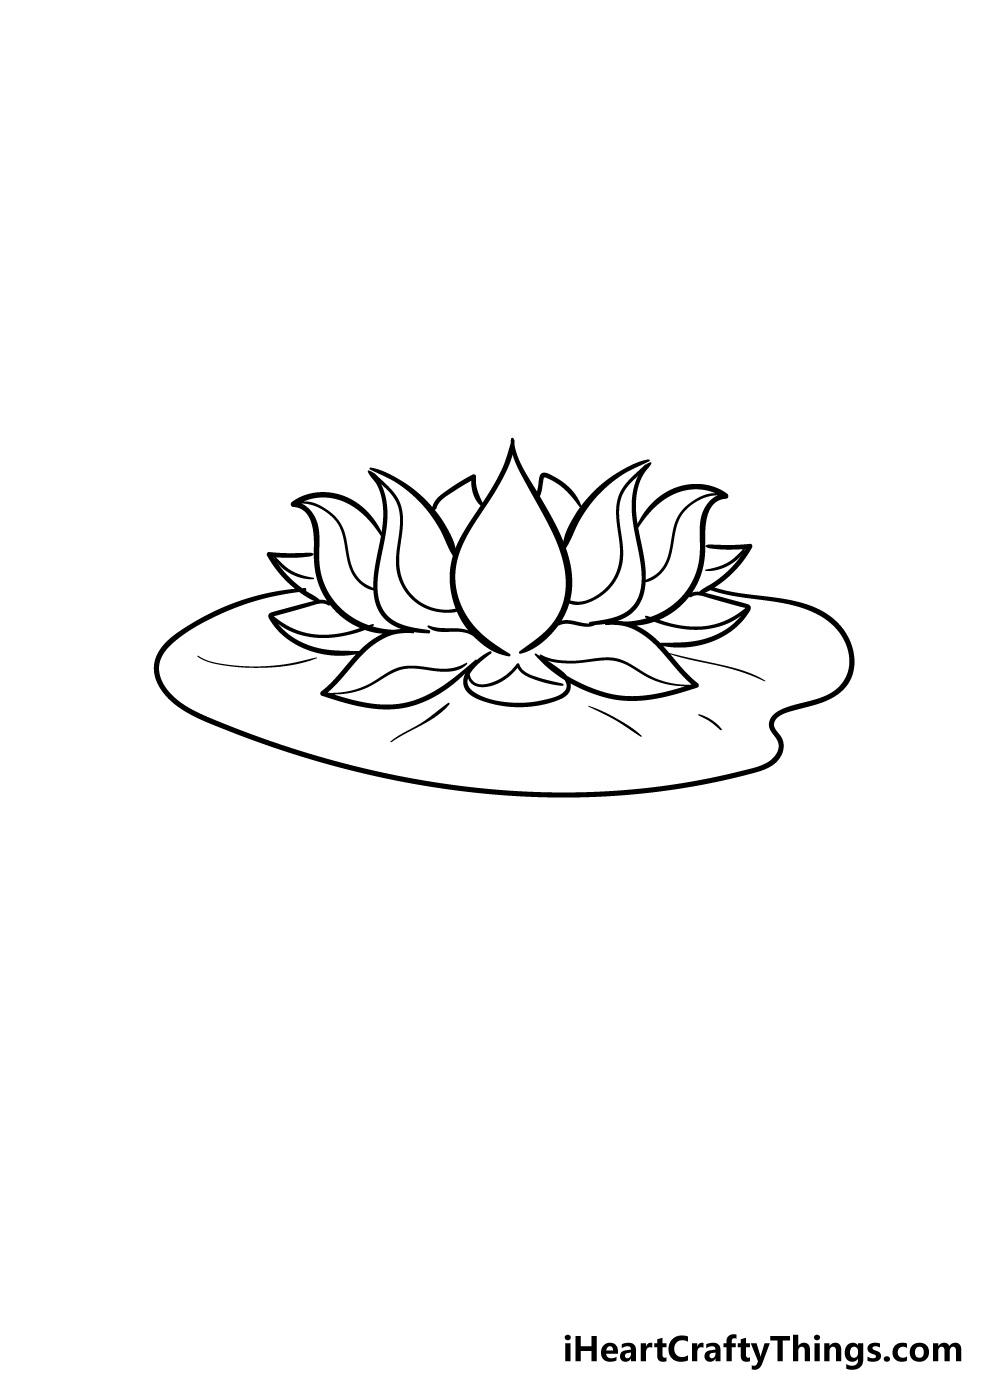
We’ve mentioned the lilypad that this lotus flower is sitting on a lot in this guide, so now we shall actually draw it in this step of our guide on how to draw a lilypad!
The lilypad will extend from either side of the lilypad and will be quite curved and rounded. The line will also dip inward on the right-hand side.
Then, once the outline is done you can add some lines inside of the lilypad for some texture detail.
That finishes off the drawing stage of this guide! Before you move on, be sure to add any extra details or background elements you would like.
These could include a duck floating by, a fish jumping out of the water or more lotuses in the background!
These are just a few ideas out of an infinite number of ideas you could try, so how will you finish off this lotus flower drawing?
Step 8 – Now finish off your lotus flower drawing with some color

In this part of your lotus flower drawing, you can finish it off with some beautiful colors! As you can see in our reference picture, we used some lovely pinks, greens and blues for our image.
This is your drawing though, so you can use any colors that you like for this drawing!
As for the art mediums you can use, I think that the softer tones of watercolor paints would suit this picture especially well.
There are many amazing mediums that you could use, though, and each one will bring its own type of beauty to the picture.
We can’t wait to see how you bring this picture to life with colors!
Bonus: Use These Tips To Bring Some Color To Your Lotus Drawing
We have briefly covered some of the colors you could bring to this lotus drawing, but there is so much more that can be discussed! Firstly, choosing the colors for your lotus drawing is just a part of the equation.
Once you have chosen your colors, it becomes a matter of choosing how you will apply them. There are a few different options that could be used to do this, and it depends on your preferences.
For example, some may think that softer colors made with mediums such as watercolors and colored pencils would be best for this lotus drawing. That was the thought that occurred to us, and we think it would look amazing.
However, these are far from the only mediums you could use, and darker colors would look just as amazing in their own way. If you would like colors that are darker and more striking, then acrylic paints would be a good option.
You could also use some colored pens and markers for brighter colors. You also shouldn’t feel restricted to just one art tool or medium for your drawing.
Maybe you would like to use watercolors for most of the lotus drawing, but then you could use some colored pens and darker paints for some of the finer details.
If you have too many ideas for colors and art mediums, then you could make a series of lotus drawings, each of which has a different approach to the colors.
If you have some art tools and mediums that you tend to rely on, then we would challenge you to try out some new ones you’ve never used before!
What are some colors and mediums you would like to use for this drawing?
3 More tips to make your lotus flower drawing easy!
Find out how to make this easy to draw lotus flower even easier with these tips!
The flower we worked on in this guide is so beautifully intricate. That can make creating this lotus flower drawing a lot harder to finish, though!
One way you could make it a lot easier would be by referring to a real lotus flower. There are a few ways you could do this.
The best way would be to use a physical lotus flower. If you live near a pond, you may be lucky enough to see one growing there.
Otherwise, you could get an adult to take you to a botanical garden to have a look at some real ones.
If you can’t find a real lotus flower to use as a model, the next best thing would be to use some pictures. Luckily, you can find some really easily!
If you were to look online, you would find many photos that could help with this drawing of a lotus. Otherwise, you can find some botany books at the library and probably find some great photos that way.
Some craft stores will also sell fake flowers, and you might be able to find a model lotus flower that way. If you can find one, you would have the perfect model at your fingertips!
Finally, you could make your lotus flower sketch easier by drawing some more flowers around it. That may seem counter-intuitive, but it can really help a lot!
The main reason is that when the lotus flower is the sole focus of the image, all attention is drawn to that. By adding additional elements, it’s harder to focus on parts you may have struggled with.
Also, there may be flowers you find easier to draw. You could use these ones to cover up any problem areas you may have.
Another method would be to draw a background setting. Maybe you could show the lotus flower floating in a pond!
Doing this would also help make the picture more interesting to look at!
Your Lotus Flower Drawing is Complete!
We hope that you found this step-by-step guide on how to draw a lotus flower helpful in your drawing journey!
Taking on a new drawing can be a bit intimidating and confusing at first, but having a guide to follow can make things a lot easier.
With some of the frustration gone, it also makes it a lot more fun, so we also hope you had a great time using this guide!
Now you can have even more fun as you personalize this drawing of yours. You could do this by adding some background elements, by using some amazing colors and art tools or by filling in the background.
These are just a few ideas, so what will you do to bring this picture to life?
We have more drawing guides on our website that cover everything from animals to famous cartoon characters, so there’s something for everyone to enjoy!
We upload new guides constantly, so be sure to check in often to never miss out!
When you have finished your lotus flower drawing, we would love it if you would share it on our Facebook and Pinterest pages. We can’t wait to see your amazing artwork!
Here Is A Lotus Flower Sketch To Inspire You!

The lotus flower is one of the most beloved flowers in the world, known for its delicate beauty and complex petal structure.
Our artist Amanda has created this amazing lotus flower sketch for kids to inspire you.
You can use this drawing to help you by giving you an end result to aim for as you draw. It will also show you the way the petals should interact with each other.
If you closely adhere to this design, then you will see that it’s much easier than you may think. Amanda kept the details at a minimum here, and this makes it easier to master the drawing.
When you have the hang of this drawing, you could also add some details and additional elements to make it more unique as well. It’s up to you to decide!


