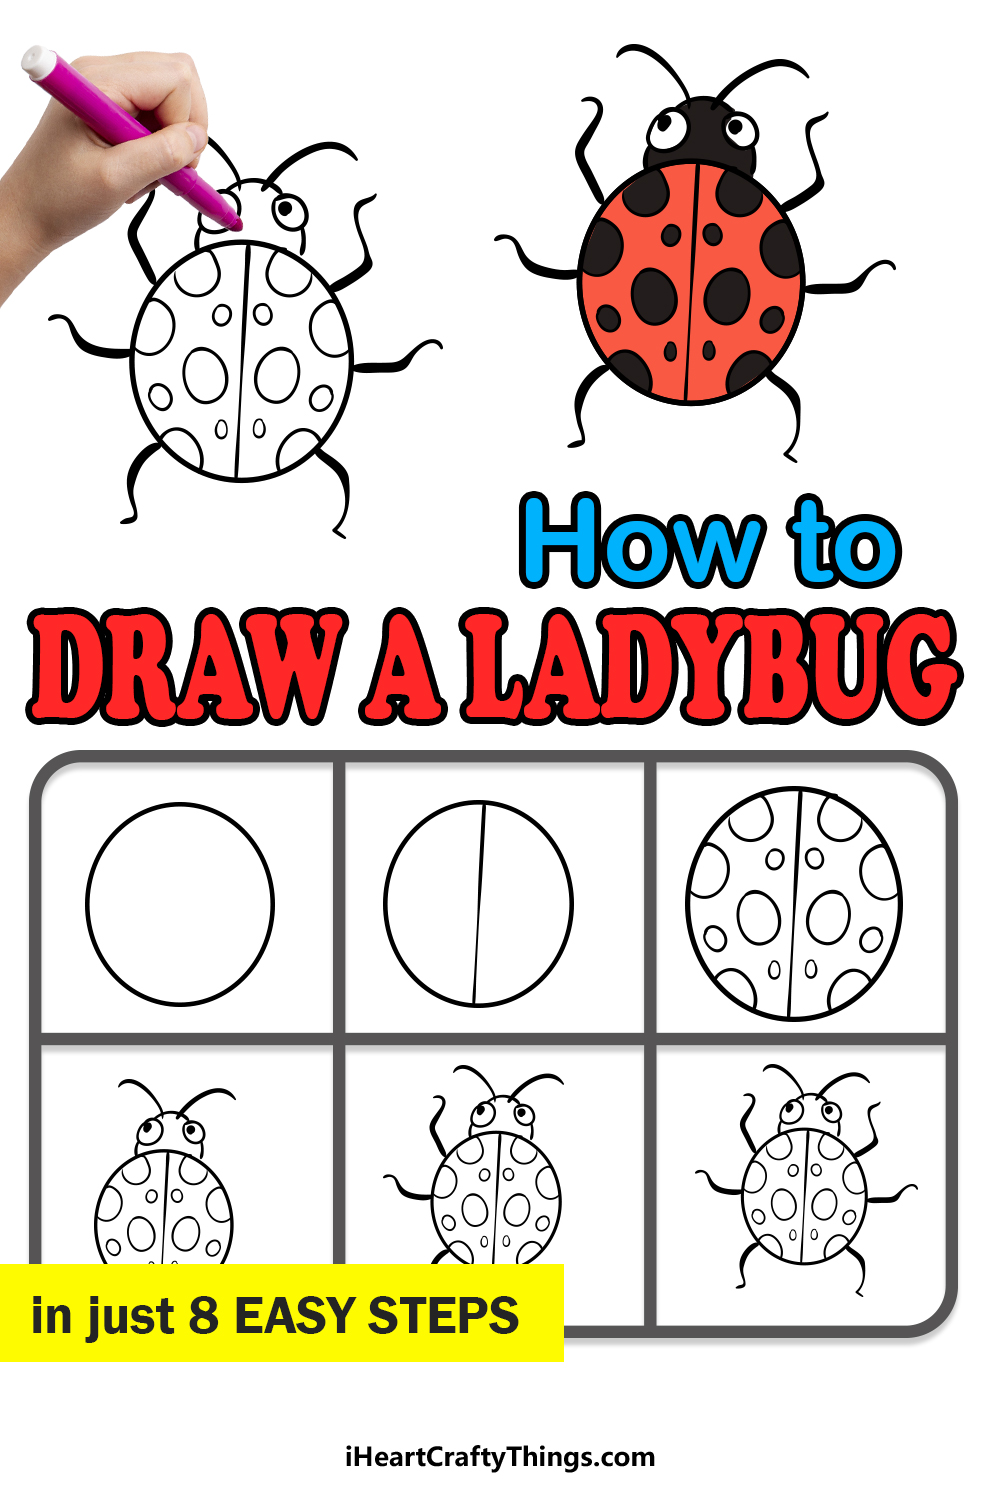
Discovering how to draw a ladybug is a breeze when you have this guide for kids! It’s easy for kids of all ages to follow along and enjoy, so let’s begin.
Even people who are scared of insects will usually admit that ladybugs are an exception to their fear. These gentle little creatures don’t buzz around annoyingly and don’t attack us in any way.
In addition to that, they also look so pretty with their black and red color scheme. This leads many people to wonder how they can draw one, but it can be harder than some may think.
With the steps of this guide, you will see how to create a cartoon version of this cute little bug. It’s a simple yet striking design that anyone can recreate!
Once you have finished the guide, you could also add some additional details and maybe even a background for it to exist in.
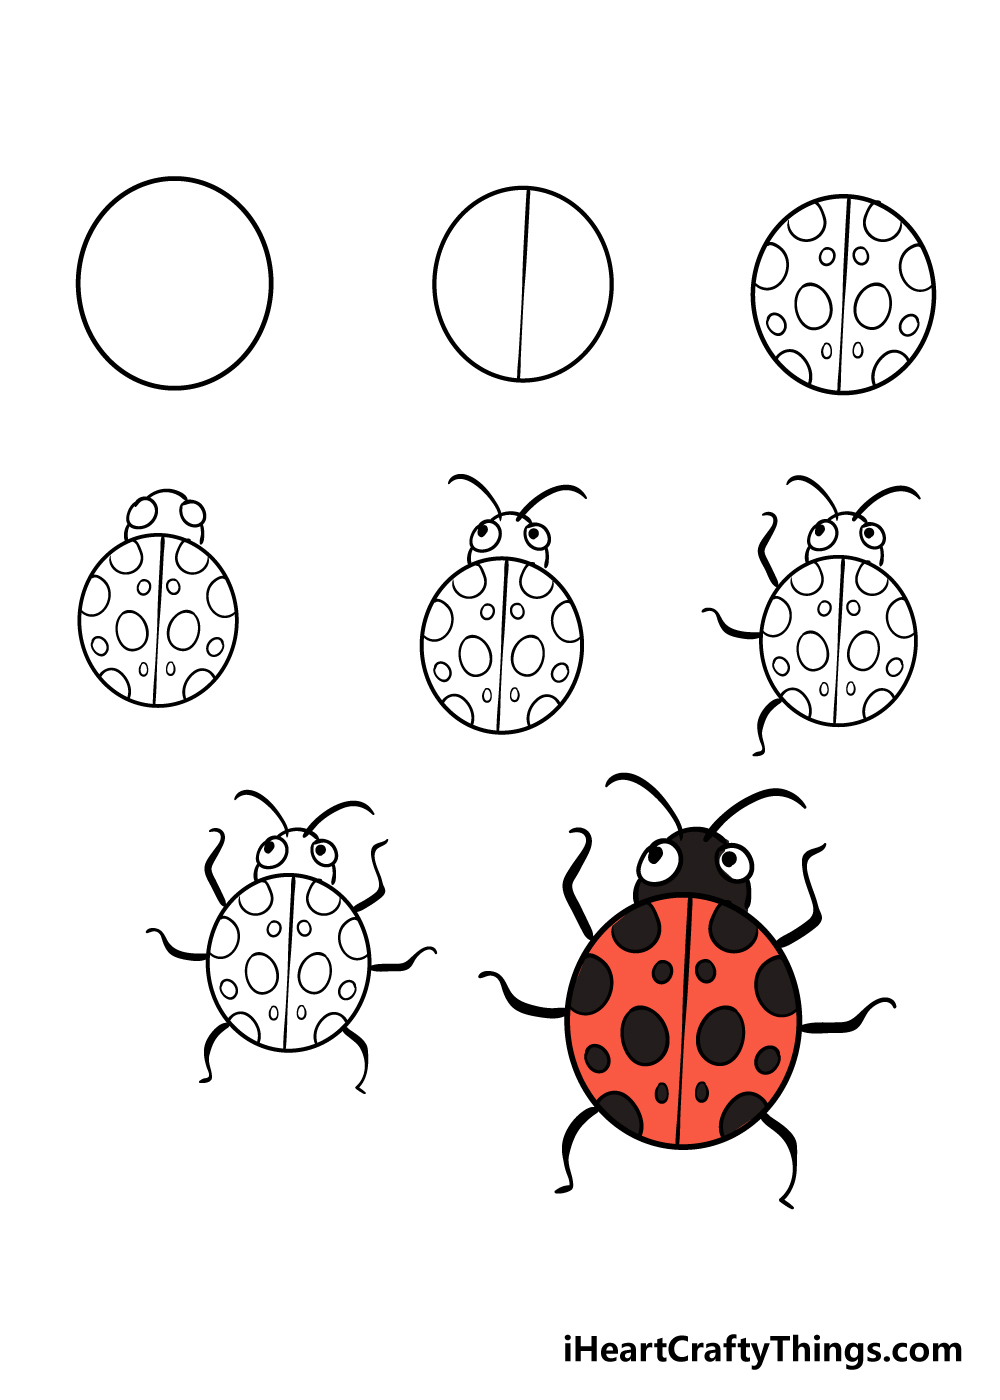
Watch This Guide On How To Create Your Ladybug Drawing
How to Draw A Ladybug – Let’s get Started!
Step 1

Ladybugs have small, round bodies, so for this reason we shall begin with an oval for this guide on how to draw a ladybug.
To get started, simply draw a big, rounded oval like the one in our reference image. We will be adding to it in the next few steps, so let’s proceed!
Step 2 – Next, draw the wing divide of your ladybug

This part of your ladybug drawing will be very simple! In order to show the divide of the wings on the ladybug’s back, you can simply draw a line down the middle of the oval body.
When you do this, try to keep the line as close to the center of the oval as you can.
Step 3 – Now, draw the spots of your ladybug
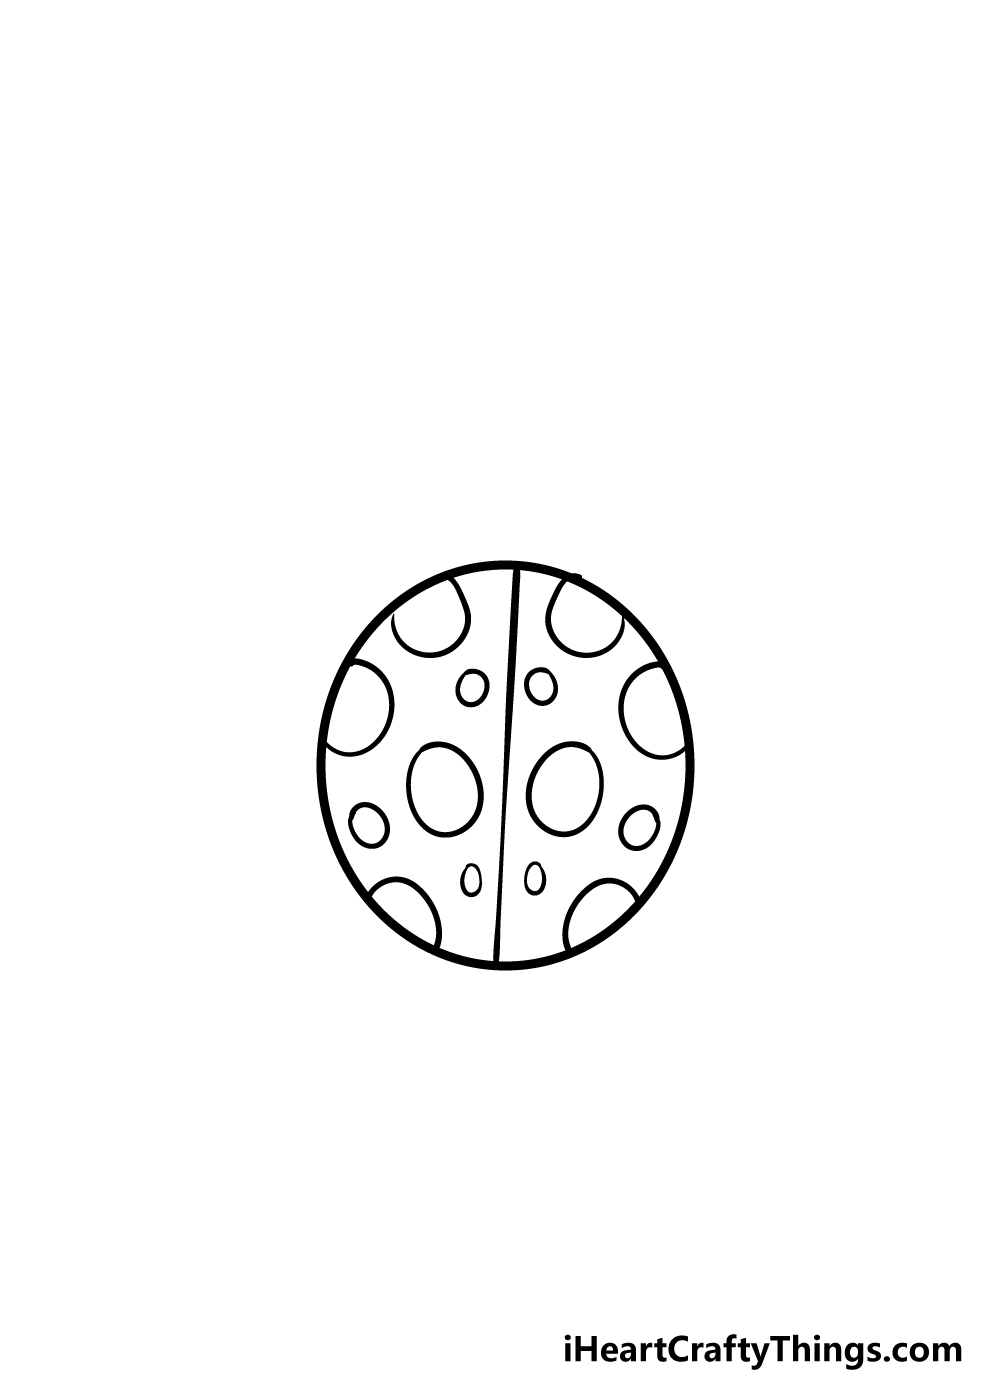
As we mentioned before, one of the most distinctive features of the ladybug are the black spots on its back.
No guide on how to draw a ladybug would be complete without that feature, so let’s draw them in this step!
The spots on either side of the divide on the back are perfectly symmetrical, so try to keep that in mind as you draw.
As you can see in the reference image, some of the spots will be small while some are larger.
You don’t have to make your spots identical to ours, and you could always make your own variations!
However, if you do shake it up with your own design, be sure to keep the note about symmetry in mind.
Step 4 – Draw the head of your ladybug now

We will be drawing a head for your ladybug drawing in this step. This head design is quite simple to do, as it is made of a rounded line at the top of the round body.
Then, you can draw two large, bulbous eyes set into this head. Once the head is complete, it’s on to step 5!
Step 5 – Next, add the pupils and antennae
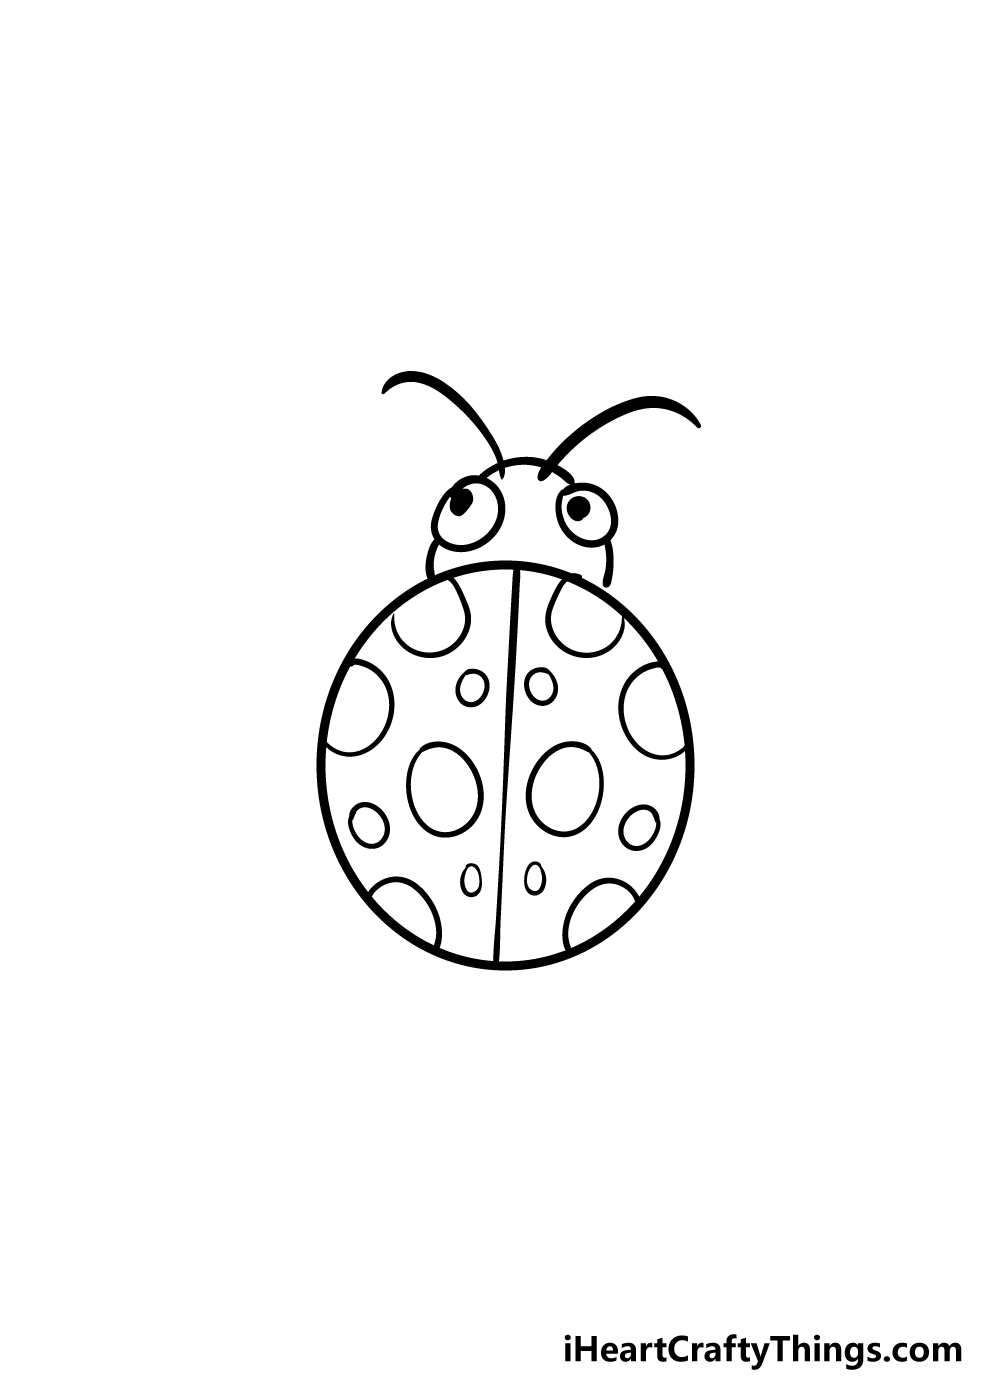
The eyes are looking a bit lifeless right now, so we shall add some more detail by adding some pupils in this step of our guide on how to draw a ladybug.
This is quite simple, as all you need is two dots inside the eyes that you drew in the previous step.
You could even reposition them if you would like your ladybug to be looking in different directions.
Finally, you can draw the two antennae of your ladybug on top of the head, coming out from between the eyes.
Step 6 – Draw the first three legs
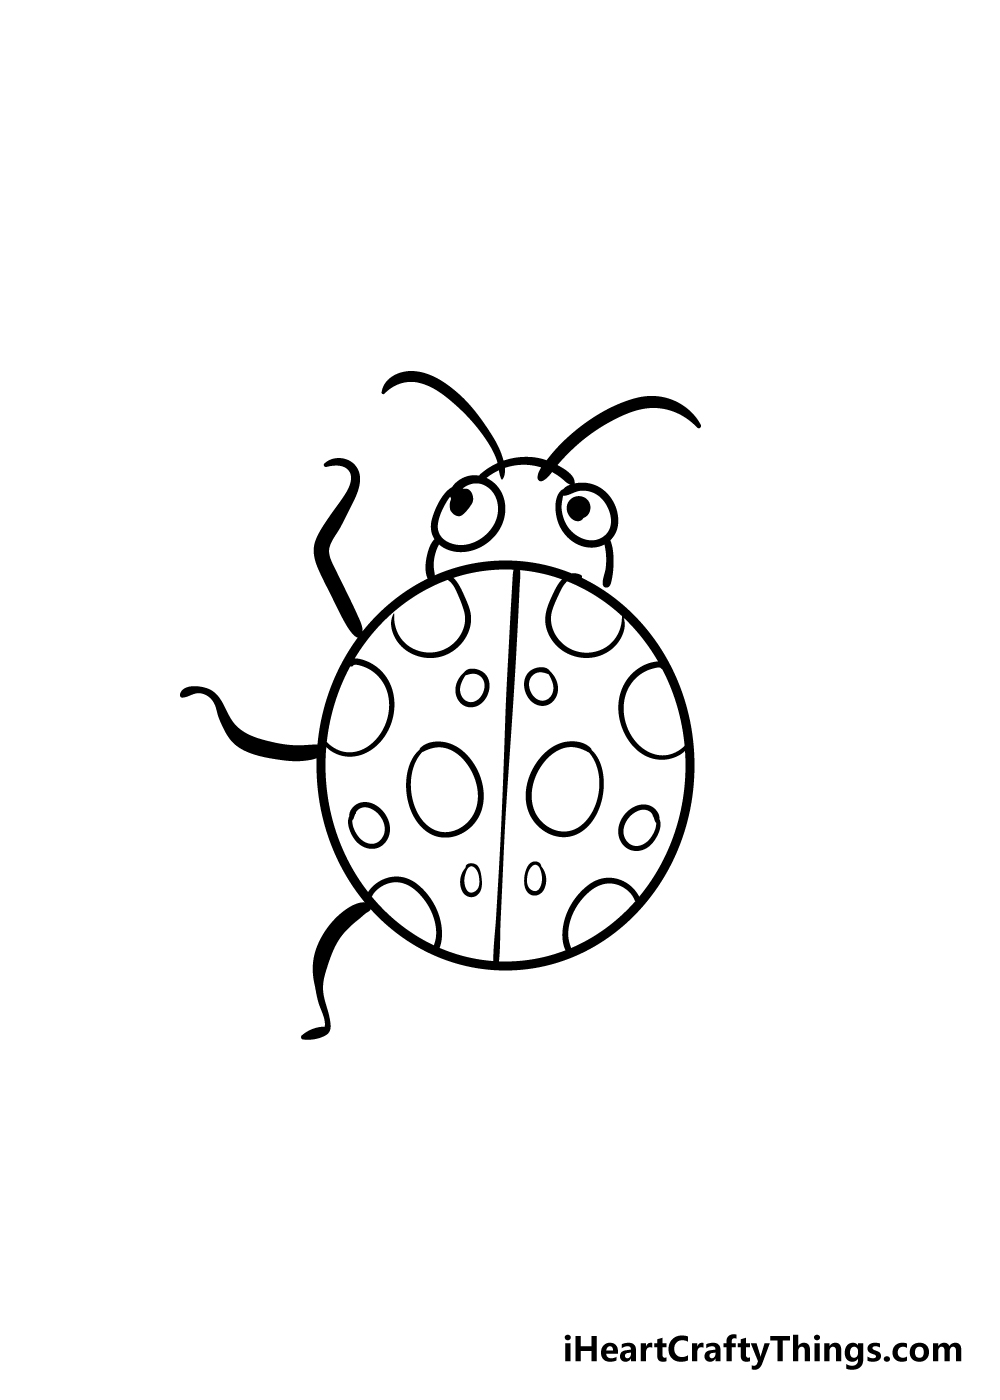
Like all insects, the ladybug has six legs, and we will be drawing the first three now. The legs are made up of sharply curving lines.
Each leg is at a slightly different angle depending on the positioning on the body, and our reference image will help you with getting these angles looking right.
Step 7 – Draw the final details of the ladybug next
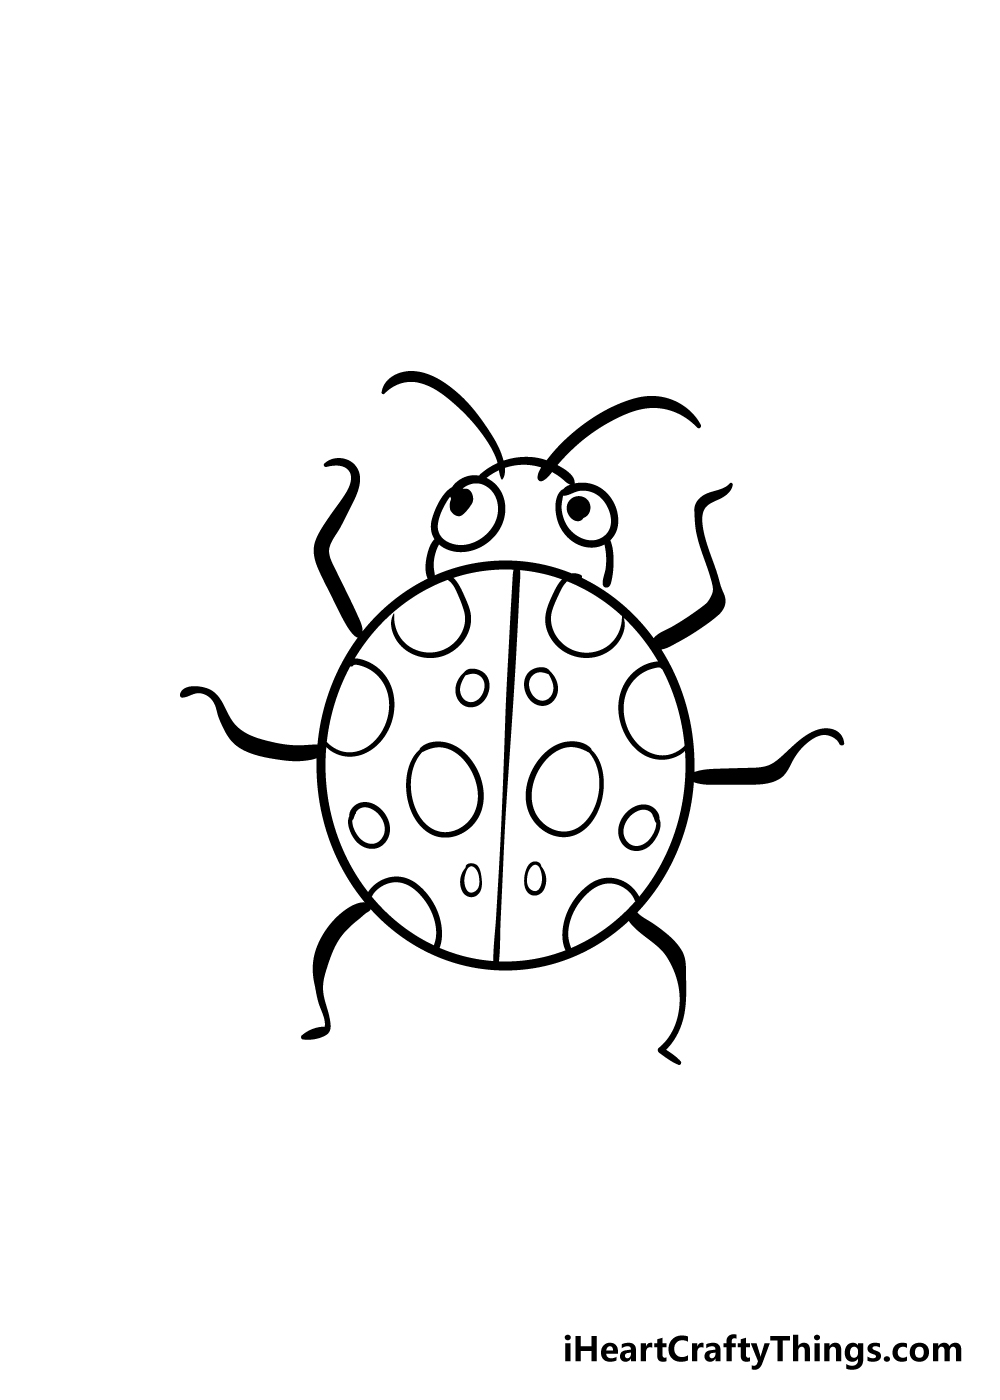
Before you move on to step 8 of our guide on how to draw a ladybug, we have just a few more details to add! The main thing is to add the remaining three legs.
These will be mirror images of the ones from the previous step, so this should be easy enough for you to do.
Once you have these legs drawn, you should feel free to incorporate any extra details that you would like for this picture!
A good option to always consider is a background, as this can give your drawing a greater sense of place. How will you finish off this picture before moving on to the coloring?
Bonus: Incorporate Crafts To Make This Ladybug Even Better!
Coloring a picture is always one of the best parts of creating a drawing, and that is what we will cover in the next step up ahead. Before that, we wanted to cover a few ways that you could think outside the box.
There are various creative ways that you could approach the colors of this ladybug drawing. Once you have drawn it, you could use red and black craft paper to add the colors instead.
This could be tricky, but you would need to cut out the broad shapes of the ladybug on the red paper for the back and then black paper for the head and limbs.
Carefully stick it over the drawing, and then you could cut out black circles to stick over the red of the back. Once you have completed the drawing of a ladybug, you could also cut it out from the page.
If you glued some string to the drawing once it has been cut out, then you could hang it from the ceiling for a fun decoration! You could also use felt materials along with the guide.
This is something that you would maybe want to have help with, but you could draw and cut out the shapes that make up this ladybug drawing from the felt material.
Then, use some strong glue to stick it together and add details in order to make a little ladybug doll! These are just a few of the ways that you could use crafts instead of traditional coloring methods.
There is nothing wrong with coloring methods, in fact we are about to go over some great coloring ideas, but sometimes it can be fun to think outside the box a bit.
What other crafts and unusual art tools could you use?
Step 8 – Now finish off your ladybug drawing with some color

It’s now time for the final step of your ladybug drawing, and that means that it’s time for coloring fun!
This is a step where you can really get creative and show us how you express yourself with color.
Ladybugs have a beautiful red and black color scheme, so while you could stick to this, you could also use some other favorite colors for a beautiful stylistic take!
I think that acrylic paints, colored pens or markers would suit this image perfectly thanks to their brighter colors, but anything you use will look amazing! How will you color in your ladybug drawing?
5 Tips To Make Your Ladybug Drawing Even Better!
See how you can make your pretty ladybug sketch even better with these 5 tips!
One of the easiest ways you can make your ladybug drawing even better is by adding a background. A common setting for ladybugs is to show them nibbling on a leaf.
It’s a simple and effective way of portraying this ladybug, but it’s far from the only one! There are so many fun background settings you could choose, so what do you think you will go for?
Whether you decide to add a background to your drawing of a ladybug or not, it would also be fun to add some more of your favorite insects to the image. If you have some favorite bugs and insects, now would be the perfect time to draw them!
These could include ants, flies or anything else you can think of. What bugs would you like to add?
We created this drawing of a ladybug to be in a simple cartoon style, but you could go for some other styles as well. For example, you may want to make the ladybug look a bit more realistic.
This could be done by changing just a few details. You could use some photos of real ladybugs to help you with this if you want to try!
Another fun idea to try would be to incorporate this ladybug sketch into some kind of pattern design. You could do this by drawing many different examples of this ladybug in some kind of sequence.
This pattern could even form the background of a fun birthday card or a poster! What could you use a ladybug pattern for?
The ladybug is famous for its red and black color scheme, and that looks great for this drawing! However, you could also use a different color scheme you may prefer.
Drawings don’t always have to represent real life, and you could really express yourself with colors! Don’t be afraid to experiment with different art tools and mediums as you color it in as well.
Your Ladybug Drawing is Complete!
We hope that this step-by-step guide on how to draw a ladybug made tackling this drawing task a breeze for you to conquer!
We created this tutorial to make drawing your own ladybug both easy to learn and fun to do, so hopefully this guide was just that for you!
Now that you have completed your ladybug drawing, you can have fun creating your own variations on this picture.
Whether you draw a fun background, change up the positioning of the ladybug or even draw in some more insect friends, there’s no limit to the ways you can make this image your own!
We can’t wait to see what you bring to this image, and we know it will be an amazing picture no matter what you do!
Our website has tons of amazing step-by-step drawing guides just like this one for you to enjoy, so be sure to check out what we have for you!
We also bring out new guides all the time, so be sure to check in frequently to catch each new guide.
We would love to see how you completed your ladybug drawing, so once it’s done please do share it on our Facebook and Pinterest pages for us to admire! We can’t wait to see your ladybug artworks.
Here Is A Cute Ladybug Drawing To Inspire You!
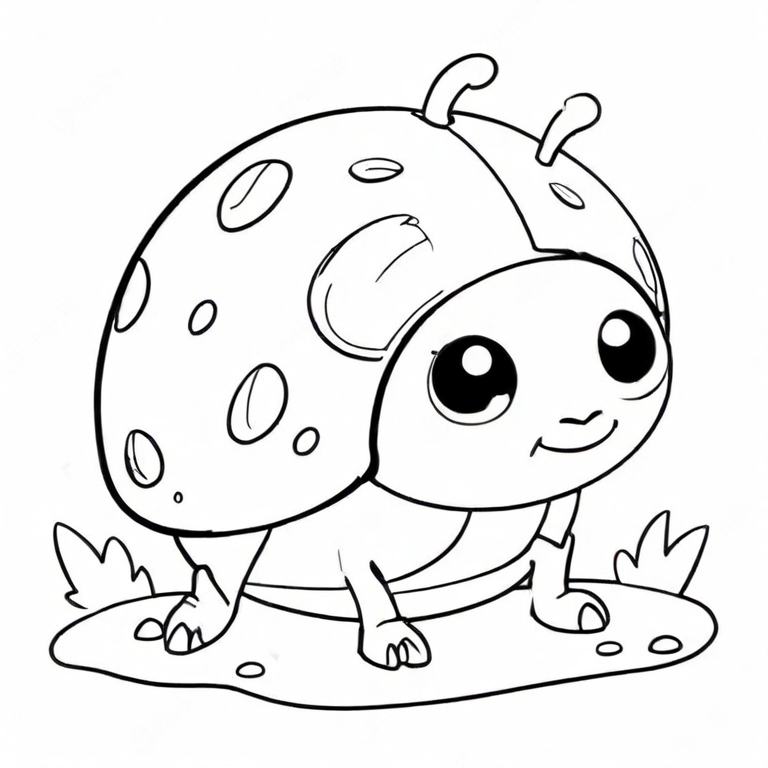
Ladybugs are some interesting looking insects, as their distinctive shape and coloring helps them to stand out. They are also harmless, and so it’s never a bad thing to find one around you.
This cute ladybug drawing for kids was done by our talented artist Amanda to help you with your drawing. You can make this drawing your own, but having a bit of inspiration can really help.
The ladybug is drawn with simple rounded lines, and then Amanda added some extra little details that are simple, yet effective.
There are also some minor background details at the base of the drawing.
If you wanted to make the background a bit more developed, then you could draw a whole setting for the ladybug to be a part of. What kind of setting would you choose for this cute ladybug sketch?