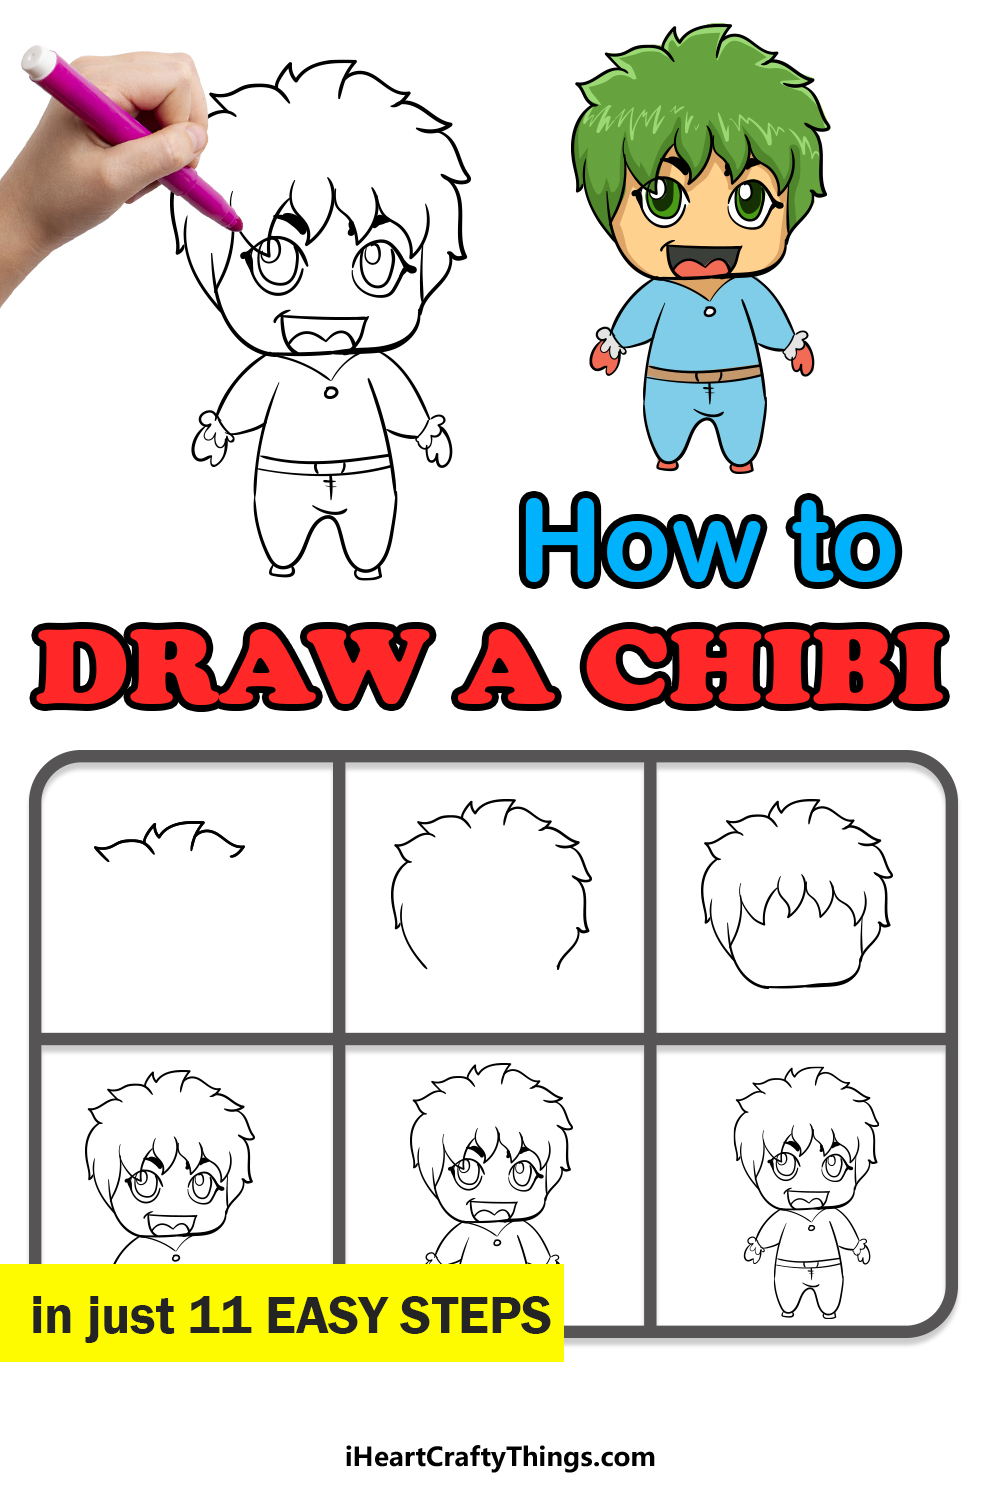
There have been many cute character styles to come out from Japan, from anime and manga to the popular kawaii style. Another style that has been very popular has been the Chibi style of character.
You’ve probably seen a chibi character before, and this style is characterized by an oversized head with a short, squat body and limbs.
Chibi characters can look cool and really cute at the same time, which is probably why it’s become so popular around the world!
This step-by-step guide on how to draw a chibi in 11 easy steps will show you how to draw a cute chibi character with ease!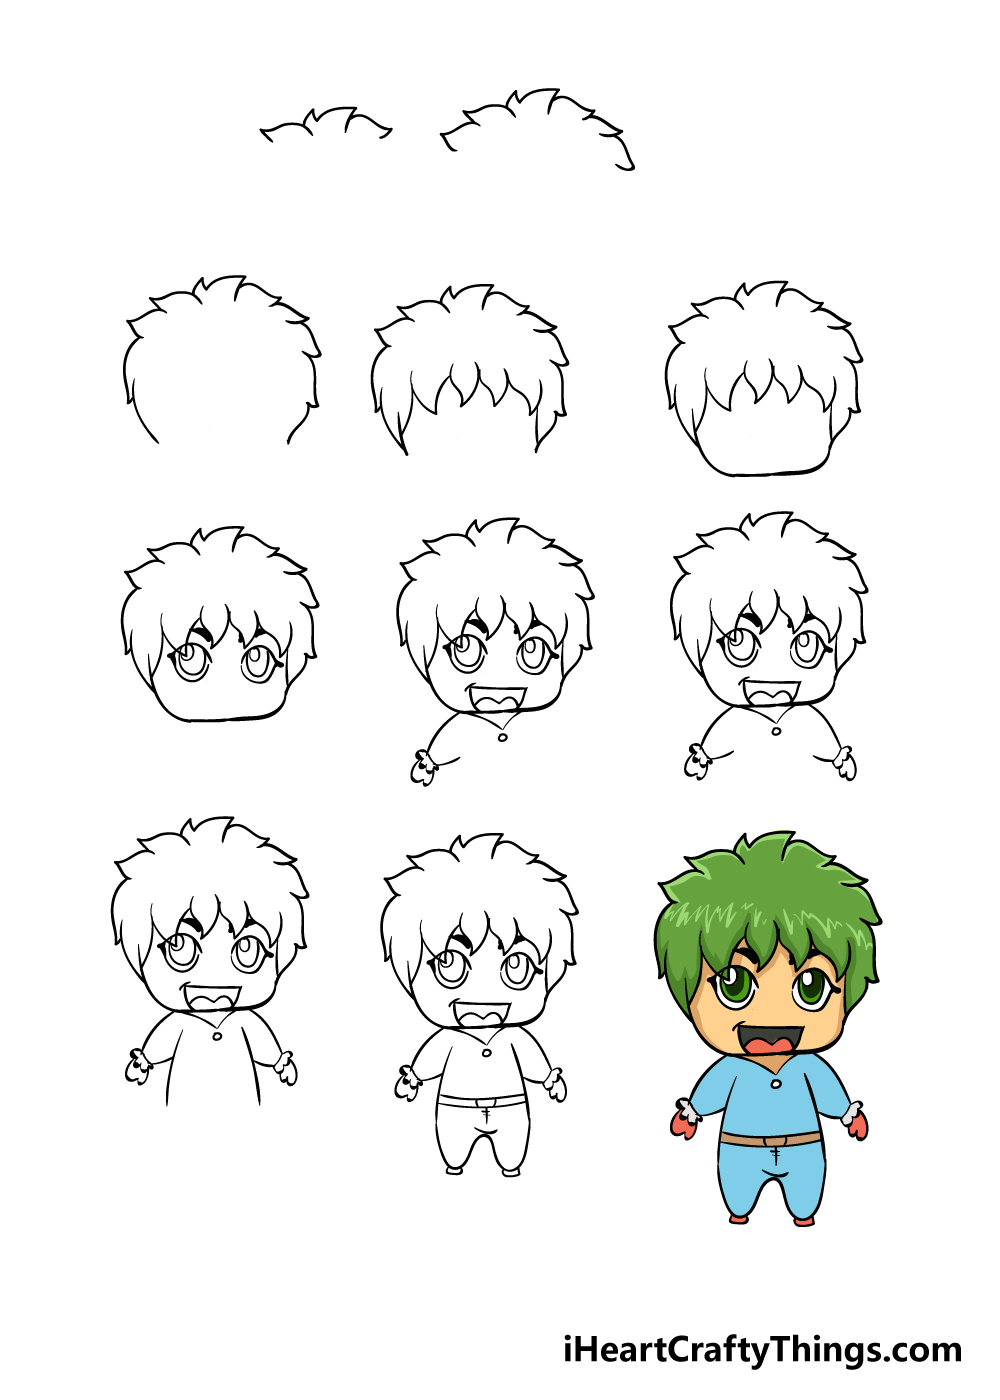
How to Draw a Chibi – Let’s get Started!
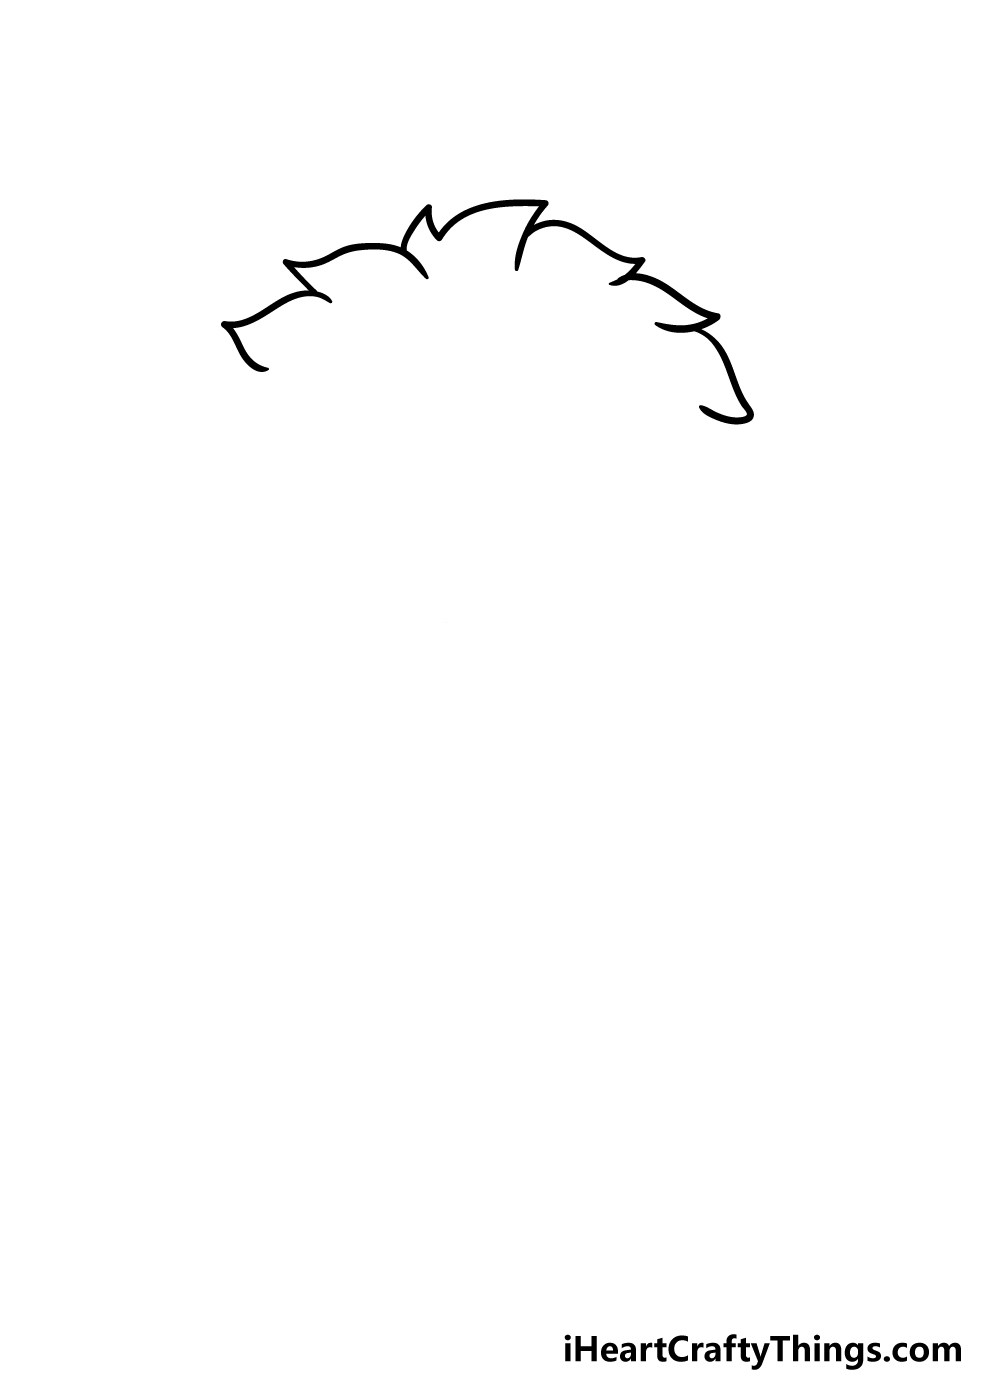
Step 1

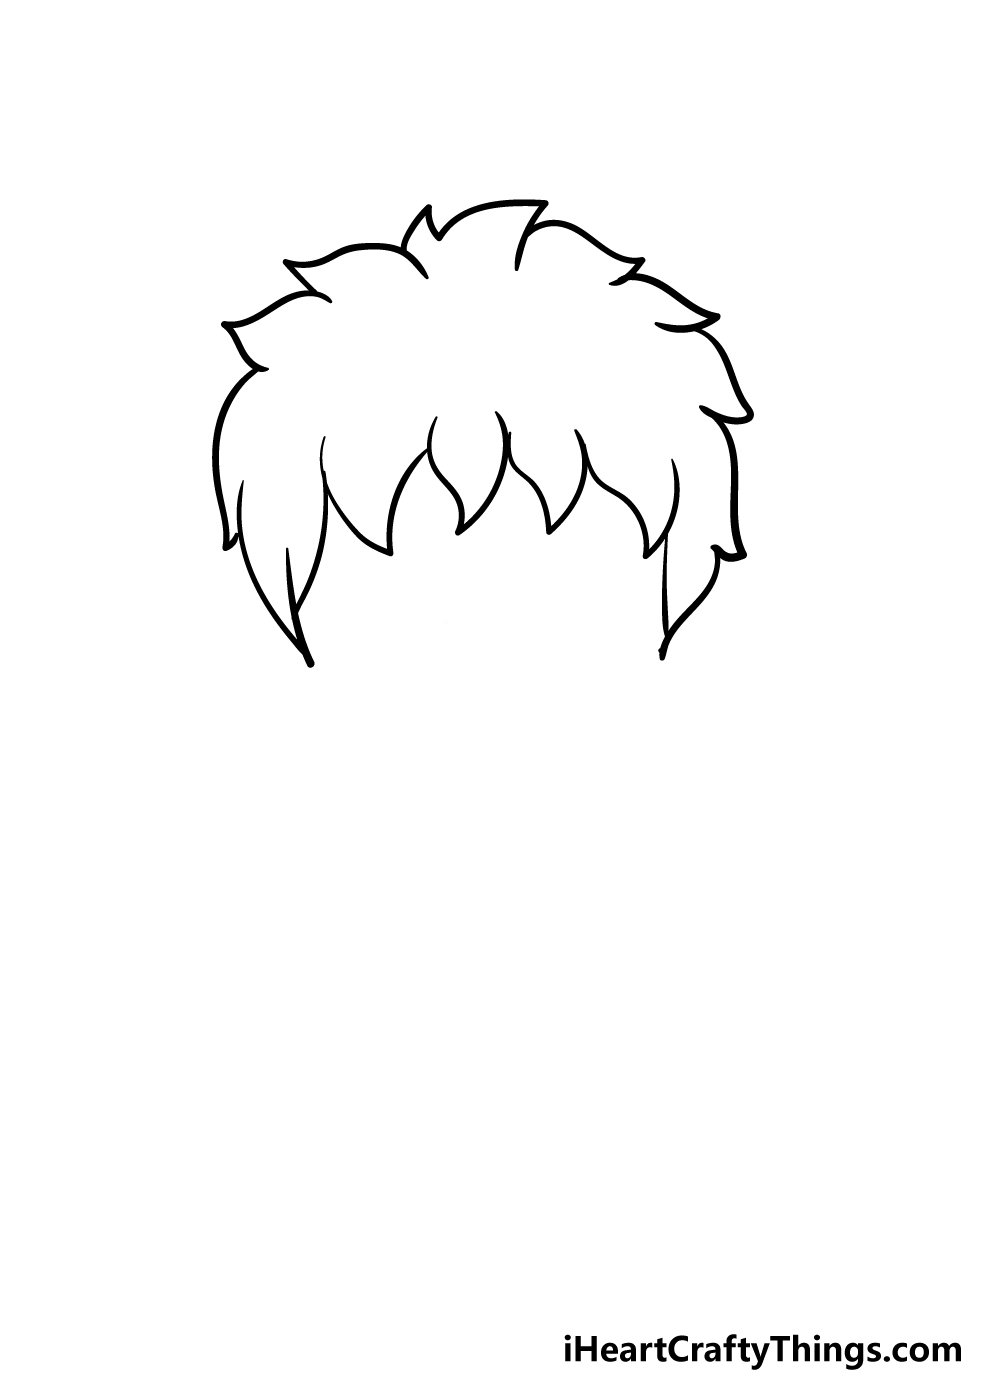
For the first step of our guide on how to draw a chibi, we will begin with the top of the hair. The character we will be drawing has some spiky hair, so we will be using a lot of jagged lines.
To make things easier, you could draw a large, rectangle shape in pencil to use as a guide as you draw in the hair.
To start with, draw in some jagged lines at the very top of the head.
Step 2 – Draw in some more of the hair
In this step of your chibi drawing, we shall add a bit more to the hair.
Using the jagged hairstyle of step one, simply extend the line of the hair, using the picture and the pencil rectangle you drew to guide you.
Step 3 – Now, draw in the side of the hair
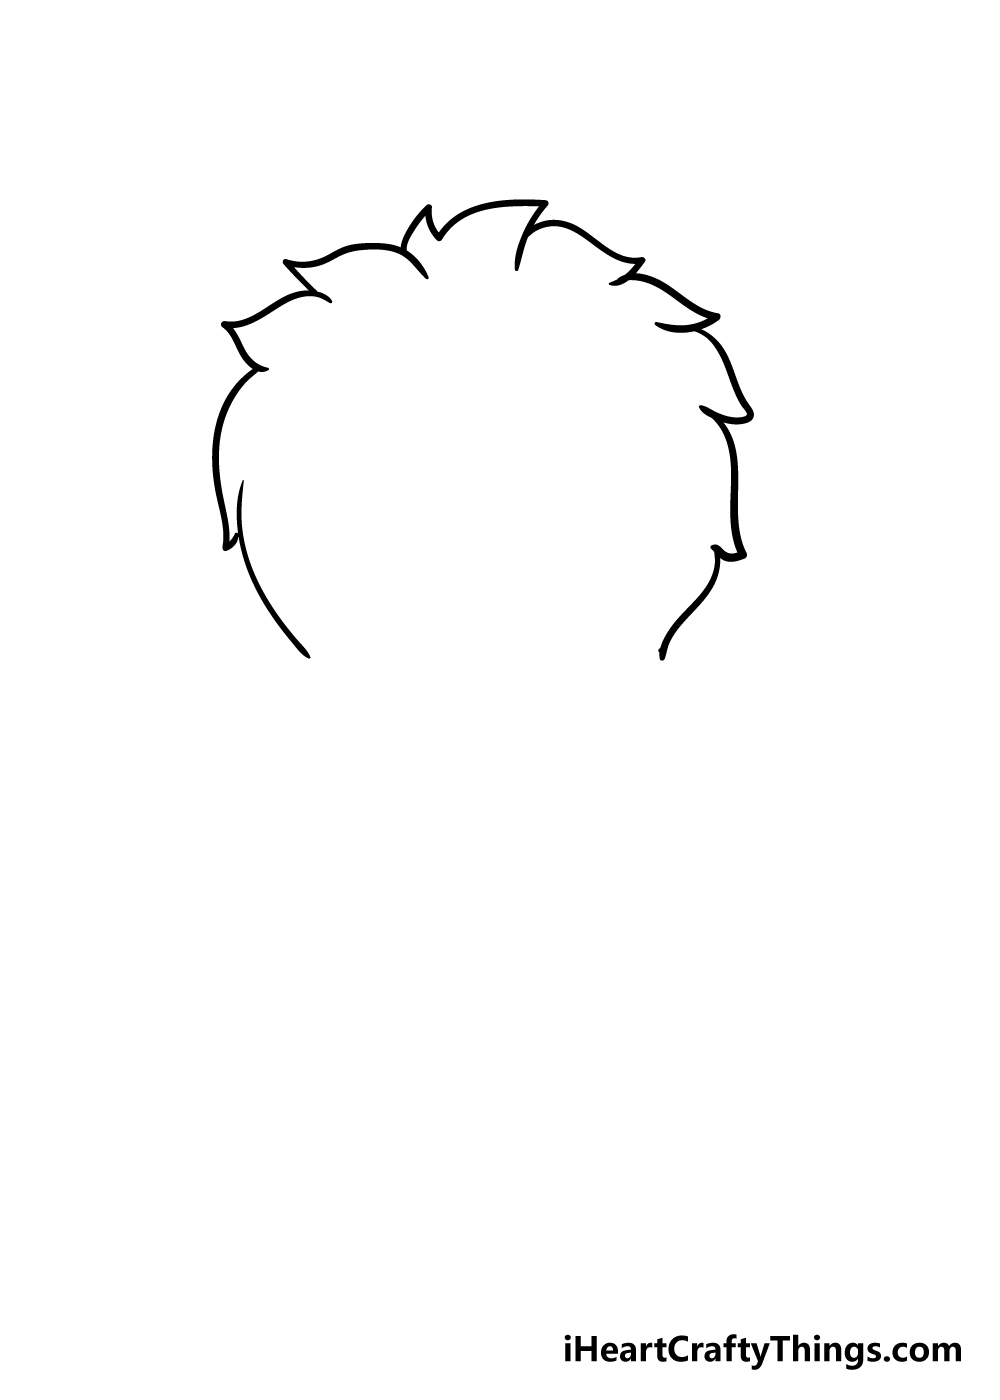
You’re getting the hang of it now! Keep drawing the hair as you have, but angle it down vertically as you can see it in the picture.
Once you have the sides drawn in, we shall finish off the hair in the next step.
Step 4 – Next, draw in the fringe
We will finish off the hair outline in this step of our guide on how to draw a chibi.
Simply continue the line inwards from the sides that you drew in the previous step to form a fringe for your character.
Step 5 – Draw in a chin for your character
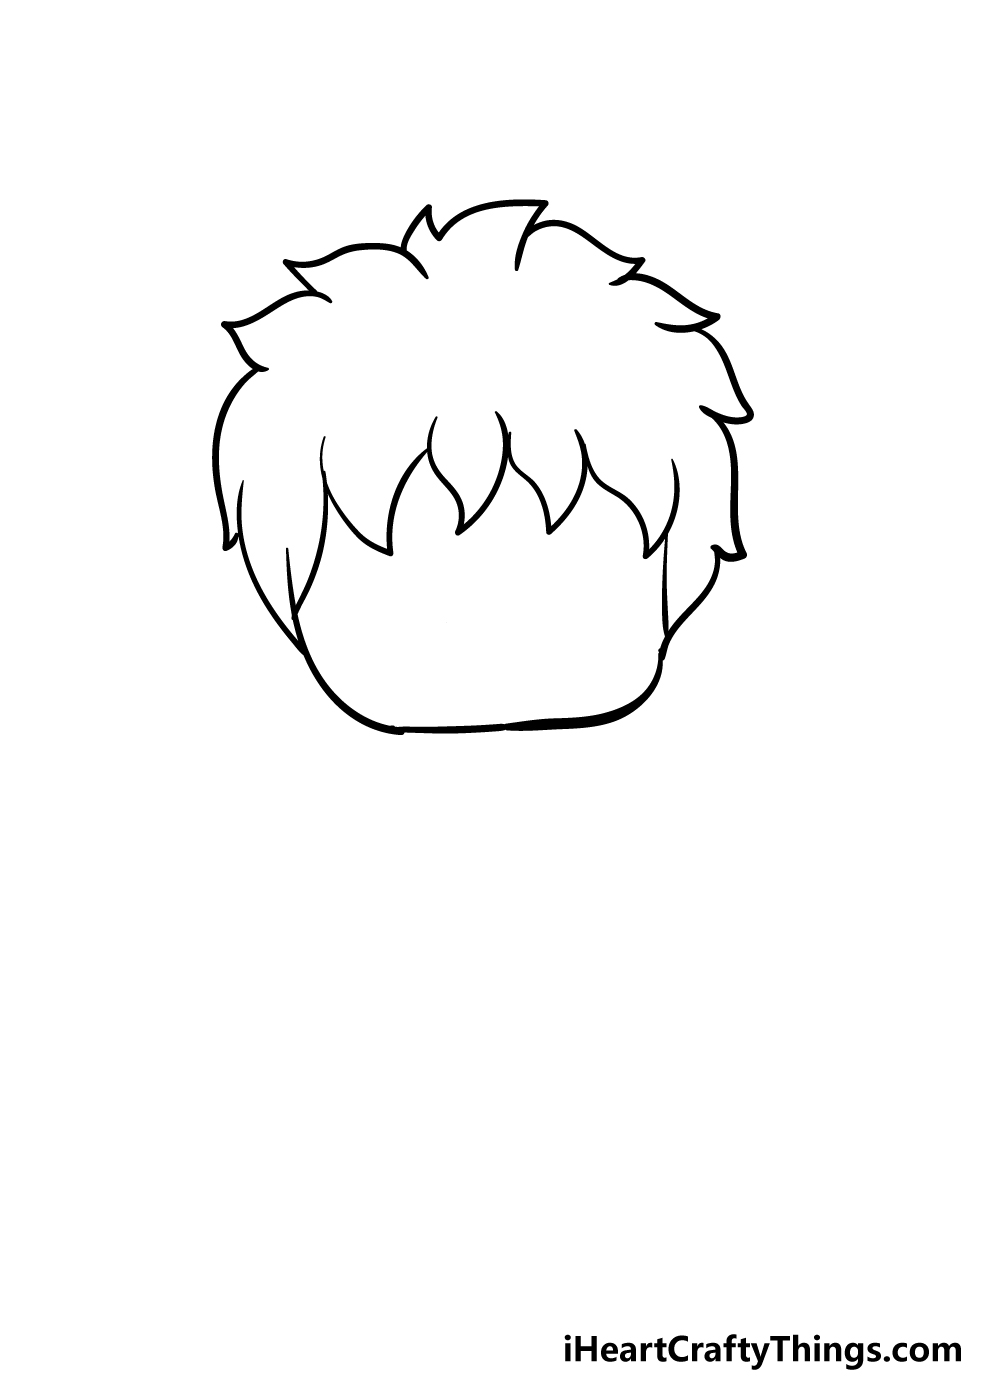
Now that the hair is drawn in, you can draw in the chin for your chibi drawing. This will be quite simple, as it will look like a rounded bottom of a rectangle coming out from under the hair.
If you drew a pencil rectangle in step 1, this will be especially easy to do.
Step 6 – Now, draw in some eyes for the character
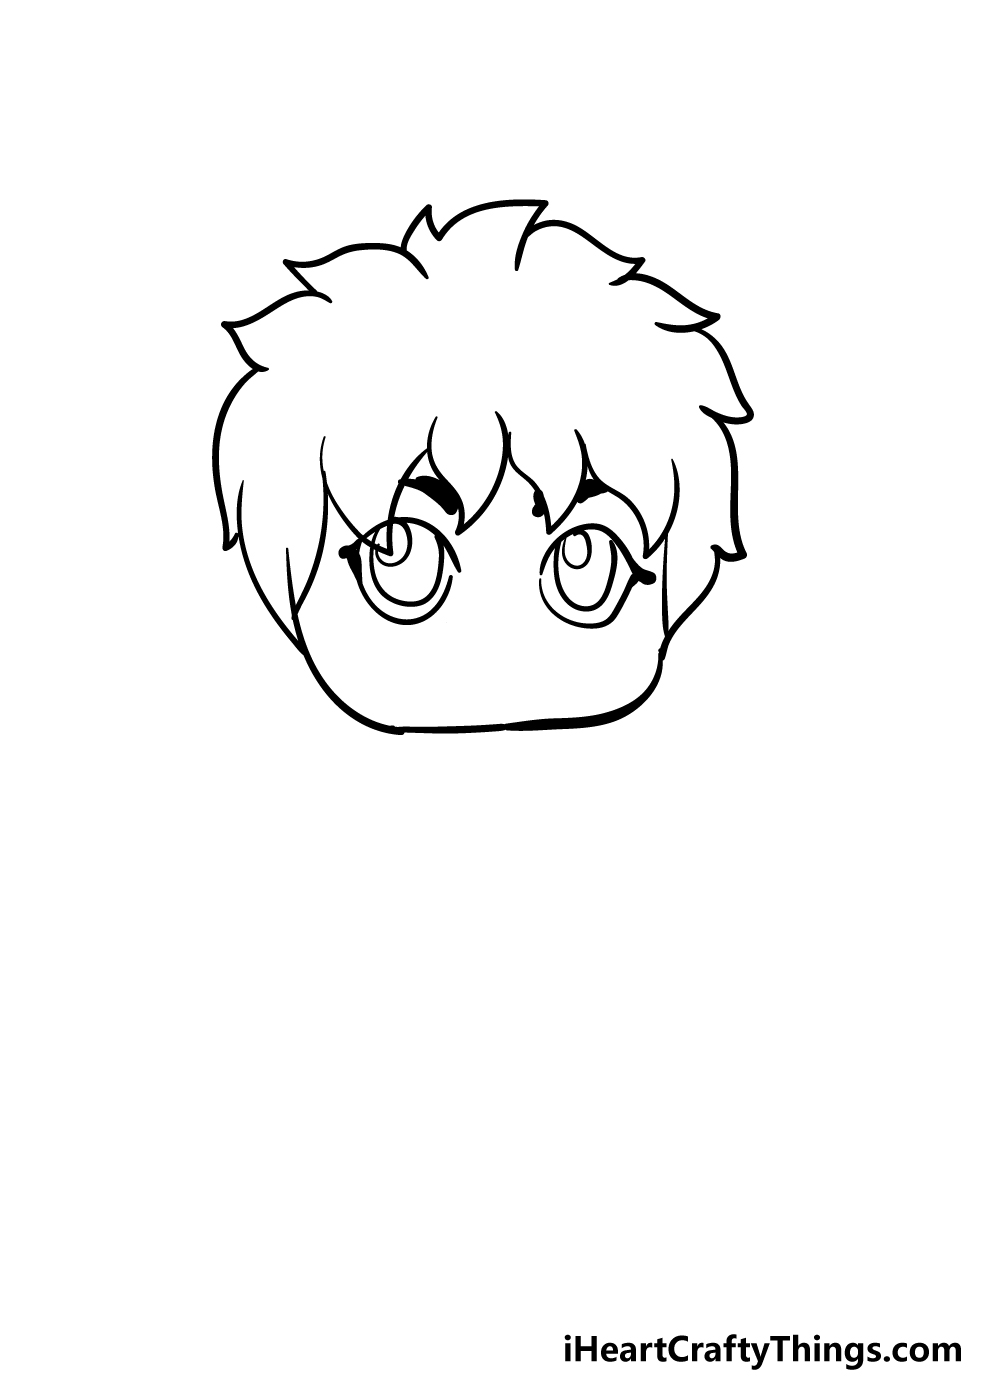
Chibi characters usually have big, expressive eyes. We shall be adding in some for your chibi drawing in this step.
They have a big, rounded shape that you can see in the reference picture. They also have a relatively big circle within them, with a smaller circle inside that one.
Then, you can add a thick eyebrow above each one.
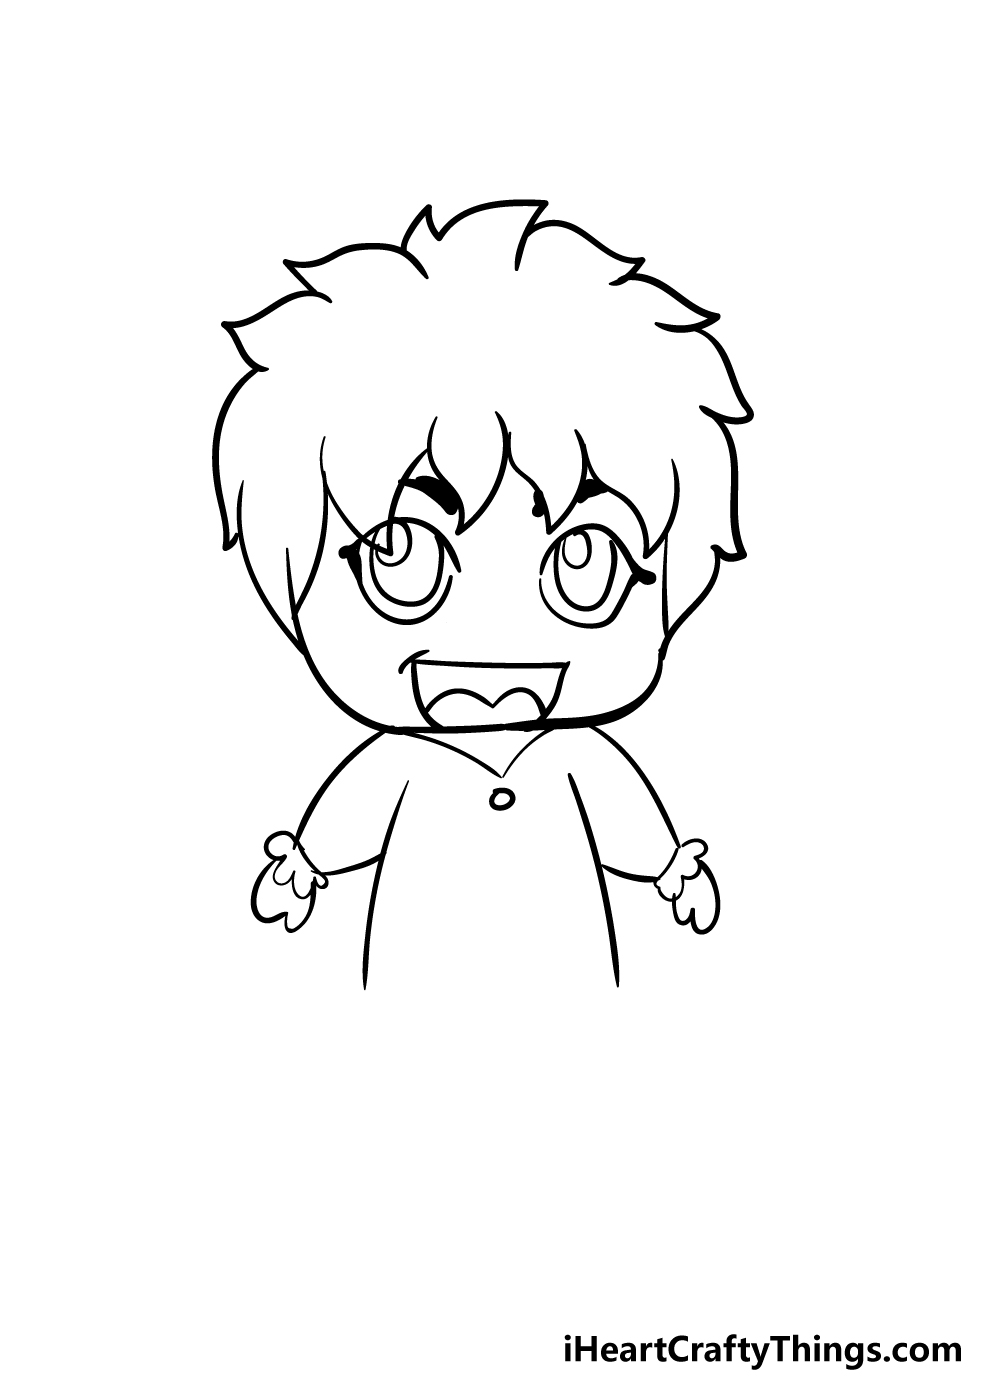
Step 7 – Start the mouth and arm
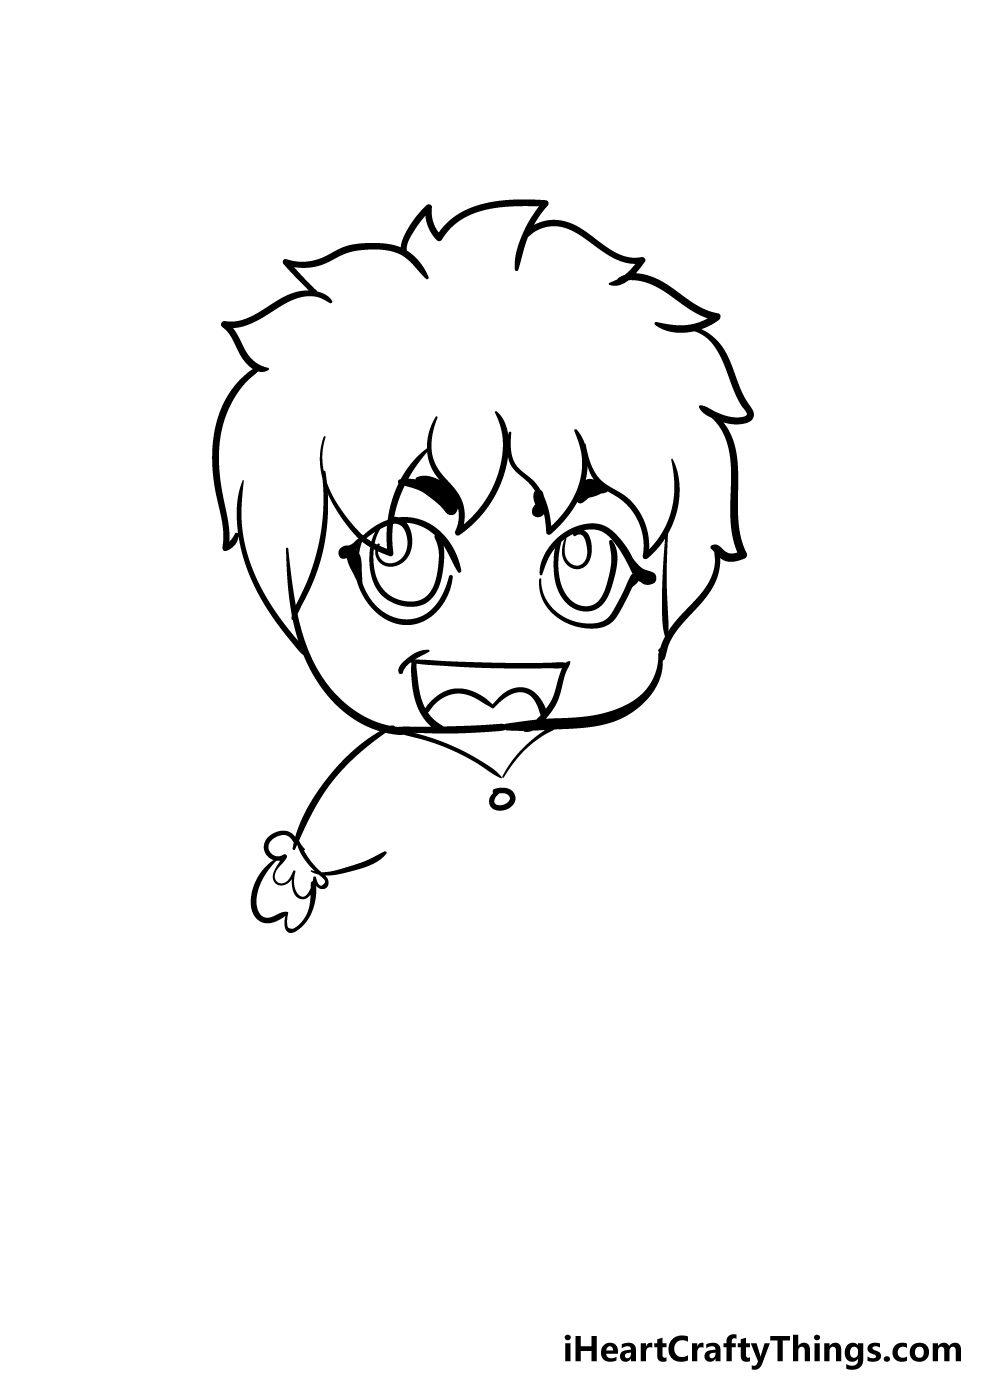
Your chibi drawing is starting to look pretty cool already! In this step, you can draw in a smiling mouth for your character. This will have a straight line at the top with a curved one underneath.
Don’t forget to draw in a tongue!
Then, you can draw in an arm for your chibi. Remember that they have short limbs, so try to keep the arm small and simple looking. Lastly, draw in a straight collar underneath the head.
Step 8 – Next, draw in another arm

In this step of our guide on how to draw a chibi, we shall add in another arm. This one should be easy, as you’ve already drawn one and this one will be a mirror image of the one you drew earlier.
Step 9 – Draw in a body for your character
We shall add in a body for your chibi drawing in this step. Simply use two lines going down from under the arms.
We will be connecting them to the legs in the next step, so you don’t need to worry about having them be a specific length for now.
Step 10 – Next, draw in some legs and final details
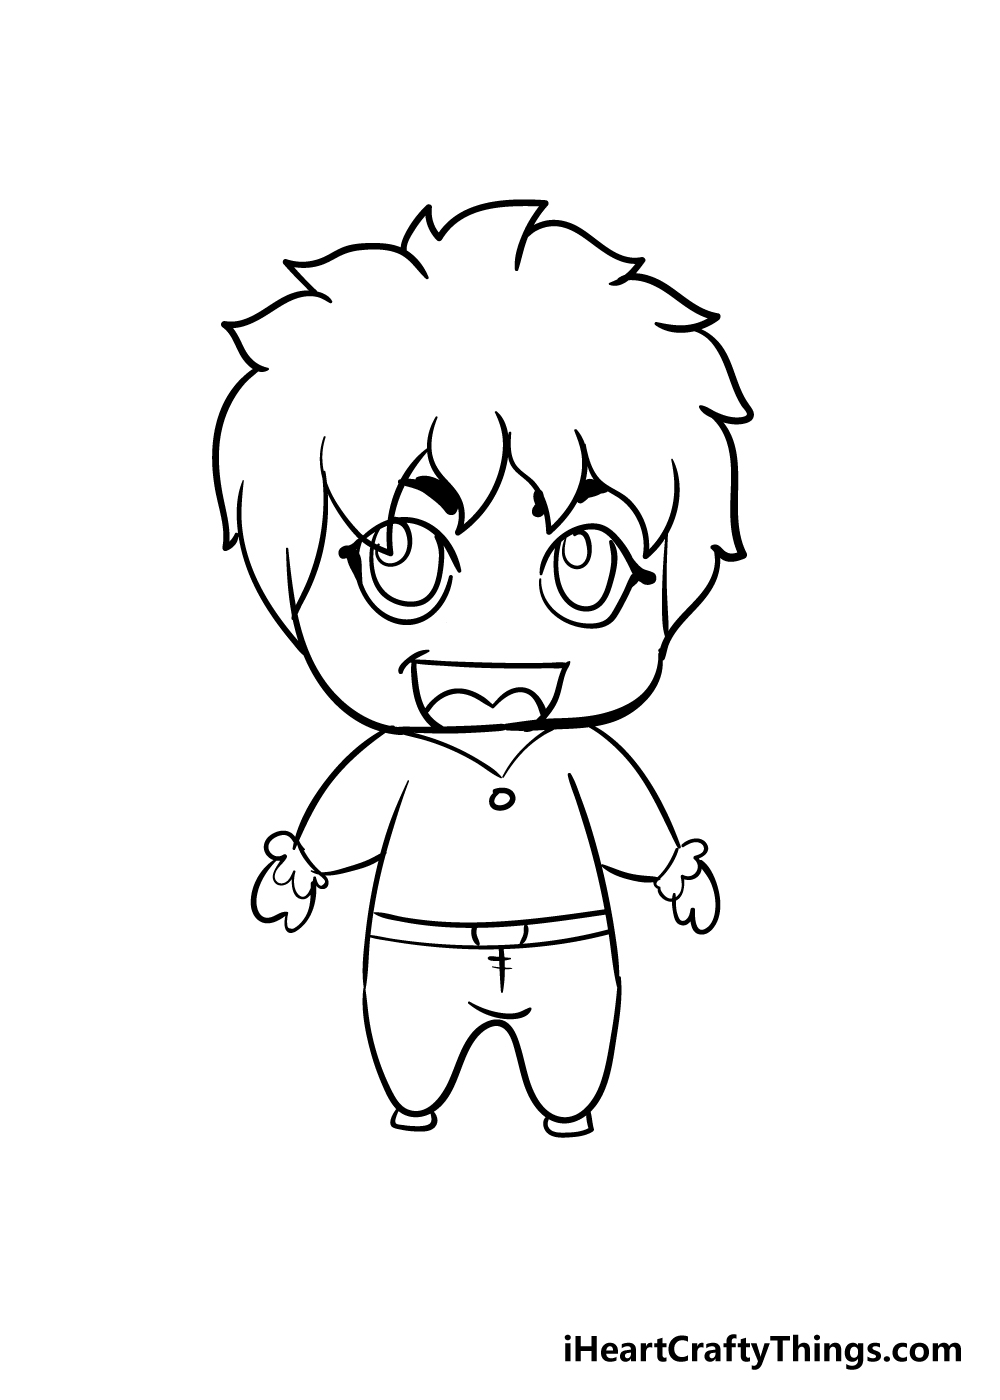
Your chibi drawing is almost done now! To finish off, simply use some curved lines to make two legs down from the body you drew earlier.
Remember to keep the legs quite short! Finally, draw in some lines horizontally to make a belt for the chibi. Then you can add in any other fun details you think would suit your cute character!
Step 11 – Now finish off your chibi with some color

Now that you have the final details drawn in, you can start with the coloring. This is a fun step, as you get to really show off your creativity!
We colored our picture in as you can see in the image, but you can use any colors you love for your drawing. You can personalize this drawing to make a completely unique character of your own design.
I think it would look great to use acrylic paints and some colored pens for some amazing colors to this character, but what colors and art mediums will you use to finish off your artwork?
5 Tips To Make Your Chibi Drawing Even Better!
Make this cute chibi sketch even better with these ideas!
This drawing of a chibi has a blue and green color scheme, and it looks great! Even though this color scheme looks good, you could customize the colors if you prefer others.
This would be a great chance for you to show off your favorite colors and art mediums. What alternative colors would you like to use for this chibi you have created in this guide?
Another way that you could customize this chibi would be by changing the facial expression. Right now, it looks very happy and joyful, but you may want to portray a different emotion.
Perhaps the character could merely be smiling in order to create a more relaxed mood for the picture. What are some emotions you could portray with a new facial expression?
The pose portrayed in this chibi drawing is a rather relaxed one, so you could try to create a more dynamic pose if you want something more involved.
Perhaps the character could be running, jumping or exercising in some way. Adding some accessories would be a great way to emphasize the activity you choose to portray with a new pose.
Can you think of some poses you could create in this picture?
Once your chibi character looks as you want it to, you could also try and design some friends for it. Now that you have finished this guide, you have an idea of what it takes to draw such a character.
You could follow through the guide again and then change a few details to create a brand new friend design for this cute little guy!
Finally, adding a background to your chibi sketch would be a fun way to finish off the scene. This is something you could do whether or not you went with any of our previous tips.
First, you could pick a place that makes you happy to visit or somewhere that you would love to go. That would be the perfect background for this chibi character!
Your Chibi Drawing is Complete!
We hope that this step-by-step guide on how to draw a chibi was fun and helpful for you to use!
You may have thought that drawing this cute character would be too hard at first, but hopefully by using this guide you now see that no drawing challenge is too hard if you break it down into more manageable steps.
Now that you have drawn this character, you could draw more and add in some of your own fun characteristics!
For example, you could change the hairstyle, facial expressions, clothing and background of the character to make your very own new characters!
As for this one, we can’t wait to see what colors and art mediums you choose to finish it off.
We have so many amazing step-by-step drawing guides coming up soon for you to enjoy, so please make sure to check out our site often to make sure you catch each new one as it comes out!
We would also love to see your finished chibi drawing, and if you design any other characters using this guide we would love to see them too!
We hope you will share your artworks to our Facebook and Pinterest pages so we can admire them.