Norse mythology features tales featuring many incredible larger-than-life characters that remain popular to this day.
One of the most recognizable and beloved of these interesting gods is Loki, the god of mischief.
One of the reasons he remains so popular is that he has gained new life as a popular character in various Marvel characters.
He was also recently brought to life in various popular Marvel films and shows, and his popularity continues to grow!
Fans of this character may like to know how they can learn how to draw Loki but not know where to start.
For fans of this mischievous character, this will be a tutorial that shouldn’t be missed!
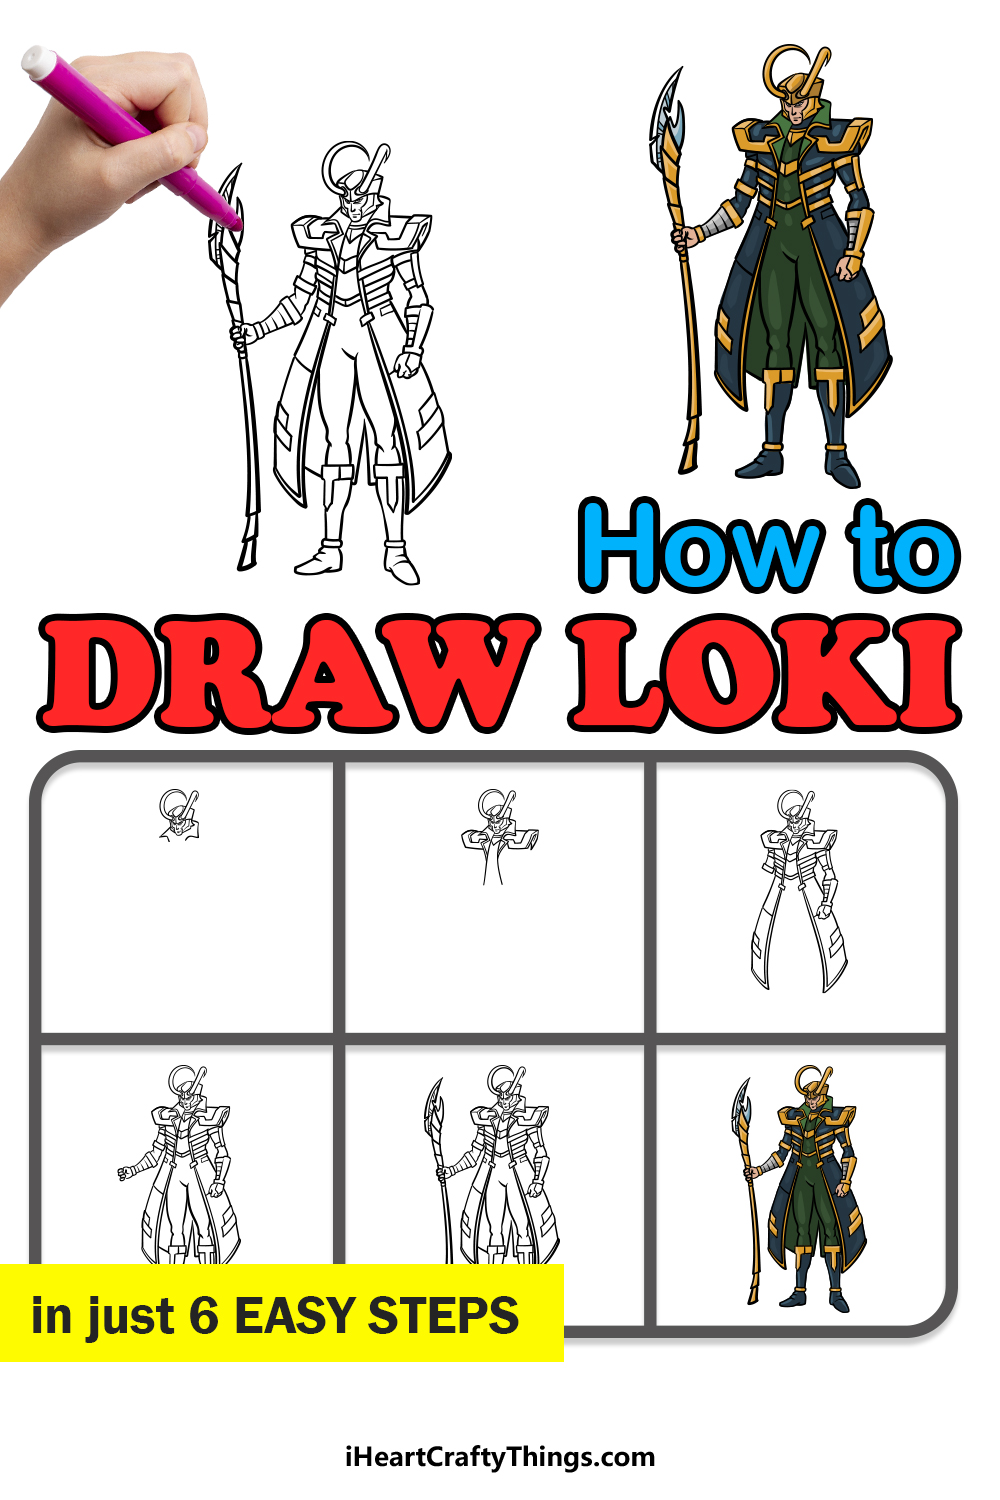
We hope you enjoy working with us on this awesome step-by-step guide on how to draw Loki in just 6 easy steps.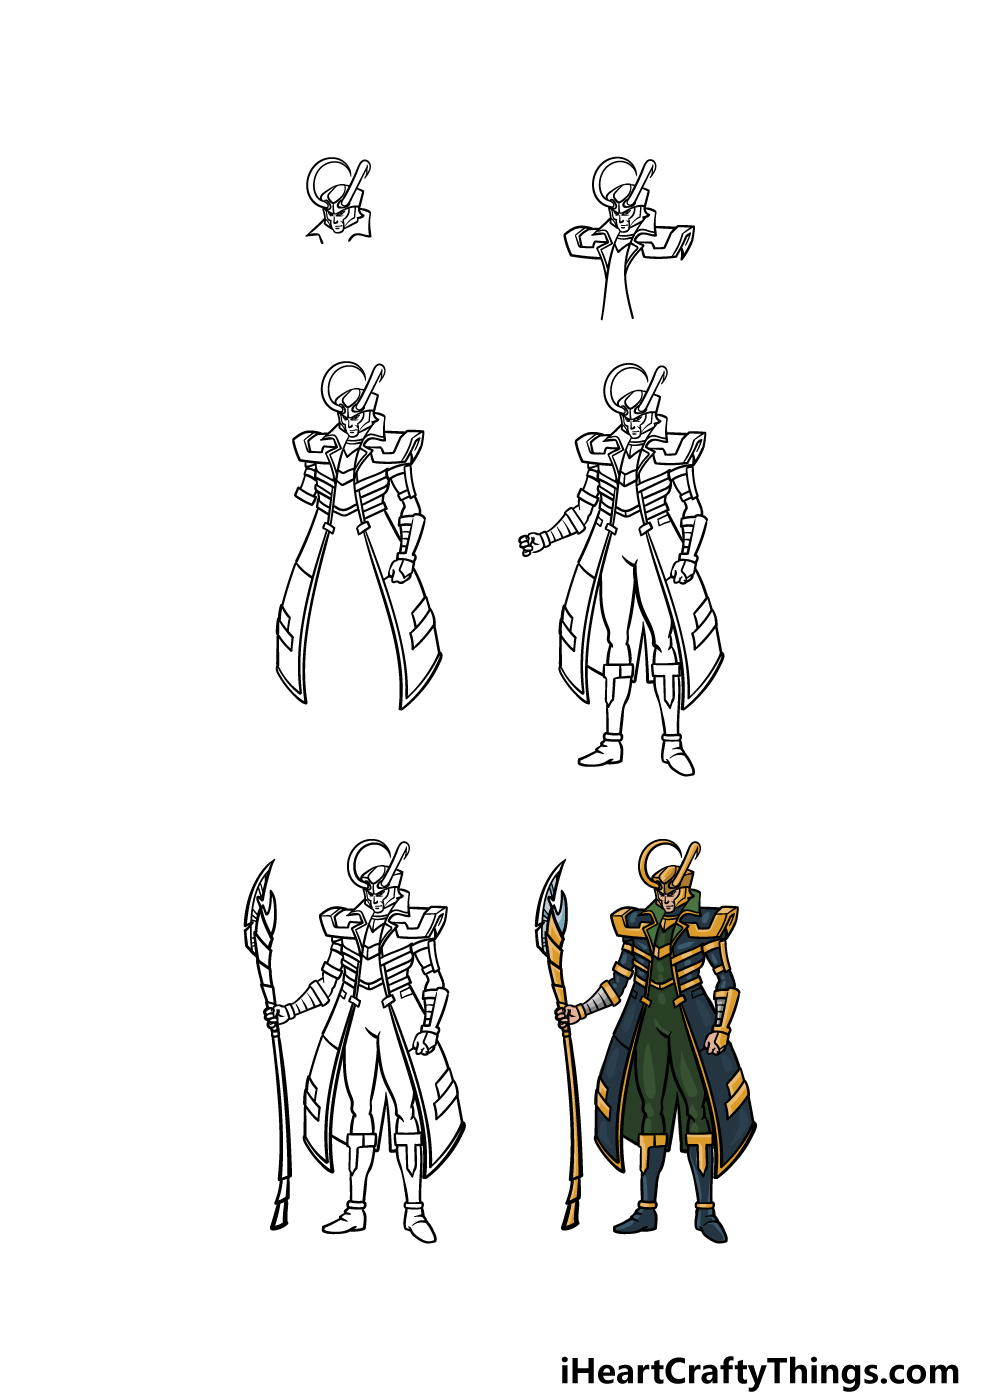
How to Draw Loki – Let’s Get Started!
Step 1

The design that we will be drawing in this guide on how to draw Loki will be based on his classic Marvel comics outfit.
The helmet that he wears in the comics and films has long horns on it, and these are what we shall start with.
For the horn on the left, use some curved lines to create the crescent shape of the horn. Use some more curved lines for the one on the right, but this one will look a bit straighter due to the angle it is at.
His helmet is quite large and angular, and there will be a small opening for his face at the front. You can also draw his face with his intense expression into that opening.
Finish off this step with some more curved lines for the large collar of his cloak, and then we can move on to step 2!
Step 2 – Now, draw the large shoulder portions of his cloak
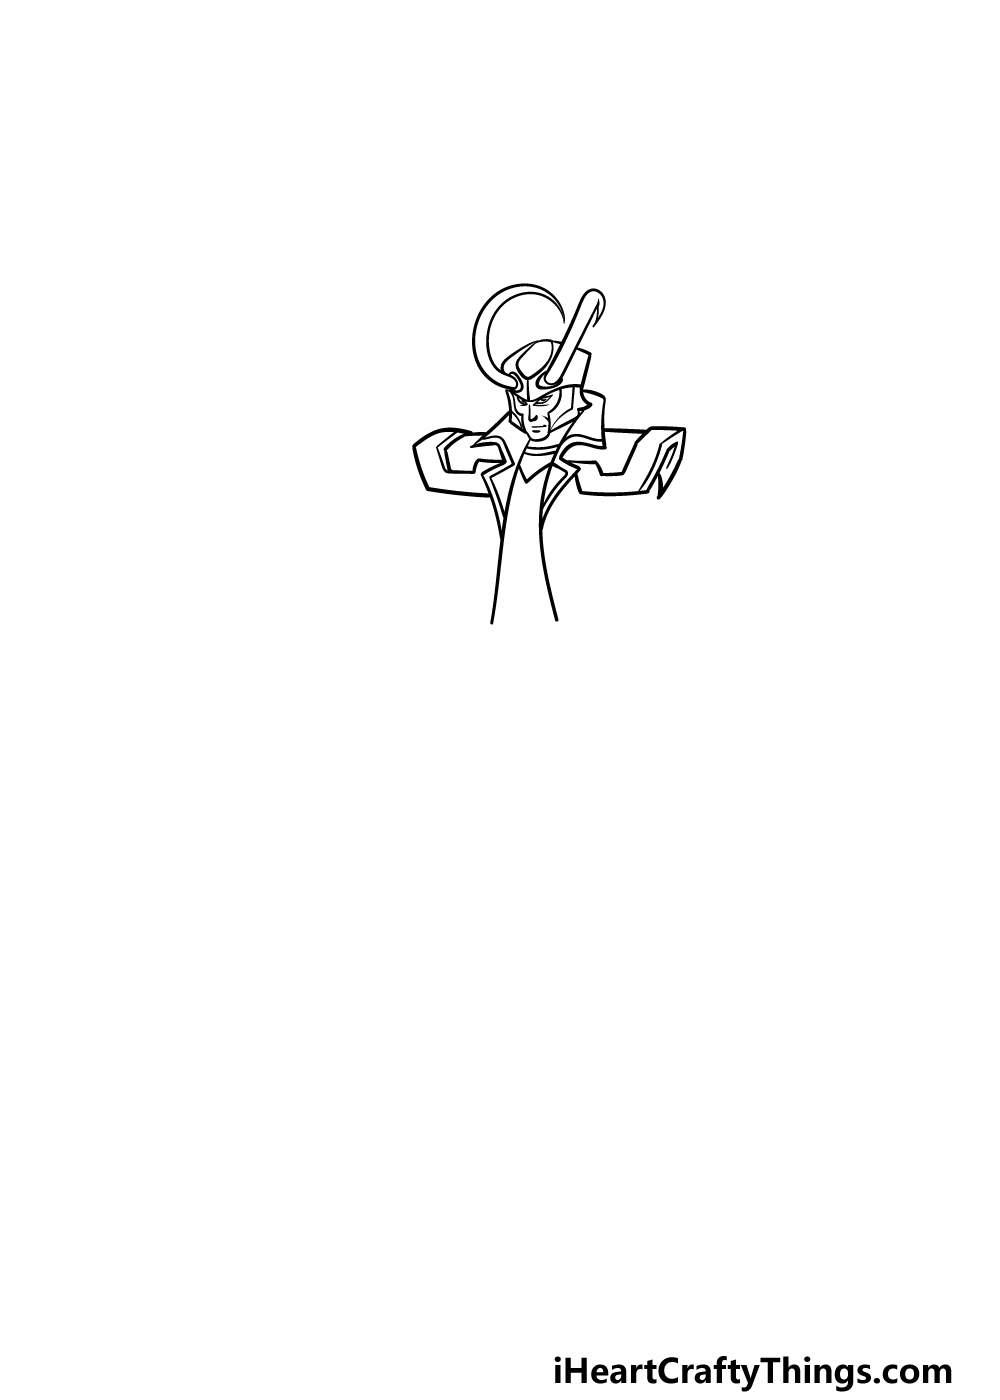
The shoulder portions of Loki’s cloak are quite large and squared, and we shall be adding them in this part of your Loki drawing.
Draw some straight horizontal lines for the top edges of these shoulder portions to start. Then, draw the thick angular outlining rims of the shoulder pads.
These sections can be a bit tricky, so you may want to closely copy the reference image that we have provided.
Then, add some pointy lines for the lower portions of the collar, and then extend some more curved lines down for the opening of his cloak over his chest.
Add a rim at the edges of these collar elements, and then we can move on to step 3.
Step 3 – Draw his first arm and more of his cloak
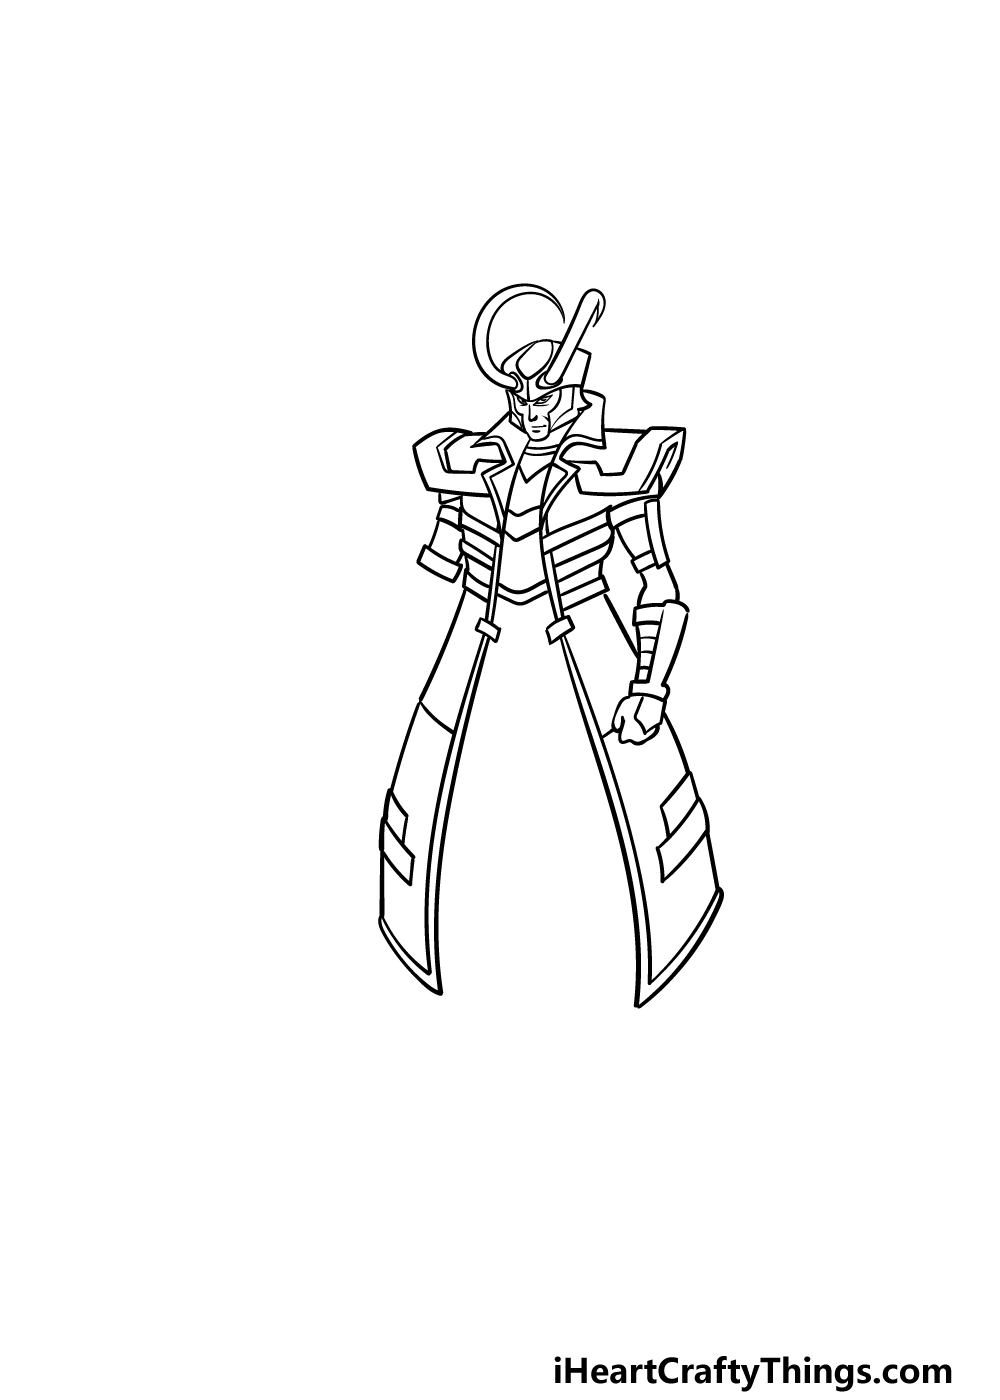
We will be adding a lot of details in this step of our guide on how to draw Loki! First, we will be drawing the arm on the right.
This arm will be hanging casually at his side, and the hand there will be clenched into a fist. His cloak has many individual details, sections and little pads throughout it, and this is true for this arm as well.
We will then be using some thin, rectangular shapes for the sections of his cloak dropping down, and you can draw the front portions using some flowing squared shapes.
Once you have it looking as it does in our reference image, you will be ready for step 4.
Step 4 – Next, draw his other arms and start his leg outlines
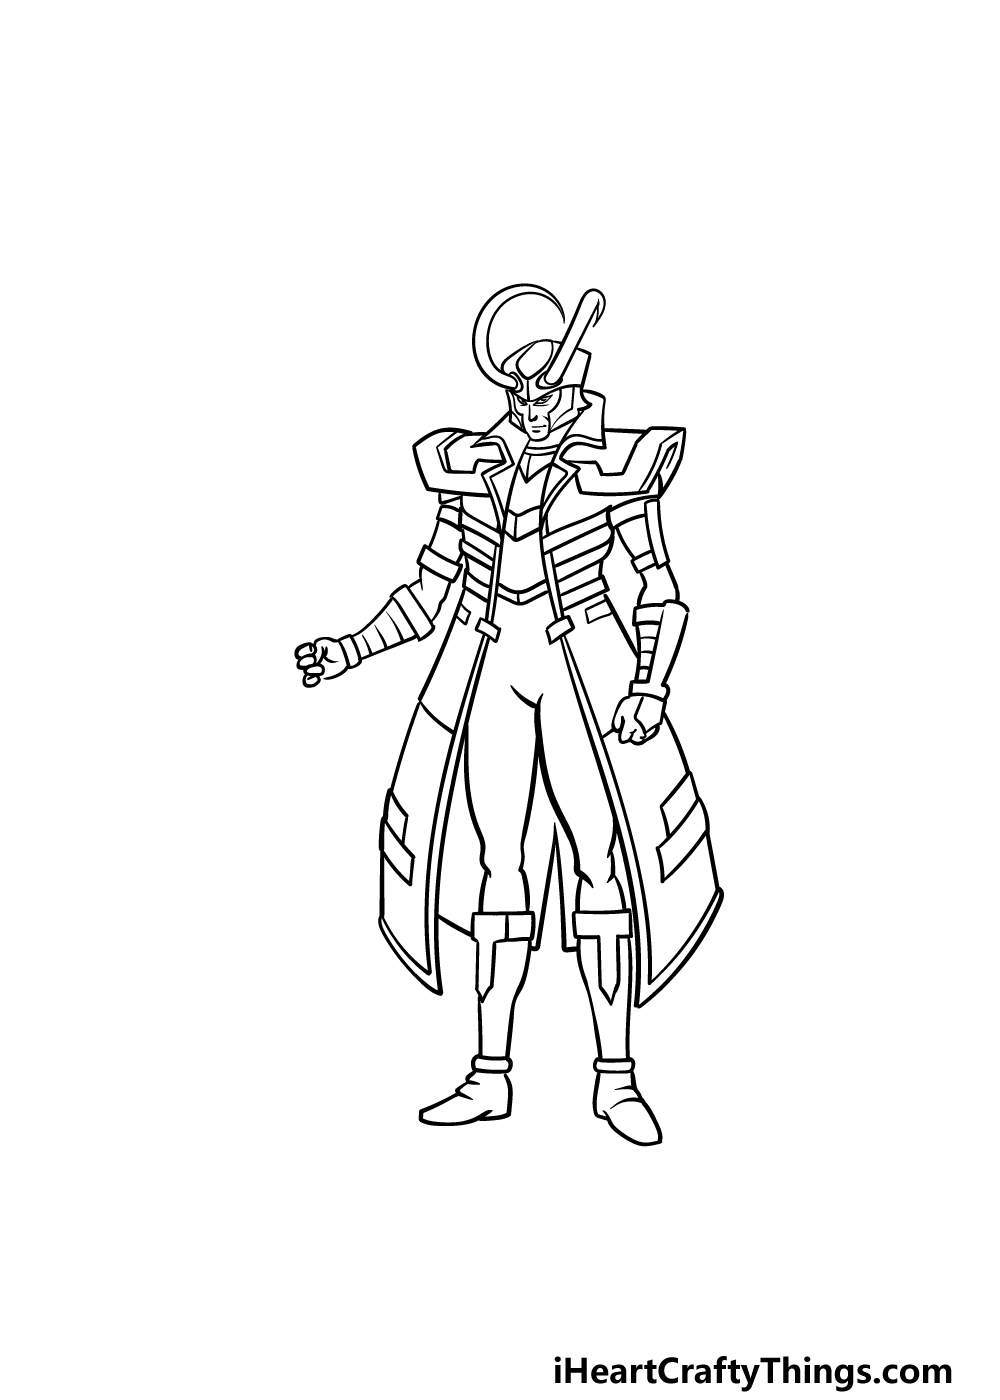
This step of your Loki drawing will see you finishing off the outline for his body and limbs before you add some final details in the next step.
The arm on the left will be raised up a bit, as it will be clutching onto the staff that we will be drawing in the next step.
Otherwise, the design of this sleeve will look very similar to the other arm that you just drew,
The tops of his trousers will be drawn with some smoother lines, but his boots will have a similar amount of details to the rest of his clothing. Now you will be ready to proceed to the final details in the next step!
Step 5 – Add the final details to your Loki drawing
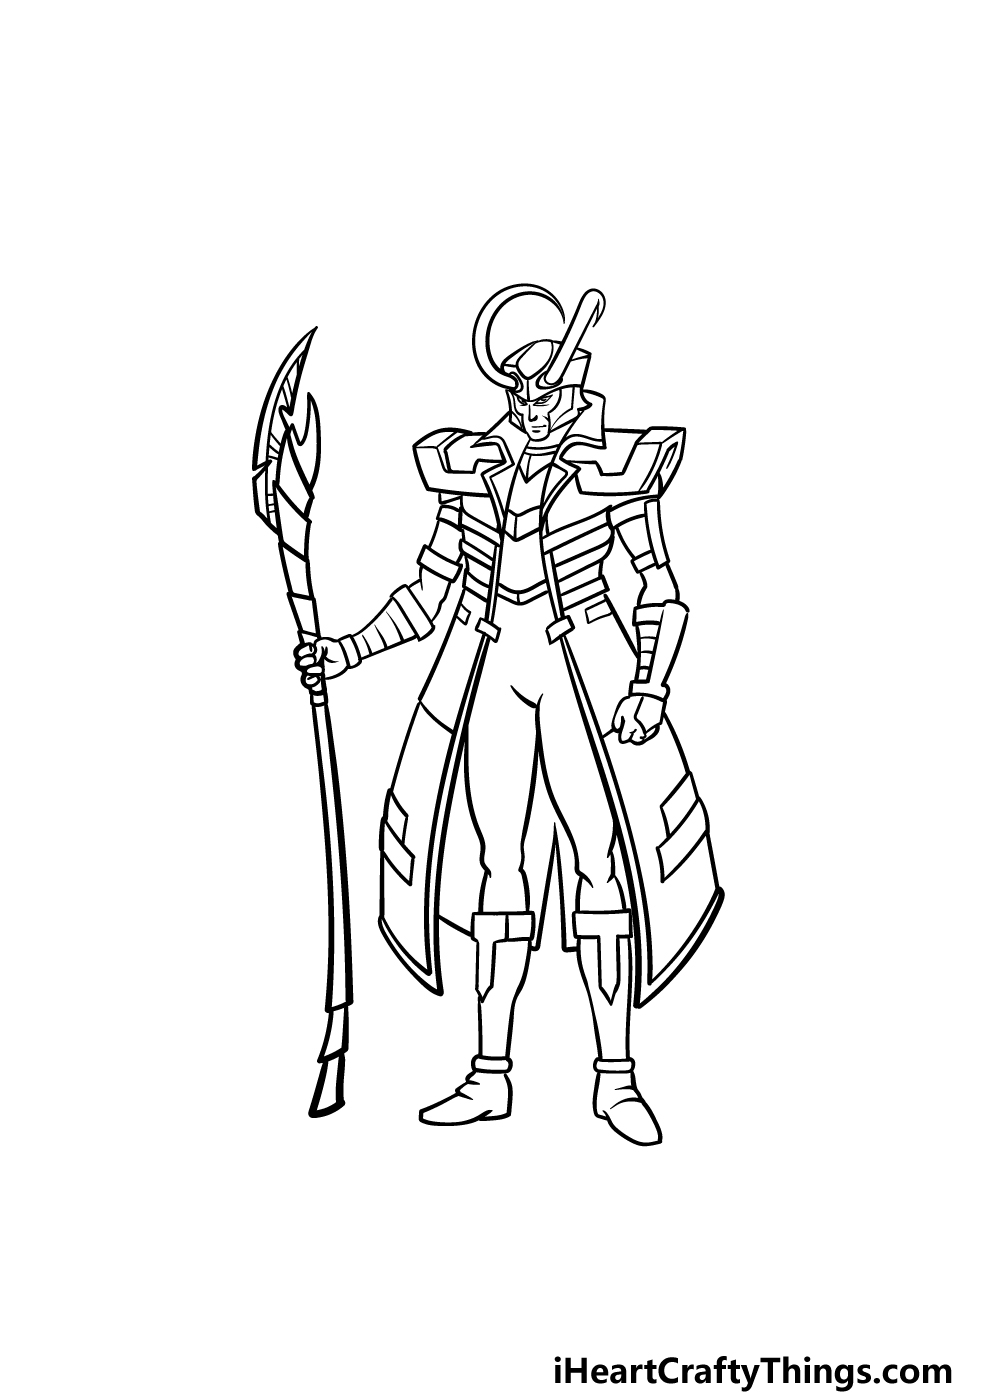
Loki is rarely seen without his famous staff, and this is what we will be drawing in this step of our guide on how to draw Loki.
The staff actually has a bit of a curved shape to it, so we will be using some wavier lines for the outline.
Much like the various parts of his clothing, there will be a lot of smaller sections of details on the staff. The tip will also be large, curved and sharp.
When you have drawn this staff, you could also add some ideas of your own! One would be to draw a background, and this would be a great way to show off your favorite Loki scene.
Step 6 – Finish off your Loki drawing with color
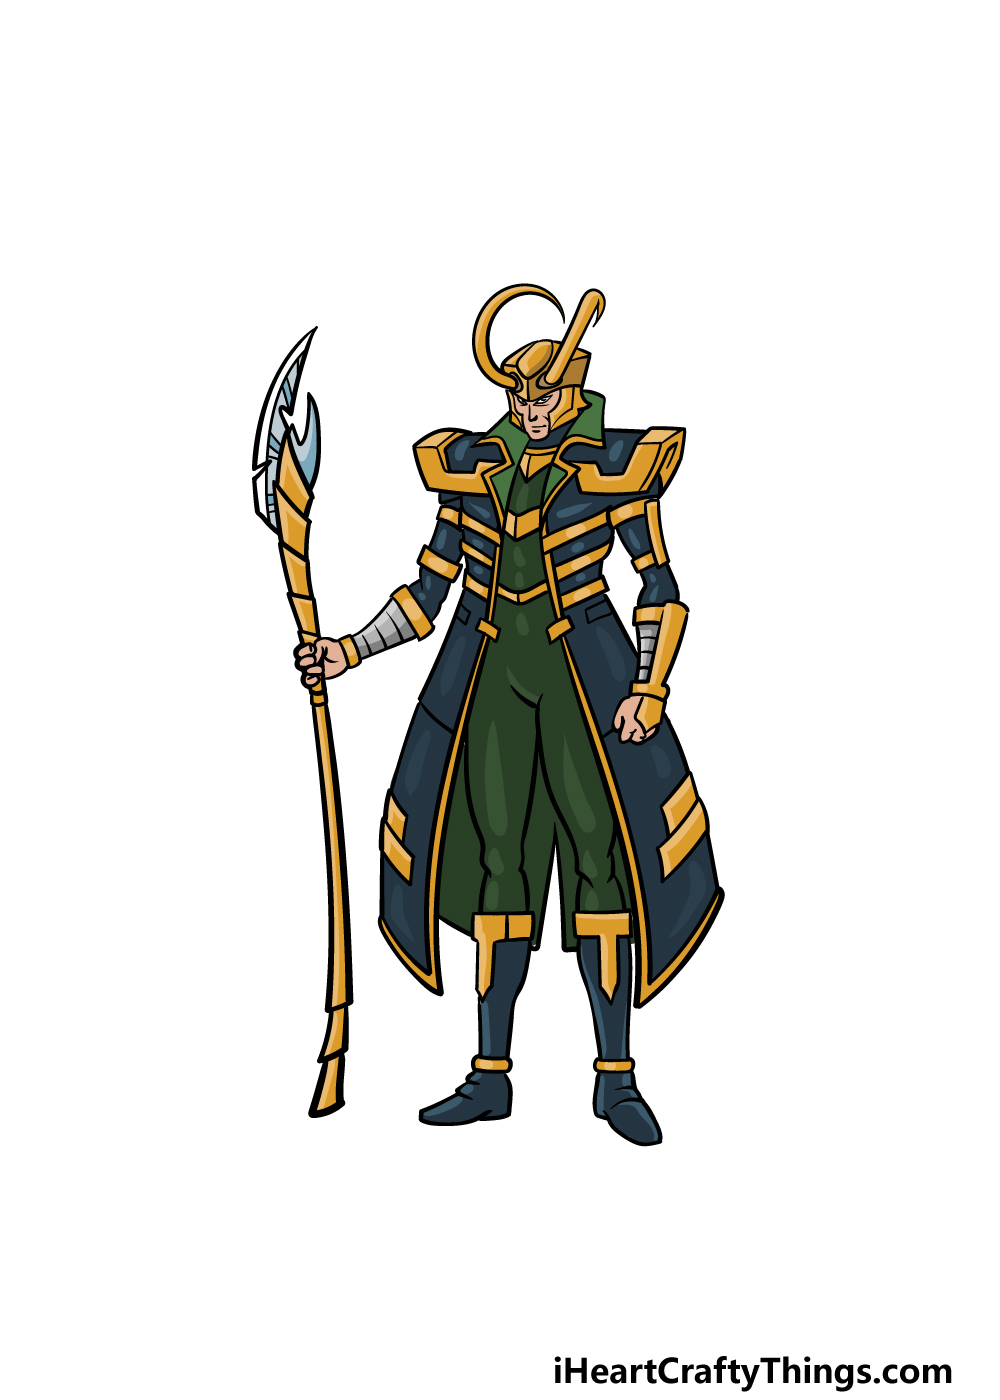
To really finish off this Loki drawing we will need to add some color! In our reference image, we went with the classic colors this character is usually seen with.
This means that we used greens with some yellow highlights for most of his outfit.
There are also some elements of darker blues, and if you want him to look like his comic appearances then you can try to copy the colors we used here.
You could also change things up a bit by incorporating some unique color choices of your own or by changing up the art mediums that you use. How will you finish off this incredible Loki drawing?
Do this to take your Loki drawing to the next level
Make this portrayal of the trickster god even better with these tips for your Loki sketch!
This drawing of Loki shows him as he appears in the Marvel comic books. This is just one of the many looks he has had in his comics history, though!
You could show what your favorite incarnation of Loki from the comics is by changing a few details to make him match that look.
With so many years of comic history to choose from, you could create a really unique look for him,
Do you have a favorite look for Loki that you could use here?
Loki is also well known for his appearances in many Marvel films and TV shows. That means that you have even more looks that you could recreate!
Instead of using the comics as your inspiration, you could instead give him a look from the films. Even with this restriction, you would still have many different looks to recreate.
If there are too many to choose from, you could draw a few different versions that show off your favorite looks.
Another way you could make this Loki drawing even more interesting would be by adding some more Marvel characters. The most obvious choice would be Loki’s brother Thor.
If you were to add Thor, then you could base him on the same source you used for the details of Loki.
Thor would be the perfect character to add, but there are so many cool Marvel characters that Loki could interact with!
Finally, you could show off your favorite Loki moments by adding a background to your Loki sketch! There are a few ways that you could do this.
You could pick a scene or a moment from the comics, films or TV shows that Loki appears in and then use it when drawing your background.
Or, you could create a whole new adventure for Loki by drawing a completely new setting he has never been to in any of his appearances.
Your Loki Drawing is Complete!
You have completed this guide on how to draw Loki, and now you have an awesome picture featuring this mischievous god!
There were a lot of details to add in this image, so we hope that this guide made it fun and easy for you to achieve all of them.
Remember that you can also keep the drawing going by adding your own details, background elements and color choices to create a more personalized picture.
When you’re finished drawing Loki, you can then head on to our website for access to more amazing drawing guides. We have many more coming soon, so be sure to check in often!
Please also remember to share your finished Loki drawing on our Facebook and Pinterest pages so that we can see how it turned out.