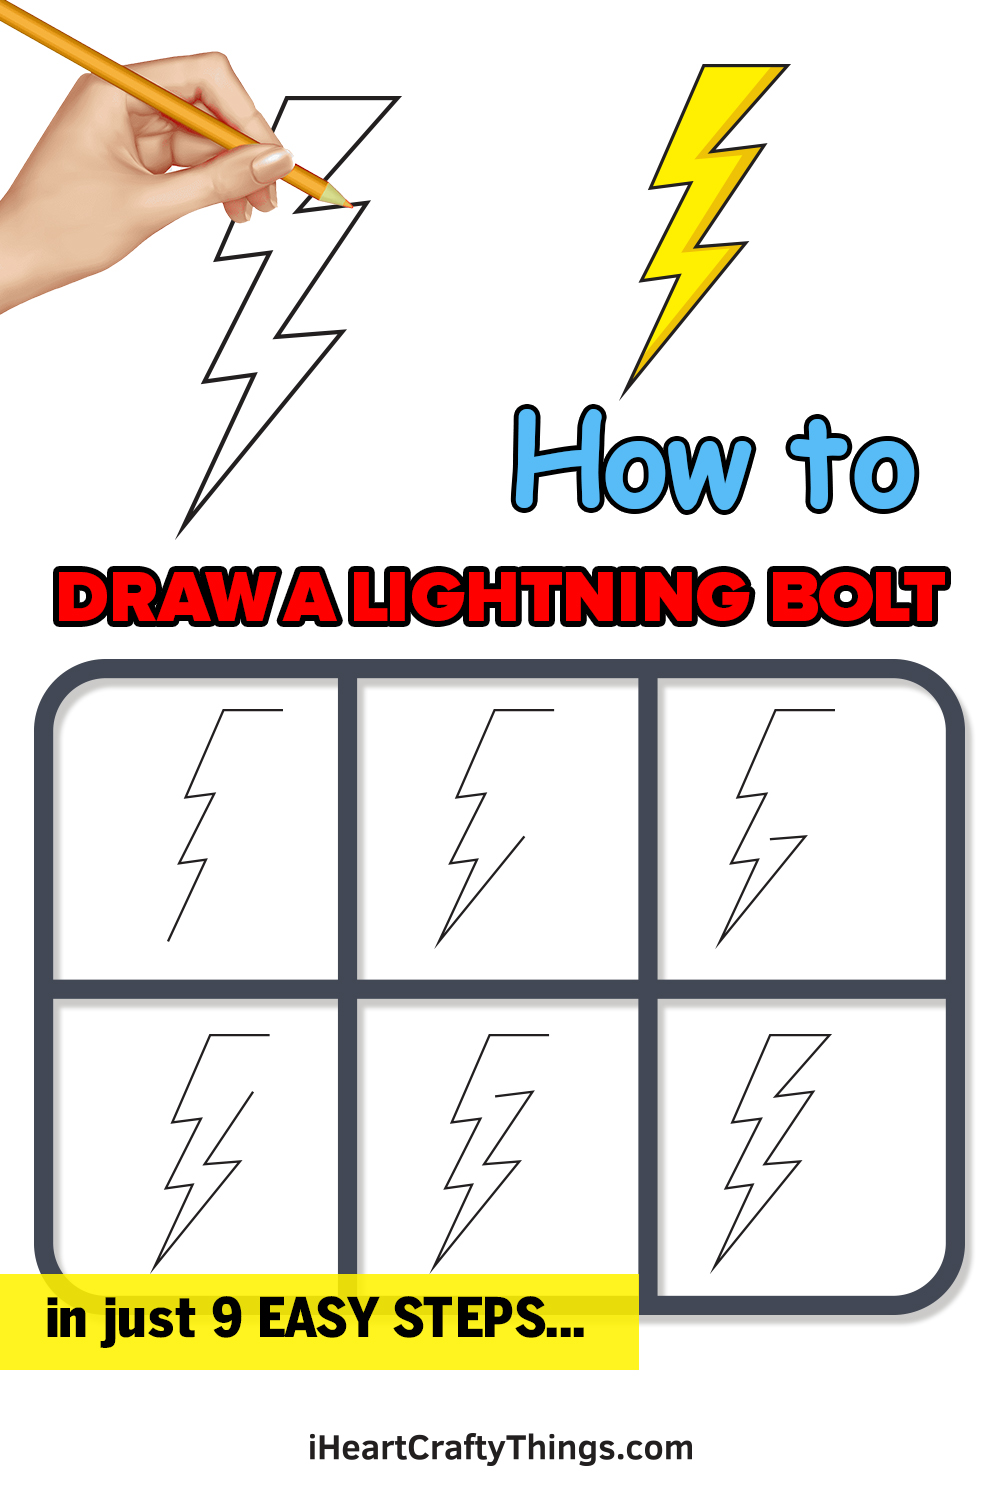
Have a bolt of creativity as we learn how to draw a lightning bolt together! This tutorial for kids will make this famous design much easier for you to draw.
Lightning bolts are hard to see in real life, as they are so brief and fast. However, the lightning bolt has still become a popular symbol for various things.
It can symbolize something being fast and vibrant and it can also be used in drawings depicting big storms. Whatever your reasons for making a lightning bolt drawing, you can find that it’s trickier than you think.
This guide aims to fix that, as I will guide you through each step until you can easily make this design yourself. You just need a few tools, some time and perseverance and you will have your finished drawing in no time!
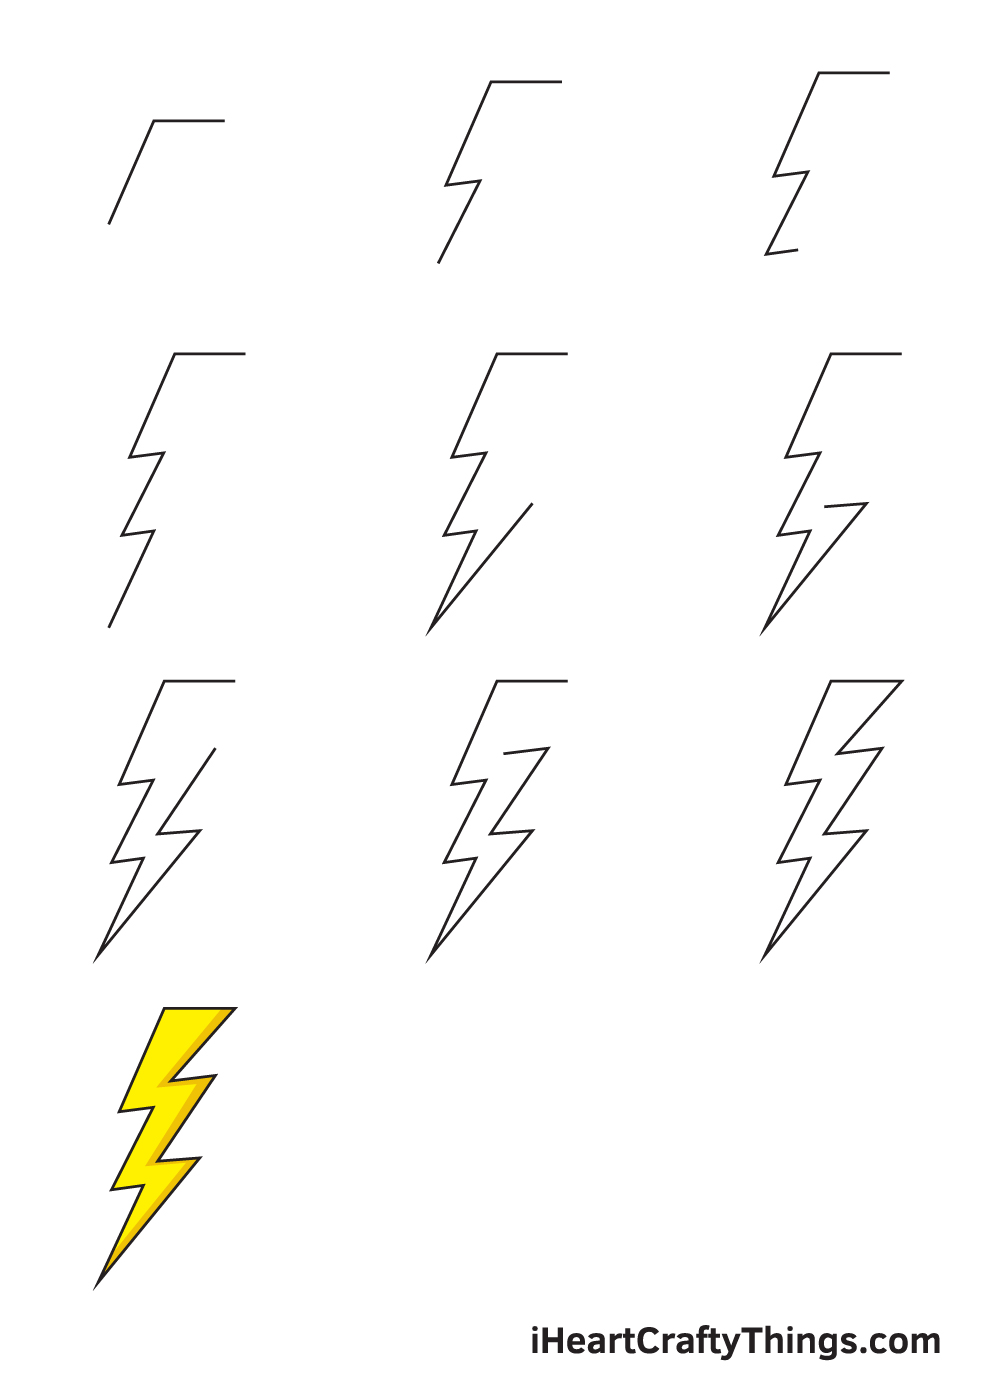
Watch This Guide To Create Your Lightning Bolt Drawing
How to Draw a Lightning Bolt – Let’s get started!
Step 1

To start, draw a straight horizontal line on the upper right portion of your paper. Then, starting from the left end point of the horizontal line we drew just now, draw a downward diagonal line heading left.
At this point, you should have now completed the topmost part of the lightning bolt.
The spot where you start drawing is crucial. By starting at the upper right corner of your paper, you’ll have enough space for the entire lightning bolt because its shape is typical diagonal.
Remember, every line we’ll be drawing in the following steps always starts at the end point of the previous line. Keep this in mind and you’ll be able to follow the instructions effortlessly.
Step 2 – Outline the Top of the Lightning Bolt
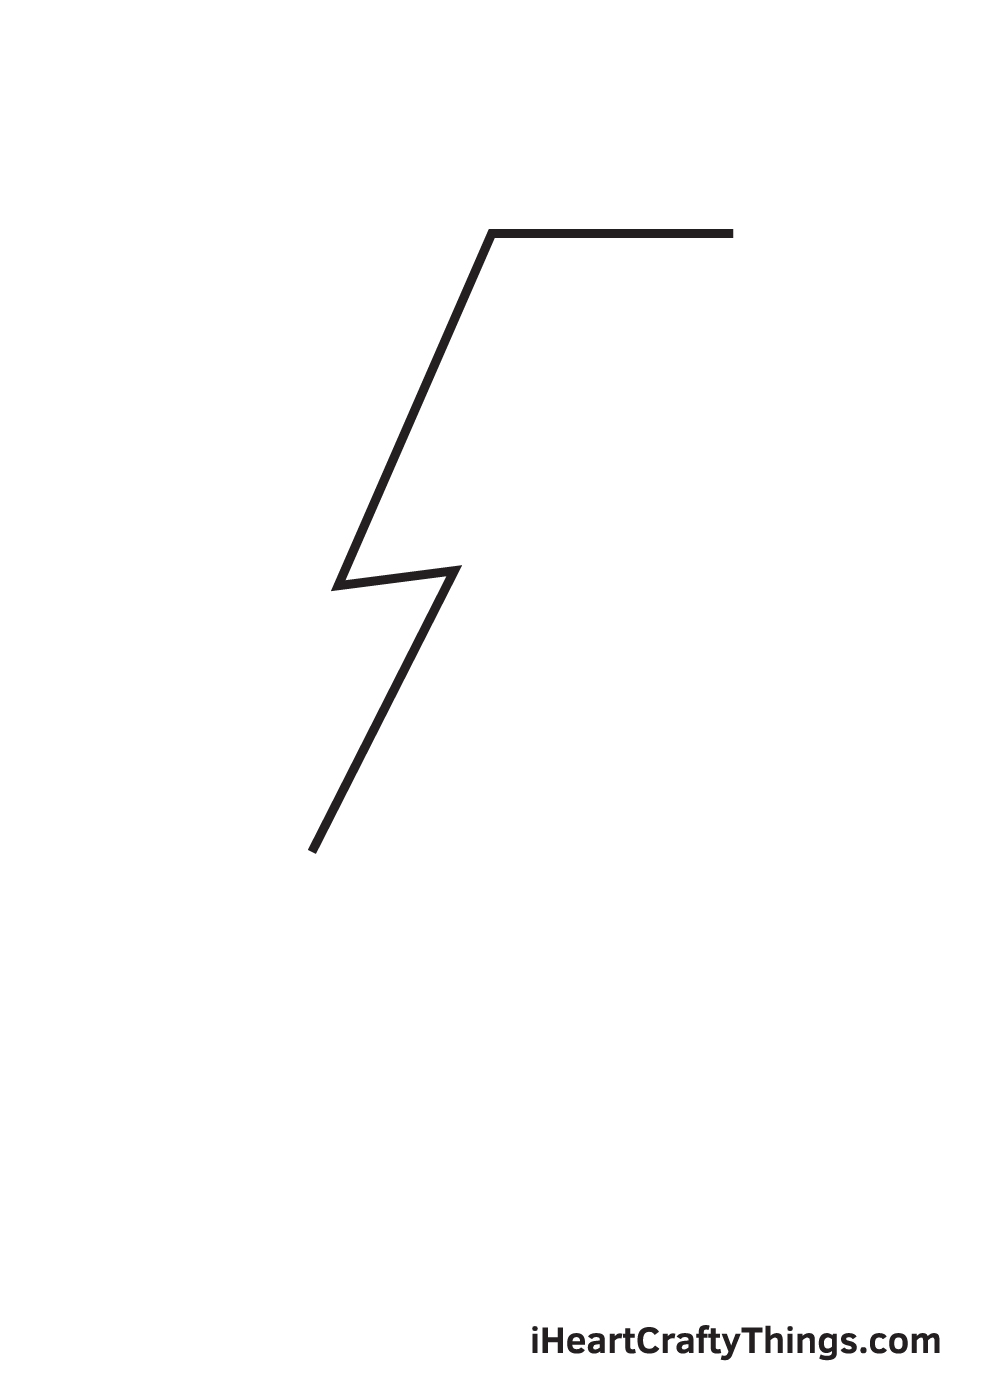
Draw an upward diagonal line starting from the bottom end point of the last diagonal line we drew in the previous step.
Afterwards, draw another downward diagonal line emerging from the tip of the previous line.
Step 3 – Refine the Zigzag Shape of the Lightning
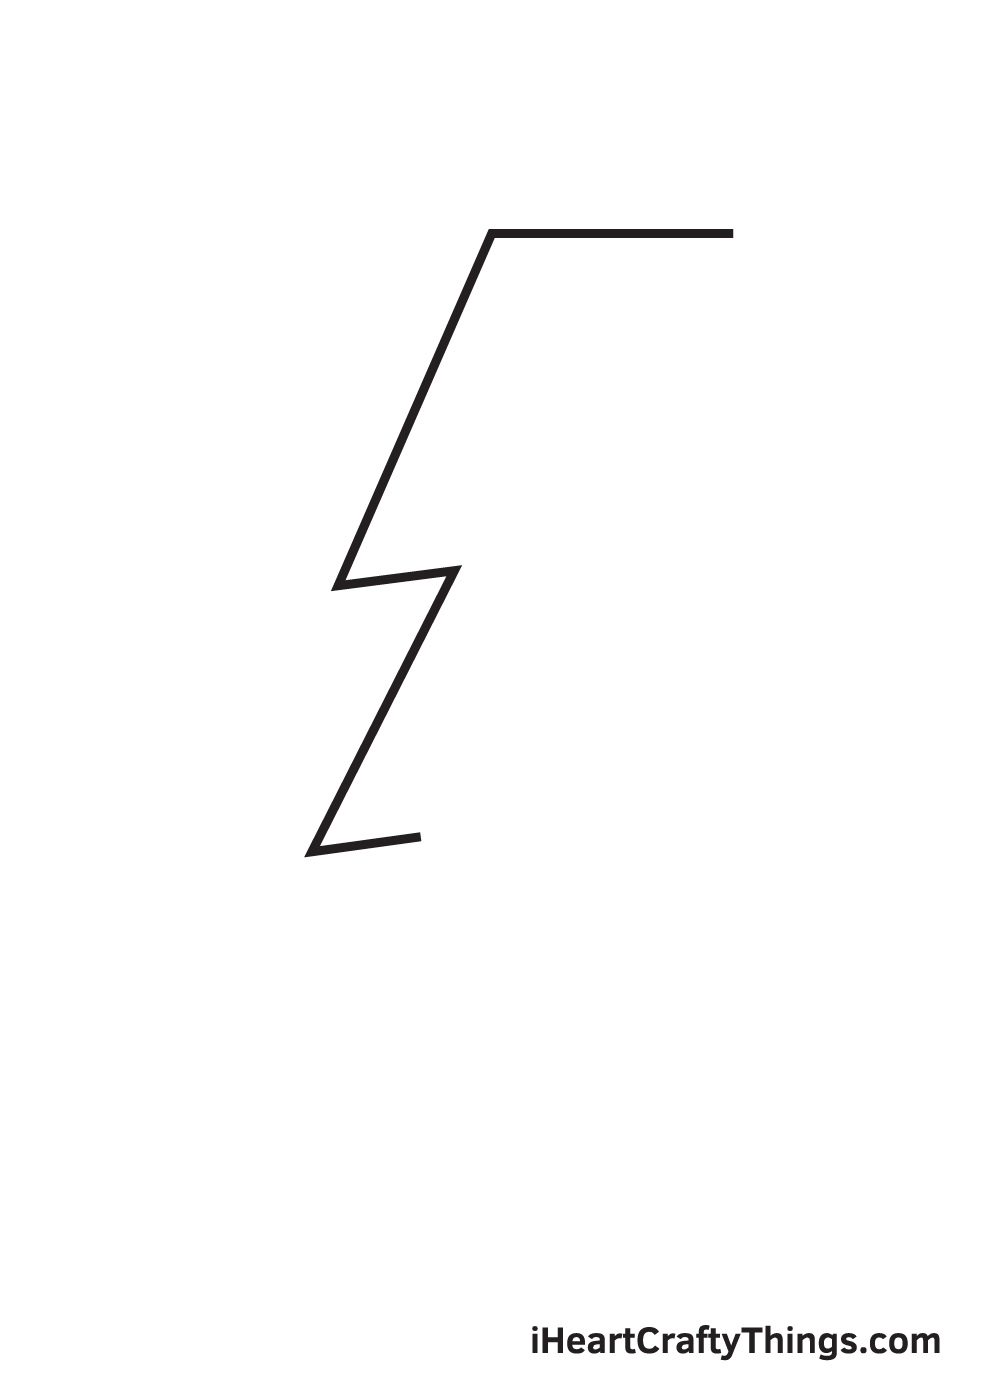
Draw a short upward diagonal line heading right connected to the diagonal line we previously drew.
Keep in mind that the structure of the connected diagonal lines should look like a continuous zigzag line.
Step 4 – Finalize the First Half of the Lightning Bolt
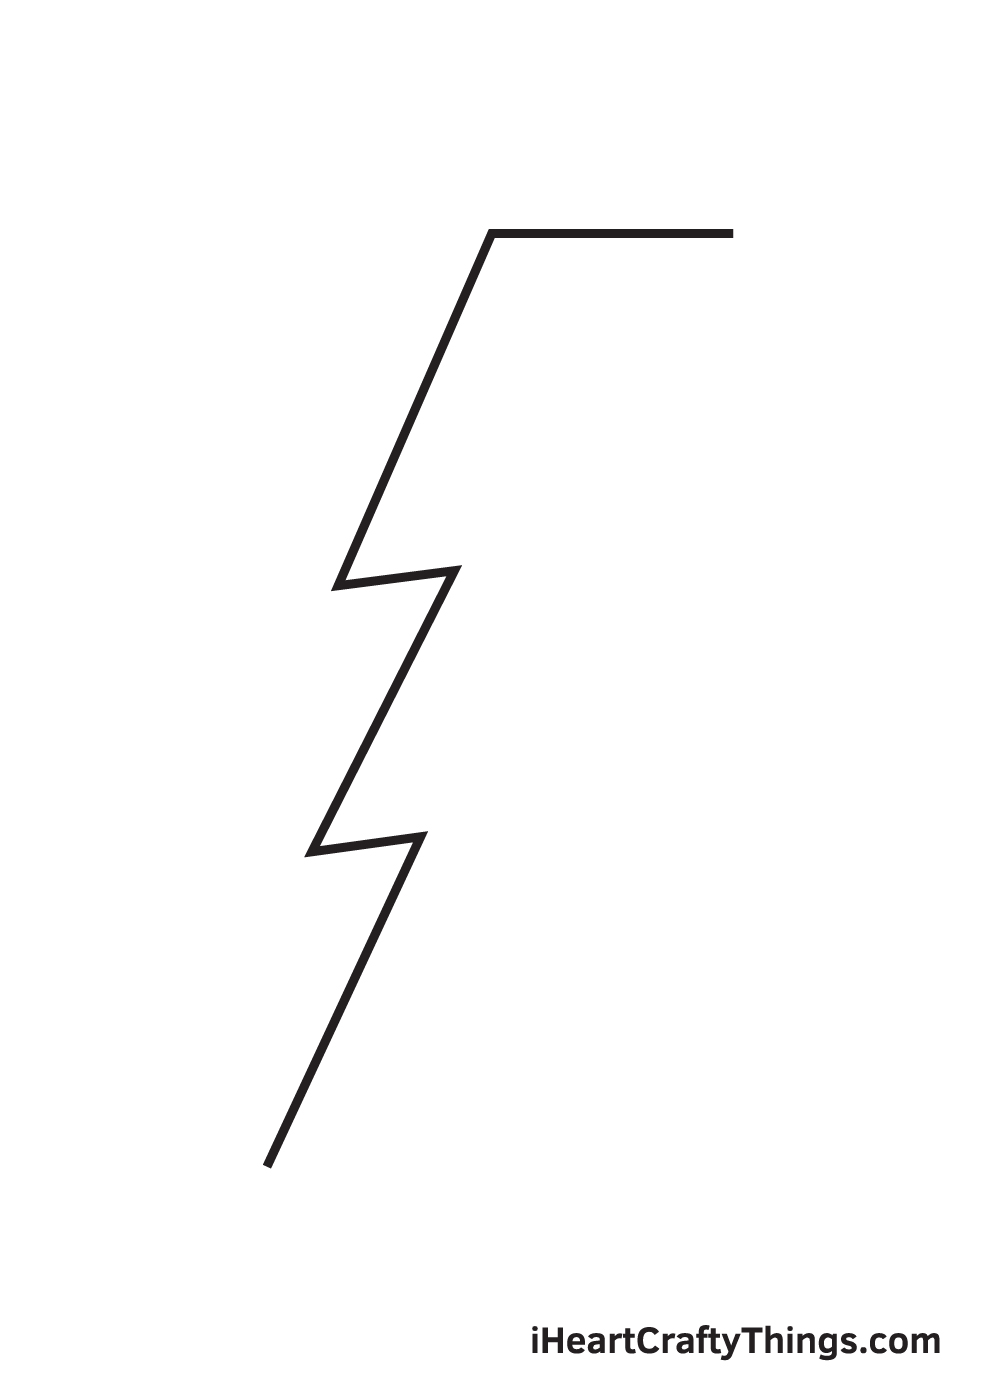
Draw a downward diagonal line to form the bottom part of the lightning bolt.
At this point, the lightning bolt should now be halfway through!
Step 5 – Now, Draw the Sharp Pointed Edge
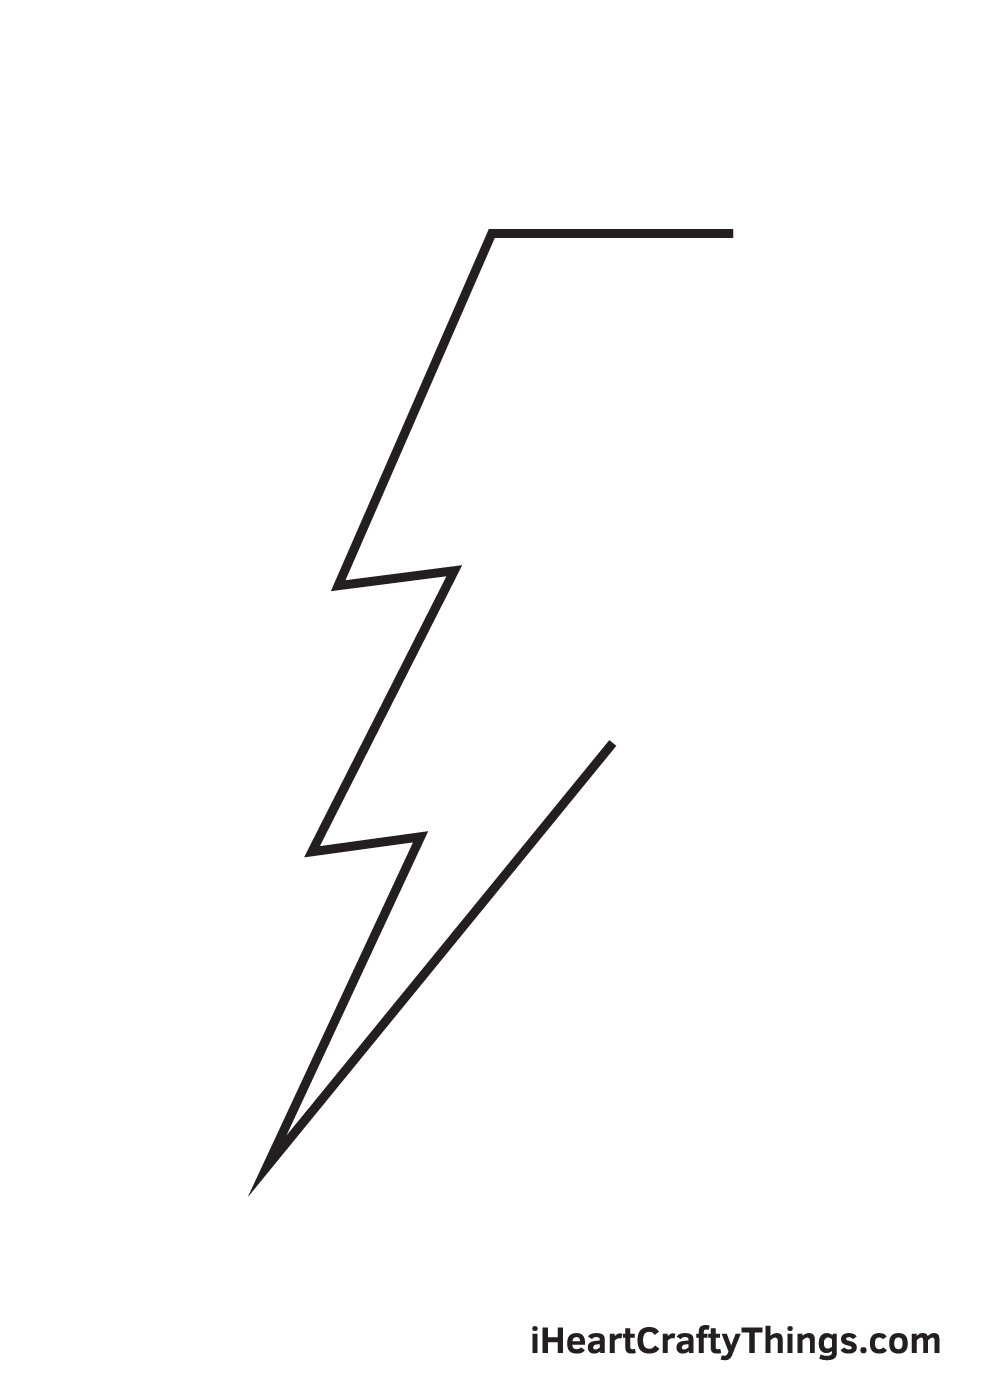
Create the lightning bolt’s razor sharp tip by drawing another downward diagonal line on the opposite side of the lightning bolt.
Make sure that the end points of this line and the one we drew in the previous step intersect, creating a sharp pointed edge.
Step 6 – Draw the Other Half of the Lightning
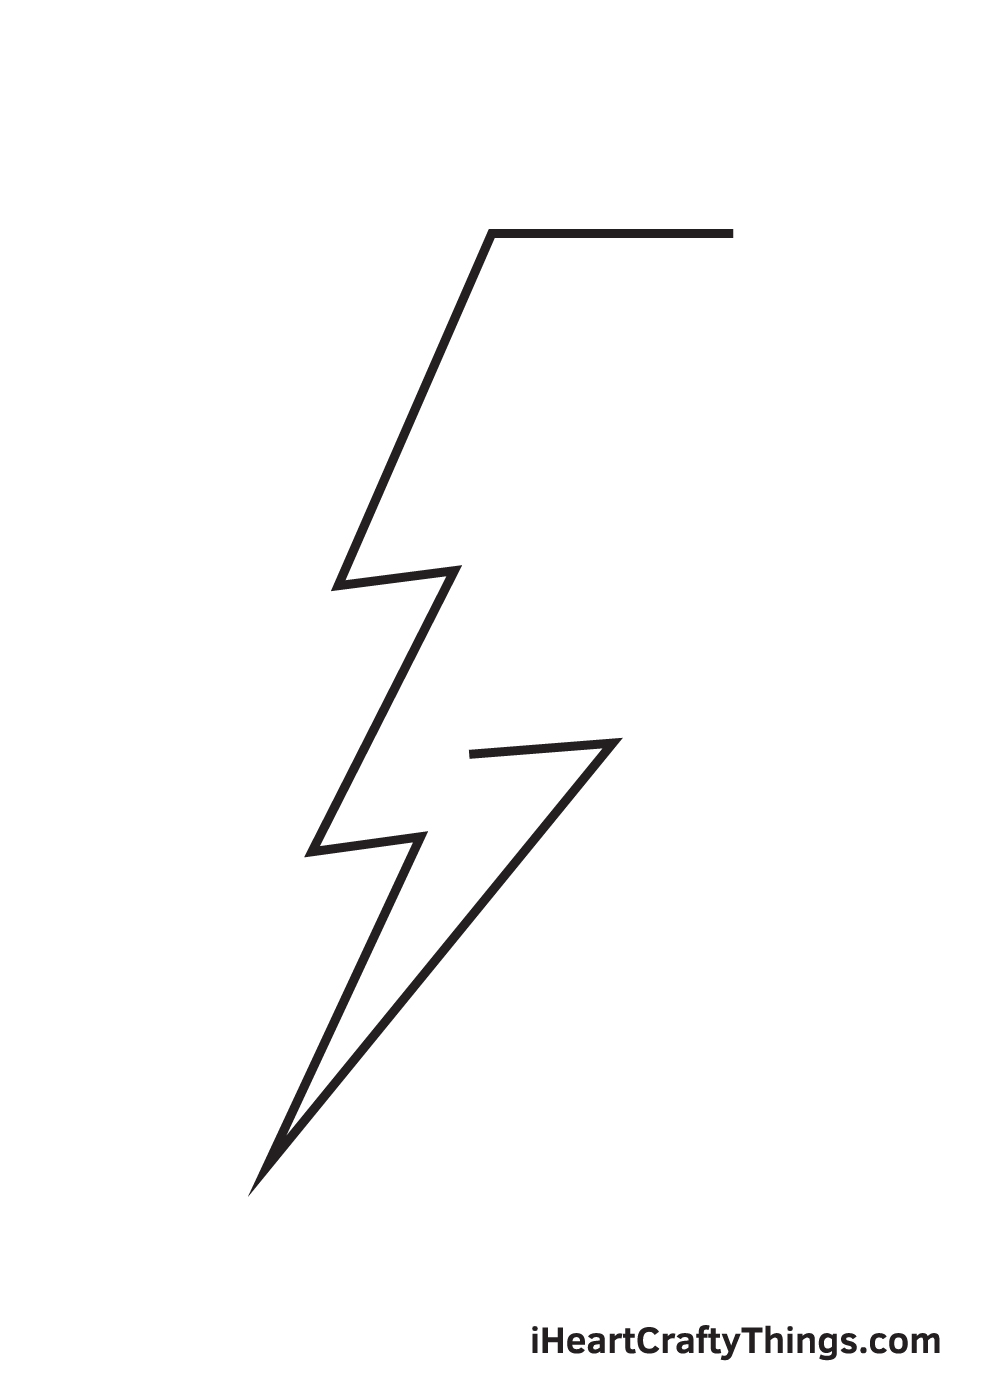
On the top end point of the previous diagonal line, draw a short straight line heading towards the left side.
This structures the first edge in the right side of the lightning bolt, as shown in the illustration.
Step 7 – Afterwards, Work Your Way Upwards
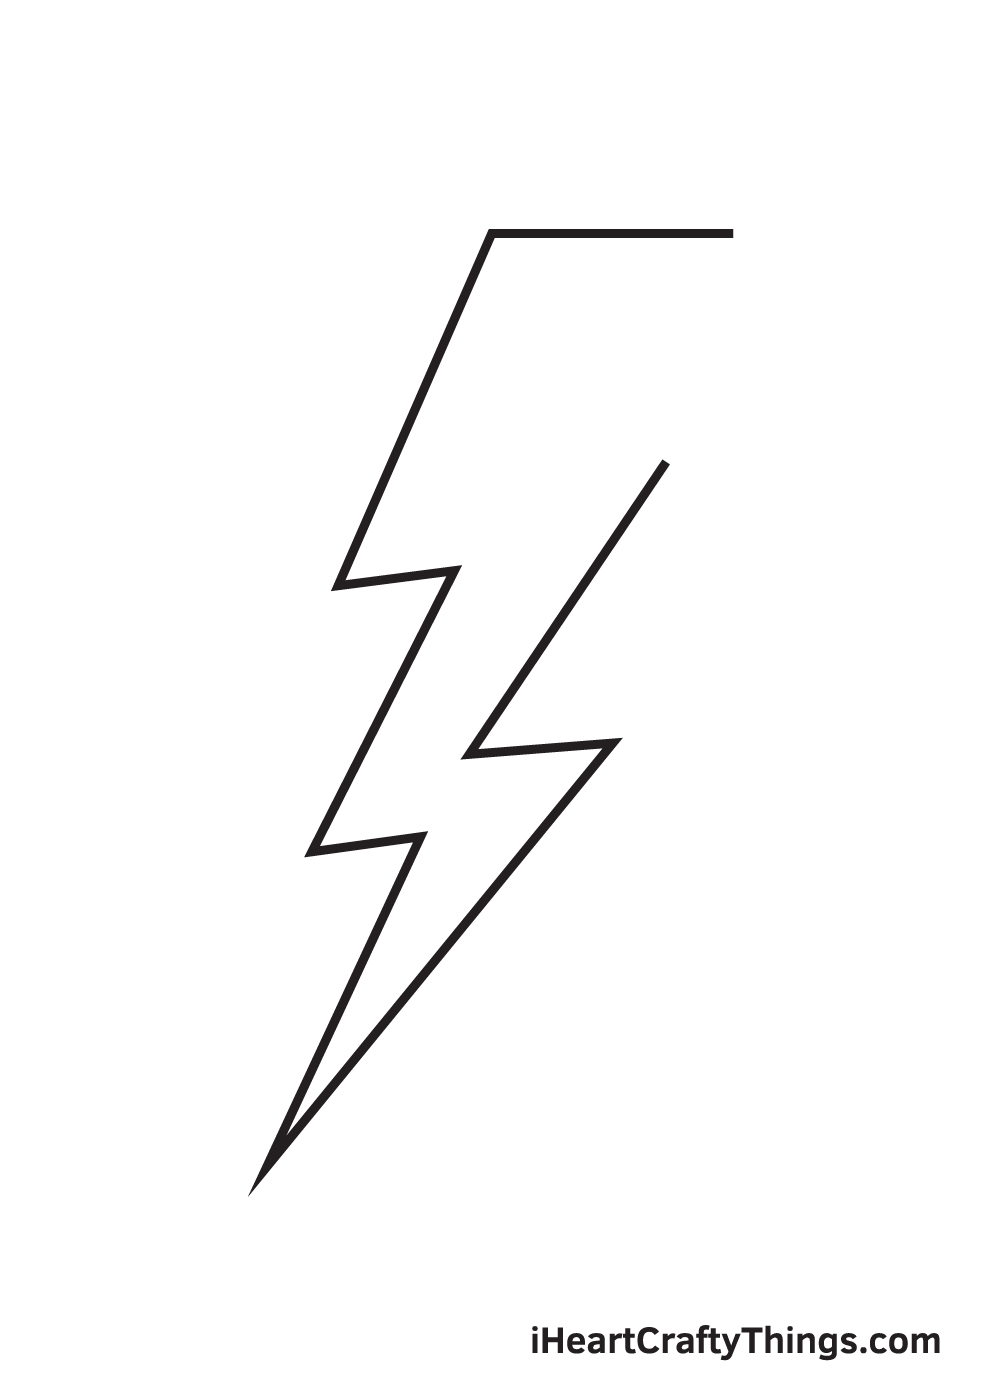
On the left side of the lightning bolt, we started from top then worked our way downwards. On the right side, however, we will be starting at the bottom and move progressively upwards.
Continue by drawing a long upward diagonal line going right.
Step 8 – Next, Draw Another Diagonal Line
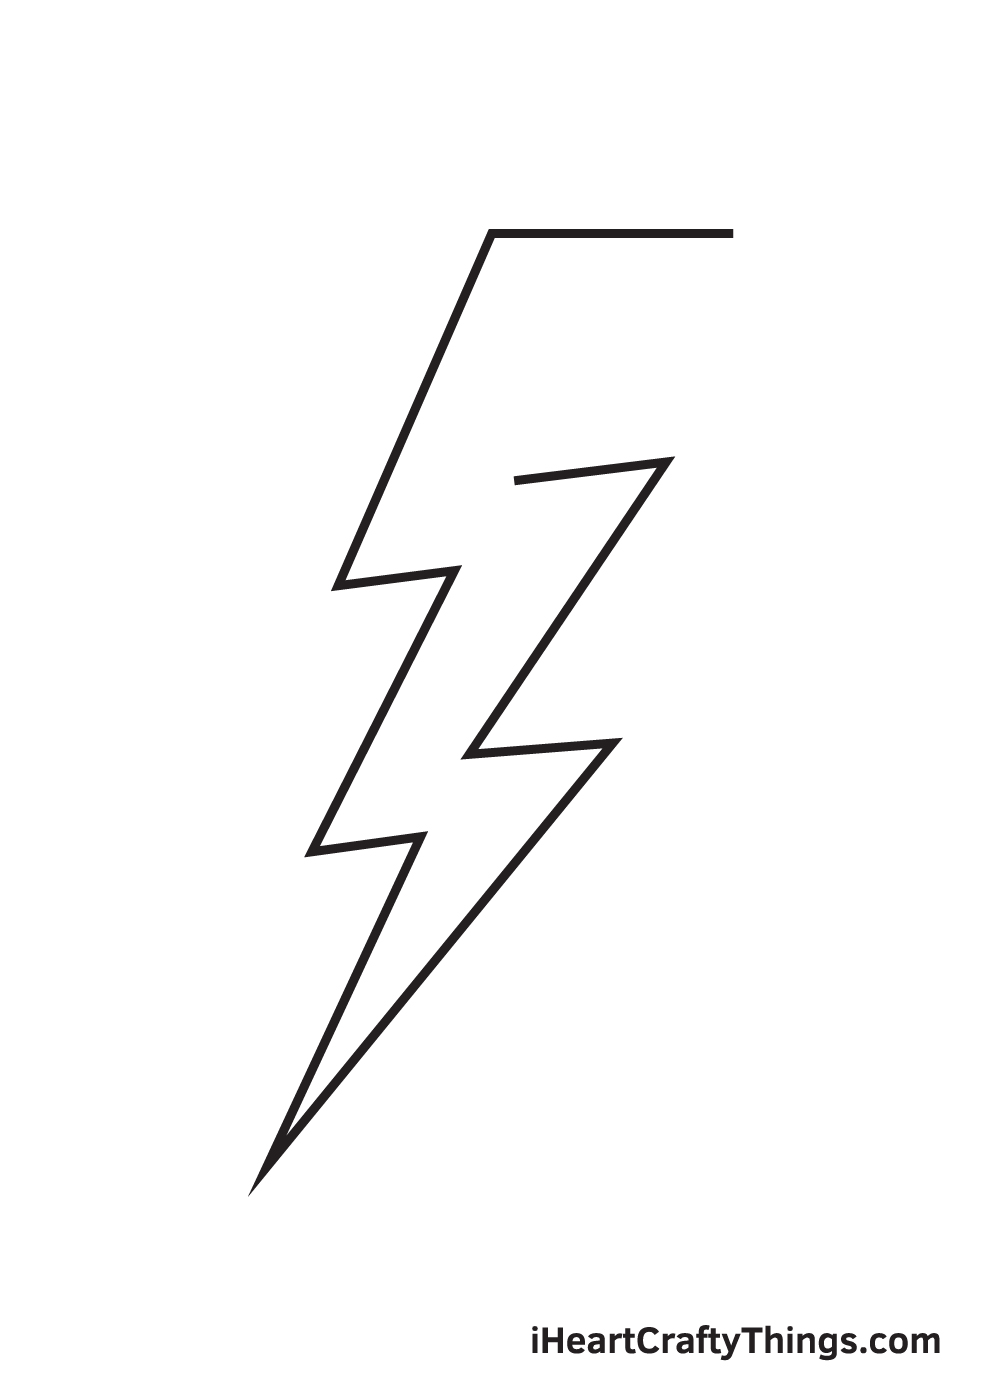
Draw a short line going to the left that is slightly diagonal.
After completing this step, there should now be only one line missing to complete the shape of the lightning bolt.
Step 9 – Connect the Lines to Complete the Drawing
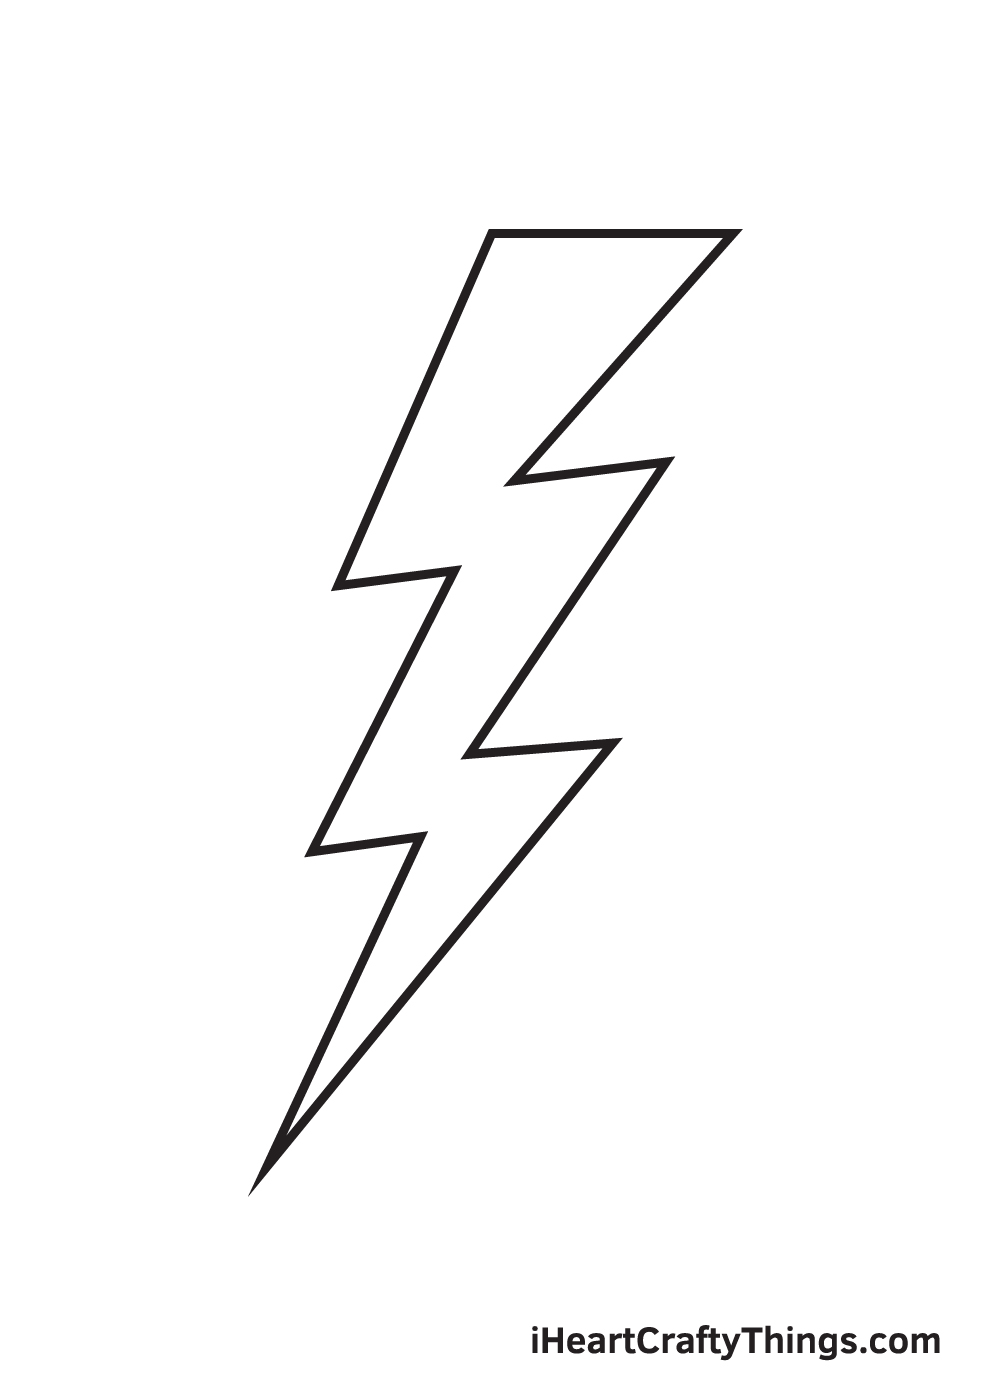
Now, draw a diagonal line on the remaining blank space to finalize the shape of the lightning bolt.
As you can see, we’re now done with drawing the lightning bolt. Now, all it needs is a splash of radiant colors to make it appear like it’s glimmer—as how it should be!
Now that we have successfully drawn a lightning bolt, it’s finally time for the most enjoyable part, which is choosing the colors and coloring your drawing!
In this step, feel free to showcase your artistic skills and your ability to mix and match different colors.
The lightning bolt is often depicted to have a white-yellow color, but it largely depends on the color of the skies when the lightning strikes.
Make the most out of your experience by picking a unique set of colors and coloring the lightning bolt however you like! You can even use some of your favorite colors. It’s all up to you!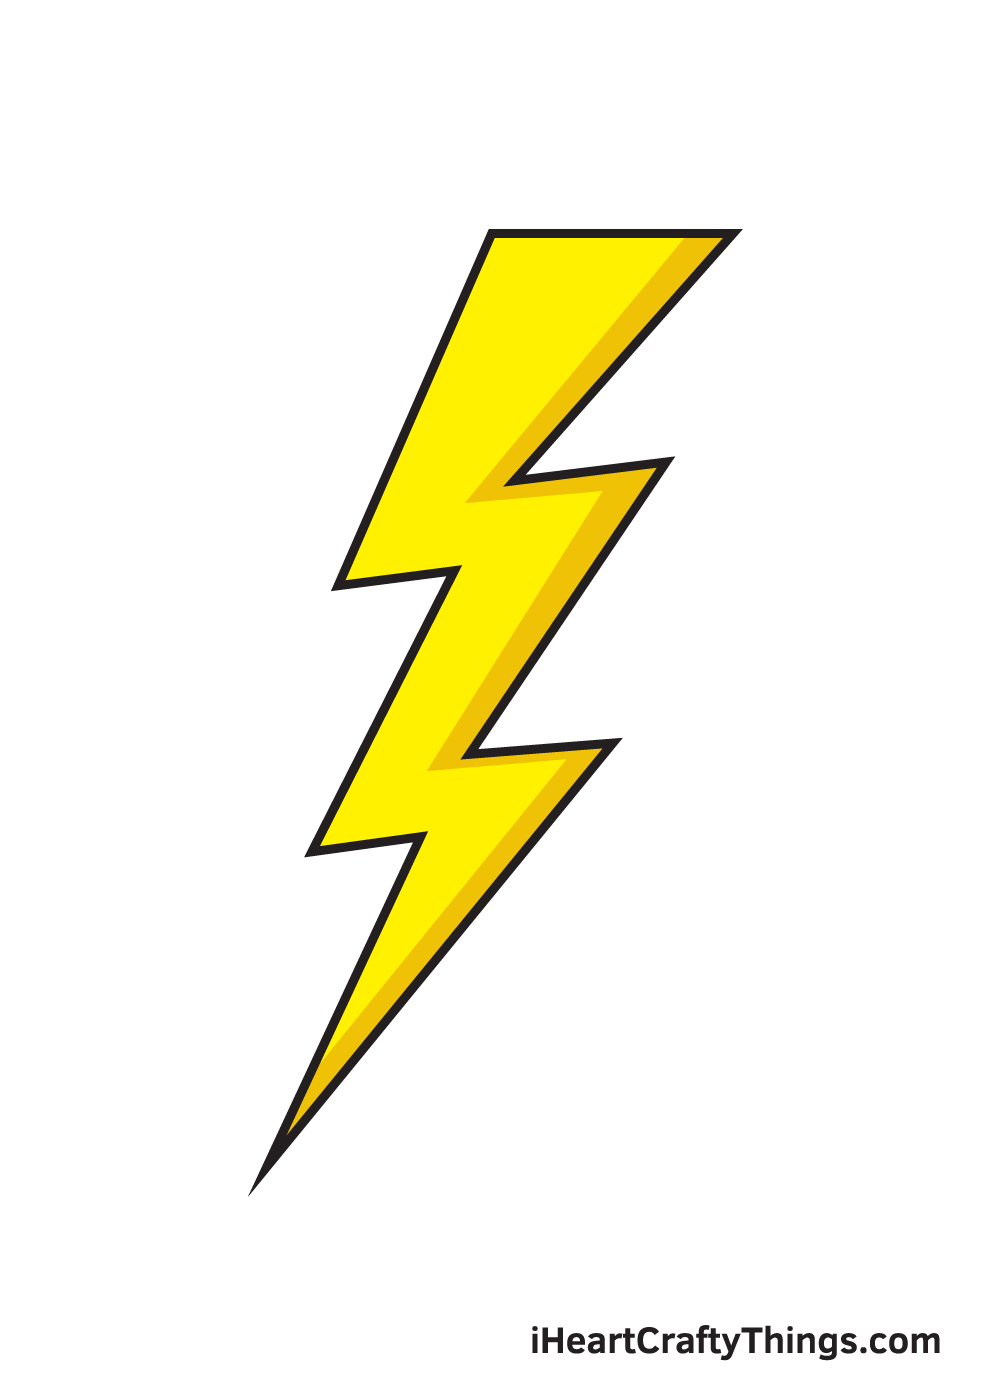
Bonus: Use This Lightning Bolt Drawing To Show Off Your Favorite Characters
Lightning is such an awe-inspiring phenomenon, and it is no surprise that it has been featured in many fictional properties. It also appears in many different myths and legends.
You could use this lightning bolt drawing to show off your favorite figures that are associated with it! As we mentioned, lightning appears in many myths and legends.
For example, the Greek god Zeus is often shown wielding a bolt of lightning. You could add him to this drawing, perhaps showing him holding this bolt of lightning.
Sometimes, the Norse god Thor is shown wielding electricity and lightning, and he could be a fun character to portray. You could even use the Marvel comics version to make it easier to draw, as you would have plenty of references.
There are some more modern characters that have lightning bolts associated with them. The DC Comics hero the Flash has a lightning bolt on his chest, and so you could draw him.
Maybe you could have a comics crossover by drawing the flash with the Marvel version of Thor that we mentioned earlier.
You could show the lightning bolt on his chest, or you could incorporate it into the image around him to show electricity surrounding him. Another character associated with lightning bolts is Harry Potter.
He has a lightning bolt symbol on his forehead, and so you could use the one in this guide to create a Harry Potter drawing. Lastly, there are also various Pokemon characters that have lightning bolt motifs.
The most common would be Pikachu, who is probably the most iconic Pokemon character with his lightning bolt tail. These are some suggestions, but what are some other characters you would associate with lightning bolts?
Do this to take your lightning bolt drawing to the next level
Set off a spark of creativity as we show you how to make this lightning bolt drawing even better!
Lightning has to come from somewhere, as it will emerge from the clouds during a heavy storm.
For this reason, our first suggestion for this lightning bolt sketch is to draw a background to make the image more complete.
You could draw some big, imposing storm clouds behind the lightning bolt. Another idea would be to have the lightning bolt strike a tree, and then you could draw and color some fire effects.
These are just a few ways you could draw a background, but maybe you can think of some more! Drawing a background will also allow you to add more color varieties later on.
If you’ve ever seen a flash of lightning, you will know it is very bright, so bright that it can hurt your eyes.
That is why we think that you should use the brightest colors you can for this particular drawing of a lightning bolt.
You could use certain art tools such as colored pens or markers to give your color choices a neon, striking look.
Contrasting this with darker colors for the background will make them stand out even more! If you added any background details, then you can use even more colors for those details.
There is one lightning bolt in this design we have worked together to create, but we could make it an even bigger storm by adding some more lightning bolts!
You could add as many as you like, and now you have steps to follow.
Once you have the hang of it, drawing a huge amount of lightning bolts coming from the skies should be fun and easy for you to do.
Once those are colored in it will really make this an eye-catching page!
These have been just a few ways you can really put your own spin on this easy to draw lightning bolt, but now you can show off some ideas that you may have.
Your Lightning Bolt Drawing is Complete!
Hopefully, you enjoy learning how to draw a lightning bolt with this step-by-step tutorial. Now that you are capable of drawing a symmetrical lightning bolt, you can incorporate it in your future drawings.
You can draw a lightning bolt in natural scenery to depict gloomy weather or you can draw Harry Potter, a famous fictional wizard with a lightning bolt scar on his forehead.
We’ve seen how you worked hard to learn how to draw a lightning bolt, so you should feel proud of yourself!
Don’t forget to show off your artwork by sharing it on our Facebook page and other social media platforms such as Pinterest.
We’re sure your lightning bolt drawing looks incredible and we can’t wait to see it!
Go ahead and flaunt your awesome artwork!
Here Is A Lightning Bolt Drawing For Kids To Inspire You!
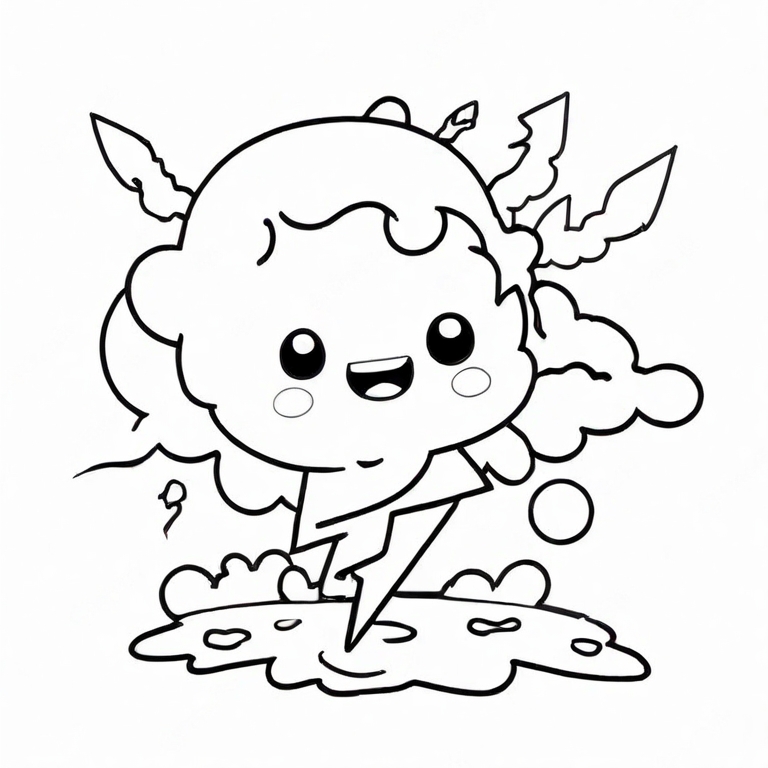
Seeing lightning in real life is an awe inspiring sight indeed. This lightning bolt drawing for kids by our artist Freddy is a really cool and fun portrayal of this mighty natural phenomenon.
He has made the cloud into a cute cartoon character, and the bolt coming from it is a contrast to the rounded lines of the cloud. When you draw this picture, you could add even more details to the sky.
Then, you can also use colors to good effect for this picture. Keeping the colors dark and gray for the cloud and then bright and striking for the lightning will create a good contrast.
If you wanted a different mood for the picture, then you could also have a different facial expression for the cloud. This is meant to inspire you, so go for what feels right to you!
