There are few things more relaxing than reading a good book, but with how expensive books can get it can become quite a pricy hobby to keep up!
That’s where libraries come in, as they allow you to enjoy all of your favorite books free of charge.
They are also a valuable source of information and educational resources, and they usually have a nice design as well.
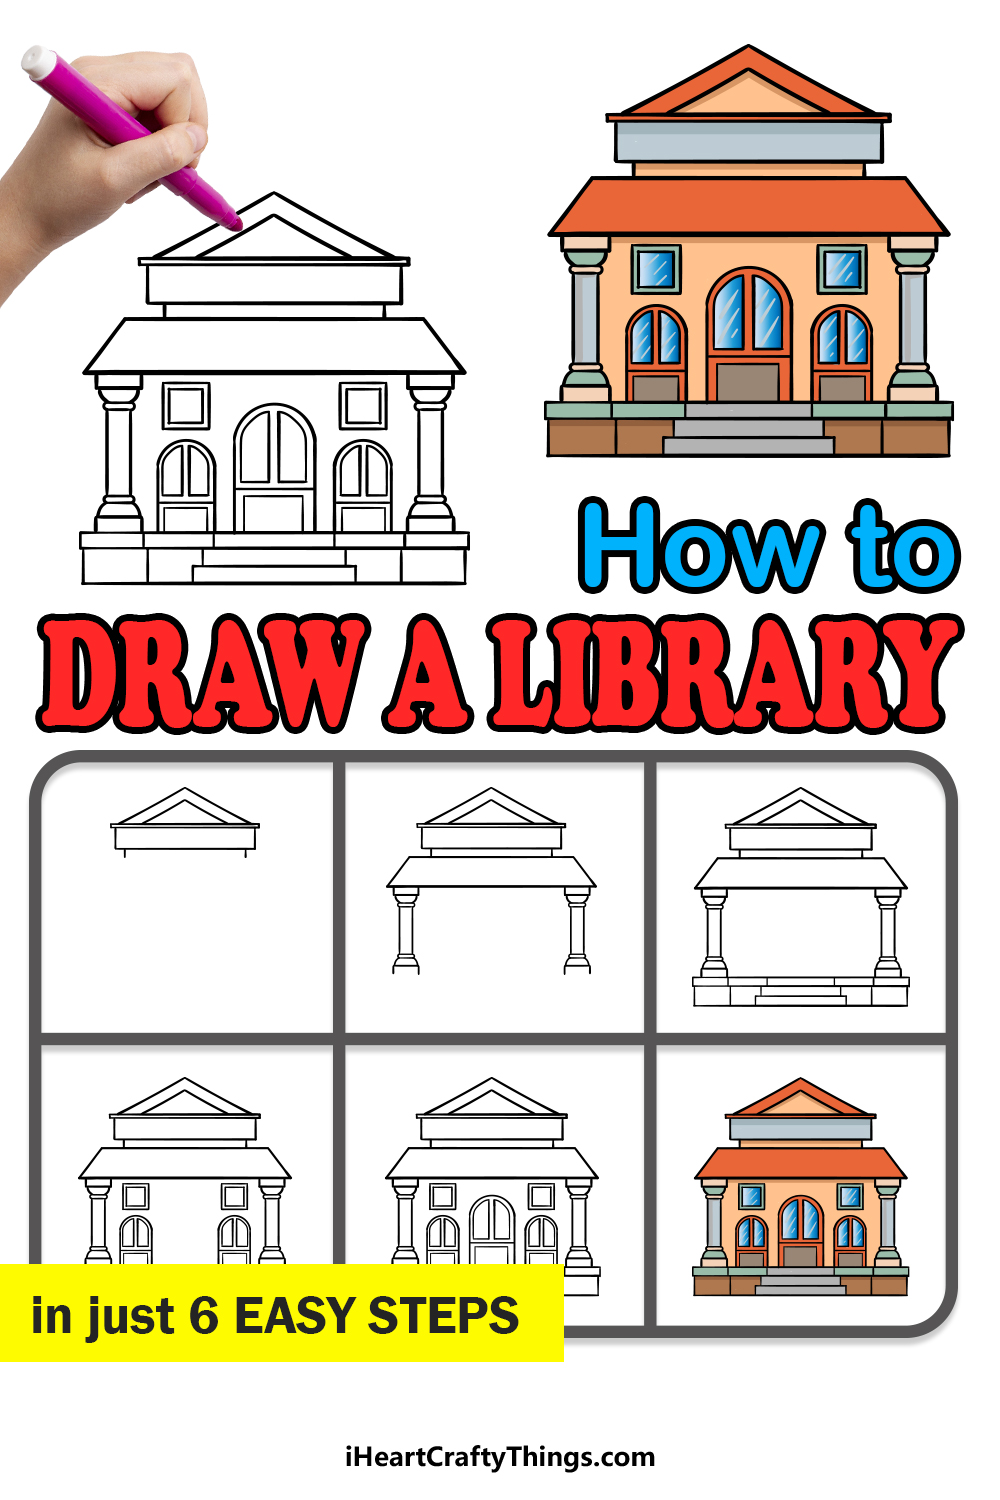
Visiting a library can be a lot of fun, and learning how to draw a library can be just as fun too!
If you would like to design your very own library, then this will be the tutorial for you!
Our step-by-step guide on how to draw a library will show you just how fun and easy it can be to do just that.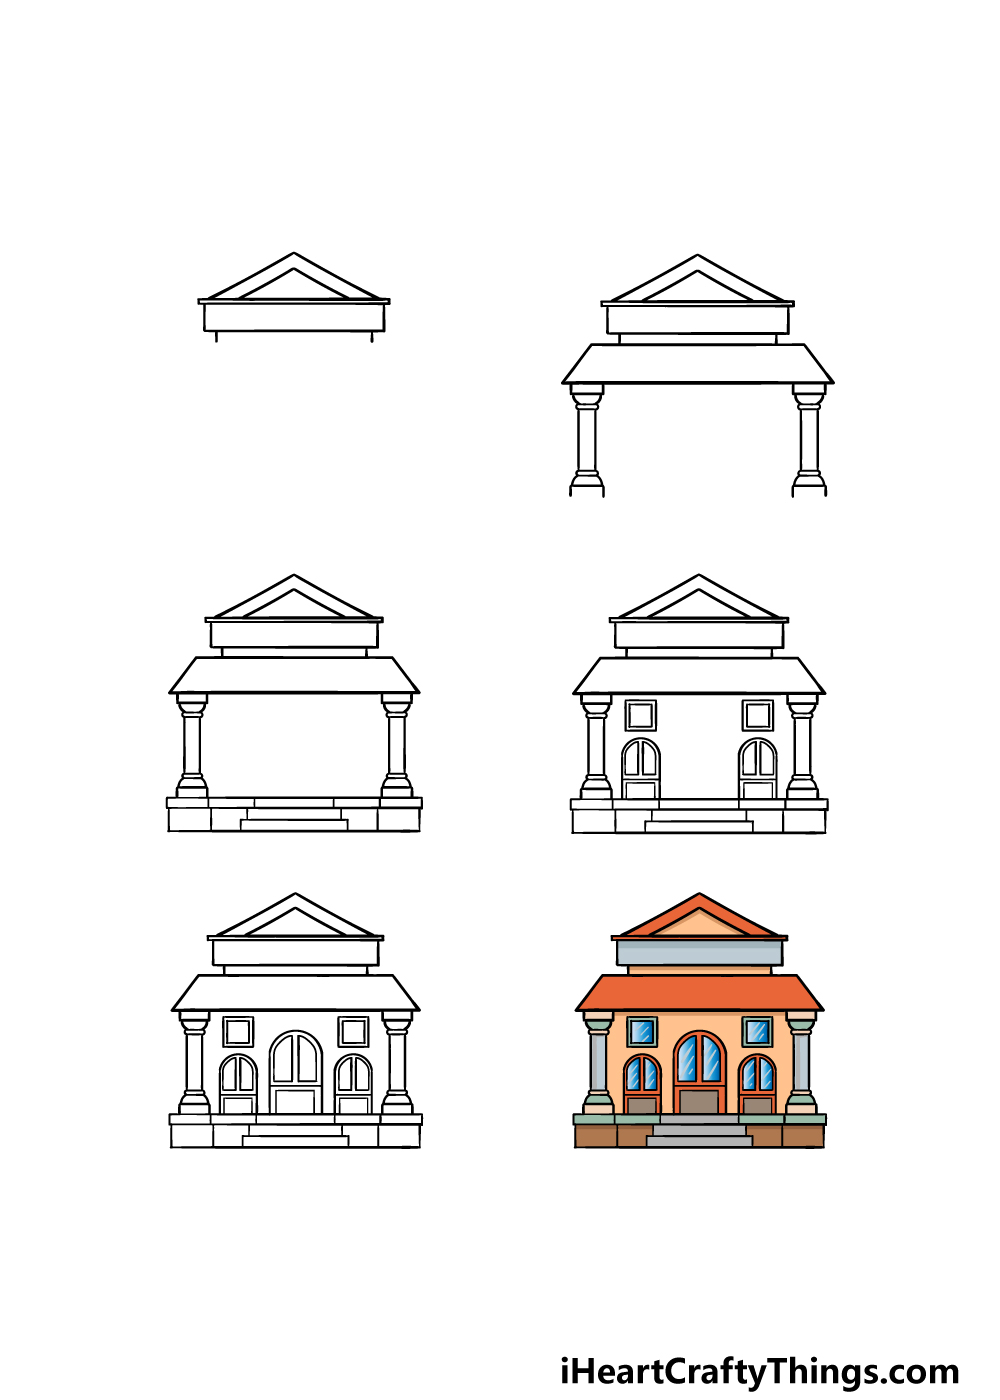
How to Draw A Library – Let’s Get Started!
Step 1
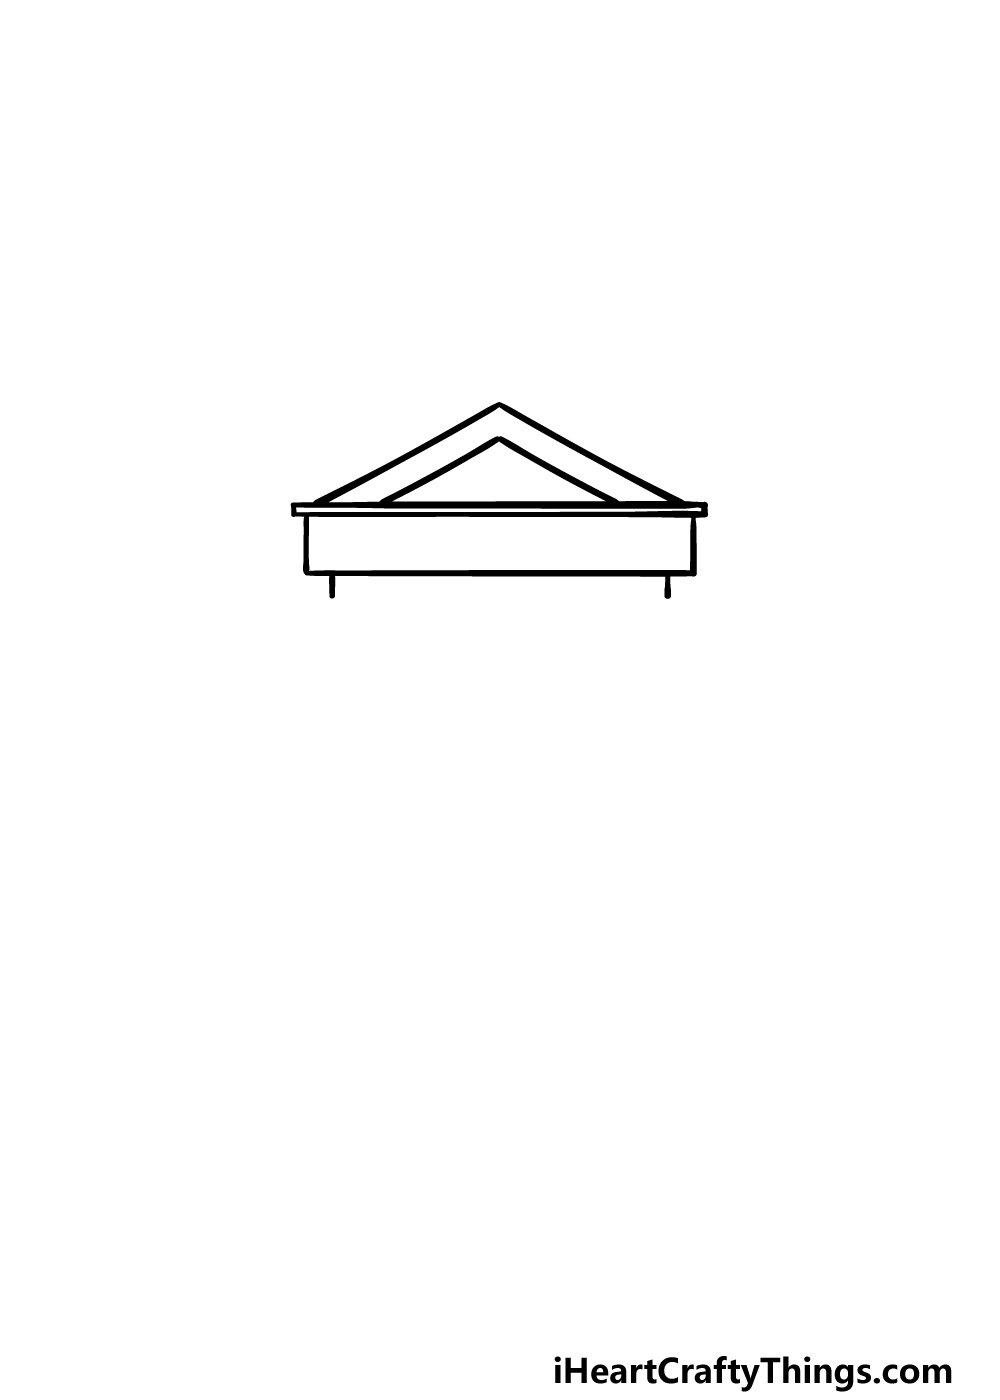
This first step of our guide on how to draw a library will begin with you drawing the ceiling. You can start this by drawing a long, thin rectangle shape for the base of the ceiling.
For this and the next few steps you may want to have a ruler on hand to help you when drawing the various parts of the library.
Then, draw two small lines coming down from either side of the roof. Then, draw a thin rim on top of the rectangle that you just drew.
Finally, draw a triangular shape above the rim on the rectangle for the slope of the roof. You can draw a smaller triangle shape inside of that one, and then you’ll be ready for the next step.
Step 2 – Now, draw the next section of the library
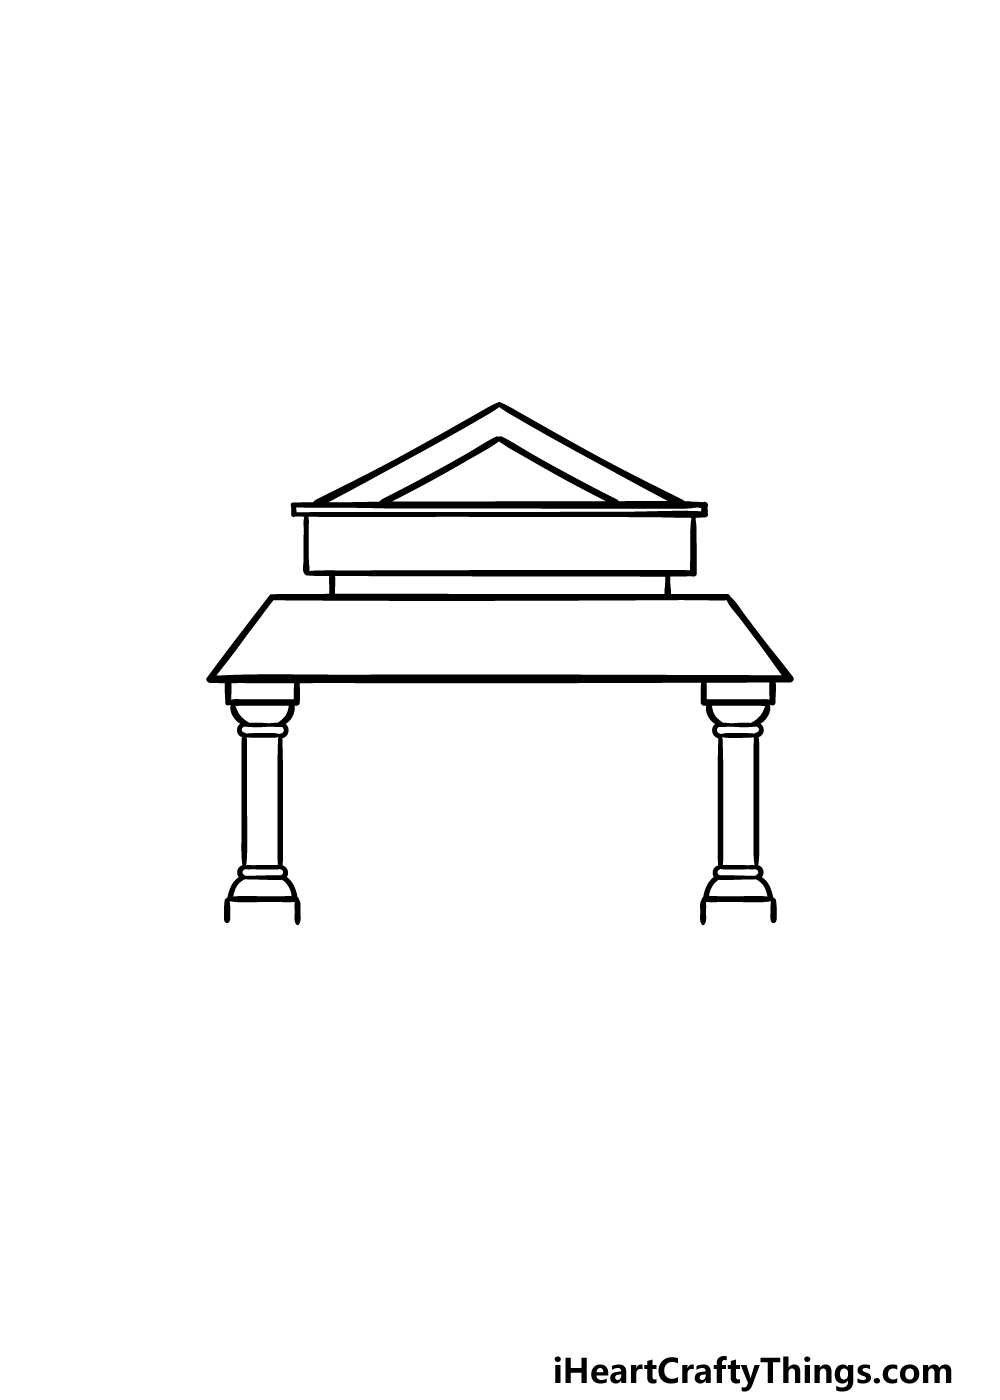
Now that you have the roof of your library drawing, you can start drawing the next section in this part.
Using your ruler, draw a long line beneath the roof, and then have some diagonal lines coming out down from it.
Then, connect these diagonal lines with another one beneath them. The reference image will show you how this section should look.
Next, we will be drawing some columns beneath the roof section that you just drew.
These columns will have several different sections to them, and some will be more squared while others will be a bit rounder.
Once you have drawn these columns as they appear in our picture, you can then move on to the third step of the guide.
Step 3 – Draw the base and front steps leading to the library
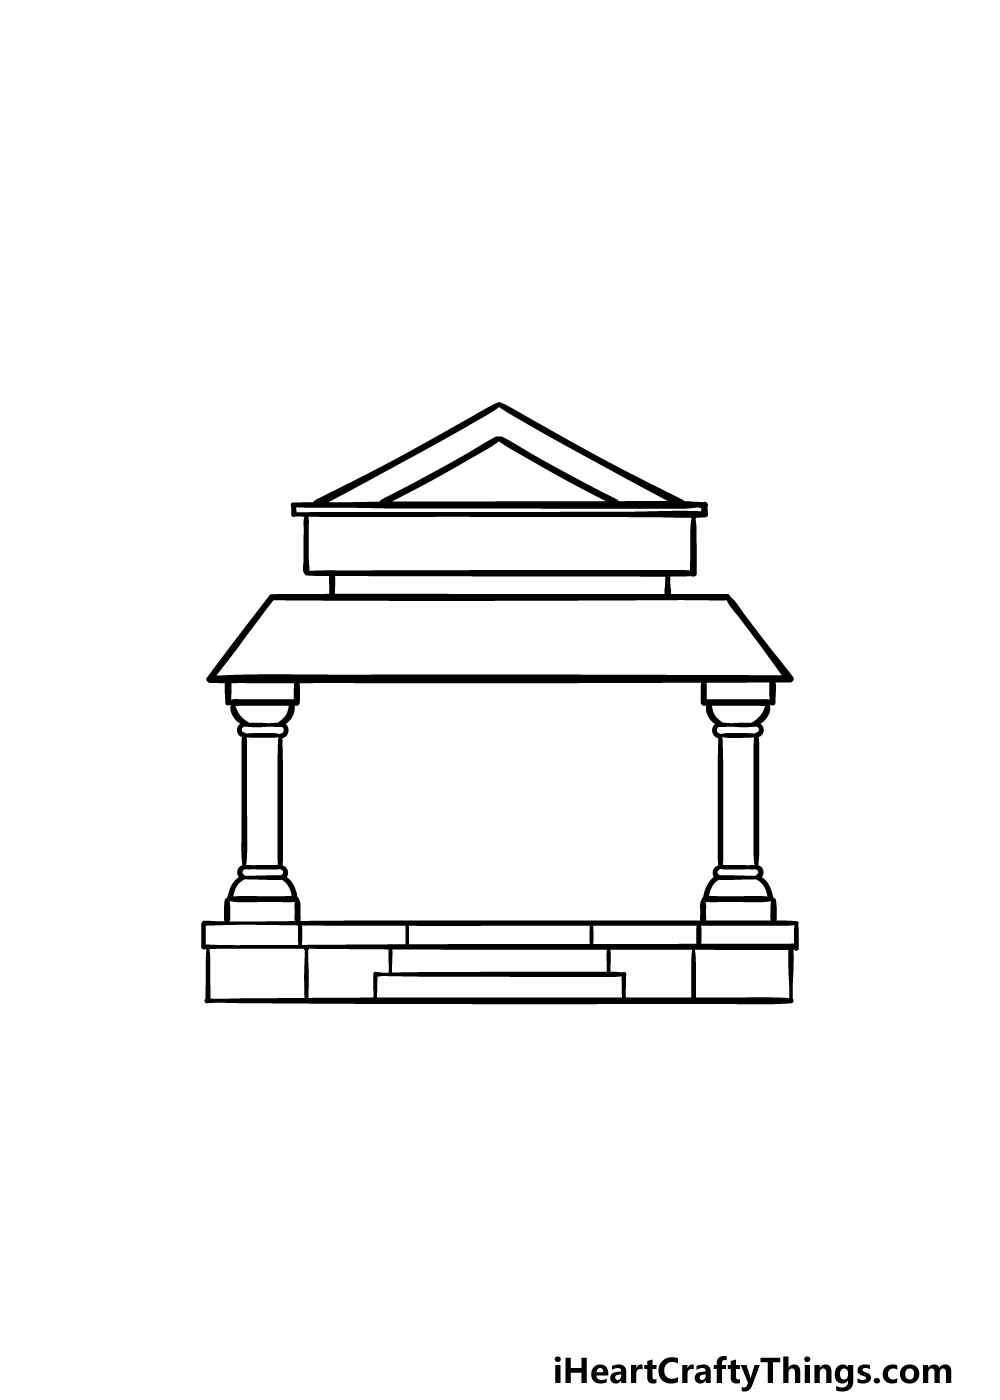
This third step of our guide on how to draw a library will see you adding a base as well as some steps leading up to the entrance of the library.
This base will have a top row of five thin sections next to one another. Then, there will be four square sections at the bottom of this base section.
The exception to this will be at the center, as here there will be some more long rectangle shapes for the steps leading up to the library.
Step 4 – Next, draw the first windows for the library
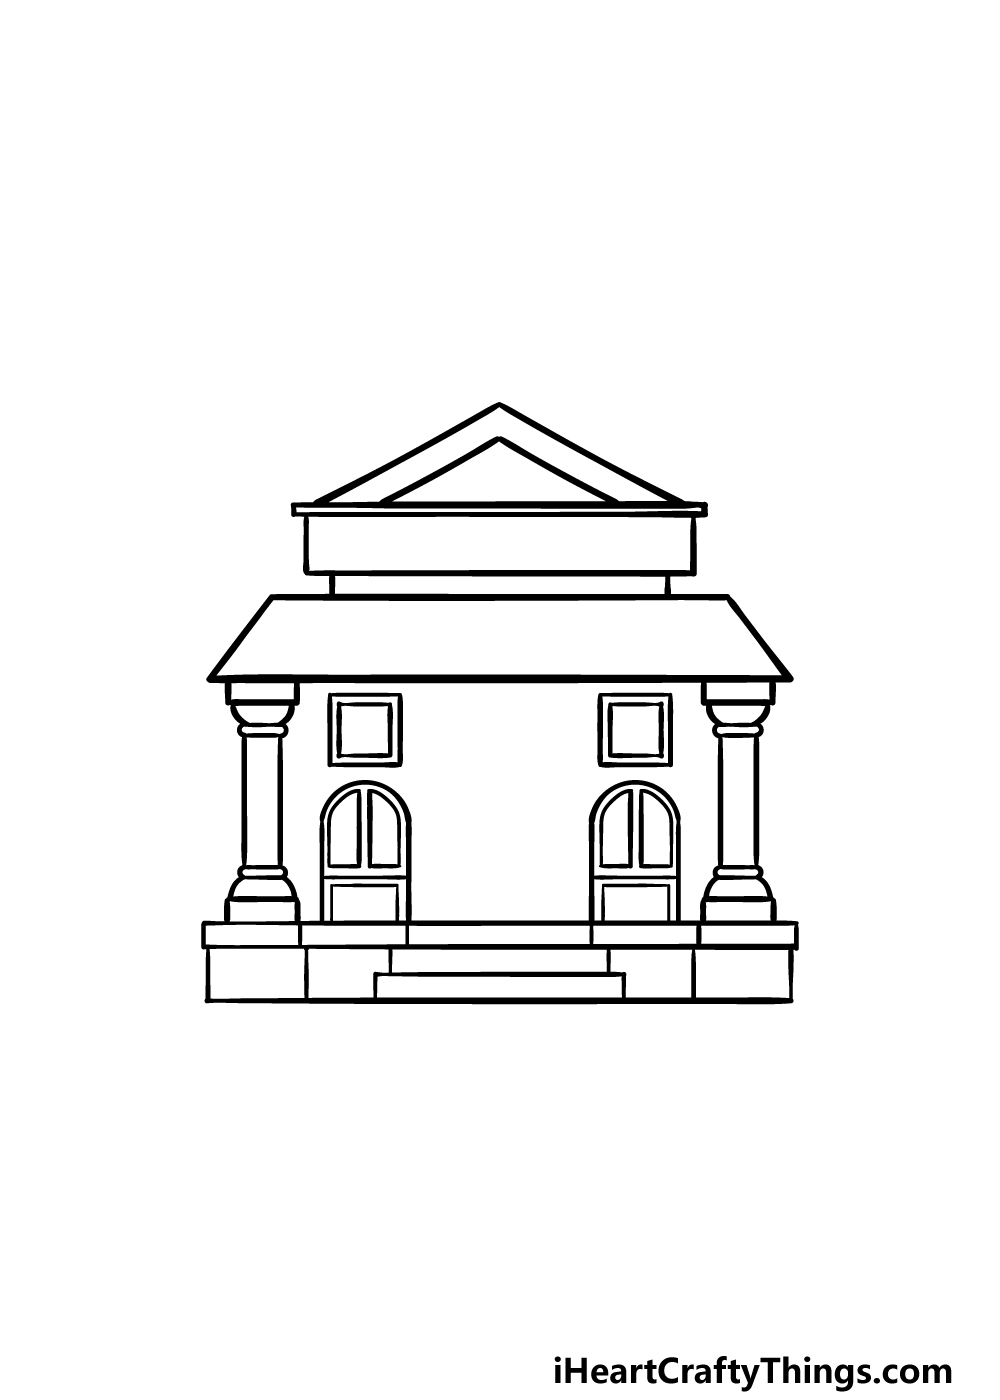
Now that the outline of your library drawing is complete, we can begin adding some details to the picture.
This first step will see you adding some windows, and we will begin with the smaller windows on the upper sides of the library.
These can be drawn as some small squares with even smaller ones inside of them.
Then, we will be drawing a more stylish window beneath each of these square ones. These windows will have straight vertical sides with a rounded top to them for their outlines.
Then, draw a short rectangle at the inner base of the outlines, and then finish them off with two long, vertical shapes above them.
All that will remain will be to add the final details and elements in the next step!
Step 5 – Add the final details to your library drawing
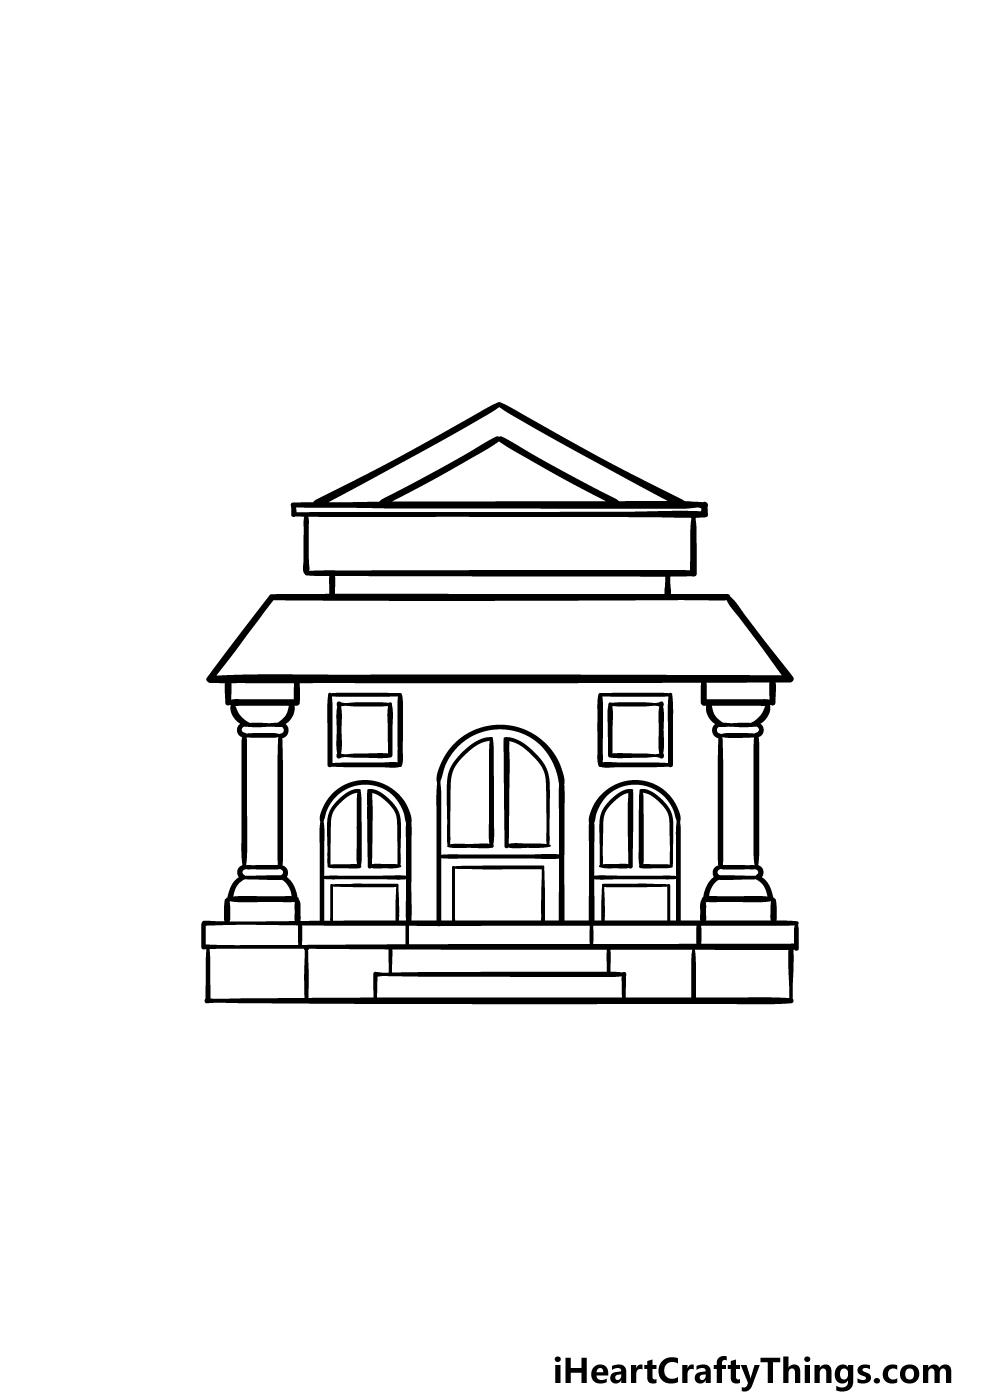
This fifth step of our guide on how to draw a library will see you adding the final elements to finish it off. In this part, we will mainly be focused on drawing the door for the library.
This door will be a slightly larger version of the design you drew for the windows.
It will have the same long, rounded shape for the top half of the door with a shorter rectangular shape at the base of it, exactly as the windows did.
Once this door is drawn, you can also add some more details of your own!
These could be anything from people walking in and out of the library to some bushes or other background details to make the image more dynamic.
These are just a few ideas, but what else can you think of to finish off this awesome library drawing of yours?
Step 6 – Finish off your library drawing with color
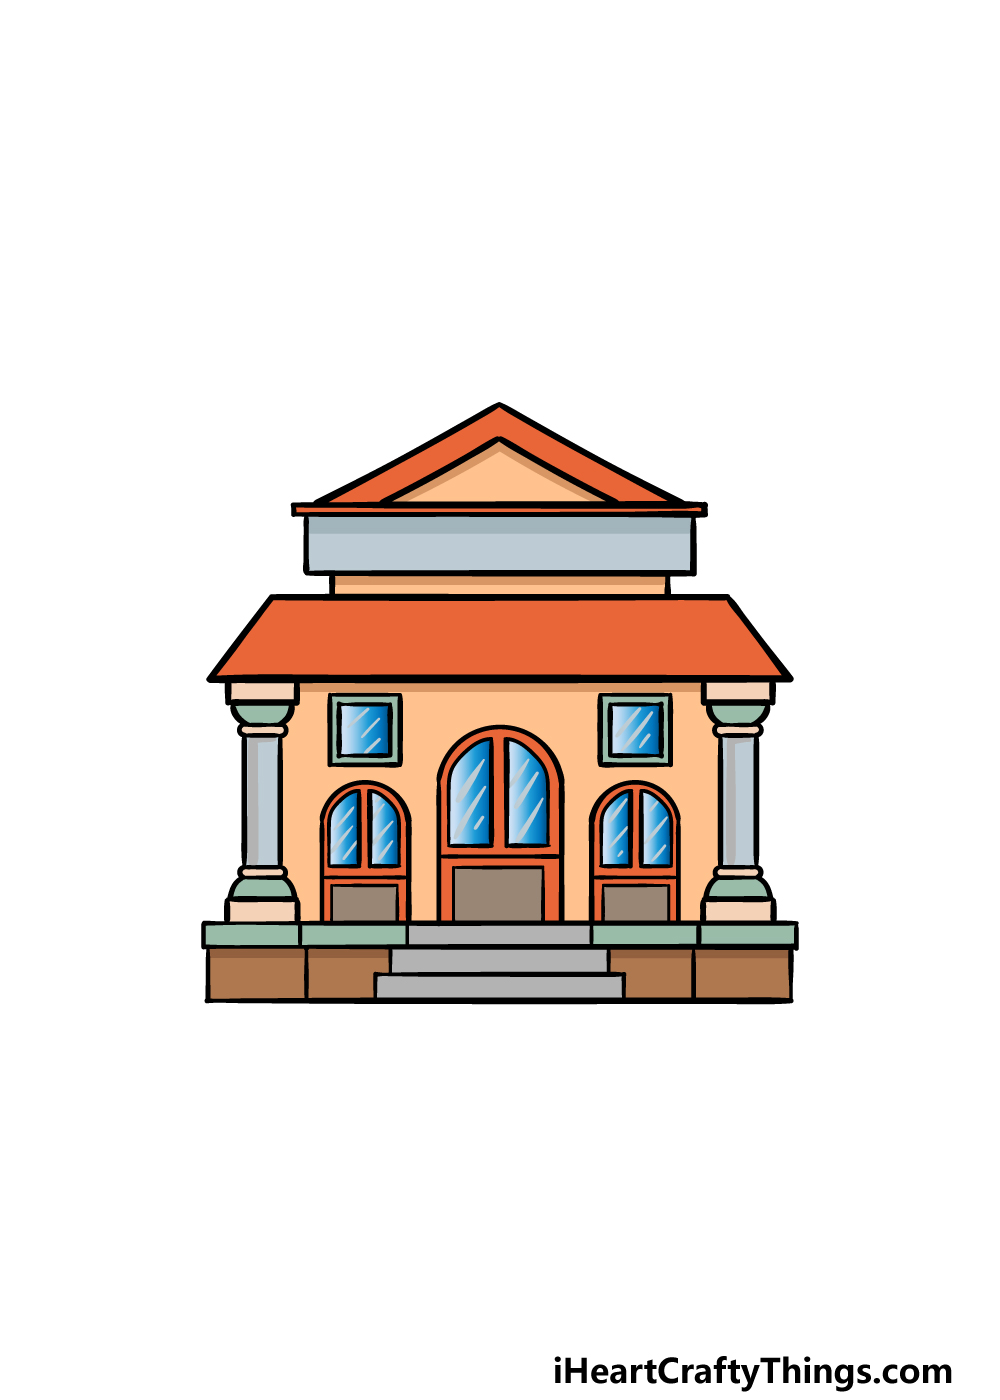
To finish off this library completely, we will be having some fun adding some colors to your artwork.
In our reference image, we used some more muted colors that have a bit of brightness to them to create a more inviting look for the library.
Even though the colors are more on the muted side, we tried to use some brighter blues for the windows for some contrast.
These are the colors that we chose, but this is all about creating your own perfect library! For that reason, you should feel free to use any art mediums and colors that you would like for it.
Do this to take your library drawing to the next level
Read up on some great tips for making your library sketch even better!
This drawing of a library that we created in this guide focuses entirely on the building itself. You could add to the scene by drawing some more details to the surroundings of the library.
One simple thing you could add would be some bushes around the exterior of the library. Then, you could draw some details for the sky and maybe even some surrounding buildings.
What are some other details you can think of that you could use to build up the background setting of this image?
A library needs people visiting it, and that is something you could add for this library! You could draw some human characters around the library and maybe even using the door.
Depending on how small you made this library on your page, you could even show details such as the people carrying out piles of books.
How many people do you think are visiting the library in this scene that you are creating?
The design of this library drawing is really great, but you may have a real-life favorite library that you like to visit. If so, you could use that real building as inspiration as you customize this one.
You could visit the real library or use a picture to change the smaller details and the general structure of this particular library.
Do you have a favorite real-life library that you could use to help you personalize this one?
With the view we have in this library sketch, we don’t really get to have a good look at any of the books contained within. You could find some creative ways to fix this!
If you love to read, then you could create a border around the library made up of various covers of books that you love. That is one way that you could incorporate some real books in the image.
If you zoomed in a bit, you may be able to find a way to incorporate some small books into the scene!
Your Library Drawing is Complete!
That brings you to the end of this guide on how to draw a library! We hope that designing this lovely little library was a fun experience for you to take on.
By breaking it down into smaller steps, we aimed to make sure it would be easy for you to do with no frustration.
Now you can finish it off with some more cool details, additions and ideas to personalize it even further.
Our website is also full of many more amazing drawing guides for you to enjoy! We have many more that we plan to upload soon, so make sure to keep checking in so that you never miss out.
When you’re ready to show off your finished library drawing, you can share it on our Facebook and Pinterest pages for us to admire.