When it comes to drawing and Lego, the main thing they have in common is that they’re both all about expressing your creativity and having fun.
When you have a blank page before you or a big tub of Lego, there are infinite possibilities waiting to be explored.
If there was a way to combine the magic of drawing and Lego together, then the possibilities would be even greater!
That’s exactly what we will be exploring as we learn how to draw Lego in this guide.
By the end of this tutorial, you will be able to unleash all of your creativity to create some amazing artwork!
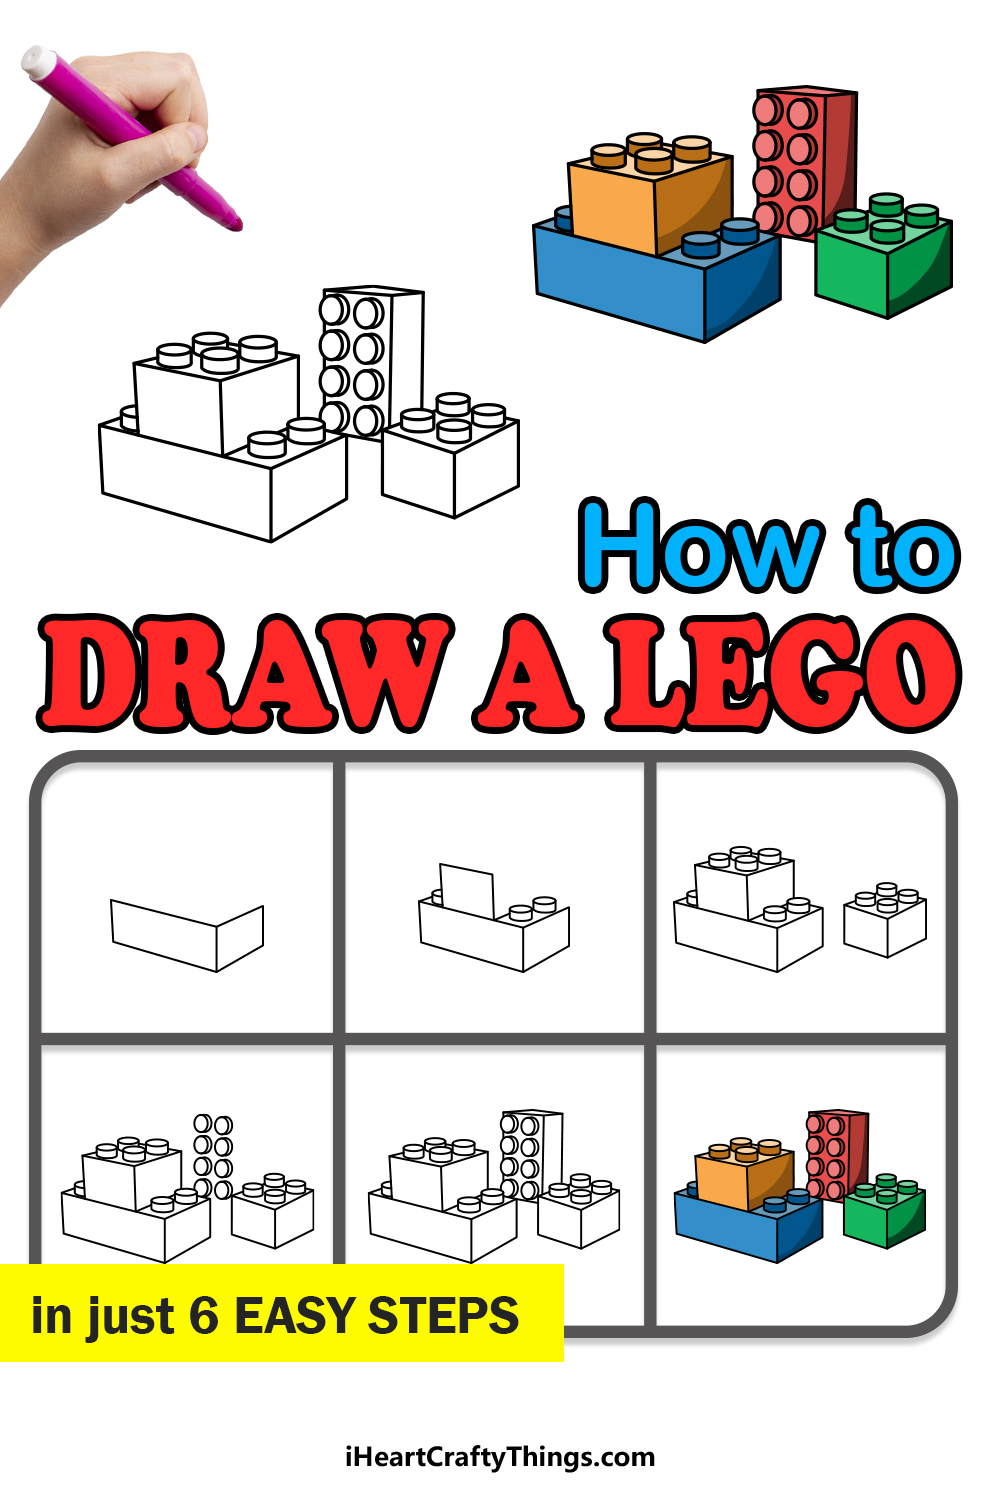
This step-by-step guide on how to draw Lego in just 6 steps will show you everything you need to know for some creative fun.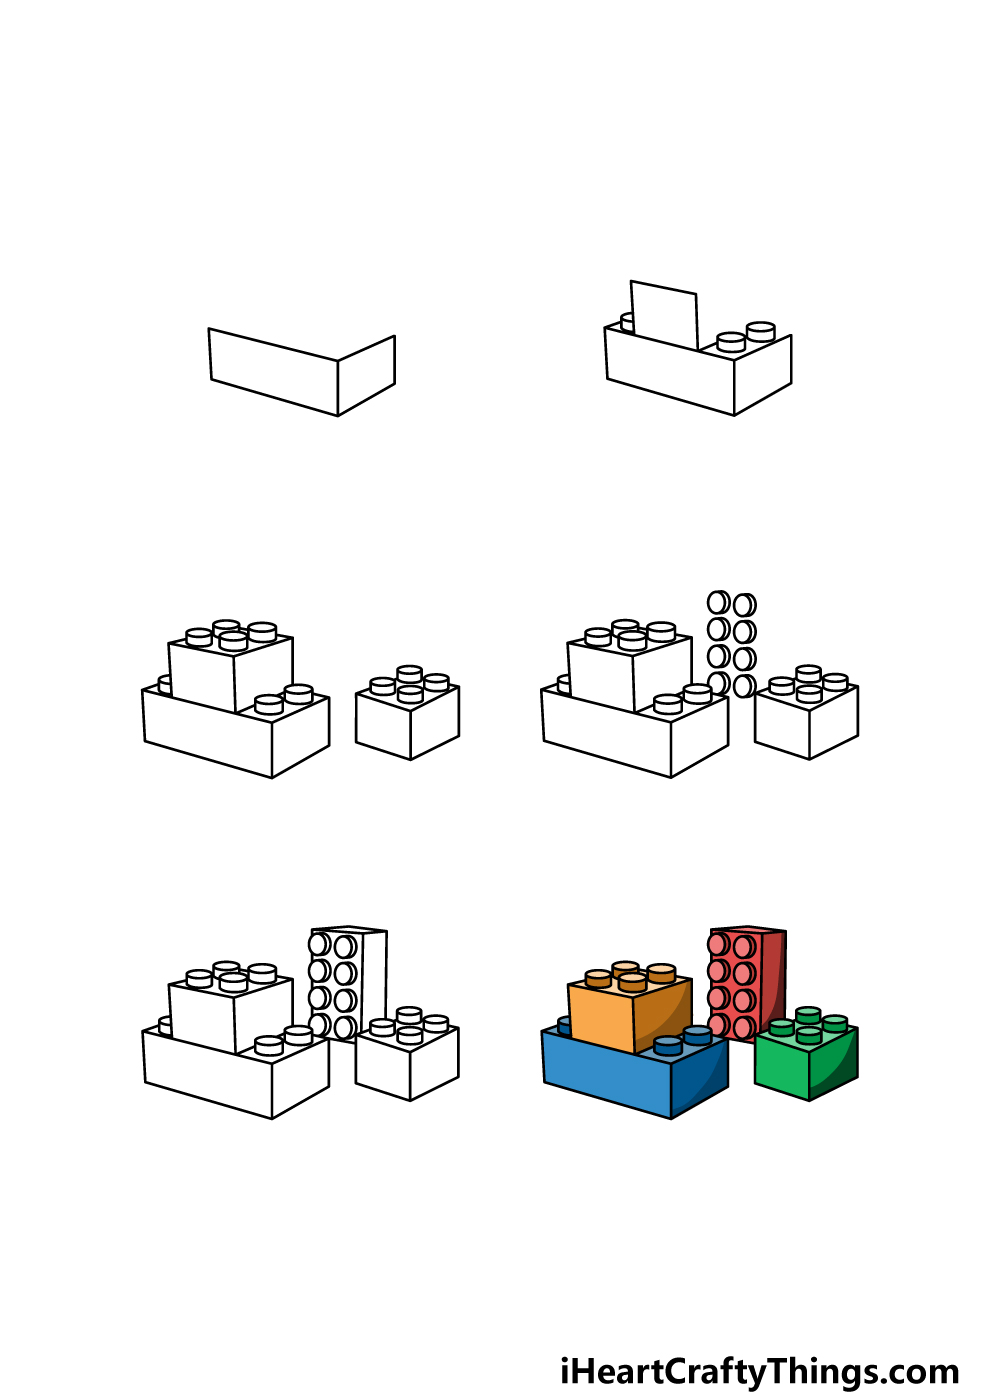
How to Draw Lego – Let’s Get Started!
Step 1
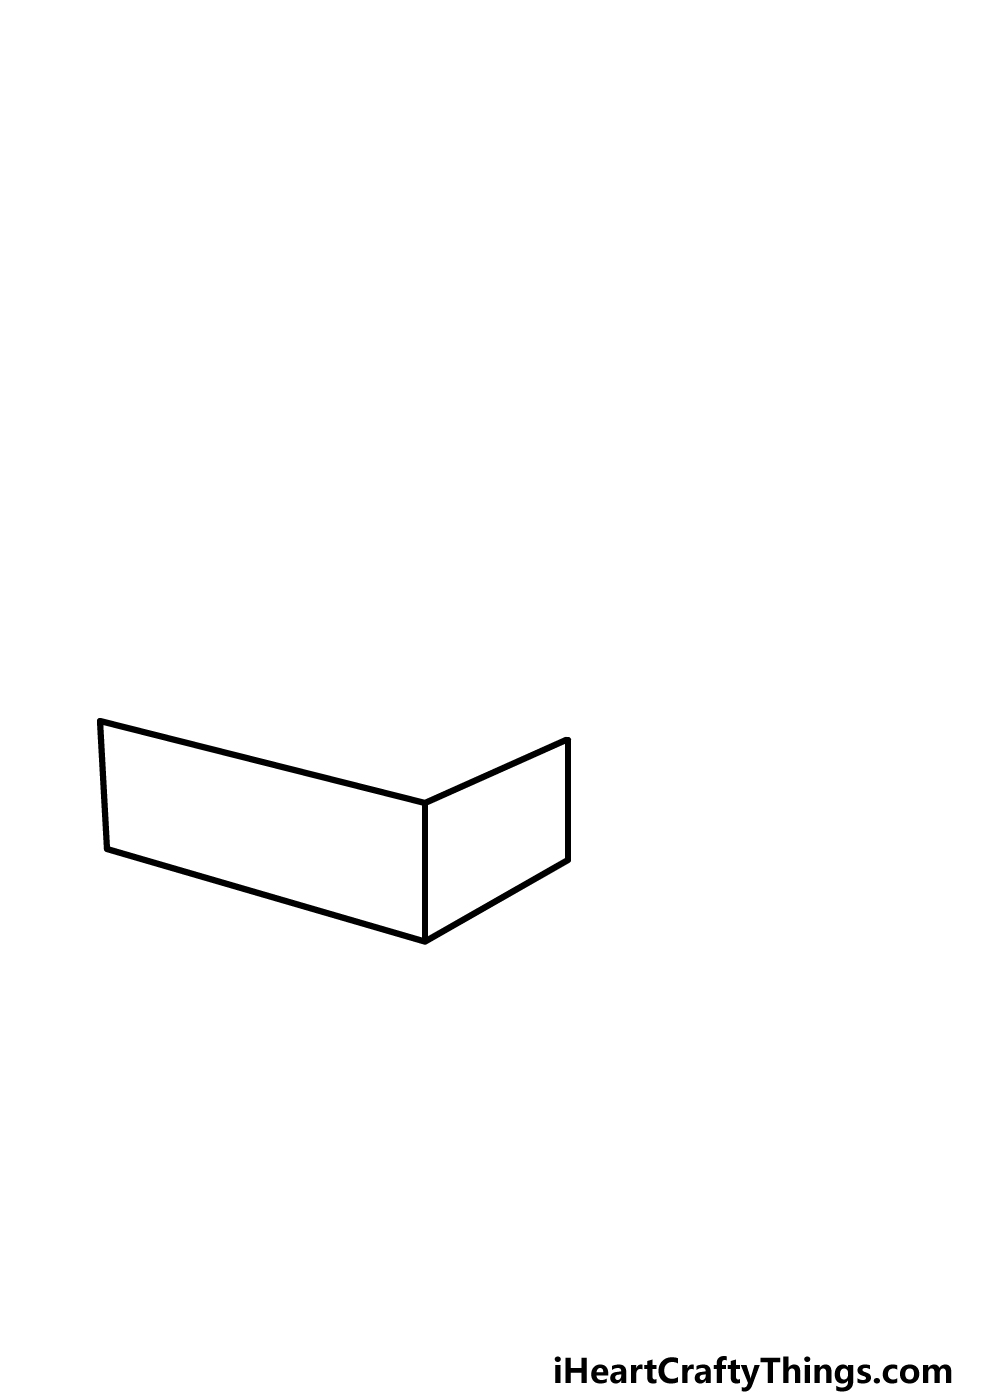
In this first step of our guide on how to draw Lego, we will begin by drawing the start of the first brick.
Lego bricks have a simple yet effective design, and it can be harder to draw them than you may think!
Throughout this guide, you will make your life much easier if you have a ruler on hand, as there will be lots of straight lines in the image.
With this in mind, you can begin by drawing two rectangular shapes attached to one another. The one on the left will be much longer than the one on the right.
The angle these rectangles are at will be very important to creating the 3D effect of the bricks, so try your best to get them at the same angle they appear in our reference image.
Then we can move to step 2 of the guide!
Step 2 – Now, draw the start of the next piece and add some details
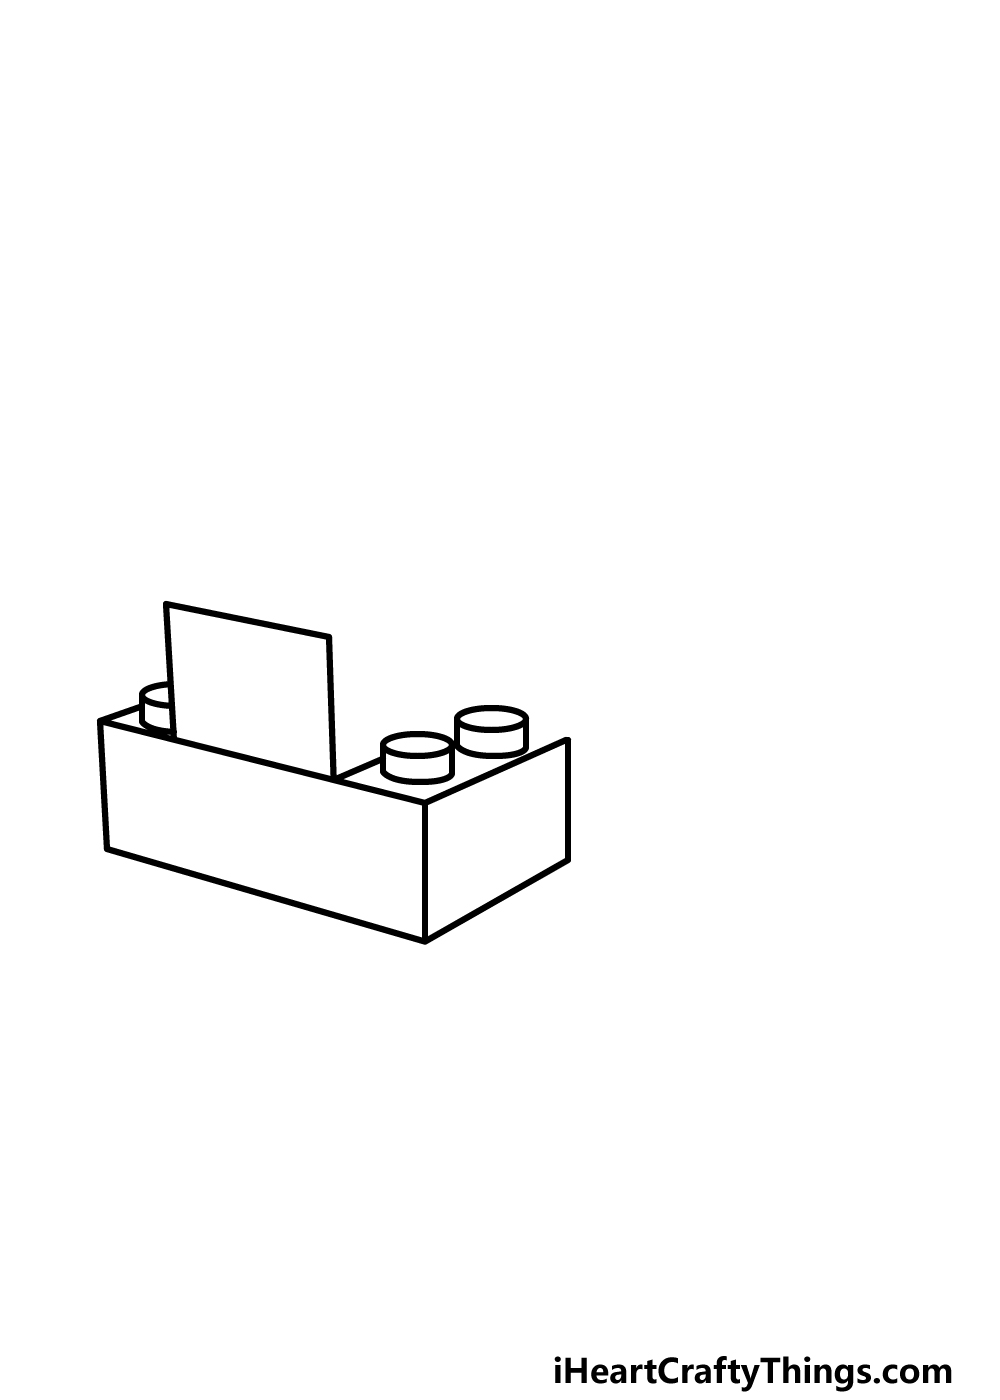
Lego is all about connecting different bricks to one another, and we will add the start of one of the other bricks connected to the one you started in the first part of your Lego drawing.
To start this second piece, you can draw a square shape atop the center of the first piece. Once again, the angle of this square is very important, so be sure to use the reference image to guide you.
Then, we will draw some of the round pegs that help to connect the pieces to one another. These will have an oval top, with small lines coming down from them.
The number of these pegs will always be even, and at this angle only 3 will be visible.
Step 3 – Draw the rest of the square piece and start a new one
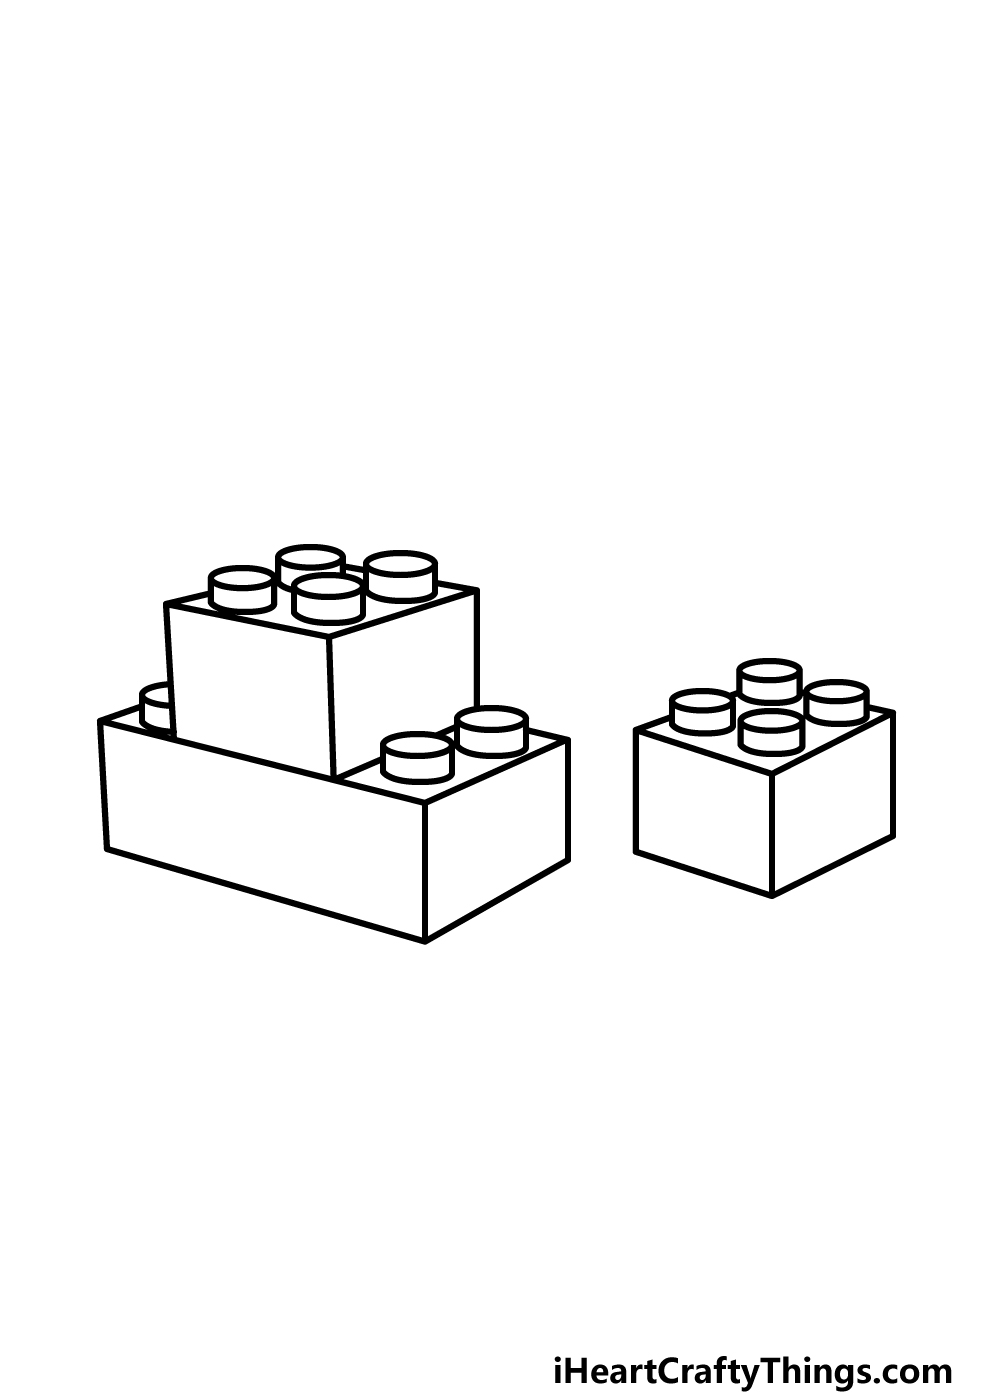
You can finish off the small, square piece you began in the previous step of this guide on how to draw Lego. simply add some more of those round pegs to the top of this square piece.
This time, there will be four visible. Then, use some more straight lines for the other sides of this piece.
We will then draw another square piece sitting near the others. It will be at the same angle as the other square piece, so you can repeat the previous steps to draw this second square piece.
Step 4 – Next, draw the start of the final piece
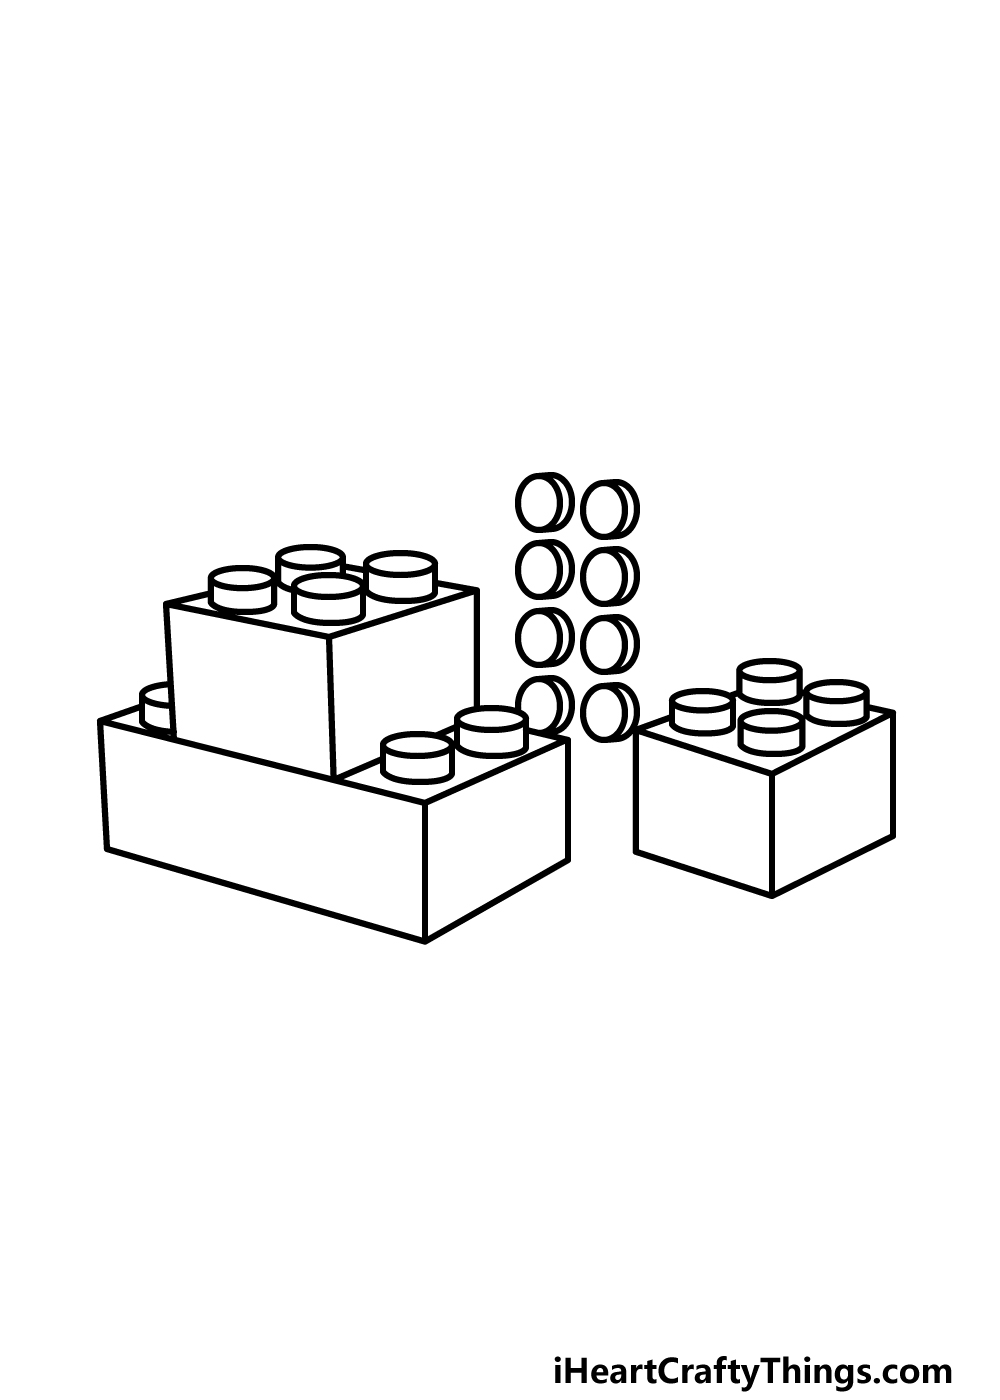
We will do things a little differently for the final piece of this Lego drawing. This one will be a rectangular one standing upright.
To begin this one, you can draw eight of the circular pegs standing upright in the same way we did in our reference image.
We will draw the rest of the outline as well as some final touches in the next step!
Step 5 – Add the final details to your Lego drawing
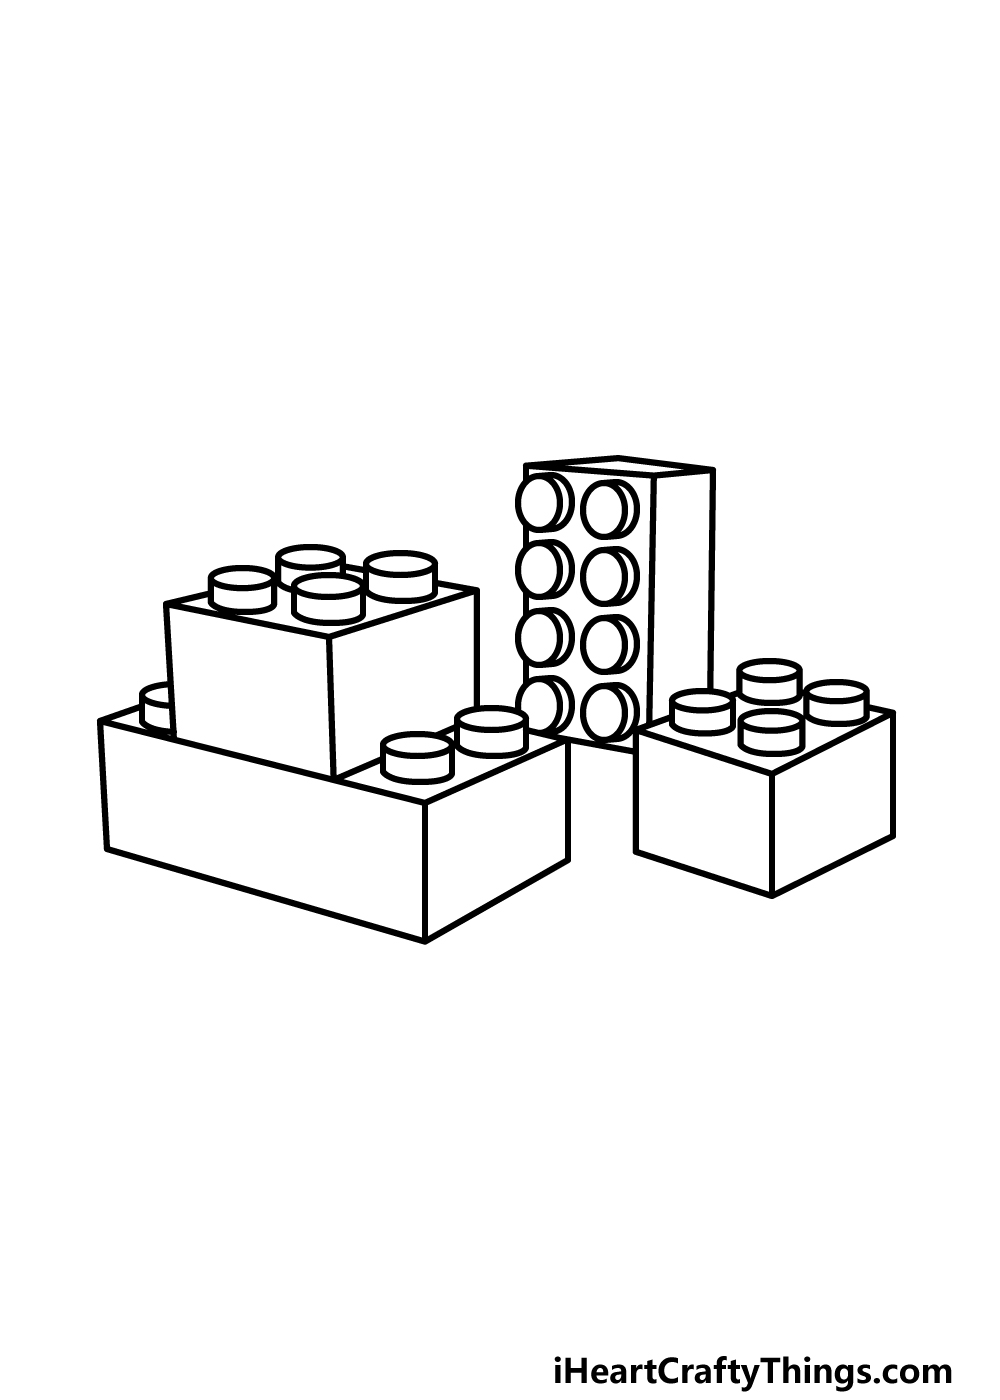
This step of our guide on how to draw Lego will see you finishing up the final elements of the blocks. First, draw a vertical rectangle shape around the round shapes you drew in the previous step.
Then, finish off by drawing the other edges as well. Then, your arrangement of Lego pieces is complete!
Before you move on, you could also add more ideas and elements to the image.
You could add more pieces now that you know how to draw them, and this would be a great way to imagine some awesome Lego structures!
What kind of Lego creation would you make with these pieces?
Step 6 – Finish off your Lego drawing with color
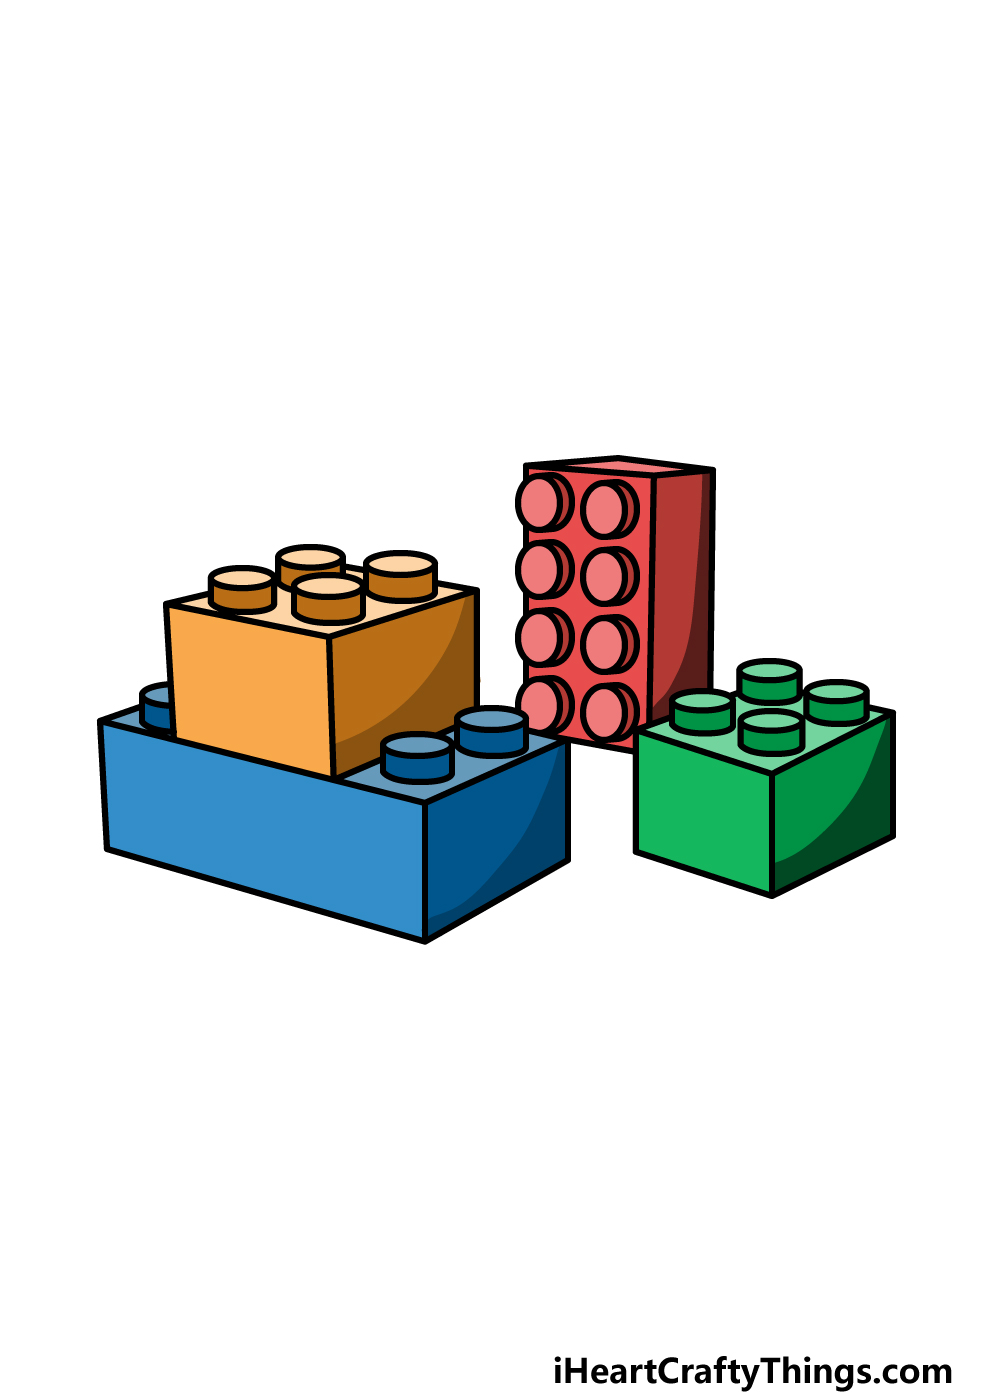
Anyone who has ever played with Lego in any capacity will tell you that there are a huge amount of different colors to choose from.
This color variety gives you so many options for the kinds of structures you can create, and we will explore this in the final step of your Lego drawing.
In our example image, we used a different color for every different Lego block. We also used different shades of these colors to create some shading for the blocks.
You could use similar colors to the ones that we used, but you could also go for any of your favorite colors!
When adding color to this picture, you could also experiment with different art mediums.
Lego is often brightly colored, so mediums such as acrylic paints, colored markers and pens could be perfect for achieving bright colors.
Anything you use will look amazing, however, so what will you pick for your drawing?
3 More tips to make your Lego drawing easy!
Build up your easy to draw Lego artwork with these 3 fun and easy tips.
When it comes to Lego blocks, the fun is that they are so simple but can be used to build complex things. That being said, the design of a Lego block is still pretty complex when you look closer.
Small details such as the little round pegs on each piece can be tricky to draw, but there are ways around this!
There are lots of small Lego pieces that can go on top of these pegs, and you could add some of these to your Lego drawing..
That would be a great way to get around having as many tricky pegs to draw!
Another way that you could get around having to draw these smaller, trickier details would be by turning these pieces into a Lego structure. This could be simple, such as a wall made of Lego, but it could really help to make it easier.
The angle that you draw these structures at would also potentially help you avoid drawing parts of the pieces that you find tricky. Additionally, it would also help you to really use your imagination for this drawing of Lego!
What kind of Lego structures would you find easiest to draw?
The best way to make this Lego drawing easy would be by using the real thing to help you out! This is an extra fun tip, as you will get to play around with real Lego.
If you have some Lego pieces lying around, you can grab them to use as you draw. Doing this would also allow you to try out different angles and structures as you draw.
You will find that having the real thing in front of you will help a lot! If you don’t have the Lego pieces that you need, you can also find photos and drawn diagrams of Lego pieces online that can help.
Using these references along with our guide will help you to really unleash your creativity!
Your Lego Drawing is Complete!
That brings you to the end of this guide on how to draw Lego! We hope that you had a wonderful time expressing your creativity as you worked on portraying this awesome creative toy.
Even though Lego looks fairly simple, it can be quite tricky to draw, especially when there are several pieces involved.
By following the steps in this guide, we hope that it was made easy and fun for you to do!
Now that you have finished this guide, it’s up to you to finish off with your own awesome ideas and designs.
There are so many cool variations and Lego structures you could create as you draw, so how do you think you’ll finish up your drawings?
If you had fun with this guide, you can find many more on our website! We have a huge selection there and plan to bring out more soon, so be sure to keep checking in for those.
We would also love to see your creations, so please consider sharing your finished Lego drawing on our Facebook and Pinterest pages for us to see!