When it comes to surviving in some of the harshest environments, people have had to come up with creative methods to endure despite the environmental odds.
Igloos are a great example of this, as these unique structures built of snow and ice helped to keep the inhabitants within safe and warm against the harsh climate.
These structures were built by Inuit people primarily in Canada and Greenland, but they have captured imaginations around the world, becoming an iconic symbol.
Learning how to draw an igloo is a great way to design one without having to get your hands cold!
This will be the perfect tutorial for anyone who’s fascinated by these ingenious structures.
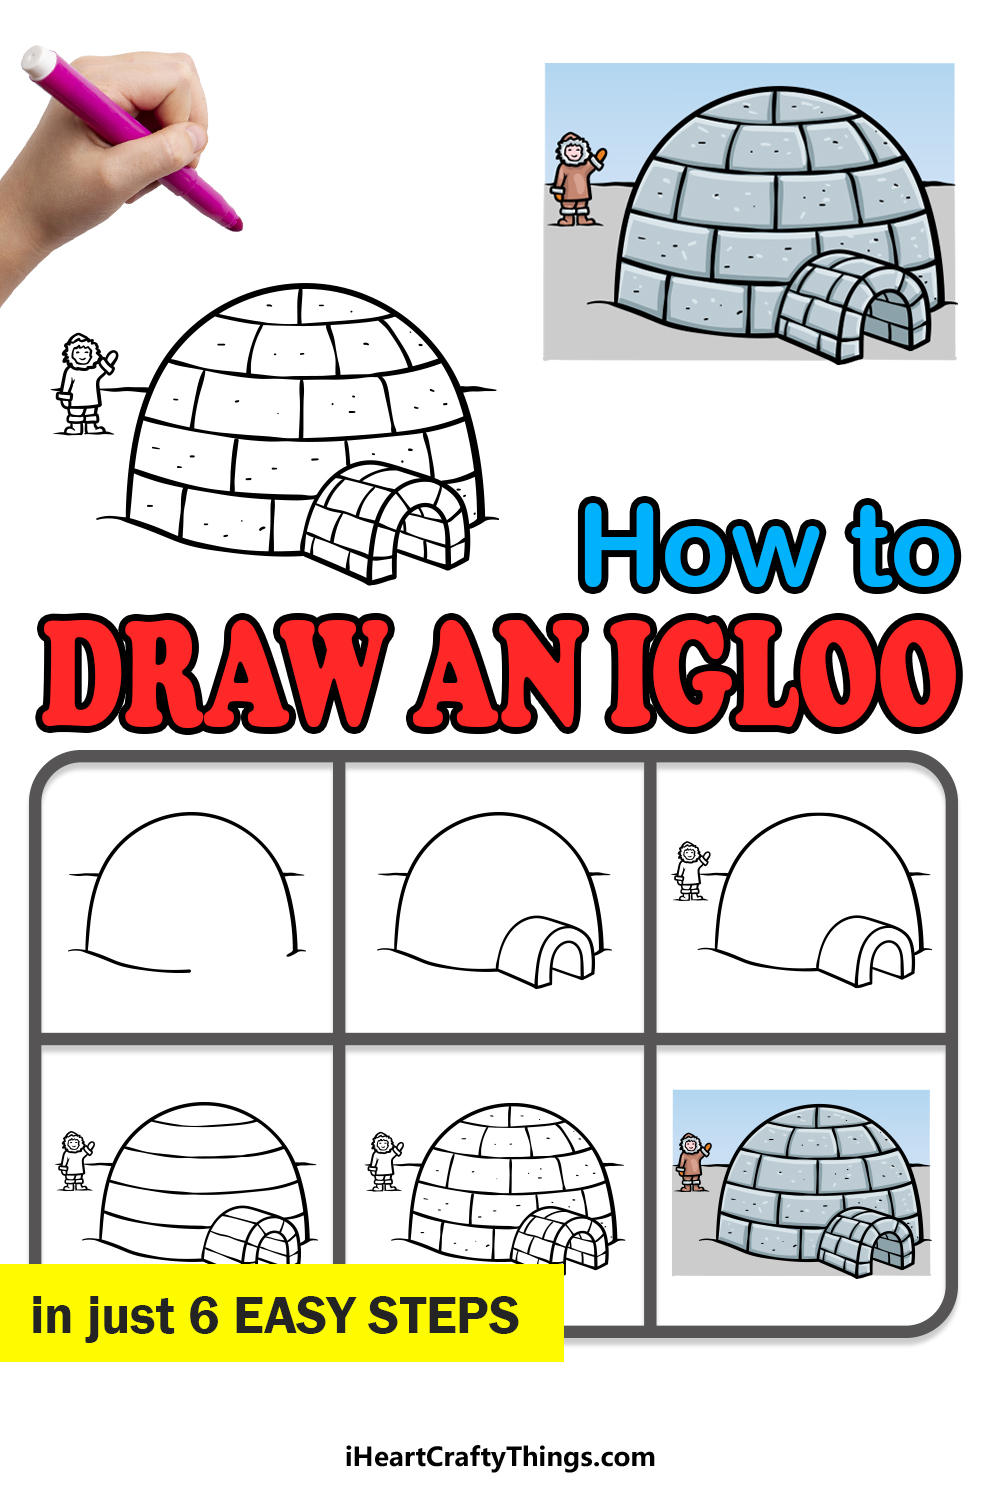
So grab your favorite warm beverage and get ready to embark on this super cool step-by-step guide on how to draw an igloo in just 6 steps!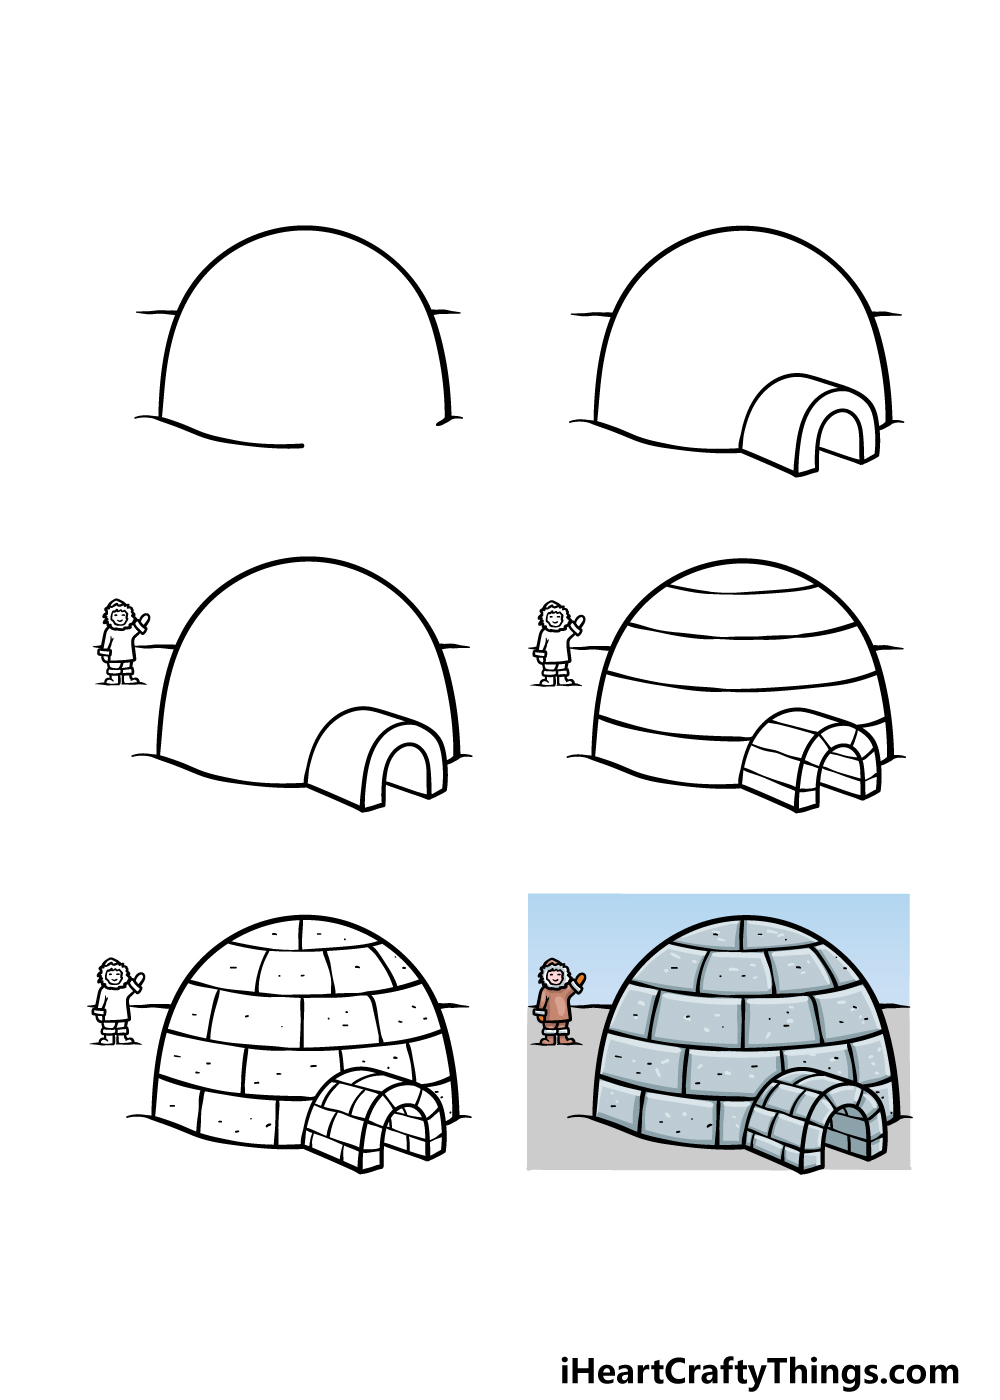
How to Draw An Igloo – Let’s Get Started!
Step 1
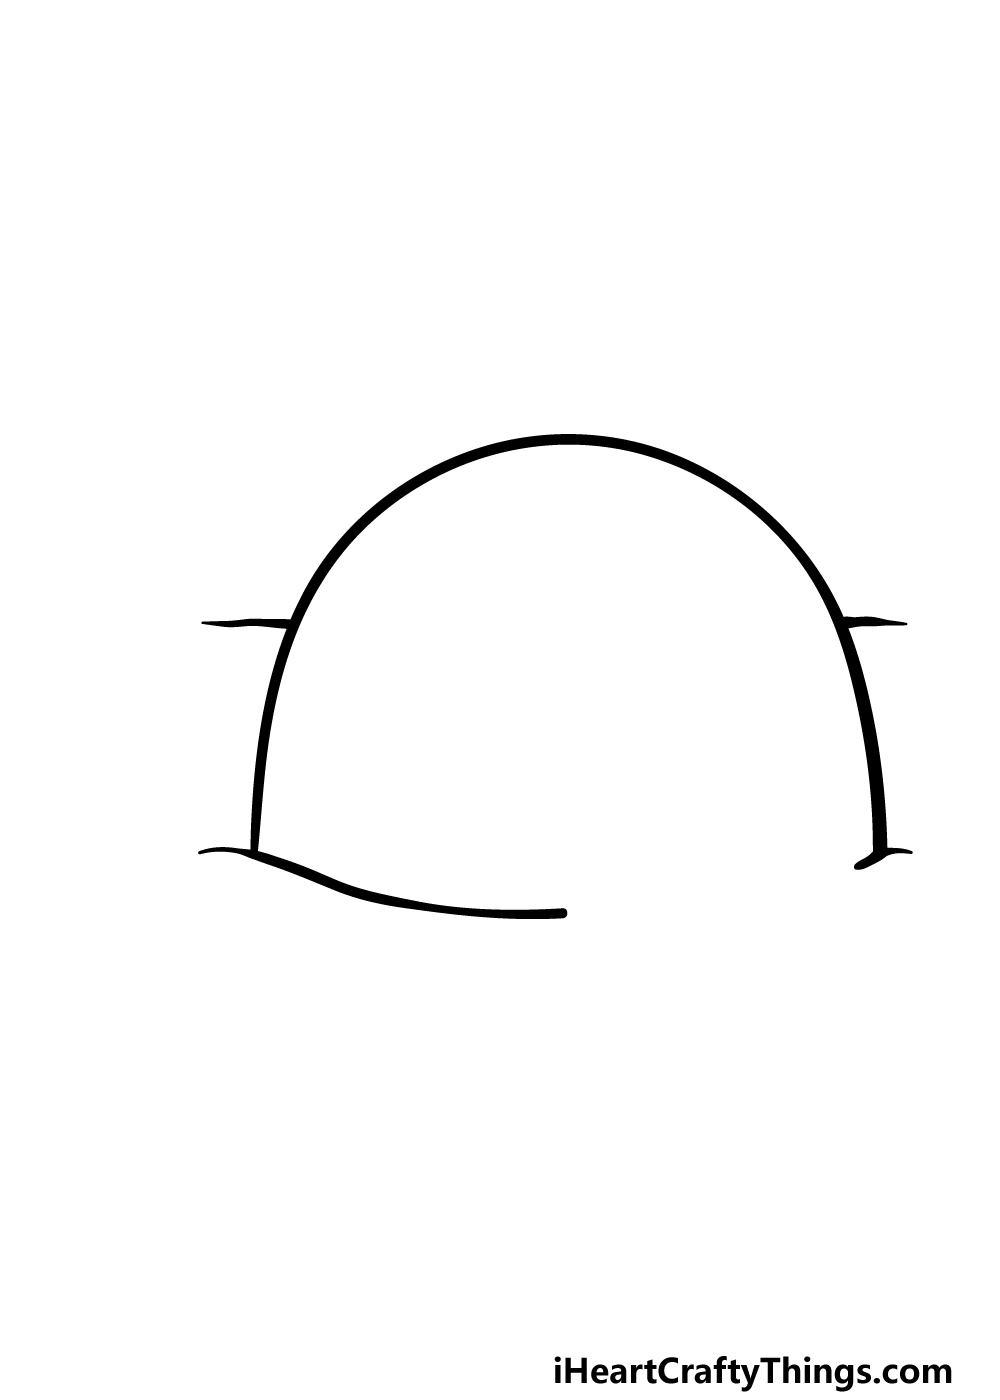
These structures are known for usually having a rounded dome design, and this is what we went with in this guide on how to draw an igloo. You can start this by drawing a curved line for the domed outer structure of the igloo.
Then, draw a slightly curved, wavy line along the bottom left-hand edge of the igloo, and then draw a shorter one along the bottom right-hand edge.
There will be a fairly large space between them where the doorway will go later.
Finish off this step by drawing some short, very slightly bumpy lines for the start of the landscape background behind this igloo.
Once all of these aspects are drawn, we can continue to the second step of the guide to add some more to it.
Step 2 – Now, draw the entrance of the igloo

An igloo wouldn’t be much use without an opening to enter and exit it, so we shall add that aspect to your igloo drawing in this next step.
The entrance of the igloo can be drawn to look a bit like an upside-down horseshoe shape. You can then draw a straight line in from the bottom of the right-hand bottom edge inward.
Then, draw a curved line for the tunnel portion of the entrance, and then give the tunnel a flat base with a straight line.
When this entrance looks as it does in our reference image, you will be ready for step 3!
Step 3 – Draw the person who lives in this igloo
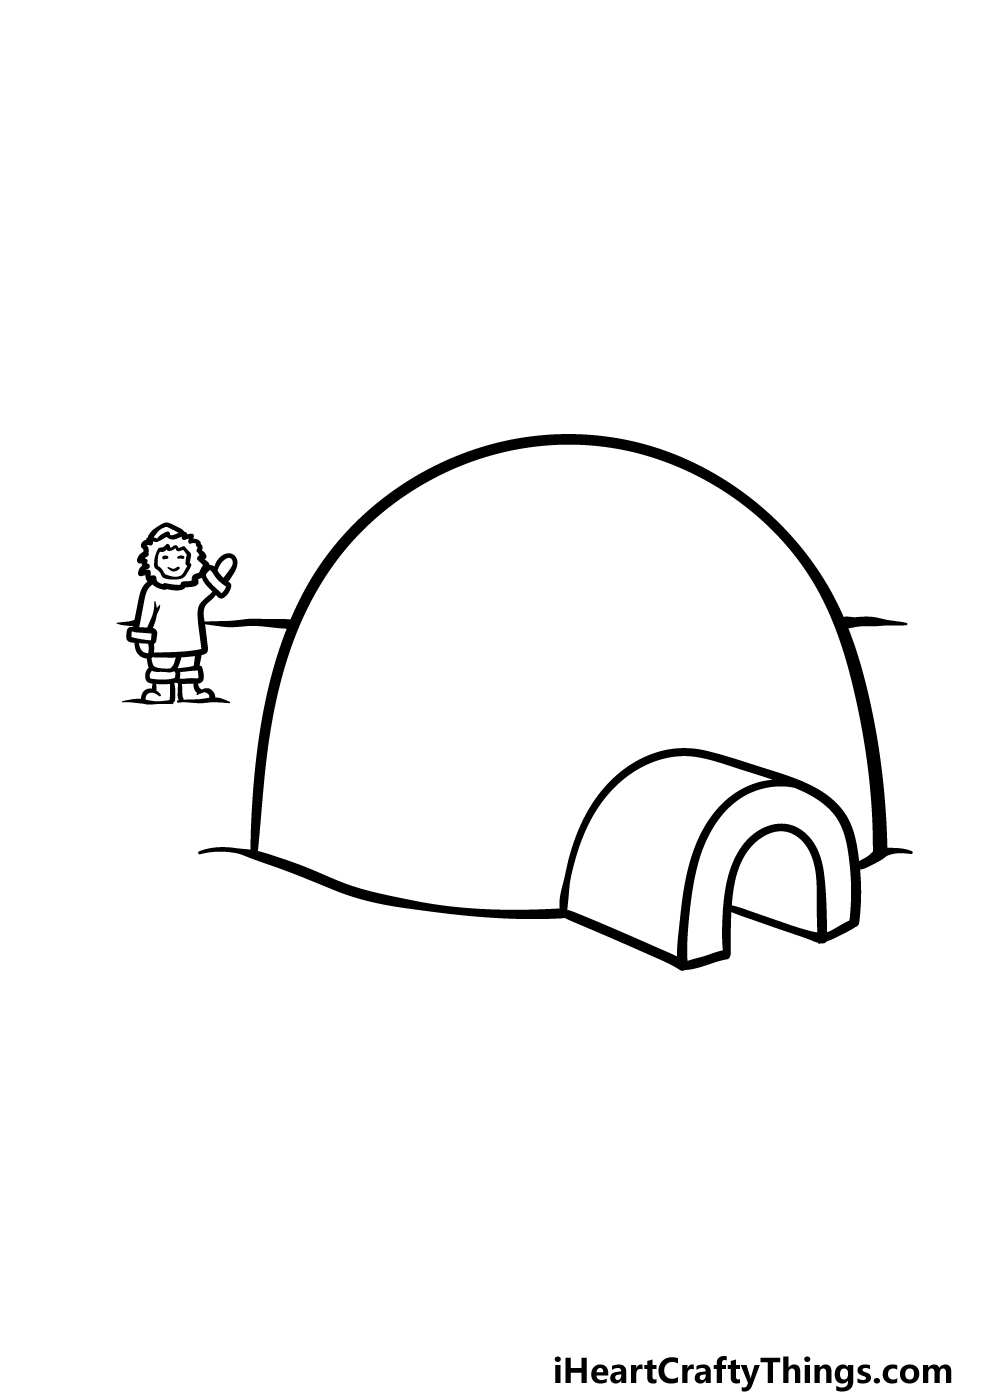
Igloos don’t just appear out of nowhere, so there has to be a person that makes and lives in it. That is who we shall be drawing in this third step of our guide on how to draw an igloo!
The person that we will be drawing is dressed in traditional attire, and you can start this by drawing a circular design made up of some jagged lines.
These lines will form the furry opening of the hood this person is wearing. Then, use some simple lines for the coat they’re wearing.
The arm on the left is raised in a friendly wave and has a thick glove at the end of it. Finish them off by drawing a smiling face and by adding the legs and shoes they’re wearing.
Step 4 – Next, draw the individual sections of the igloo structure

Igloos are typically crafted using tightly packed bricks of ice and snow. We will start drawing this aspect for your igloo drawing in this next step.
To do this, simply draw some slightly curved lines along the main section of the igloo.
Then, draw some straight lines moving outward on the entrance tunnel, and finish off with lines going across the interior of the horseshoe-shaped entrance.
We will then be ready for the next step where you will finish off these structure details!
Step 5 – Add the final details to your igloo drawing
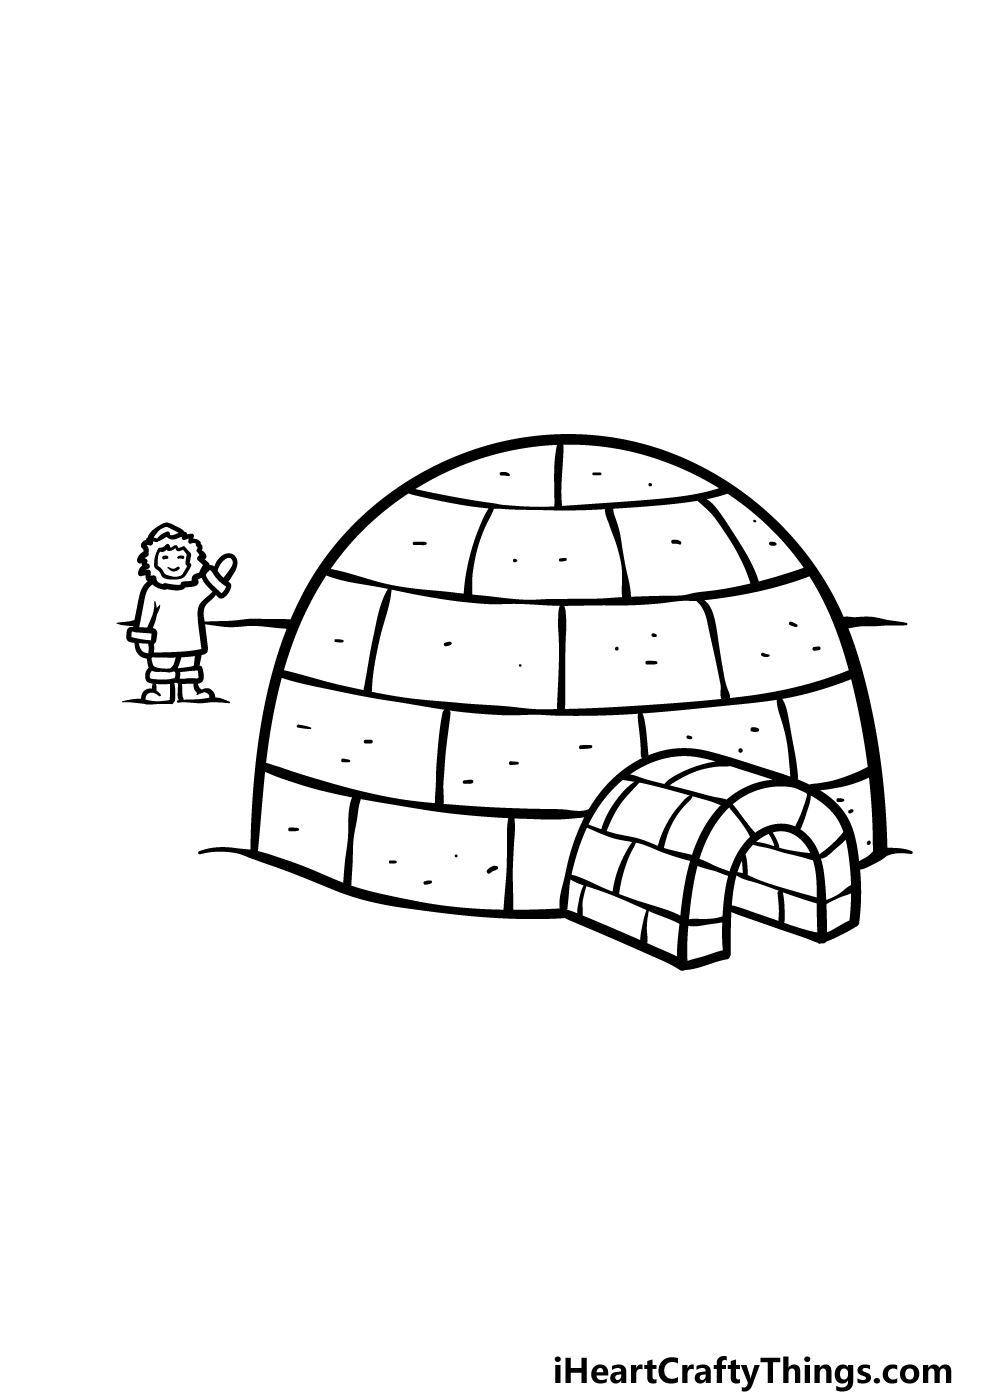
You started drawing the individual snow ‘bricks’ making up the structure in the previous step of this guide on how to draw an igloo, and this part will see you finishing them off.
To do this, draw some rows of vertical lines down from the various rows of the igloo, and this will finish off the look of having individual brick sections.
You can then add some texture detailing by adding some small dots all throughout the igloo. Once you have drawn these aspects and details, you will be ready for the final step!
You could also add some personal flair to the image by also drawing additional details or background elements to finish it off. How would you like to finish off this image before the final step?
Step 6 – Finish off your igloo drawing with color
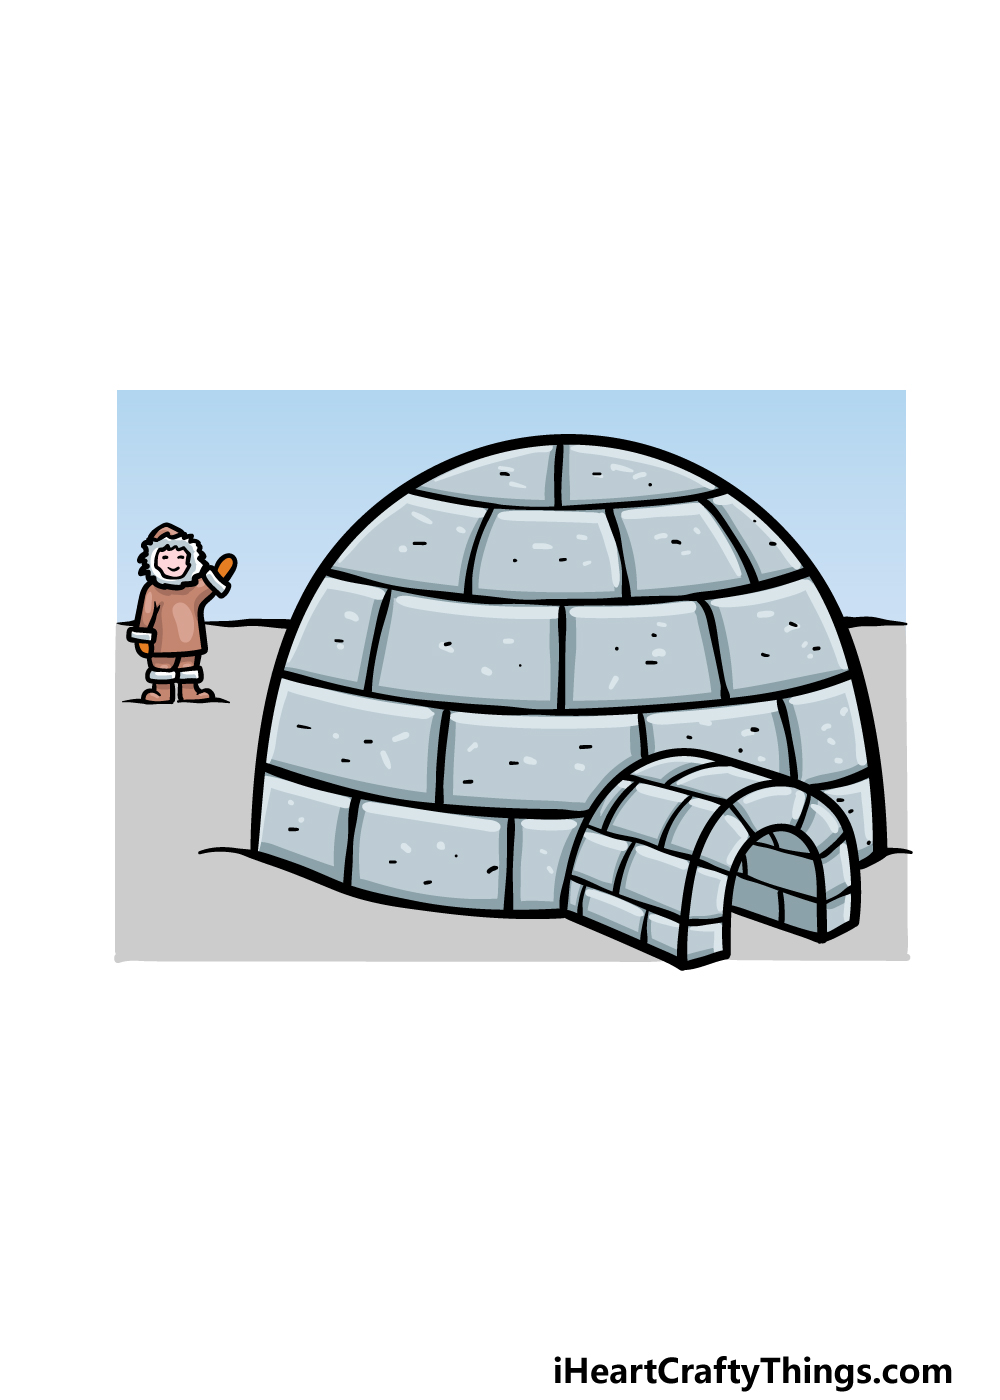
That brings you to the final step of this igloo drawing, and in it we shall finish off with some colors. As you may imagine, we went with lots of cool colors for this image.
This helps to sell the cold, icy setting of the environment and structure.
We used some light blues and greys for the icy structure of the igloo, and we used different shades of these for the sky and ground surrounding the structure.
We then went with browns for the clothing of the person standing by it, and this helps give a bit of color contrast.
Watercolor paints would be great for a softer, colder look to the image, but what colors and mediums can you think of to use?
Do this to take your igloo drawing to the next level
Make this super cool igloo sketch even better with the help of these handy tips!
This drawing of an igloo shows an Eskimo character standing in the background. They are quite a small part of the composition, but you could emphasize them a bit more.
One way of doing this would be to put them in the foreground of the image. You could even keep the design exactly as it appears in the drawing and just make them larger.
It could also be fun to add additional friends for this character to hang out with! What are some other poses you could create?
Adding some more human characters is one idea, but you could also add some animal characters to the scene. There are a few animals that live in such cold environments that you could use.
Some smaller examples would be some penguins or maybe something like a snow fox. You could also go for some larger animals like wolves and maybe a polar bear.
What are some other animals that you could add to the scene?
A real igloo would be made of ice and other materials. You could use some of your favorite art tools and mediums to portray this icy texture for the igloo.
You would want it to look light and almost transparent, so softer art mediums would be perfect for that.
Watercolor paints and colored pencils would be great mediums to use for this purpose, but they are far from the only ones.
Once you have added all your additions and played around with your favorite art tools, you could finish off with a background for your igloo sketch.
The background could even be rather simple while still being effective. It could just be a snowy landscape portrayed with some wavy lines.
That would be one easy way of making a background, but you could also add features such as mountains or maybe a snow storm.
There are so many ways that you can get creative with it, so how will you finish off the image?
Your Igloo Drawing is Complete!
You have reached the end of this guide on how to draw an igloo, and you have successfully mastered all 6 steps!
We hope that working on this guide was a fun experience for you that also made it easier than you may have anticipated.
Mastering this drawing is just the start, however. You can keep it going by adding your own awesome details, ideas and color choices.
How will you add your own creative flair as you finish off this picture?
If you had a great time with this guide, you’ll want to visit our website for more guides just like it. We upload new ones often, so be sure to keep checking in!
When your amazing igloo drawing is complete, you can show it off by sharing your creation on our Facebook and Pinterest pages. It will be great to see how it turned out!