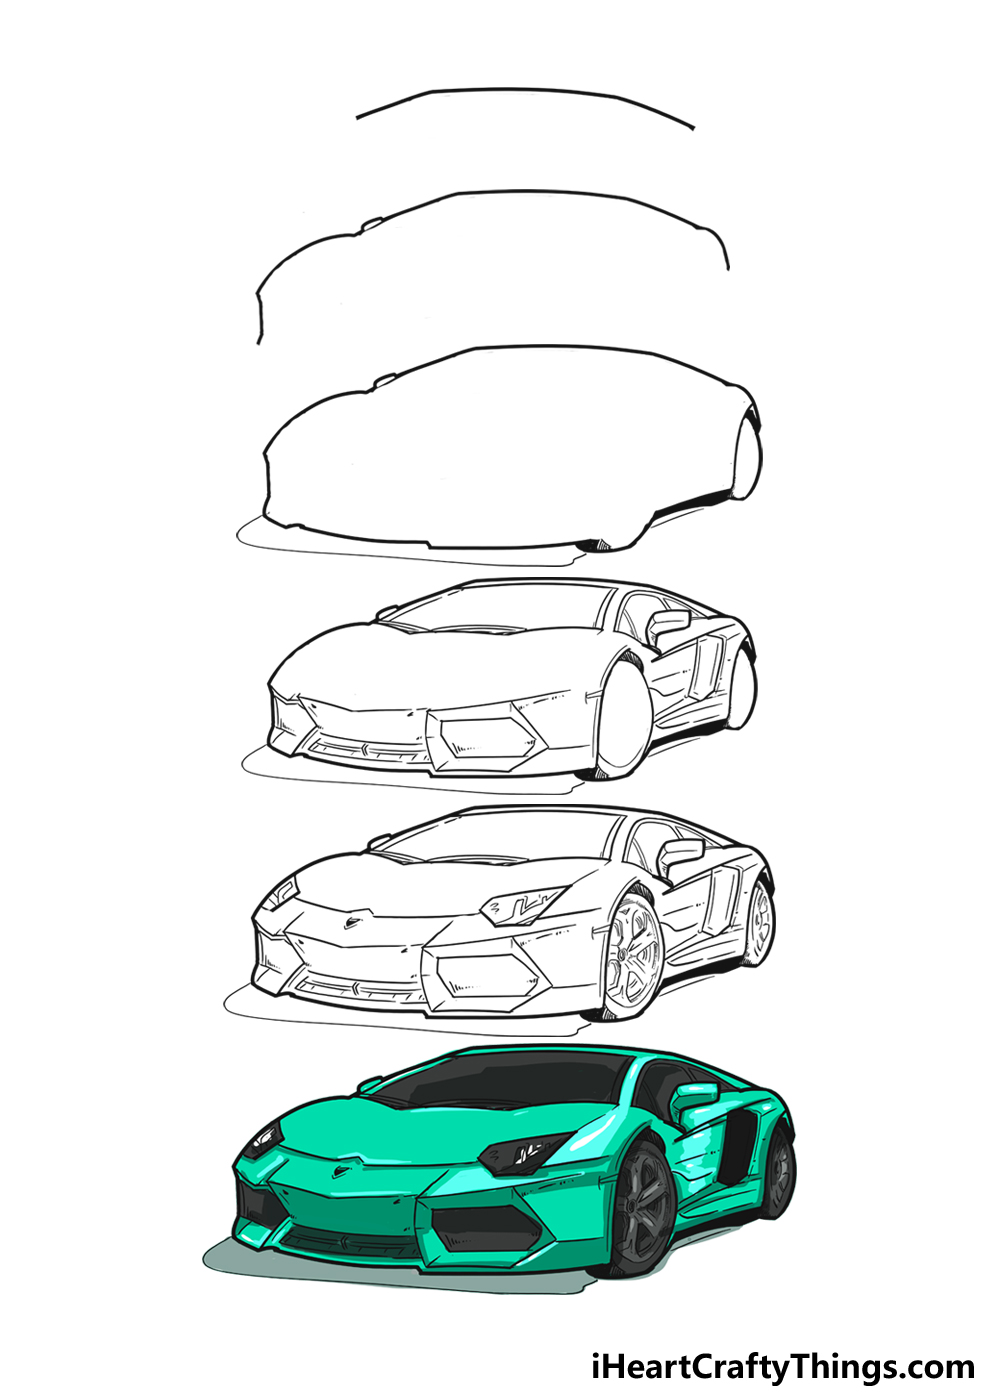
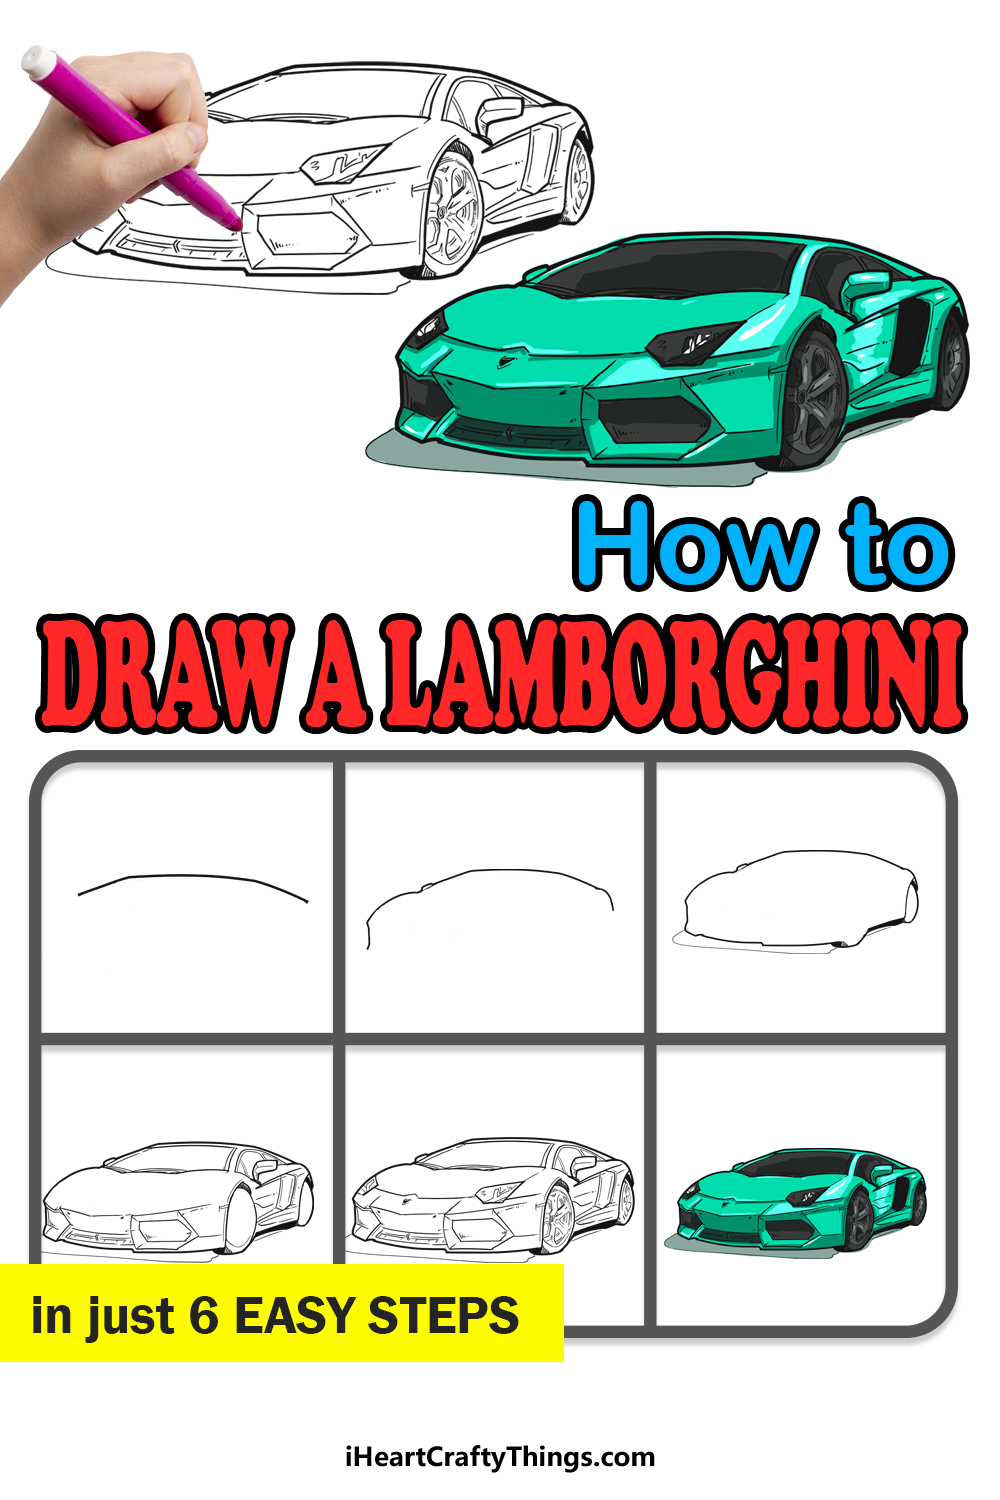
This guide on how to draw a Lamborghini will make it easier than ever to depict this classic car! You will be able to design the car of your dreams when you follow the steps.
Of all the luxury cars you can get, the Lamborghini is probably my favorite brand. There is something about how elegant they look while boasting a lot of power that really appeals to me.
Like many people, it’s very unlikely that I will ever own one for myself, so drawing one is the next best thing! Drawing a Lamborghini is actually quite a challenge though, as there are loads of details that you need to get right.
Luckily, this guide has everything you need to draw one of your own. You can even customize the colors and add a background to show off where you would like to drive one of these gorgeous cars!

Watch How To Make Your Lamborghini Drawing
How to Draw A Lamborghini – Let’s Get Started!
Step 1

Cars are rather tricky to draw in the best of times, but this is especially true when it’s something as stylish as a Lamborghini.
That’s why we will break it down into smaller elements, but we would still suggest planning your drawing.
You can do this by looking at the last few images of this guide, and then you can try to imagine what the general shape of the drawing will be at the end.
Then, take a pencil and draw out this general shape as best you can. If you do this, try to keep the lines light by not pressing too hard.
This will make it easier to erase later. These lines also don’t have to be perfect, and you can focus on making the final lines more precise as we move along.
Then, we can start drawing the actual lines of the Lamborghini outline, and these should have a bit more care put into them. For now, we will be focusing on the upper outline of the Lamborghini.
As you will see in our reference image, this first line will be horizontal and curved in a very specific way. It may not look like much for now, but you will see how it fits in as we go.
If you drew that pencil outline we suggested, then you will see how it fits into the larger picture.
Once you’re happy with how it looks, we can keep adding to the outline in the next step of the guide.
Step 2: Draw some more of the outline

We have the first section of the outline for this Lamborghini drawing, and now we can add some more to it.
Most of this step will be focused on the hood of the Lamborghini, but we will also add a bit to the back.
Let’s start with the portion at the back of the car, as it will be the simplest part of this step. All you need to do is draw a simple vertical, curved line at the back of the Lamborghini.
It will be quite short, as you will see in our example. That’s all for now, and we will leave the rest of that section for later on in the guide.
For now, we will add to the front section of the Lamborghini on the left. In the previous step, you will see that we sloped the line down just a little bit.
For this step, extend that section just a bit further. We will also attach a smaller curved line to this section to show where the mirror is poking out in that section.
Then we can draw the hood of the Lamborghini. This can be drawn as a longer horizontal curved line, but it is otherwise quite simple looking.
Finally, we will add a vertical line coming down from the end of the hood section. This will have a very slight curve to it, but it will be mostly straight.
That is all there is to it for this step, so when you’re happy with how it’s looking then we can move on to step 3 of the guide.
Step 3: Add the rest of the outline for the Lamborghini

Now, we will be finishing off the outline for this Lamborghini, and then we will be able to focus on the actual inner details. There is a lot to add in this step, so let’s take it nice and slowly.
Let’s start with the front base of the Lamborghini, as you will see in the reference image. This will follow on from where you left off, and it will be a vertical portion.
The line needs to be very specifically drawn, as we will be adding some details there later. This is a step where we would recommend very closely following the reference image.
Try to make it look as similar to ours as you can. You will see why it needs to be so specific later on when we start adding details. We will then add a curved line for the front wheel of the Lamborghini.
Then, there will be a relatively straight line moving diagonally up from this one. You can then draw a curved vertical line moving up from that one.
Finally, we will add another tire at the back with a simple curved line.
Once you have these details drawn, we can then add some simple shading details using some solid black coloring and simple lines drawn around the base.
If you struggle with this step, you can draw it out with your pencil before committing to a pen. Doing that along with following the reference image can make it so much easier.
Now that we have the outline of this Lamborghini, we can start drawing some of the inner details in the next few steps, so let’s go ahead and do that.
Step 4: Now draw the first inner details of this Lamborghini

Step 4 is going to be another tricky one, so be sure to really take your time with it!
This is another step where we would suggest drawing out the details with a light pencil before committing to your chosen drawing tool.
We will first focus on the details on the lower portion of the front of the Lamborghini. These will include the squared panels on the front, and there will be plenty of line details around these.
Try to pay close attention to the angles of these lines, as the angles will make it look like certain areas have depth. Next, you can add the windshield of the Lamborghini.
This will also have a very specific shape to it. Then, there will be some simple details inside the wheels.
The side of the Lamborghini will be one of the trickiest parts of the drawing, as there is a lot of fiddle detail to add there. These would include the doors of the car and the mirrors on the side.
A Lamborghini is famous for the detail in its construction, and while this can be fun to admire, it can be a bit tricky to draw! As long as you take it slowly, you will be able to do it.
You could also simplify some of these details if you want to make it a bit easier on yourself. When you have these details drawn, we will be ready for the final details in the next step of the guide.
Step 5: Draw his shoulders and any extra details

That previous step had some tricky details indeed, but these ones should be a bit easier as we will finish off the detailing that you started in the previous step of the guide.
Start by drawing the headlights of the Lamborghini, which have a very angular, almost triangular shape to them. There will be a few more lines needed to finish off the hood of the Lamborghini.
The headlights also need a few more intricate details inside of them to make them look more like they’re transparent. Then, we need to add the grills on the wheels to make them more detailed.
With these details, you have completed this Lamborghini drawing! Before you move on to color in your drawing, you could also add some additional details and ideas.
For example, you could show where you would like to take this Lamborghini for a spin. You could do this by drawing a background setting for this drawing.
Or, you could show what your dream car garage would look like and draw a setting where you would store this amazing car.
You may also like to add a human character to the image, perhaps even yourself!
There are so many ways that you can get creative with some simple additional details.
Once you have added all of your extra ideas, we can move on to the final step where we will color in this beautiful Lamborghini drawing.
Step 6: Now, finish off with some color for this Lamborghini

This Lamborghini is already looking spectacular, but something is missing, and you can probably tell what that is. Of course, we are referring to the color of the car!
Now that you have worked so hard on this drawing of a Lamborghini, you can finish off by having some fun coloring your creation. The best part is that you can do this in any way you choose.
In our refrence image, we went with a cool turquoise color scheme for our example Lamborghini.
Even though this is the overall color scheme, you will see that we used multiple tones for the car.
This is to make the colors look mor varied and dynamic, and it can also make it look like there is light reflecting on the Lamborghini. You can go for a similar color scheme if you like, but it’s up to you!
Now you can show off what color you would choose for your own Lamborghini. Colors like yellow and white are classics for this car, but there are so many others you could go for.
When you’re coloring in, remember to use different tones to make the colros more dynamic, like our example. This is something that can be done no matter what color scheme you choose.
You can also change up the art tools and mediums that you use to color in your drawing. Incorporating crafts can also be a great addition.
For instance, you could use a light sprinkling of glitter to make the car look shiny and fancy. This is one idea, but what colors, mediums and crafts will you use to finish off this drawing?
Your Lamborghini Drawing is Complete!
A Lamborghini will be associated with speed, but we hope you had a good time slowing down and working through the steps of this guide on how to draw a Lamborghini!
This was a challenging drawing with lots of details, but we know that you will do a great job if you follow the steps.
Any drawing challenge can be accomplished when you slow down and break it down into smaller steps.
Now that you have mastered the drawing, you can take it even further by adding your own ideas and additions!
Whatever you choose to do will help to make your drawing more unique, and we would love to see it.
You can show us how you finished off your drawing by sharing the finished artwork on our Facebook and Pinterest pages.


