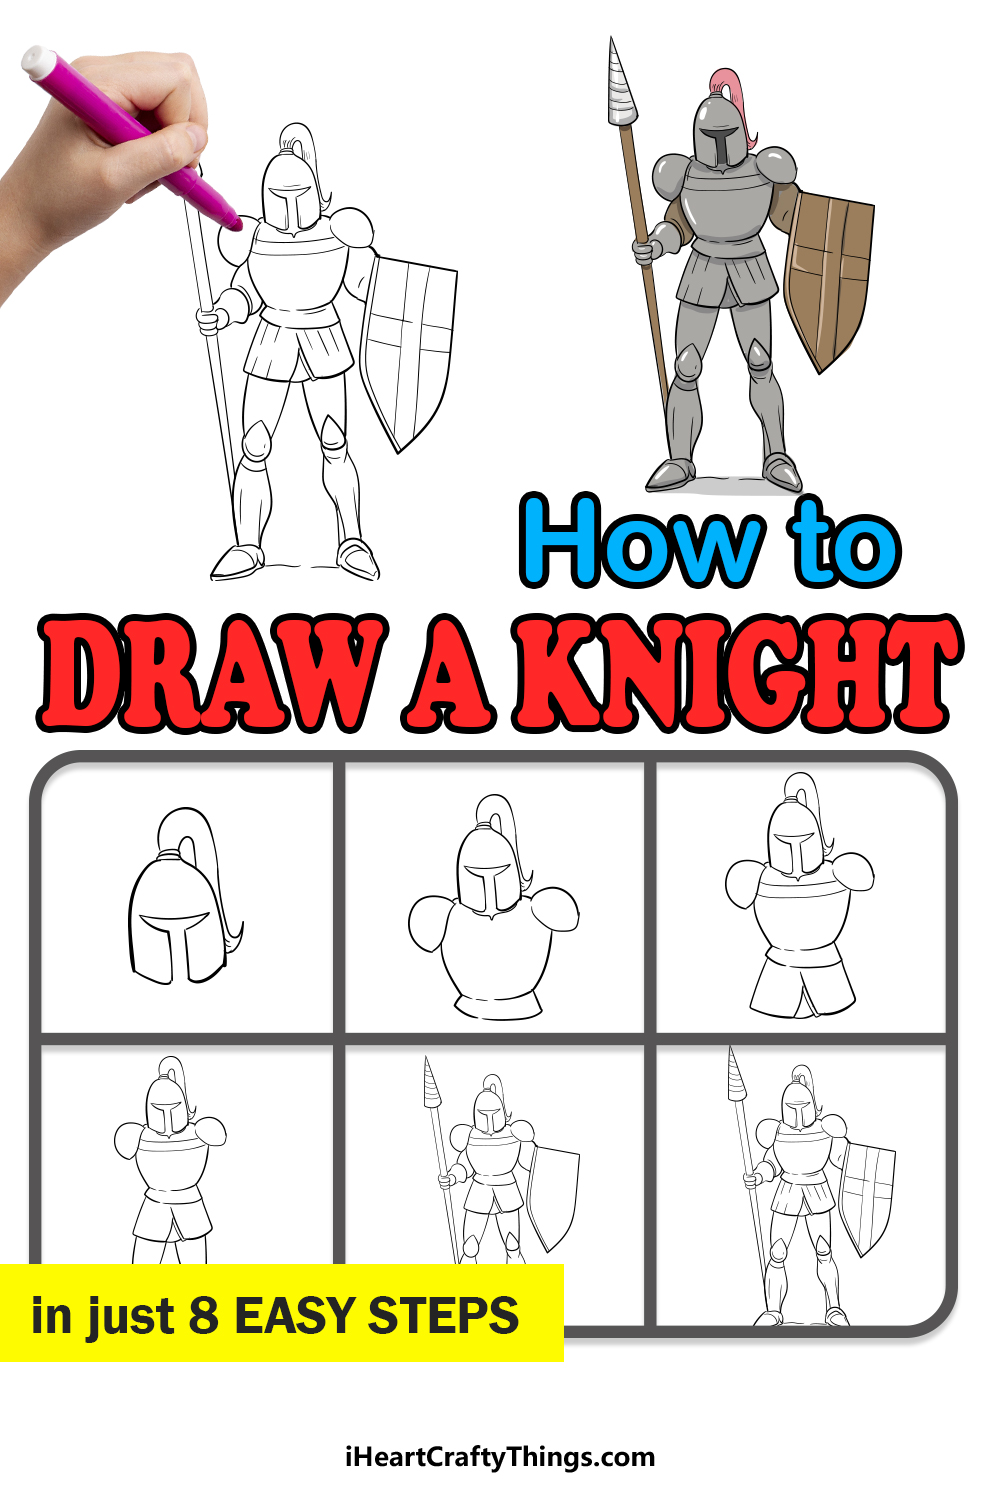
Get ready for this fun and easy guide on how to draw a knight! This tutorial for kids will make it much simpler for you to depict one of these noble warriors.
There is a reason why knights of the Middle Ages hold so much fascination with people even today. They are a part of so many legends and stories that captivate our imaginations.
Their distinctive armor also just happens to look really cool! It’s a lot of fun to make some art featuring noble knights, but drawing their armor can be a real challenge.
In this guide, I will break it down into simpler steps to show you exactly how it’s done. By the end, you will have an amazing drawing that you can customize with your own details and extra features.

Watch These Steps To Make Your Knight Drawing
How to Draw A Knight – Let’s Get Started!
Step 1
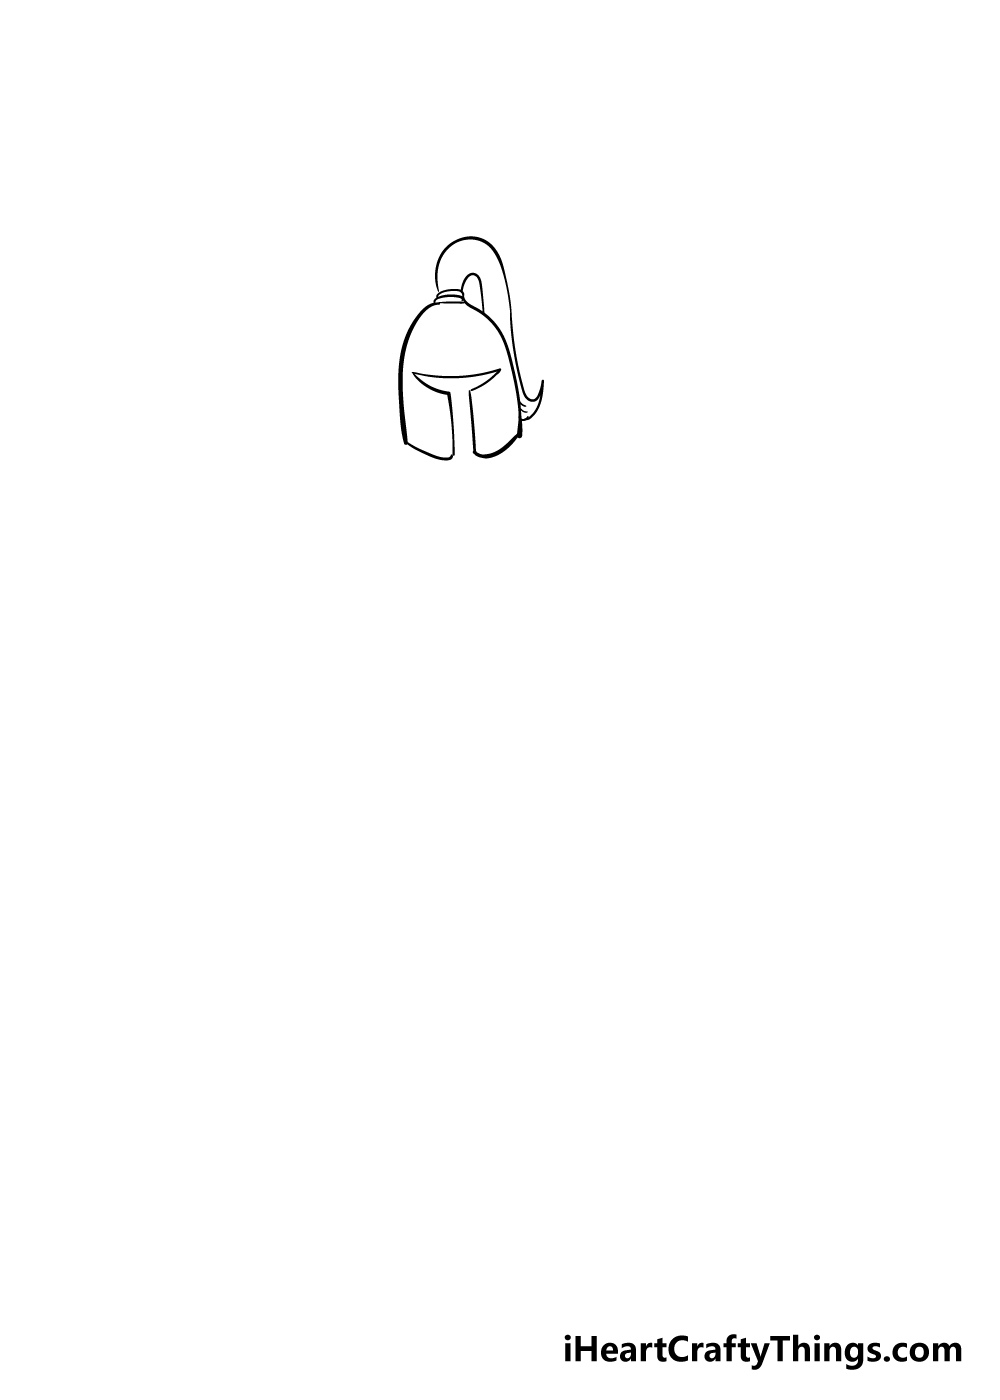
We will start with the helmet of your knight in the first step of this guide on how to draw a knight.
The helmet will be long and a bit rounded, and the hole for the eyes on the visor will be shaped like a sharp T.
Once you have drawn these aspects, you can then use some curved lines to add the ponytail coming from the top of the helmet.
That’s all there is to it for this step, and you’re ready to proceed!
Step 2 – Next, draw the breastplate of your knight
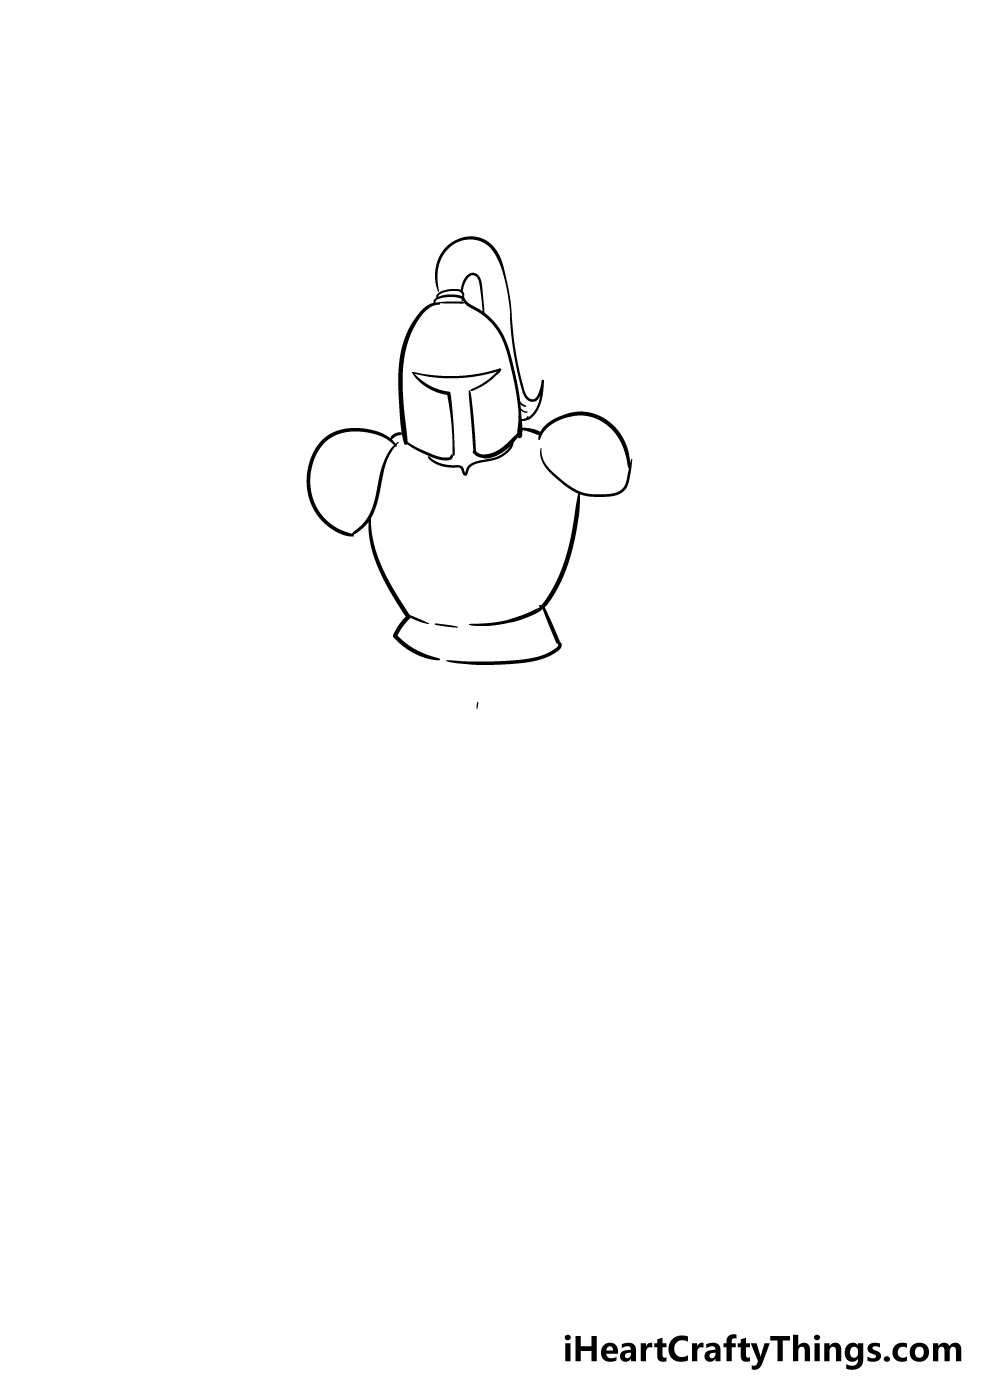
Now that the helmet is drawn, we shall focus on the chest plate for this part of your knight drawing.
First, you can use some rounded oval shapes for the shoulder guards of the breastplate.
Then, once you have that you can use some more slightly curved lines coming down from the shoulder guards to form the chest portion of the armor.
At the bottom of the chest, there will be two lines jutting outwards with a curved line underneath connecting them.
Step 3 – Now, draw in the faulds
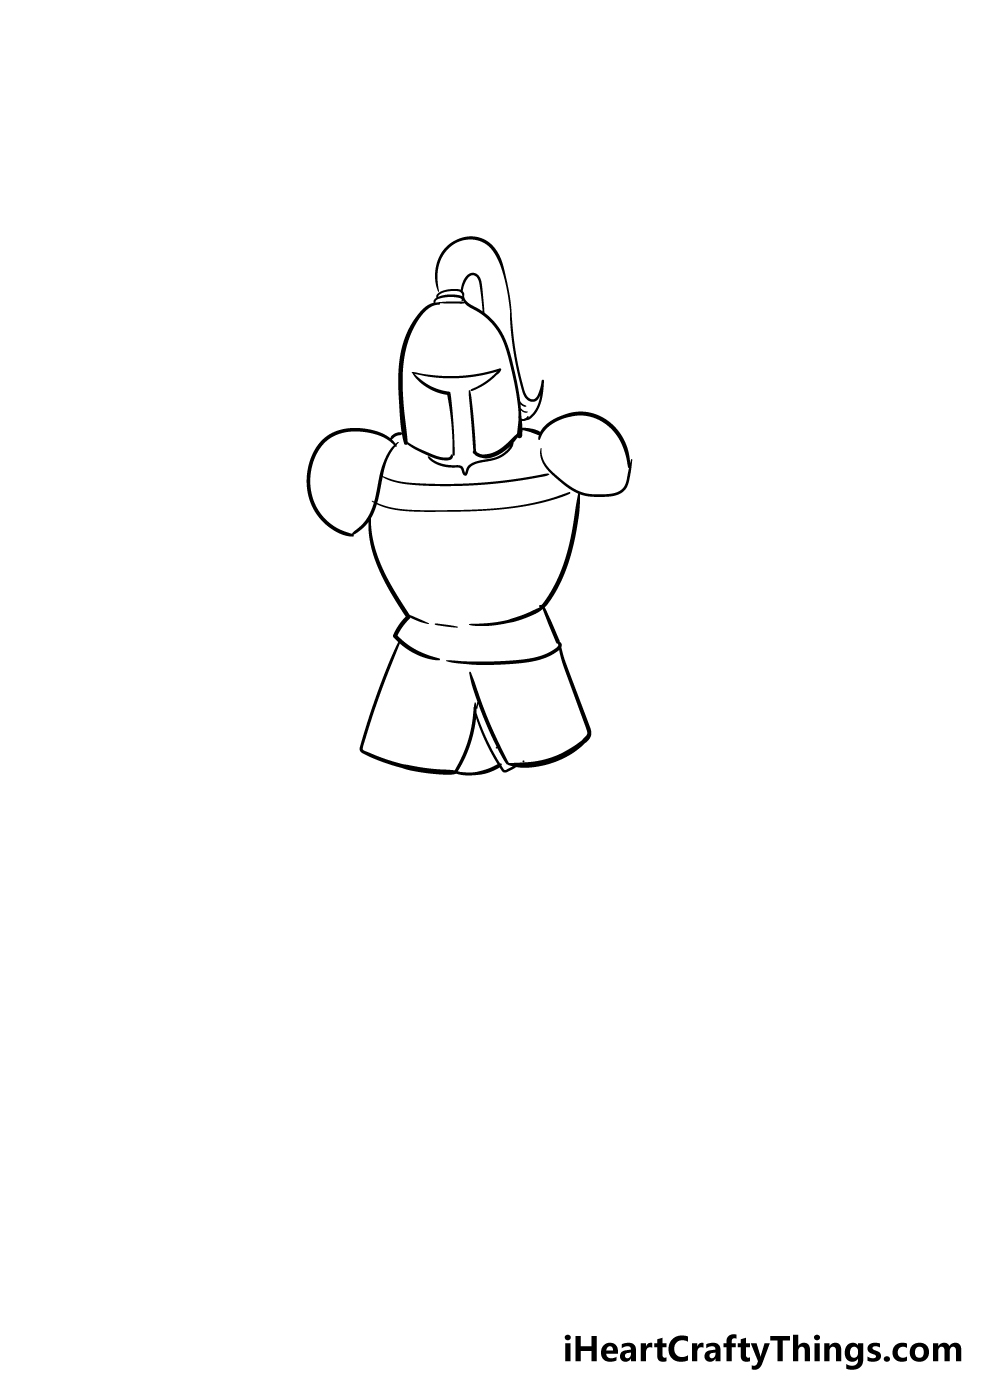
If you read the title of this step and thought “what is a fauld?” then don’t worry, we will answer that in this step of our guide on how to draw a knight.
The faulds are pieces of armor that extend below the breastplate and over the hips.
You can draw these with straight lines coming down the sides of the breastplate. Then near the middle, they will come upwards to form an opening.
Finally, you can draw two lines near the top of the breastplate.
Step 4 – Next, draw the legs of your knight
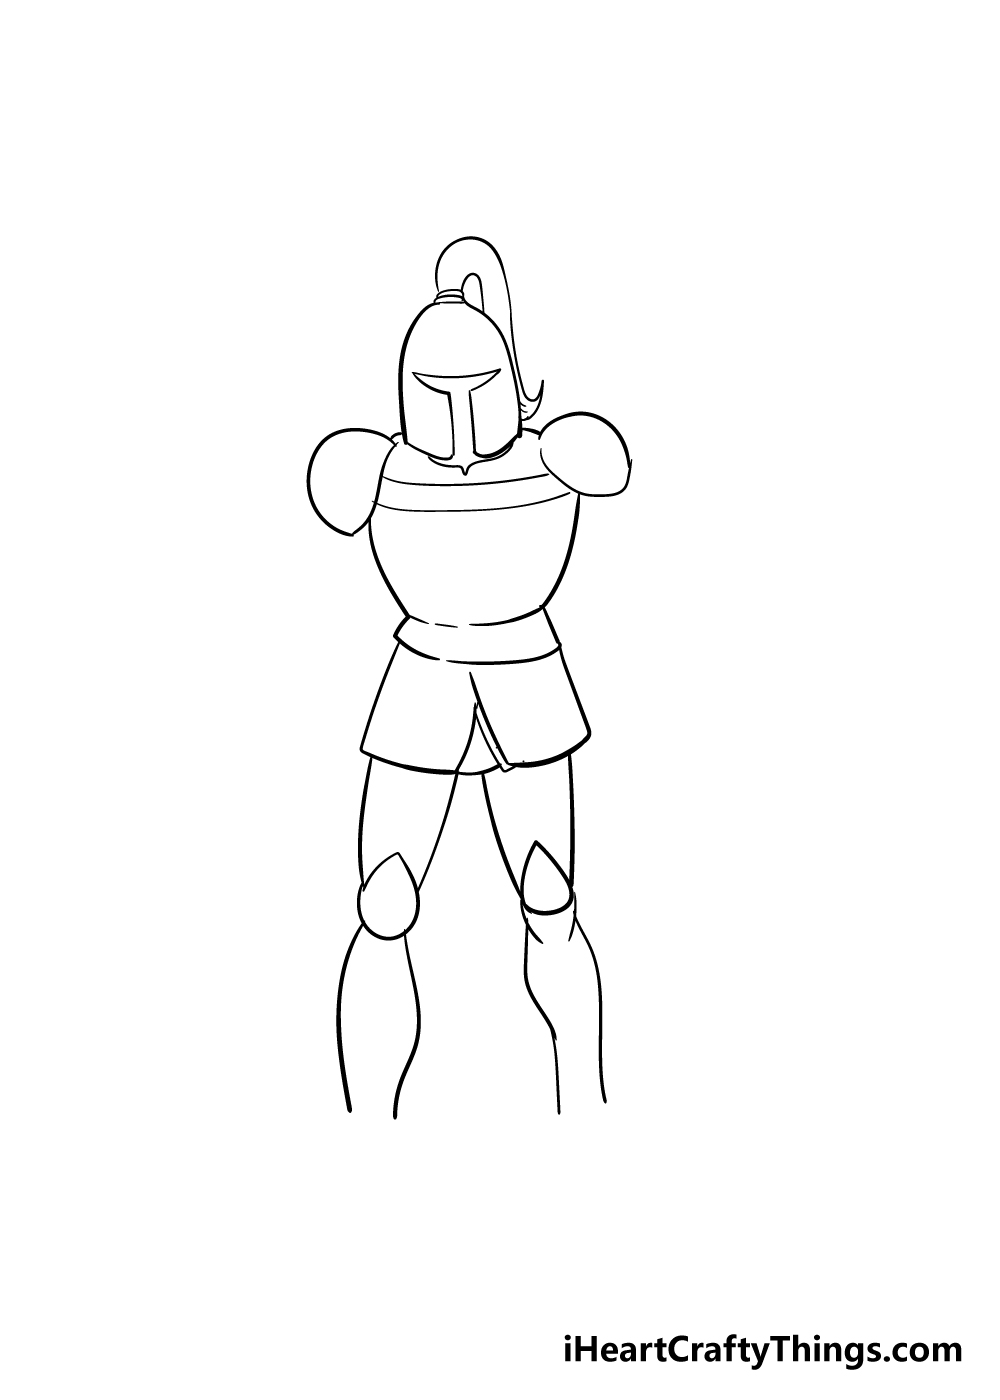
Armor was made up of lots of connecting pieces to allow for mobility, and we shall follow that practice for this part of your knight drawing.
The legs are made up of several different pieces, as you can see in the reference image. There will first be two straight lines coming down from the faulds for each leg.
The next piece will be for the knee joints, and these will be rounded on the bottom with a pointy top.
Finally, the shin and calf section will go below the knees, and these will be thicker near the top and get thinner as they go down.
Step 5 – Now, add the feet and first arm
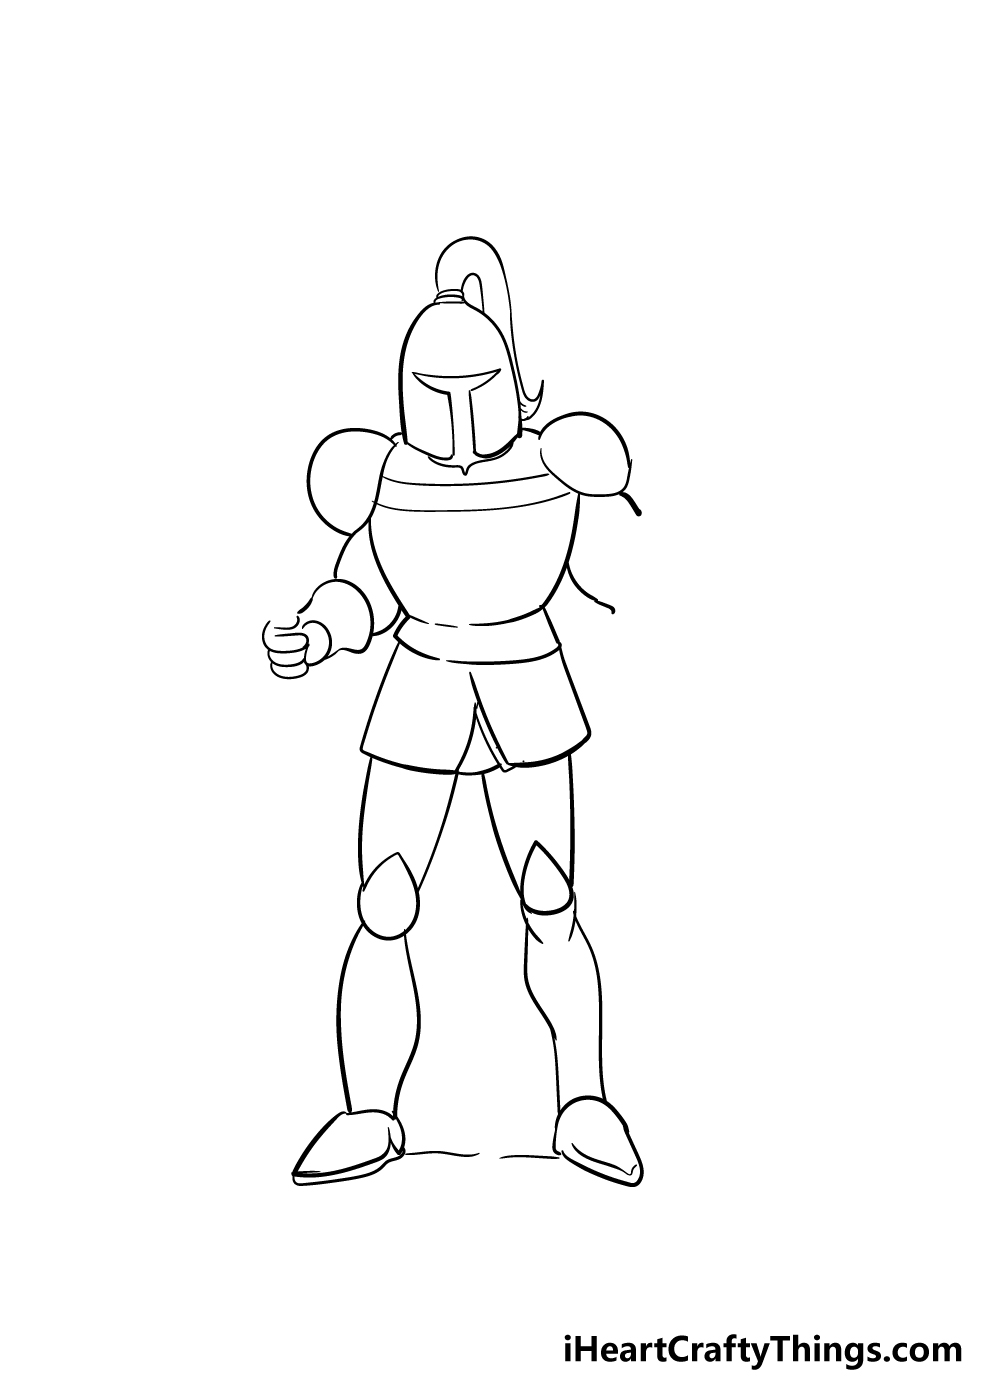
For this part of our guide on how to draw a knight, we shall first add some feet at the bottom of the legs. These will be rounded at the top and get thinner as they get to the pointy ends.
Once those are drawn, you can draw the arms. For the arm on the left, you can use two curved lines for the bicep.
The gloved hand will connect directly to that part, as you can see in the picture. On the right-hand side, there will be two more curved lines for the bicep on that arm.
Step 6 – Next, draw a shield and spear
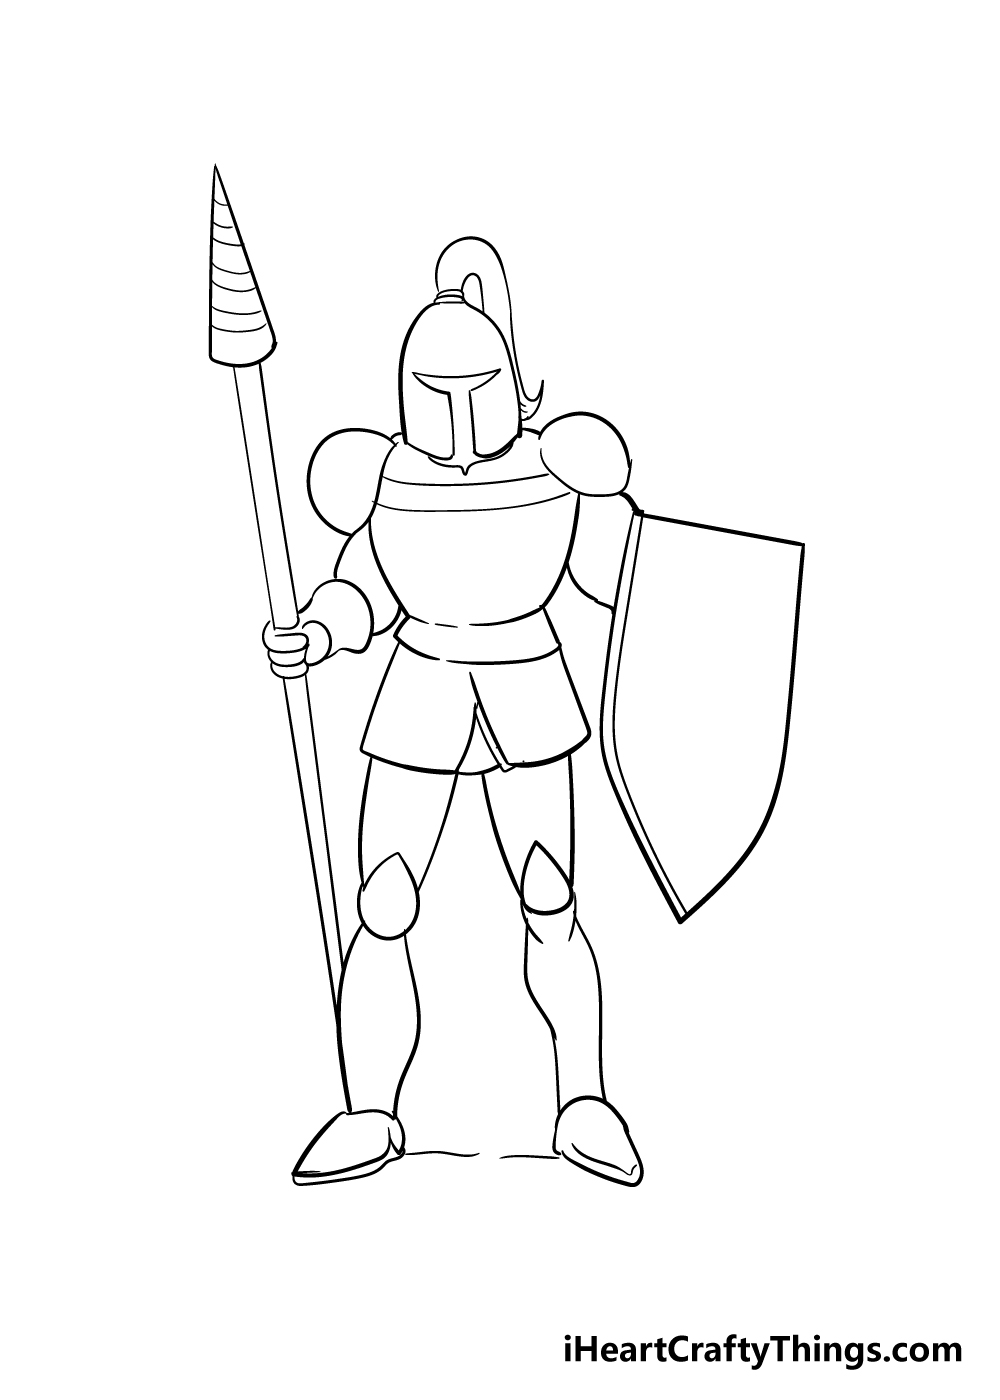
Your knight drawing is looking very cool and formidable already! In this step, we will make him look even cooler with some gear.
The shield will connect to the arm on the right, and has a flat top that curves at the side into a point at the bottom.
The spear will go in the hand on the left. It has a pointy triangular shape at the top, and the handle is drawn with two straight lines.
Step 7 – Next, draw some final details
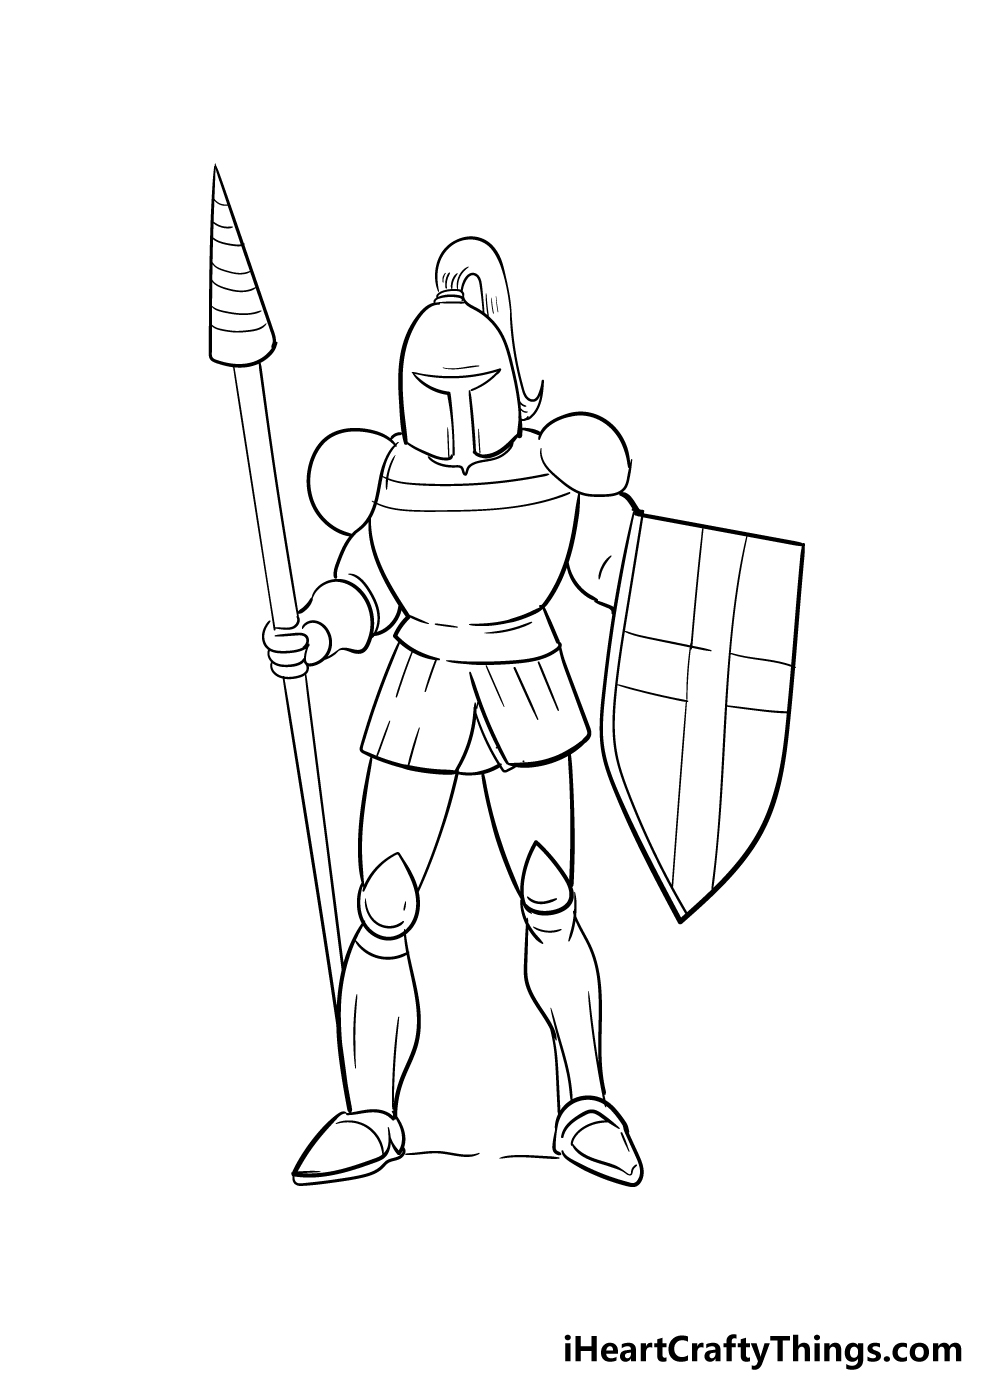
Before you move on to the final step, your knight needs just a few more details. You can draw some lines on the shield and add some smaller ones throughout the armor to add some details.
You could add some battle damage, a crest on the shield or draw a fun background for a few ideas on how to personalize this image!
Step 8 – Now finish your knight drawing off with some color
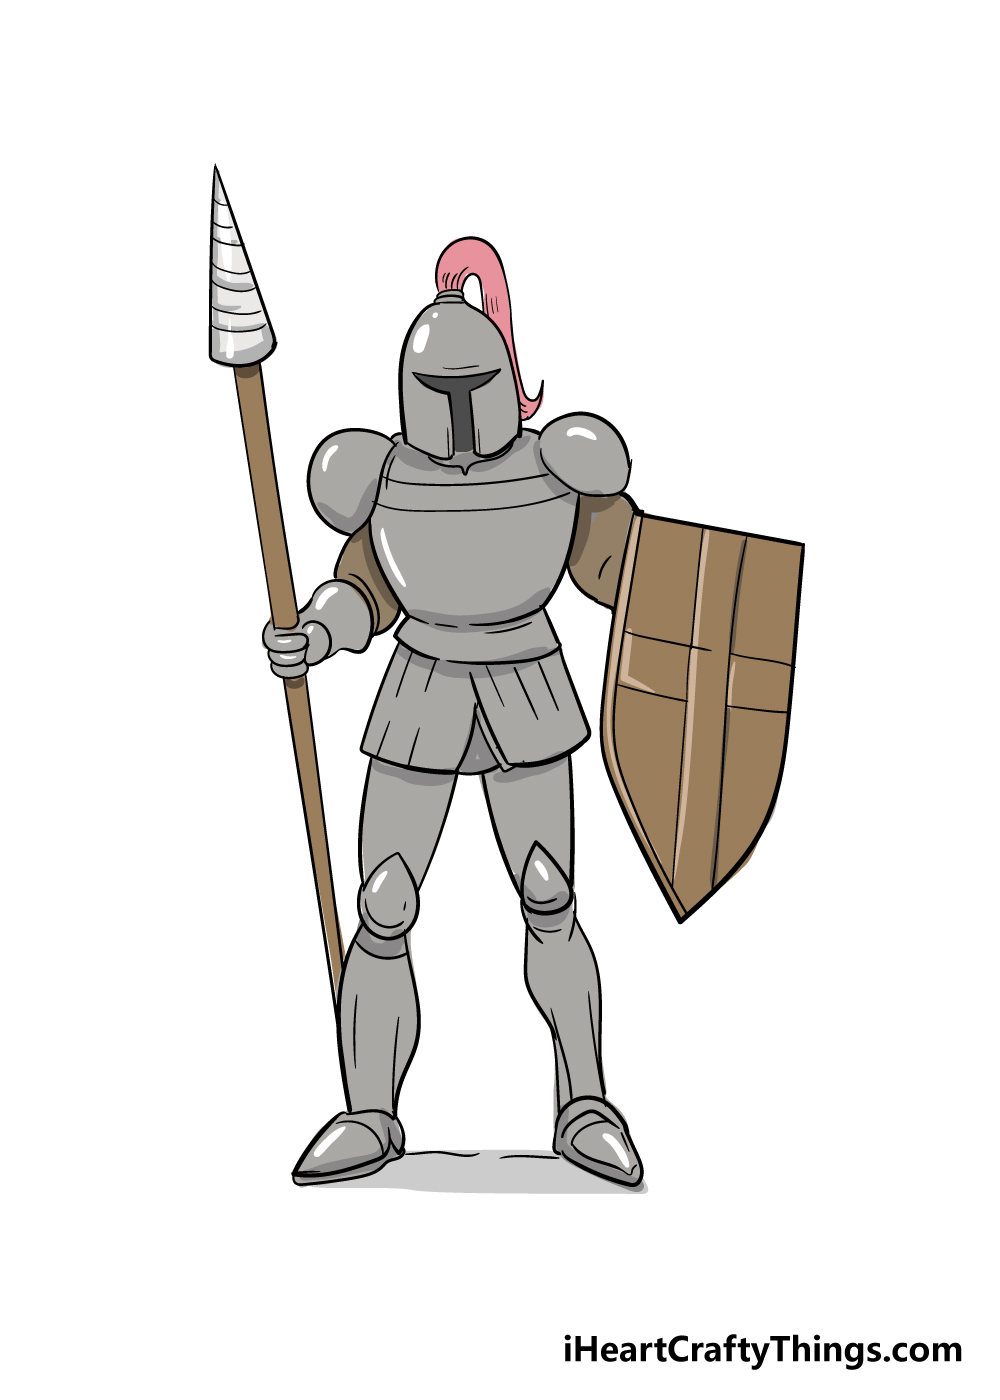
You’ve arrived at the final step of this guide on how to draw a knight, and now you get to have some fun coloring it in!
We used grey for the metallic parts, brown for the leather parts and then incorporated some red for a splash of color.
This is just one way you can do it, however, and you should incorporate any colors you love!
If I were coloring in this knight, I would use metallic colored pens and markers to make the armor look shiny. Any mediums you use will look great, though, so what will you choose to finish it off?
3 More tips to make your knight drawing easy!
Head back to the middle ages as we make this easy to draw knight even easier!
The design we created for this knight drawing is fairly detailed, but we did try to keep them minimal to make it easier. If you are still having a hard time with the design, you could remove a few more of the details!
The trick to removing details is to stick to ones that are not essential to the feel of the image. You could simplify areas like the knees or elbows, for instance.
By using more basic shapes and lines, you can make these parts a whole lot easier to portray. What are some other parts of the design you may want to simplify?
Another way you can make this knight drawing easy to do is by changing the design entirely. This would depend on what you find easiest to draw!
If you love to draw simpler cartoon characters, then you could work through our guide again and then change certain aspects. This could be done to suit whichever style you find easiest to do.
You may even prefer to do something more detailed and realistic, and that would also be fun to adapt. Changing the style of the drawing would not make it worse, and it would actually make it even more unique to you.
What sort of drawing style would you potentially like to use for this image?
Finally, if you want to make this knight sketch all that it can be, you can always consult extra resources. Most of us don’t have a real set of knight’s armor in our house, but you can find lots of pictures online.
There you will find plenty of examples of drawings of the armor, but you can even find pictures of replicas or the real thing. If you’re lucky, they may even have a set at your local museum.
Using these sources can help so much when it comes to portraying the different details and proportions of the armor!
Your Knight Drawing is Complete!
We hope that this step-by-step guide on how to draw a knight was fun and helpful for you to work through!
When you first saw the image you would be drawing, it may have looked intimidating, but as with any drawing if you take it step by step then it can be much easier!
You should be proud of yourself for finishing this guide and ending up with a wonderful picture!
Now you can take over and have fun making this image your own! Whether you draw extra details or use some amazing colors, we can’t wait to see what you come up with!
This drawing guide is one of many that we have on our website for you to enjoy, so be sure to visit us there! We upload new guides all the time, so be sure to check in often to never miss out.
Once you have finished your amazing knight drawing, we hope that you will share it on our Facebook and Pinterest pages. We can’t wait to see your creative artwork!