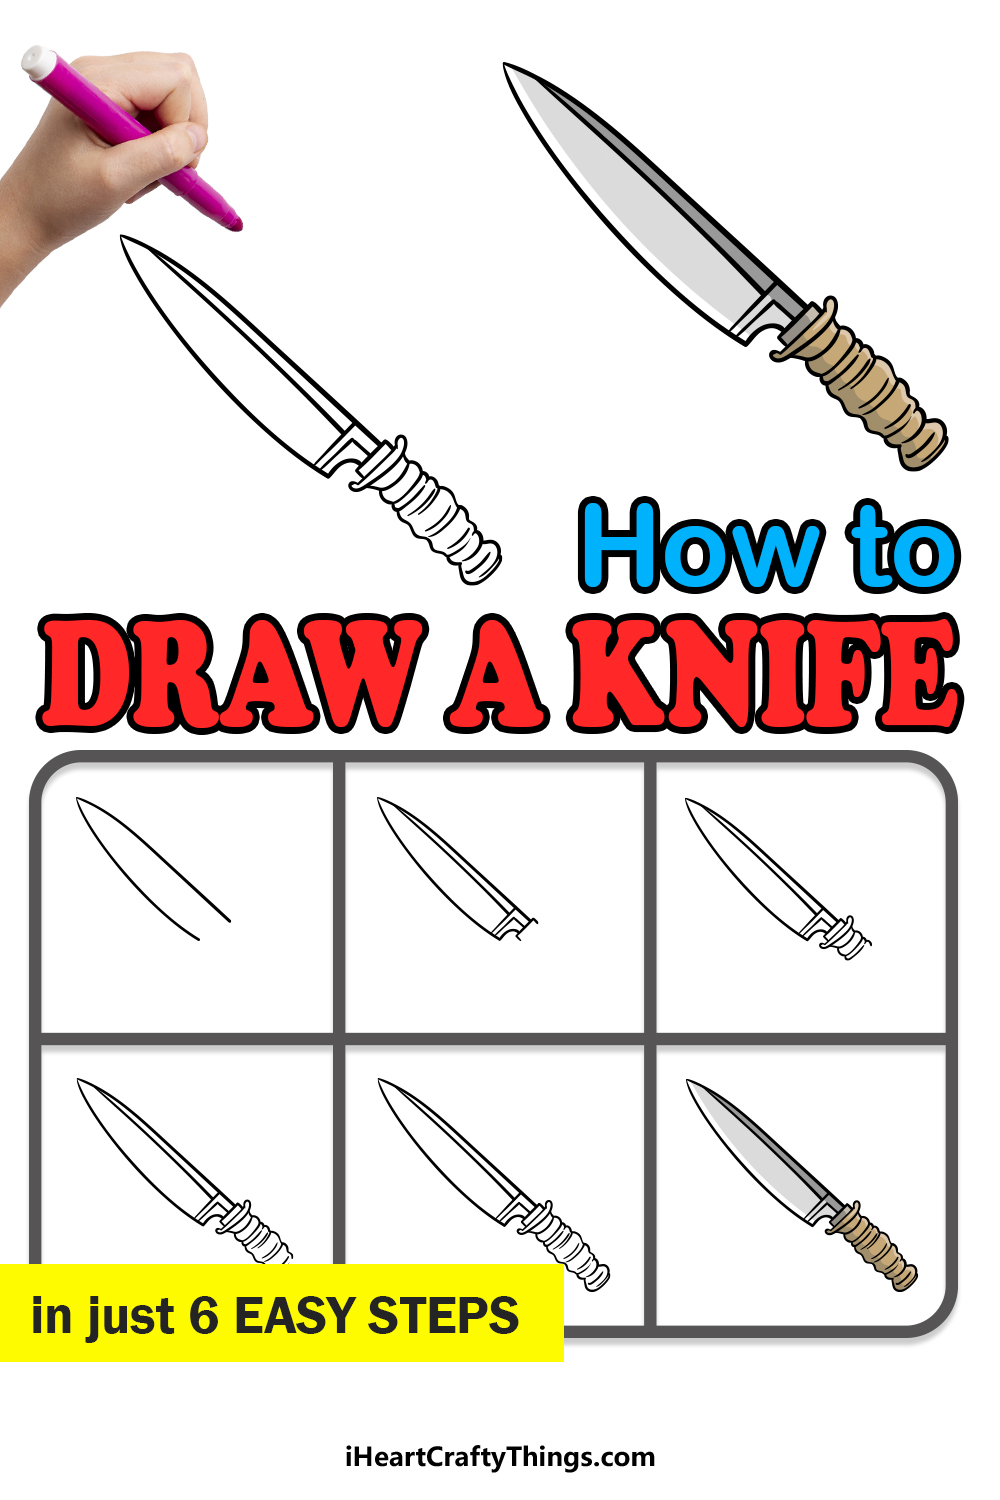
If you want to know how to draw a knife, you’re in the right place! This tutorial for kids will make it easy for anyone to learn how it’s done.
Knives come in all shapes and sizes and can vary depending on what purpose they are meant to serve. In this guide, I will take you through the steps to creating a simple yet distinct knife.
Once you have learned the steps, you could change some of the details to make any kind of knife that you have in mind. You could even draw a background to suggest what the knife could be used for.
But first, let’s focus on the design of the knife that I have for you. You won’t believe how simple it is when you know what to do, so let’s begin!
Watch And See How To Make Your Knife Drawing
How to Draw A Knife – Let’s Get Started!
Step 1
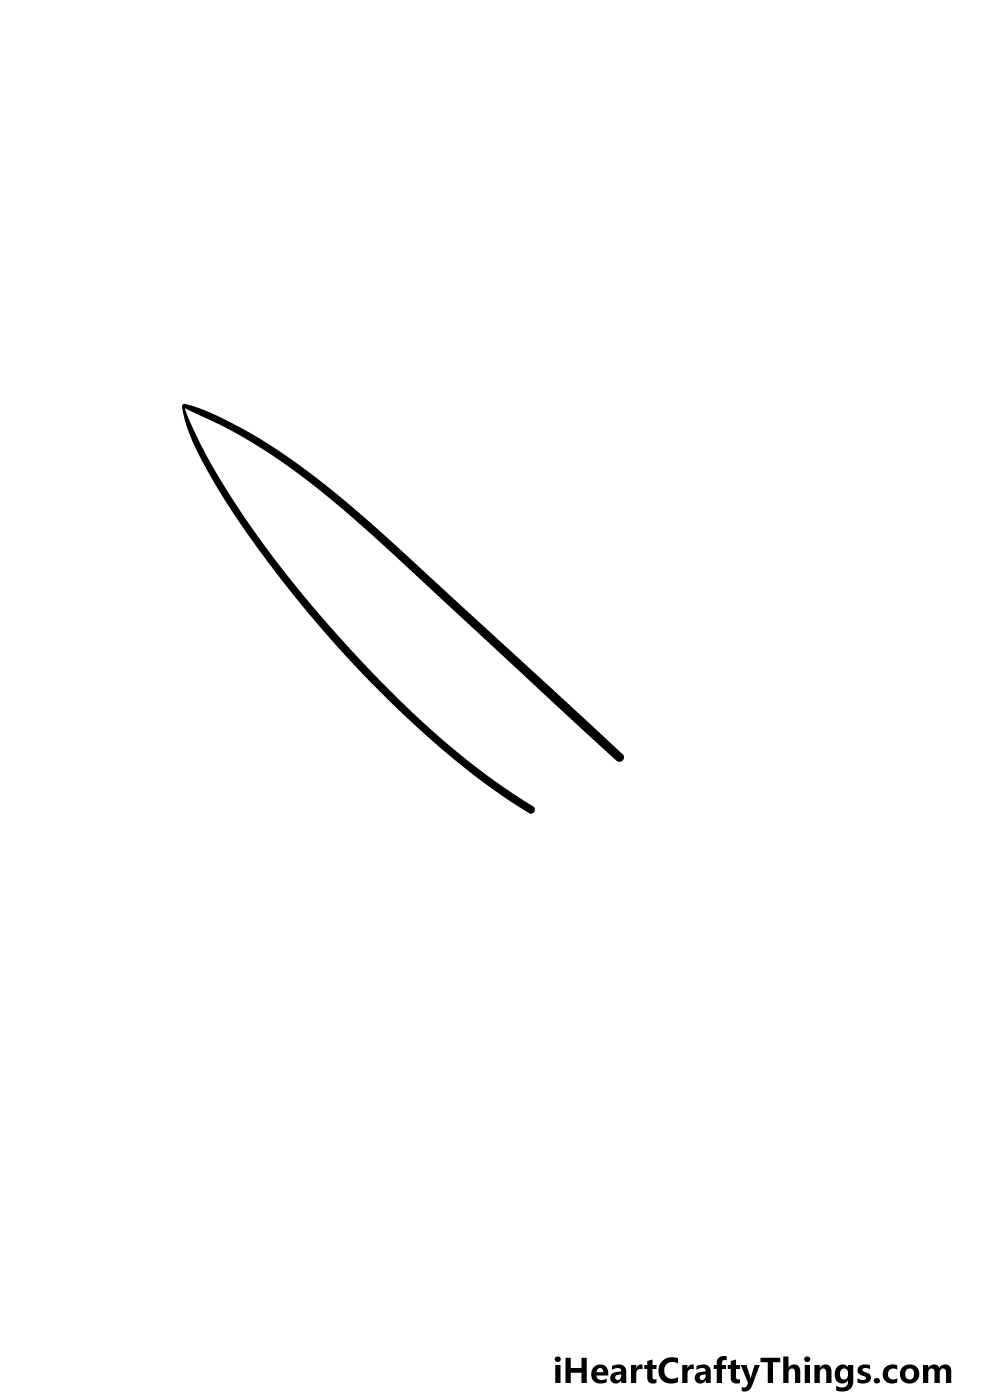
For the first step of this guide on how to draw a knife, we will be starting with what is arguably the most important part of the knife: the blade!
To draw the blade we will be using a line that curves in on itself to form the shape that you see in the reference image.
There will also be a sharp point at the end of it, and there will be an empty space on the other side where we will be drawing the handle later.
Step 2 – Next, draw some more detail for the blade
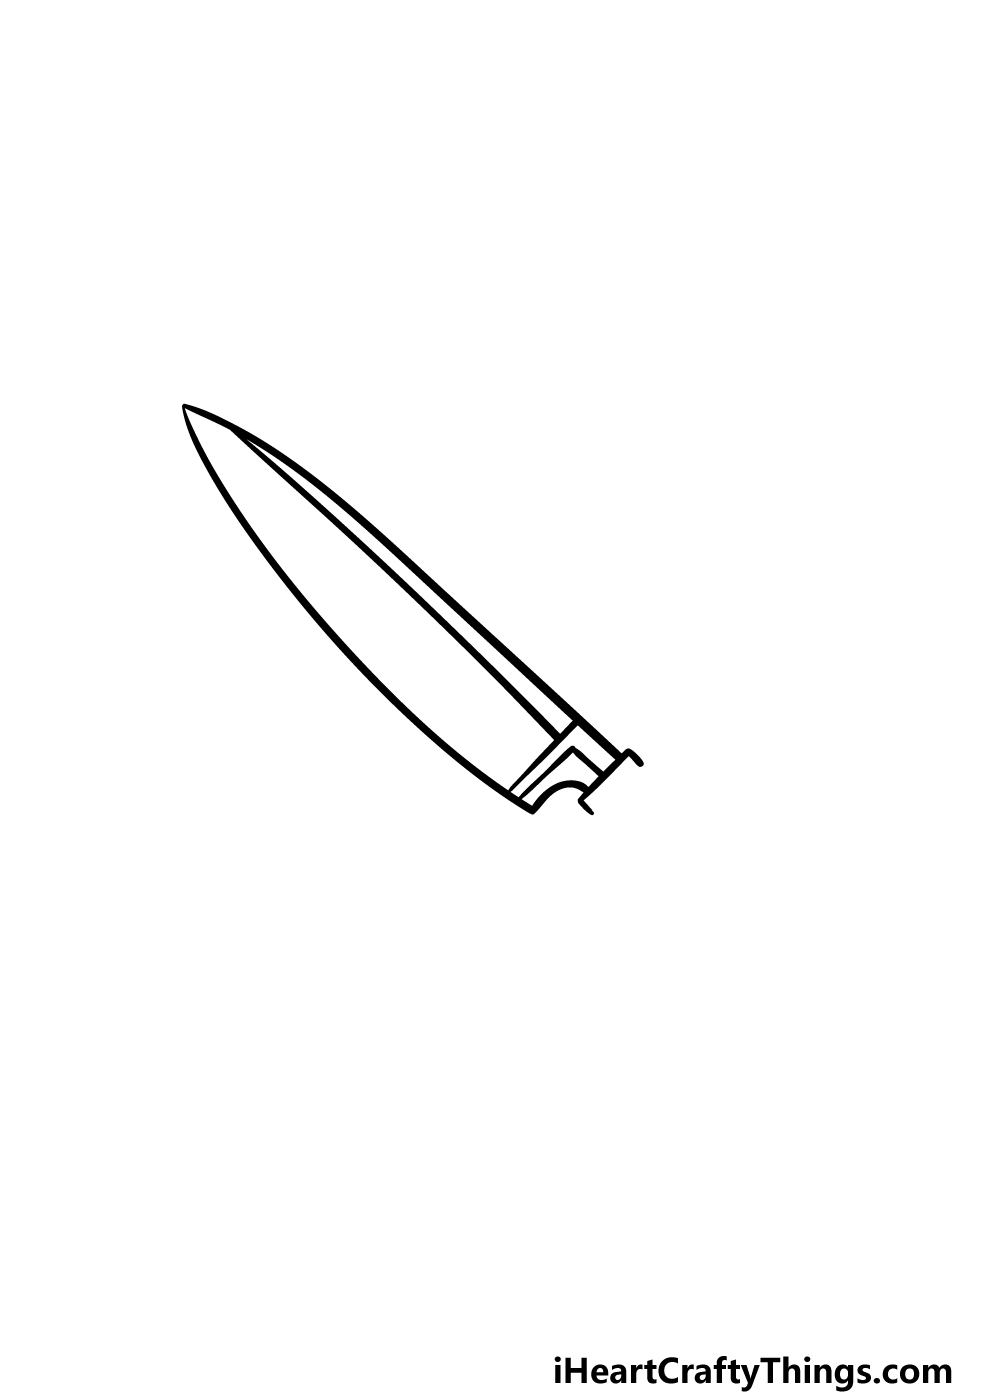
In this second part of your knife drawing, we will be adding some detail to the side of the blade. First, start by closing off the gap that you left on the right-hand side.
You can do this with a curved line on the bottom of the blade that leads to a straight line where the blade will connect to the handle later on.
Be sure to refer closely to the reference image so that you see how it should look!
Then, add a very slightly curved line going down the side of the blade, and then add some more linework to the part that connects to the handle. Then you’re ready to start drawing the handle!
Step 3 – Start drawing the handle of the knife
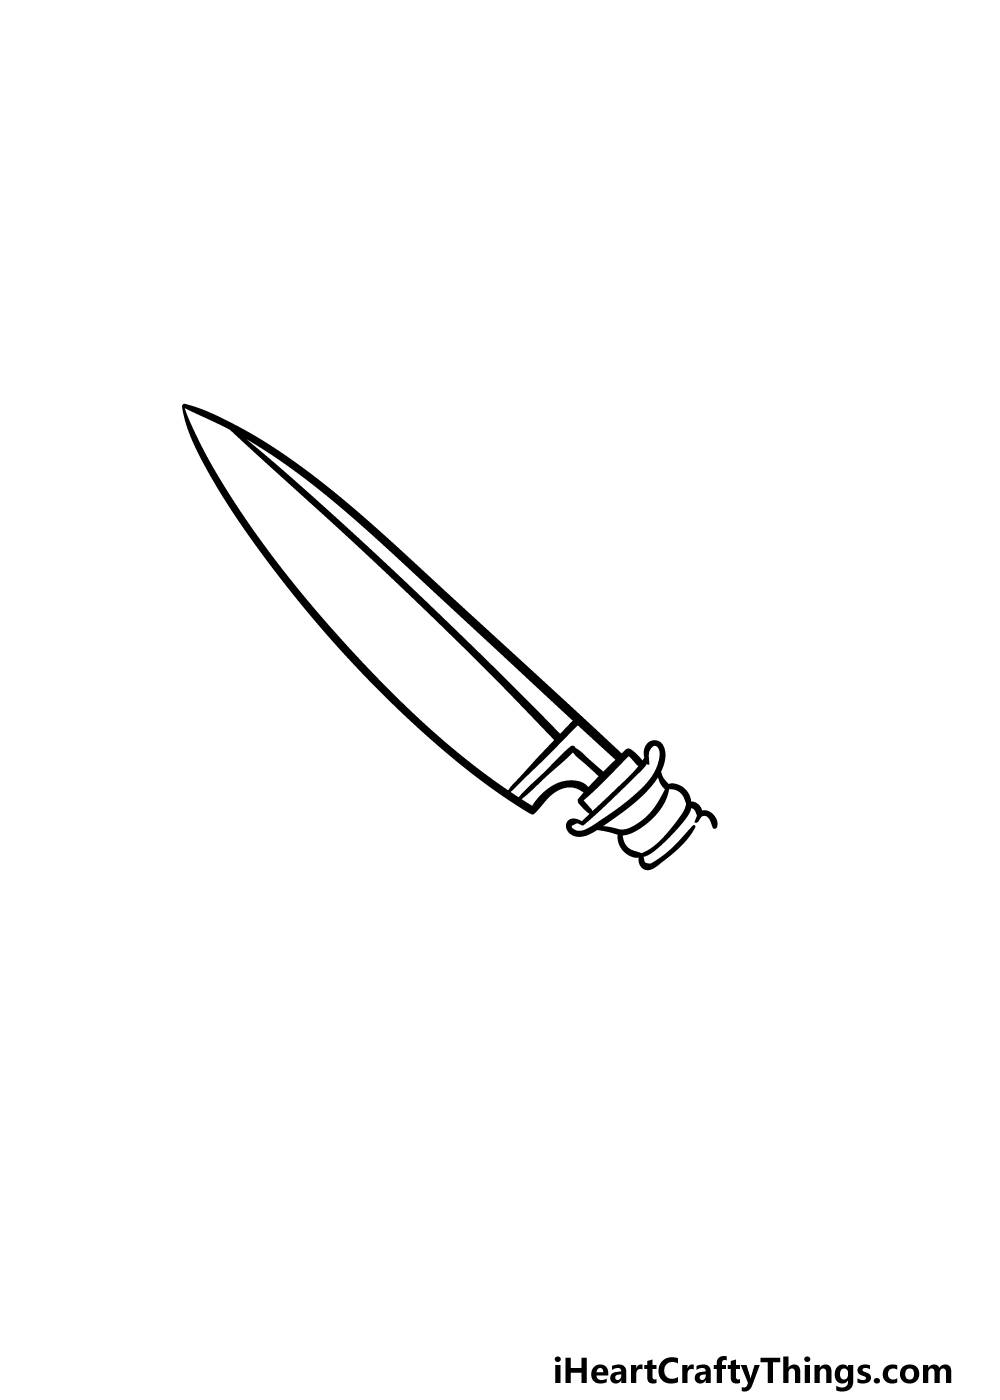
It would be hard to use a knife without a handle, so we shall start to draw one in this step of our guide on how to draw a knife.
The knife will be made to look as if it is made of tied leather, and we will represent that look by using lots of bumpy lines connecting to each other.
First, we will draw a sort of hilt for the knife using a slightly longer shape before the handle properly starts. Then you can start drawing those thin bumpy lines that we mentioned earlier.
Once you have it looking as it does in our reference image you’re ready to keep it going in the next step!
Step 4 – Now, draw some more of the handle
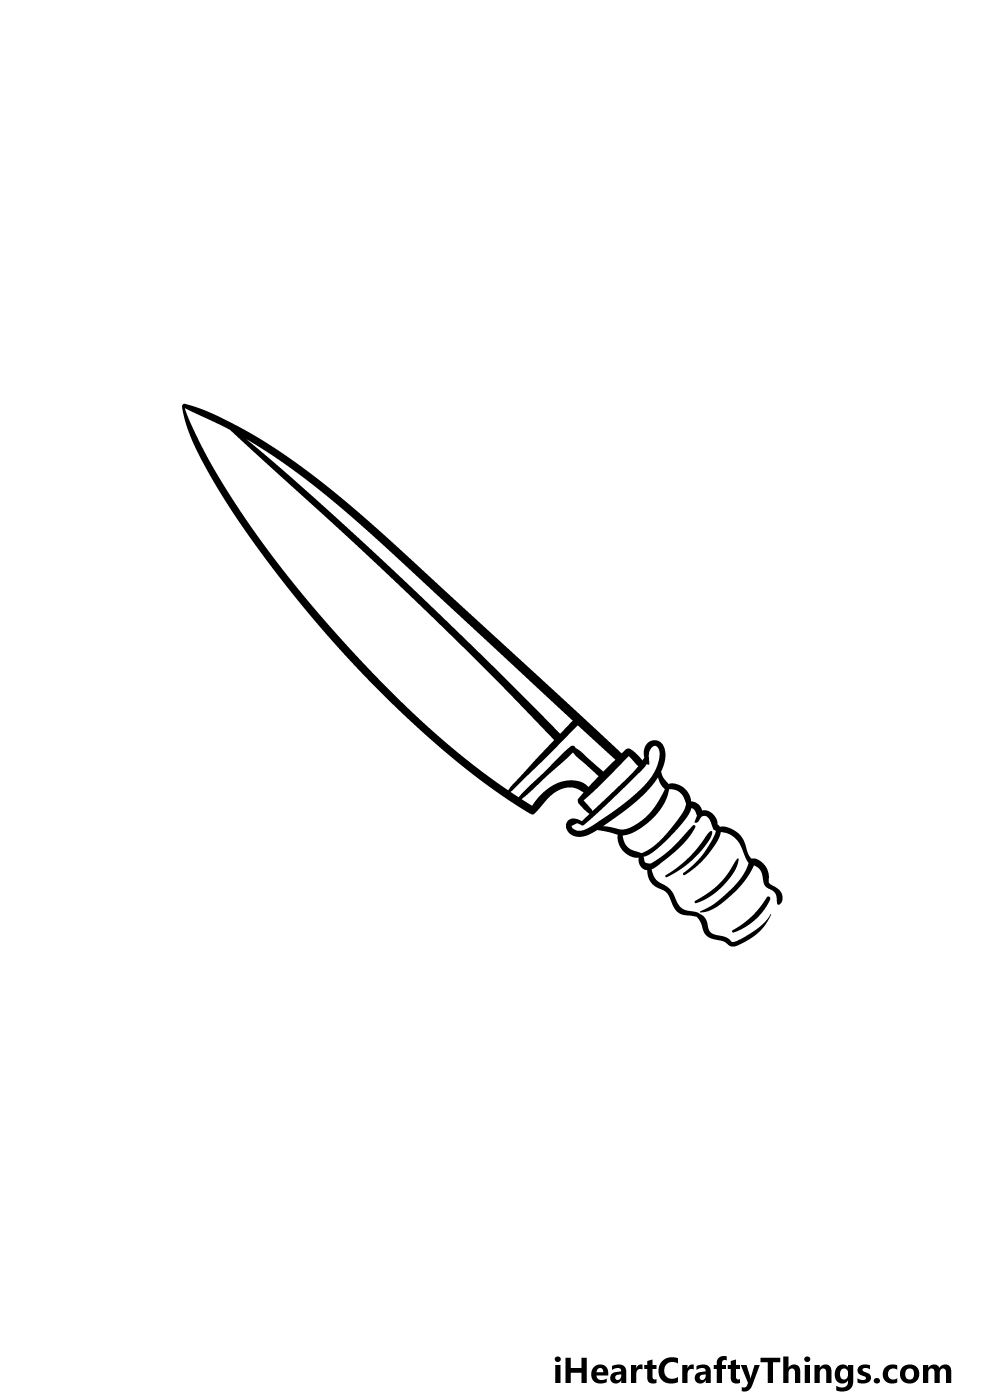
Now that you have started the handle of your knife drawing, we can draw the next section of it in this part of the guide.
To do this, simply keep on using the same bumpy lines that you used for the start of the handle to continue down to the middle of the handle.
With that section of the handle done, you’ll be ready to add the final elements and details in the next step, so let’s move on!
Step 5 – Finish off the final details of your knife drawing
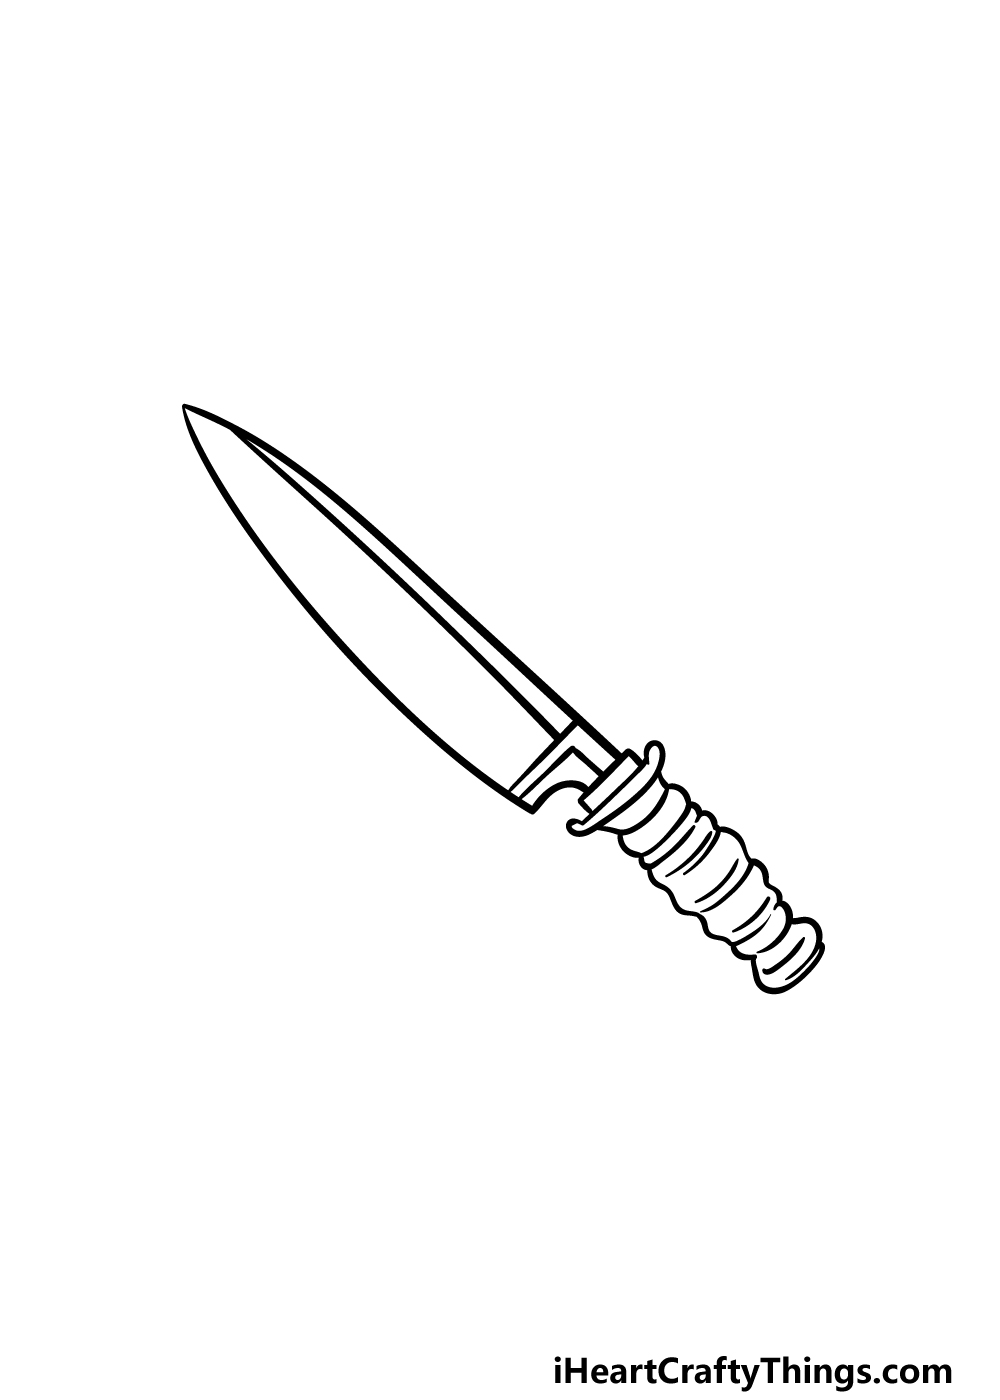
We will be finishing off the drawing in this step of our guide on how to draw a knife, and then you’ll be ready for some amazing colors in the final step!
First, we will finish off the blade of the knife. You can do this by continuing those bumpy lines that you’ve been using for the leather-covered handle, and they will end in a flat edge for the handle. With the handle complete, you are ready to move on!
Before you do, you could also add some details of your own to put your own spin on this drawing.
Perhaps you could add an engraving onto the blade of the knife for one idea. Or maybe it could be sitting on a map with a compass to show that this knife belongs to an explorer!
These are just a few ideas you could go for, but what else can you think of to finish off this knife drawing for the final step?
Bonus: Add Some Additional Details And Objects To This Drawing
This drawing of a knife is pretty much done, but we had a few more ideas that you may want to try out before we move to the final step. There are some big and small changes that could be used to drastically change the look of the picture.
Let’s start with something more subtle, the handle of the knife. We went with a rather unusual, intricate design.
This looks cool, but there are a few ways that you could change it up. One would be to make the handle a bit more simplified.
This could be done by removing the ridges and making the handle smoother. You could also maybe make it a bit more curved for another simple way to change it.
If you have ever seen a cool knife with an ornate handle, then you could use that as an example for your drawing. You could even use some stickers or beads to make it look like there are jewels embedded in the handle.
The handle shape could also be changed, or you could add some engraving to the blade to make it extra fancy. Another way of adding to the drawing would be by drawing other objects.
It could be related to the knife such as a sheath or maybe a whetstone. You could also draw some survival tools that you could use with a knife like this, or show what the knife would be used on.
Any of these additions could also be added to a whole scene by adding a background. There are so many ways to add to it, so what are some of your own ideas that you could use to elevate this drawing?
Step 6 – Finish off your knife drawing with some color
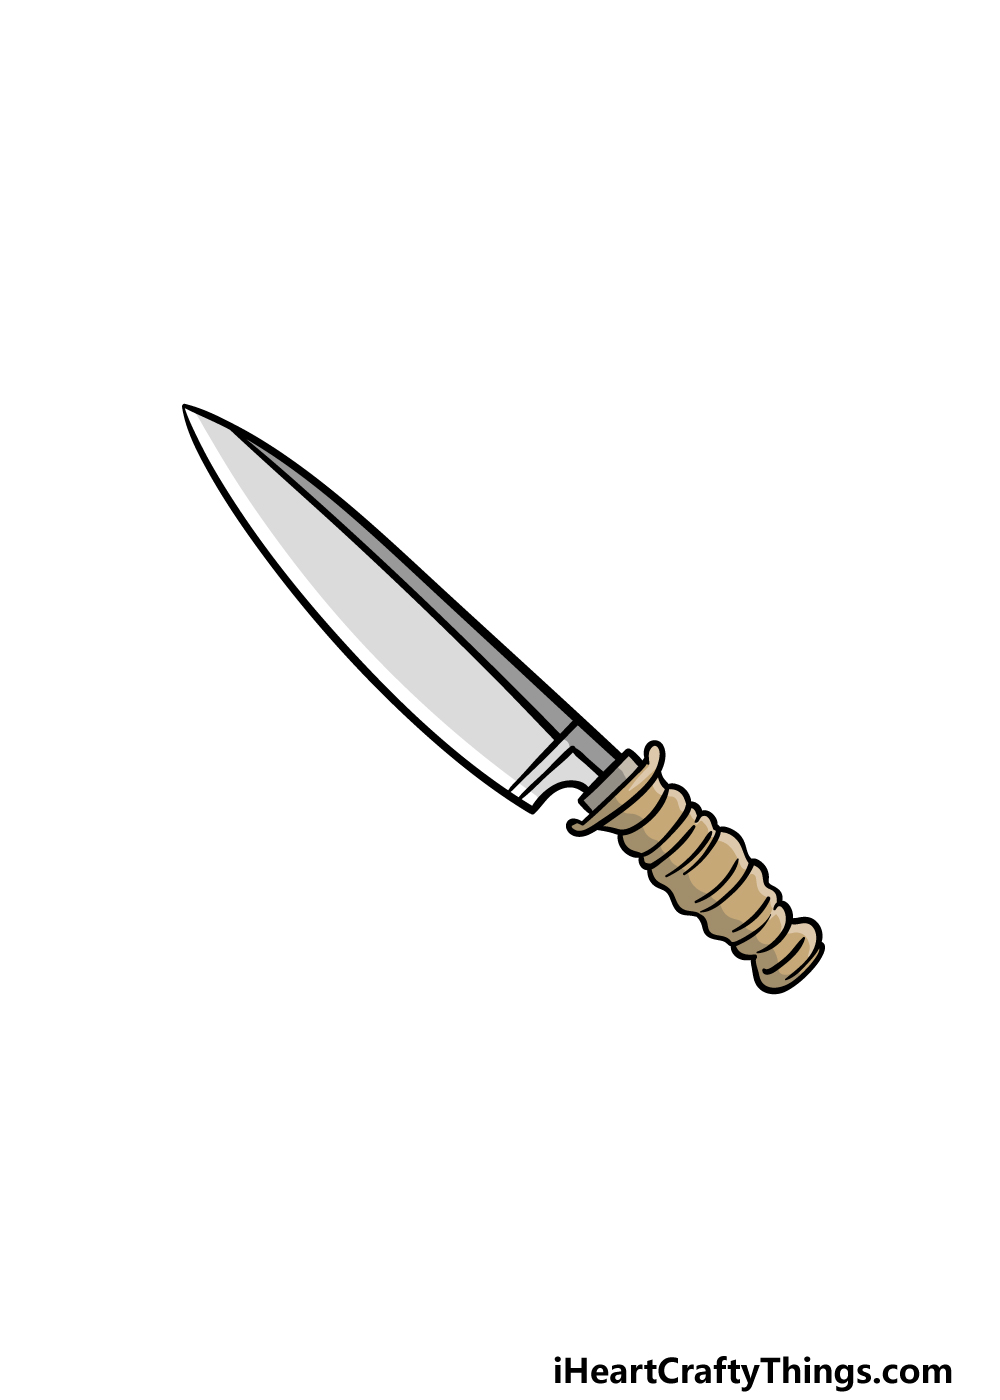
You’ve worked hard on this knife drawing, and now you can relax with some coloring fun to finish it off properly!
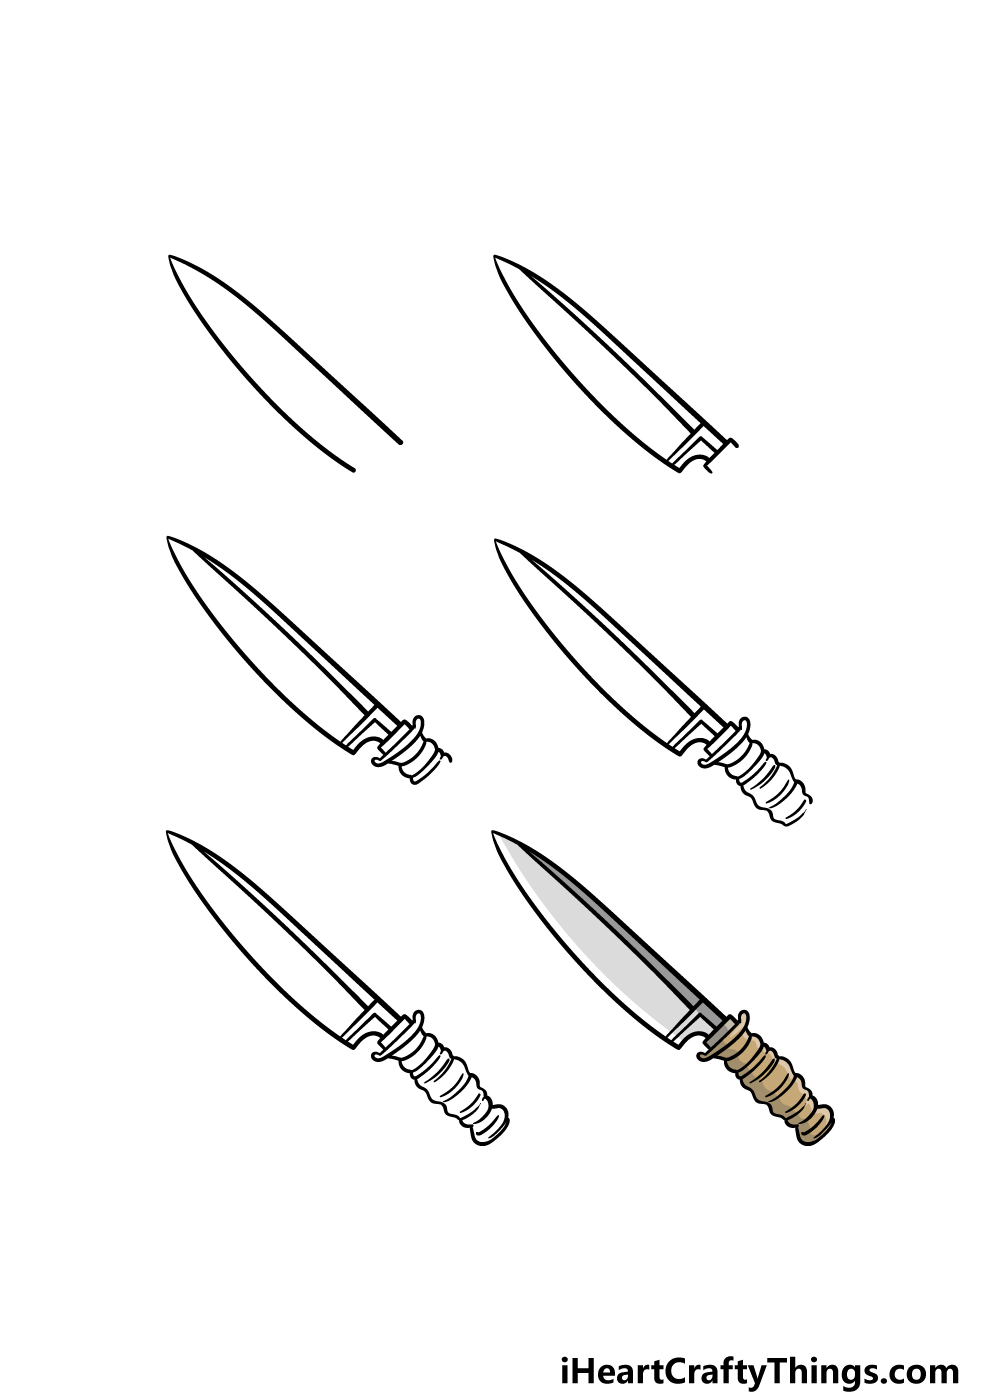
In our reference image, we went with some grey shades for the blade along with some browns for the handle.
These can give you some inspiration for your own image, but you should also feel free to use any colors that you want for it!
You could also experiment with different art mediums depending on the kinds of colors that you would like for this image.
Perhaps you may want a bright image by using some acrylic paint and colored pens, or you could keep it more subdued with watercolors and colored pencils.
Whatever you choose will look great, and we can’t wait to see what you end up going for!
3 More tips to make your knife drawing easy!
Cut through any difficulty as we show you how to make this easy to draw knife even easier!
We went with a really cool design that has an intricate handle for this knife drawing. The more detailed a drawing is, the more difficult it can be, so you could simplify it a bit.
The handle would be a good place to start! We love how it looks in the guide, but if it’s giving you a hard time then you can change it.
You could make the handle much smoother and less detailed to do this.
It would still look good, as many knives have rather simple handles. You could also do something similar with the blade itself.
Another way to make this knife drawing easy to do would be to draw the knife cutting into something. You may think adding even more to the drawing would make it harder, but it can help obscure portions you’re struggling with.
For instance, the knife could be cutting into some bread or maybe a birthday cake. If you’re struggling to get the hand of the tip of the knife for example, this is a great way to get around having to draw it.
Not only can it help with parts you’re struggling with, but it also makes the knife sketch even more interesting to look at! What are some more things this knife could be slicing into?
Finally, one of the best ways to make this knife drawing easier to do would be to use some real knives you may have in your house. They don’t even need to be in the same style as the one in the guide!
Even if it’s a dull knife, you should definitely get an adult to help you out as they can be dangerous! Once you have chosen your knife, you can take some photos of it at different angles.
Then, use these references along with the guide to create your knife artwork. This would be a good way to personalize the drawing as well!
Your Knife Drawing is Complete!
That finishes off this guide on how to draw a knife! In this guide, we aimed to break this drawing down into simpler steps for you so that you could focus on the fun of drawing with no frustration.
We hope that we achieved this goal for you and that you had a great time working on it!
We outlined a few ways for youtube put your own spin on this drawing, and now you can show us how creative you can be!
Whether you add some details, create a background, experiment with colors or even design a new knife, you can have an amazing time getting creative with it.
Then, when you’re ready for more drawing fun, we have plenty of awesome guides on our website for you to enjoy! Be sure to visit us often as we upload new ones all the time.
We would love to see your creative knife drawing when it’s done, so please remember to share it on our Facebook and Pinterest pages for us to enjoy!