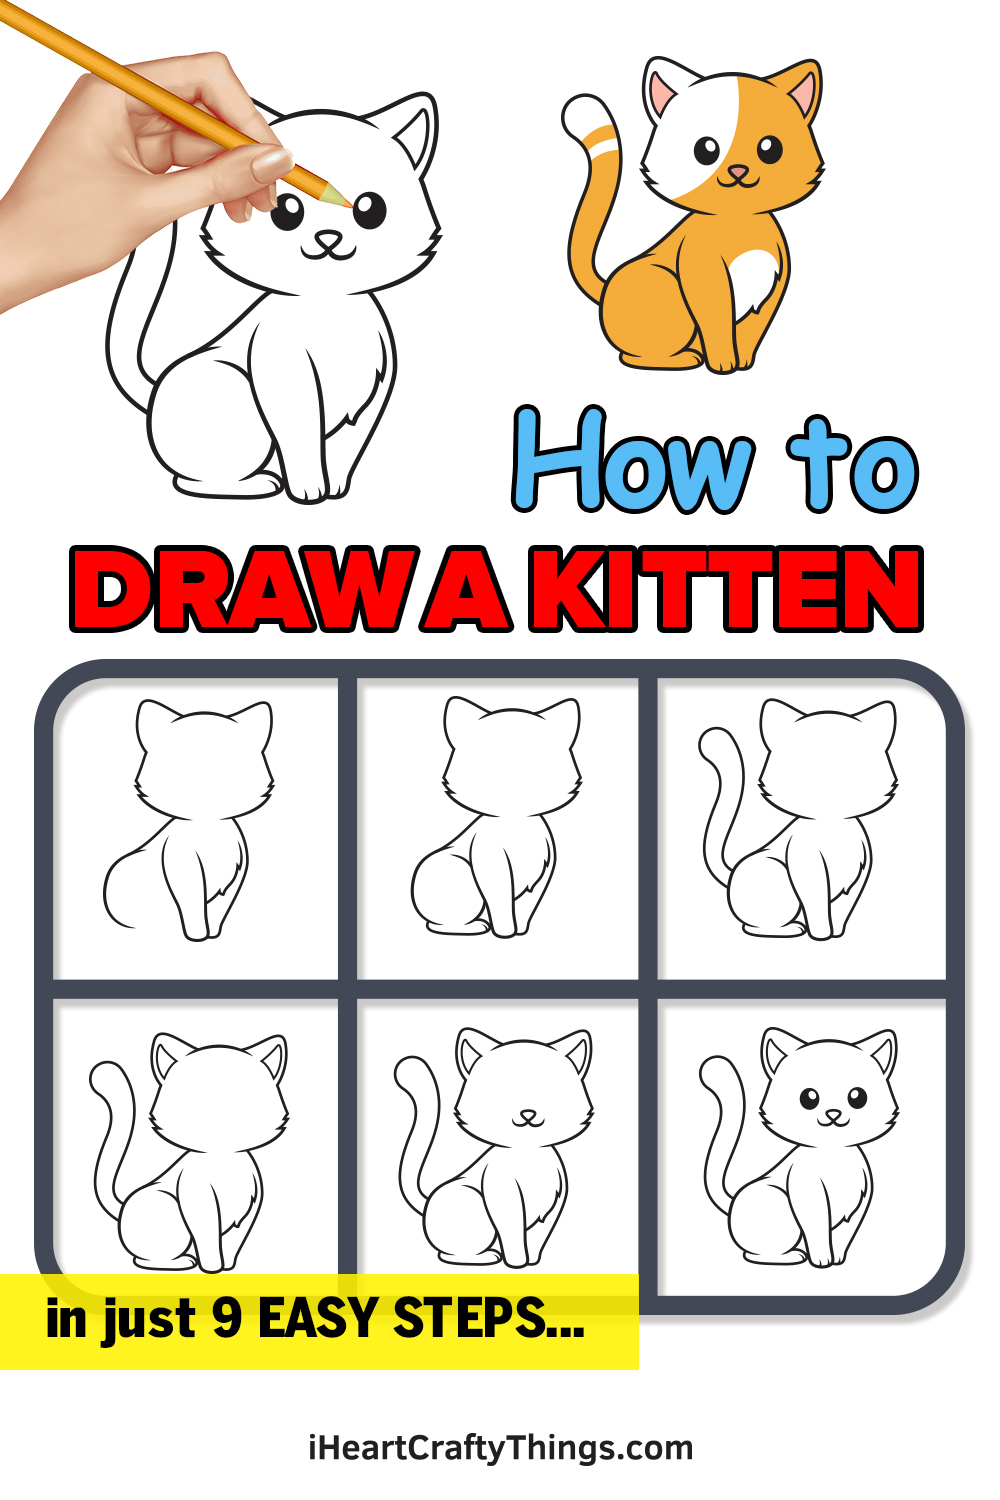
This fun and easy guide for kids will make it so much simpler to learn how to draw a kitten. By the end, you will be able to make an absolutely adorable little kitten friend of your own!
It’s impossible to look at a cute kitten and not feel your heart melt. They are so sweet and playful, and they bring so much joy to any situation they are in.
Many people like to draw their favorite kitties, but they may not know where to start! This guide aims to fix that, as I want to show you the easiest way to draw one of these cuties.
I’ll take you through each of the steps and explain them as we go so that you will have no problems. Once it’s done, you could add some toys or a background for your new feline friend!
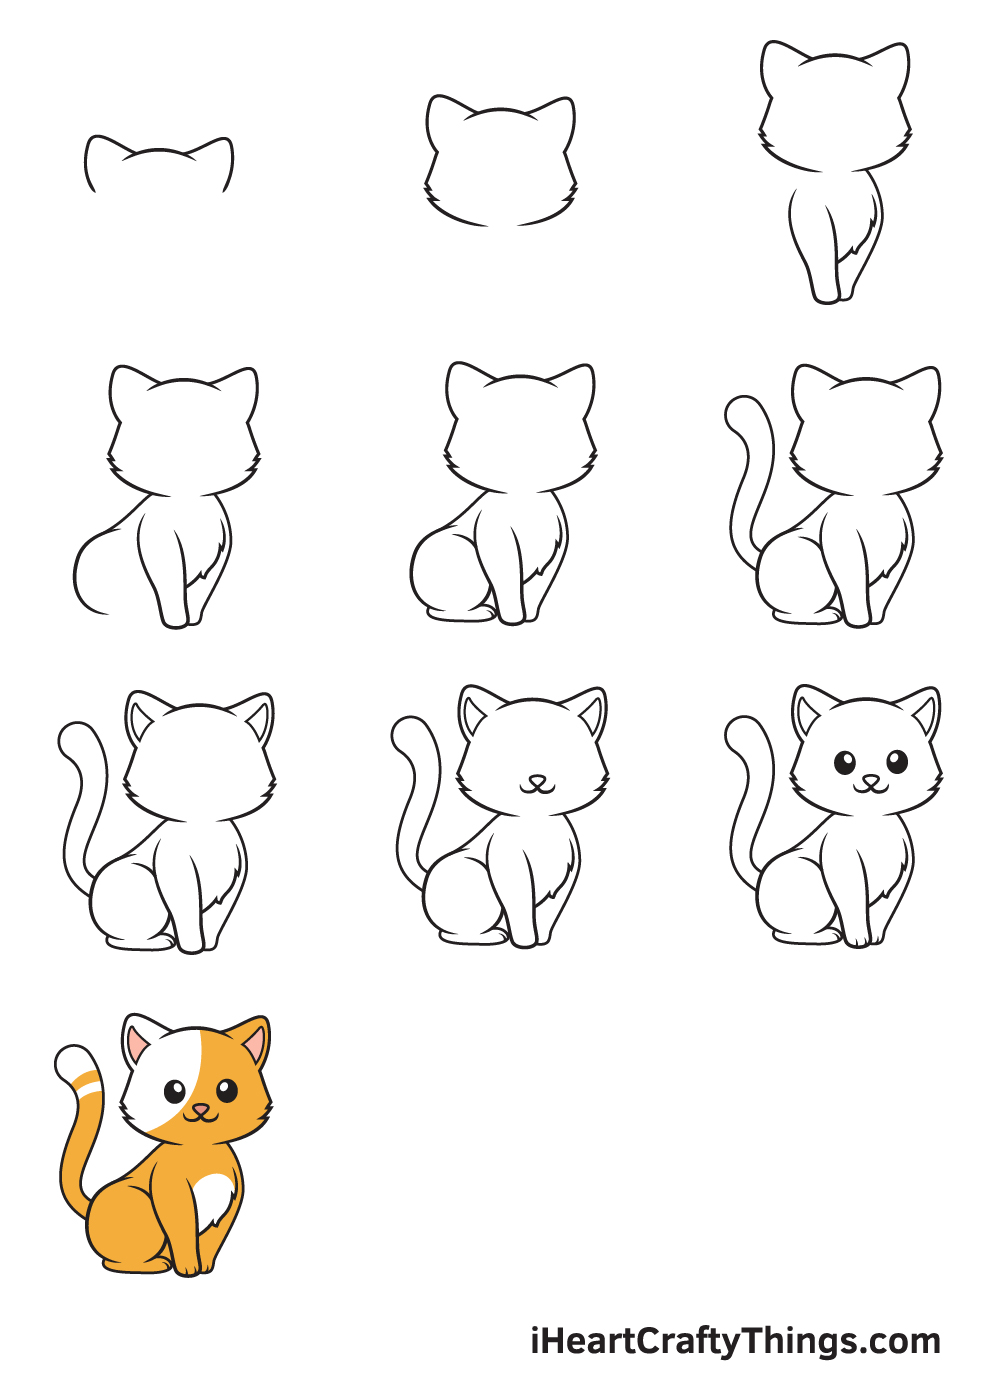
See How To Make Your Kitten Drawing
How to Draw a Kitten – Let’s get started!
Step 1
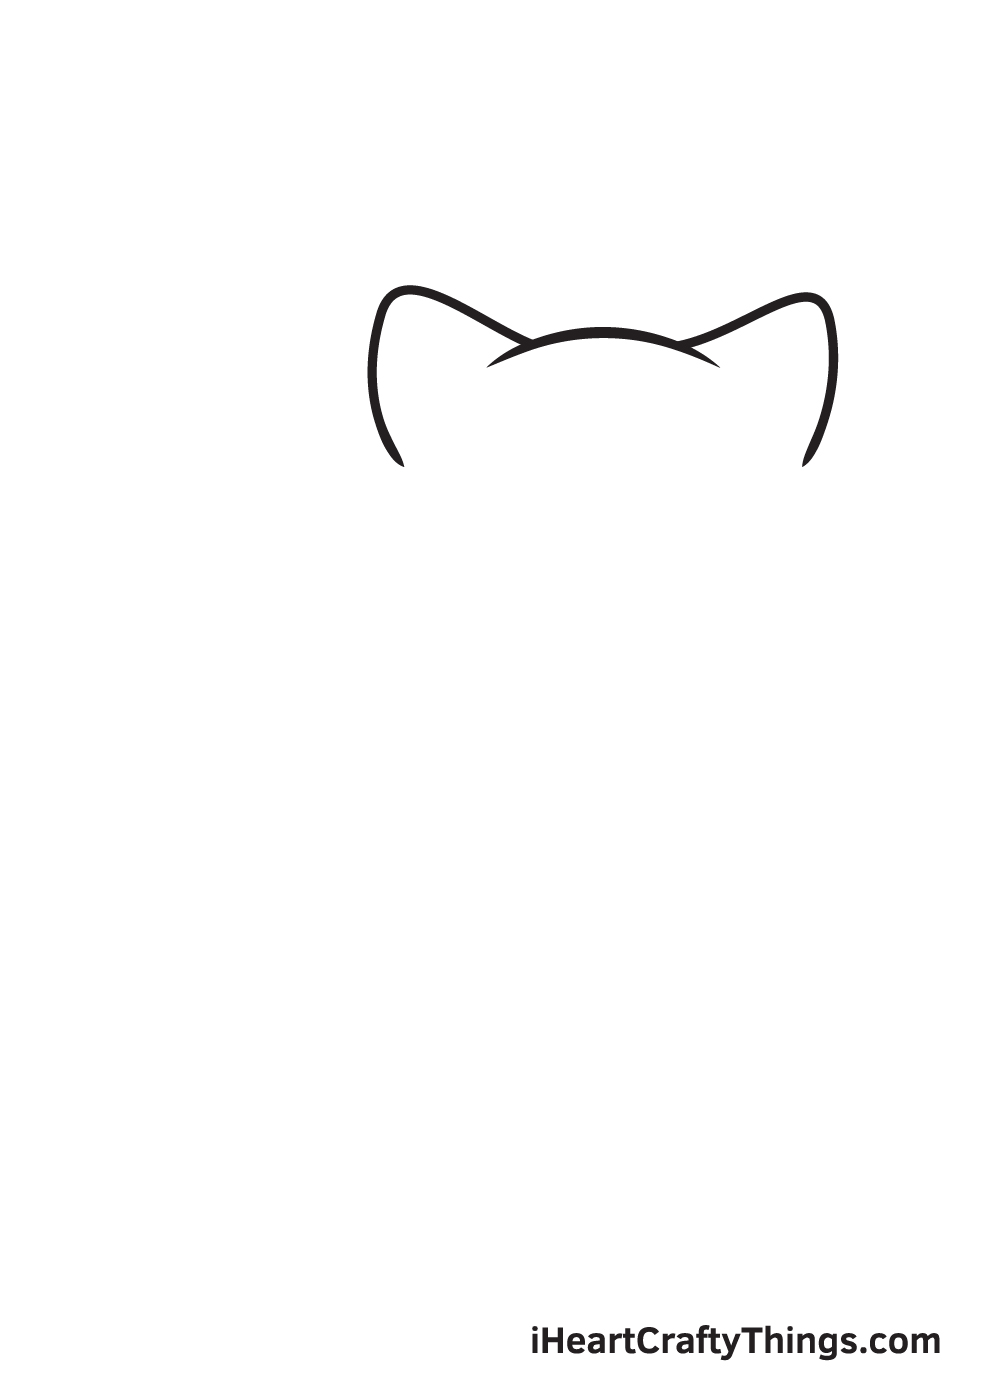
Starting on the upper right portion of your paper, draw two triangular cat ears connected together by a curved downward line. This outlines the kitten’s pair of ears as well as the top of its head.
To ensure that the outline will be positioned in the appropriate spot, draw a horizontal and a vertical line across the paper to create reference lines. When drawn correctly, the guideline should divide your paper into four square divisions. The space on the upper right corner is where you should draw the outline.
By starting on the upper right part of your paper, you have sufficient space to draw the kitten’s entire face and body.
Step 2 – Draw an Outline of the Kitten’s Face
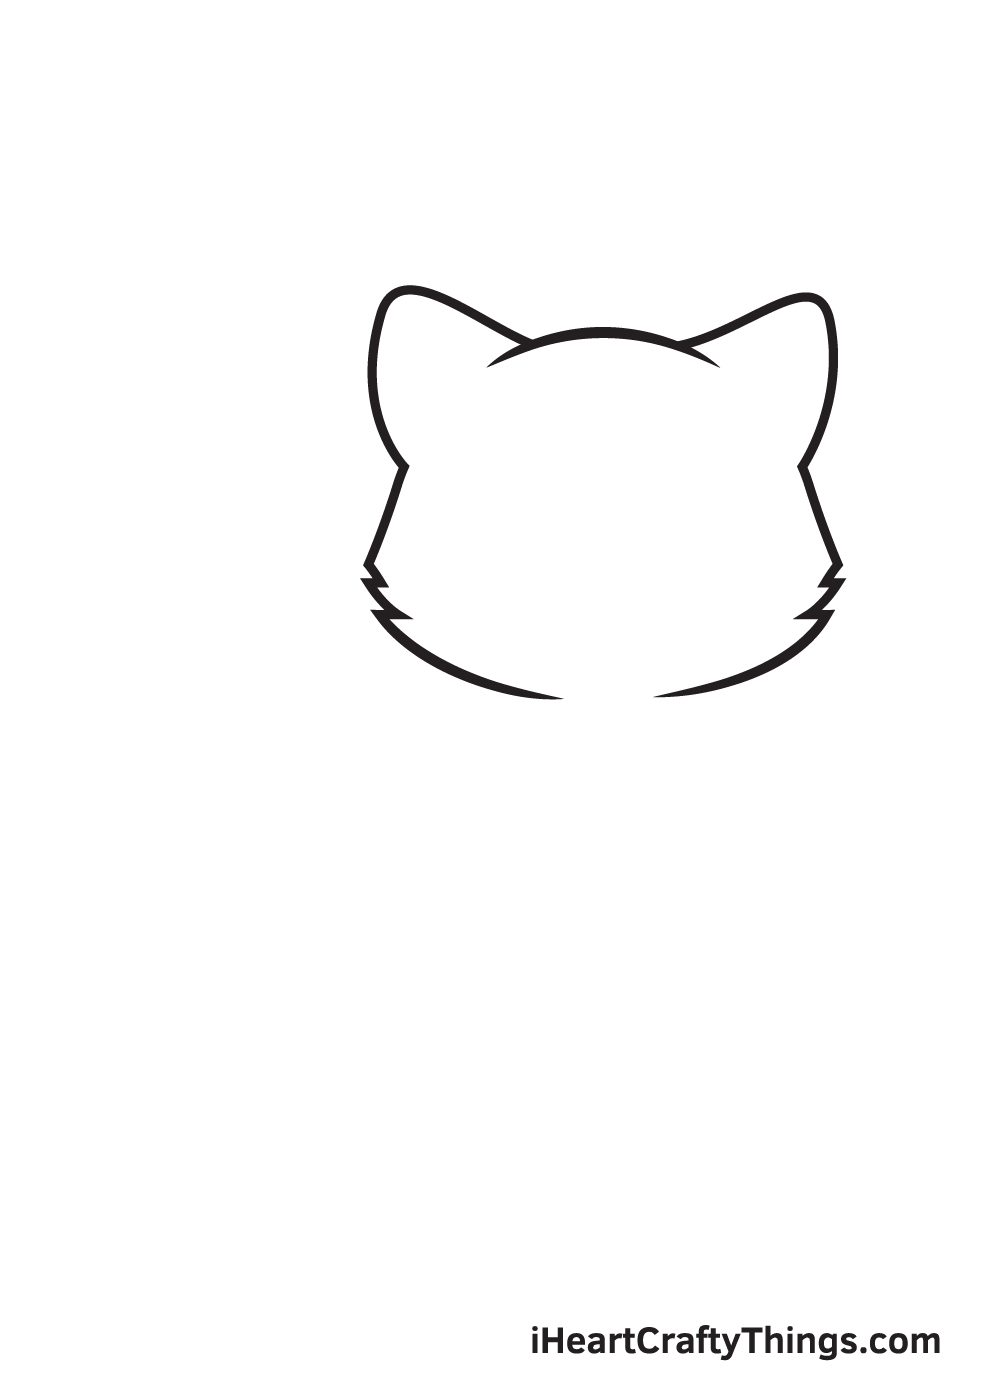
Extend the lines from below the ears all the way down to the kitten’s chin. The shape of the kitten’s face must be a bit wider at the button compared to the top to emphasize its chubby cheeks.
Don’t forget to add pointed clumps of fur on each side of the face!
Step 3 – Then, Draw the Kitten’s Front Legs
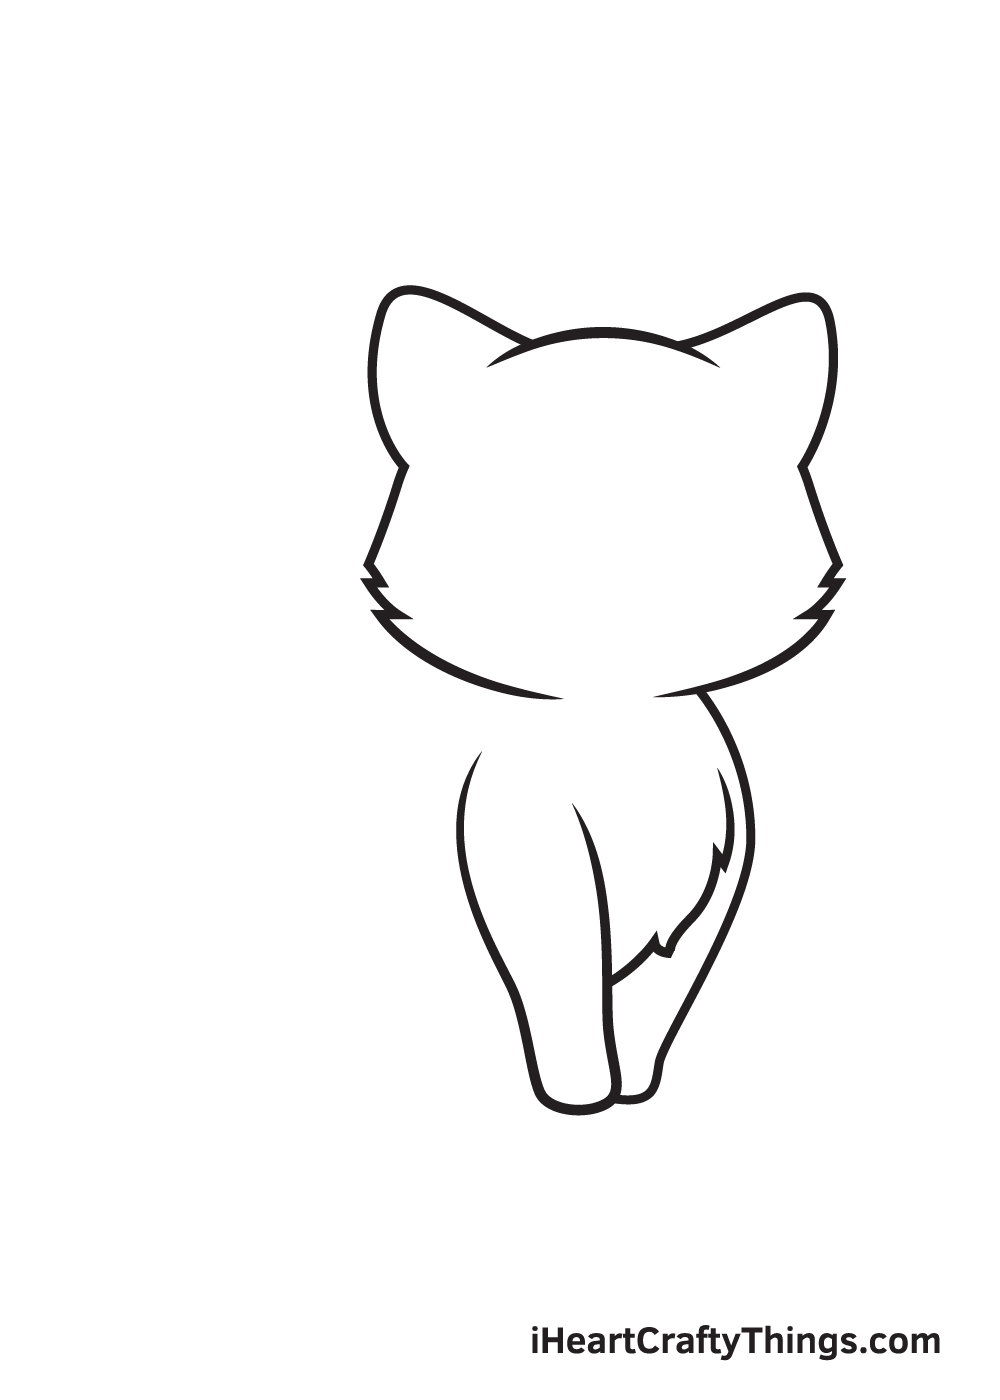
Right underneath the kitten’s face, draw two front legs side by side. As shown in the illustration, you can draw the front legs by simply drawing overlapping curved lines below the face.
Emphasize the fur on the kitten’s chest area to make the kitten look more furry and fluffy!
Step 4 – Draw the Bottom Part of the Kitten’s Body
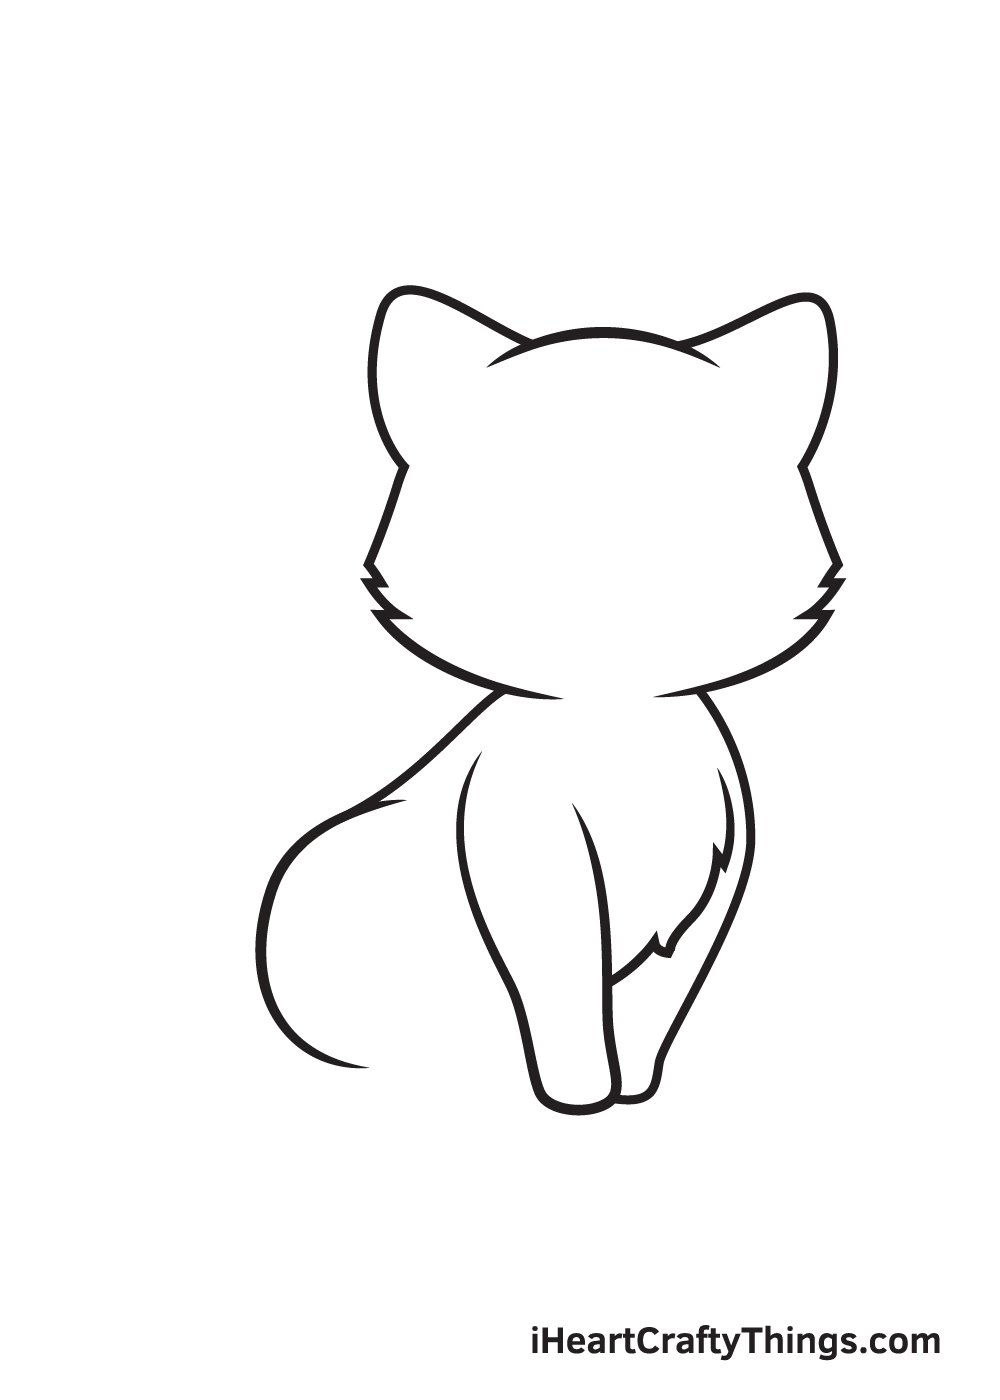
Draw a downward curved line to create the outline of the kitten’s back and bottom part. The back should be structured downwards, while the bottom should be curved like a half circle shape.
When drawn correctly, the outline should appear like a downward slope to make the kitten look like it is sitting down.
Step 5 – Next, Draw the Kitten’s Hind Legs
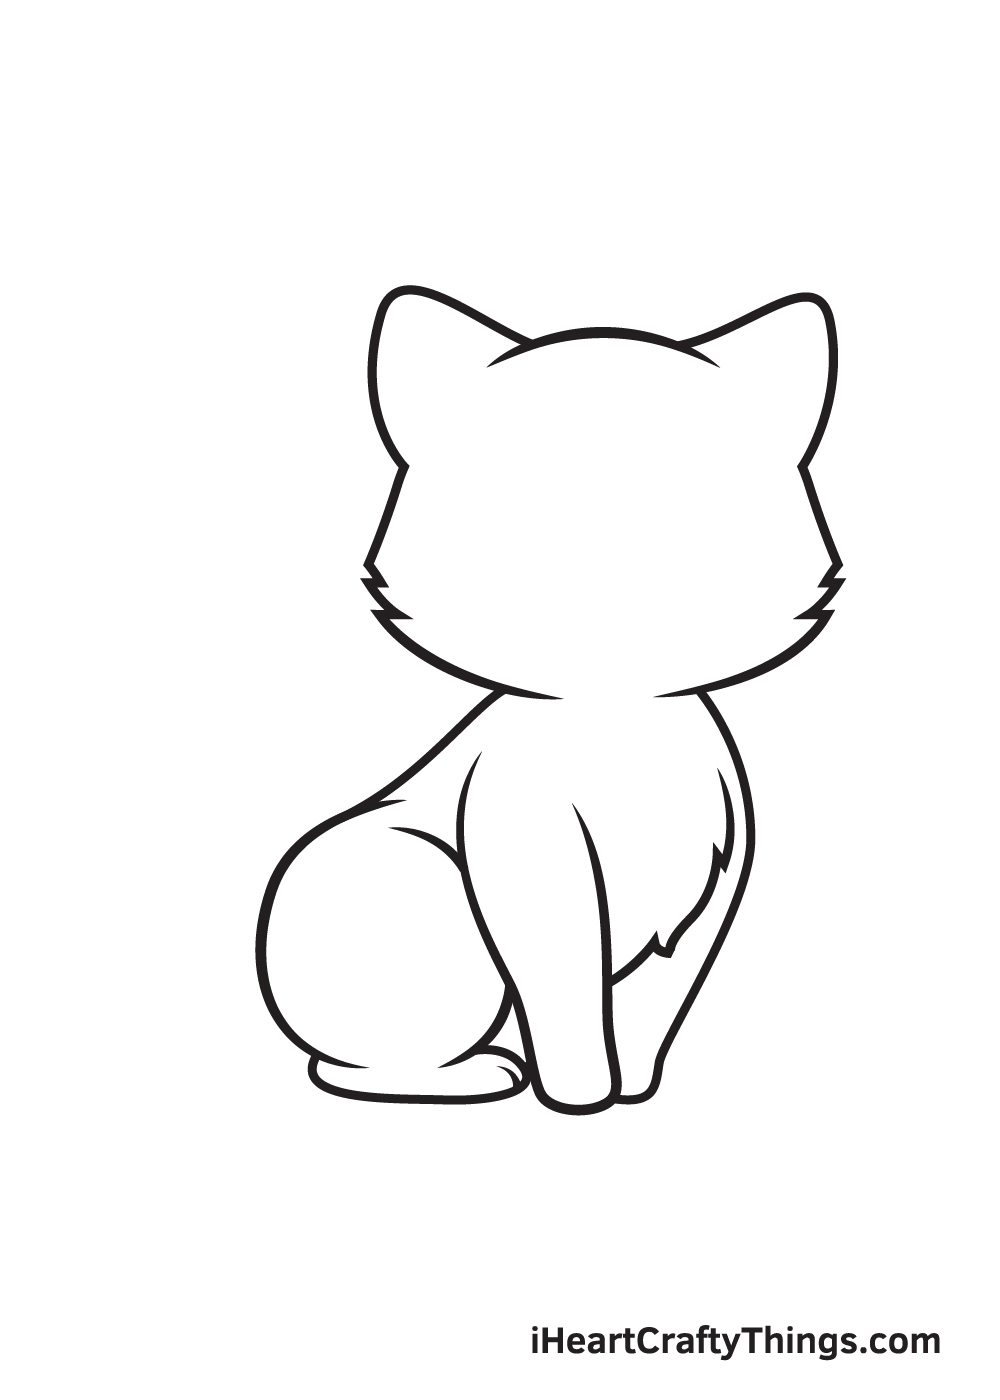
Draw another curved line facing the kitten’s bottoms to outline the thighs. Then, draw a leg with a paw right underneath the kitten’s bended thighs.
Don’t forget to add lines on the kitten’s paw to create divisions between its claws.
Step 6 – Then, Draw the Kitten’s Tail
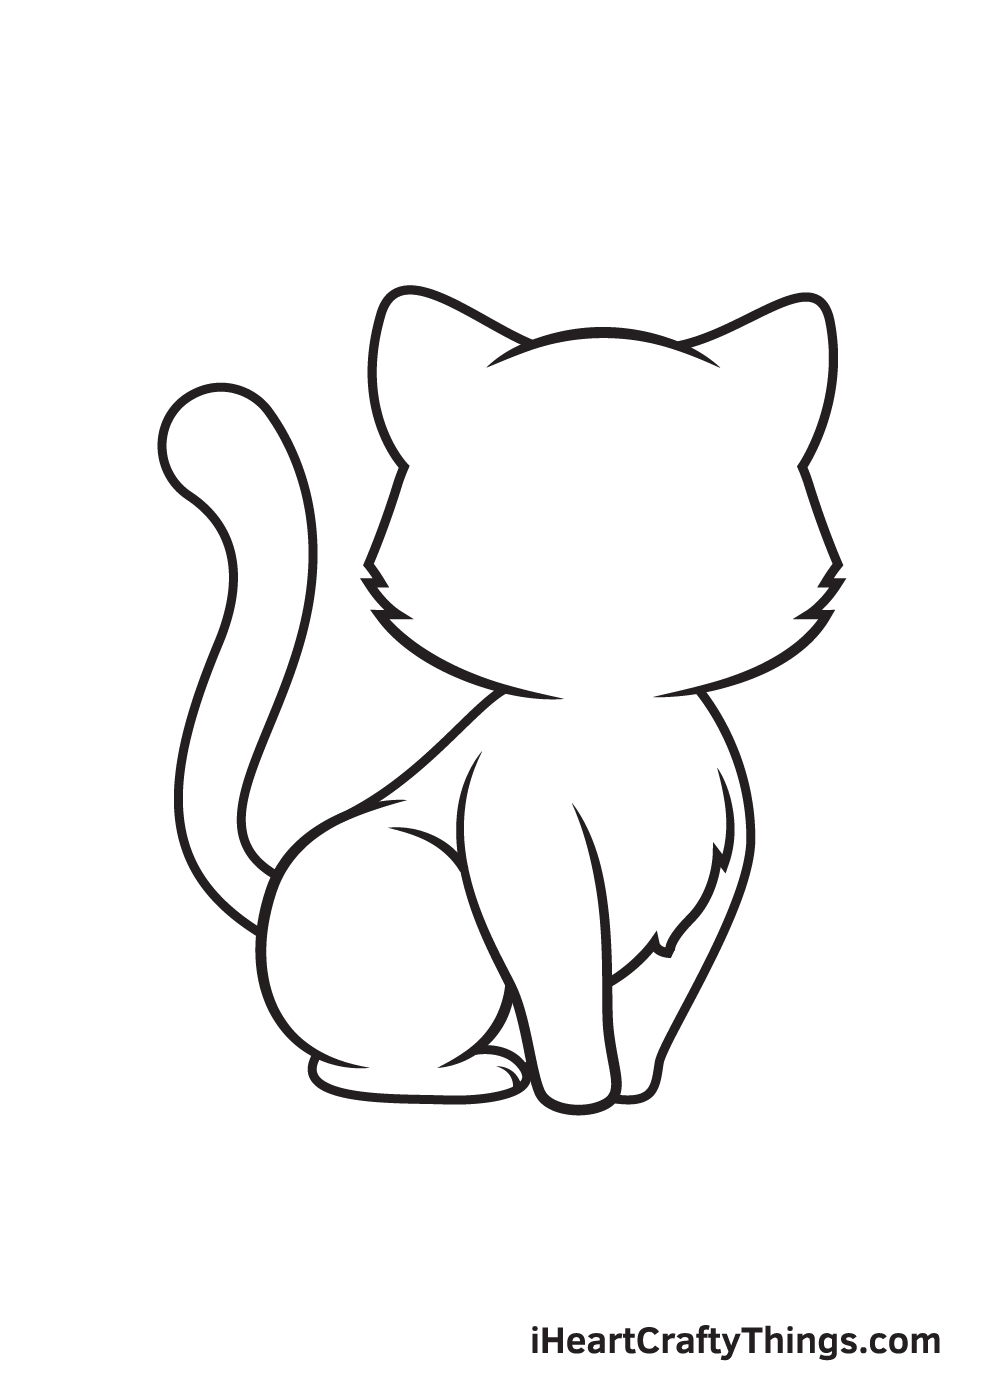
On the lower bottom part of the kitten’s body, draw a long, fluffy tail. As you can see in the illustration, the tail is as simple as drawing a curved sausage.
However, you can draw the tail any way you like. You can make it as furry as you want it to be by adding large chunks of fur poking out all over the tail.
Step 7 – Outline the Kitten’s Inner Ear
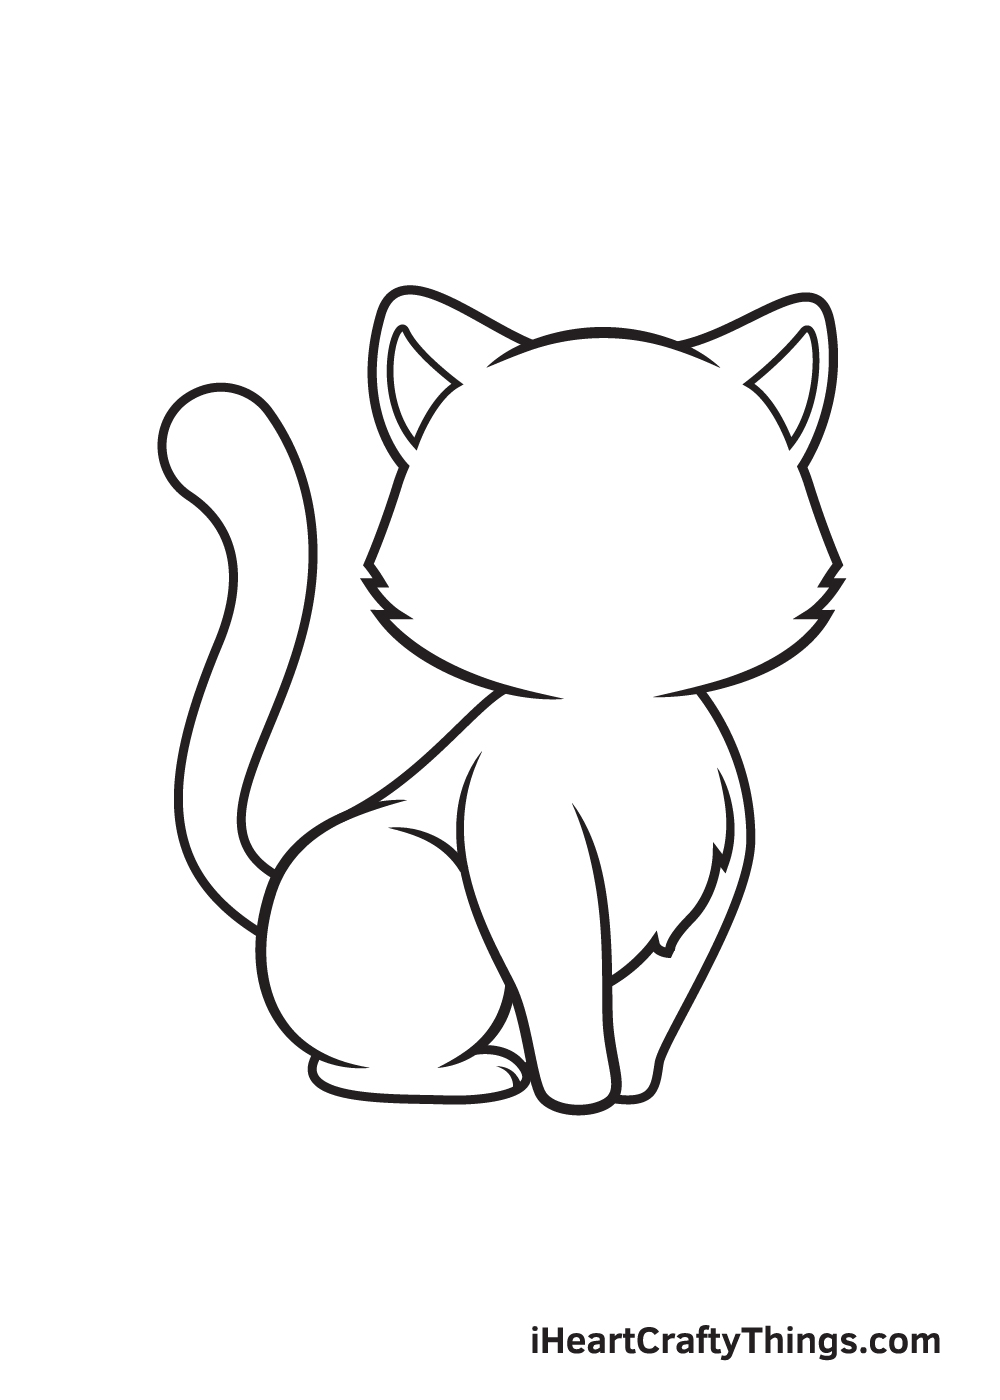
Inside the ear of the kitten that we have drawn in the first step, draw a triangular shape following the outline.
This will outline the inside of the ears, thus making the kitten’s physical features appear more dimensional and realistic.
Step 8 – Now, Draw the Kitten’s Nose and Mouth
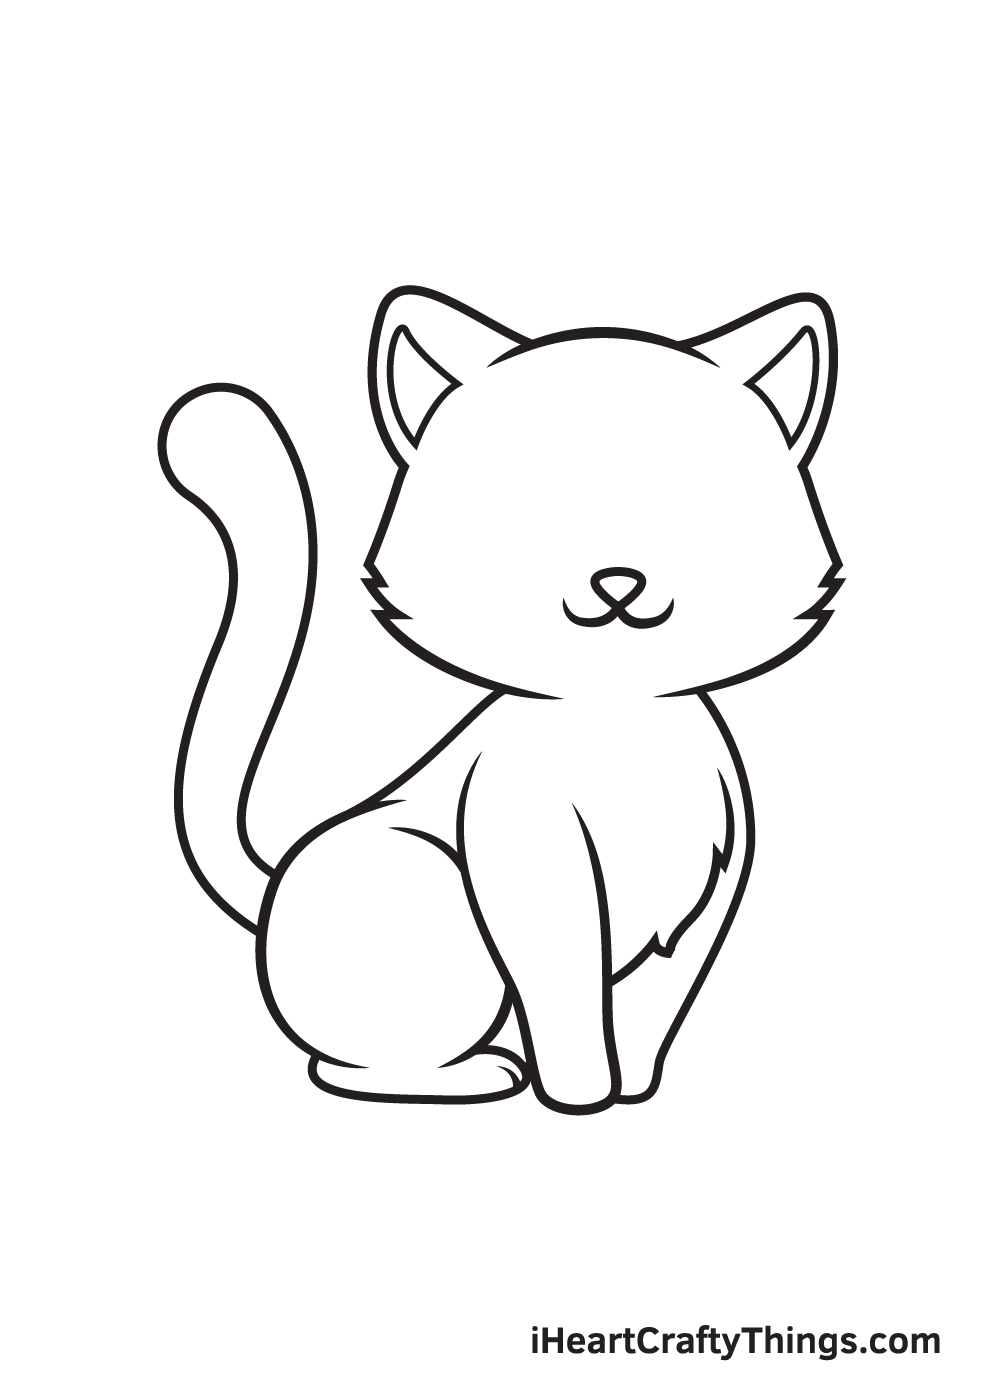
On the bottom part of the face, draw an upside down triangular shape in the middle to create the kitten’s nose.
Then, draw two curved lines right underneath the nose to outline the mouth. The kitten’s mouth should appear like a curved letter “w”.
Step 9 – Afterwards, Draw the Kitten’s Eyes
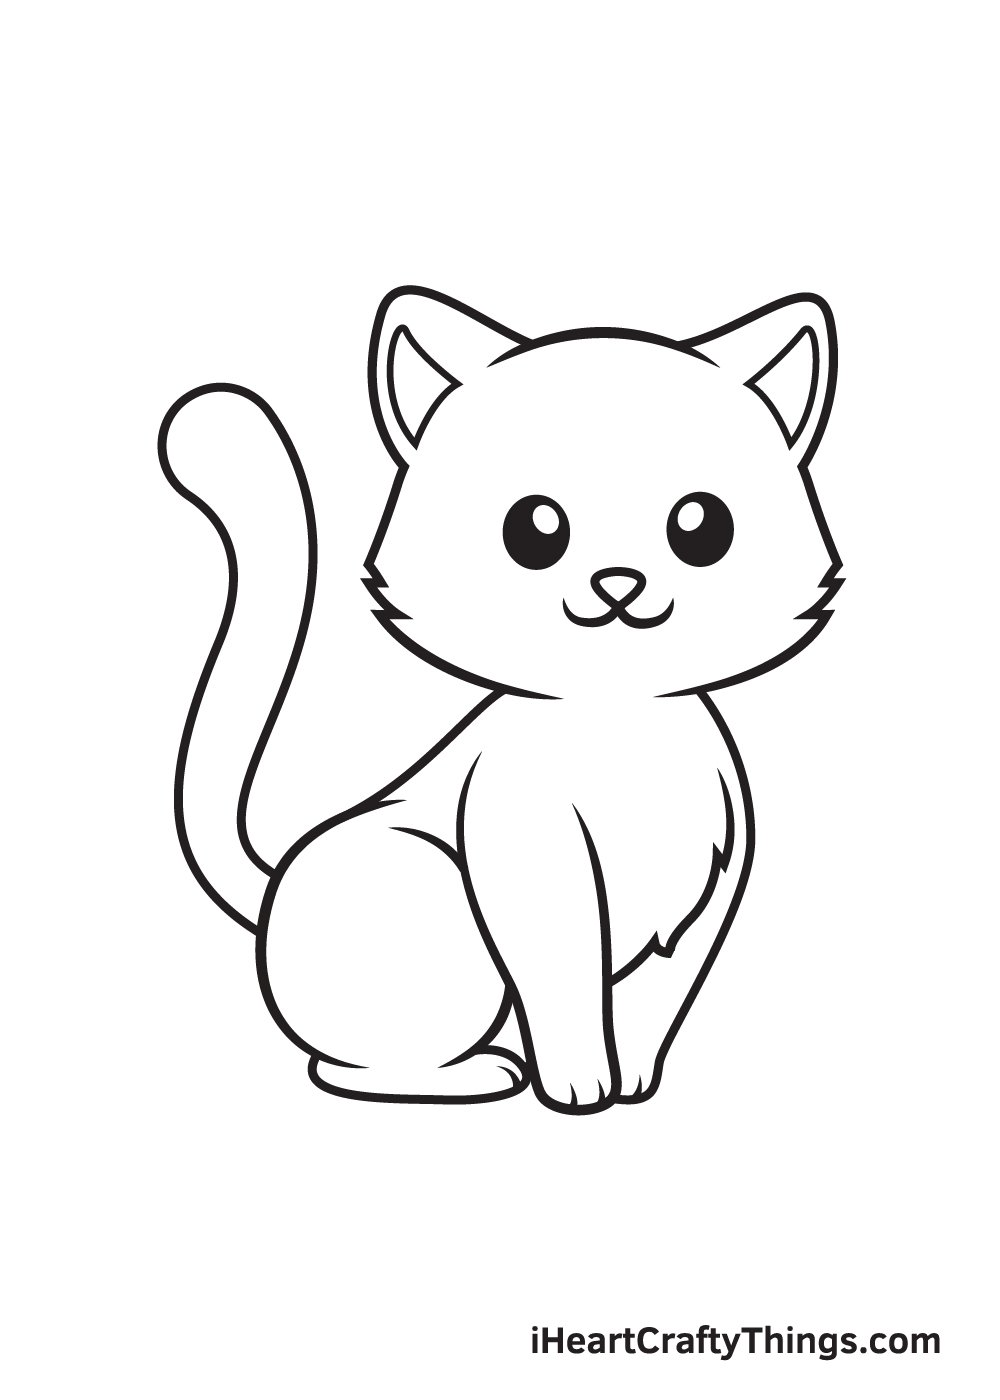
Right above the nose, draw two upright oval shapes slightly apart from each other.
Then, within the eyes, draw another two tiny oval shapes. Shade the eyes side from the tiny dots inside the eyes to create an adorable “glimmering eyes” effect.
Don’t hesitate any more facial features that you think would look awesome. You can even add eyelashes and whiskers if you like!
Finally, here is the most exciting part—filling in the colors for your awesome drawing! This is the part where you can show off your artistic skills and your ability to mix and match various colors.
Kittens come in a wide range of colors, with white, black, ginger, grey, cream, brown, cinnamon, and fawn being the most common. There are also some kittens with distinctive patterns on their skin, thus they typically have more than one color. This gives you a lot of options to color your kitten with!
Feel free to color your kitten drawing however you like and use any colors you prefer! And while you’re at it, why not try experimenting with different coloring materials such as watercolor and brush pens as well?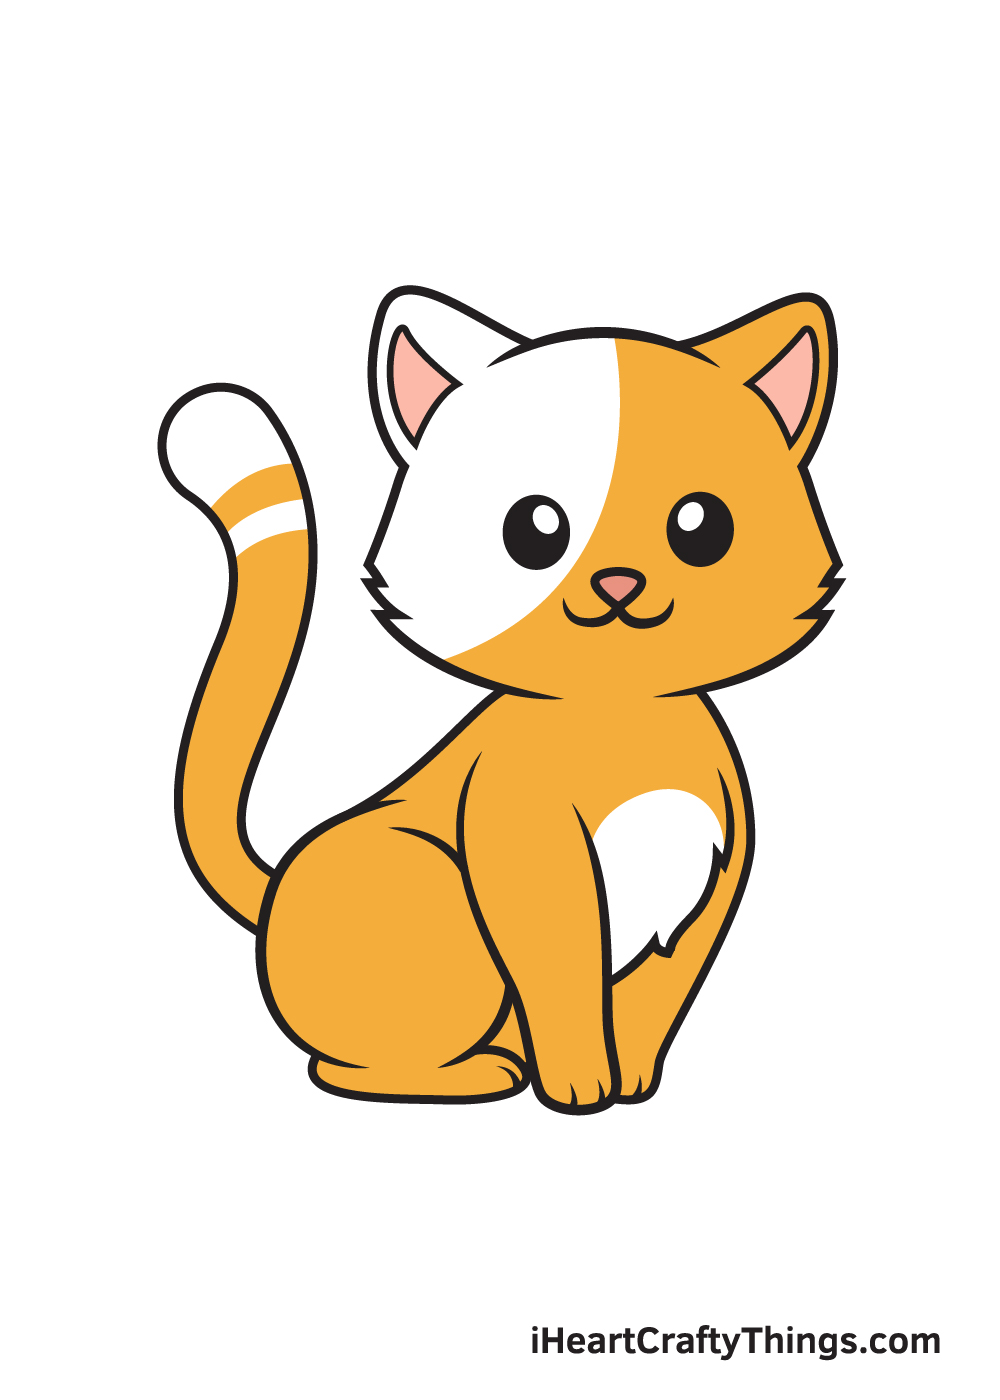
4 More Ways To Make Your Kitten Drawing Unique
Make this cute kitty even cuter with these fun and easy tips!
Cats come in many different colors and patterns, so you could change these and other elements for this kitten drawing.
These are so easy to change to your liking, and they can completely alter the nature of the design.
You could also change things such as the length of the cat’s fur or the shape of its face! What are some other aspects you can think of that you could change to your liking?
Next, we would suggest that you add some accessories for this kitty! Examples could be a food or a water bowl that it is about to use. Or, you could give it a ball of yarn or another cat toy for it to enjoy!
There are so many different objects that you could come up with to really complete the scene. The best part is that the more objects you add, the more colors you will get to use on the picture as well.
This kitten sketch shows a kitty that is cute on its own, but it can be even cuter with some friends to interact with!
You could add some more cute kittens or maybe even some puppies and other animals.
By using the steps of the guide, you can adapt them to create some new animal pals easily. What are some animals that you may like to add to this cute little scene?
Lastly, we think this drawing would look amazing if you were to add a background. You can make this drawing of a kitten even more interesting to look at when you create a background, and you have many options.
The kitten could be sitting in a park or in a cozy room next to a fireplace. These are just a few ideas you could try out!
This would also go brilliantly with the other suggestions we have made in the guide. If you add accessories, other animals and a background, you will have a wonderfully unique picture to show off.
Your Kitten Drawing is Complete!
We hope you enjoy this step-by-step tutorial on how to draw a kitten. With this guide, you can surely draw and color a kitten along with its complex features and elaborate details in no time.
And the most fun part is, you can customize its physical attributes and play with various colors as much as you like!
We are always updating our “How to Draw” catalog, so make sure to keep checking back on our website to take advantage of newly uploaded tutorials.
All you need is a pen and paper and you’re all set to start drawing! We are excited to see what you will draw next. We’re sure it will be just as amazing as this one!
Once you’ve finished your masterpiece, we’re certain you must be feeling very proud of yourself—as you should be! Completing this kitten drawing is definitely fulfilling.
Make sure to show off your work of art and share it on our Facebook page and on Pinterest. We’re sure it looks amazing! We can’t wait to see your colorful kitten drawing!