There are many different kinds of shoes and footwear, and these shoes can serve a huge variety of different functions. Some are for safety and some are for fashion or athletics.
The Jordan shoe is a very popular brand of footwear that comes in many different styles and purposes. They are a highly desired item, and with their stylishness it can also be fun to learn how to draw a Jordan shoe.
With the help of this guide, you will be able to design your very own one of these fancy sneakers!
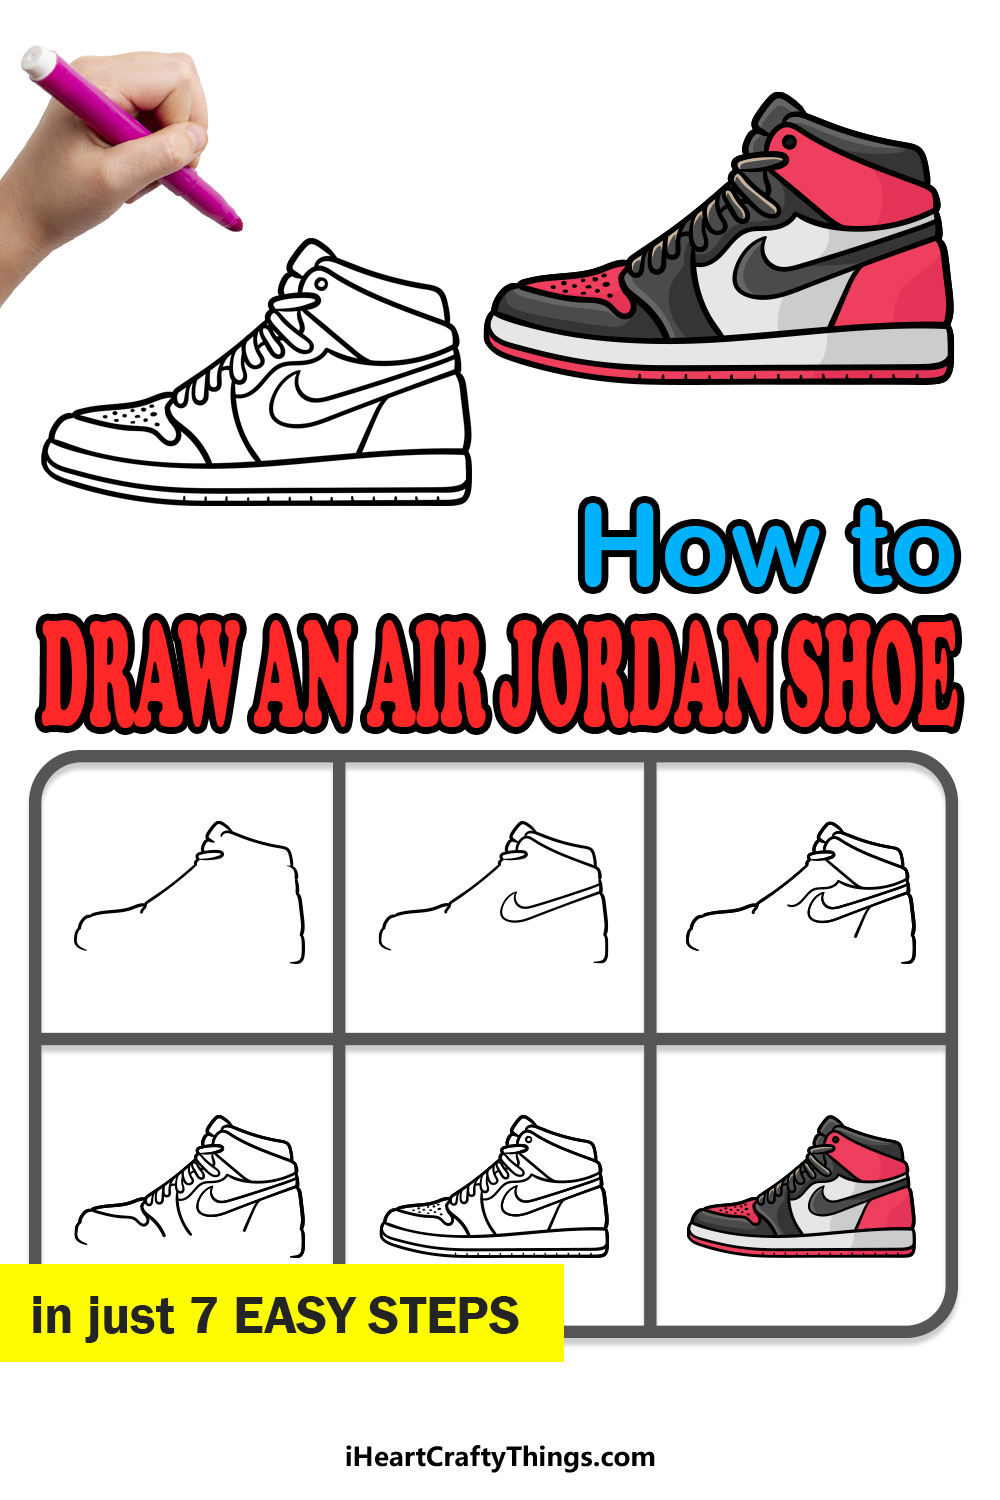
This step-by-step guide on how to draw a Jordan shoe will show you everything you need to know.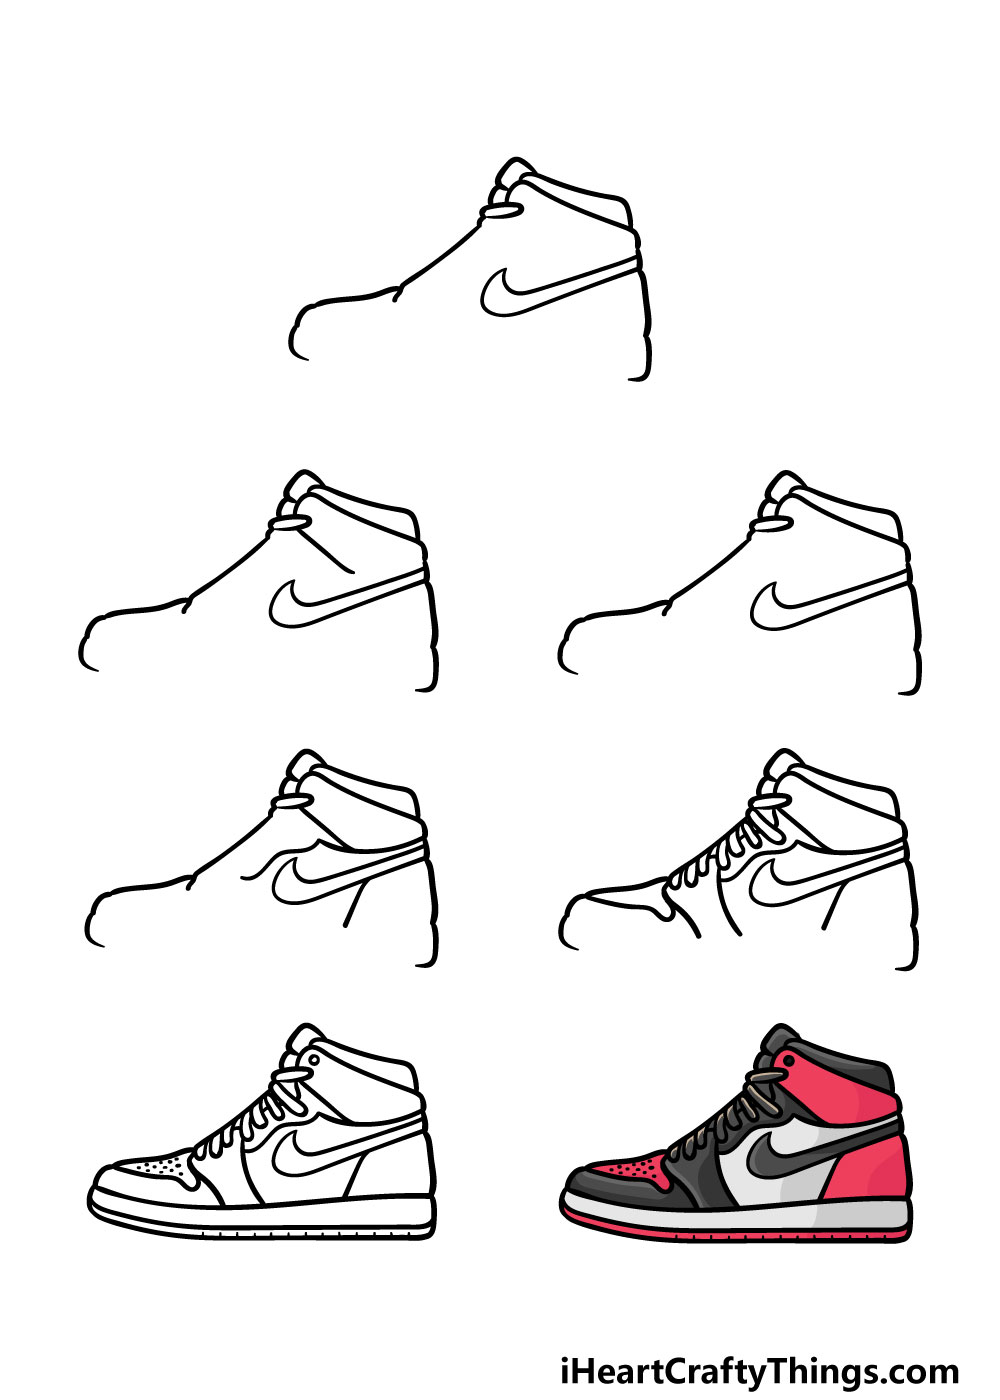
How to Draw A Jordan Shoe – Let’s Get Started!
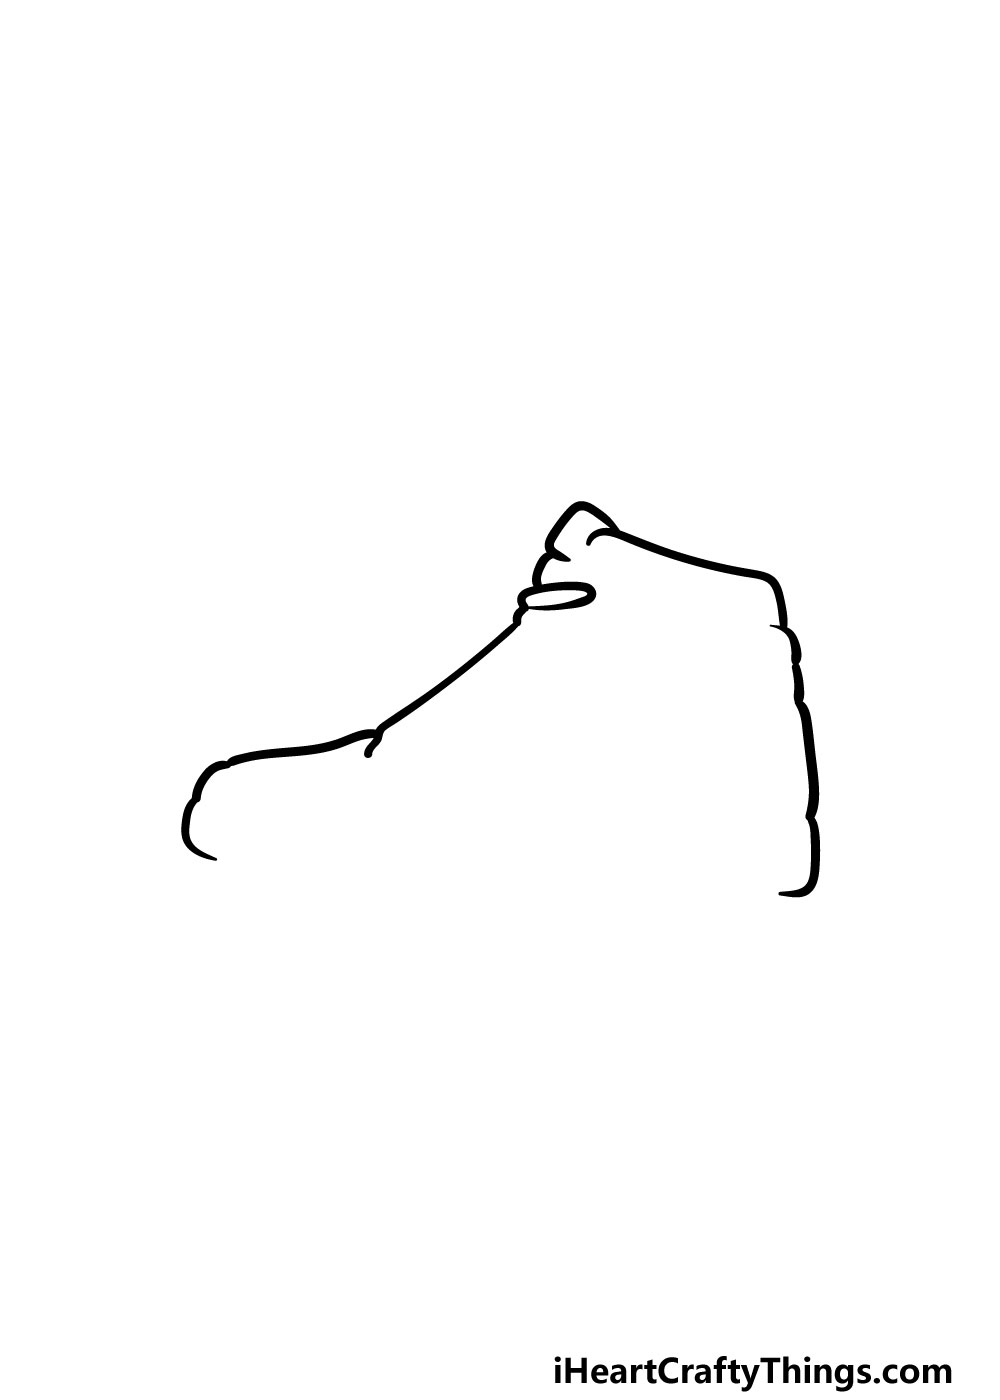
Step 1
Shoes can often be harder than expected to draw, and that’s even more so when the shoes have a lot of intricate details to them. We will be covering all of that in this guide on how to draw a Jordan shoe.
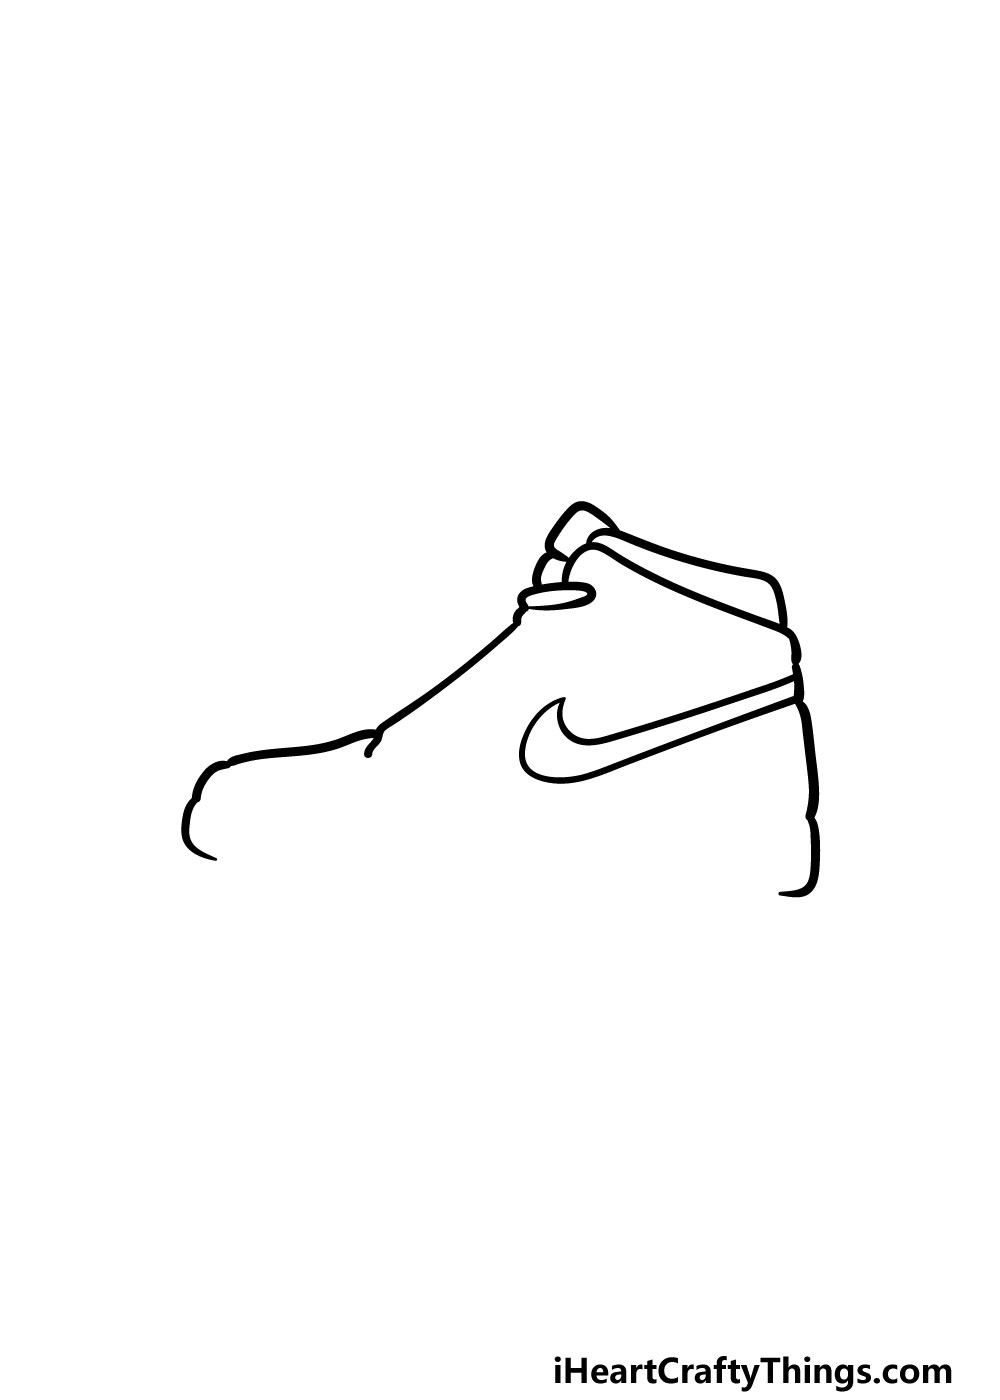
We will be starting with the outline of the top of the shoe for now, and then we will add details as we go.
To do this, you can simply use some irregular lines to draw the back of the shoe which will lead to the opening and then the slope of the front of the shoe.
There will also be a long, rounded shape near the opening for the first of the lace details for the sneaker. Then, we’re ready to proceed to the next step!
Step 2 – Start adding some more detail for the sneaker
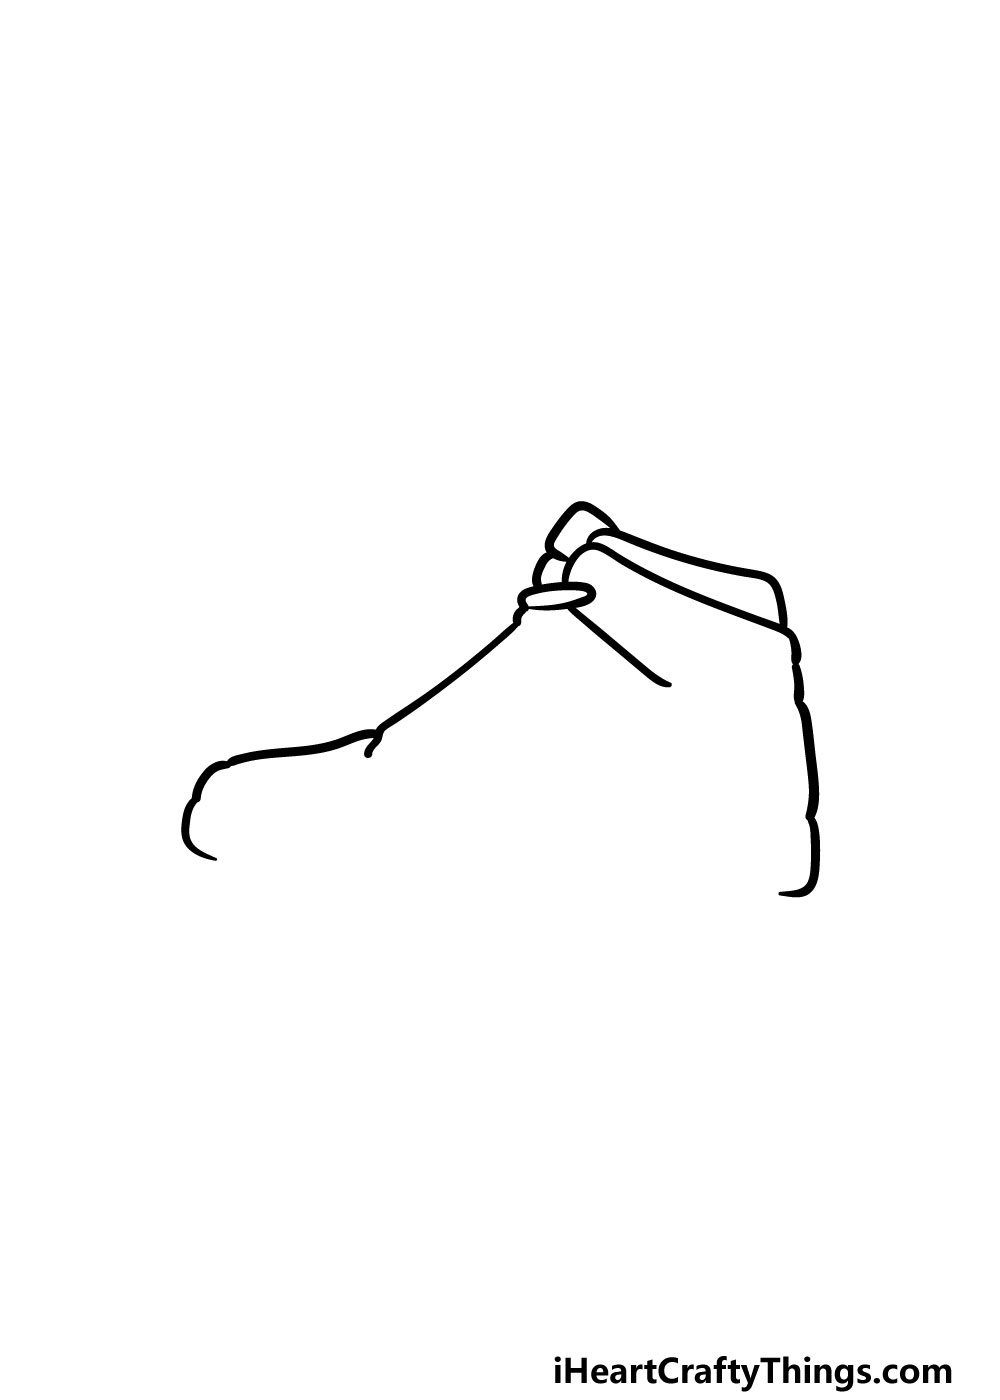
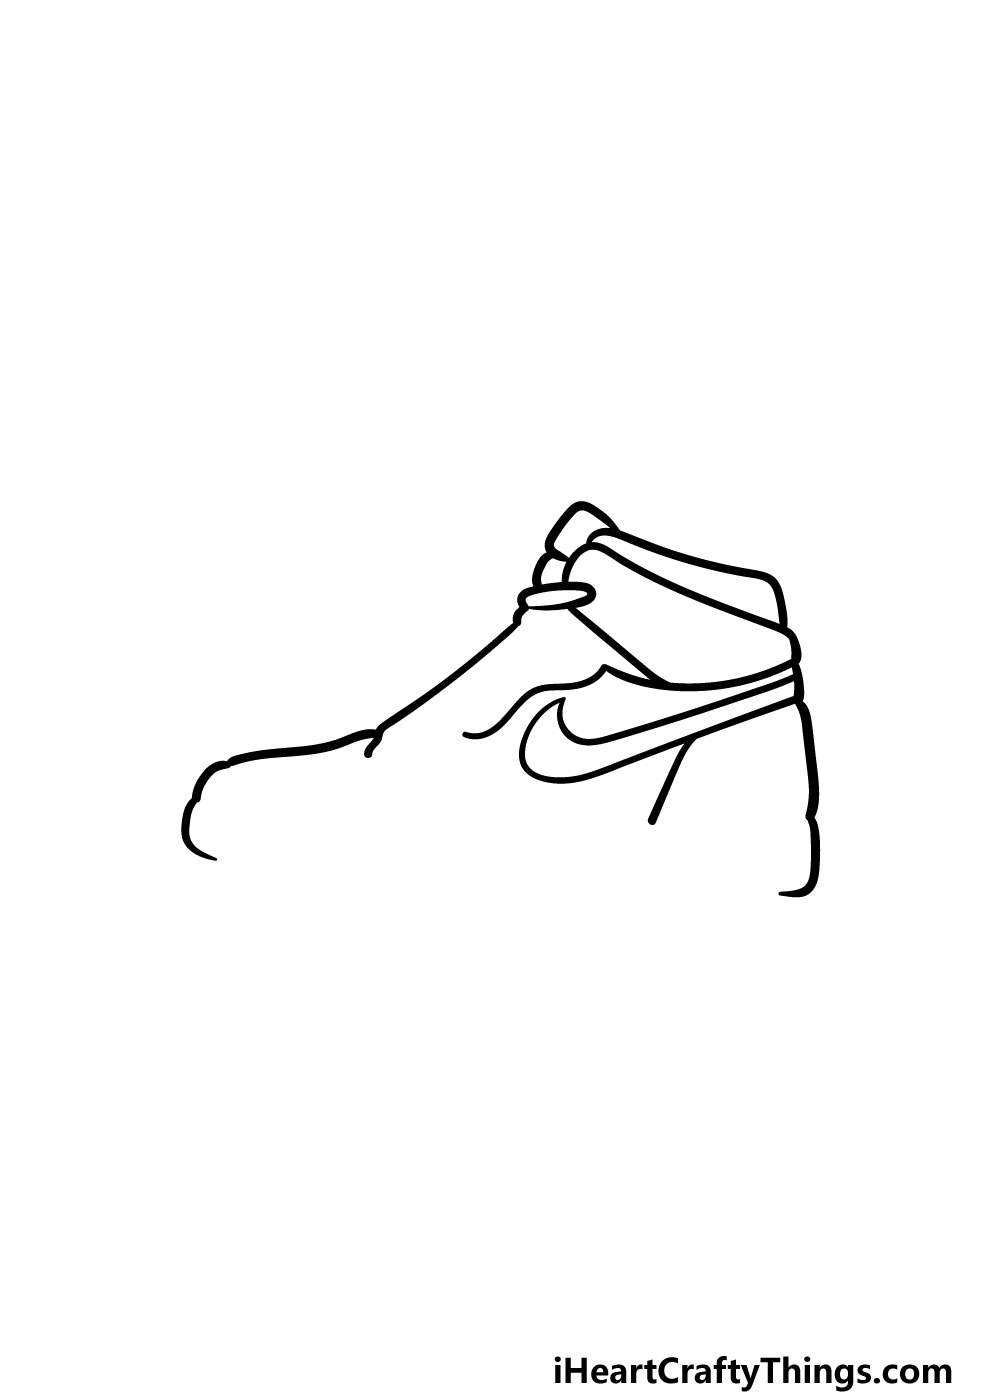
Continuing on with your Jordan shoe drawing, we will start to add some detailing now. We will keep it simple for now, and will draw a detail near the back of the shoe that will look a bit like a strap.
To do this, simply draw some curved lines from the top of the back of the shoe going up towards the laces. That’s all there is to it for now, so it’s on to step 3!
Step 3 – Next, add the tick detailing
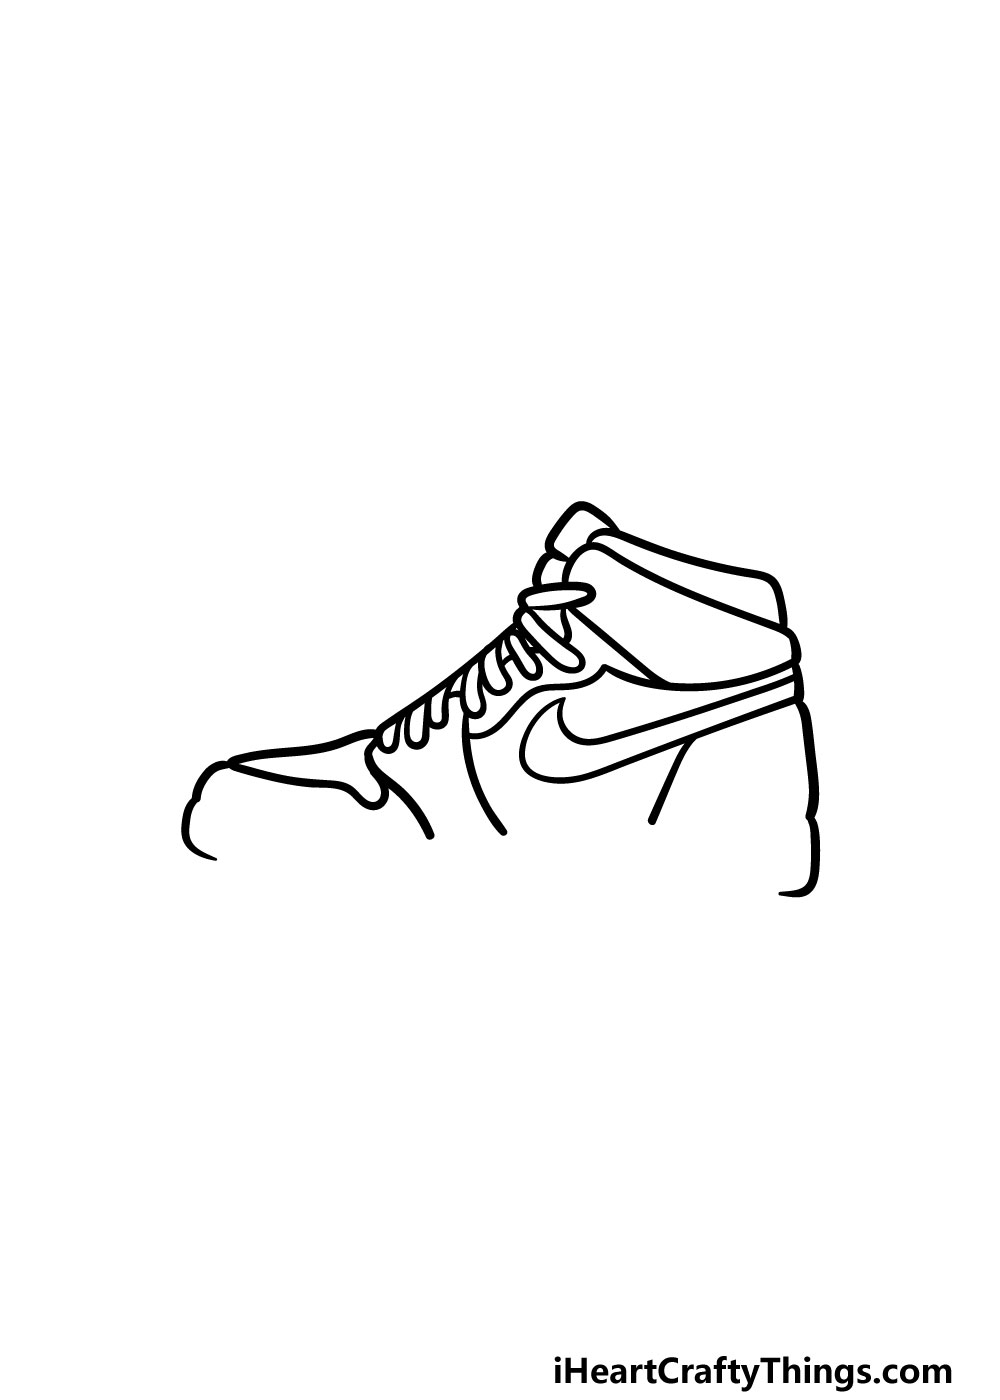
These sneakers are made by the company Nike, and we will add their distinctive tick symbol in this step of our guide on how to draw a Jordan shoe.
To do this, simply draw some slightly curved lines from the back of the shoe and extending inward.
These will curve into the end of the tick, as shown in the reference image. No Jordan shoe would be complete without this detail!
Step 4 – Draw the next details
In this fourth step, we will continue to add some more detail to the shoe. This will be a step where using the reference picture as a guide will be very helpful as you work on your Jordan shoe drawing.
The details we will be adding will be going near to the center of the shoe, and will mostly consist of some slightly curved lines connecting to one another.
Step 5 – Now, draw the laces and other details
This step of our guide on how to draw a Jordan shoe may look complex, but if you take it slowly and follow the guide then you should have no problem with it!
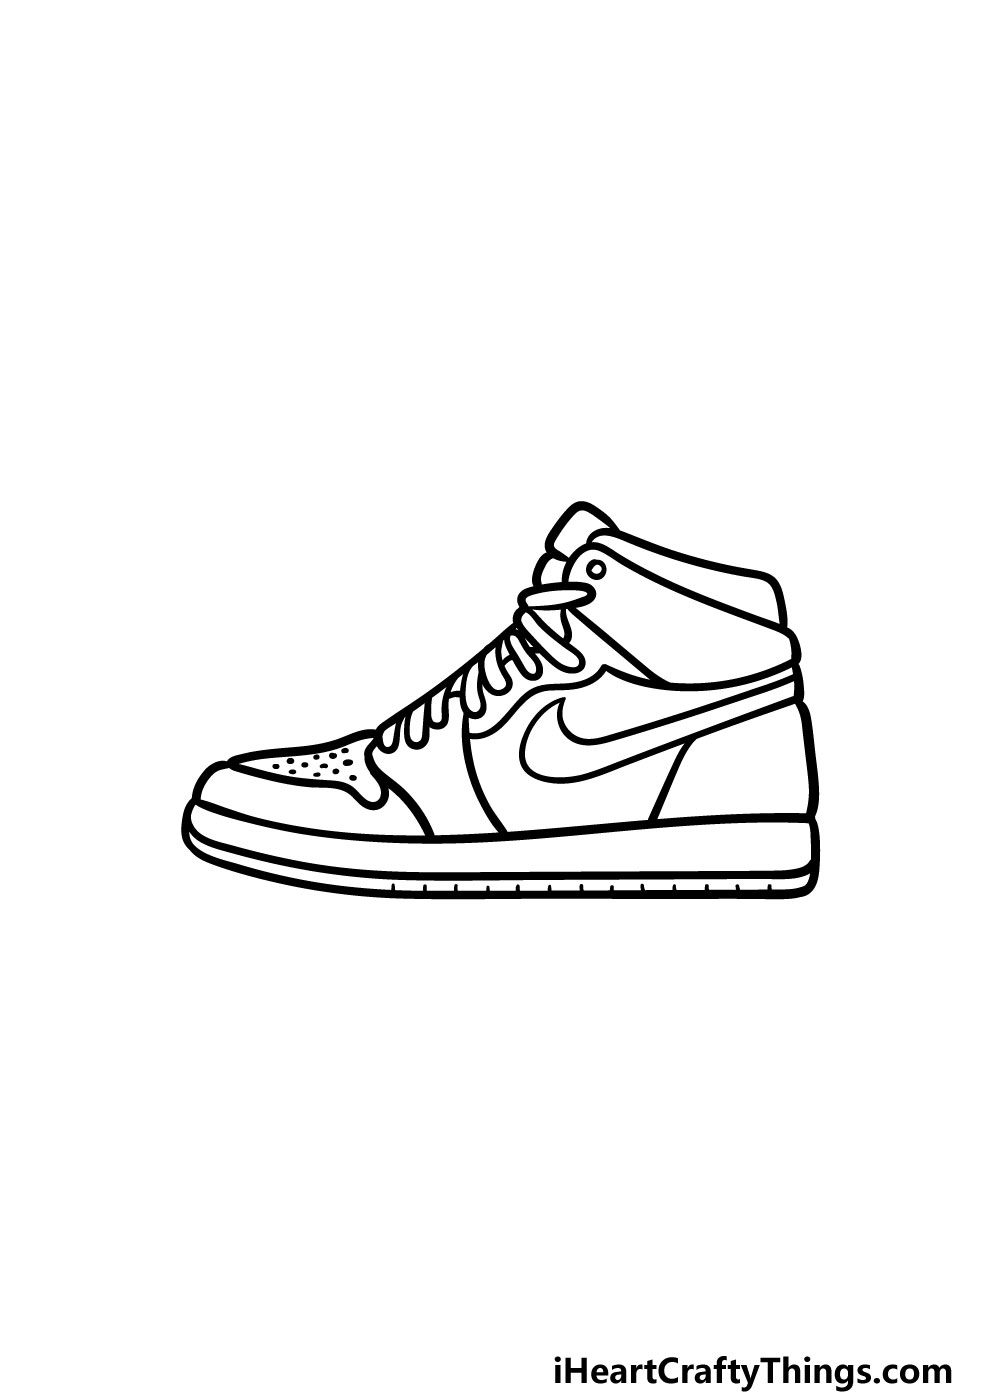
To draw these laces, simply draw a row of that long rounded shape that you drew back in one of the earliest steps. Some will be at different angles and some will be longer than others, so be sure to refer closely to the reference picture to make sure it’s accurate.
Then, there will be some simple line details near the front of the shoe that you can draw now. Then we have just a few more final details to add!
Step 6 – Next, you can add the final details for your Jordan shoe drawing
Before you bring some color to this image, we have a few final details to add to finish off your Jordan shoe drawing.
First, you can use some curved lines to form the base of the shoe. This base will be fairly thick, too. Then, there will be some smaller details to add to it to really finish it off.
These details include adding some small lines to the base for some texture detail. Then, you can also add some dots to the tip of the shoe.
That will do it for the details in this guide, but feel free to add some more of your own if you would like!
Maybe you could draw a background that shows what other kinds of equipment you would have with these shoes.
Step 7 – Finish off your Jordan shoe drawing with some color
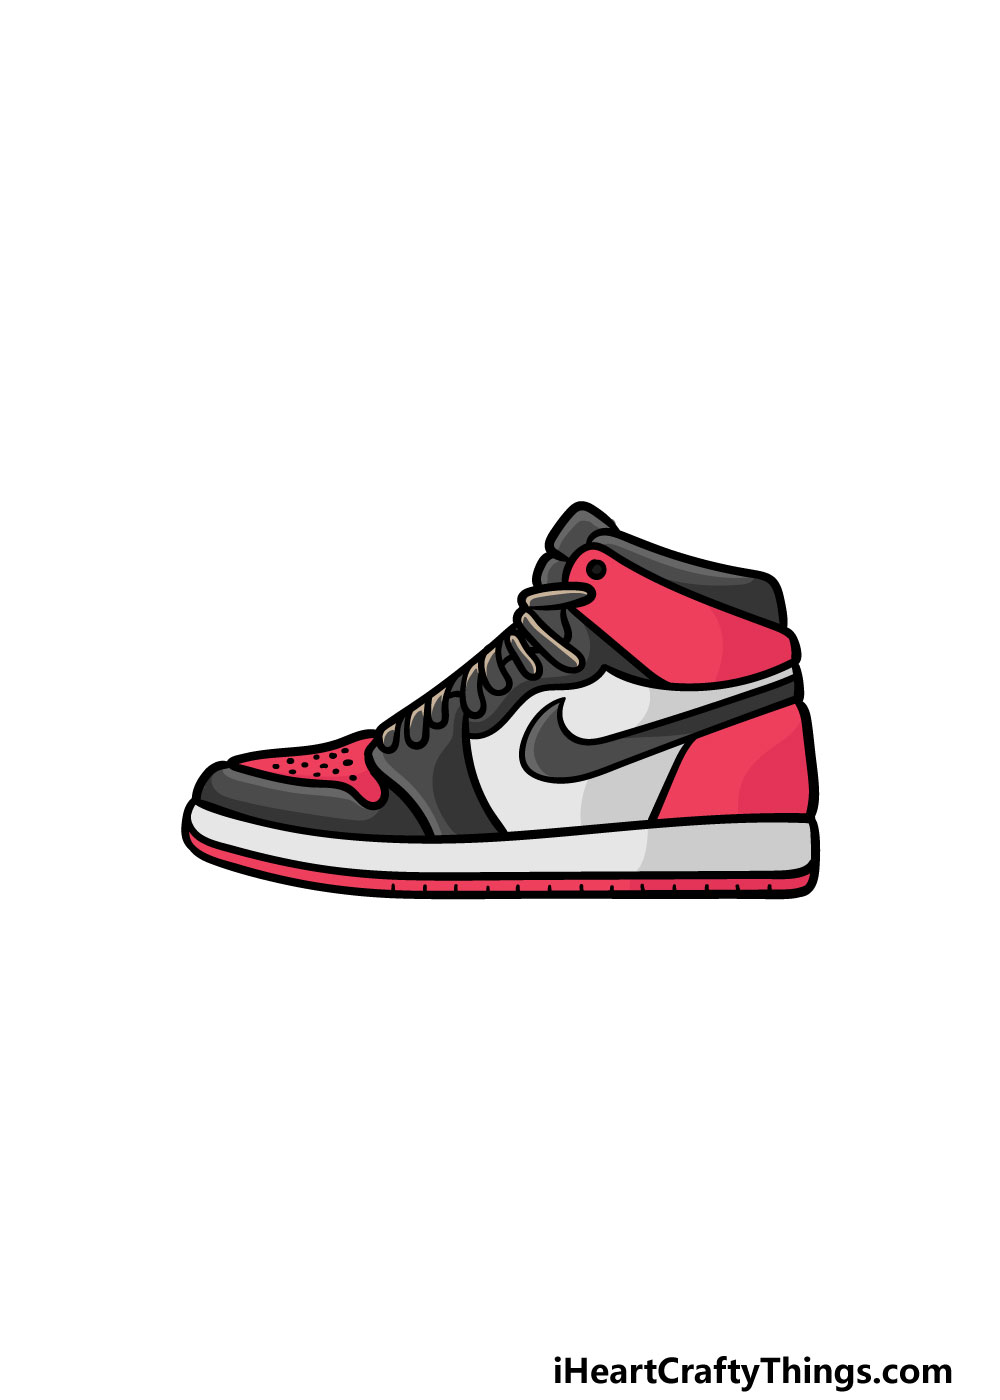
This final step of our guide on how to draw a Jordan shoe will be all about adding some amazing colors to your drawing.
In our reference picture, we went for a red, black and grey color scheme to fill in the image. This is just a suggestion, however, and for this final step you should feel free to use any colors that you love for it!
This drawing is all about creating your perfect Jordan shoe, so you should feel free to personalize it in any ways that you wish. If you drew any other background details or extra objects then you can color those in as well.
What colors, art tools and mediums will you use to finish off your awesome drawing?
3 More tips to make your Jordan shoe drawing easy!
Make drawing this iconic shoe easier with these tips for your Jordan shoe sketch!
For this drawing of a Jordan shoe, we tried to include lots of details to make the image more accurate to the real shoe.
While these details are great for realism, they can make the drawing much harder.
While you’re working on getting the hang of this drawing, you could start by changing some of these details. For example, you may wish to focus on the shape of the shoe to begin with.
You don’t have to get the drawing looking perfect on your first try, and you can work on a few drawings to get the hang of it.
You can progressively add more and more details until it looks exactly as you want it.
Another way you could make your Jordan shoe drawing easy to do would be by making it a part of a larger image. If you draw just the shoe, the focus will be entirely on that.
That means that any problems you may have had in portraying the details would be apparent to the viewer. If you were to add some other pieces of sports clothing or equipment, there would be more to look at.
With the focus spread out a bit, you don’t need to worry about getting every detail looking perfect, which should make it easier and more fun to draw!
Next, you could also make this Jordan shoe sketch a bit simpler by using the real thing to help you out.
If you are lucky enough to own a pair of Jordan shoes, then you already have the perfect model ready to go.
Not everyone has Jordan shoes lying around, so the next best thing would be to look up some high-definition images of these shoes online. Once you have a real shoe to use as a reference, try to pay close attention to the shape and details.
Use these images along with our guide and you will soon have a completed drawing that looks amazing!
Your Jordan Shoe Drawing is Complete!
With these final details added and your colors filled in, you have completed this guide on how to draw a Jordan shoe!
There were a lot of details in this image which can make it tricky, but we hope that this guide made it easy and fun for you to draw.
Now you can get creative and show us how you will finish off this picture. Whether you add details or use some creative colors and mediums we can’t wait to see what you do!
When you want a new drawing challenge, we hope to see you on our website! We have tons of guides that cover loads of subjects, so there is something for everyone to enjoy.
Once you have finished up your amazing Jordan shoe drawing, please be sure to share it on our Facebook and Pinterest pages! We can’t wait to see how you finished this picture off.