A guitar is a stringed musical instrument that can be played by plucking or strumming the strings with fingers. It features a fretted fingerboard, incurved sides, and six or twelve strings.
There are two primary types of guitars: acoustic guitar and electric guitar. These types can be further classified into more subcategories. In this tutorial, we will be drawing an acoustic guitar.
We have curated a step-by-step tutorial on how to draw a guitar summarized in 9 easy and simple steps. With this guide, drawing a guitar is made easier.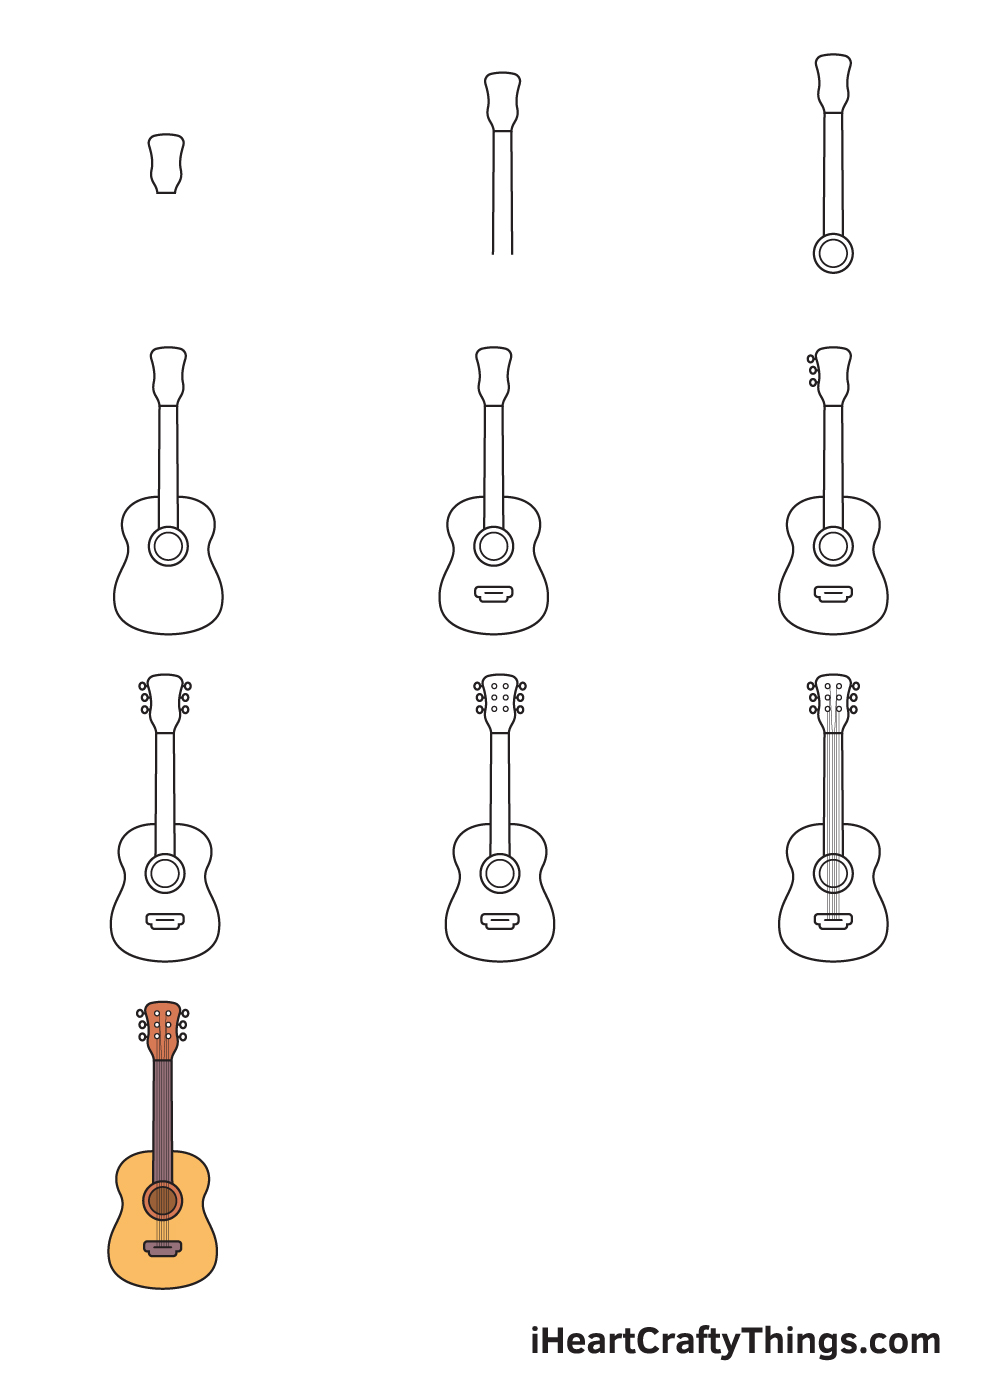
Each step is accompanied with comprehensible illustrations that serve as your visual guide as you follow the instructions. All you need is a pen and paper and you’re all set to get started!
Whether you are a novice or an expert in drawing, we’re sure you can follow these steps effortlessly. What’s more, you can add your own style and improvise in every step.
Feel free to mix and match colors to customize your artwork and make it unique. Let your imagination wander and unleash your creativity. Have fun and use your artistic skills!
Easy Guitar Drawing Video Tutorial for Kids
How to Draw a Guitar – Let’s get started!
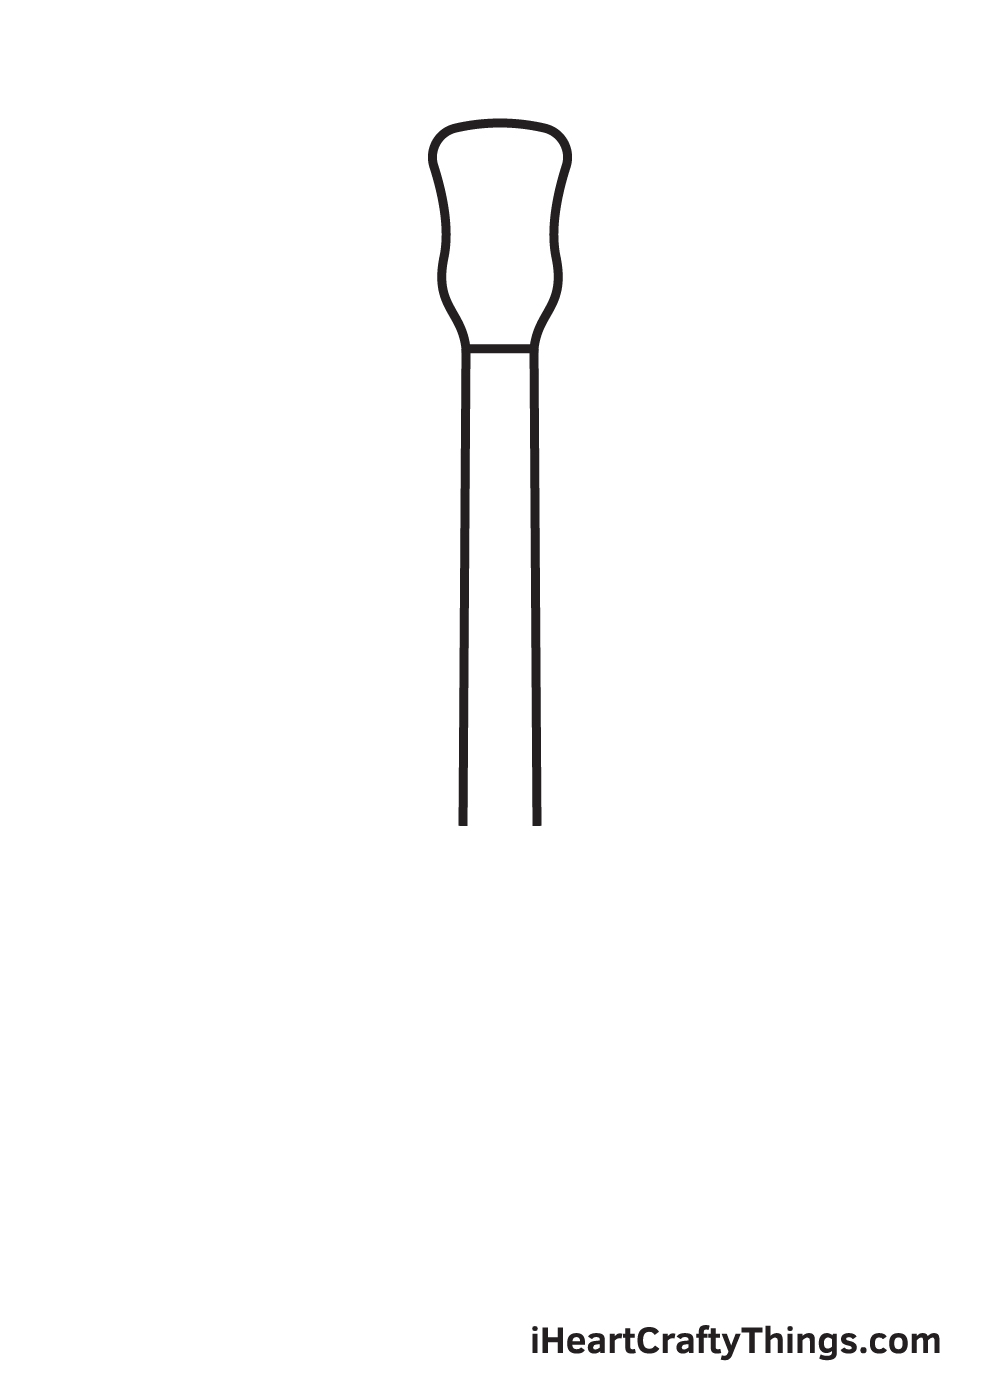
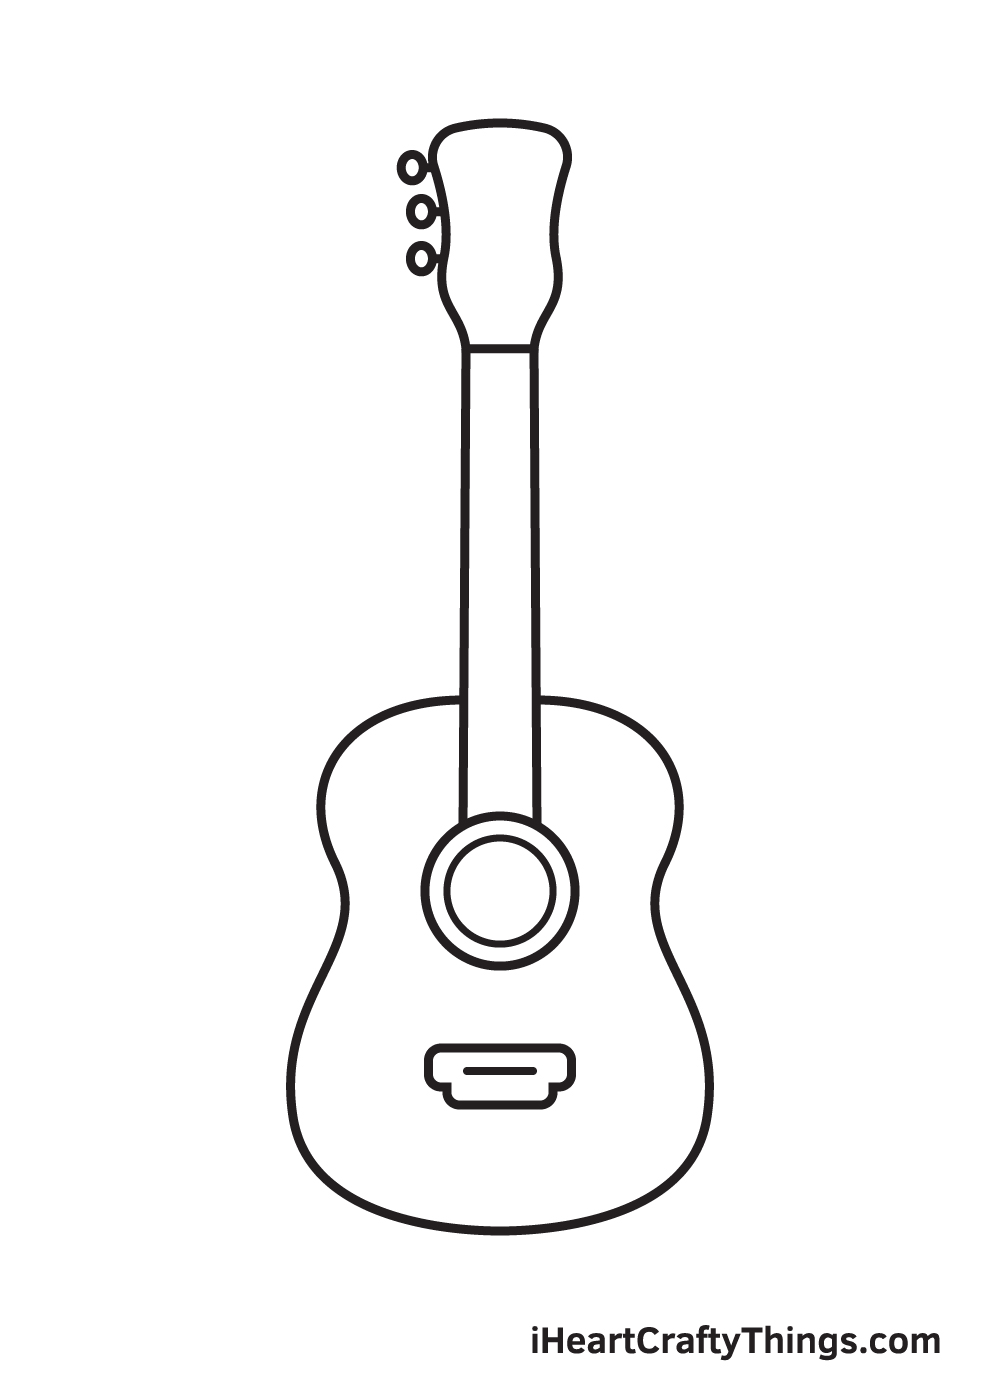
Step 1

On the top middle portion of your paper, draw an outline of the headstock, as shown in the illustration. It is the topmost part of a guitar where tuning pegs are located.
To ensure that the outline will be positioned in the middle correctly, draw a horizontal and a vertical line across the paper to create reference lines. The vertical line above the horizontal line is where you should draw the outline.
Step 2 – Draw an Outline of the Headstock and Neck
Draw two long vertical lines right underneath the headstock. The line should be directly connected to the bottom of the headstock, as seen in the illustration.
There should also be a gap between the lines because that’s where the strings will be drawn in the following steps.
Step 3 – Next, Draw the Sound Hole
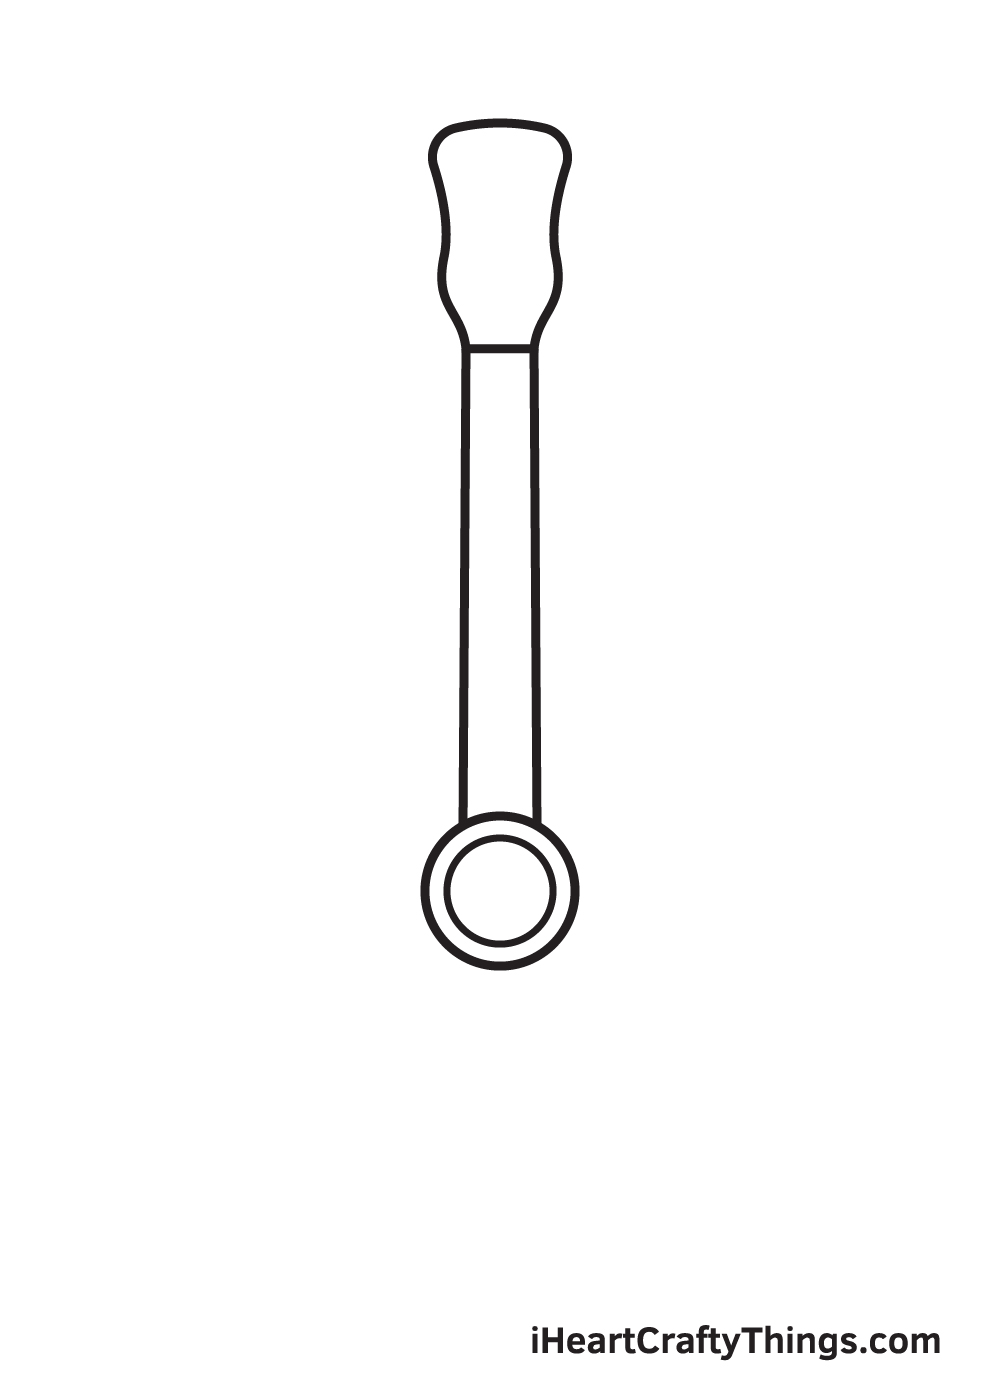
Draw a perfect circle at the bottom of the guitar’s neck to create the sound hole. Then, within the circle, draw another circle following the outline of the outer circle.
If you can’t freehand a perfect circle, don’t worry and feel free to use a compass! It is a drawing tool that enables you to draw a perfect circle easily and effortlessly.
Step 4 – Draw the Entire Body of the Guitar
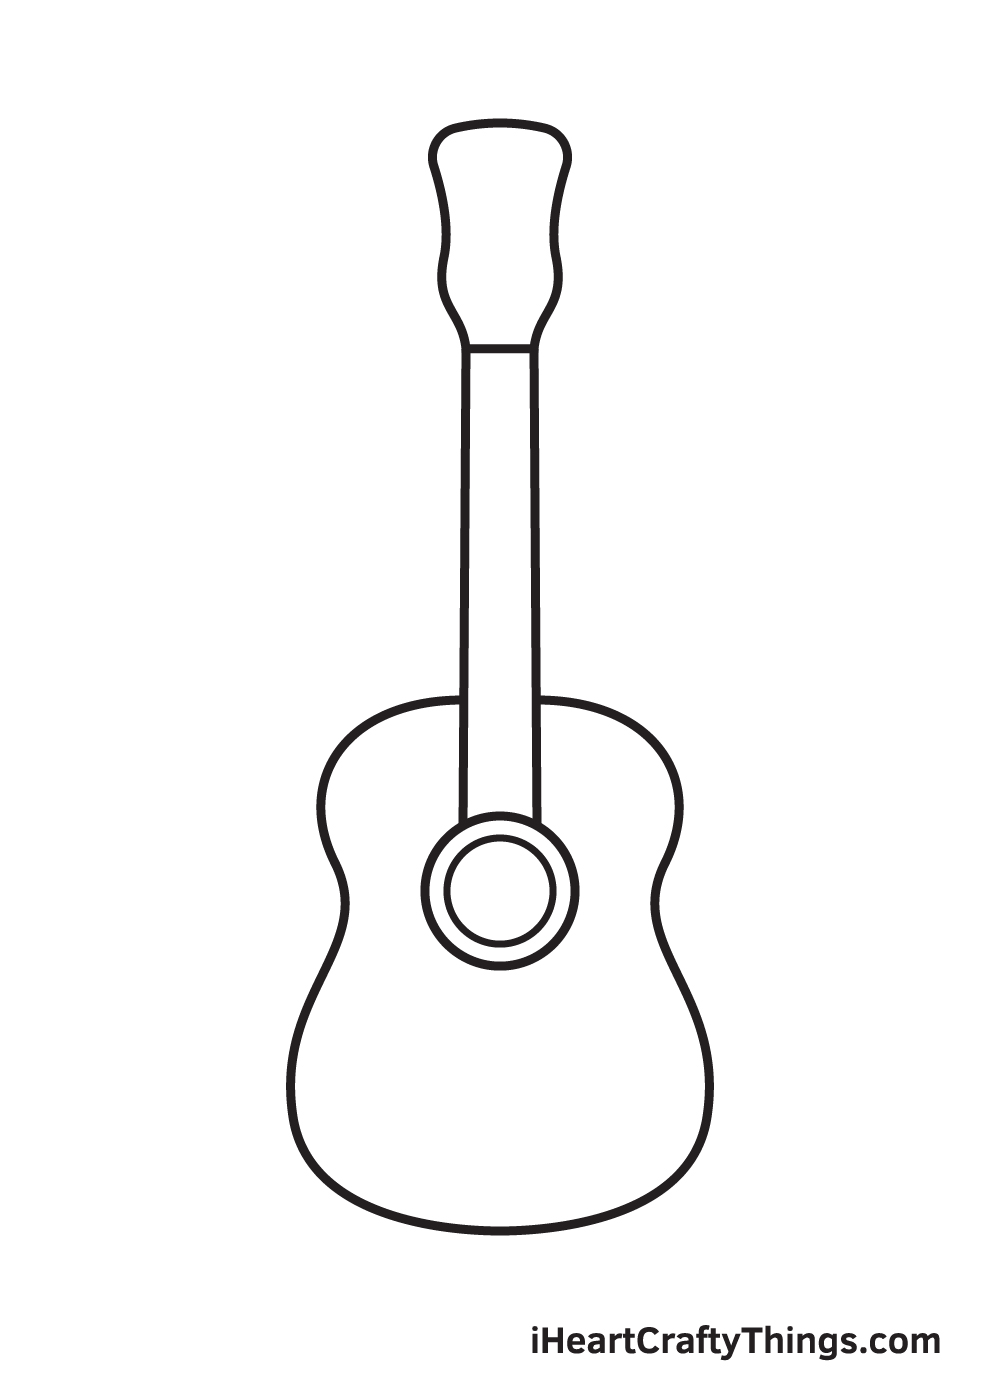
Now that we have finished drawing the outline of the upper portion of the guitar, it’s time to draw the lower portion to finally complete the guitar’s outline.
Draw the body of the guitar starting from the neck all the way further down past the sound hole. A guitar’s body should have an upper bout, a waist in the middle, and a lower bout, which is the widest part of the guitar’s body.
Step 5 – Add the Bridge of the Guitar

Below the sound hole, draw the bridge by drawing a horizontal rectangular shape connected with a smaller rectangular shape right underneath it.
The bridge should be positioned in the middle in between the sound hole and the edge of the body.
Step 6 – Add the Left Tuning Pegs
Draw three tiny circle shapes on the left side of the headstock to create the tuning pegs. There should be a slight gap between the pegs and the headstock.
Afterwards, connect the tuning pegs to the headstock by drawing short horizontal lines in between.
Step 7 – Complete the Set of Tuning Pegs
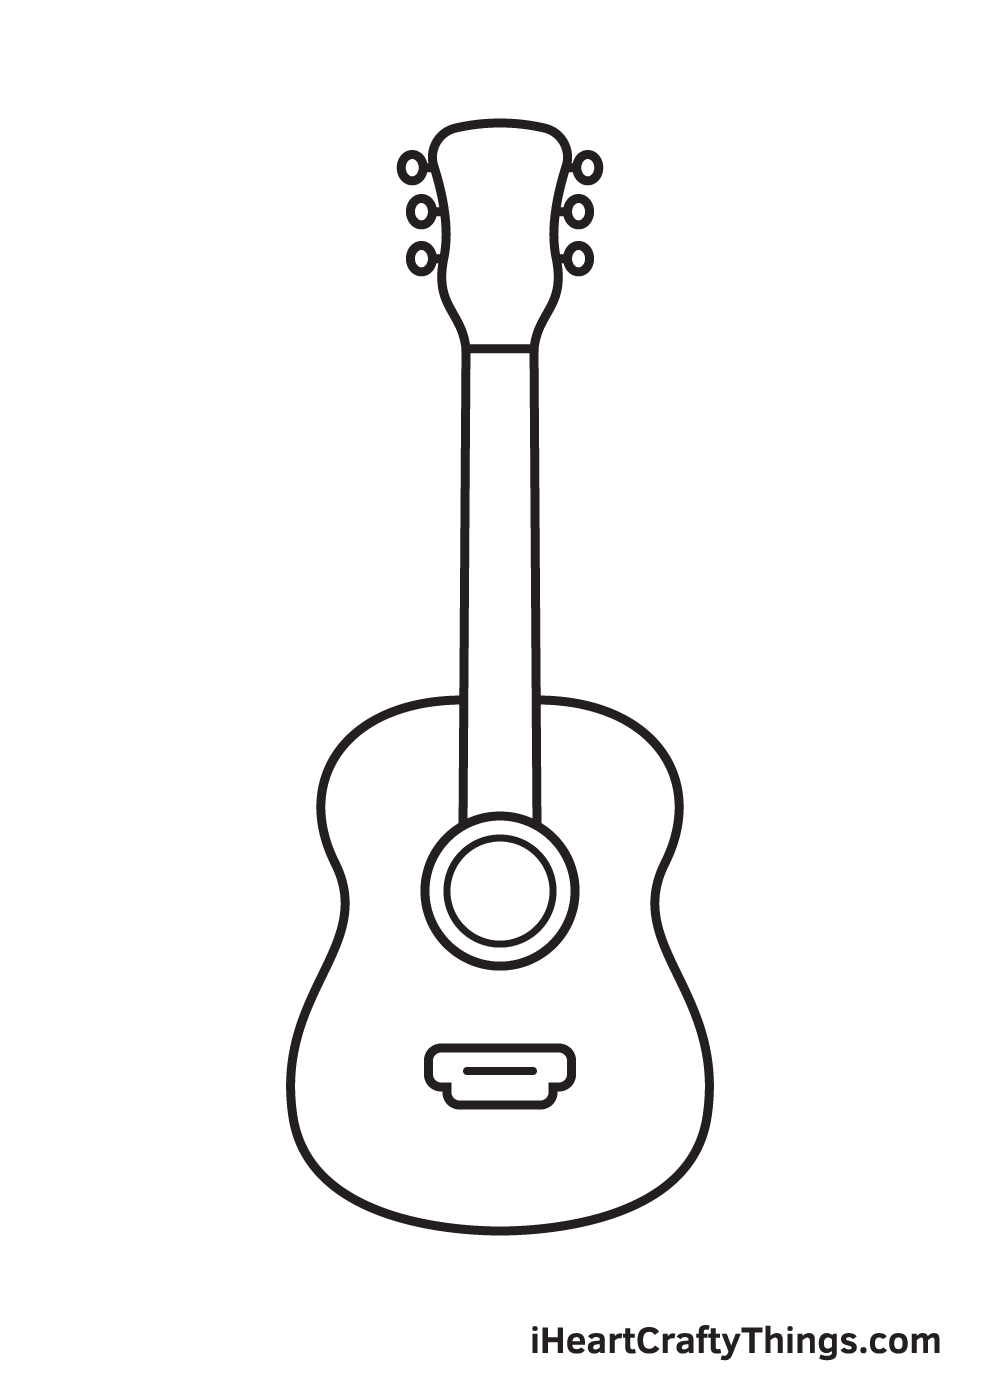
Repeat the previous step on the opposite side of the headstock.
Step 8 – Add the String Posts on the Headstock
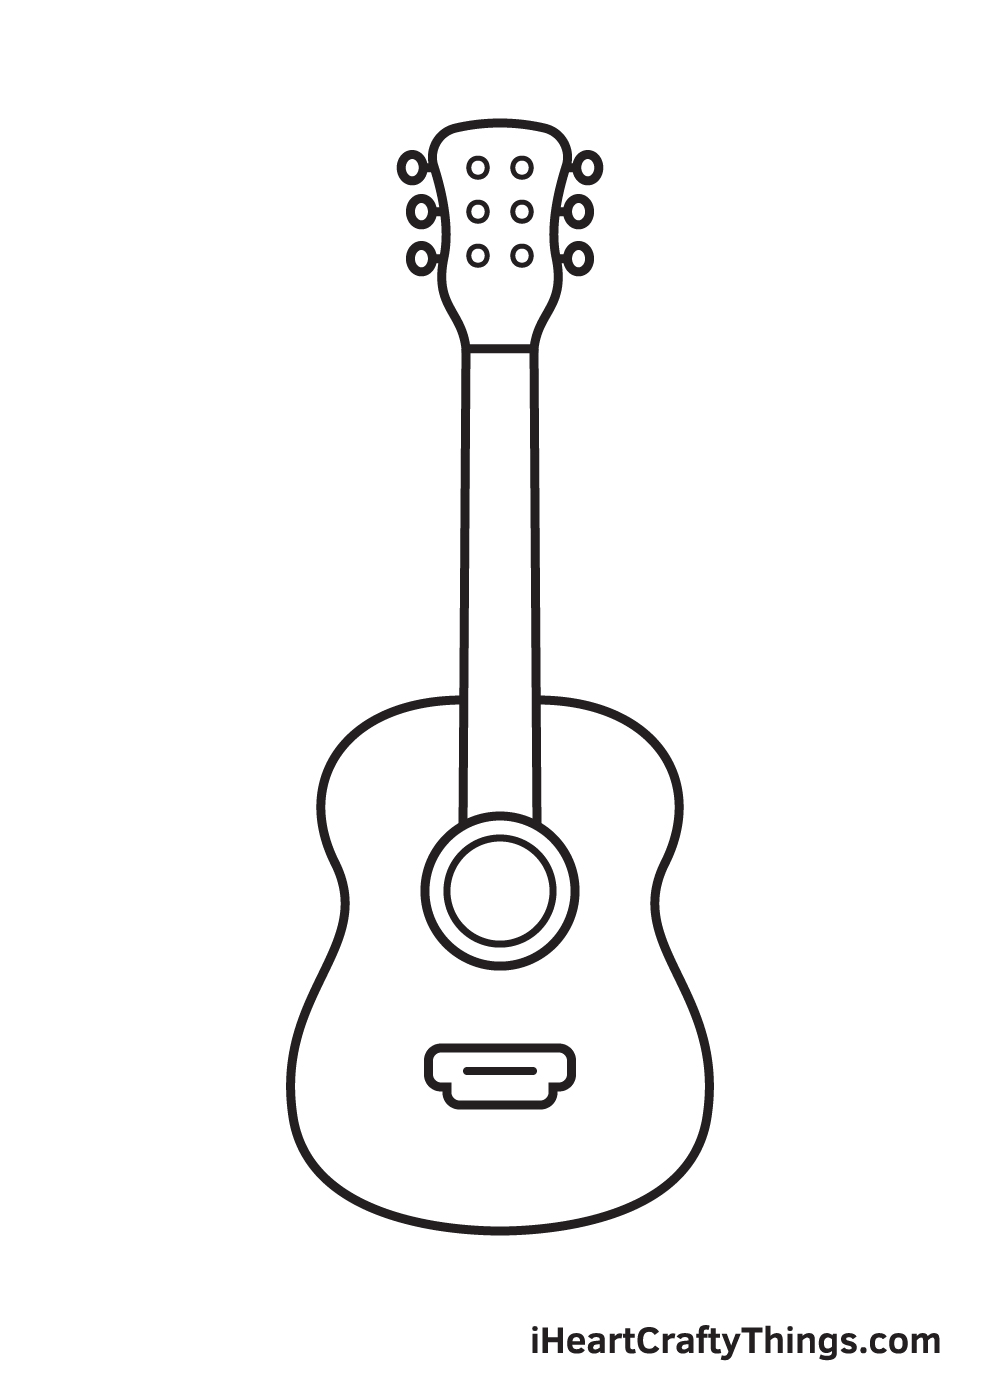
Draw six small circles within the headstock. Each of the circles must be aligned with each of the tuning pegs.
Step 9 – Draw All the Strings of the Guitar
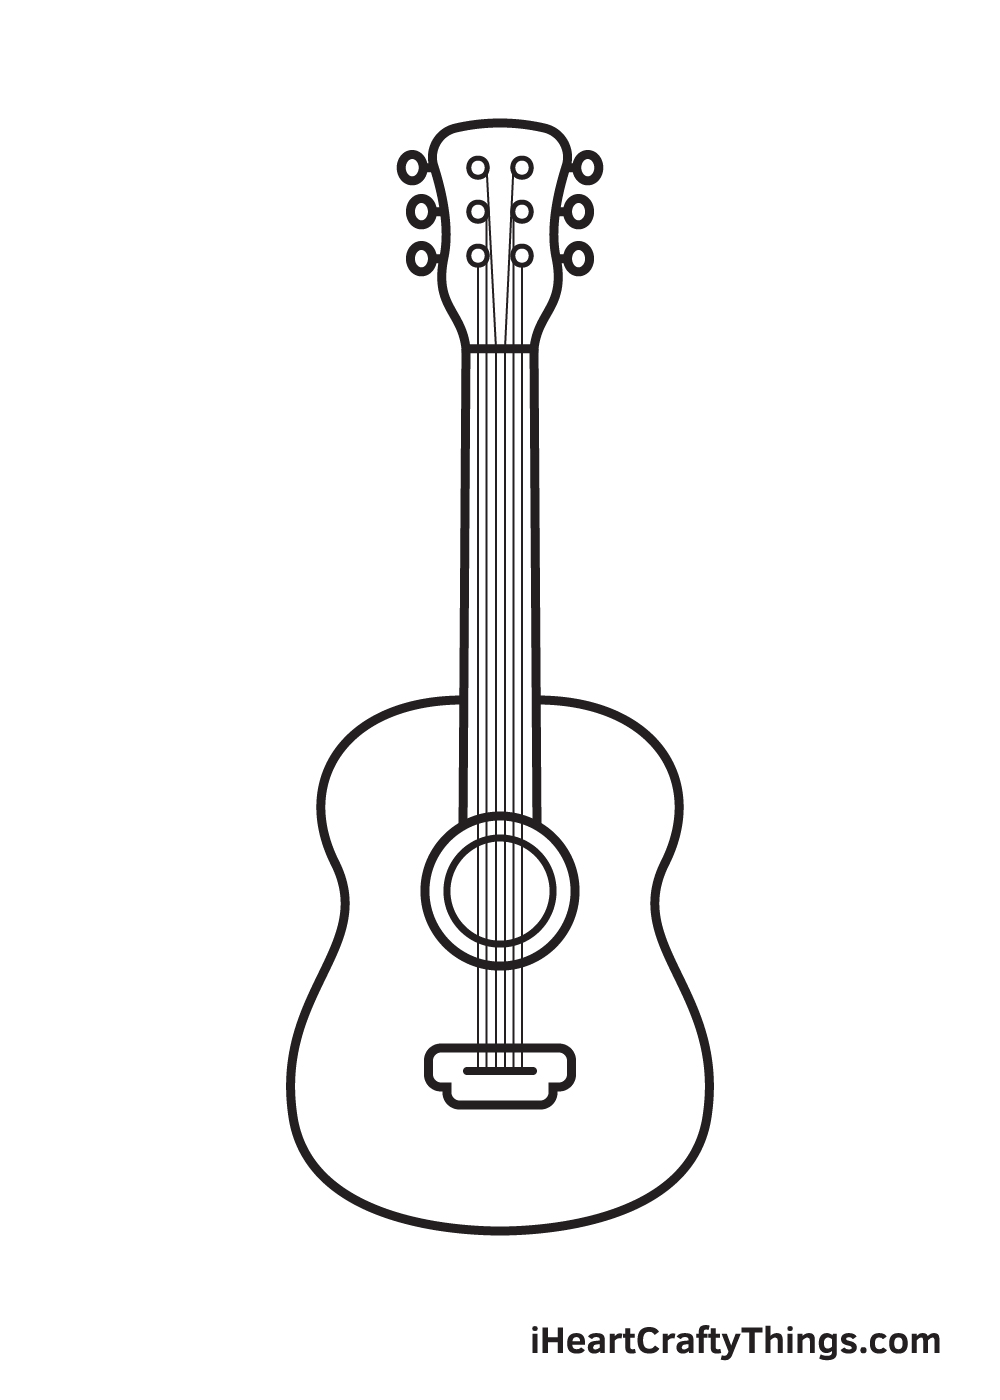
Now, to finally complete the guitar drawing, we will be drawing the six strings of the guitar.
Draw six vertical lines starting from the circle shapes inside the headstock extending all the way down to the bridge. Each string must be attached to each string post in the headstock.
Here, you can see the guitar is nearly finished! The only thing it’s missing is a dash of multiple colors to complete your artwork!
Finally, here is the most exciting part—filling in the colors for your awesome drawing! This is the part where you can show off your artistic skills and your ability to mix and match various colors.
Guitars are made of different kinds of wood, such as mahogany, ash, maple, walnut, and other sturdy and durable woods. It exists in nearly every color, with black, brown, and cream being the most common. So, if you have a favorite color, it’s likely that there is a guitar with that color.
Feel free to color your guitar drawing using any colors you like and watch as your drawing ultimately comes to life! And while you’re at it, why not try experimenting with different coloring materials such as watercolor and brush pens as well?
3 More tips to make your guitar drawing easy!
Find tips to make this drawing as easy as a song right here!
Guitars are simple and incredibly complex in structure at the same time. That may seem like a strange thing to say, but it makes it tricky to create a guitar drawing!
To make it easier, we would recommend using a real guitar as a model. If you’re lucky to have one in your home, you can use it to make it much easier.
If you don’t have one handy, you can use pictures online. Using these references along with the steps in this guide will make it so much easier for you to draw the neck, strings and other aspects such as these.
If you use a real-life model then you could also draw the guitar from different angles if you like.
Another way to make this guitar sketch a bit easier is by simplifying some of the details. For example, guitars have different numbers of strings depending on their variation.
Most have six strings, but some have four or even twelve. By giving this guitar four strings instead, you will be able to draw them on the neck much more easily.
You may be surprised how much easier this small detail can make this drawing! You can also change any other details you may struggle with and the picture will still look amazing.
If you still find yourself having difficulty creating this drawing of a guitar, you can make it a bit easier on yourself in a few ways.
First, you can draw some basic shapes with your pencil and tools like a drawing compass and ruler. You could draw some ovals connecting to one another for the body of the guitar and then use a long, thin rectangle for the neck.
No one will ever see these planning shapes, and you can draw over them with your pen later. They can help with getting the shape of the guitar and its various parts so much easier to get looking right.
Your Guitar Drawing is Complete!
We hope you enjoy this step-by-step tutorial on how to draw a guitar. With this guide, you can surely draw and color a guitar along with its complex features and elaborate details in no time.
And the most fun part is, you can customize its physical attributes and play with various colors as much as you like!
We are always updating our “How to Draw” catalog, so make sure to keep checking back on our website to take advantage of newly uploaded tutorials.
All you need is a pen and paper and you’re all set to start drawing! We are excited to see what you will draw next. We’re sure it will be just as amazing as this one!
Once you’ve finished your masterpiece, we’re certain you must be feeling very proud of yourself—as you should be! Completing this guitar drawing is definitely fulfilling.
Make sure to show off your work of art and share it on our Facebook page and on Pinterest. We’re sure it looks amazing! We can’t wait to see your colorful guitar drawing!
Here Is A Cartoon Guitar DrawingTo Inspire You!

We’re all familiar with how guitars look, so it may have come as a surprise to discover that they can be a bit tricky to draw! At least, it can seem that way at first until you know how to do it.
This cartoon guitar drawing for kids may have seemed deceptively difficult at first, but hopefully now you see that it’s not all that hard. Our artist Amanda created this example to give you some inspiration.
The focus is on the guitar, so you can draw just that element if you wish to. But as you can see, she added an extra element to the image by having a cute character playing the guitar.
Adding some extra details such as music notes or even song lyrics would be a great way to make sure that you maintain the musical theme of the image!