Making people laugh is serious business! These days, we have many comedians, comedy movies, TV shows, books and other media dedicated to making people laugh and chuckle.
It’s a tradition that has existed for many centuries, and in medieval times jesters existed to bring joy and silliness to the land.
Usually employed by the rich, they would also entertain commonfolk and would usually be dressed in wacky, silly attire.
Learning how to draw a jester is a great way to bring some of this laughter into the modern age!
If this is something you would like to do, then you’re in the right place.
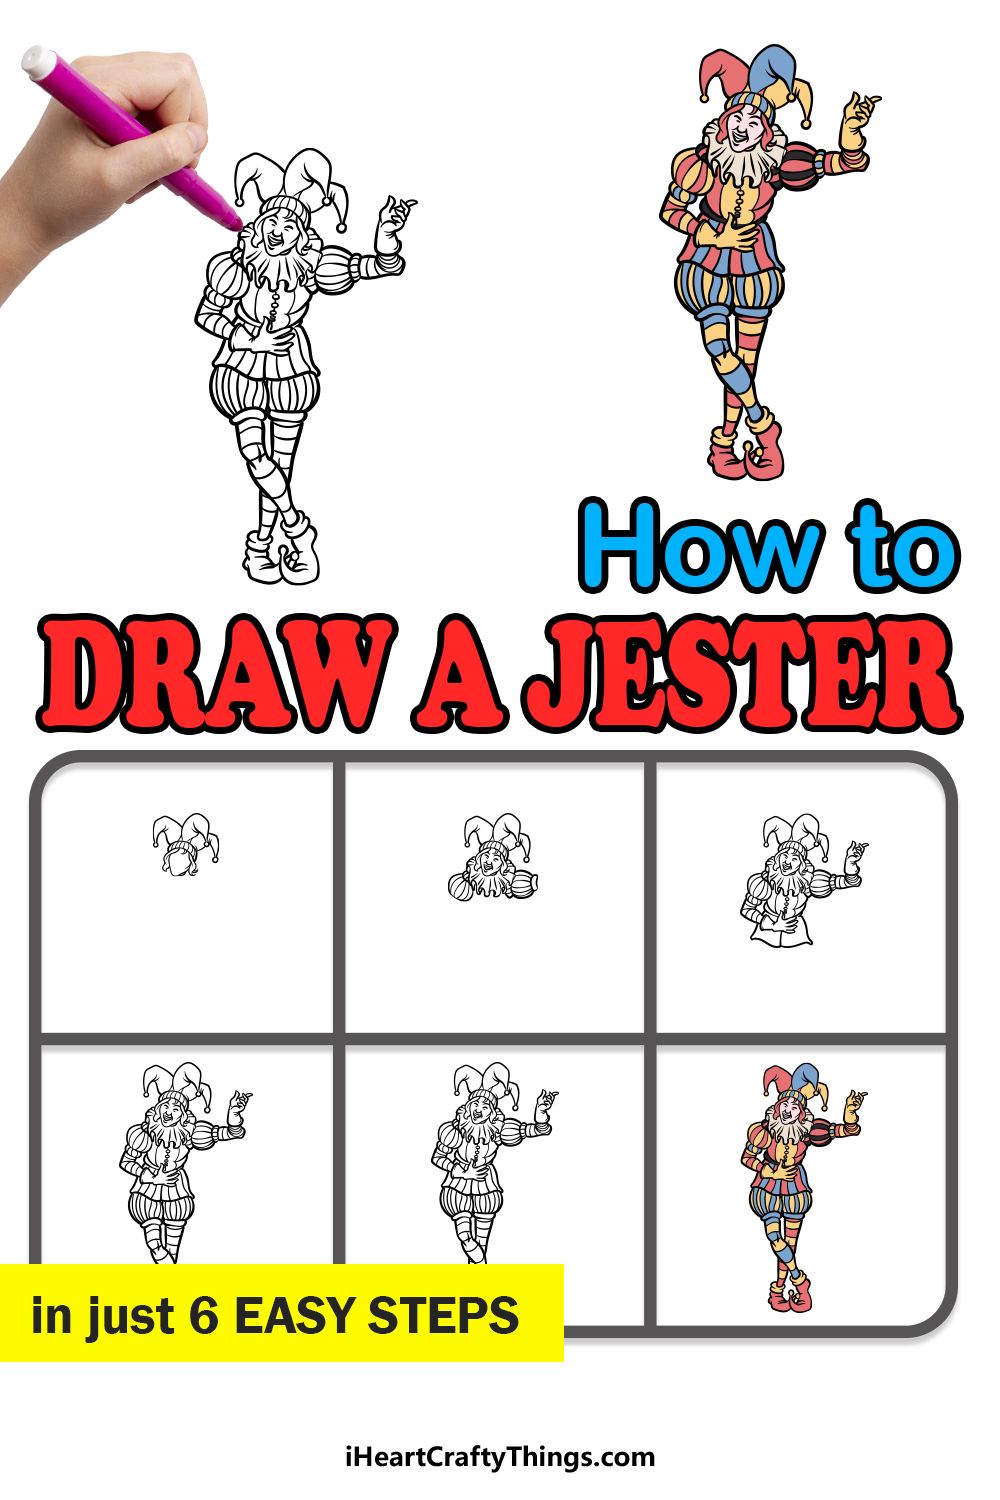
Our step-by-step guide on how to draw a jester will show you how to draw one of these jolly entertainers while having lots of fun yourself!
How to Draw A Jester – Let’s Get Started!
Step 1
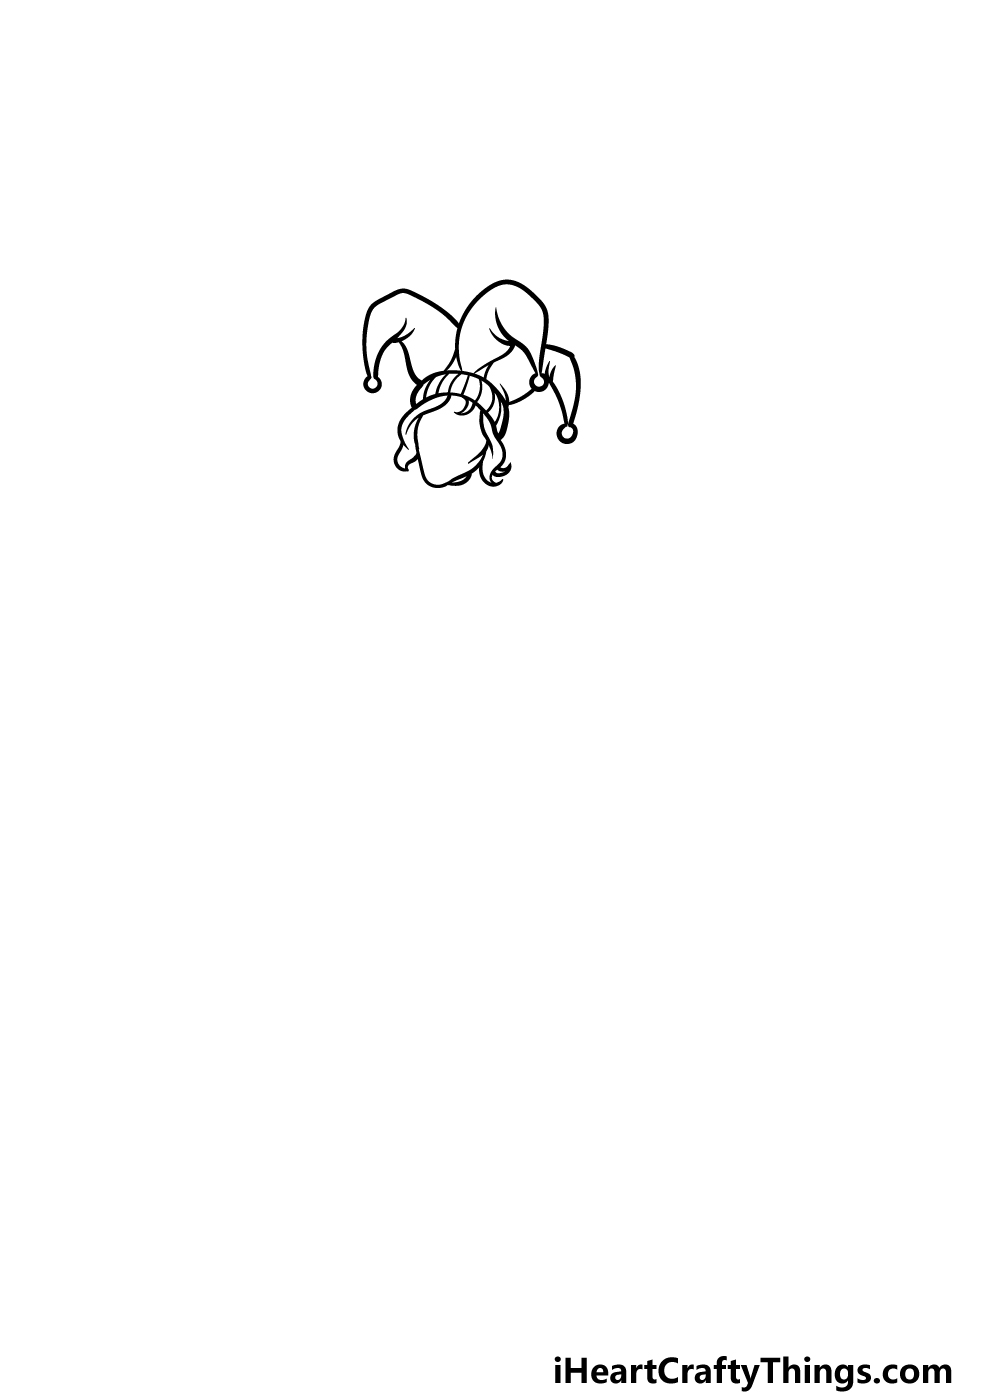
A common look for jesters would have them wearing colorful attire with a distinctive hat that has several floppy sections with bells attached.
This hat is what we shall start with in this first step of our guide on how to draw a jester. First, use some curved lines to draw the three thin, floppy sections of the hat that he is wearing.
Each one of these will also have a small round section at the end for the bell.
Then, draw a small striped rim at the base of the hat, and you can then finish off this step by drawing the outline for his hair and face.
Step 2 – Now, draw his facial details and his shoulders
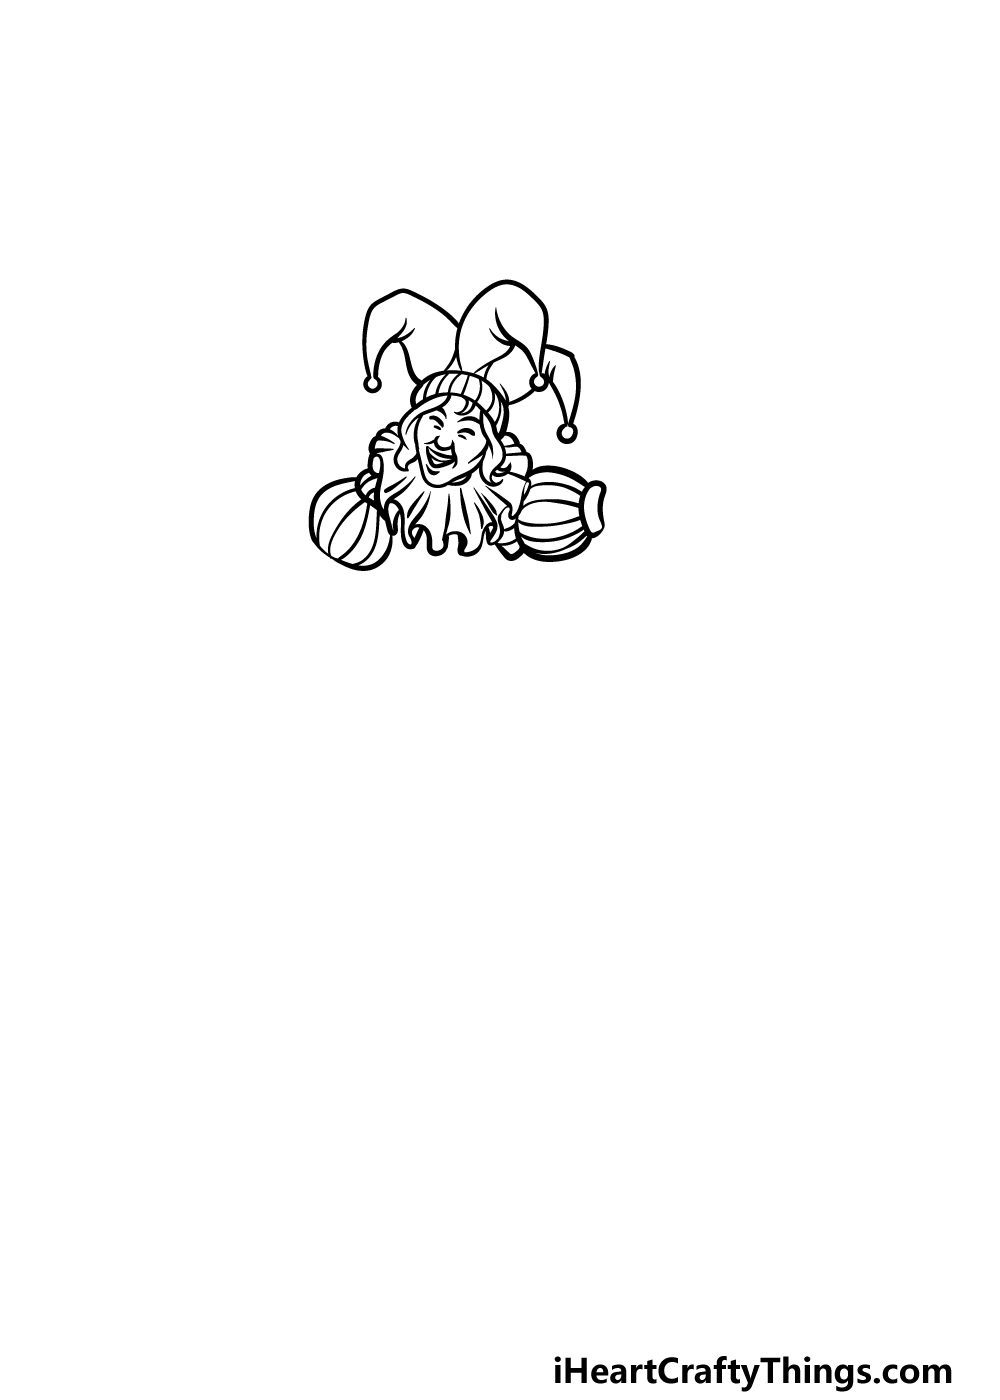
For the next part of your jester drawing, we will be drawing some facial details as well as the start of his shoulders.
Use some simple lines for his facial features, and then once this is drawn we can draw the start of his shoulders.
These will have a big round puffy striped section, and they will connect to the large, frilly collar around his neck.
Once you have drawn these elements we can then proceed to step 3!
Step 3 – Draw some more of his arms and chest
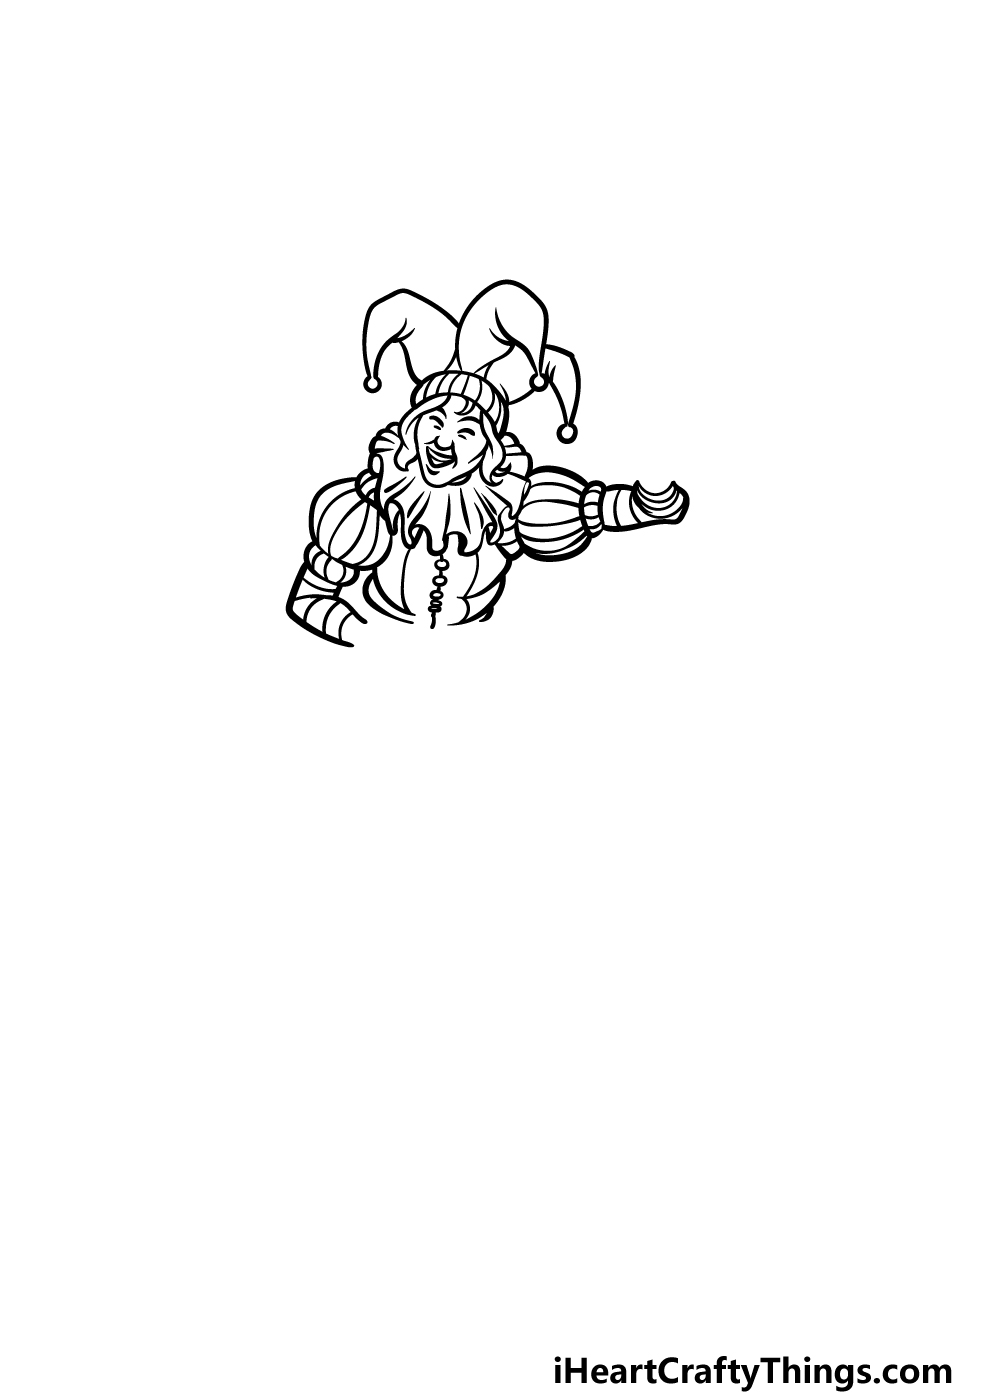
In step 3 of our guide on how to draw a jester, we will continue with his arms and chest. Use some curved lines to extend the arms of his outfit.
The one on the right will be extended straight out while the other will be bent over his chest.
Finally, you can also draw some more of his chest by adding a stripy clothing section over it.
Be sure to also draw some small round buttons going down the center of the front of his chest before you move to the next step.
Step 4 – Next, draw his hands and more of his top
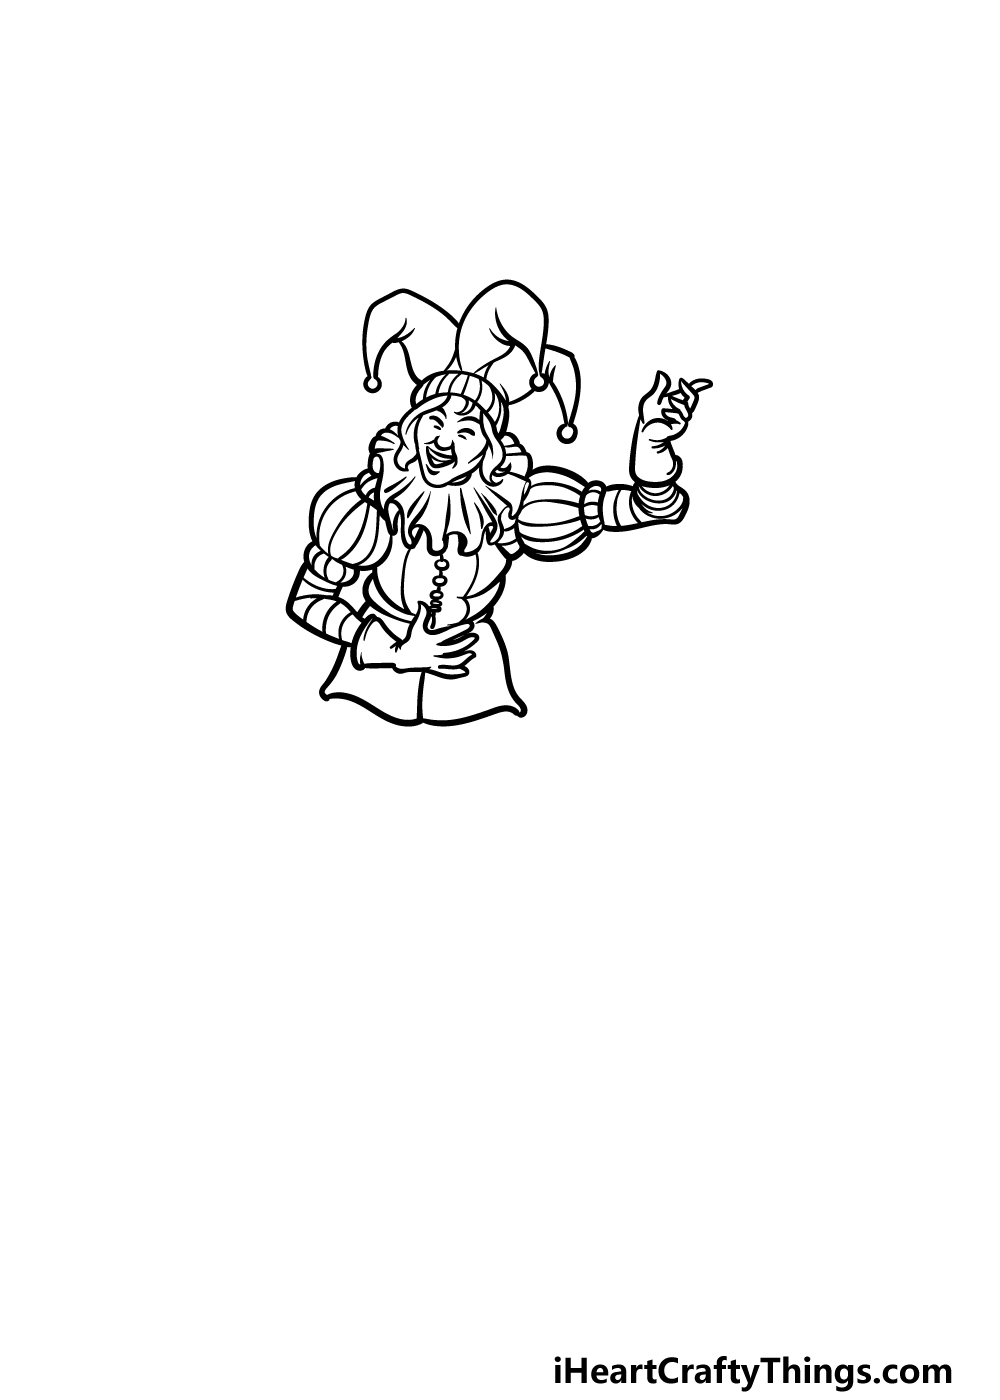
You started the arms of your jester drawing in the previous step, and we will finish them off in this fourth part.
To do this, we will be drawing the gloves that he is wearing.
These will have a wide rim at his wrists, and the one on the left will be against his stomach whereas the other will be raised up with bent fingers.
Then, we will be drawing a fabric section extending from his belt, and this will finish off the outline of the upper garment that he is wearing.
Step 5 – Add the start of his legs and draw some extra details
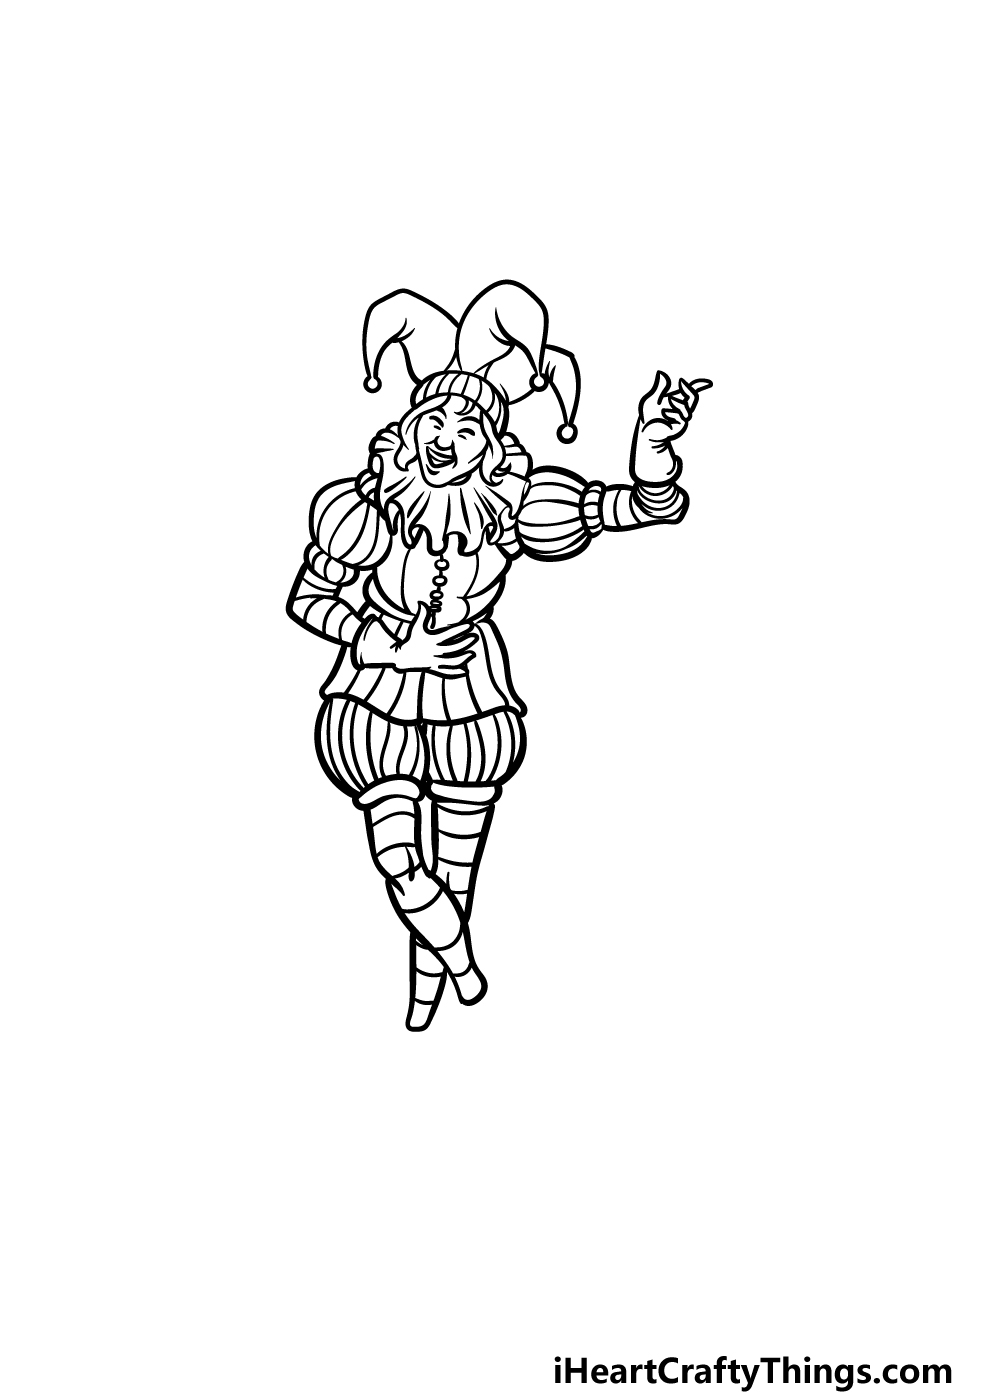
We will be moving on from the upper half of the body to the lower half as we move on to this fifth step of our guide on how to draw a jester.
First, draw some stripe details onto the section of his top that you drew in the previous step. Once you have drawn that, we will start drawing his legs.
The tops of his trousers will have a rounded, puffy section that will also have some of those stripe details drawn onto them.
Below these, we will be drawing some long, tight socks that extend up to his hips. These will have a tin rim on top, and they will extend until just under the puffy sections that you just drew.
One leg will be crossed over the other, and you can finish them off with some more horizontal stripes.
All that will remain will be the feet, and we shall draw those along with any final details in the next step.
Step 6 – Now, draw the feet for your jester
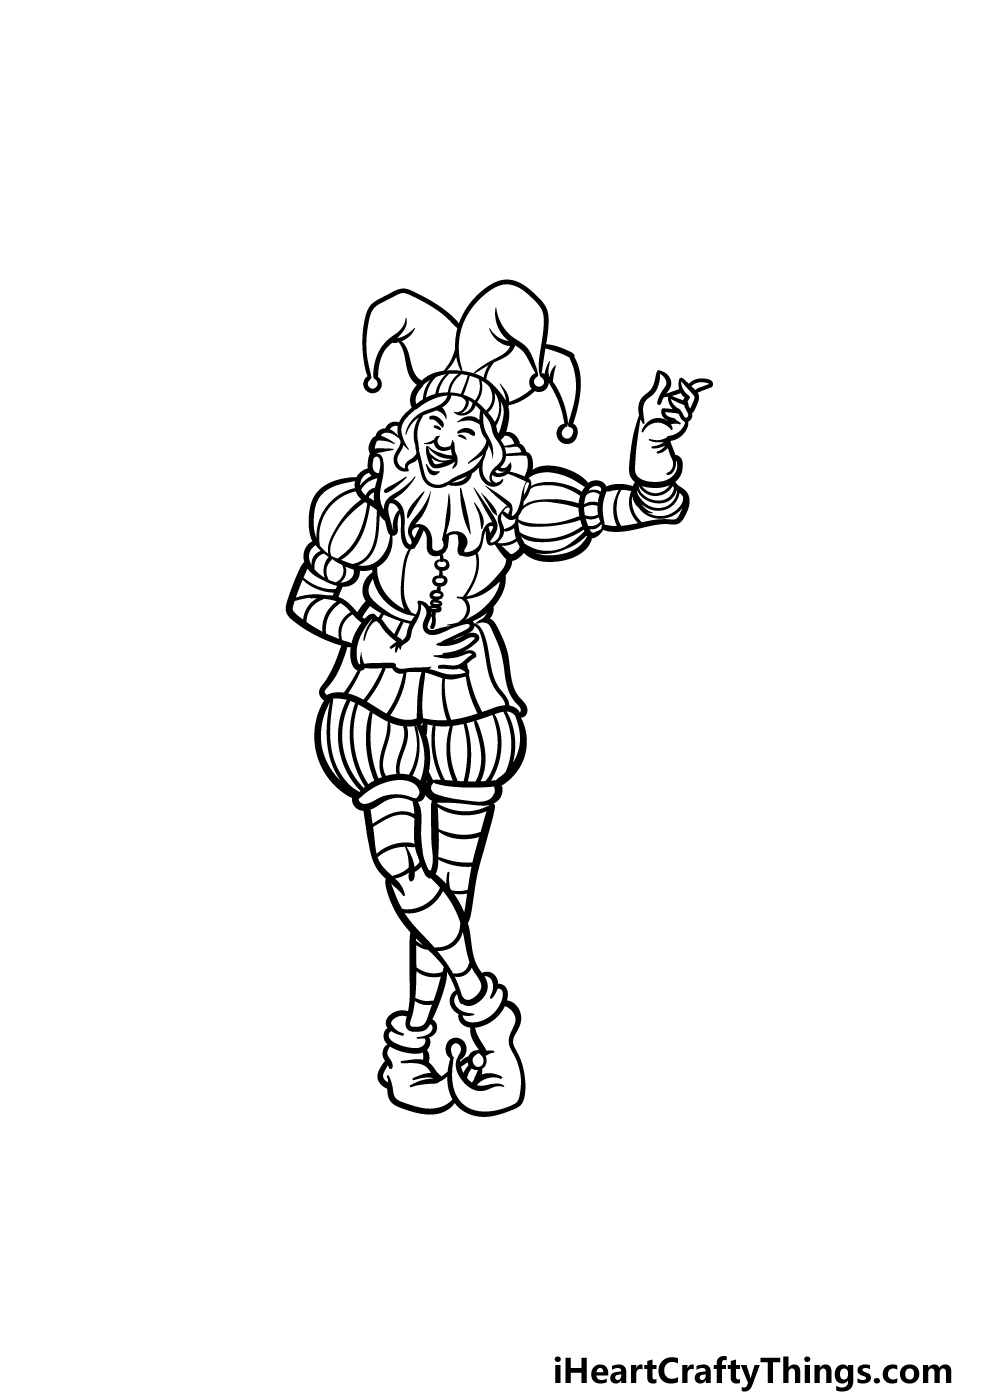
This part of your jester drawing will see you finishing it up by adding the final touches. The main aspect will be to add his shoes, and these will be some more classic jester shoes.
That means that they will be long with pointy tips.
Once these are finished, what other fun details can you think of to add? Maybe you could draw a background to show off what kind of place this jester is performing in.
We will be interested to see what you come up with!
Finish off your jester drawing with color
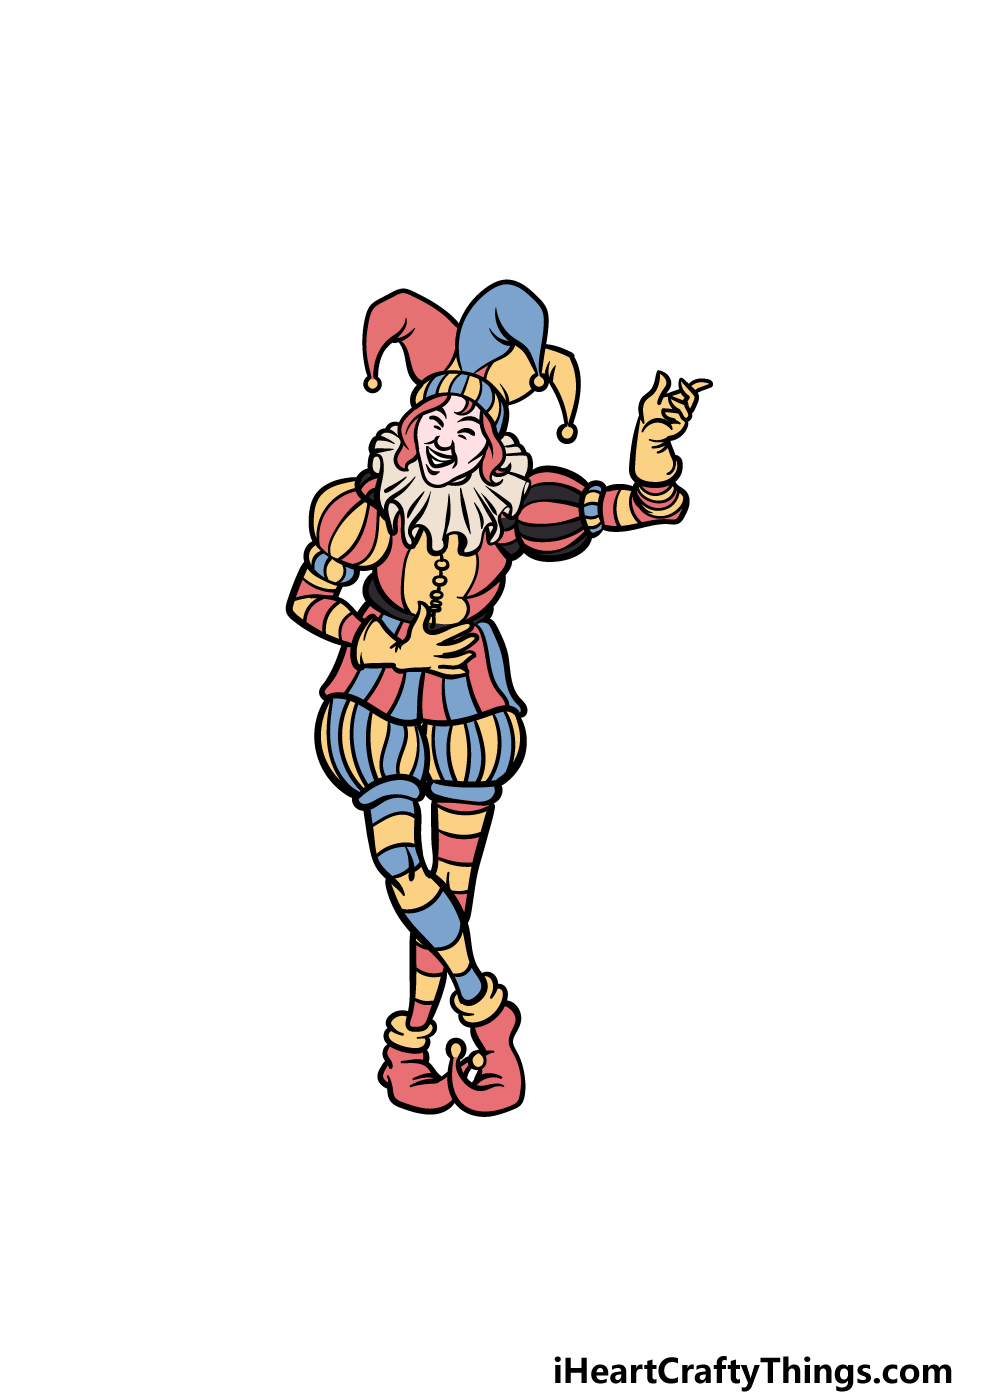
Now you can finish off this guide on how to draw a jester with some color! In our reference image, we went with a wide variety of bright colors to make him look even more cheerful and jolly.
You could use some similarly bright colors, but you should also feel free to use any other colors that you feel would best suit this funny jester!
What colors and art mediums will you choose to finish off your picture?
Do this to take your jester drawing to the next level
These tips for this jester sketch will certainly put a smile on your face!
Many comedic performers like to use wacky props in their acts. You could add some of these props to your own drawing of a jester!
These could take on many forms depending on the kind of act you think this jester is participating in. It could be some objects for a magic act or maybe a big cartoonish mallet.
This is something you could really use your imagination on, and you would be able to make a really fun performance for this jester to perform!
Once you have added any props and accessories, you could also define his act by adding some background details. This would allow you to design the set that he is performing on.
If you went with a theme with the accessories you added, then the background could be set to the same theme.
If you want the focus to be more on the jester, then you could still add a background but only draw a small section.
What sort of place do you think this jester could be performing at?
These kinds of performers will often have an assistant or fellow performer alongside them. That would be another fun thing to add to this jester drawing!
The extra character could be another jester, or it could be a lovely assistant that is aiding him in his tricks.
For a fun touch, you could base this new character on someone you know or have seen performing.
Jesters are famous for performing funny jokes in their acts. For that reason, we think it would be fun to add some jokes or funny lines to your jester sketch!
If you have some favorite jokes or quips that you know, then you could write them above or around the jester. Using a big bold font would work brilliantly for this purpose.
If you can’t think of any jokes off the top of your head, then you could look some up online that you could use.
Your Jester Drawing is Complete!
You have finished all 7 steps of our guide on how to draw a jester, and we hope that it was a lot of fun to work through!
We aimed to make this guide as easy as possible despite the many details and other elements that were involved. As long as you follow the steps you’ll get the hang of it in no time!
Now that you have finished this drawing, what else will you add to it to really personalize it even further?
When you’re ready for some more drawing fun, you should be sure to check out our website for some more drawing guides. We have many to enjoy and will be uploading some new ones soon!
We would love to see how your jester drawing came out, so please let us have a look by sharing it on our Facebook and Pinterest pages!