


Anyone wanting to learn how to draw a jellyfish will find the answer here! By the end of this tutorial for kids, you’ll be able to draw your very own jellyfish buddy.
Jellyfish are some of the most mysterious creatures in our oceans, and they come in many shapes, sizes and colors. Because of this fascination, people love to draw them either realistically or in a more stylized fashion.
Whatever your reasons for wanting to draw one, you will find out here with these easy steps. I’ll show you every step of the way how you can use basic lines and shapes to build up the design of your jellyfish.
Then, you can even draw different variations of jellyfish or add some more sea creatures around it to build a whole ocean scene!
So join me as we discover together just how you can recreate this adorable jellyfish character.
Watch This Guide On Making Your Own Jellyfish Drawing!
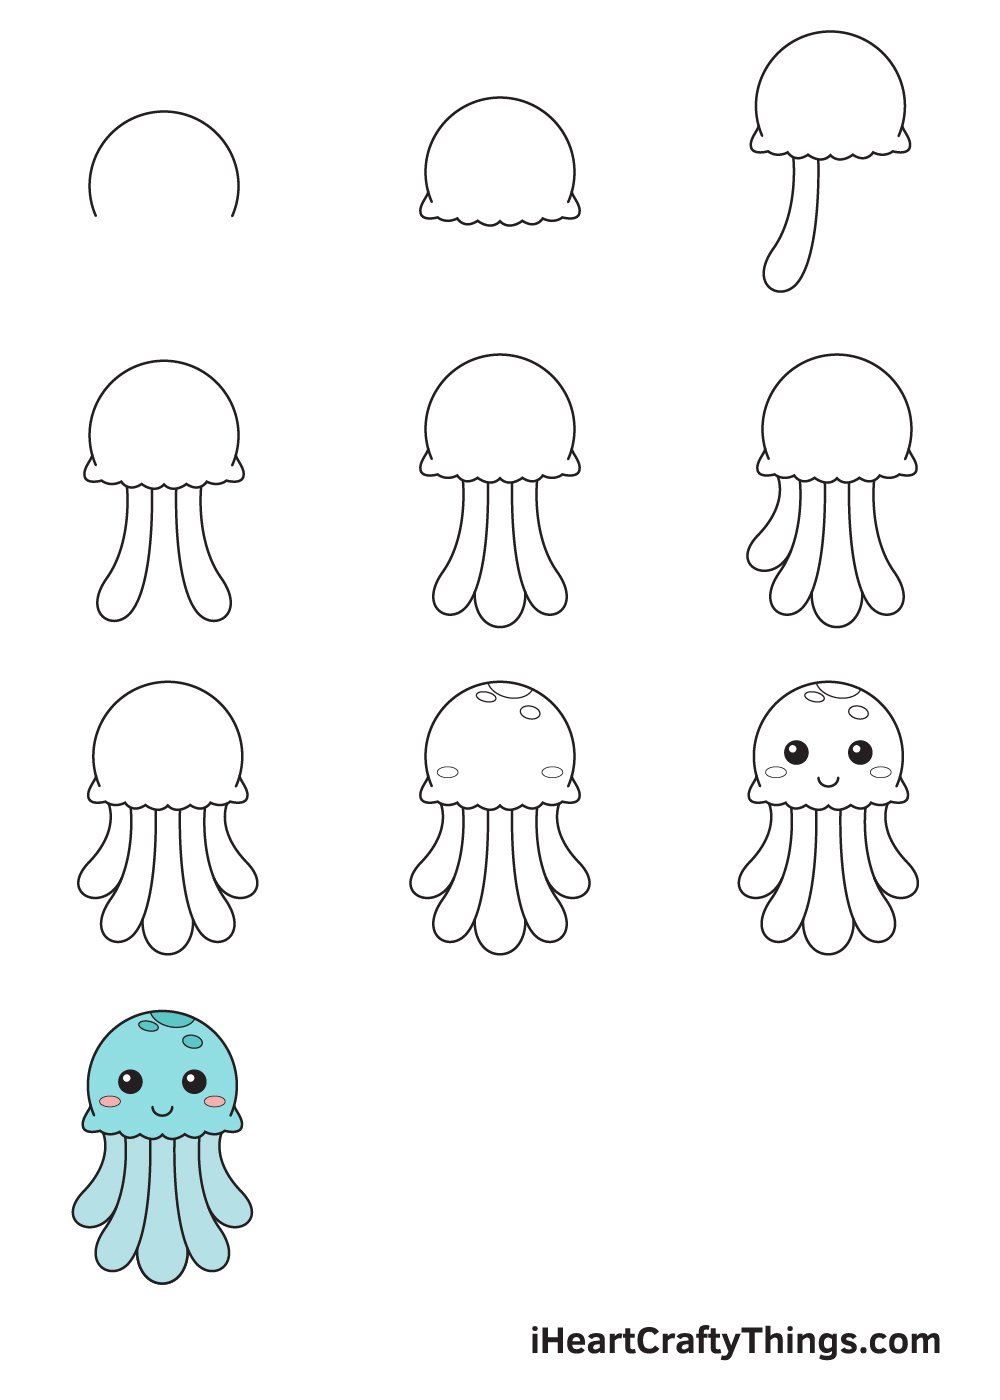
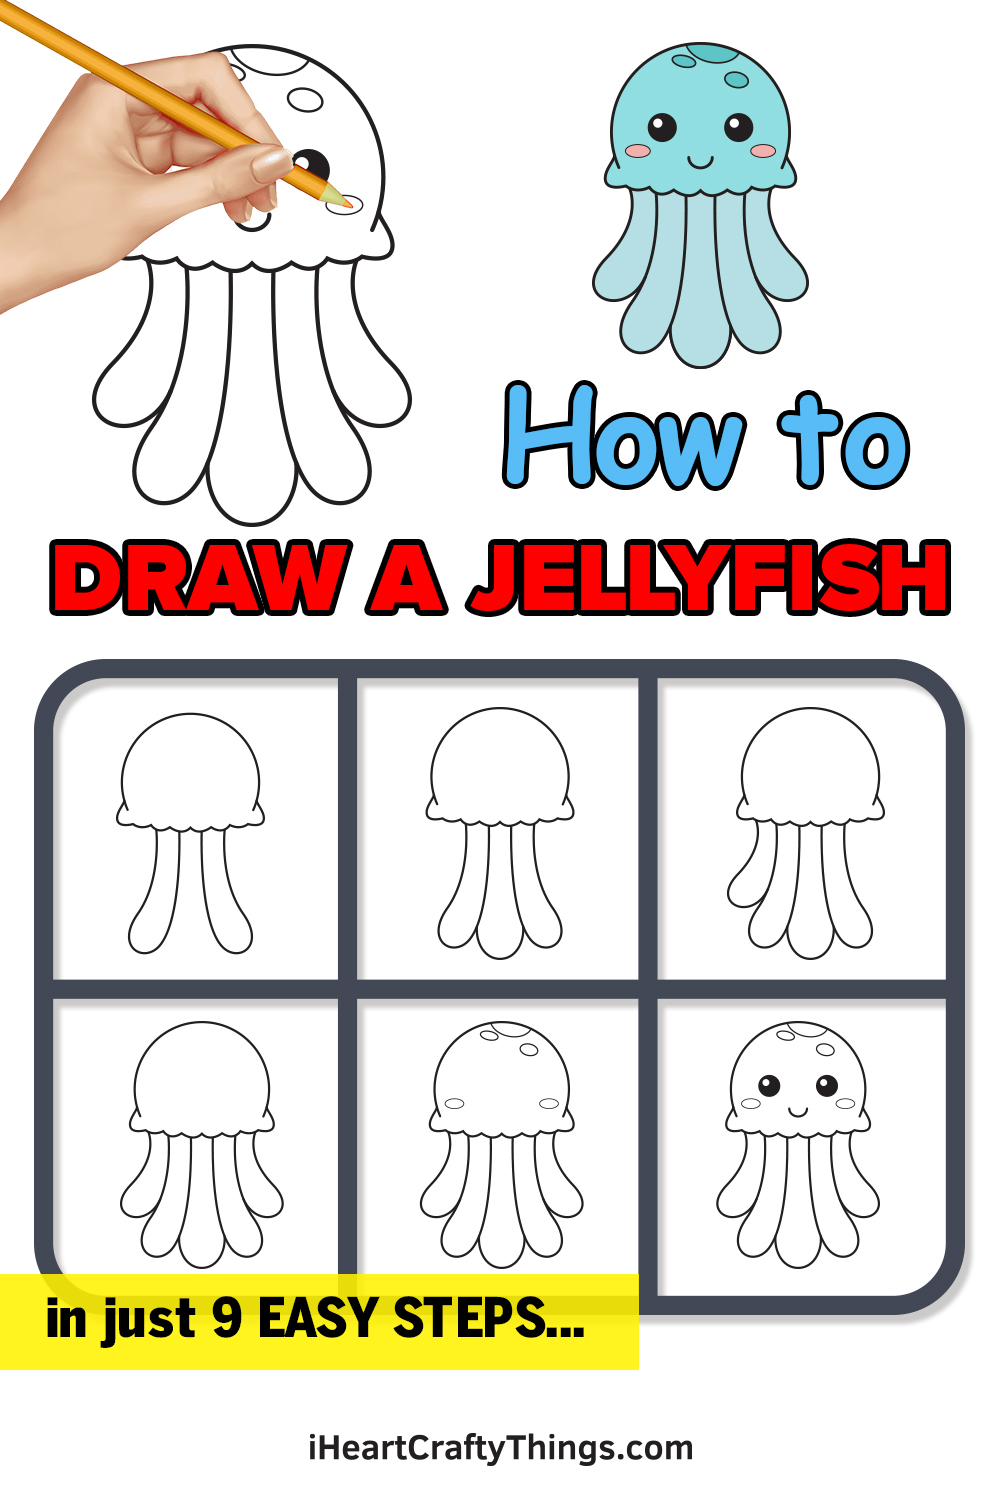
How to Draw a Jellyfish – Let’s get started!
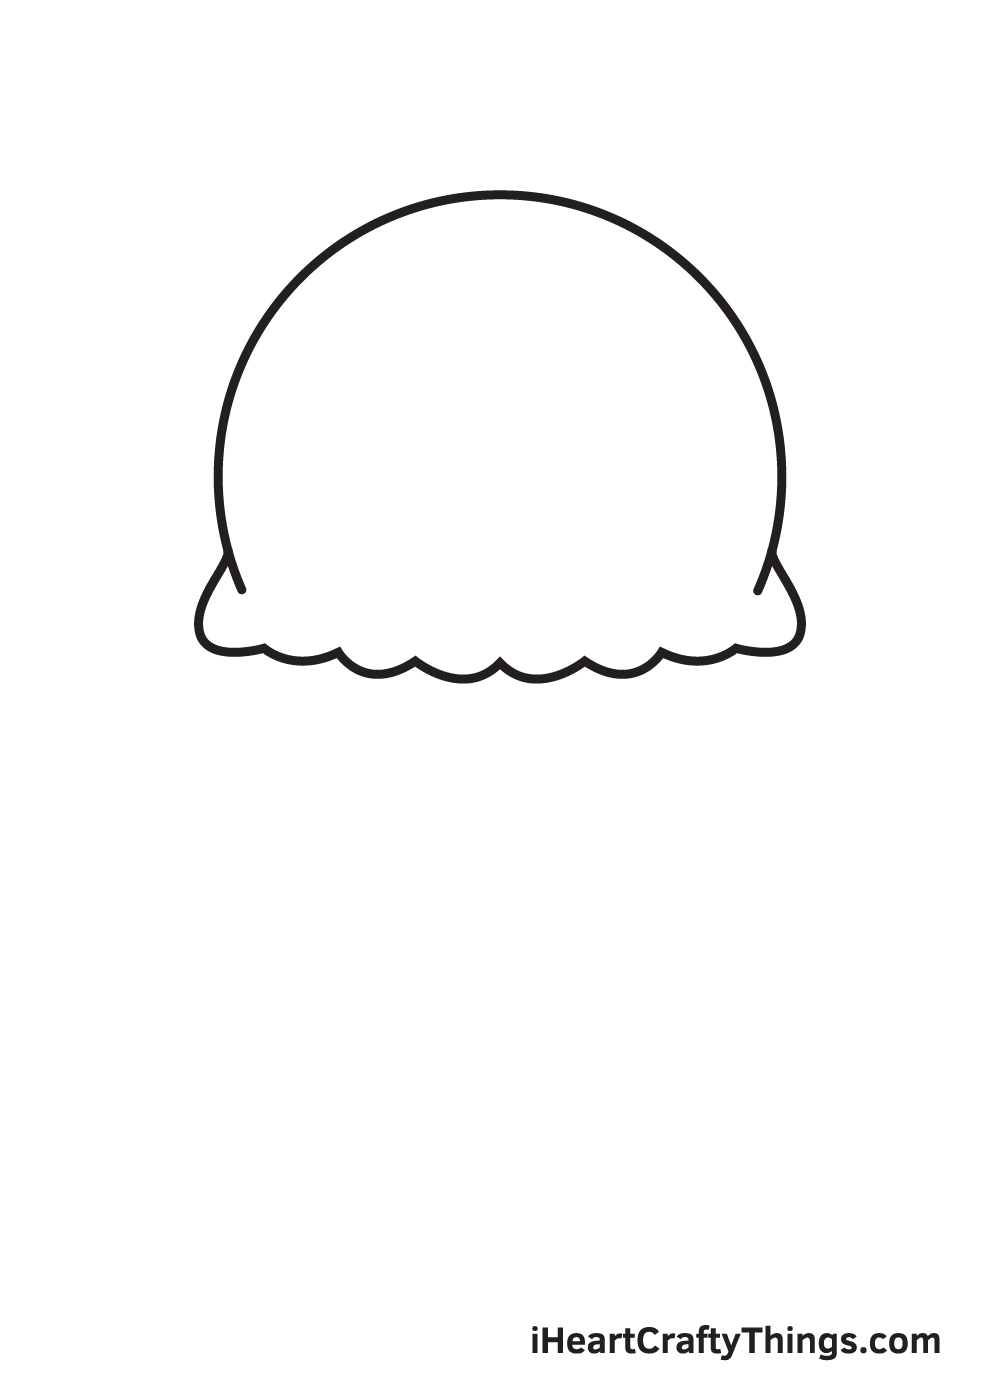
Step 1

Starting on the upper portion of your paper, draw a downward curved shape to outline the hood of your jellyfish.
When drawn correctly, it should look like a three-quarters of a circle shape, as shown in the illustration.
Drawing this shape freehand can be quite difficult, so don’t hesitate to use a compass to help you in perfecting the outline.
A compass is a drawing tool that assists you in drawing a perfect circle quickly and easily. When using a compass, simply draw a circle and erase the quarter bottom line.
Step 2 – Outline the Bell Shape Body of a Jellyfish
Complete the body of the jellyfish by drawing multiple connected curved lines below the hood outline we drew in the previous step.
After finishing this step, the outline of your jellyfish’s body should now be closed off, making it whole and complete.
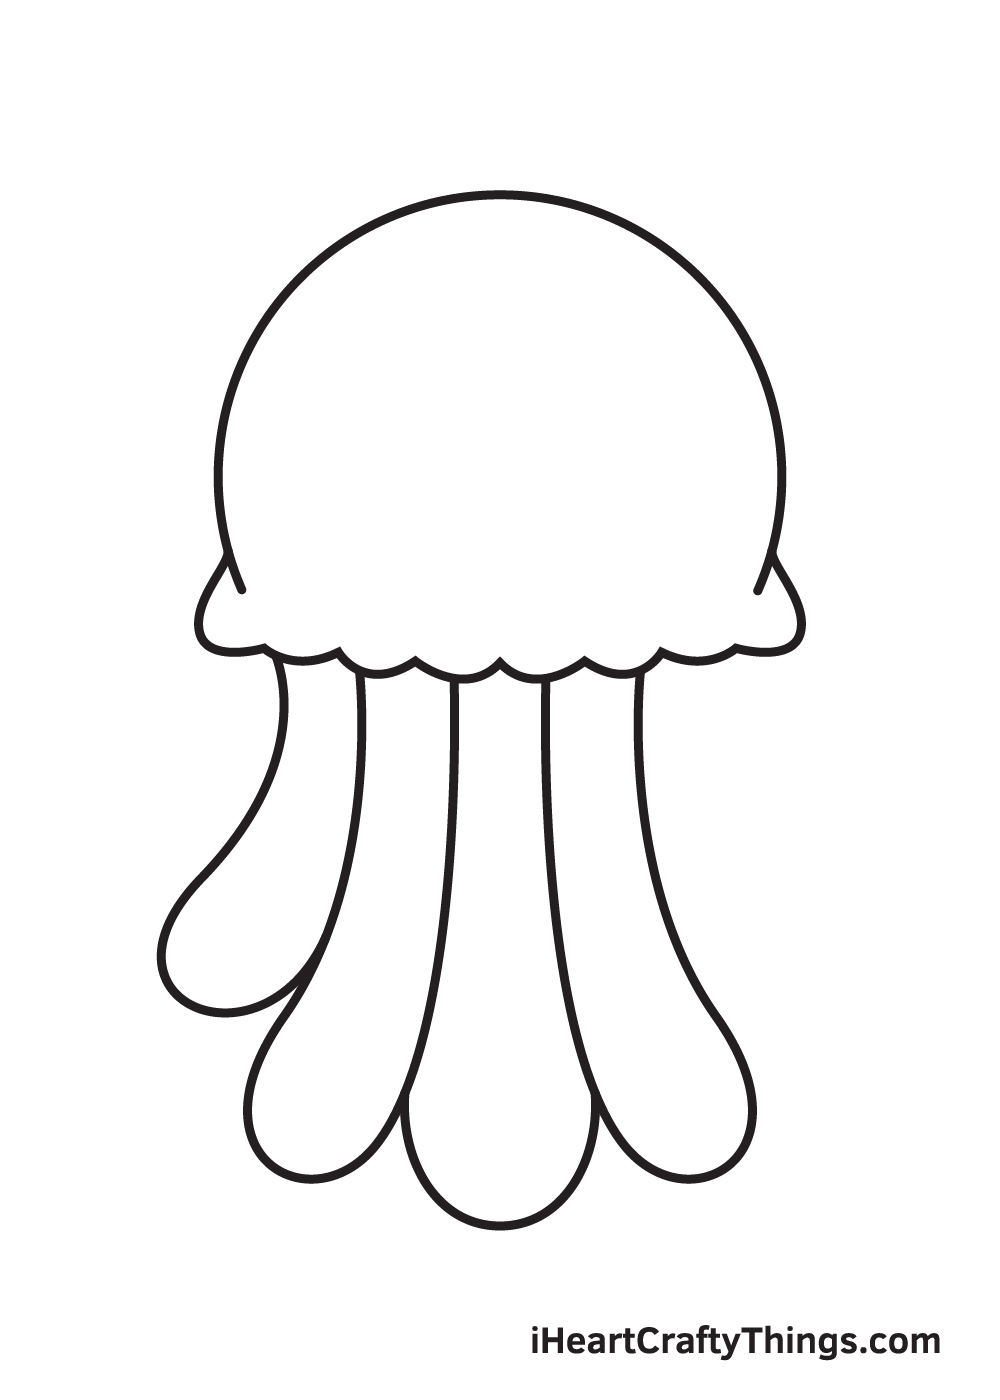
Step 3 – Draw One of Your Jellyfish’s Tentacles

Draw the first tentacle underneath the body of your jellyfish.
We think the tip of the tentacle looks best when it’s rounded, as shown in the illustration. However, you can also make it pointed if you like!
Step 4 – Afterwards, Draw the Second Tentacle
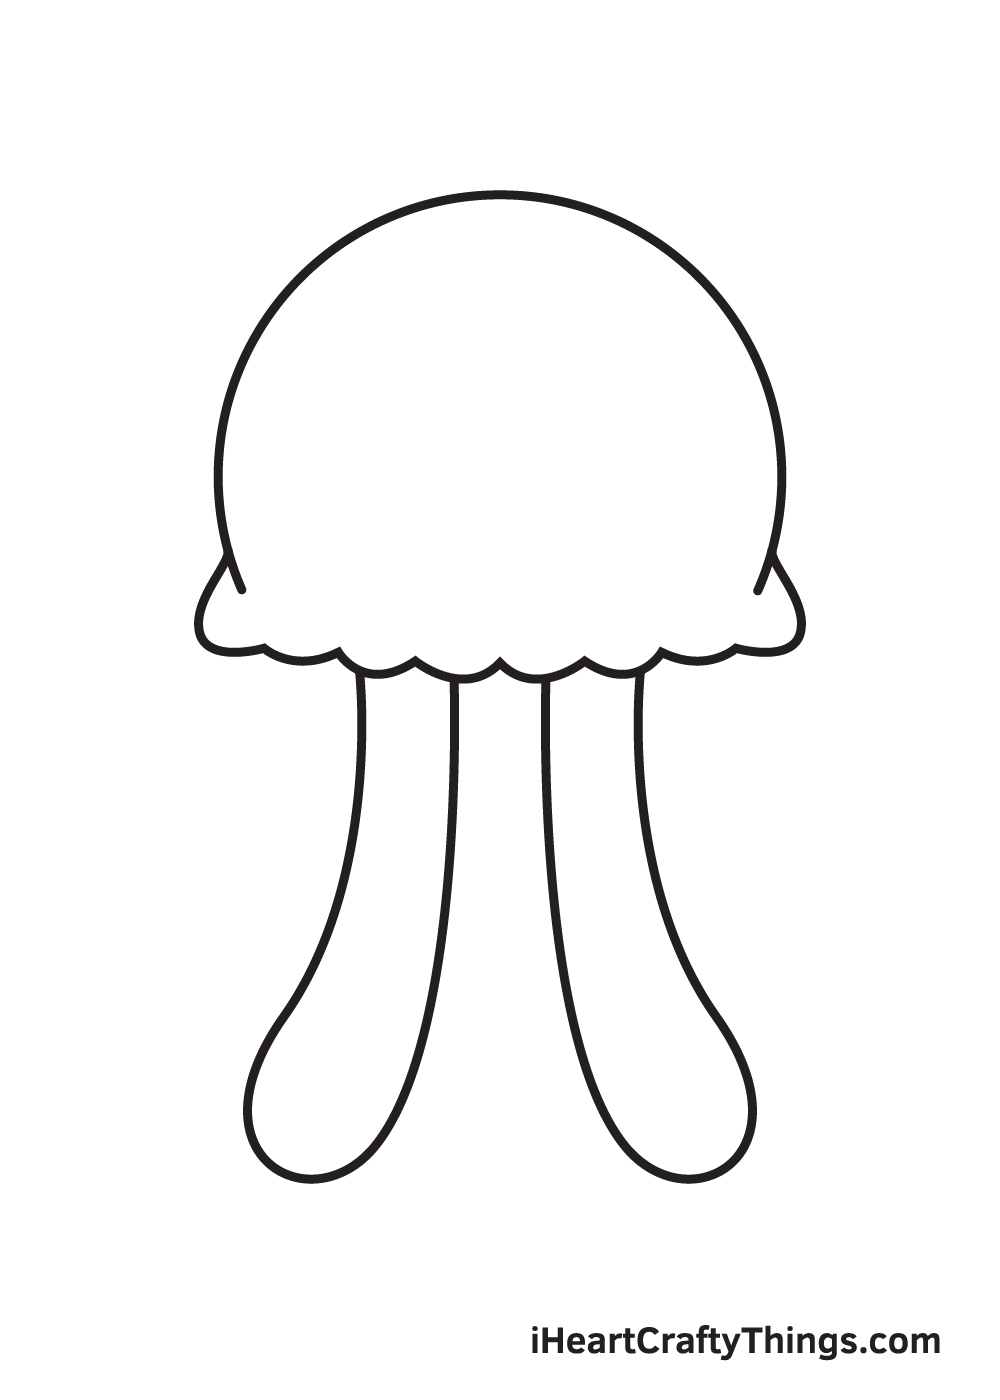
Repeat the previous step on the opposite side to create the second tentacle of your jellyfish.
Make sure to leave a gap in between the two tentacles to create enough space for the tentacle in the middle, which is what we will be drawing in the next step.
Step 5 – Next, Draw Another Tentacle in the Middle
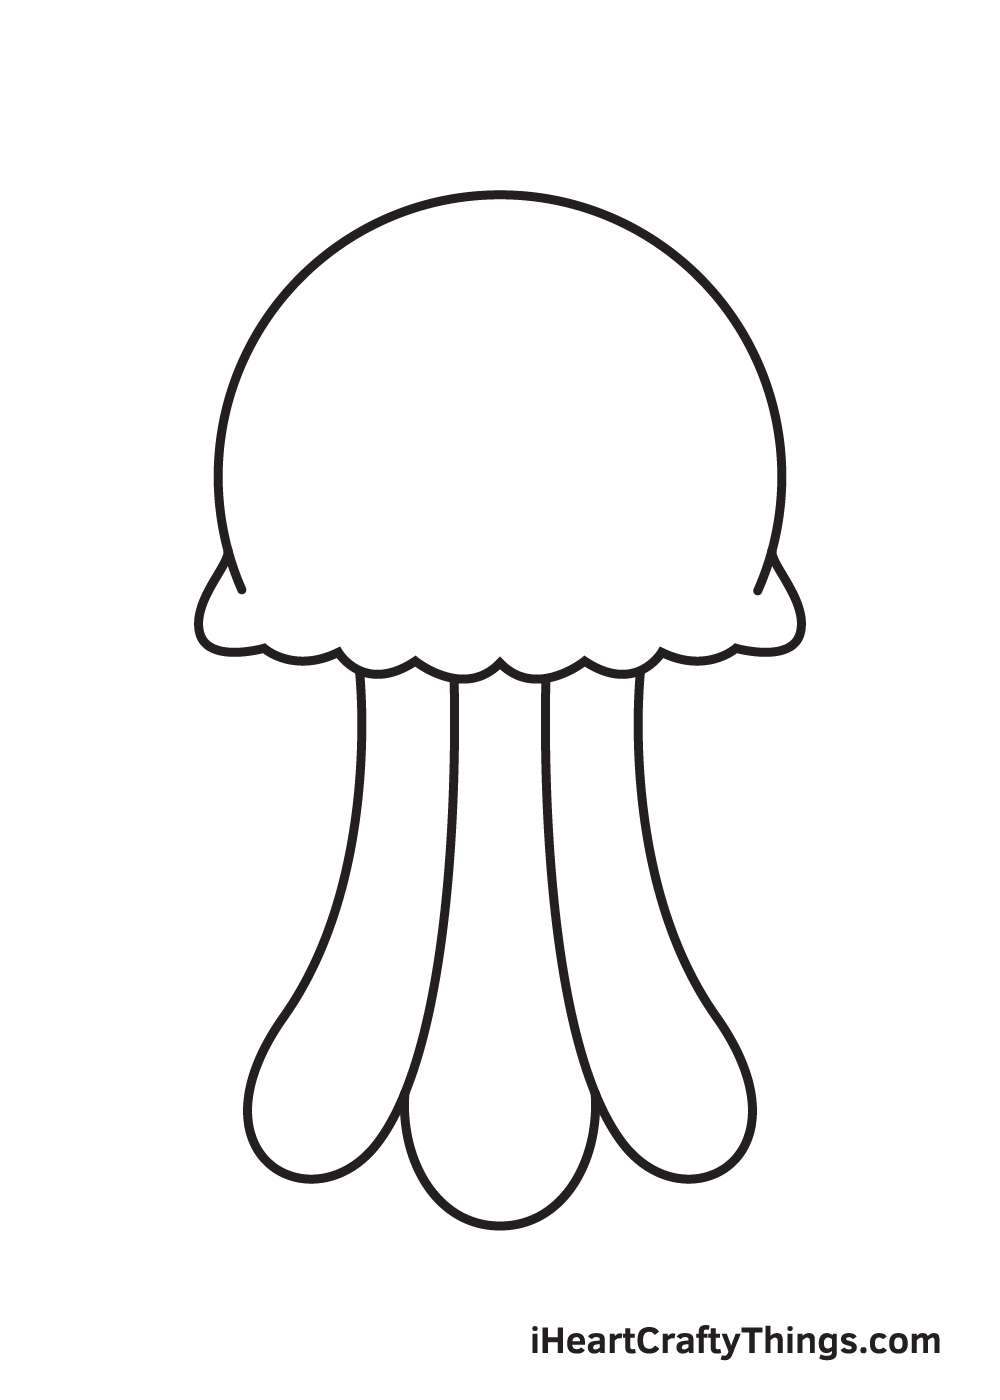
In order to create the tentacle in between the first two tentacles we drew in the previous steps, simply draw an upward curved line at the bottom, converging with the lines of the other two tentacles.
Because of the two tentacles on both sides, it makes sense that only the tip of the middle tentacle is visible.
Step 6 – Then, Create the Jellyfish’s Fourth Tentacle
Draw another tentacle on the leftmost side below the jellyfish’s hood to create the fourth tentacle.
Step 7 – Now, Draw the Jellyfish’s Last Tentacle
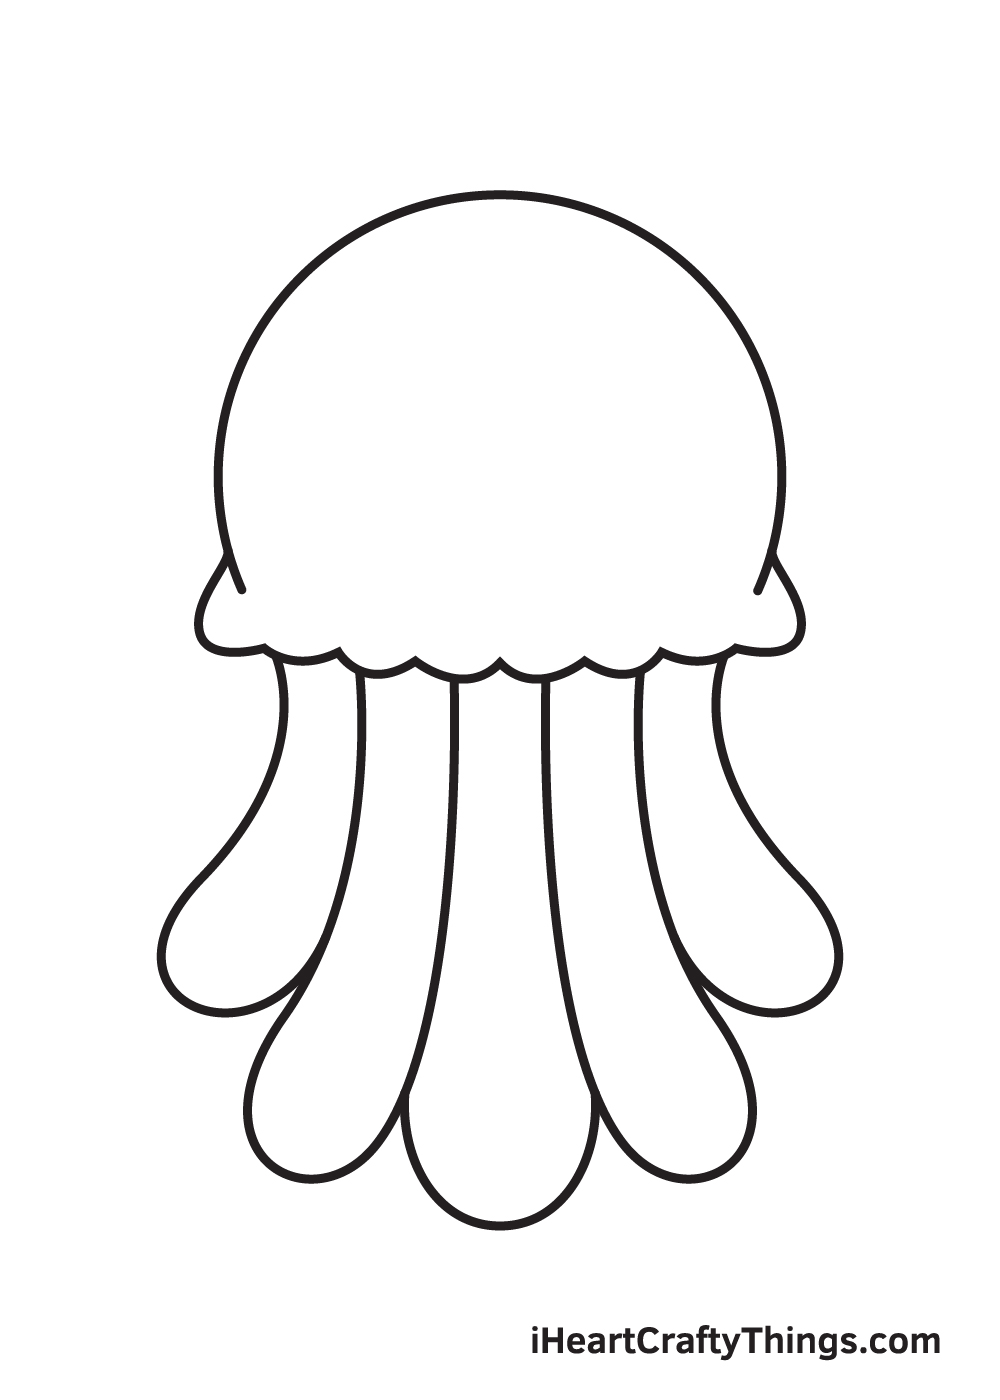
Repeat the previous step on the opposite side to create the fifth and the last tentacle.
Once you’ve completed this step, all the tentacles of your jellyfish should now be complete!
Step 8 – Add Patterns on the Surface of the Hood
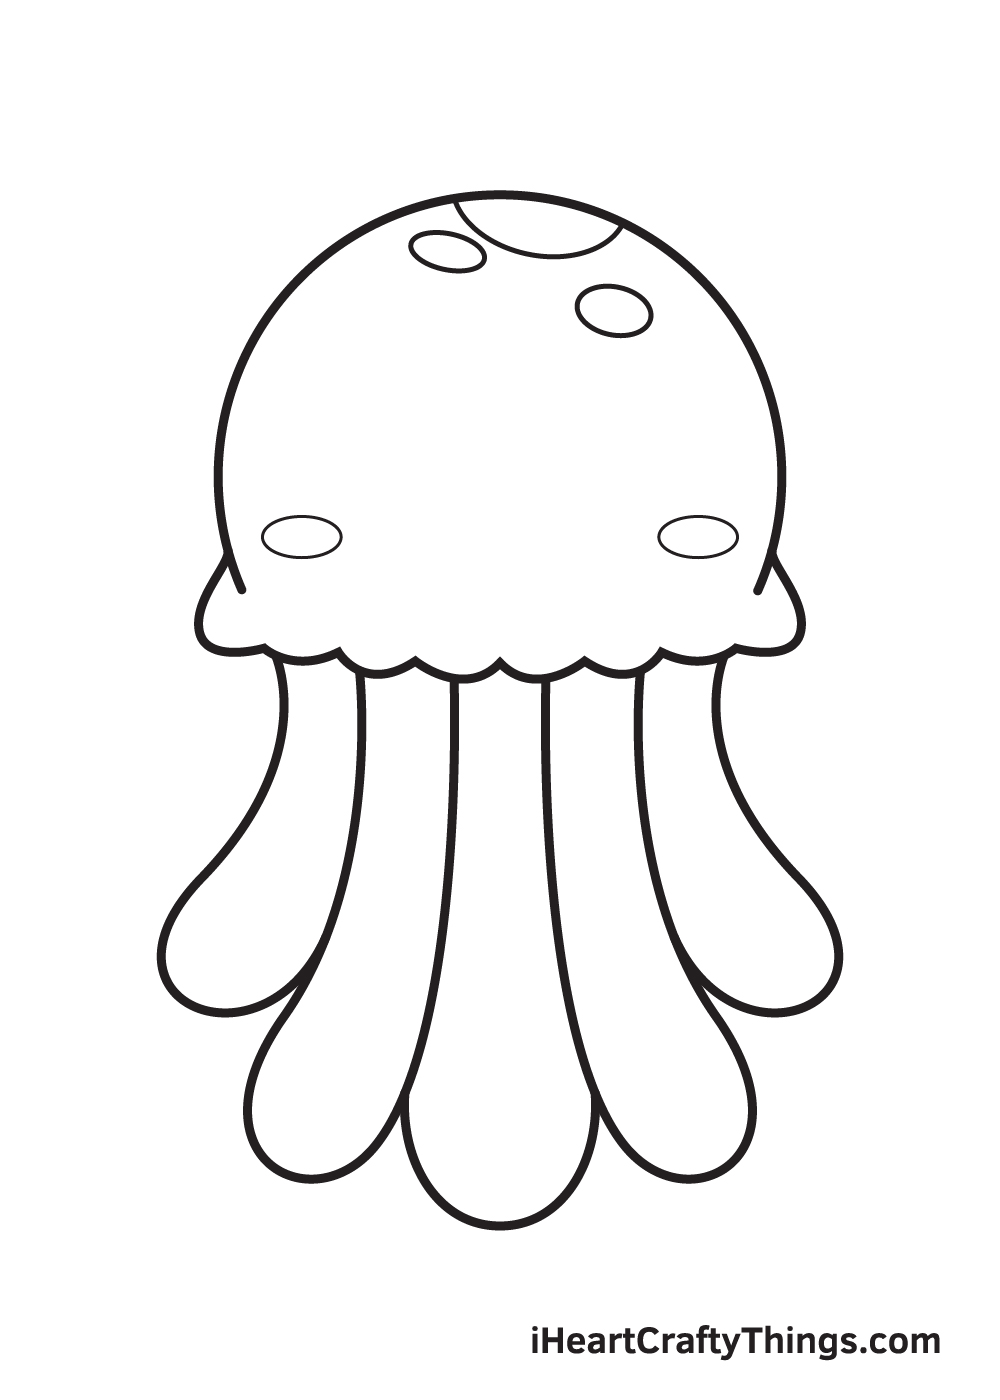
One of the jellyfish’s distinctive features is the circular patterns all over the surface of its body. So, that is exactly what we will be working on in this step.
Draw multiple sideways oval shapes in various sizes all over the jellyfish’s body.
There is no perfect spot on where you should place these patterns, so feel free to draw them anywhere you like as long as they are on the surface of the jellyfish’s hood or body!
Step 9 – Draw the Facial Features of the Jellyfish
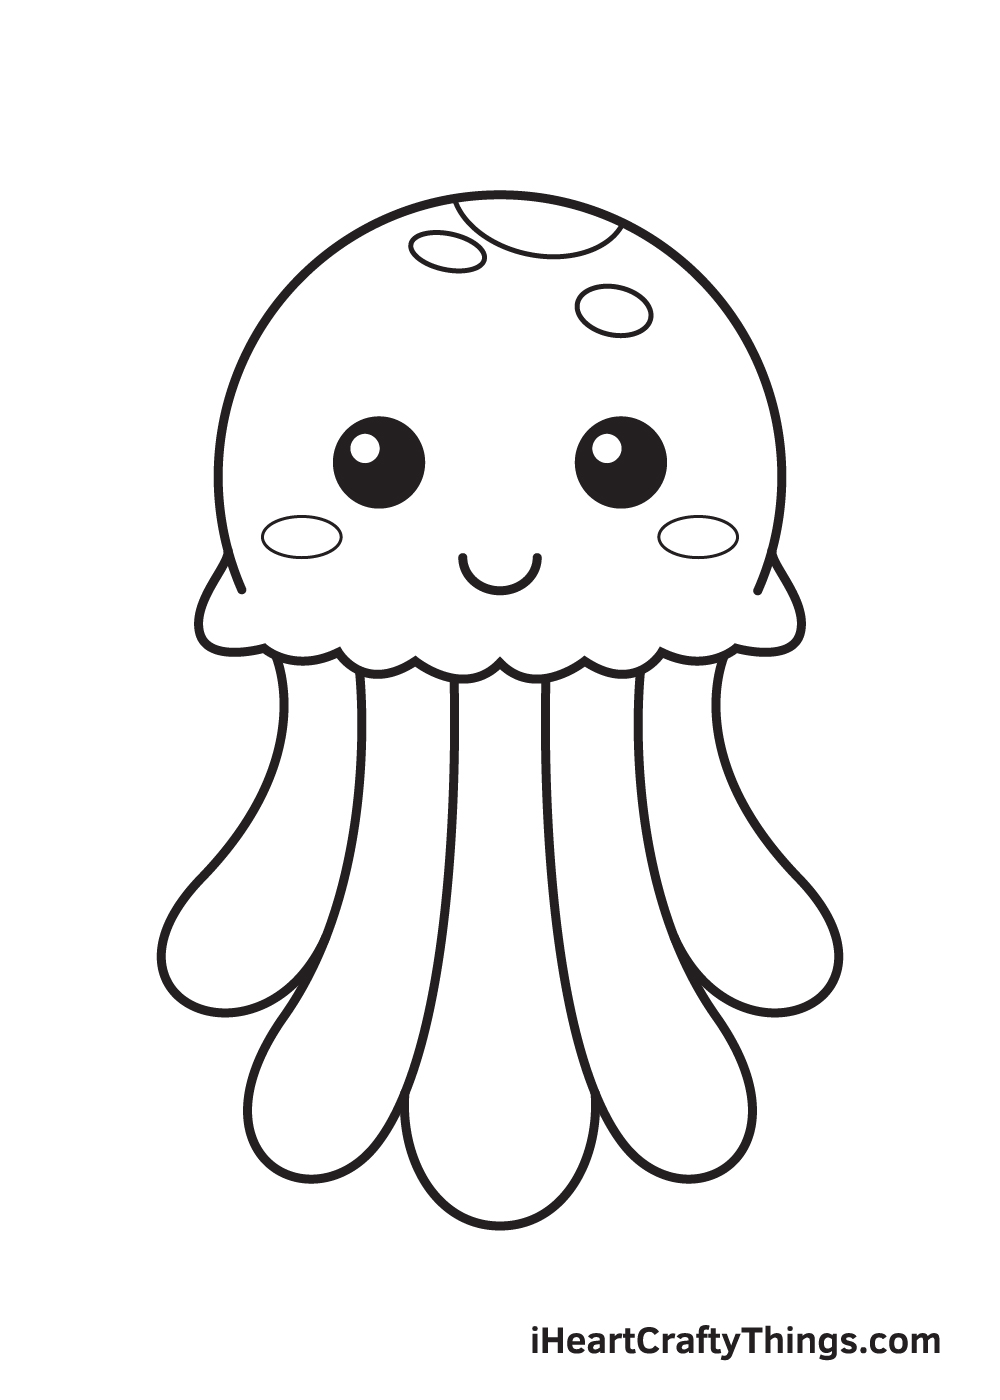
Give your jellyfish a happy facial expression by adding a gleaming pair of eyes and a huge grin on its face!
Create the eyes by drawing two circles in the middle of the jellyfish’s face. Afterwards, draw a small circle inside each eye. Then, shade the entire eyes except for the tiny circle inside to make the eyes appear like it is glimmering.
Now, to complete the facial features of your jellyfish, draw an upward curved line below the eyes to create the wide smile.
And there you have it—you have completed drawing a jellyfish. Now, all it’s missing is a dash of vibrant colors to make your jellyfish colorful!
Now that we have successfully drawn an adorable jellyfish, it’s time for the most fun and exciting part, which is picking the colors and coloring your drawing!
This is the part where you can really show off your artistic skills and your ability to mix and match various colors.
Most jellyfish are clear or transparent in color.
Enjoy coloring your drawing and watch as the jellyfish ultimately comes to life!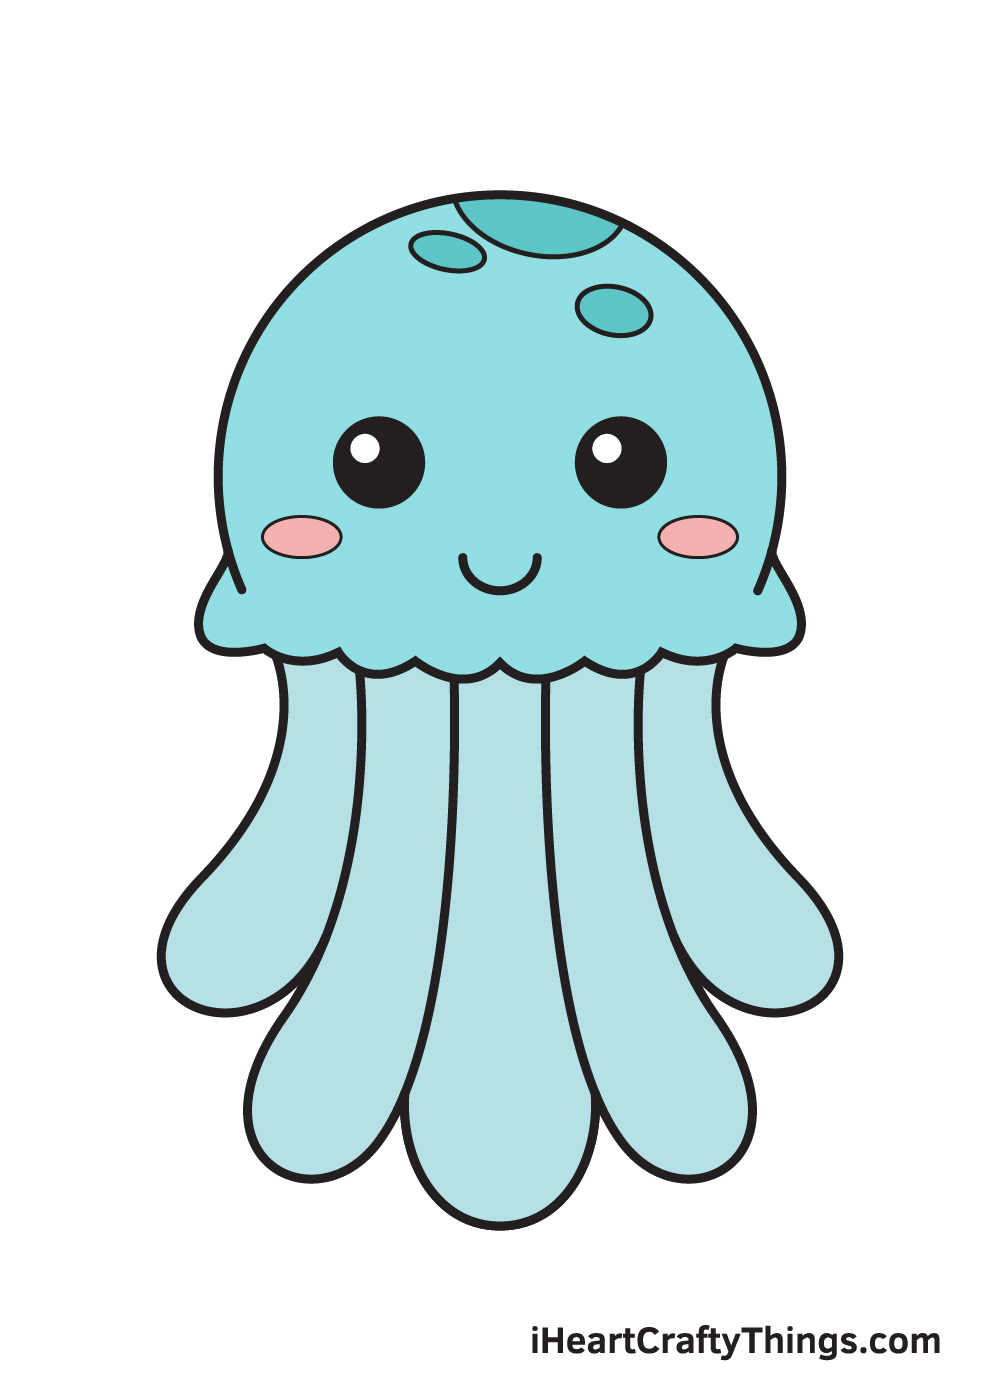
4 More Ways To Make Your Jellyfish Drawing Unique
Find out how you can make your picture of this incredible species even better with these tips!
Jellyfish are some of the weirdest and most wonderful creatures in the ocean, and they can be challenging to depict in a drawing.
In this guide, we showed you how to create a cartoony version of this animal for this jellyfish sketch, but you could also make it more realistic.
We love the little smiling face, but you could remove it and change some of the details for a more realistic portrayal.
You could also look up some photos online to help you with details such as the tentacles hanging from the body.
Another way to make this picture more unique is by adding some more sea creatures behind it.
You could draw some more jellyfish, or you could go for bigger creatures such as fish, dolphins, sharks or whales.
By doing this, the picture will be made even more stunning to behold as you build a whole ocean scene behind this jellyfish!
Can you think of any other sea creatures and ocean details you would like to add to finish off this jellyfish drawing?
We showed you a specific pose for this jellyfish in our guide, but you can also change up the posing to make your own version more unique.
It could be as simple as drawing one of the tentacles in a wave, or you could have it doing a fun dance!
These are just some simple ideas, but you can use any other ideas you may have for making this jellyfish even more fun to look at.
Lastly, we will touch on colors. We spoke about how these creatures are transparent in real life, and you can depict this in your drawing of a jellyfish.
One of the best mediums for making colors soft and transparent-looking is watercolor paints.
You could also use some colored pencils, as these are also good for achieving a light touch when it comes to colors. What other mediums could you use?
Your Jellyfish Drawing is Complete!
The jellyfish is a beautiful marine creature! However, it’s daunting to get close to them whenever you’re swimming in the sea mainly because of their stinging powers.
So hopefully, once you learn how to draw a jellyfish with the help of this tutorial, you can appreciate the beauty of a jellyfish up close and personal without the risk of being stinged!
Once you’ve finished drawing and coloring a jellyfish, don’t forget to show off your masterpiece by sharing it on our Facebook page, Pinterest, and other social media platforms.
Don’t be afraid to flaunt your artwork. You’ve worked so hard for it so we’re sure it looks incredible! While you’re at it, make sure to like our Facebook page too!
We are excited to see your colorful jellyfish drawing!
Here Is A Jellyfish Sketch To Inspire You!

Jellyfish are truly wondrous creatures, and there is nothing quite like them on our planet. This wonderful jellyfish sketch for kids by our artist Amanda really captures the beauty of this animal.
Not only this, but she has also added a fun element by giving it a cartoony face as well. Even though it has a cartoon face, Amanda didn’t spare any details for this drawing.
The most intricate detail would have to be the tendrils hanging from the jellyfish’s base. These can be a bit tricky to draw, so take it slowly and carefully follow Amanda’s design
Take Your Colors Even Further With This Jellyfish Drawing
In this guide on how to draw a jellyfish, we only very briefly touched on the colors you could use for the drawing. We showed you one of the possibilities, but we felt there is more to cover in this regard.
When it comes to coloring, choosing your colors is just the first part. It’s an important part, but it’s not the only one!
The other aspect is deciding what you will use to apply your colors. You could go for a simple set of art tools that you would normally use, or you could try something different.
Softer mediums like watercolors would be great for this drawing, as the jellyfish should look a little translucent if you want it to be somewhat realistic.
However, some jellyfish in deeper waters actually have lights shining on their bodies. You could show this by using spots of bright colors on the lighter colors of the jellyfish itself.
If you have some colored pens or markers, then these would be great for portraying spots of bright colors. Using glow in the dark paint or crafts would also be really cool to use.
Using glow in the dark paints and crafts will help to make this artwork shine in the dark, which would take this to the next level. When you’re choosing your art mediums, remember that you can experiment with different mediums together.
You don’t need to find just one medium, as mixing and contrasting different ones can make the colors stand out and pop in different ways. So remember that there are two parts to coloring.
Choose the color palette you would like, and then decide what art tools would be best to achieve them. After that, we have a few more tips for making your drawing of a jellyfish even better.