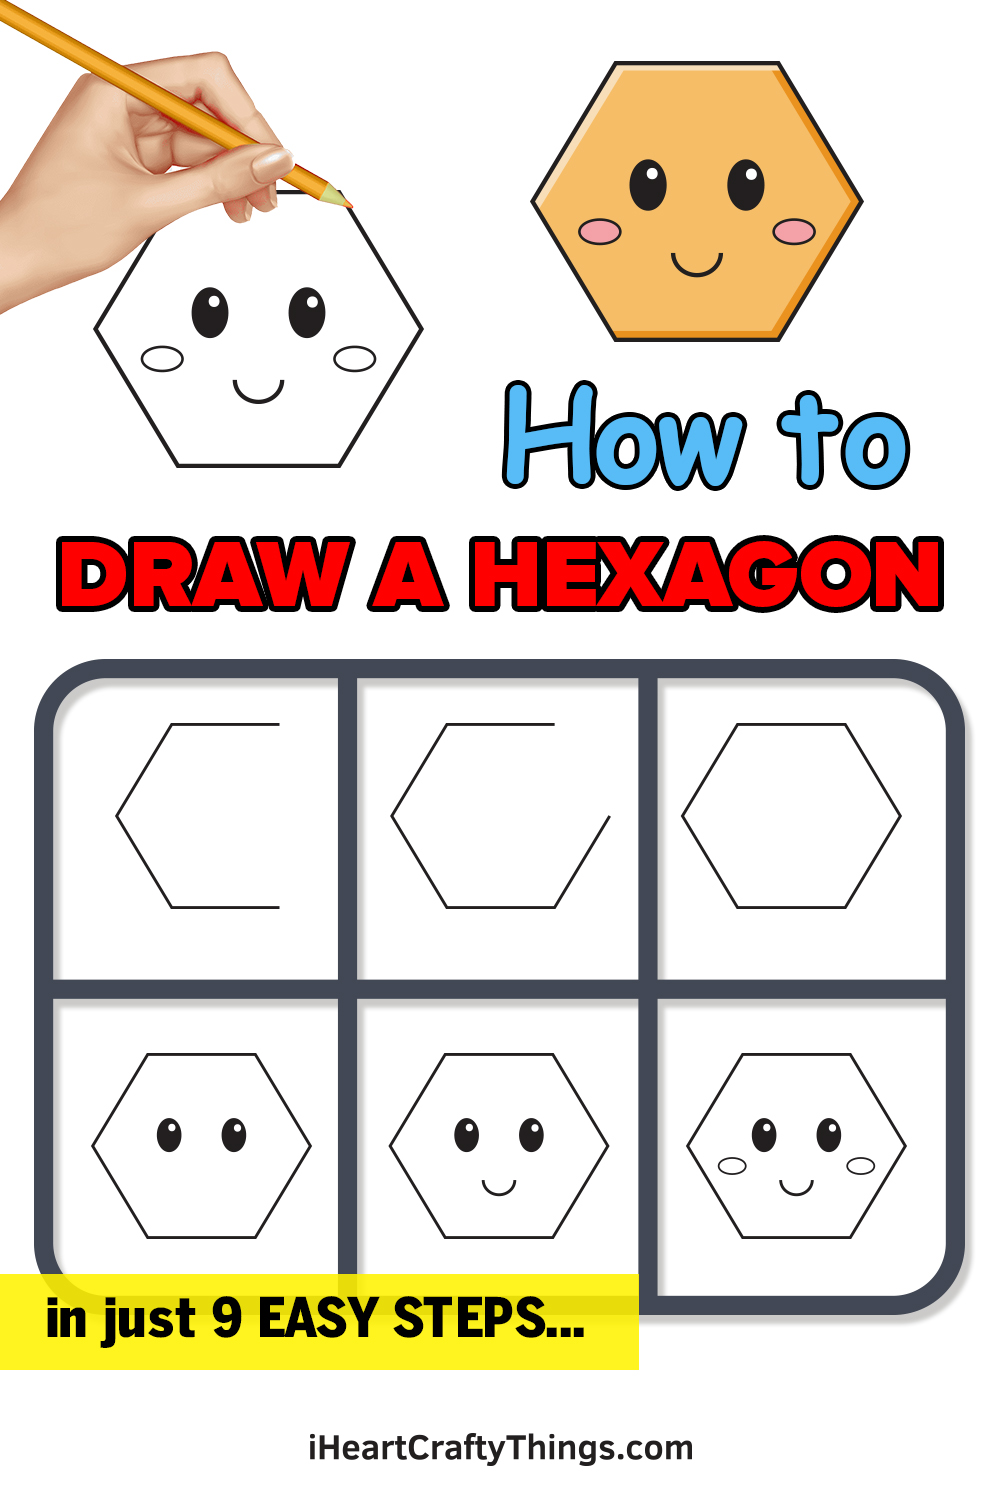
Geometric shapes and figures are always a fun subject to draw. In this tutorial, we will be learning how to draw a hexagon, which is a geometric polygon with six equal straight sides and angles.
While drawing shapes may seem pretty easy, it requires immense focus and concentration to draw it proportionally and symmetrically.
To make it easier for you, we have created a step-by-step tutorial on how to draw a hexagon, summarized in 9 easy and simple steps.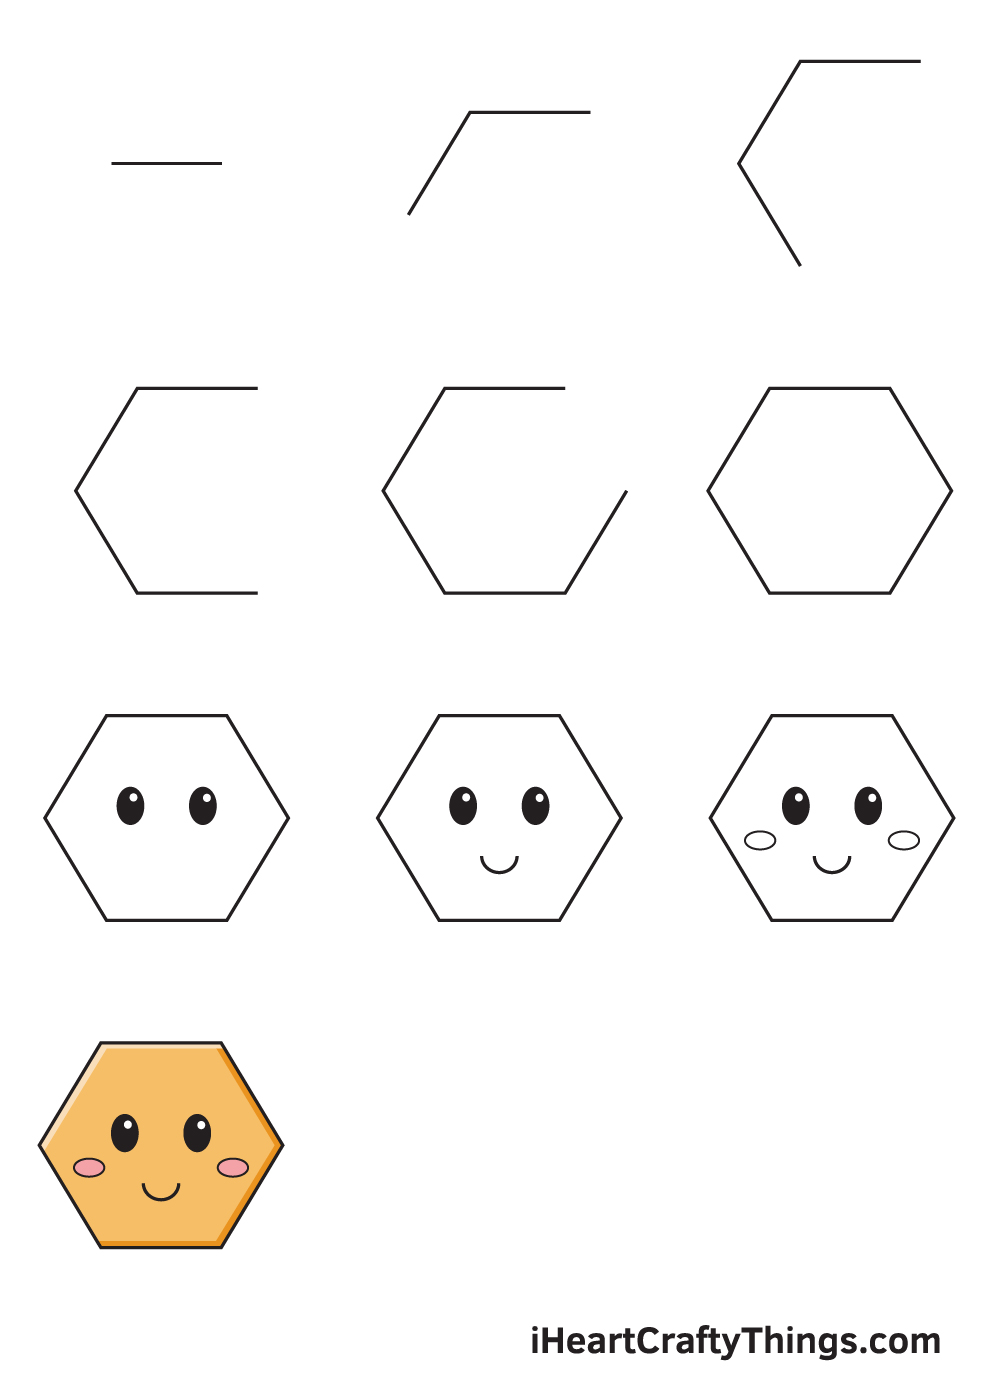
Each step is accompanied with progressive illustrations that you can use as visual guides as you follow the instructions one by one.
Once you’re ready to get started, prepare a piece of paper and grab your favorite drawing tools so we can start drawing!
Since the shape of a hexagon is heavily dependent on straight lines, don’t forget to grab a ruler too! It will help you draw perfect straight lines quickly and easily.
Have fun drawing a perfect hexagon figure!
How to Draw a Hexagon – Let’s get started!
Step 1

Start by drawing a horizontal line to structure the topmost side of the hexagon. You can use a ruler to help you draw a straight line quickly and easily.
To make sure that the hexagon will be drawn on the center of your paper, you can create reference lines by drawing an intersecting horizontal and vertical line across your paper.
The vertical line above the horizontal line in the middle should overlap with the first side you will be drawing.
Keep in mind that the point where the two lines meet should be situated in the very middle of the hexagon you’re about to draw.
Step 2 – Draw the First Two Sides of the Hexagon
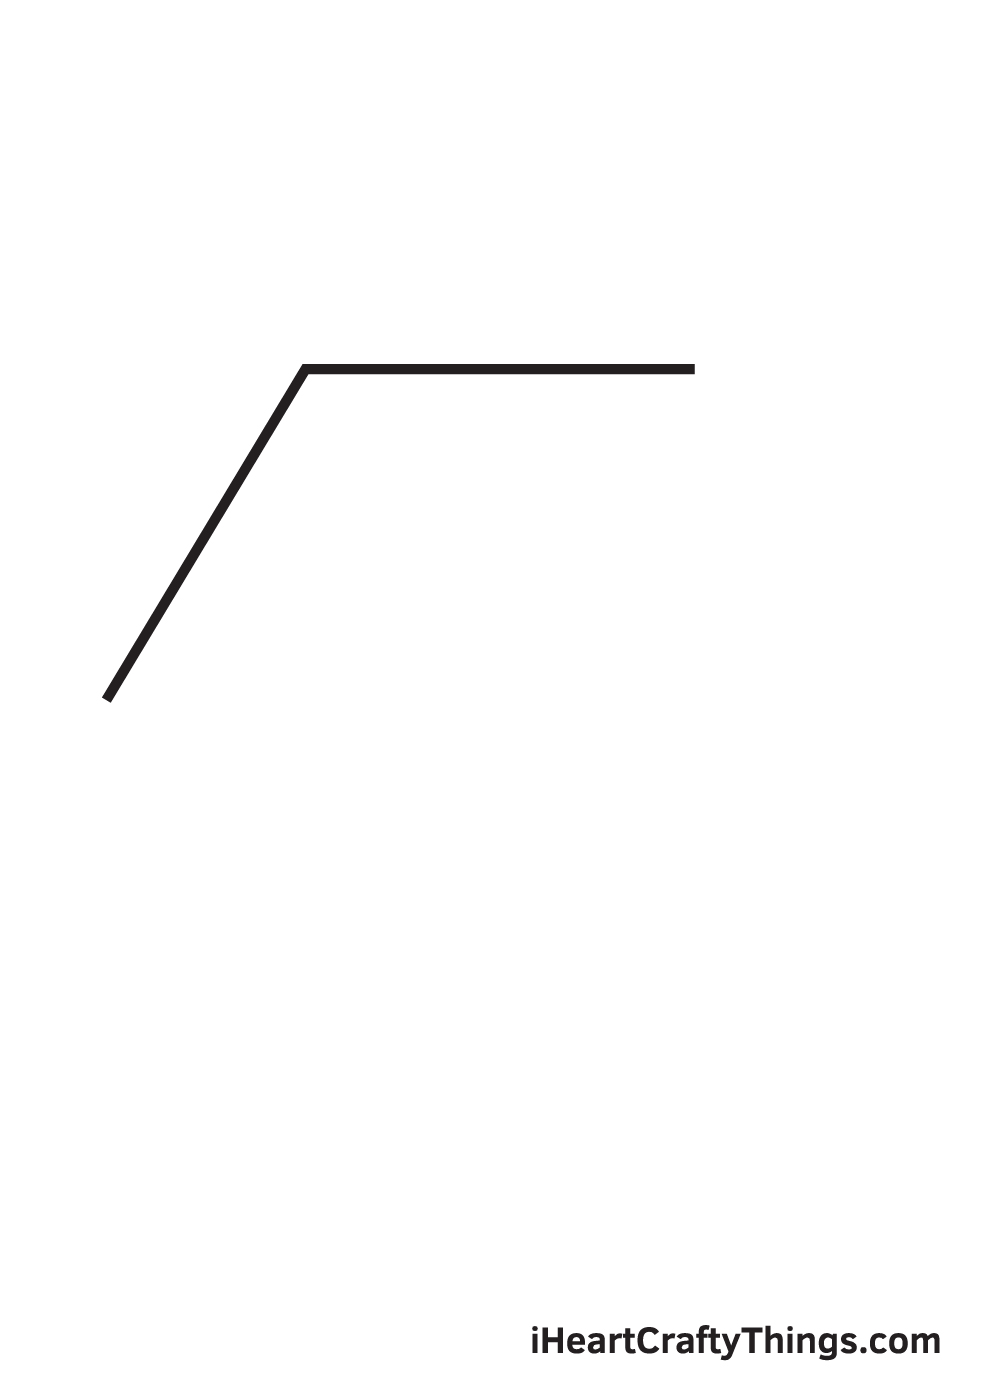
Beginning from the left end point of the horizontal line we previously drew, draw a left diagonal line to create the second side of the hexagon.
Step 3 – Afterwards, Draw the Hexagon’s Third Side
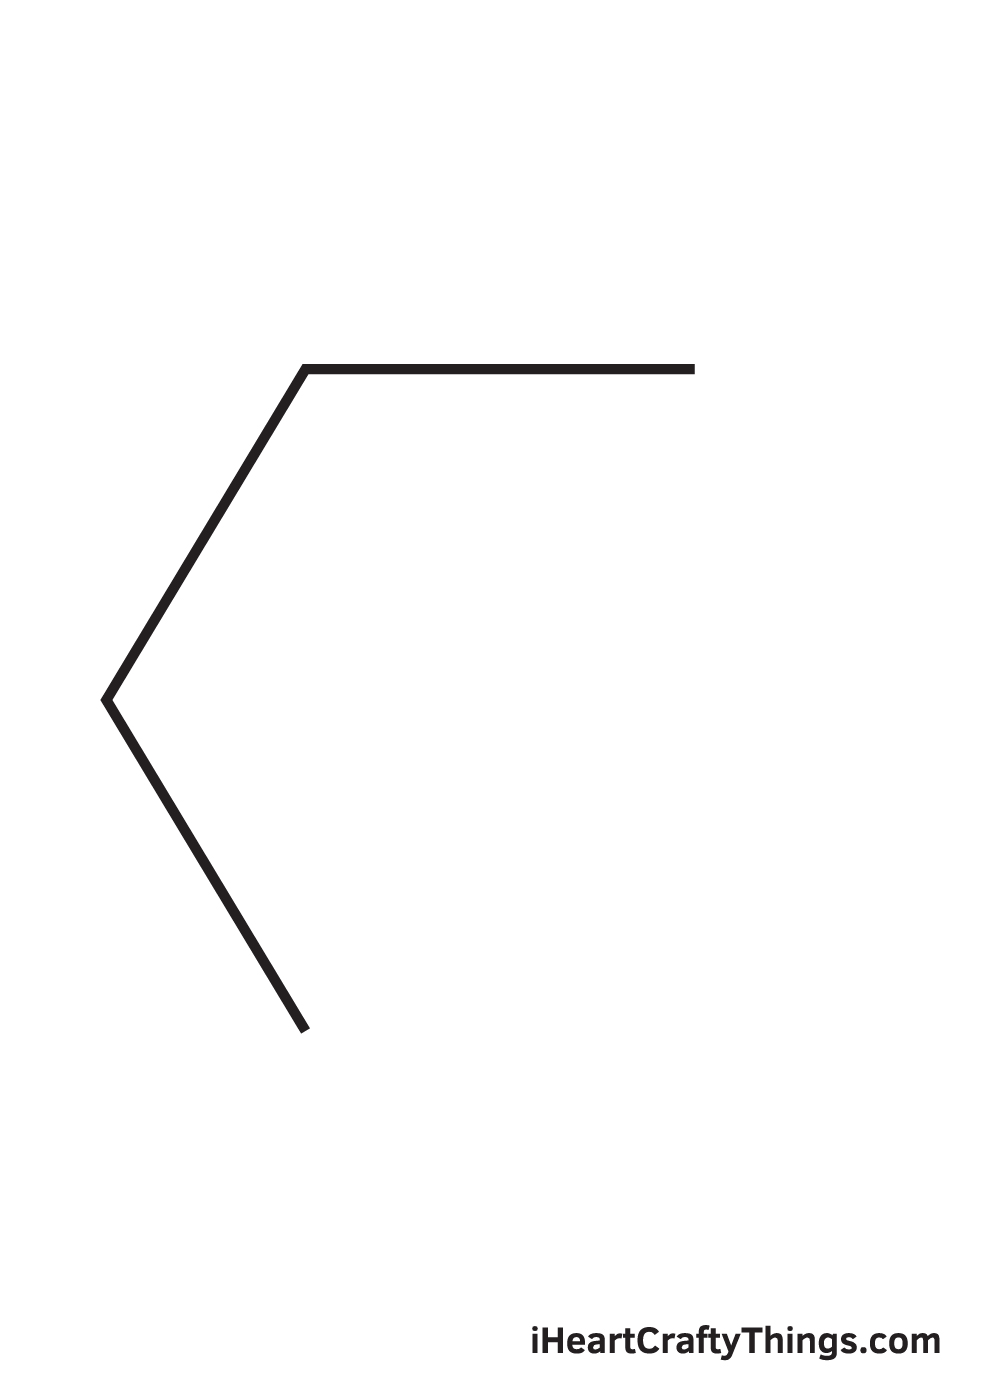
Draw a right diagonal line starting from the bottom end point of the diagonal line we drew in the previous step.
After completing this step, you should now have three equal sides with similar lengths.
Step 4 – Next, Draw the Bottom Side of the Hexagon
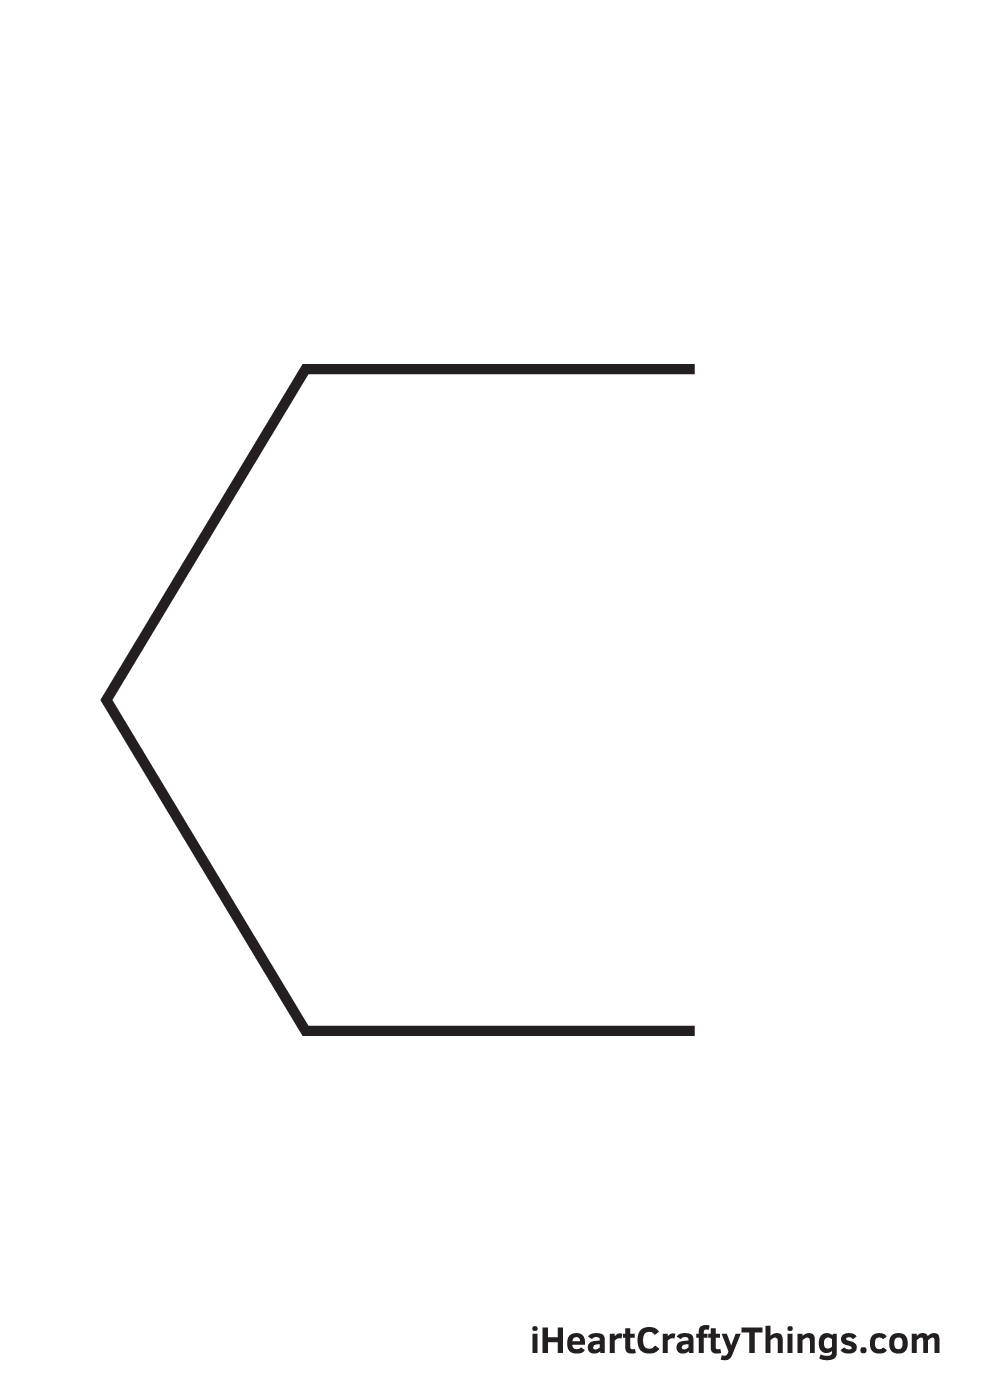
Draw a straight horizontal line emerging from the bottom end point of the right diagonal line we drew previously. This horizontal line is the bottom side of the hexagon.
Remember, the top and the bottom side should be perfectly aligned. So, make sure to keep sharp attention to detail to ace your hexagon drawing!
Step 5 – Then, Draw the Fifth Side of the Hexagon
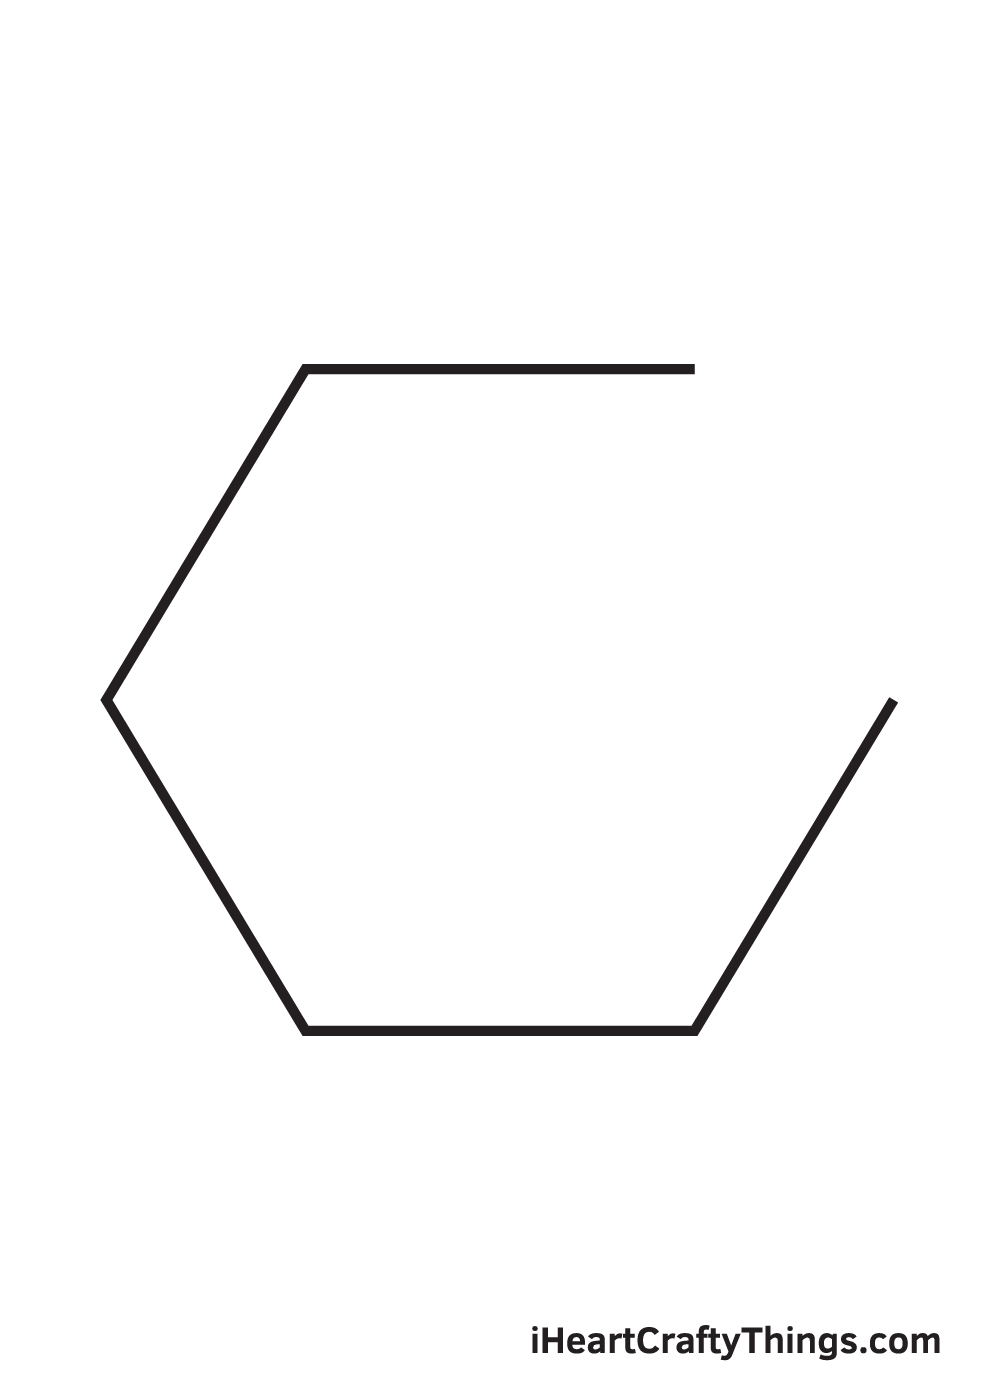
Starting from the right end point of the hexagon’s bottom side, draw an upward diagonal line going to the right to create its fifth side.
At this point, only the upper right side of the hexagon should be missing.
Step 6 – Now, Complete the Shape of the Hexagon
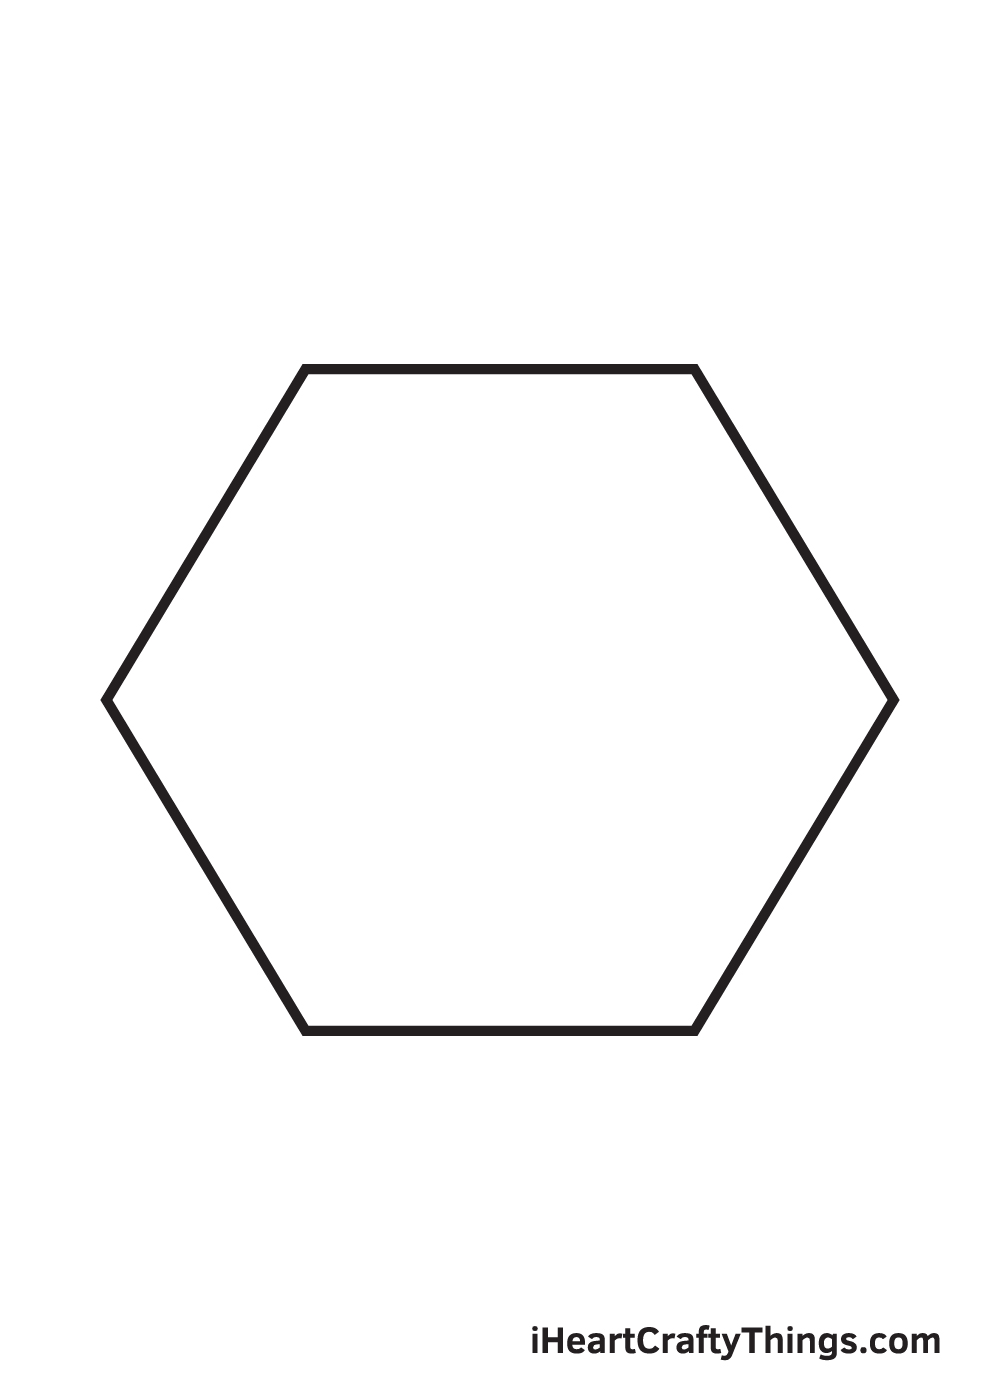
Draw a left diagonal line on the only remaining blank space to finally complete the figure of the hexagon. Keep in mind that straight lines forming the hexagon should all be of the same lengths.
The foolproof method of knowing if you drew a hexagon correctly is when it precisely fits inside a perfect circle. You can apply this method to be certain of your drawing and just erase the circle afterwards.
Step 7 – Add a Pair of Huge Sparkling Eyes
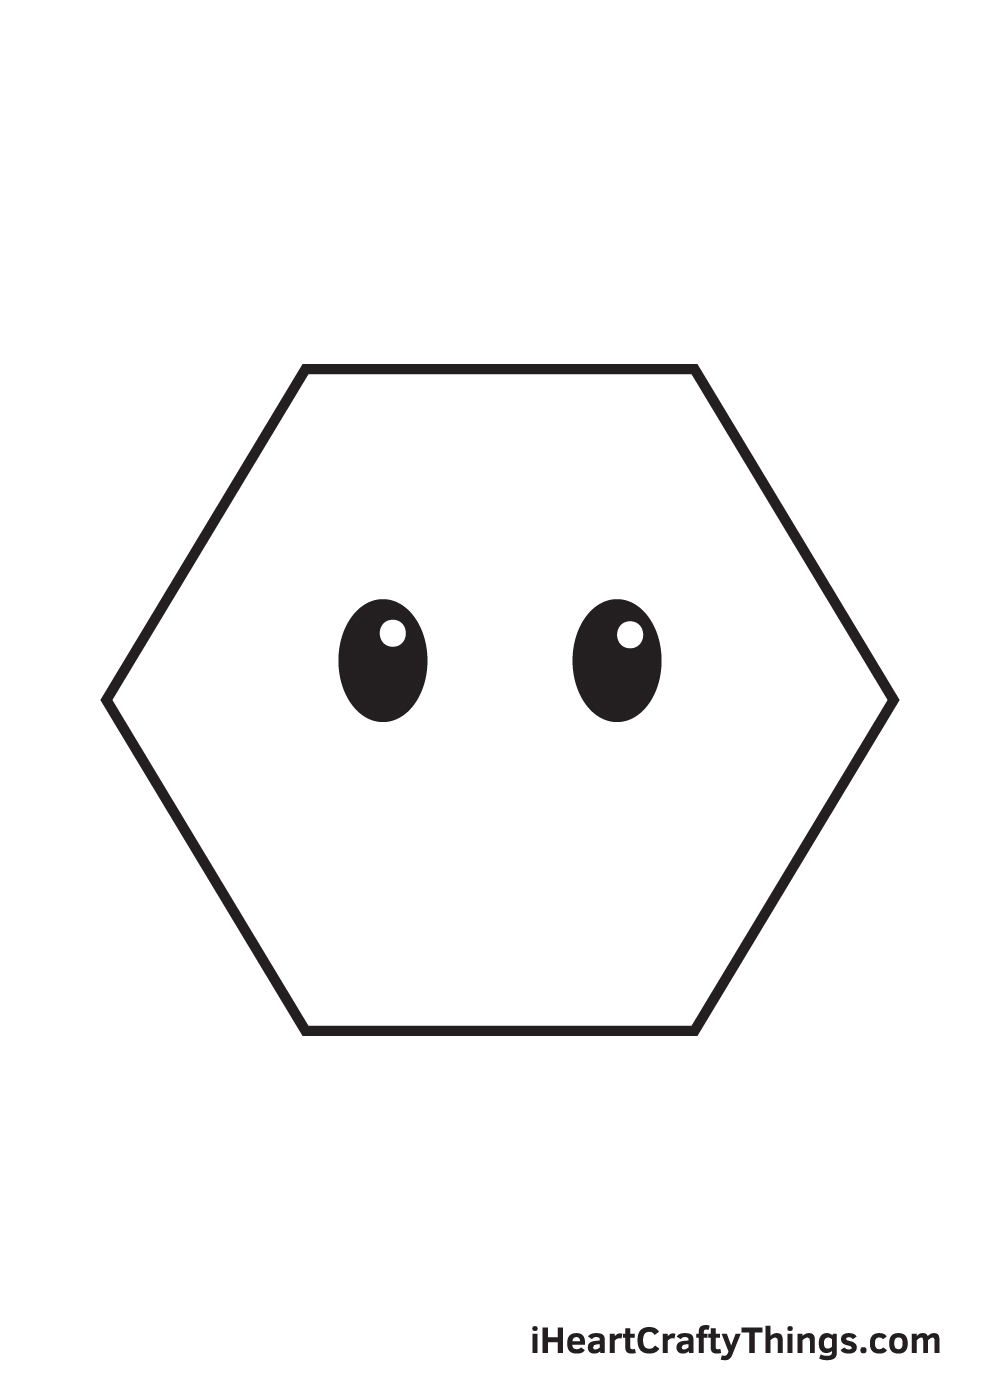
After drawing an evenly shaped hexagon, add facial features inside the figure to personificate the hexagon, making it look adorable!
Start by drawing two upright oval shapes on the upper part of the polygon to create a pair of eyes. Afterwards, draw another small circle within each eye to outline the iris. Now, to complete the eye look, shade the entire eyes aside from the tiny circle inside. This creates a dramatic “gleaming eyes” effect.
Step 8 – Put a Wide Smile on the Hexagon’s Face
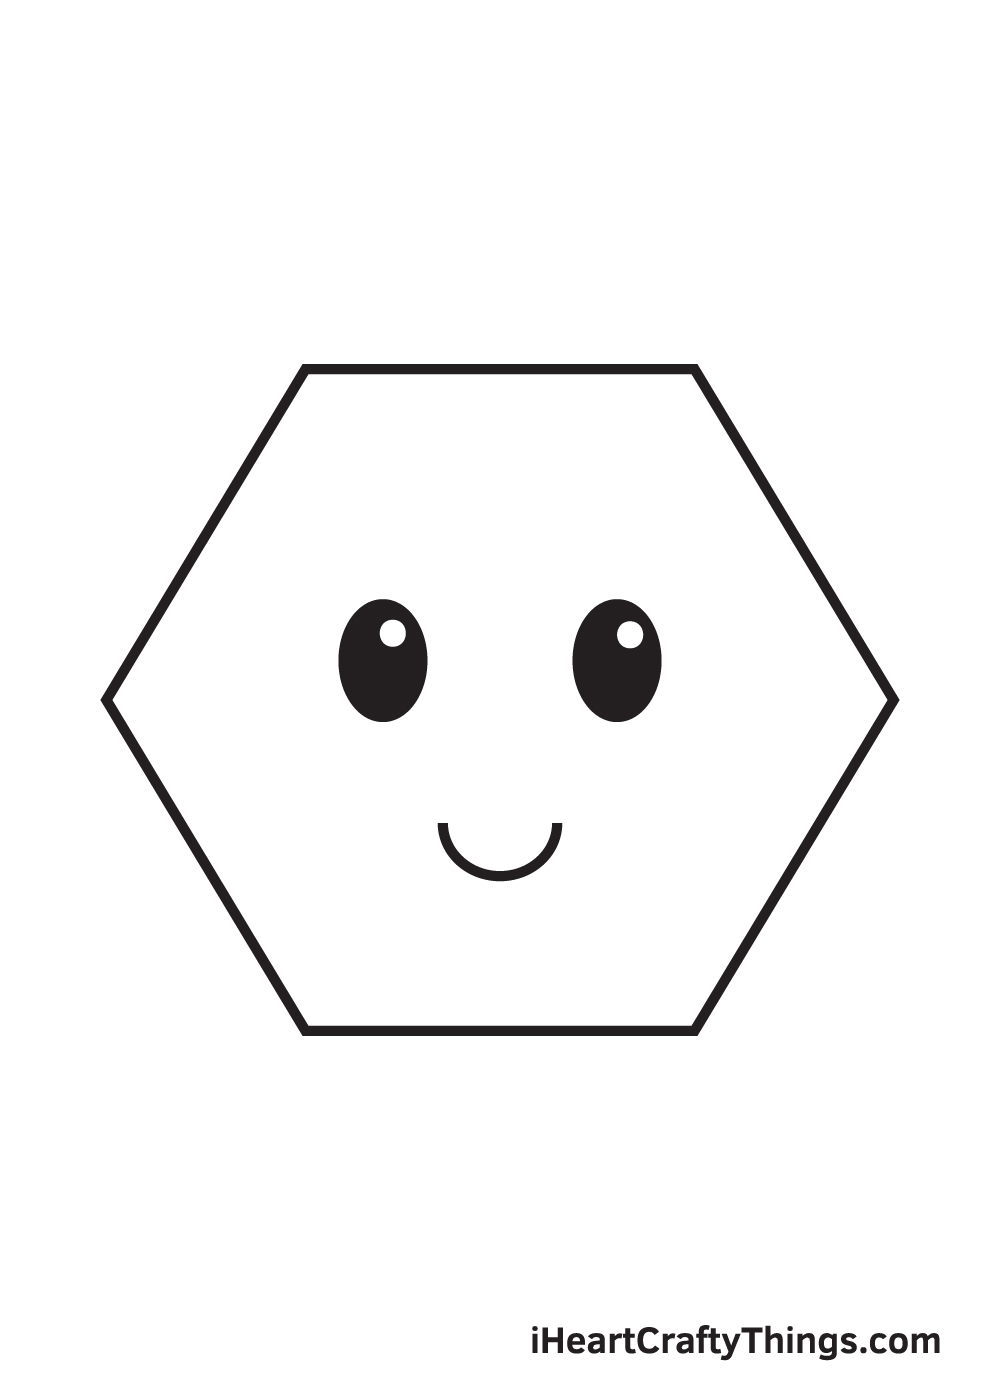
Draw an upward curved line on the bottom of the polygon to make the hexagon appear like it is smiling. Look at how happy it seems to be—so adorable!
Step 9 – Add a Blush to Complete the Look
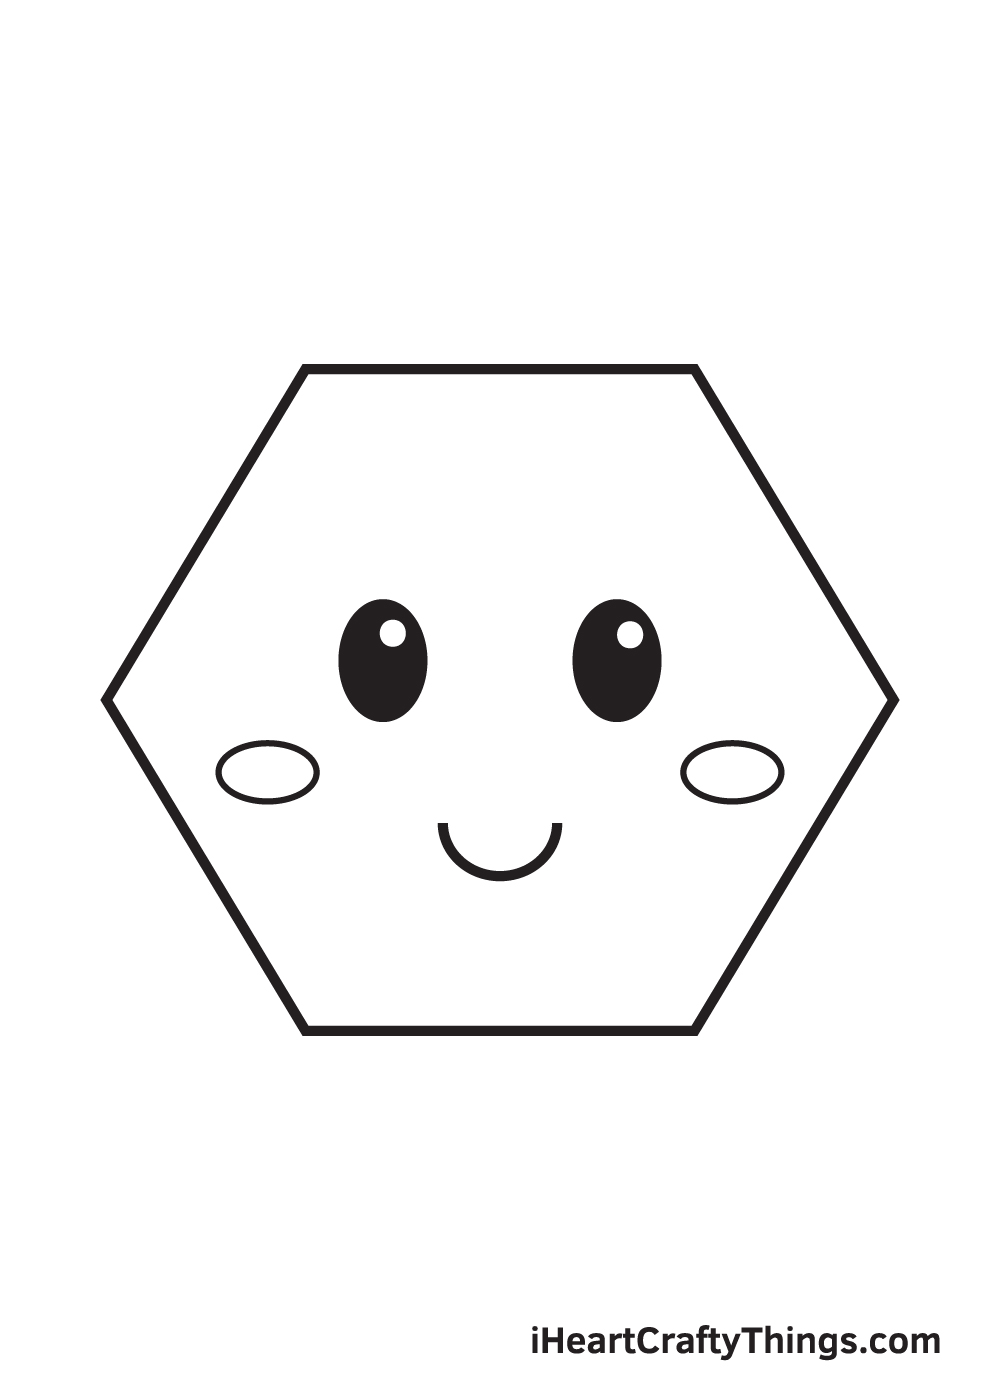
Draw a sideways oval shape on each side within the hexagon shape. The shapes should be drawn below the eyes, but not right underneath it.
These shapes create an animated “blushing effect” on the facial expression of the hexagon—how cute!
Now that we have successfully drawn a proportional hexagon with a happy facial expression, it’s time for the most exciting part, which is coloring your drawing!
This is the part where you can showcase your artistic skills and your ability to mix and match different colors!
As seen in the illustration, we filled in the surface of the hexagon with a skin tone color. To create a skin tone color, mix the colors red, yellow, brown, and white.
Depending on the complexion you’re aiming for, you may want to add more of a specific color than the rest.
You can copy the colors in our illustration or use a unique set of colors! Either way, we’re sure it will turn out beautifully! Have fun playing with colors and watch as the hexagon ultimately comes to life!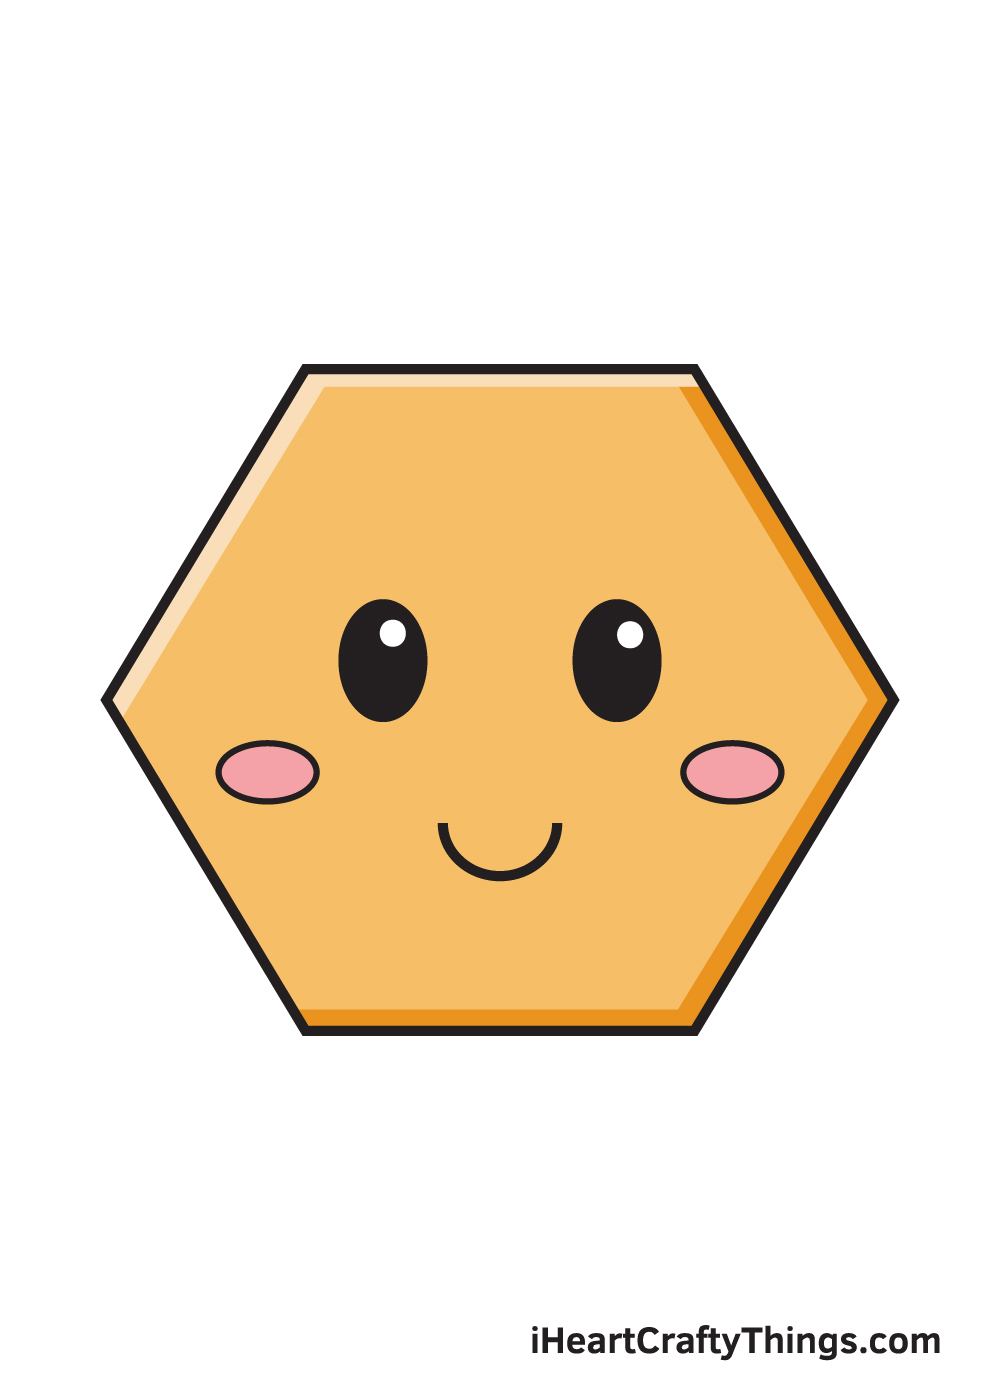
Do this to take your hexagon drawing to the next level
Help this hexagon sketch take shape with these fun tips!
With this hexagon drawing, we added a cute cartoon face to the shape. This suits it really well, but you could also portray different facial expressions!
Not only that, but you could also draw the face in different styles. This all depends on your own preference, so you could portray any styles and approaches that you like personally.
The facial expressions and drawing styles you use can drastically change the nature of the image. It all depends on your own preferences, so what will you choose for the face?
If you wanted to turn this drawing of a hexagon into a full-fledged cartoon character, you could also add some limbs in addition to a face. Much like the face, these could be drawn in any style you find comfortable!
For example, they could be simple bent shapes to match the style of old cartoons. You may even want to use simple stick figure arms instead.
Once you have chosen the style, what kind of pose would you like to create?
Turning this hexagon sketch into a cartoon character is just one of the ways you could finish off this image. It’s certainly not the only way, though!
In nature, you will often see a hexagon shape in beehives. For that reason, you could add many of these hexagon shapes joined to one another to make the classic honeycomb shape.
What other arrangements could you think to make now that you can draw this hexagon so well?
Continuing on with the last suggestion, you may also want to add some extra little drawings and illustrations around the hexagon. This could be done whether you leave the hexagon on its own or join them together.
Sticking with the honeycomb theme, you may want to draw some little bees with dripping honey effects. Adding these to the drawing will give you so much more to look at in the image!
What else can you think to add to the picture?
Your Hexagon Drawing is Complete!
Learning how to draw a hexagon is a fun experience, isn’t it? Hopefully, you were able to draw a symmetrical hexagon with the help of this guide and the assistance of your ruler!
We are always updating our catalog of “how-to-draw” series, so make sure you keep re-visiting our website to continuously enjoy all new drawing tutorials.
If you had fun drawing a hexagon, perhaps you’re interested in drawing other polygon shapes as well? Let us know what you would like to draw next. We are dedicated to delivering our readers’ requests.
Once you’ve successfully drawn a hexagon and colored it, we’re sure you must be feeling proud of yourself—as you should be! Make sure to show off your work of art by sharing it on our Facebook page and Pinterest.
Don’t hesitate to flaunt your artwork! You’ve worked so hard for it and we’re sure it looks absolutely amazing!
We are excited to see your colorful hexagon drawing!