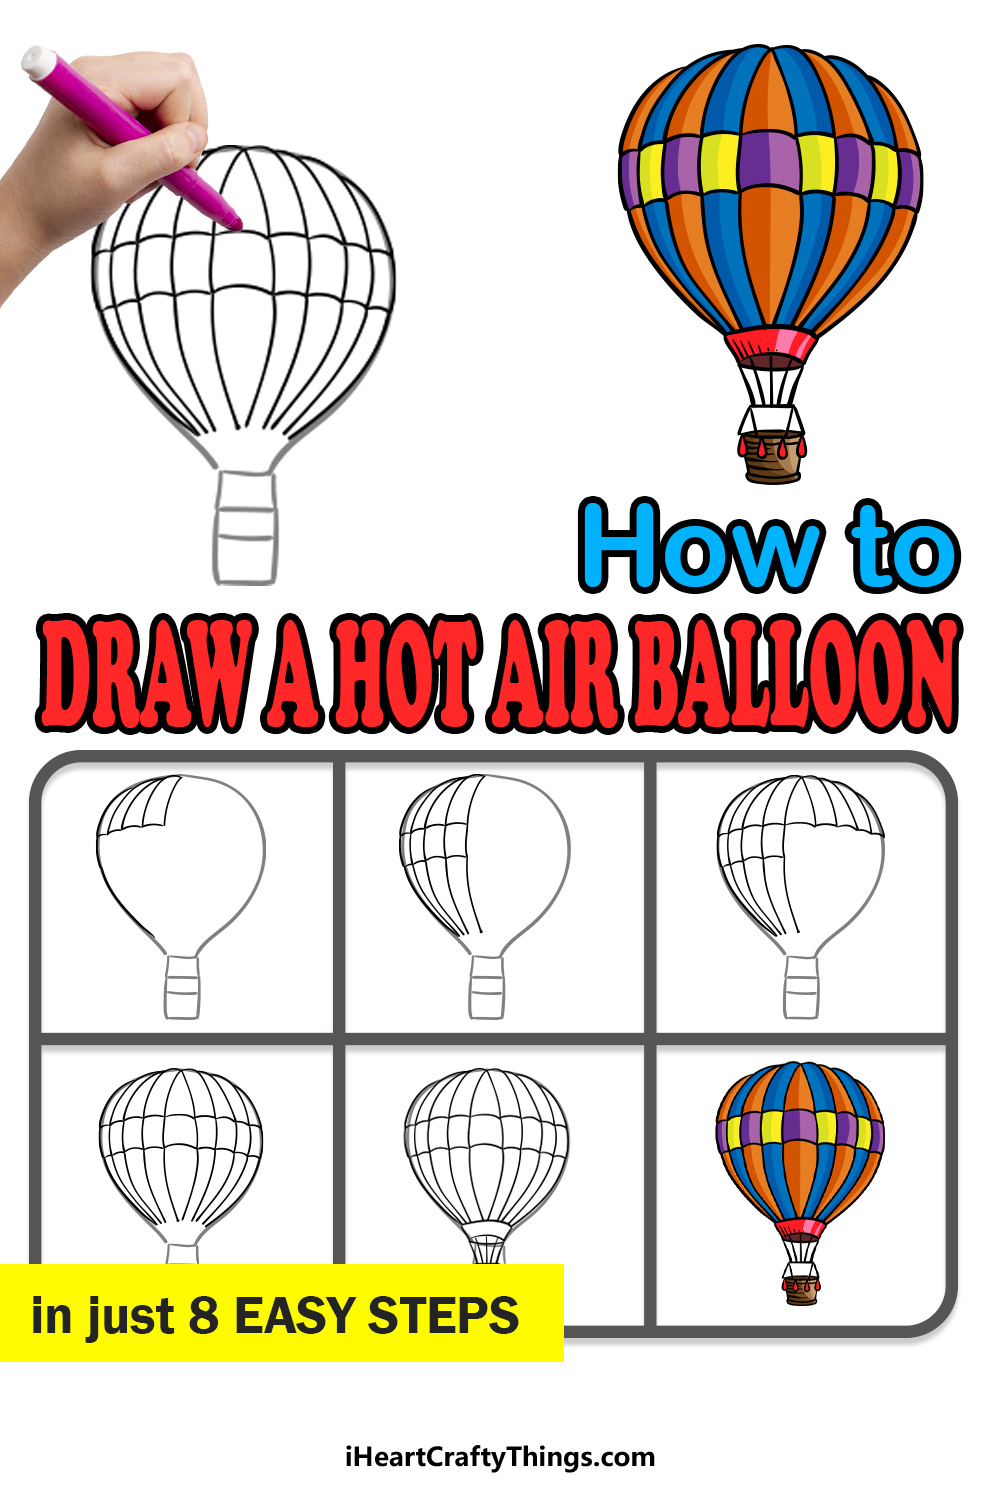
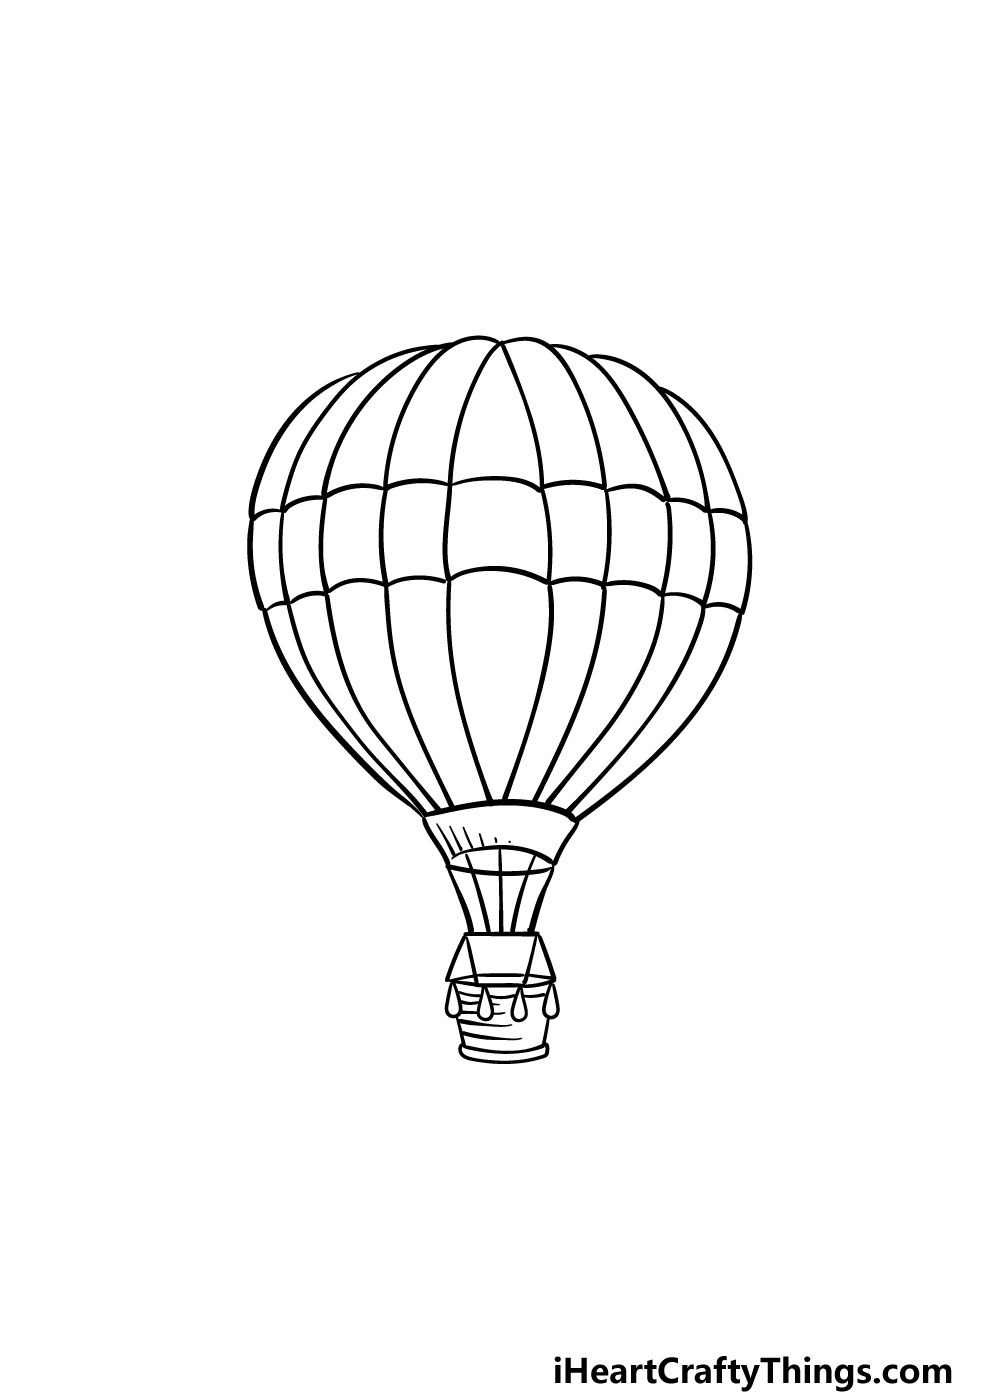
Let’s take off and learn how to draw a hot air balloon together! This guide for kids will make it easy for anyone to make an incredible hot air balloon.
There are many ways to travel, and some of them are more about the experience than getting to your destination fast. Hot air balloon rides are slow and deliberate, but they are an experience like no other.
They allow you to fly high and see everything below you. They’re also a pleasant sight to see floating by while you’re on the ground.
Whatever your connection to hot air balloons, this guide will show you how to draw a detailed one to enjoy. Then, you can add all sorts of your own ideas and additions to the picture.
I’ll show you how to plan it with your pencil and then draw the final lines to finish off your incredible artwork!
See How To Make Your Hot Air Balloon Drawing
How to Draw A Hot Air Balloon – Let’s get Started!
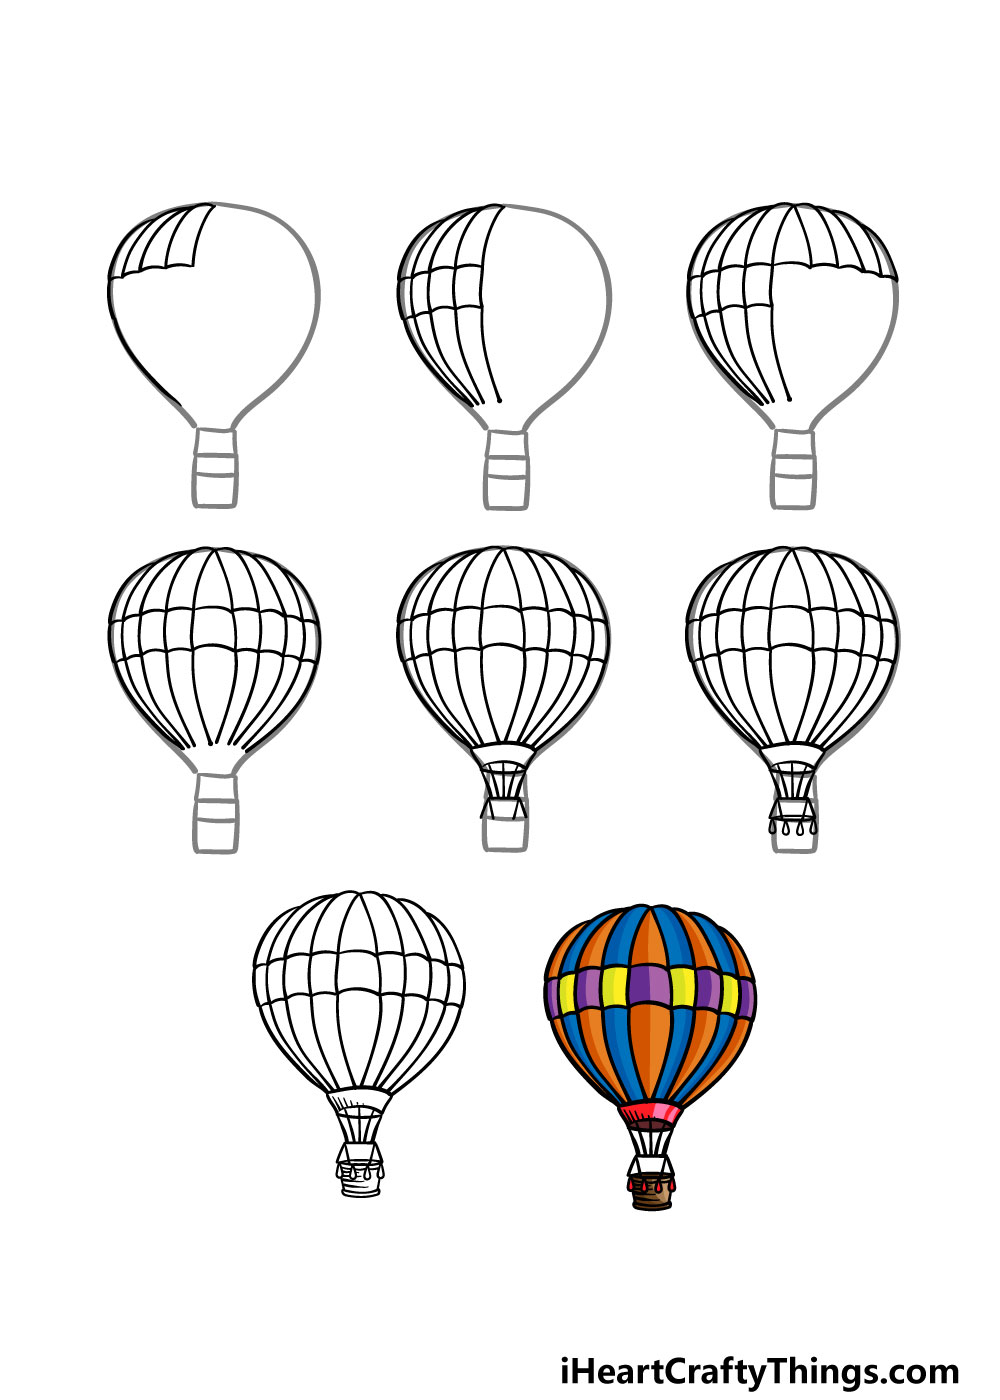
Step 1
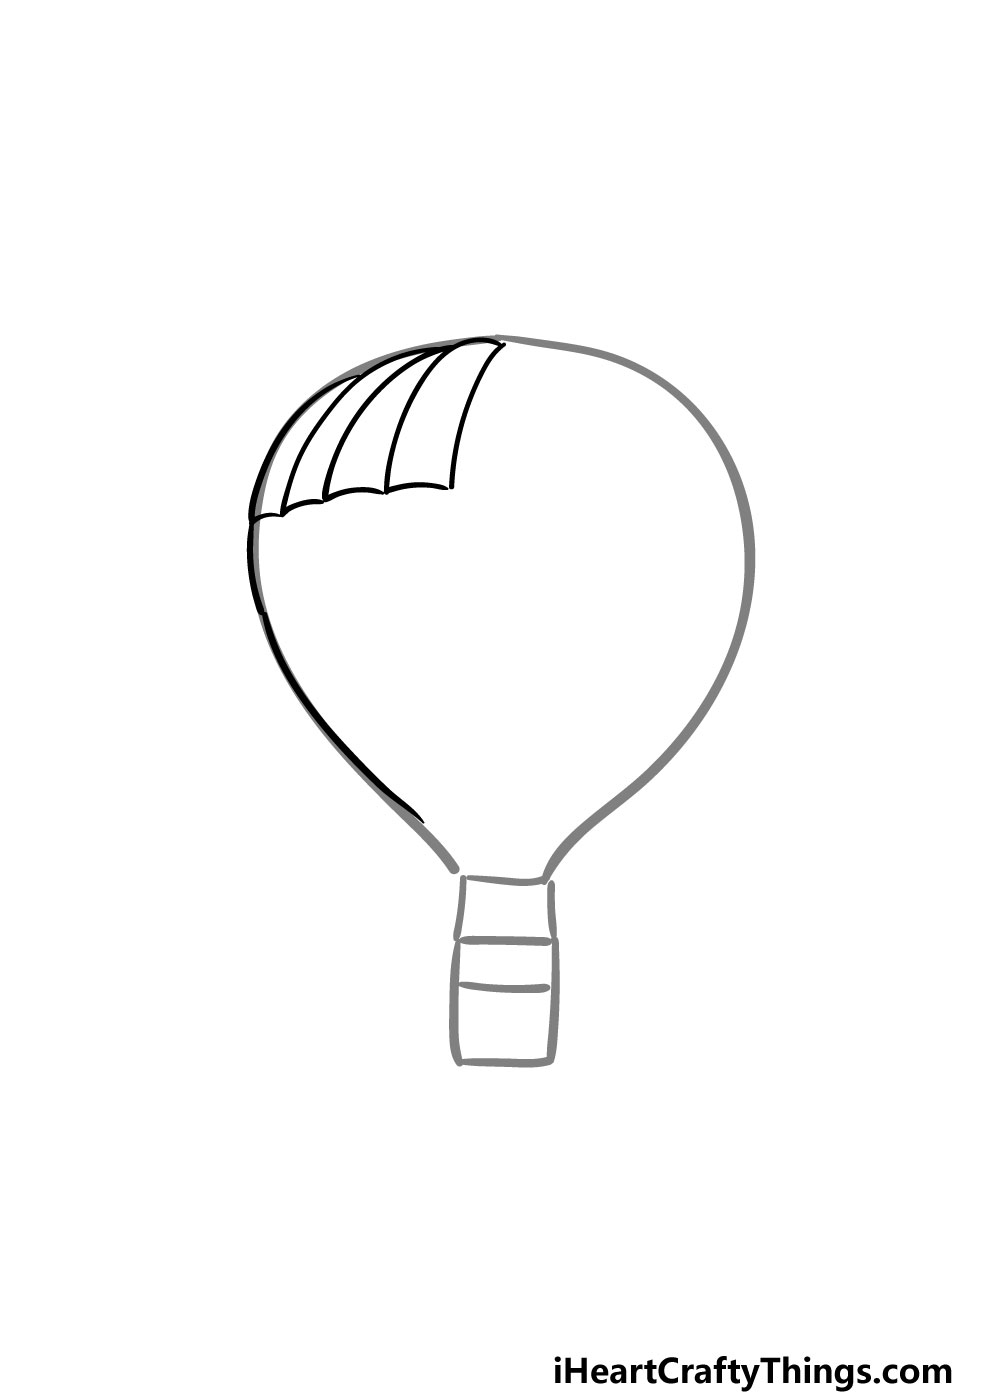
This first step of our guide on how to draw a hot air balloon will begin with you using a pencil to create a rough outline for your hot air balloon drawing.
First, draw a rounded shape with your pencil for the balloon section of the hot air balloon.
Then, you can draw a long vertical rectangle shape with two horizontal lines inside of it for the basket of the hot air balloon.
This will connect directly to the balloon. Once you have these pencil lines drawn, you can then begin using your pencil to draw over them.
For now, you can draw over the left-hand side of the balloon.
Then you can use some curved lines coming down from the top of the hot air balloon to form the shapes you see in our reference image. These will make up the different segments of the balloon.
Step 2 – Next, keep extending the segments of the balloons
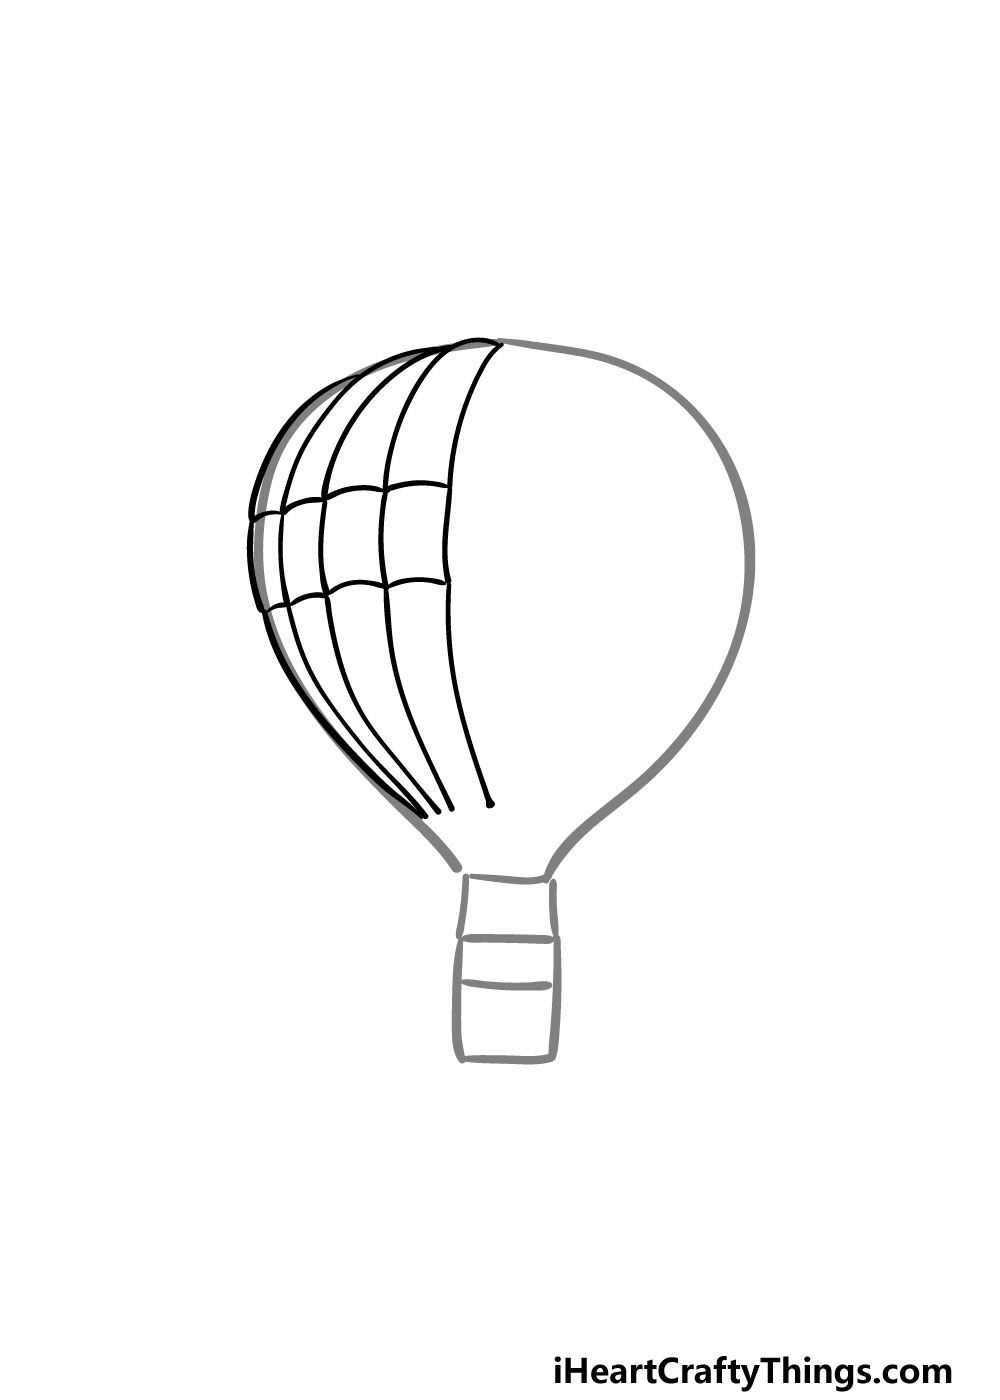
For this part of your hot air balloon drawing, you will be extending the segments of the balloon further down.
To do this, simply draw a curved rectangle shape underneath the shapes that you drew in step 1.
Then draw another curved rectangle, but this time have it be longer. Keep drawing a row of these shapes inside the balloon and be sure to reference our example image closely to see how it should look!
Step 3 – Now, draw more segments for the balloon
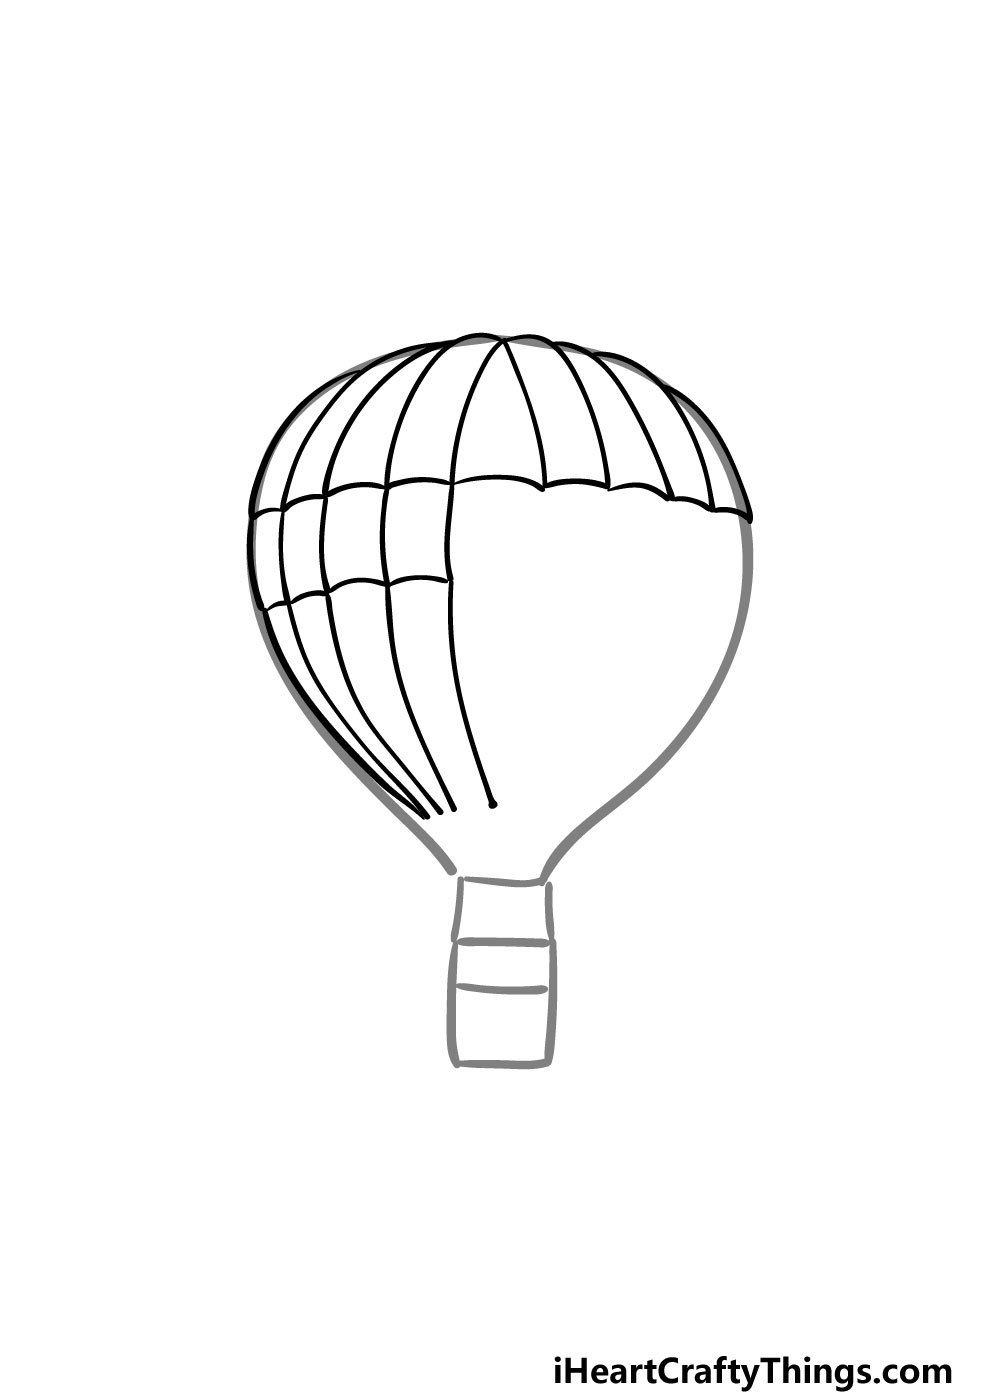
The next two steps of this guide on how to draw a hot air balloon will be focused on replicating what you did in the previous two steps.
For this part, you will be recreating the top segments of the balloon like the ones that you drew in step 1. Simply draw a mirrored version of the rectangular shapes as shown in the reference image.
Step 4 – Next, mirror the shapes from step 2
As we mentioned in the previous step, this part will see you mirroring what you did in step 2 of your hot air balloon drawing.
As you can see in the picture, you will be drawing mirrored versions of the shapes from that step.
With the way that they are curved, there will be a thick, inwardly curving shape at the center of the balloon.
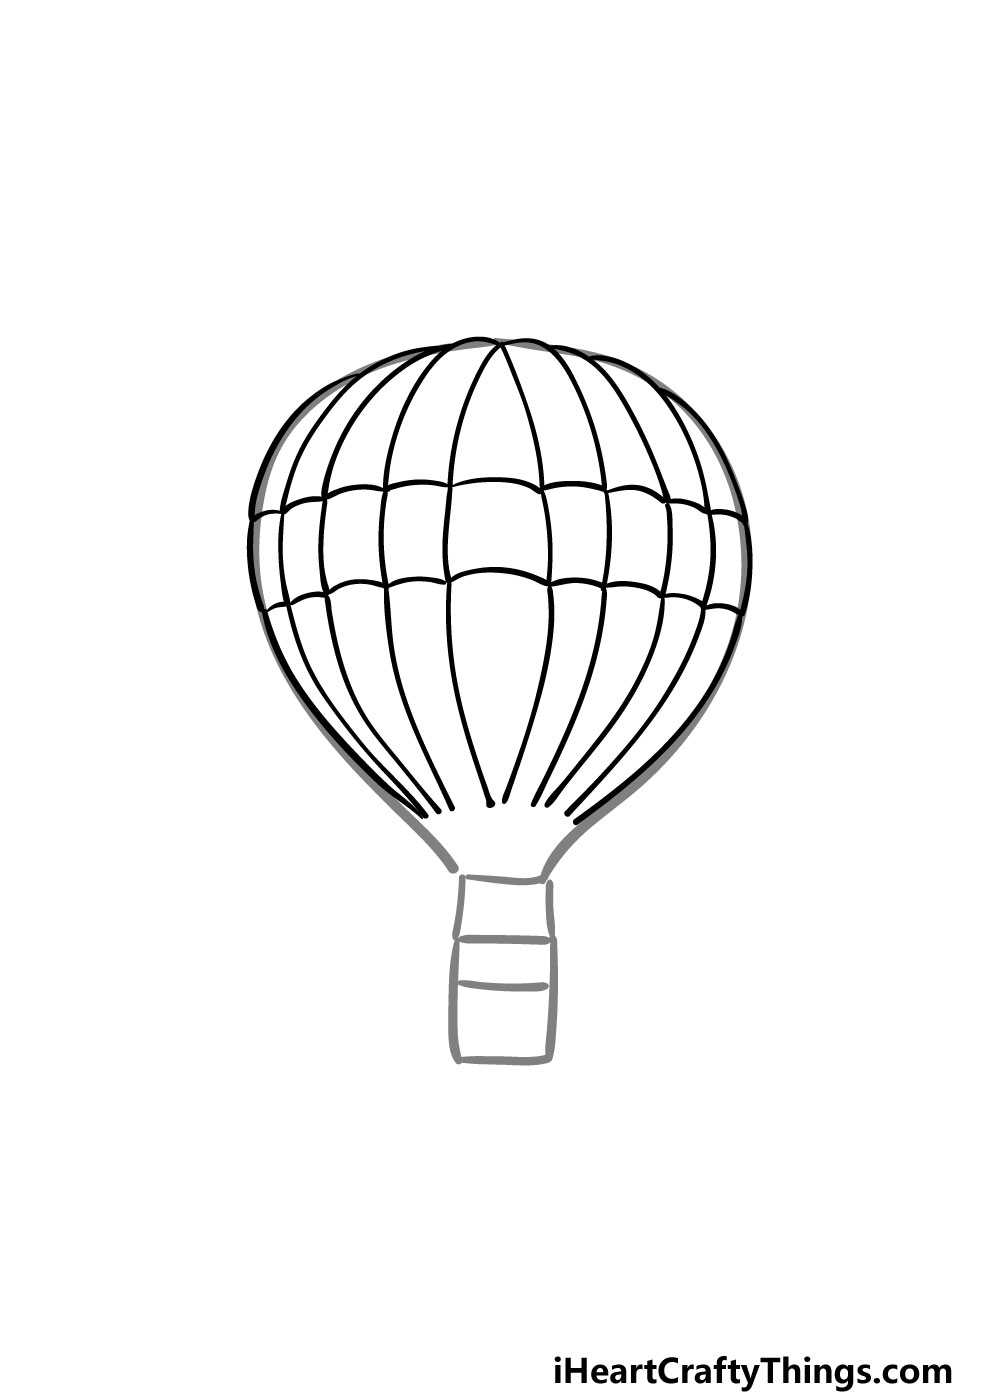
Step 5 – Next, start drawing the basket
A hot air balloon wouldn’t be very effective without a basket to sit in, so we will start to add one in this step of our guide on how to draw a hot air balloon.
Using your pen, start by drawing a curved rectangular shape at the bottom of the balloon. Then, use some lines going down from this shape to make the ropes that are connected to it.
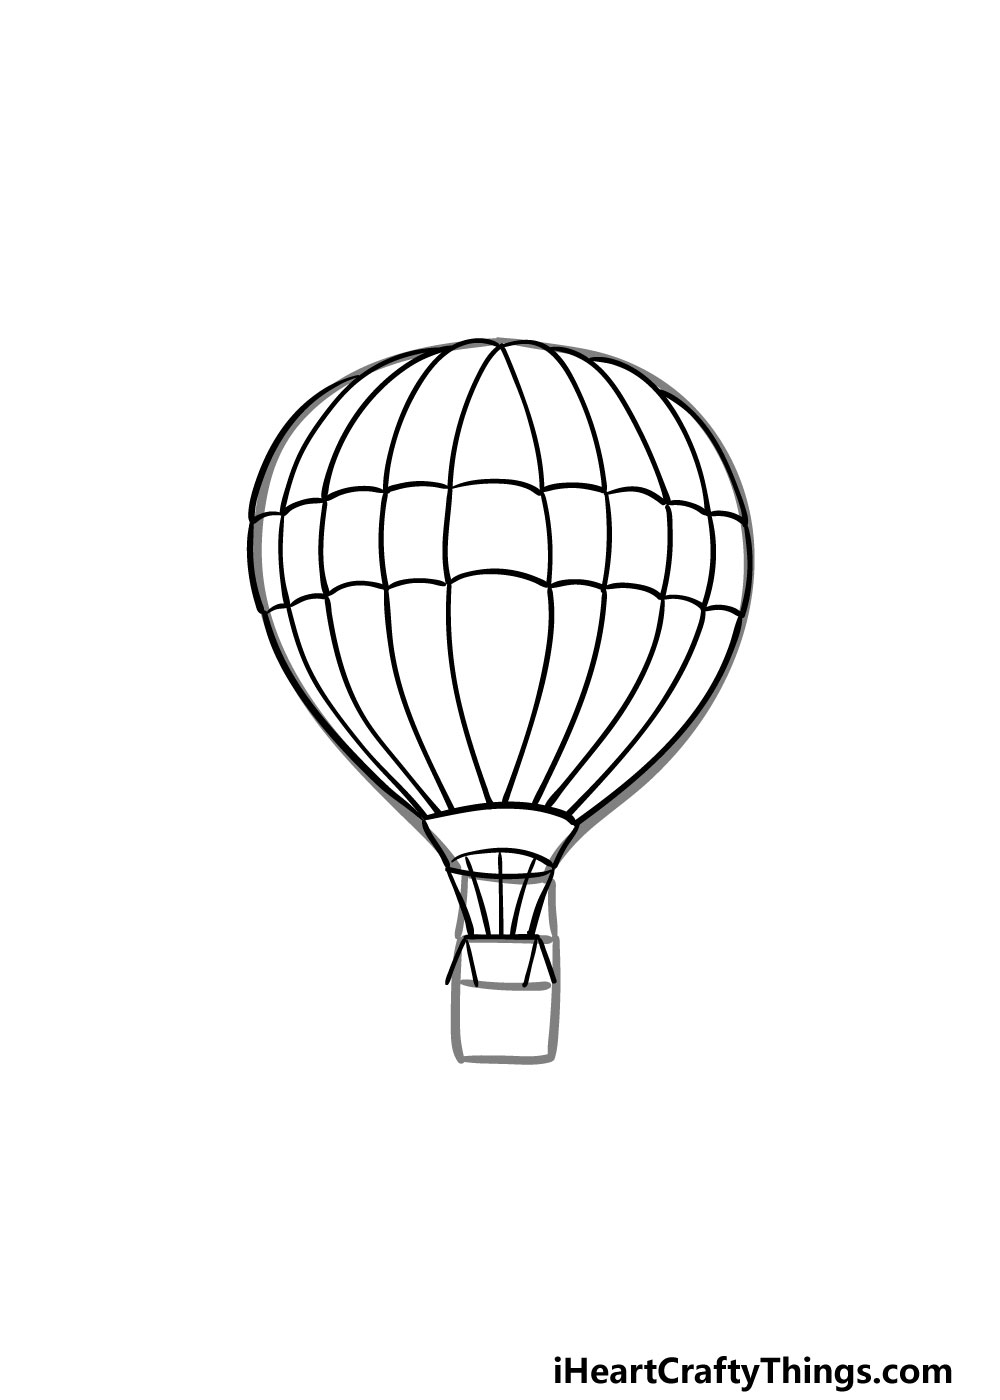
Step 6 – Draw some sandbags onto your hot air balloon
Older hot air balloons would often have sandbags hanging from the basket to weigh them down a bit, and these are what we will be drawing for this stage of your hot air balloon drawing.
To do this, simply draw some small teardrop shapes coming down from the basket of the hot air balloon. That’s all there is to it for some final touches in the next step.
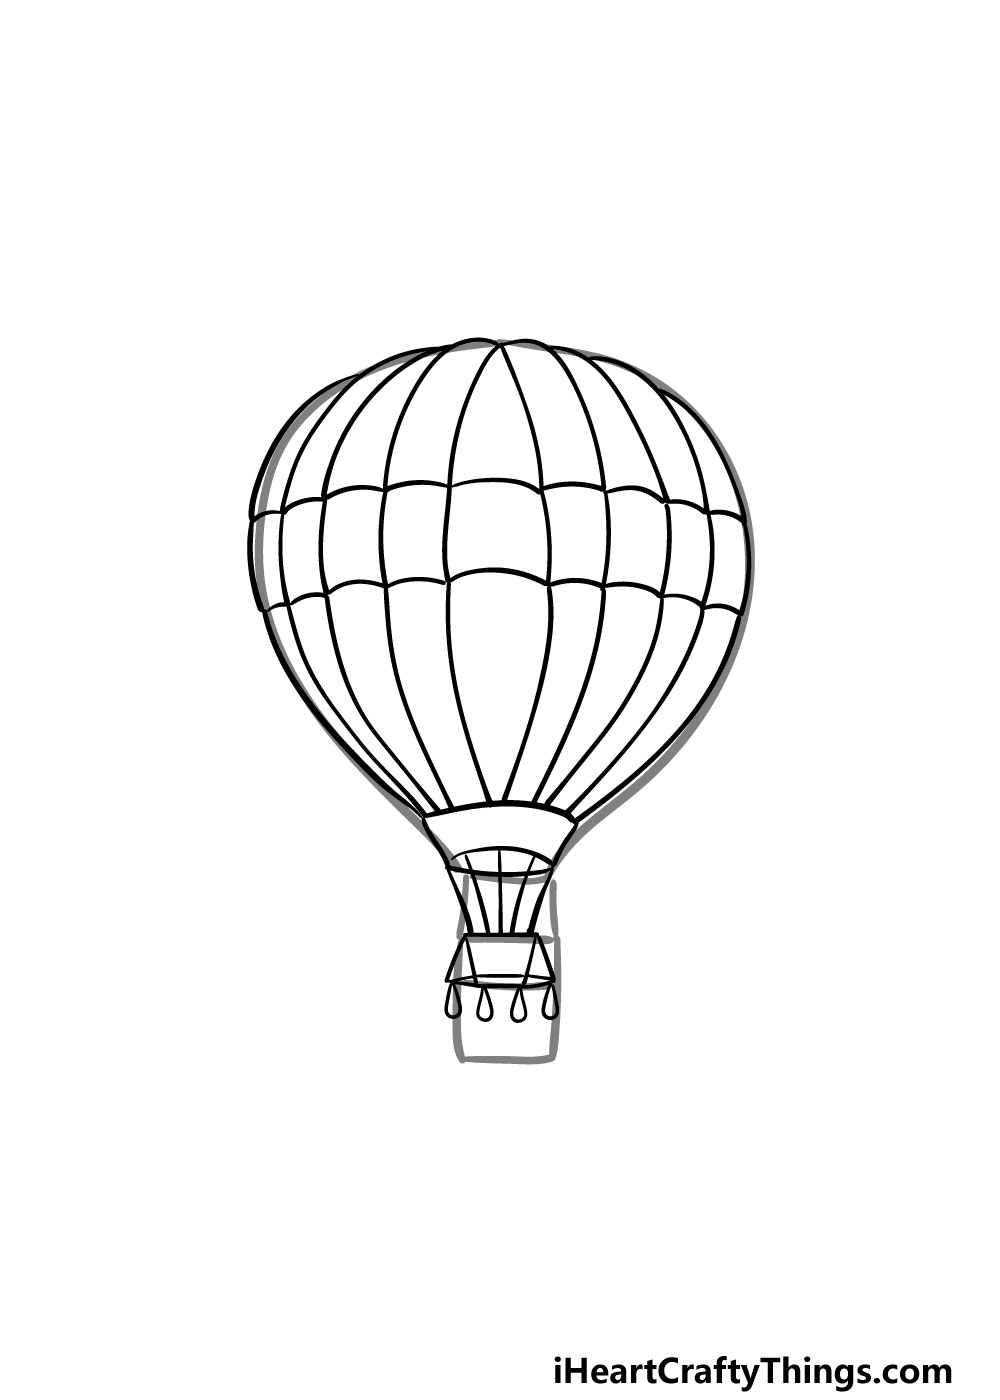
Step 7 – Next, draw the final details of your hot air balloon drawing
This step of our guide on how to draw a hot air balloon will be all about adding some final details before you add some color to the drawing.
First, you can finish off the hot air balloon by adding some detail to the basket at the bottom.
Once you have that drawn, the bulk of your hot air balloon is done! Now you can take your eraser and take out the pencil lines from the first step.
Before you move on, you can add some more small details, and you can also add some details of your own!
Perhaps you could draw a background to show what kind of landscape this hot air balloon is flying over. How will you finish off your hot air balloon drawing before the final step?
Step 8 – Now finish off your hot air balloon drawing with some color

Now that you have finished your hot air balloon drawing, you can bring it to life with some beautiful colors!
Hot air balloons are well known for having bright and vibrant colors that make them glow in the sky, so you have some great options for how to color this in!
We showed you one way to color it in with our reference image, but you should use any colors that you love for it.
What colors and wonderful art mediums will you use to color in this hot air balloon drawing?
Here’s how you can make your hot air balloon drawing even better…
Get this hot air balloon sketch off the ground with these fun tips!
A hot air balloon can come in many different colors, and some even have patterns and pictures on them. That would be a great way to customize your hot air balloon drawing!
We had a great combination of colors in the guide, but you could use any that you like. As we mentioned, you could also work in some patterns and pictures onto the design.
What kind of design do you think would suit this hot air balloon?
An unmanned hot air balloon would be pretty pointless, and that brings us to our next suggestion! You could make your drawing of a hot air balloon look even better by adding some people sitting in it.
These wouldn’t even need to be particularly detailed, as we are seeing the hot air balloon from a distance. If you zoomed it in a bit, then you could show them in more detail if you prefer.
How many people would you like to have in this balloon?
Floating over some beautiful scenery in one of these aircraft is a wonderful thing indeed. You could show off what this feels like by adding a background to your hot air balloon sketch.
If you were to do this, you could use any kind of environment you like! These could include some desert environments, snowy ones or maybe even a forest environment.
Those are just a few ideas that you could use, but can you think of any other environments that you could use?
If you really love drawing this hot air balloon, you could draw it many times by creating a pattern. They could be arranged in rows or other shapes, and it would make for a really cool picture!
One way you could also do it would be by drawing one large hot air balloon in the center and then create a pattern of smaller hot air balloons behind it.
That’s one idea, but what else can you think of that you could do with this balloon?
Your Hot Air Balloon Drawing is Complete!
We hope that you had a great time working with us on this guide on how to draw a hot air balloon!
Whenever you take on a new drawing, you can make things much easier and more fun by breaking it down into smaller, more manageable steps.
Now that you have mastered this drawing, you can also take it even further by adding your own touches!
Whether you put your own spin on this drawing by adding a background, extra details or with some creative colors we know it will look incredible!
Our website is full of many more awesome drawing guides for you to enjoy! We hope to see you there for more drawing fun.
Once your hot air balloon drawing is done, we would also love to see it! You can share your artwork on our Facebook and Pinterest pages for us to enjoy!