We spend large portions of our lives caught up in work and responsibilities, and these can take the forms of jobs, school and other activities that are a part of life.
Working all the time can be bad for one’s health, however, and everyone needs a break from it all.
That is why holidays are so welcome to many people, as they allow you some time to relax and recharge.
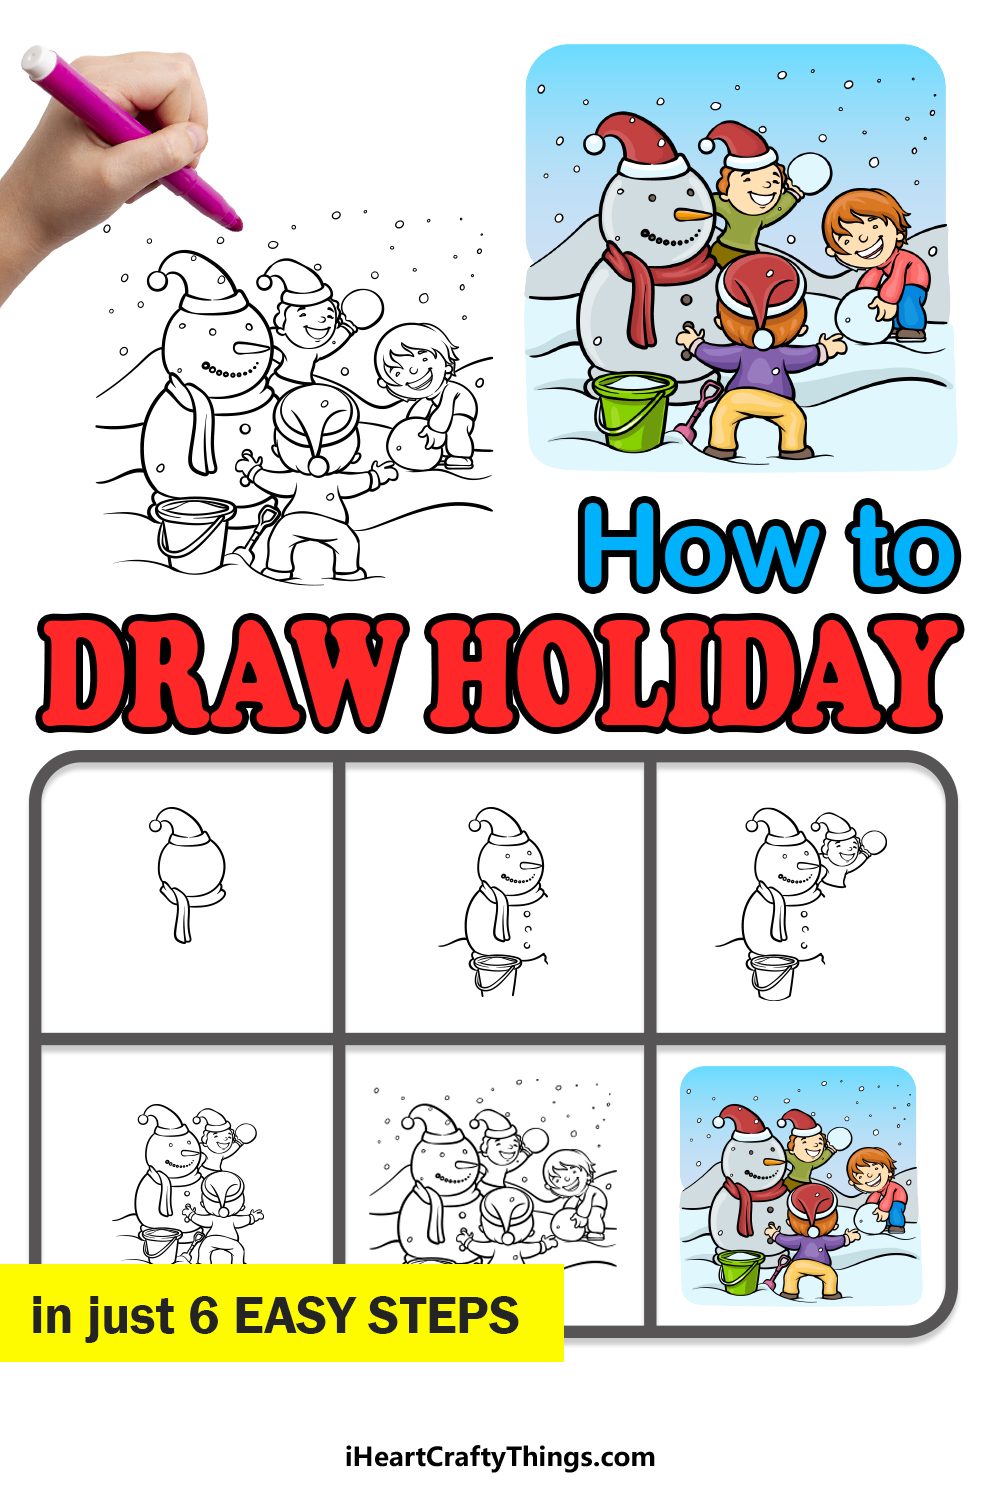
Learning how to draw a holiday can be a great way to imagine what your perfect vacation getaway may look like!
In the tutorial we have prepared for you, we have designed a fun, snowy holiday setting for you to recreate.
Get ready to relax for some creative fun in this step-by-step guide on how to draw a holiday in just 6 easy steps!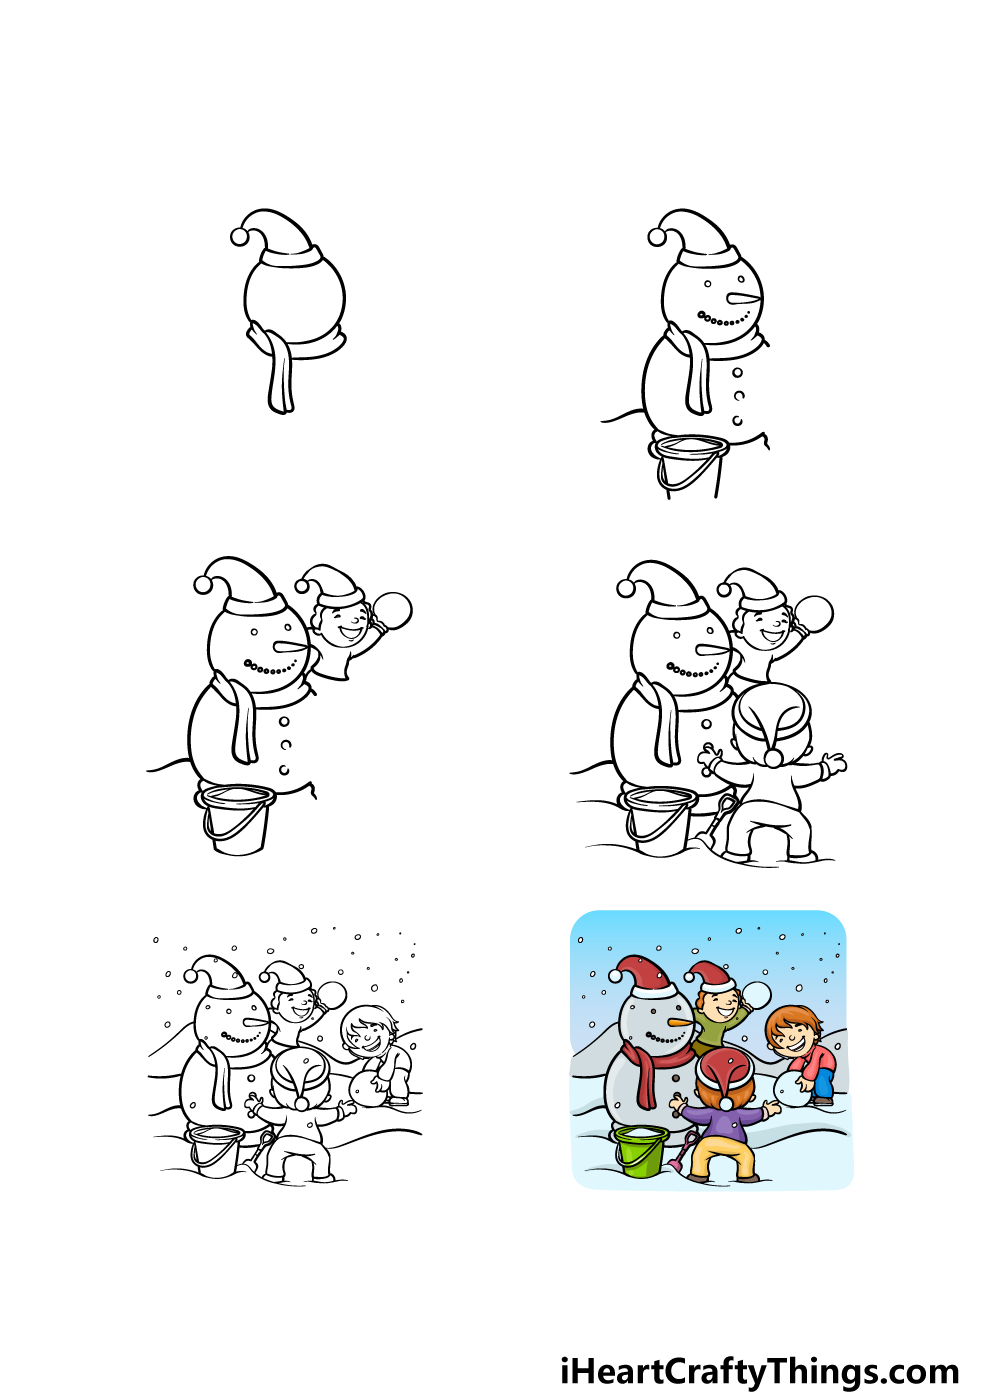
How to Draw A Holiday – Let’s Get Started!
Step 1

In this first step of our guide on how to draw a holiday, we will begin by drawing the head of the snowman that is being built in this charming scene.
First, draw a flat, rounded shape for the rim of the Santa hat it is wearing. Then, use some curved lines for the hat drooping over, and then add a small circle to the end of it for the bobble of the hat.
Then, use some more rounded lines to create the round head of the snowman, and then finish off this step by adding the scarf around the neck.
This will cover the base of the neck, and then it will have a section of scarf dropping down. Then, you will be ready for the second step of the guide!
Step 2 – Now, draw the face and other elements for this image
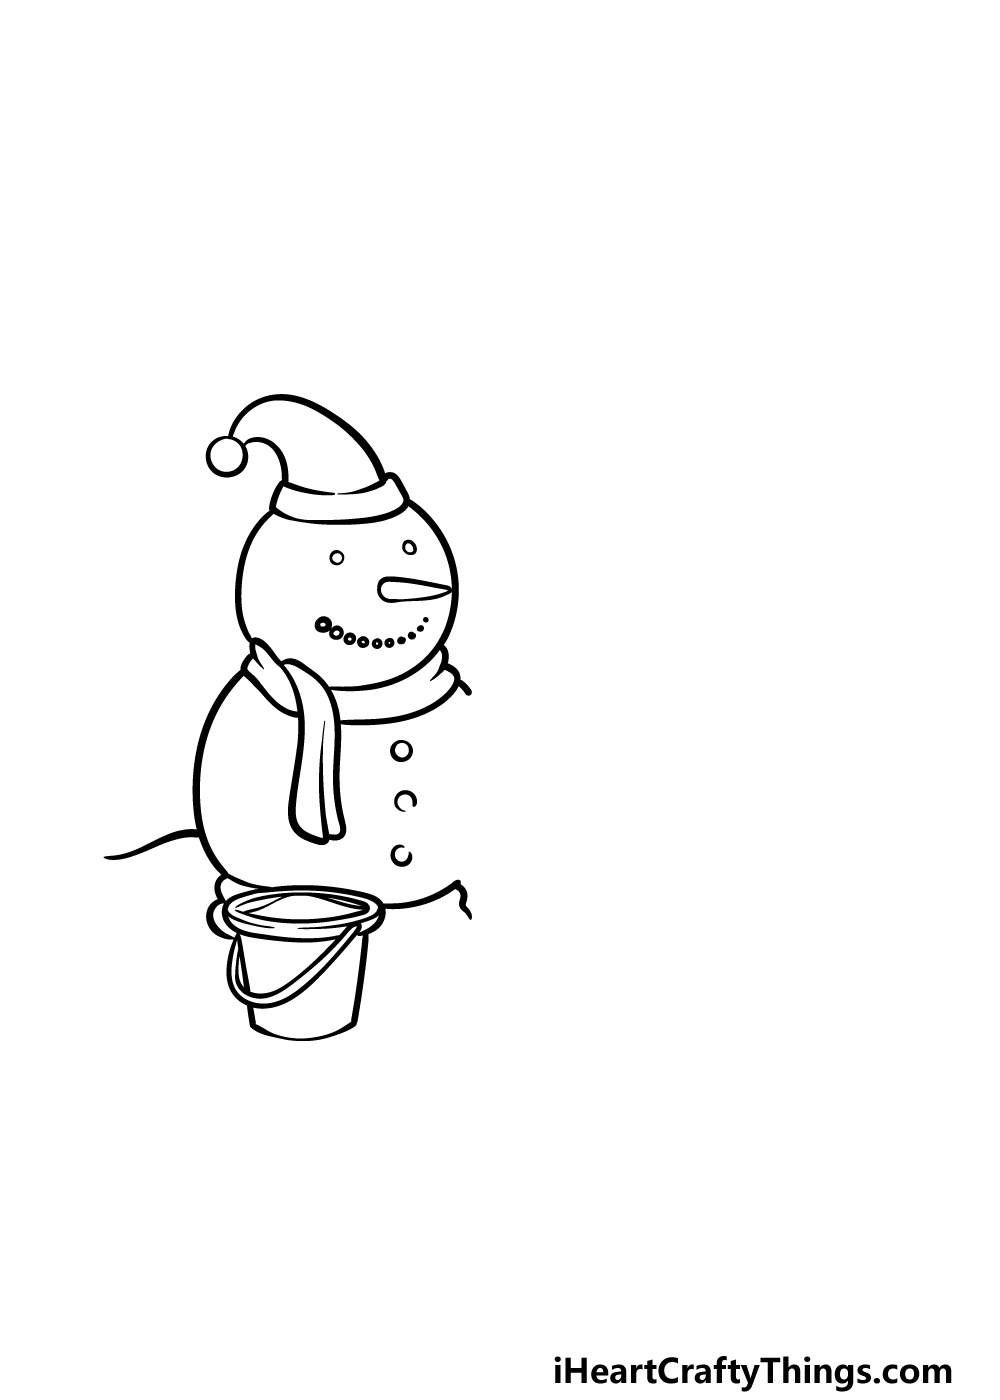
Now we will be drawing some facial details for the snowman and other elements of this holiday drawing. First, draw two small circles for the eyes of the snowman.
Next, draw a long, pointy shape for the carrot nose. Finally, add a curved row of small circles for the mouth made up of small stones.
Draw a curved line for the left side of the snowman’s body, and you can start one on the right. The one on the right will have a gap in it for now, however.
Finish off with small circles on the body of the snowman, and then draw a small bucket near the base.
Step 3 – Start drawing the first kid
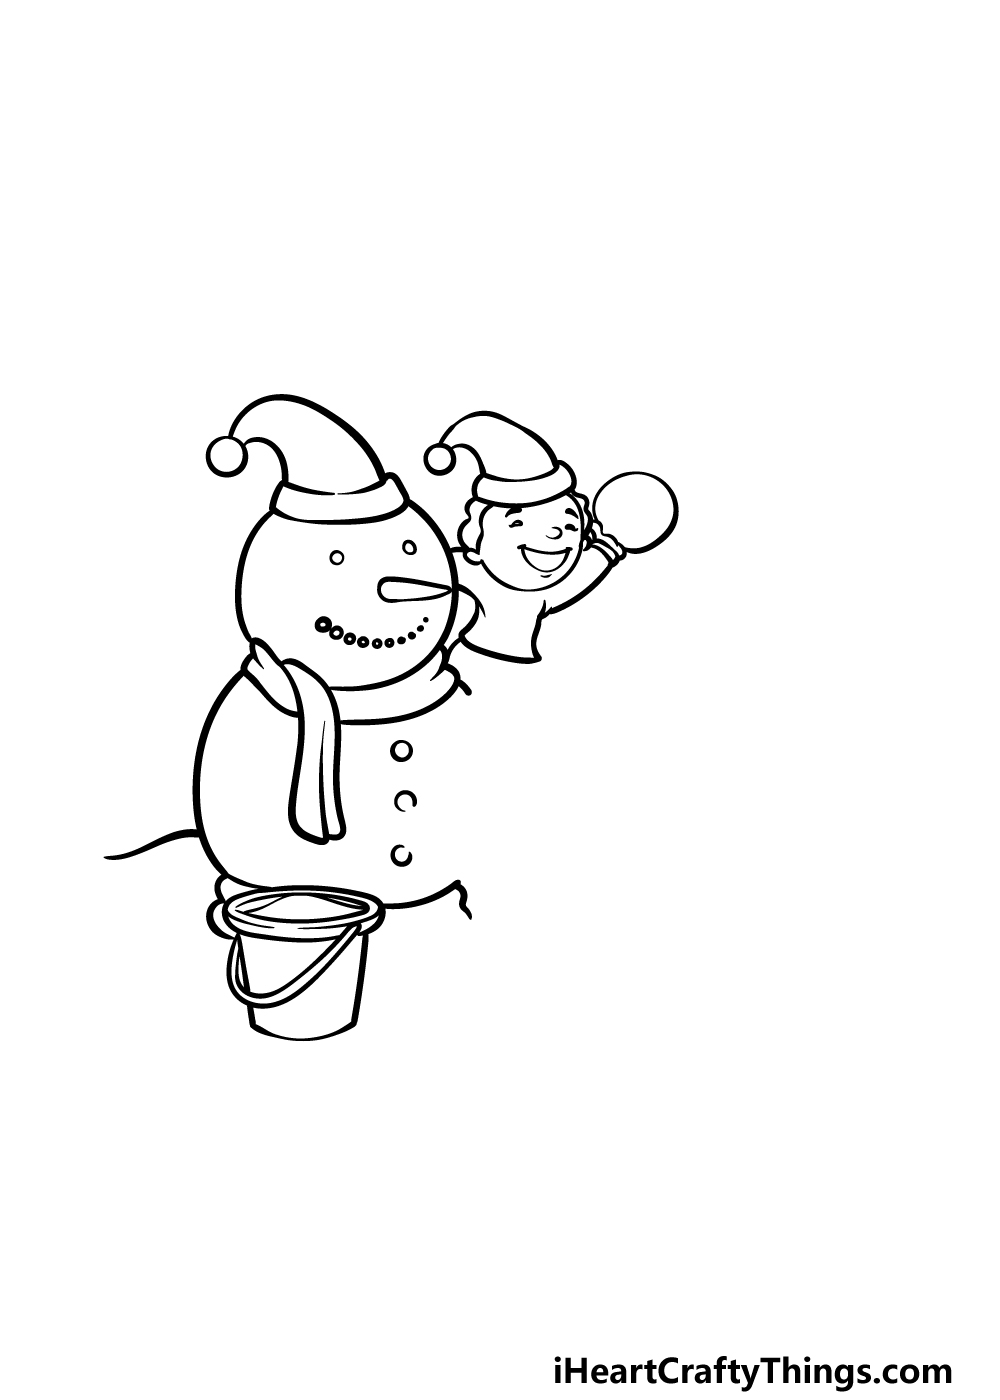
This wouldn’t be much of a holiday scene without some kids enjoying it, so we shall add the first one in this third step of our guide on how to draw a holiday!
This kid will be near the upper section of the snowman, and he will be wearing a similar Santa hat to the snowman.
He will have a rather happy expression on his face, and he will be holding a snowball that is probably soon to be thrown at one of his friends!
We won’t draw his legs for now, but we will add some more kids to the scene in the next step of the guide.
Step 4 – Next, draw another kid
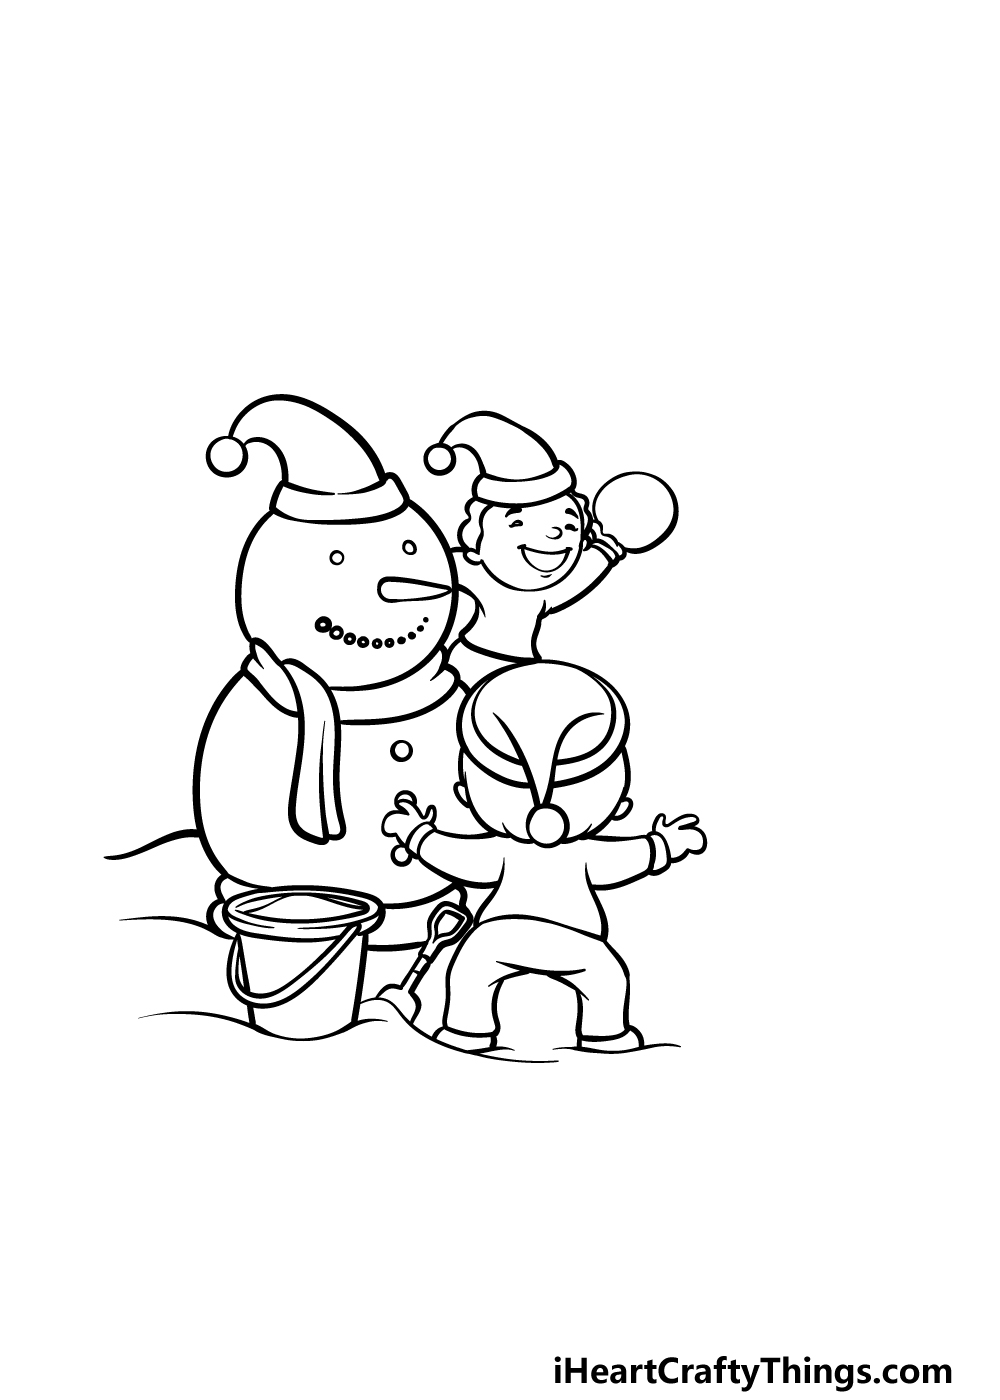
In this part of your holiday drawing, you will see why we didn’t draw legs for the previous kid. There will be another child added to the image now, and their hat will block the bottom half of the first one.
This kid will have their arms spread out as if getting ready for an intense snowball fight! We will then finish off any final additions and details in the next step.
Step 5 – Add the final details to your holiday drawing
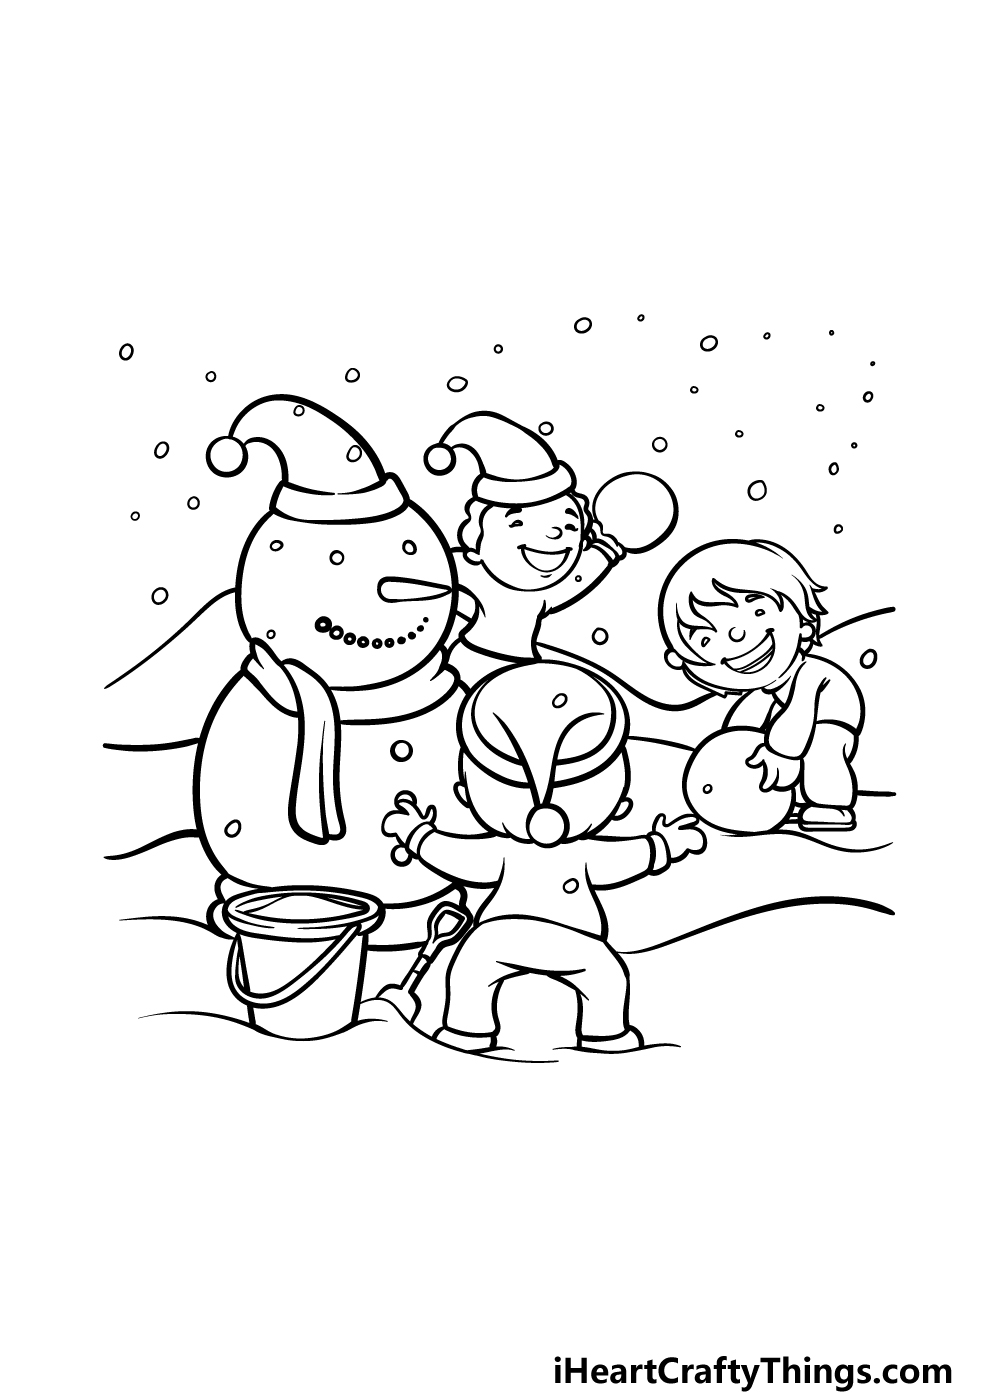
This fifth step of our guide on how to draw a holiday will see you adding another kid along with some more background details.
This final kid will be rolling a large snowball on the ground, and for a bit of variety, this kid will not be wearing a hat.
Once he is drawn, you can then add some final background details! You’ll notice that we used some small circles in the background to represent snow falling.
You could also add some more details of your own, and these could include adding background elements or maybe even more kids playing with these ones.
These are just a few of the many ideas you can go for, but you should feel free to go for any other ideas you have to finish up this image nicely!
Step 6 – Finish off your holiday drawing with color
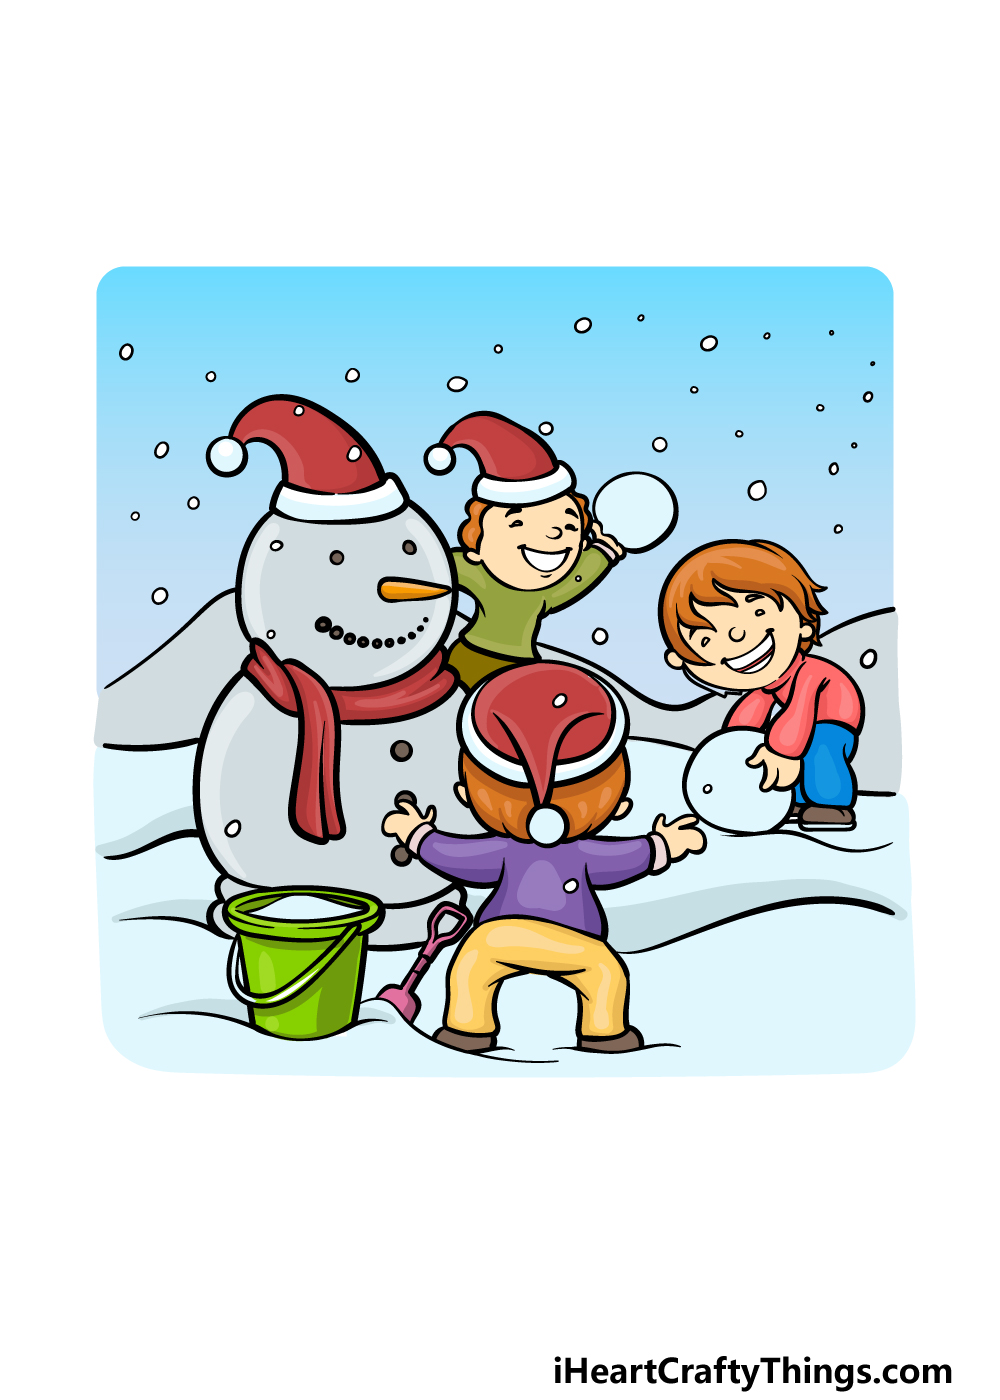
Now you’re ready to finish off this charming holiday drawing with some color! There is a lot of snow in this picture, and that may make you think that the majority of this image should be simple white.
In our reference image, you’ll see that we tried to incorporate different colors to shake things up a bit.
Instead of keeping everything white, we incorporated some lovely light blues for the background, and then used some light greys for the snowman.
To create further variety, we used lots of bright colors for some individual elements. These include some bright greens for the bucket and reds for the hats and clothing being worn.
When coloring your own image, you should definitely feel free to use any of your favorite colors!
It could look really nice to use some watercolors for a classic feel, but what other colors and mediums can you think of to use?
Here’s how you can make your holiday drawing even better…
Take a trip as we make your holiday sketch even better than it already is!
This drawing of a holiday shows three kids having a great time in the snow. You could make it even grander by adding even more kids to the scene!
How many you add would depend on your level of patience along with how much space you have on the page. It would be really cool to have a giant snowball fight going on, for example.
Who would you base these additional characters on?
You could give this scene a greater sense of place by adding to the background details as well. There are a few great ways that you could do this.’
One simple way of adding to the background would be by adding some houses. Even if you typically don’t like drawing houses, you could keep the designs really simple.
Even if you just draw the outlines of some houses, it would do a lot to add to the setting. What other background details could you add?
This holiday drawing shows a Winter setting, but you could add other seasonal holidays as well. One way of doing this would be to separate the page into four equal sections.
This holiday scene we designed could go into one of these sections. Then, you could create a scene from Fall, Summer and Spring to go in the other three.
What are some holiday scenes you could use from other seasons to contrast the one we created here?
Finally, this holiday sketch could be turned into a lovely greeting card to give to someone. This would be perfect if you happen to be in the season depicted here.
One way of doing this would be to draw this scene on a piece of folded cardboard. Then, you could write a message inside the card to present to someone.
This would be a great Christmas gift for someone, for example! Who would you give this picture to as a special gift?
Your Holiday Drawing is Complete!
That brings you to the end of this guide on how to draw a holiday, and we hope that it as fun and relaxing as enjoying a real holiday!
We wanted to create a charming scene for you to work on, but we also wanted to make sure that recreating it would be an easy experience that allows for your own creativity.
There are many ways that you can express that creativity, from drawing a background to adding more elements and playing around with your colors.
There is no limit to the ways that you can personalize this image, and we can’t wait to see what you do!
When you are ready to take on a new drawing challenge, you can also visit our website for more drawing guides to enjoy.
We have a huge selection with more on the way, so be sure to keep checking in!
You can then finish off the process by sharing your finished holiday drawing on our Facebook and Pinterest pages!