


The oceans that cover large portions of our planet are filled with many incredible creatures. These fish and other forms of life can be brightly colored and come in many different shapes and sizes.
While some of the larger specimens may get most of the attention, some of the smaller ones can be just as stunning.
The clownfish is one of these, and this beautiful little fish was made popular thanks to the film Finding Nemo. Learning how to draw a clownfish is a great way to recreate this colorful little fish!
If you love the clownfish, then this will be a tutorial that is not to be missed.
Our step-by-step guide on how to draw a clownfish in just 6 easy steps will show you how fun and easy it can be.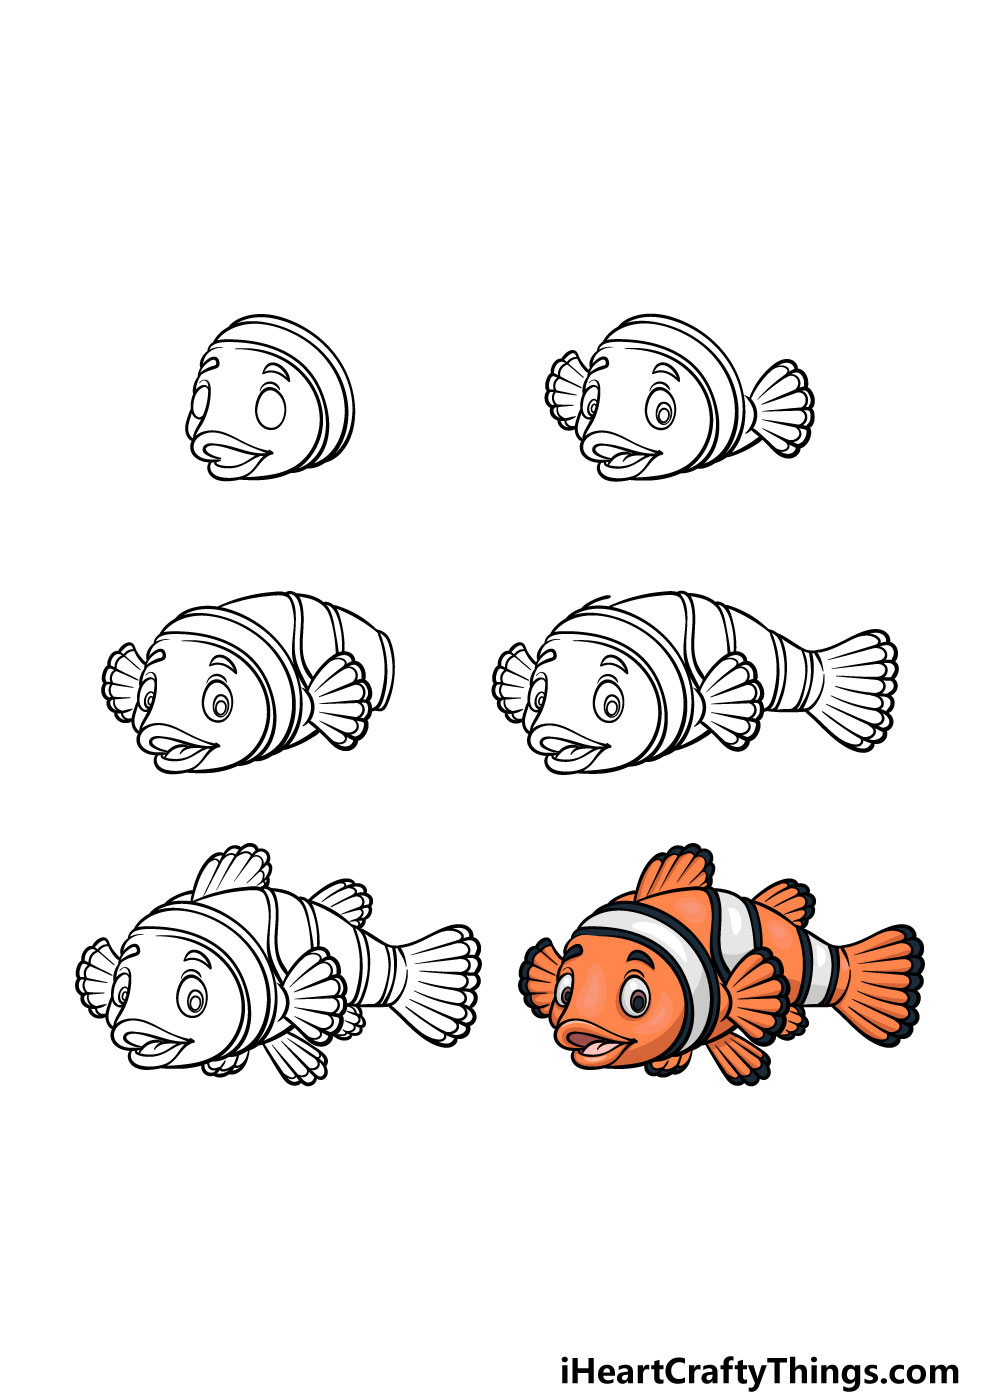
How to Draw A Clownfish – Let’s Get Started!
Step 1
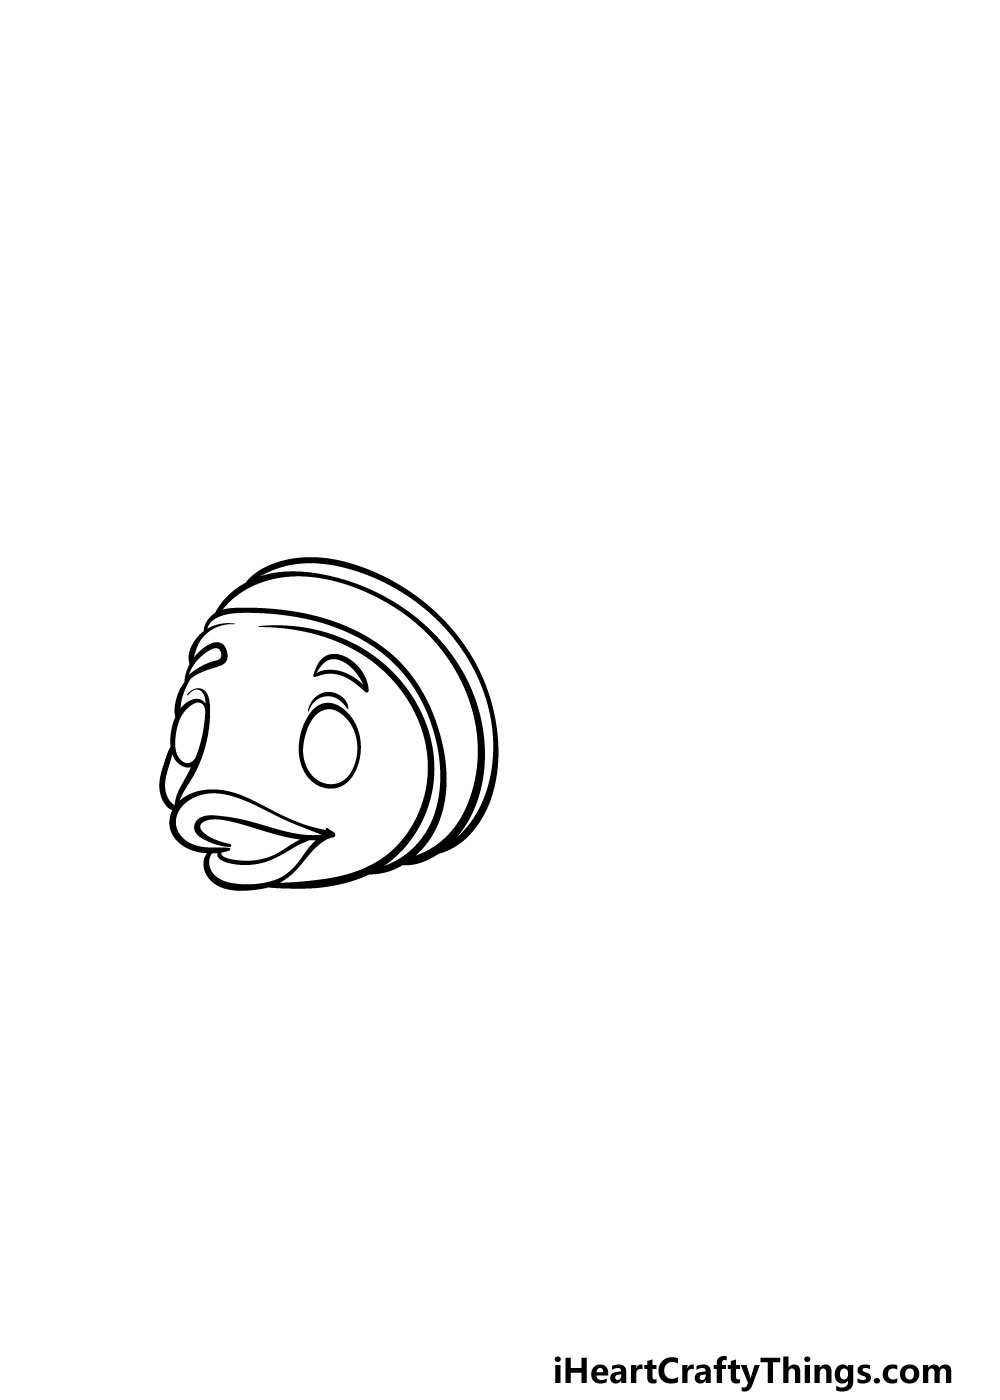
To begin this guide on how to draw a clownfish, we will begin with the head and the face of this little fish. You can start off this process by drawing two small oval shapes for the eyes.
They will be blank for now, but we will add some details to them later. For now, you can add some sharply curved eyebrows over the eyes and add a curved line between them.
This curved line will attach to some thick smiling lips, and then you can finish off the outline for the head.
The body of the clownfish is separated into various striped sections, so you can use some curved lines for this first section. Then you can move on to step 2!
Step 2 – Now, draw some facial details and fins
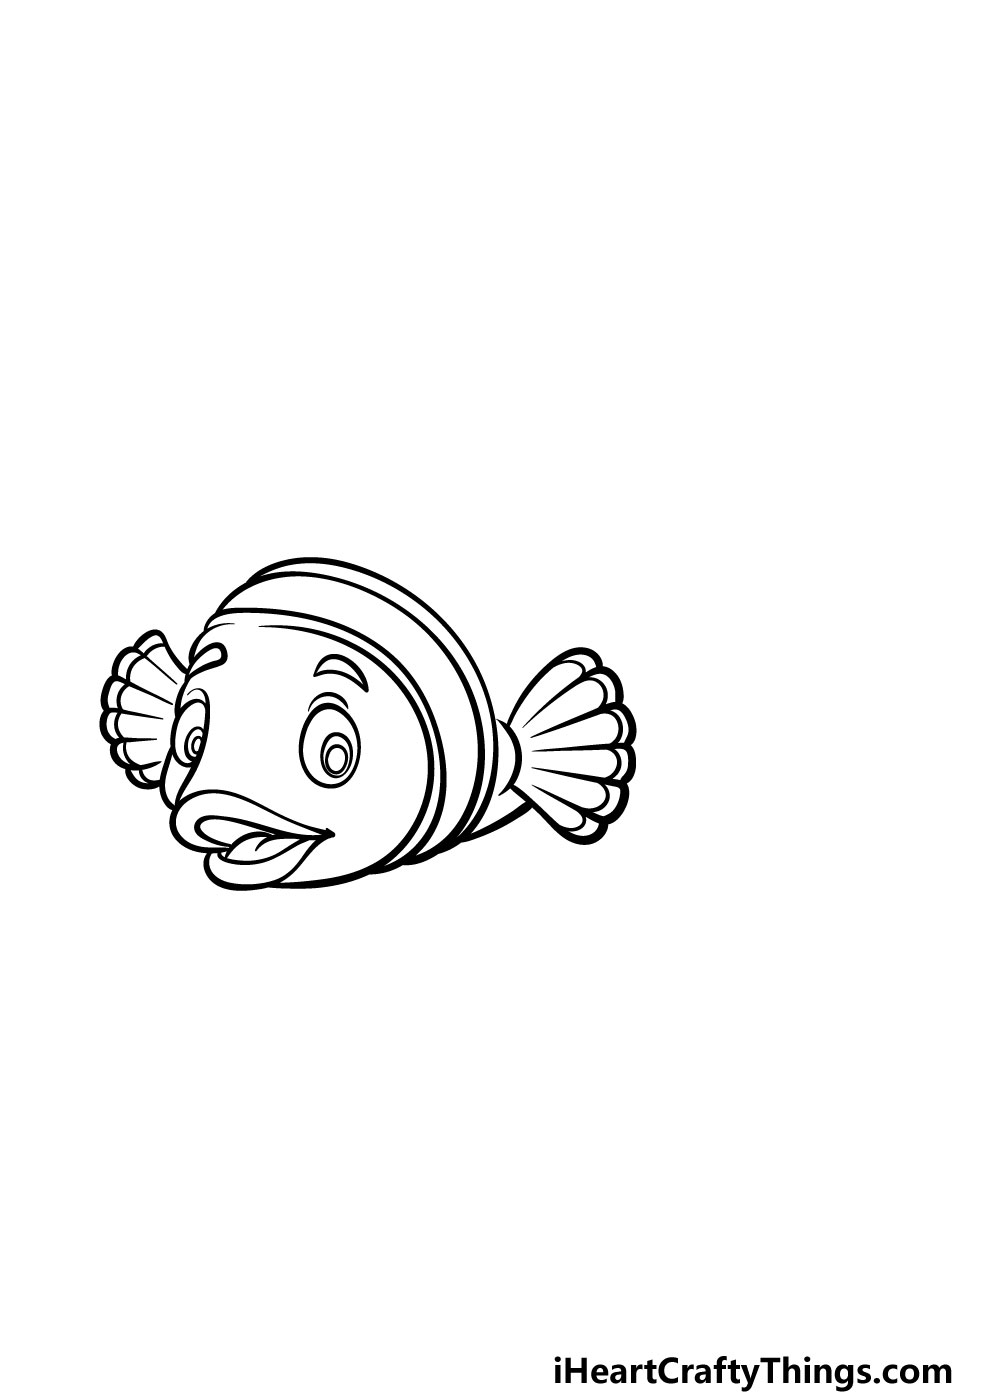
In this second step of your clownfish drawing, we will be adding some facial details to the face that you started in the first step.
We will also be adding some fins to the sides of the fish, but first we will focus on those facial details.
You can start by drawing some small oval shapes into the eye outlines for the pupils. Then, add some small, curved lines inside of the open mouth for the tongue of the clownfish.
To finish off this step, we will then add the side fins. These will be drawn with some curved lines that form various small, thin sections that fan out.
Finishing these will have you ready for step 3 of the guide!
Step 3 – Draw the middle section of the clownfish’s body
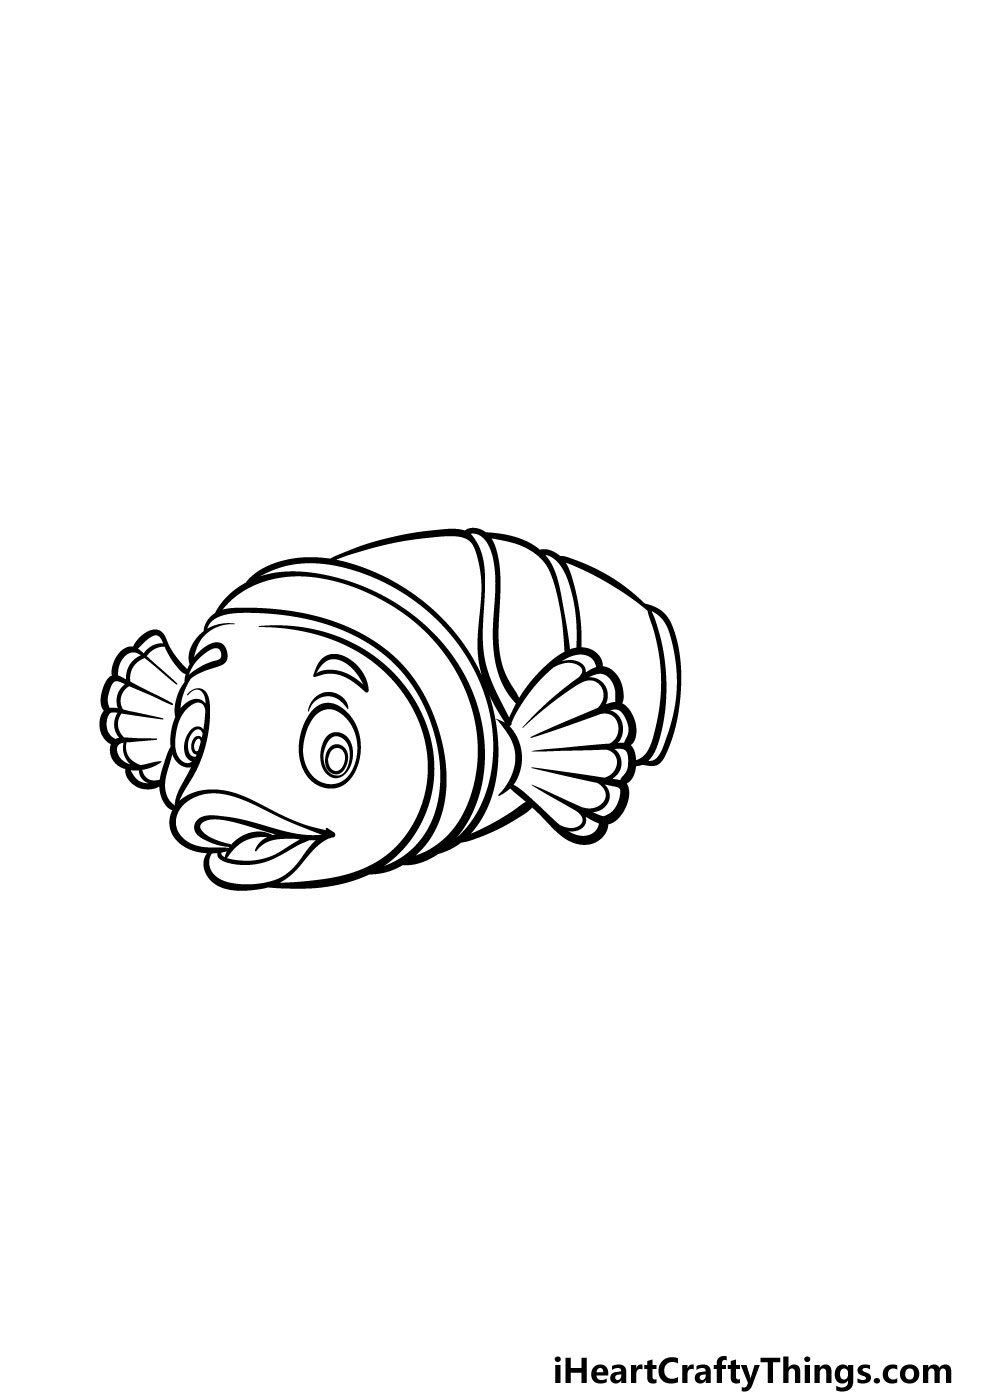
Continuing with this guide on how to draw a clownfish, we will now add the middle section of the fish.
To do this, we will be adding more of those curved lines that you used for the first section of the fish’s body. For now, we will be adding three sections to this central portion.
Once you have added these, we can then move on to step 4 to add some more to this clownfish.
Step 4 – Next, draw the tail of the clownfish
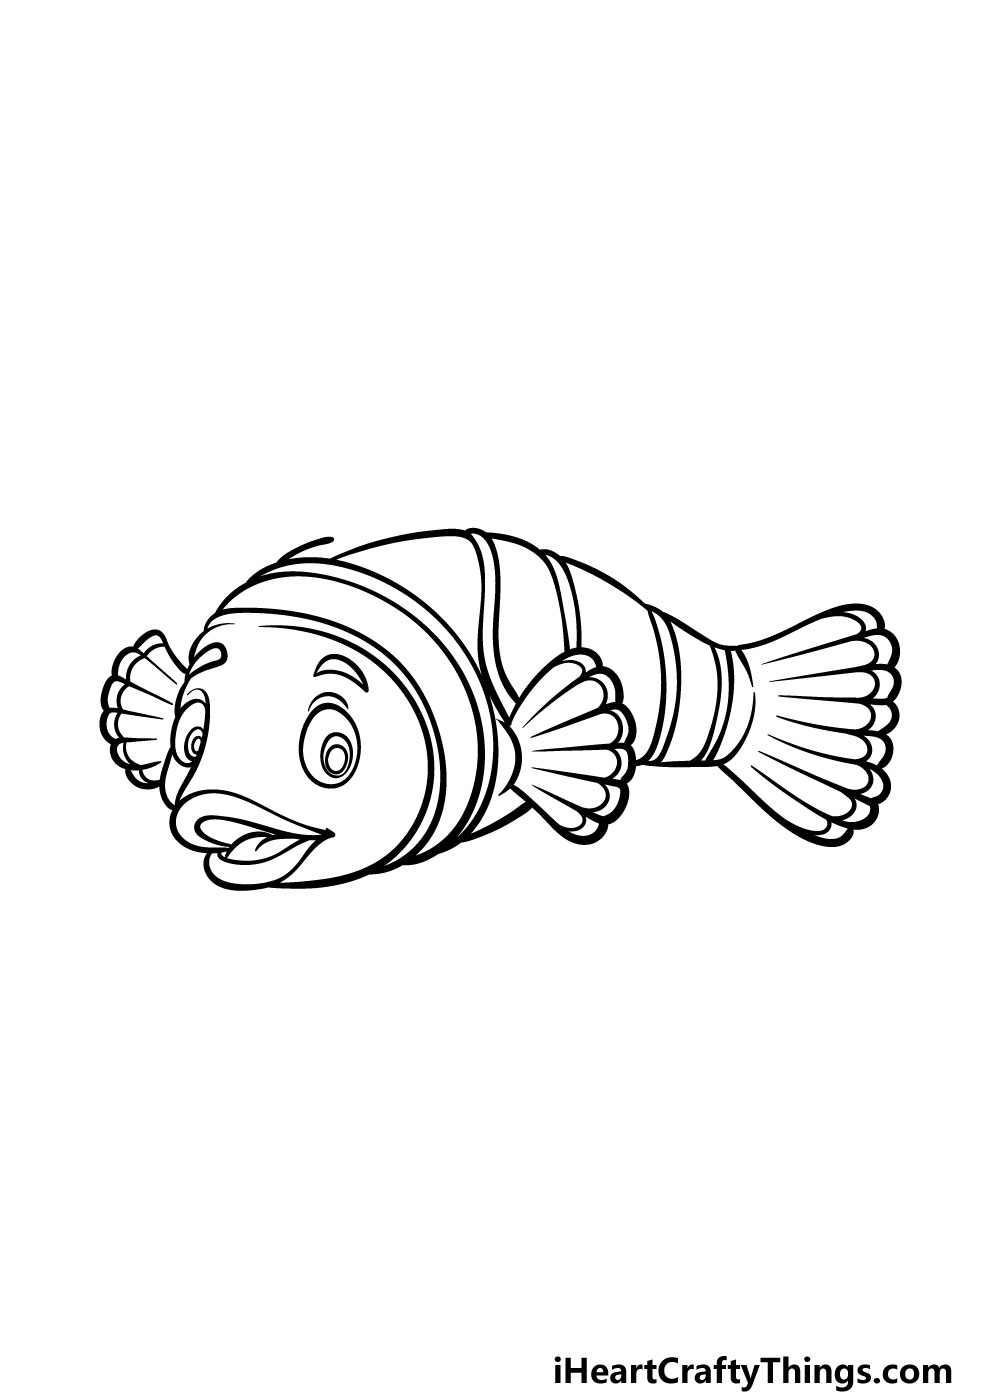
This fourth step of your clownfish drawing will see you adding the rest of the tail and the final section of the body.
To do this, you can use some curved lines extending from where the previous section ended to extend outward.
Then, the tail will be separated into several thin shapes and lines much like how the side fins were. These sections will give the tail end that fanned-out look that those side fins had.
You can also extend a small curved line coming off of the top of the body. This line will lead nowhere for now, but it will make sense when we start adding some fins in the next step of the guide.
We will also handle any final details or additional elements in step 5!
Step 5 – Add the final details to your clownfish drawing
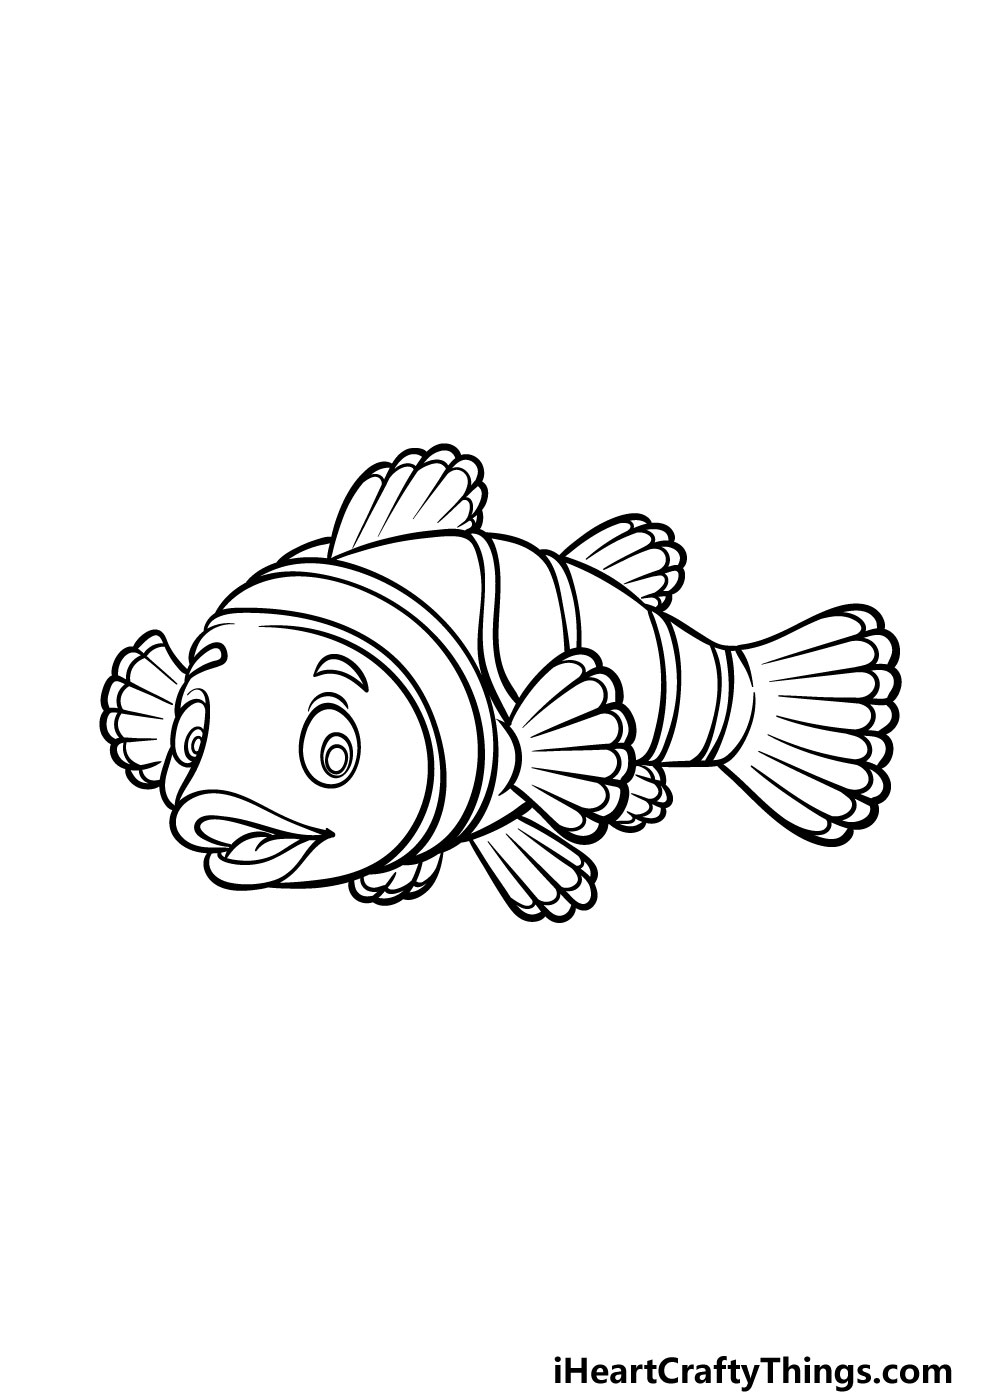
That brings you to the final details of this guide on how to draw a clownfish. This step will get you closer to the final part where you shall add some beautiful colors to this image.
To do this, we will be adding two fins to the top of the body of the clownfish, and then there will be three smaller ones added to the belly.
While these fins will all vary in size, they will all look like the previous fins that you have drawn so far. This means they will be separated into smaller curved sections that connect to one another.
Once you have added these final fins, you’ll be ready for the final step of the guide! Before you proceed, you can also add some extra details and ideas of your own.
These could include elements like a background, so what kind of setting or extra ideas can you think of to add?
Step 6 – Finish off your clownfish drawing with color
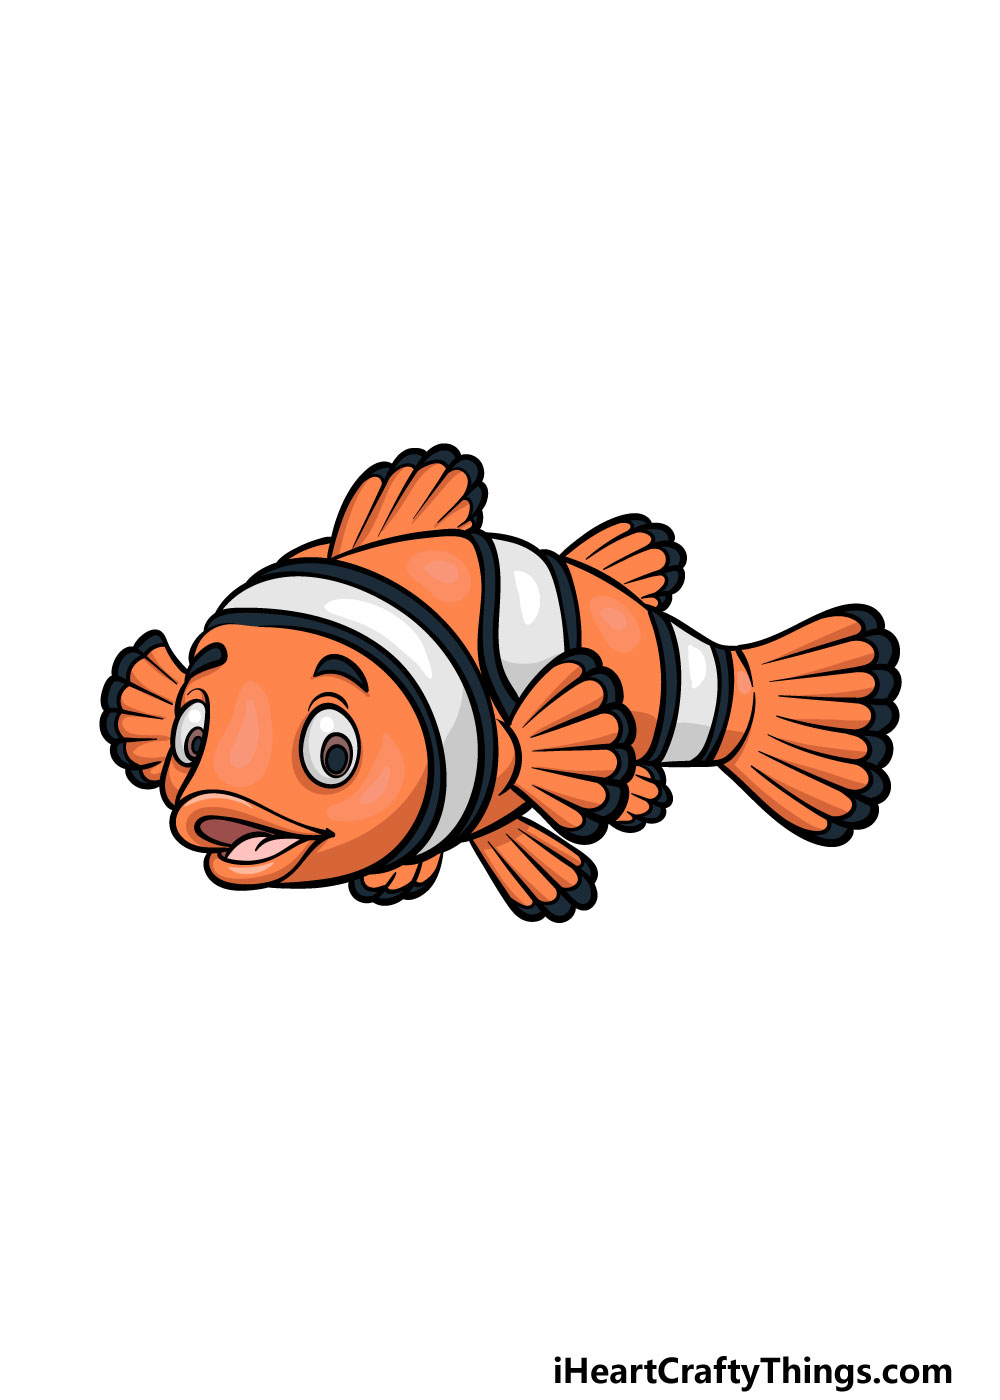
This pretty little fish is well known for its bright and beautiful color scheme.
We went with this typical color scheme in our reference image, and this means that there is bright orange with alternating white stripes.
These white stripes will also have thick black borders on them, as shown in our reference image.
You could use similar colors to the ones we used for a more realistic look, but you could also use different colors you love for a more stylistic appearance instead!
How will you finish off this beautiful drawing using your colors and art mediums?
4 More Ways To Make Your Clownfish Drawing Unique
These tips for your clownfish sketch are sure to put a smile on your face!
This drawing of a clownfish looks great on its own, but it would look even better if you were to add a second one!
The best part of this is that now you know how to draw one, so adding it would be easier than drawing the first one.
You could change a few details to make this second one unique. Perhaps it could have a different facial expression, for example. You don’t need to stop at just one, as you could add a few clownfish!
When you’ve had enough of drawing clownfish, you could also add other types of fish to the scene. This would be a great way to show off what your favorite fish are!
When you know which fish you would like to include, we would recommend looking up photos of the fish and then adapting them into the same cartoon style we used for the clownfish.
What are some fish or sea creatures you would like to join this clownfish?
Once you are happy with the population of this clownfish drawing, you could then create a background.
There are a few ways to do this, and one would be to show the clownfish in its natural habitat.
Or, you could show the clownfish in a tank with some small decorative elements. Whichever you go for, a sea anemone would be a great addition, as clownfish are often associated with these.
When most people see a clownfish, they will probably think of the film Finding Nemo. If you love that movie, then you could adapt this clownfish sketch to match the film!
You could start by adding a smaller clownfish to represent Nemo. Then, you could change the facial designs of the characters to match the characters from the movie.
Finally, you could also recreate your favorite scenes from the movie by adding a background that shows off the scene. Adding other characters from the movies would also be great!
Your Clownfish Drawing is Complete!
All of the steps in this guide on how to draw a clownfish are complete, and you have a beautiful colorful picture to show for it!
Hopefully by working through the steps in this guide you found this to be a fun and easy experience.
Don’t forget that there are also loads of ways that you could add your own ideas and details to this picture.
We mentioned adding a background or some extra elements, so what ideas will you use to finish it off?
When you have completed all of the steps, you can then head on over to our website when you’re ready for more drawing guides to enjoy!
We have a huge selection that we add to often, so you’ll never run out of drawing fun.
It would be great to see your finished clownfish drawing, so please share your finished artwork on our Facebook and Pinterest pages for us to admire!