Easter is one of the most widely celebrated holidays in the world.
It is primarily celebrated in the Christian faith to commemorate the crucifixion, but there is a lighter side to the occasion as well.
This holiday is also associated with colorful egg hunts delivered by the Easter Bunny, and the image of these eggs in baskets has become closely associated with the holiday.
That is an image that we have chosen to represent in this guide on how to draw Easter!
If you love this colorful holiday, then this will certainly be a tutorial you won’t want to miss.
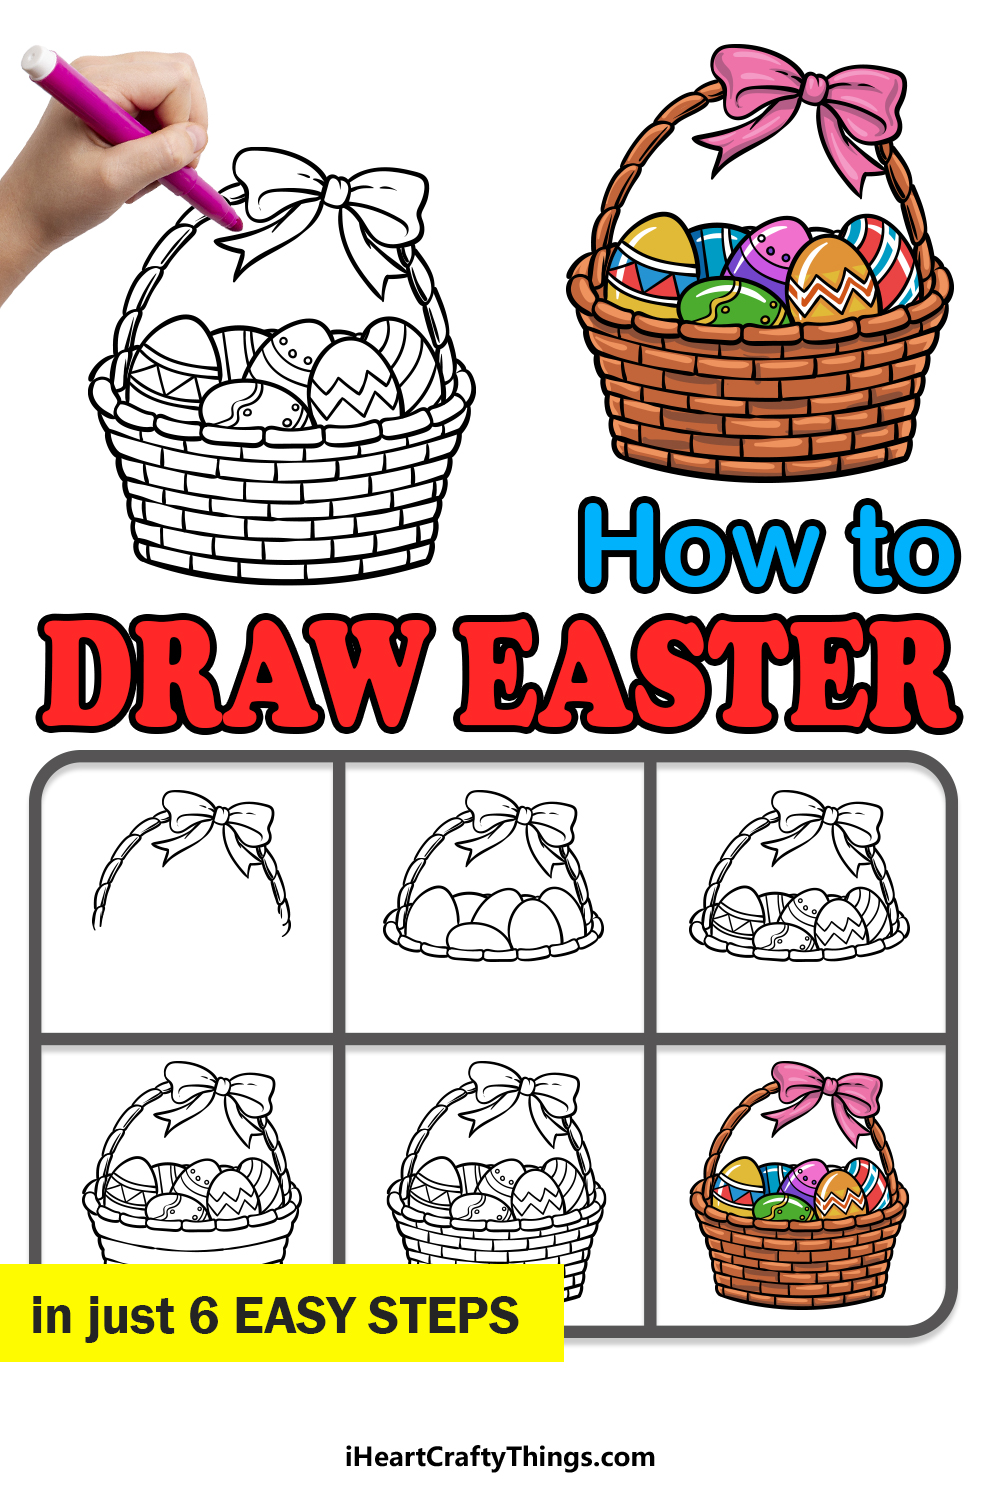
Our step-by-step guide on how to draw Easter in just 6 easy steps will show you how to easily create a charming Easter scene to commemorate the holiday.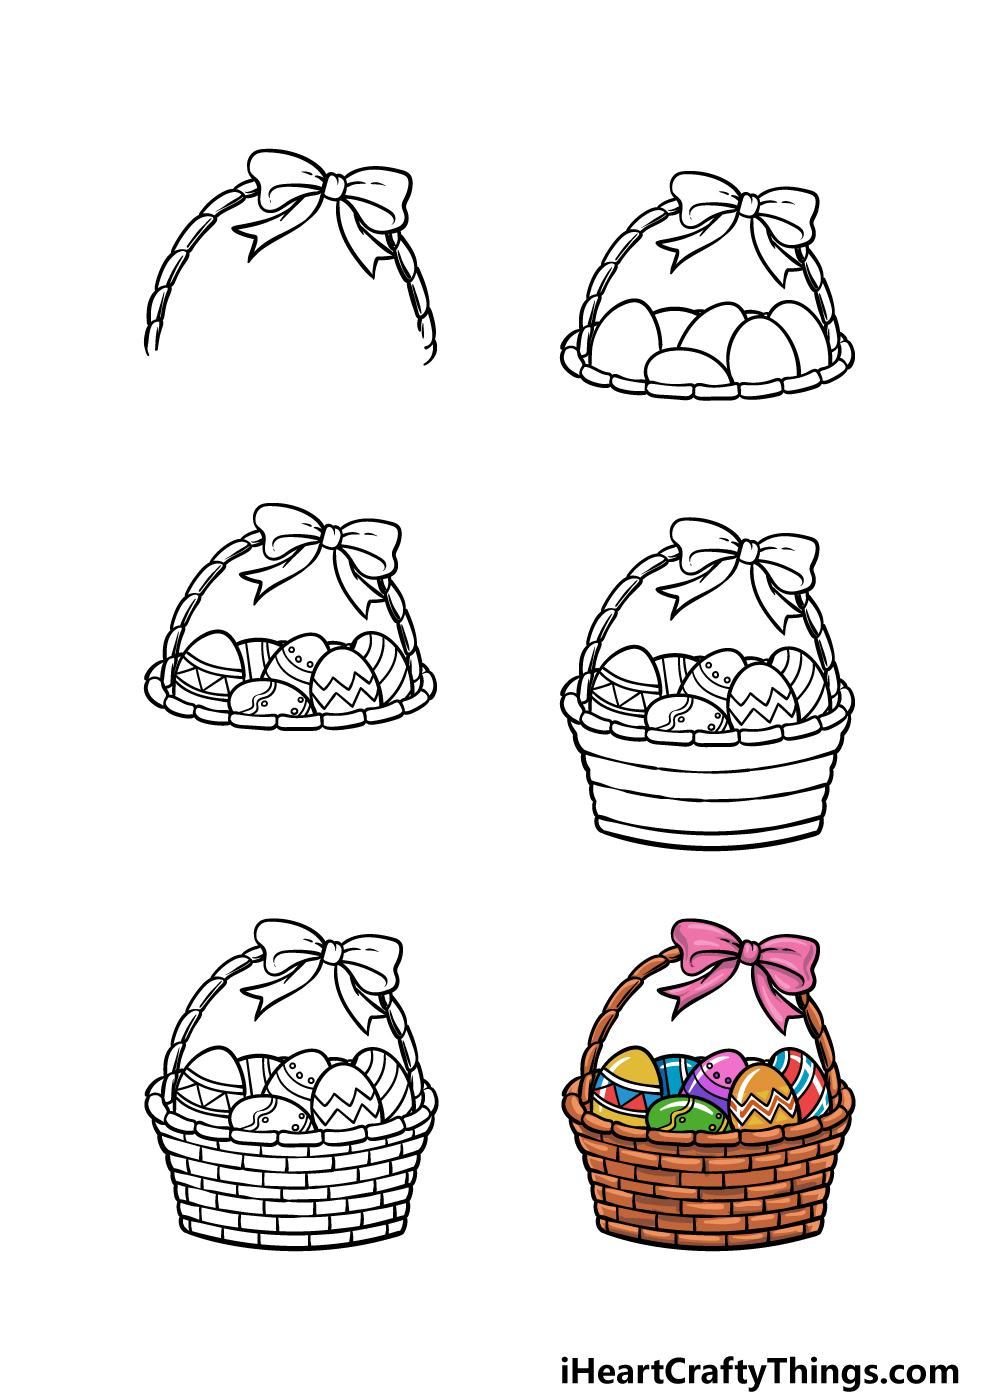
How to Draw Easter – Let’s Get Started!
Step 1
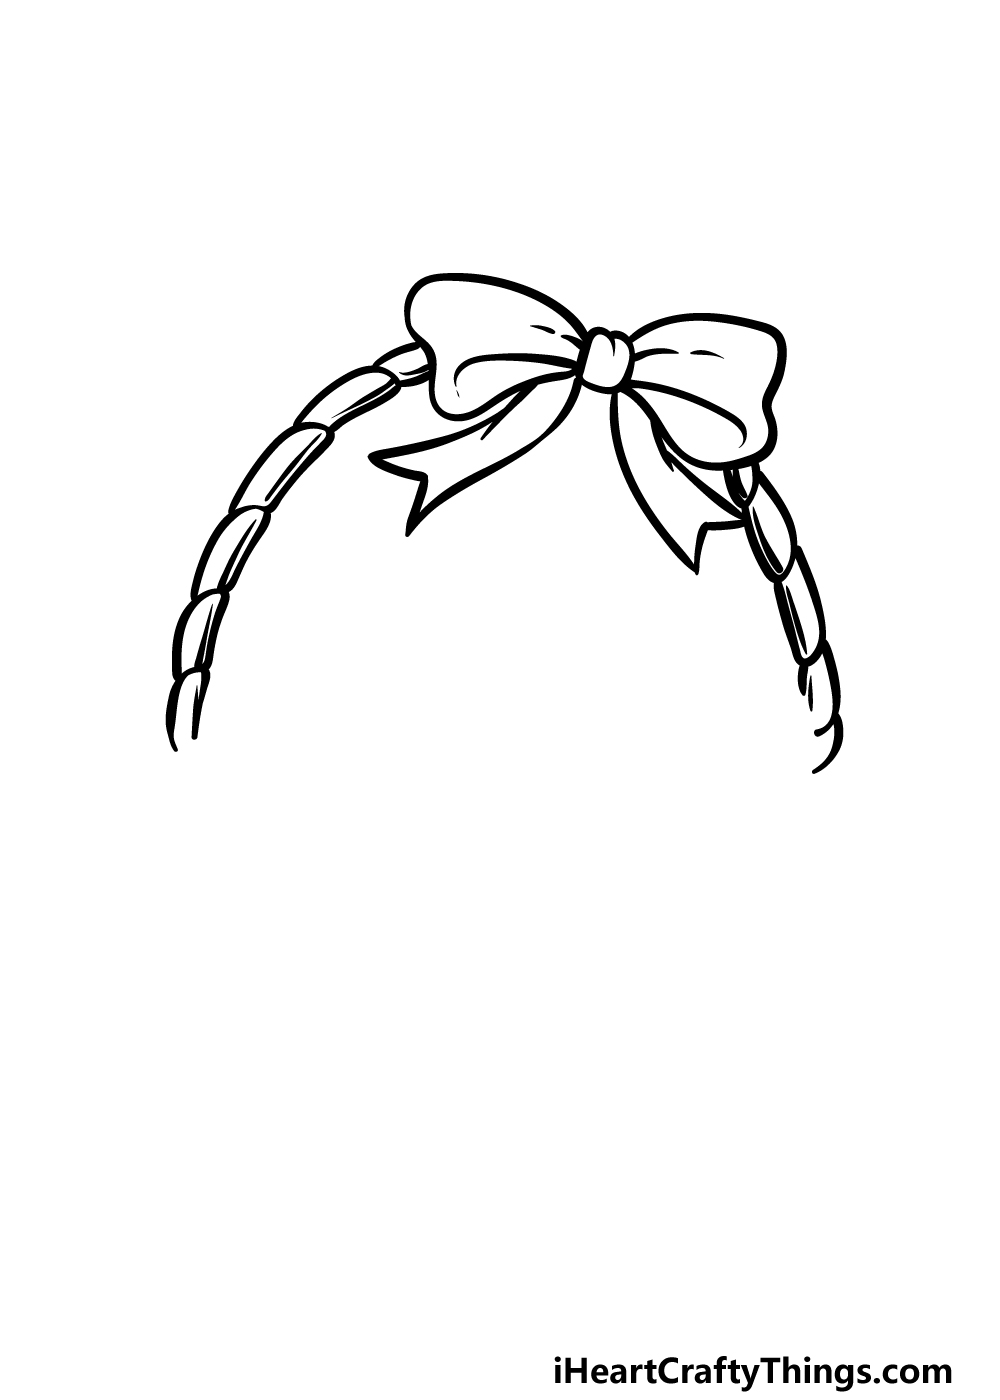
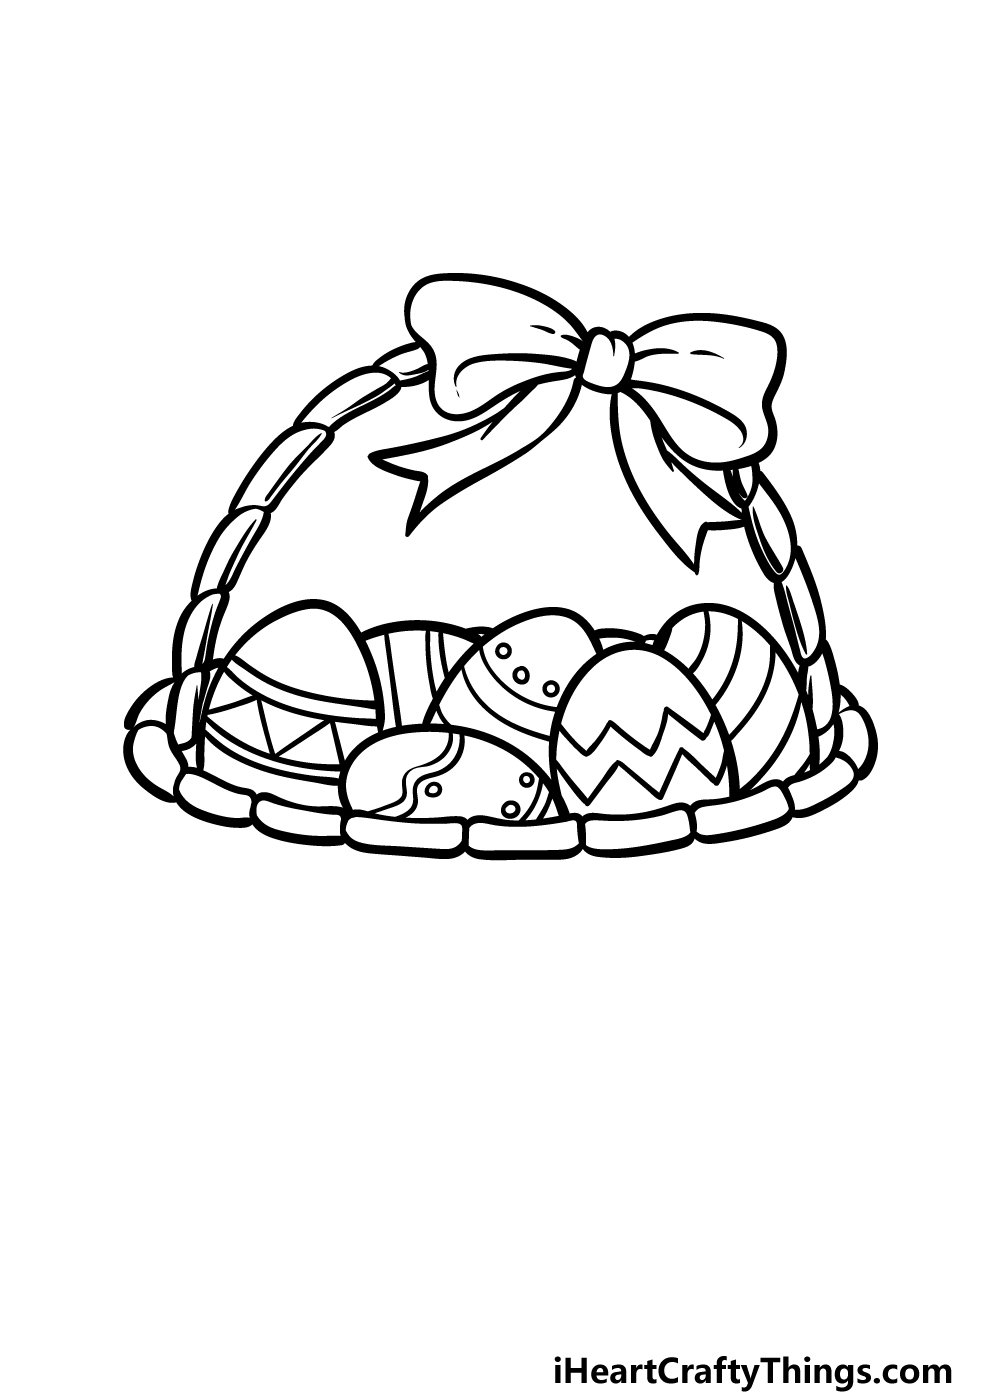
The eggs in this image will be contained in a wicker basket, and we shall start by drawing the handle of that basket in this first step of our guide on how to draw Easter.
Start by drawing a small, rounded shape for the center of the bow that is on the handle.
Then, use some larger rounded shapes for the loops of the bow and then extend some thinner forked shapes down from it.
When you have drawn this pretty bow, we will then focus on the handle itself.
This handle will be sharply curved, and it will be made up of lots of small, thin sections connecting to one another. With the handle drawn, we can then proceed to step 2!
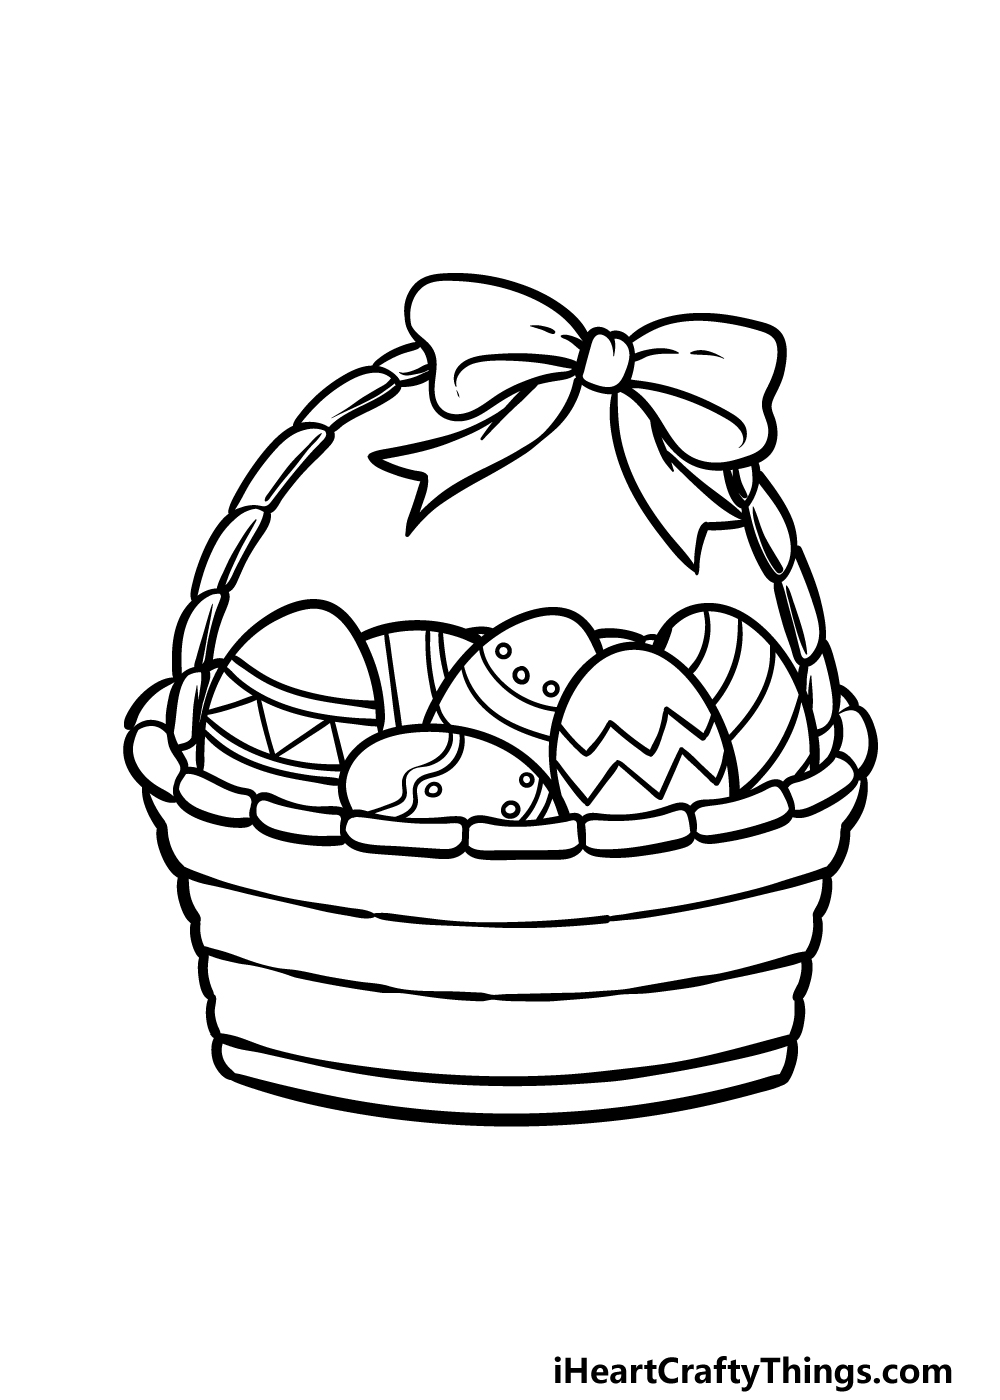
Step 2 – Now, draw the eggs for this basket
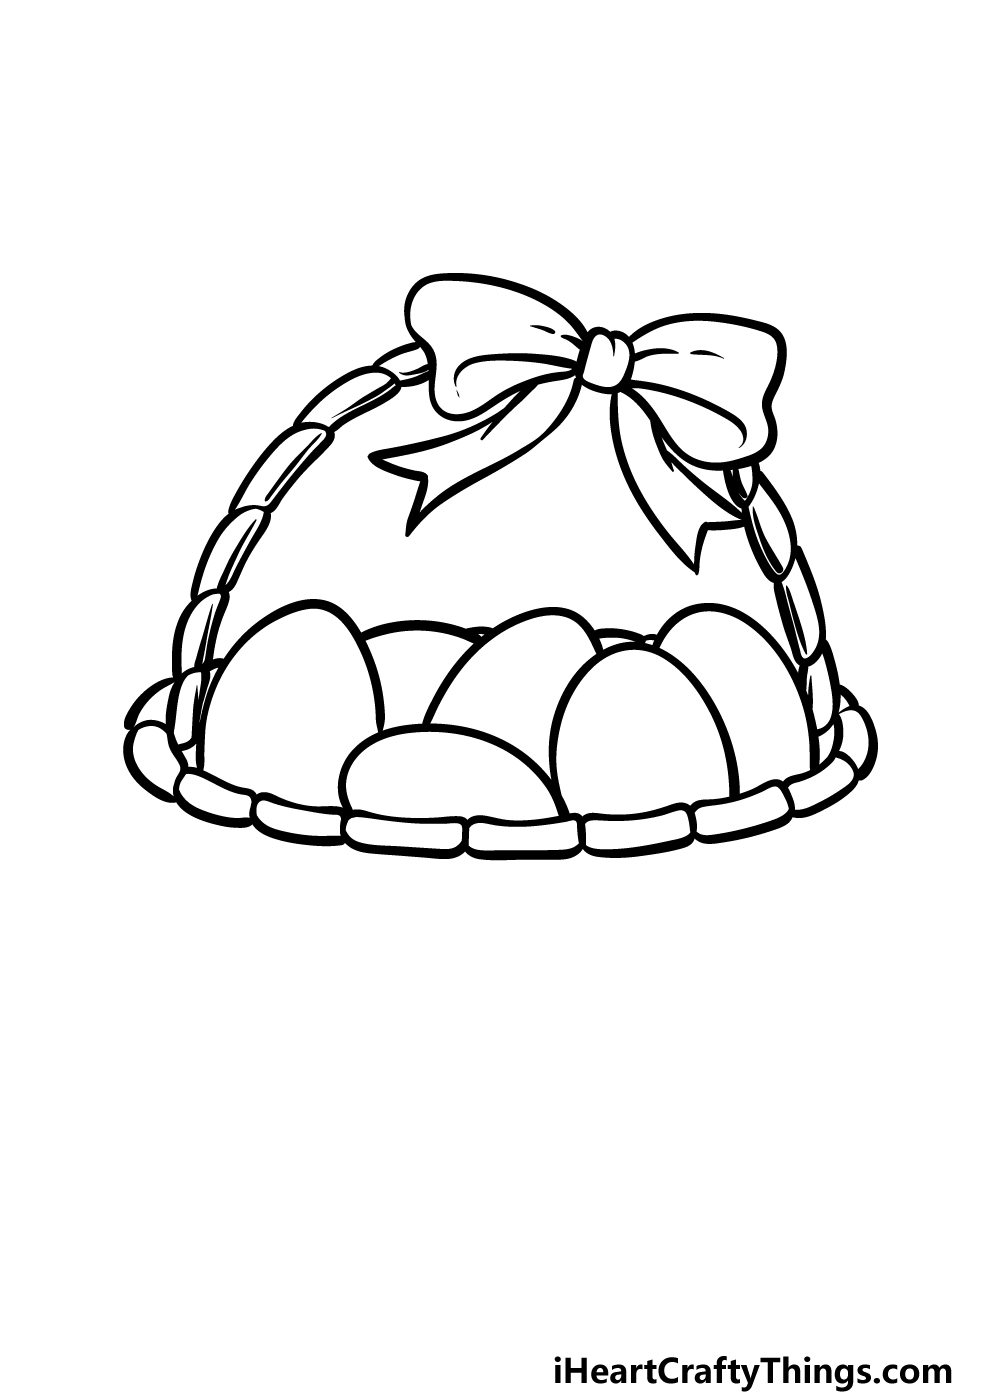
Having a basket is all well and good, but it wouldn’t be much of an Easter drawing without some eggs! We will draw some soon, but first we shall add the rim of the basket.
This rim will actually look rather similar to the design of the handle in that it will be comprised of several small, thin shapes connecting to one another.
With the rim of the basket drawn, it will be time to add some eggs! The eggs will be drawn using curved lines, and around 6 eggs will be visible in the image.
They will be blank for now, but we will decorate them shortly when we move to the next step!
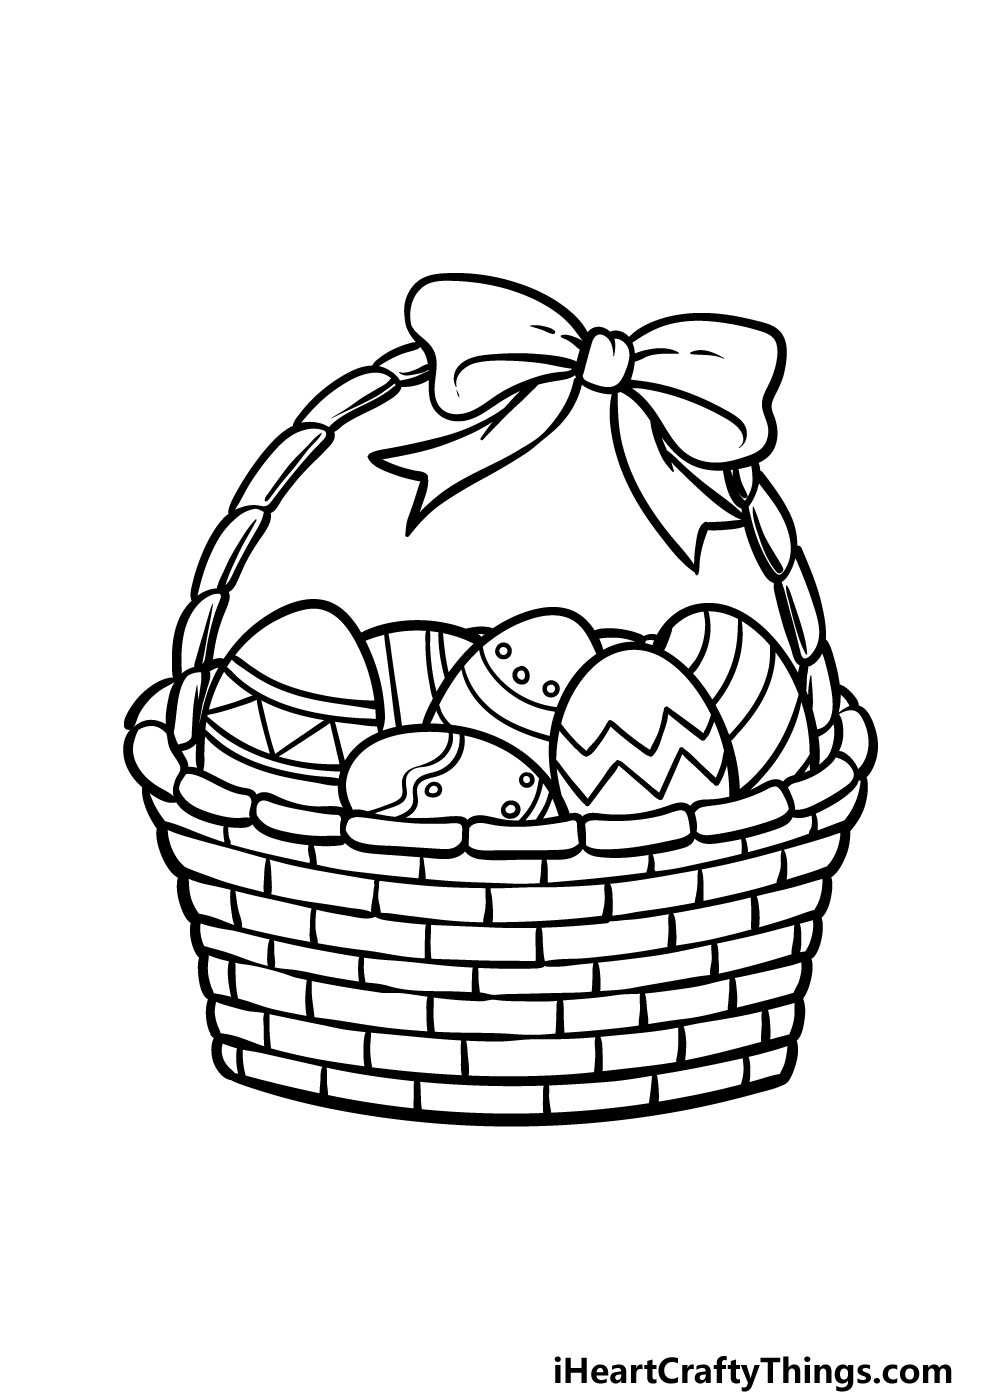
Step 3 – Draw some detailing for the eggs
This step of our guide on how to draw Easter will be focused on the decoration for the eggs. We added all sorts of pattern details from zigzags to stripes and dots.
These are just a suggestion, and while you could go for similar patterns or use some decorations of your own.
How will you decorate these pretty eggs before we move on to the next step?
Step 4 – Next, draw the body of the basket
Before we move to the final details of this Easter drawing, we will first finish off the outline for the basket.
This basket is weaved together, so to give off this appearance we will be drawing it in several sections.
Use some curved horizontal lines to add these sections of the basket.
As you can see in the reference image, these sections will get progressively thinner as you move further to the base of the basket.
Once you have drawn these sections, we will then be able to focus on some smaller final details in the next step of the guide!
Step 5 – Add the final details to your Easter drawing
This fifth step of our guide on how to draw Easter will focus on adding some smaller details to really finish it off!
We will also cover a few ways that you could add your own details and additions to the image, but first let’s finish off some smaller details for the basket.
Using the lines that you already had on the basket, we will be adding some more horizontal lines and smaller vertical ones. This will finish off the weaved look of the basket.
Then you’ll be free to finish off the image with some final touches! You could draw a lovely Easter background as one idea.
If you’re feeling extra creative then you could even add the Easter Bunny to the scene! What can you think of to add to the picture?
Step 6 – Finish off your Easter drawing with color
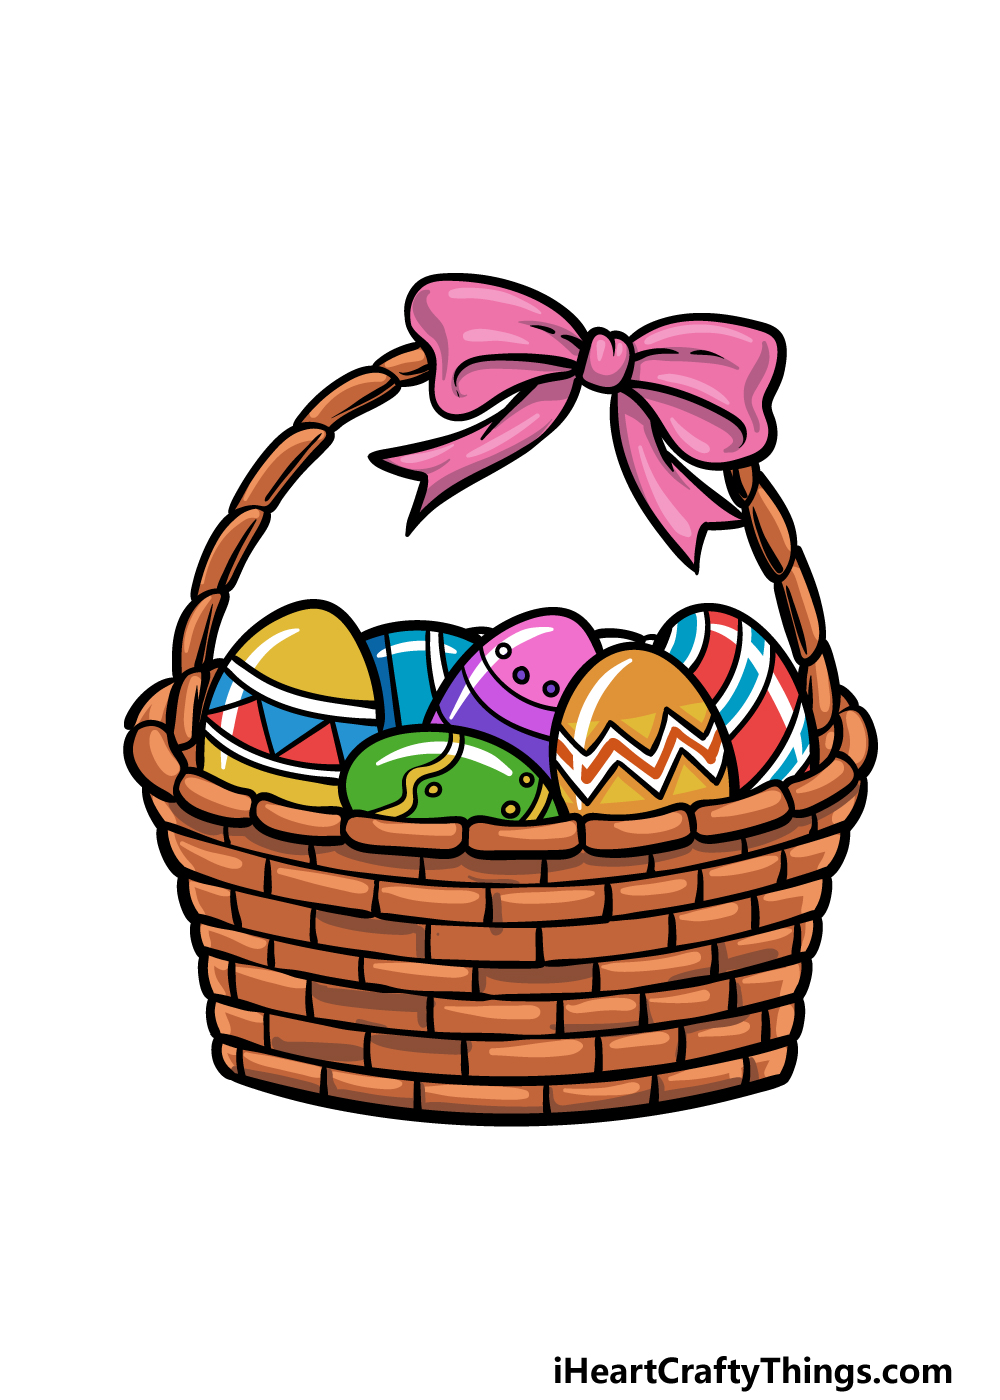
When it comes to Easter eggs, there’s a huge variety of different styles, colors and patterns that are on display.
You’ve worked hard on the design aspects of this Easter drawing so far, and in this final step we shall focus on the colors.
There are no rules when it comes to coloring Easter eggs. If anything, the only rule is that you should have as much fun as possible experimenting with color!
We showed you just a few of the colors you could go for when coloring the eggs in your own drawing.
These are just a tiny selection of the colors you could go for when coloring your own image, however!
Choosing the colors is just a part of the fun as well, as you can also experiment with different art tools and mediums to portray the colors you want. How will you finish off this pretty image?
3 More tips to make your Easter drawing easy!
Make this Easter sketch even easier with the help of these 3 tips!
For this drawing of Easter, we added a lot of details to the display. These details look really great, but they could make the drawing much harder to create.
For example, the basket has been drawn to show the individual portions of the wicker material it’s made of.
Creating these wicker details could take a lot of patience, so you could simplify these details.
Instead of drawing all of the woven pieces individually, you could use a more solid shape for the basket and then use some simpler line details for the texture of the basket.
Doing this may make the image simpler, but it would not necessarily make it worse, and it could make your drawing more unique!
If you want to keep all of the details of this Easter drawing design intact, then you could use a pencil to map it out.
Using a pencil will be super helpful, as you don’t have to worry about making mistakes and can have fun with it.
You could start by drawing the very basic outlines of the basket and the eggs inside of it.
This could progress from a rough sketch to a more detailed picture, and then you can add more and more layers of detail.
When you’re happy with how it looks, you can then finish off with your pen!
When it comes to drawing, it’s always better to use a real life model if you can. If it happens to be close to Easter, then you may have some similar decorations around you that you could arrange to match our drawing!
Even if it isn’t Easter, you could find a basket and fill it with some normal eggs. Just be sure to not drop any while you work!
Then, you can arrange it similarly to our image and then just add in the decorative details once you have the basics of the arrangement done.
That way, you could also make some changes to make it more personalized.
Your Easter Drawing is Complete!
With that, you have finished all of the steps in this guide on how to draw Easter, and now you have a charming Easter egg scene to show for it!
Drawing is made a lot less fun when frustration gets in the way, so that’s why we aimed to break it down into smaller manageable steps for you to enjoy.
When you’re ready to take this drawing to the next level, remember that you can add your own extra details and ideas as well!
We mentioned adding a background that could include the Easter Bunny as one idea, but this is also your chance to show off what your ideal Easter setup would be.
Then, when you’re finished with this guide and are ready for a new one, you can visit our website to enjoy one of the many guides we have for you there.
We plan to upload many more soon, so keep checking in for more fun!
To share some Easter joy, you can also share your finished Easter drawing on our Facebook and Pinterest pages!