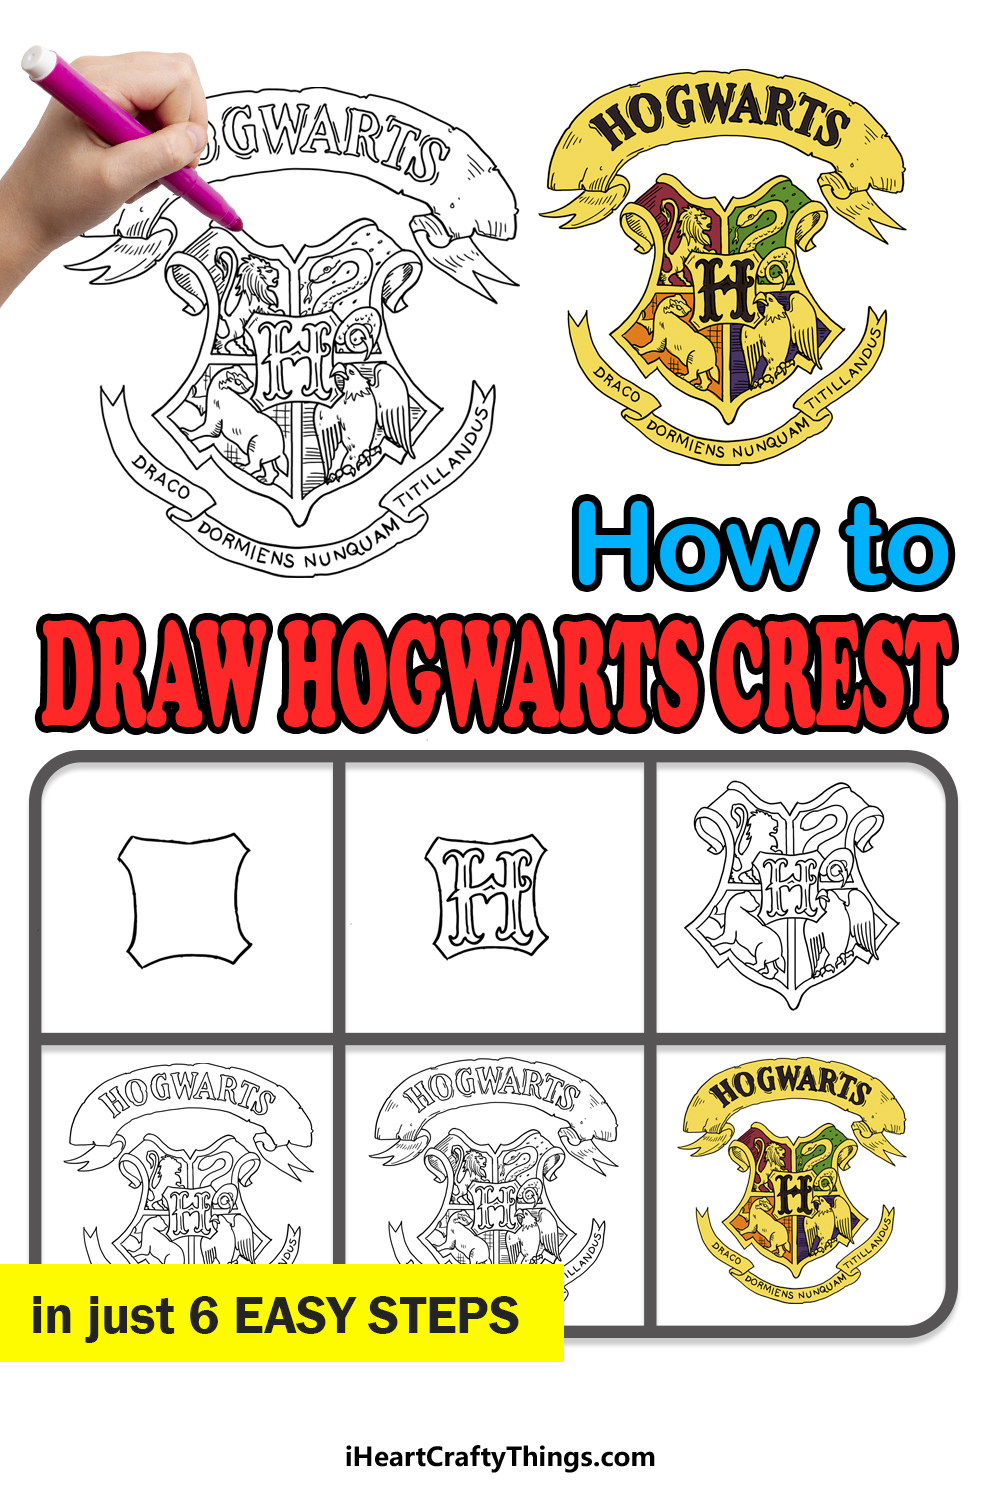
The world of the Harry Potter series is a magical one indeed! Since 1997, this series has enchanted people of all ages through the books, films and video games that have been set in this universe.
Throughout the Harry Potter series, much of the action takes place at Hogwarts School Of Witchcraft And Wizardry, where young magic users can train to become witches and wizards.
Many fans of the series long to experience what it would be like to attend the school themselves, and learning how to draw the Hogwarts crest can be a good way to start imagining it!
The Hogwarts crest has the symbols of the four Hogwarts houses, Gryffindor, Slytherin, Ravenclaw and Hufflepuff.
We will show you how to draw this famous crest in just 6 easy steps, and after that you can add your own ideas and details to make it even more magical!
So get ready to use all of your drawing and coloring tools to create a truly magical picture of this iconic crest. You will find out not just how easy it can be but also how fun it can be as well!
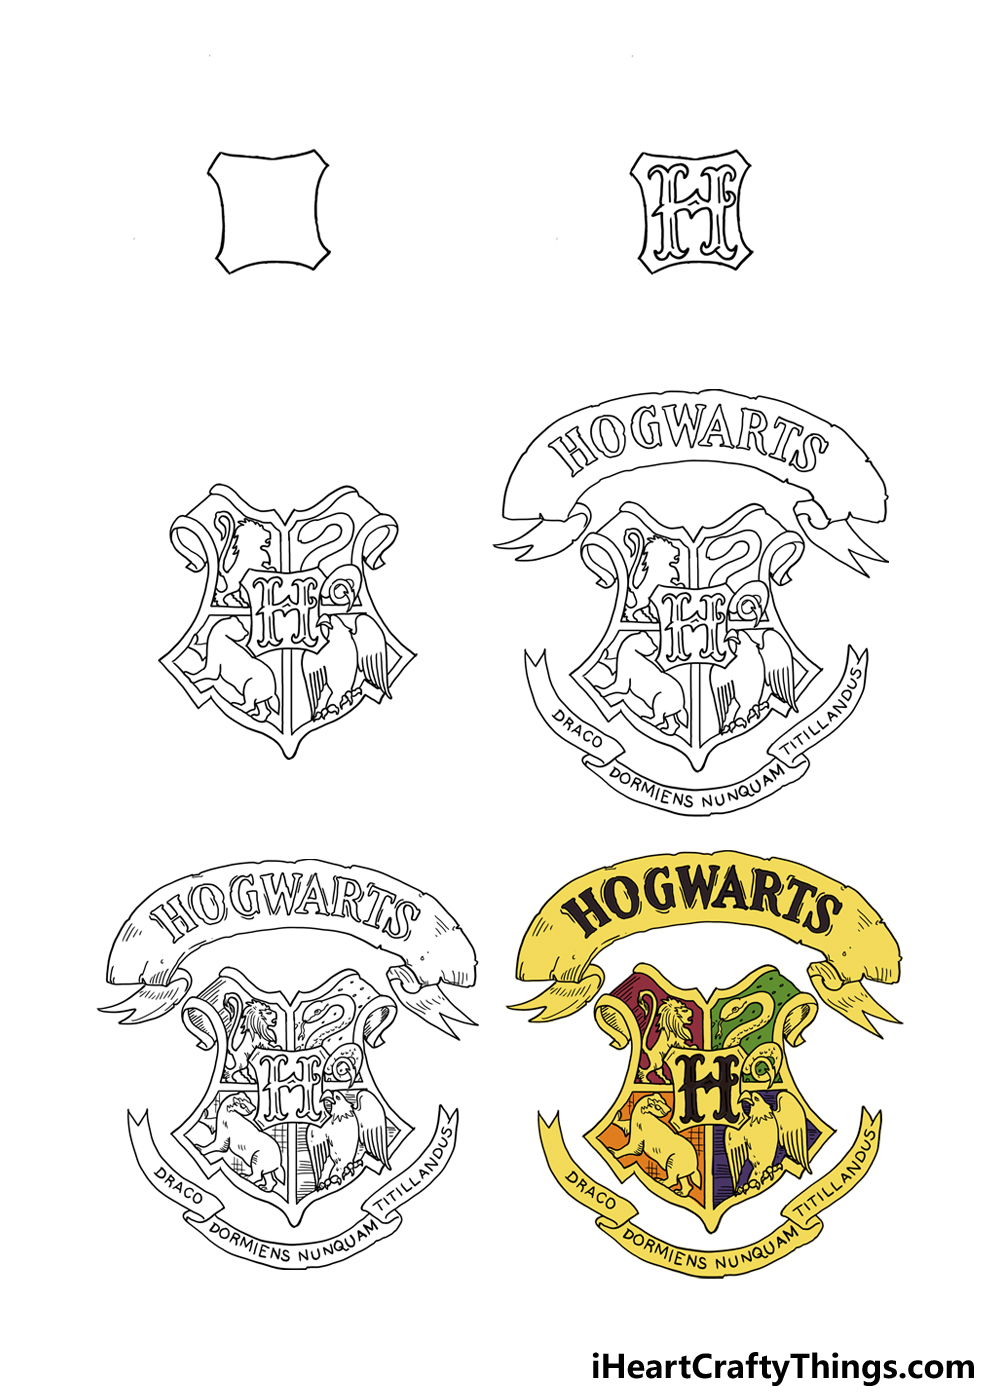
How to Draw The Hogwarts Crest – Let’s Get Started!
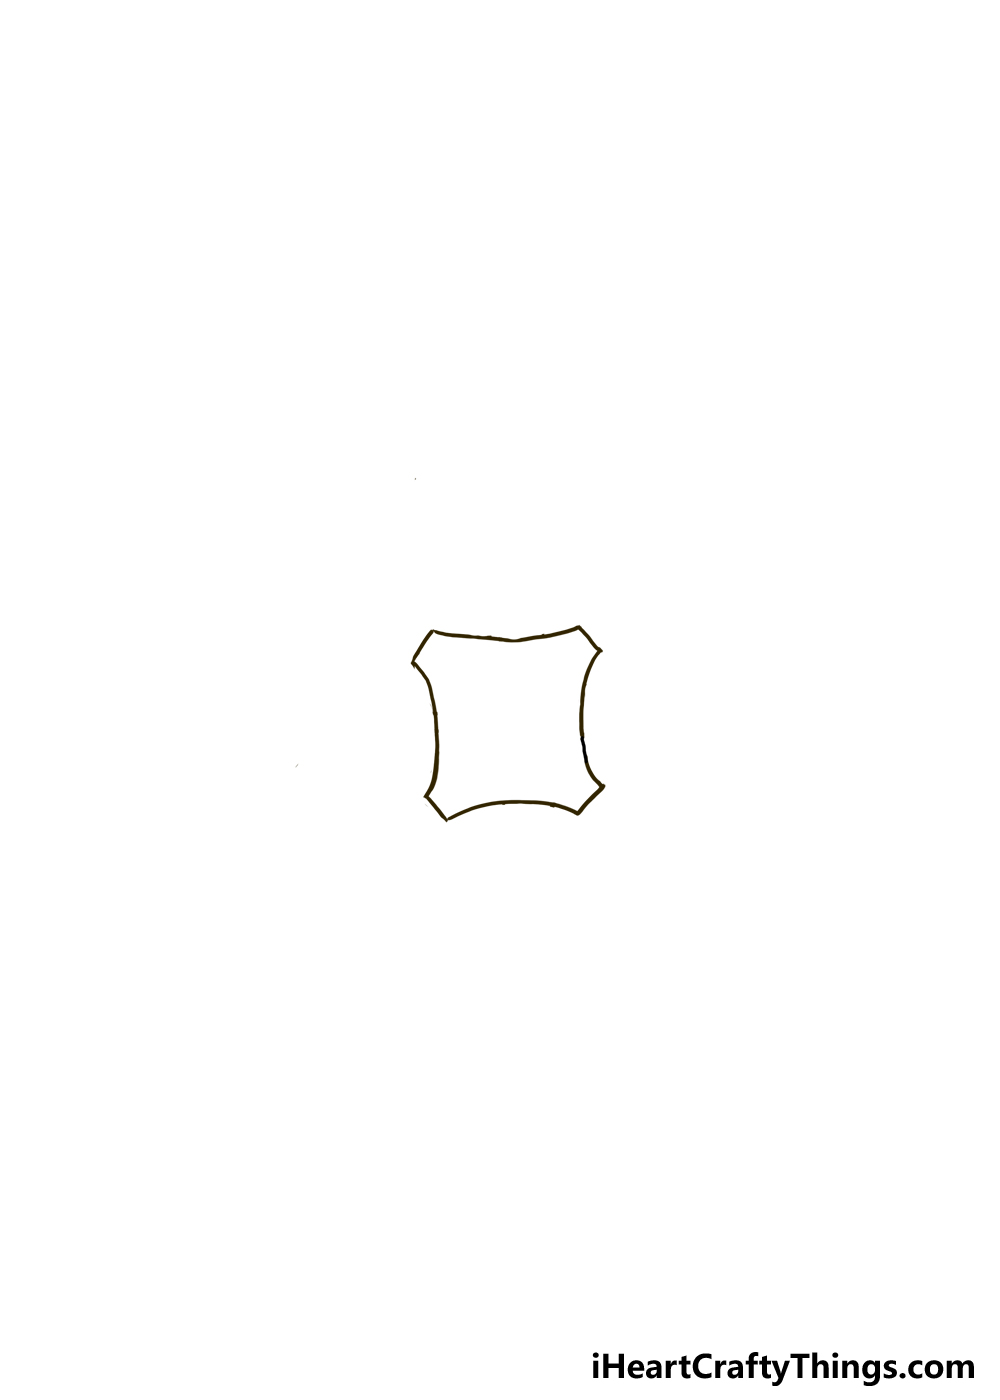
Step 1
The Hogwarts crest may look fairly simple at first glance, but it’s actually quite complex when you look at all of the small details that are included.
There’s no need to fear, however, as we will break it down into smaller sections to make it easier for you. Even so, there are a few ways that you can make it easier for yourself.
We would highly recommend drawing the general shape of the crest and all elements involved in the design. This isn’t so much for practicing the details as it is for making sure that the proportions of all elements are accurate.
Try to look at some of the later images in the guide and draw some approximate shapes for the badge, the sections inside it and the banner.
This will really help when you’re adding finer details later on in the drawing.
With all that out of the way, we will draw the first shape of this drawing. It is quite an unusual shape, and it will house the central H of the badge.
It looks a bit like a square that had its edges pushed in, as you will see in the reference image. The four house symbols will also slot into these edges later on.
This shape will be fairly small on the crest, and it will be a bit above the halfway point. With that drawn, we can move on to the next step where we will add the Hogwarts H inside of this shape.
Step 2: Draw the Hogwarts H in the shape from step 1
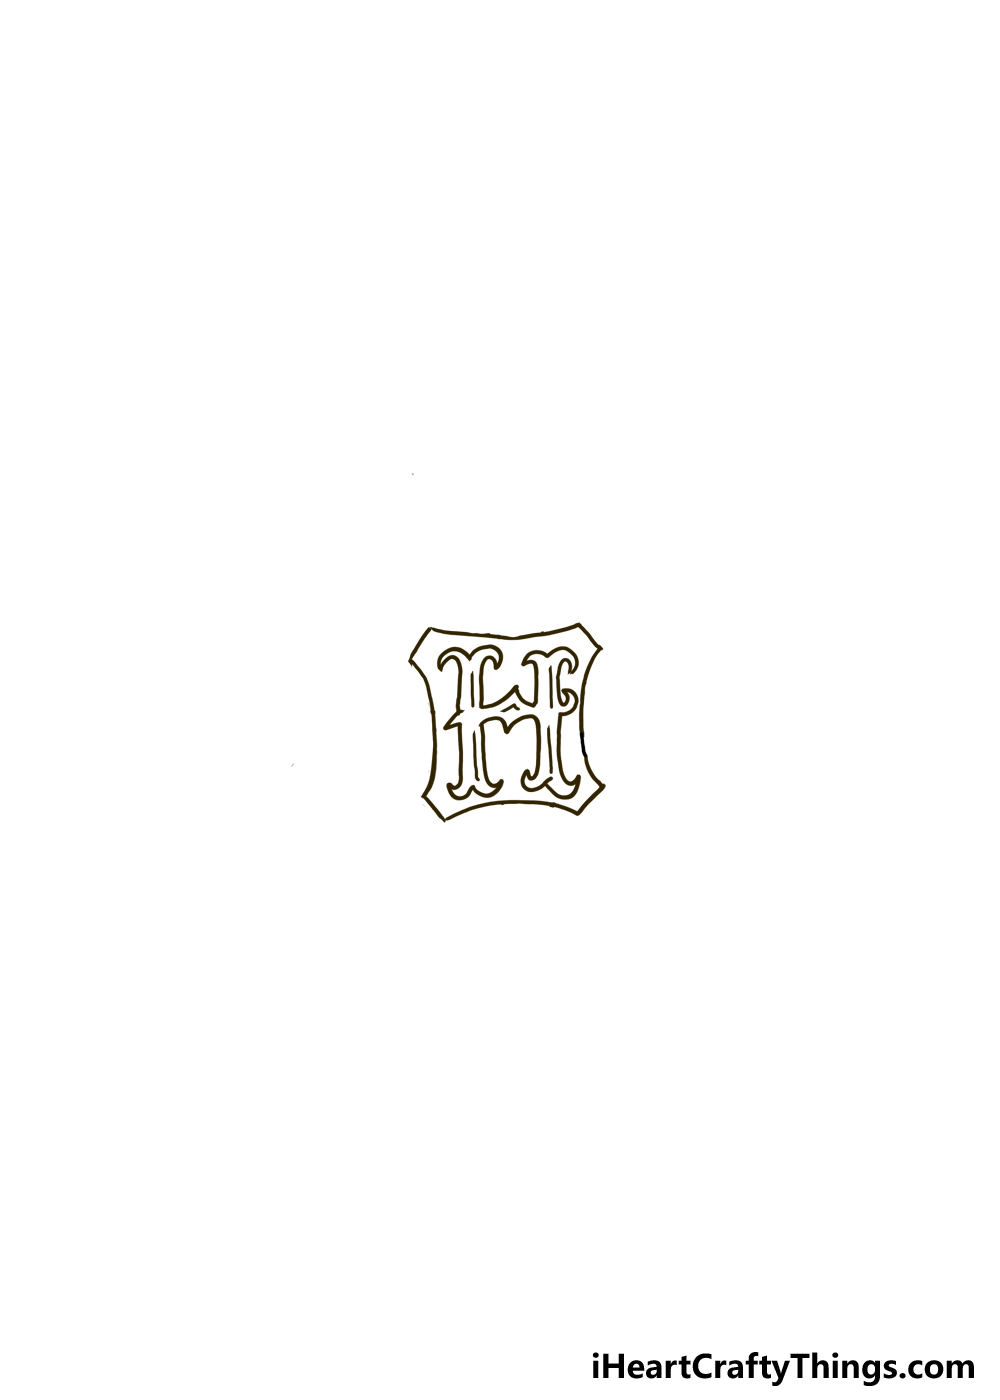
Now we will be drawing the H for Hogwarts inside of the shape you just drew. Once again, this is an element that may seem simple at first.
After all, how hard can it be to draw a letter H? You’re about to find out that it can be very tricky depending on the style, but we will show you how it’s done.
It has a really ornate design, and we would again highly recommend drawing a regular letter H lightly with a pencil. We would suggest this even if you didn’t draw a pencil guide in the first step.
Having a regular pencil H will serve as the skeleton of the more ornate design we will be adding in just a moment. If there’s a theme to this letter H, it would be ‘pointiness.’
There are so many pointy edges to this letter, and we will start with the columns of the letter. Each of the four columns will have two curved pointy bits sticking off of the ends.
There will also be a shape that looks like a thorn pointing down on the left and one that’s pointing up on the right. Finally, there will be a diamond shape in the center bridge of the letter.
It is a bit complex, but if you break it down to each section and follow the guide, it doesn’t have to be difficult. If you drew a pencil guide for the letter, carefully erase it now.
Then, you can finish off the letter with some simple line details inside the outline of the letter for some added fanciness.
Step 3: Add the badge and houses of the crest

It’s time to buckle up, as this step of your drawing of the Hogwarts crest will be quite an intensive one. Don’t worry, because as always we will break it down into basic steps.
First, we would suggest starting with the outline of the crest itself. This takes on a standard badge shape, and the top edges on either side curl ‘backward’ into the image.
The badge is a bit thicker at the base than the upper section. Carefully follow the reference image as you draw this badge shape, as it can be quite hard to get right.
If you drew the pencil guide, we’re sure you’ll be glad you did now! Next, we will add the four Hogwarts house symbols.
On the top left, we have the Gryffindor lion, facing the right. Then, the Slytherin snake is on the top right, facing the left.
The bottom left has the Hufflepuff badger facing the left with its head turned to the right, and finally, the Ravenclaw raven is on the bottom right.
Once each animal has been drawn, you can then draw a shape around one that connects in a cohesive border around the badge.
They don’t look particularly detailed right now, but we will add that detail soon.
Step 4: Now draw the banners of the crest
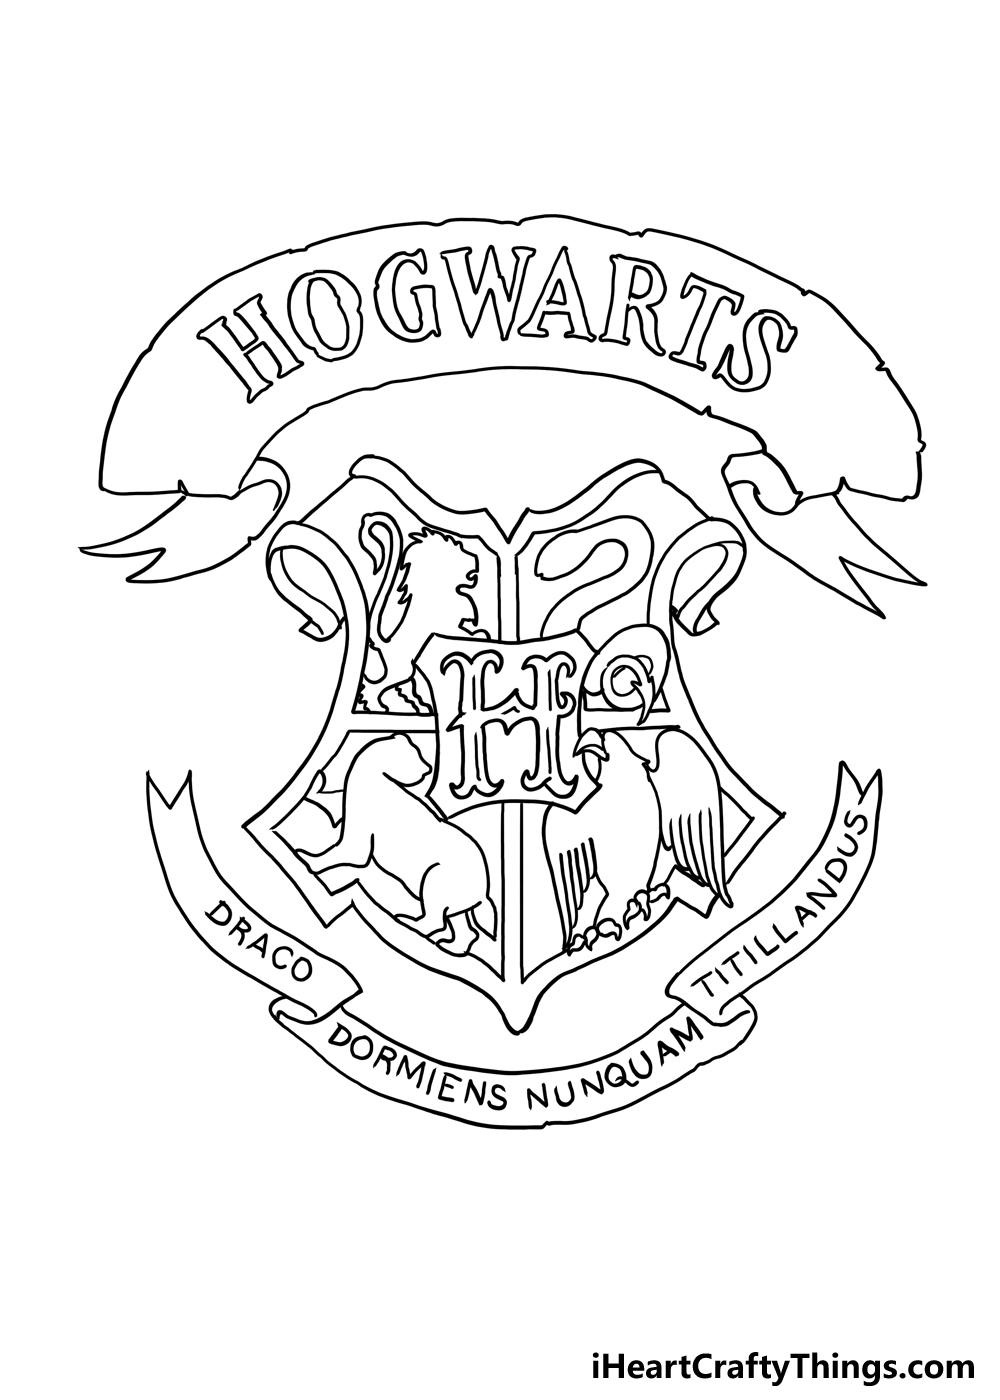
The Hogwarts crest has two banners in the design, one larger one on top of the badge and a thinner one below it. Let’s start with the upper large one.
When drawing this banner, try to imagine it was drawn on a real piece of parchment that has forked edges on each side. The parchment is then unfurled and then flapped backward.
As you will see in the example, the outline of this banner is not smooth, making it look like the badge is made of some weathered material.
This top banner will then have ‘Hogwarts’ written inside of it. Luckily, the letters here aren’t as ornate as the central H of the badge was.
That being said, it still has a rather specific shape to the font. You can copy it from our example to help you as you draw.
There should be more or less the same amount of empty free space on either side of the Hogwarts word on the banner.
Then, we will draw a much simpler, thinner banner beneath the badge. This one looks a bit like it’s made of a long ribbon, but it should still be thick enough that we can add text inside of it.
The middle of this banner folds in with the sides flourishing out, which you can again note in the reference image. Inside the banner, you can write the Latin phrase DRACO DORMIENS NUNQUAM TITILLANDUS.
This phrase can be written in what is more or less standard handwriting, all in capital letters. For interest’s sake, the phrase translates to ‘Never tickle a sleeping dragon.’
Now that we have added all of the badge elements, we can focus on the final details of the drawing.
Step 5: Draw some smaller hair details

Now you’re ready to add the final details to finish off the design. There is quite a lot to add here, but it should be pretty fun to draw and it will make your crest look even better!
First we will add some simple texturing detail inside the top banner. These lines will go around the letters of Hogwarts and along the inner border as well.
Once that is done, we can add some details to the symbols inside of the crest. Each animal needs facial and texture details to make them look more like its counterparts.
You will also see that each animal has some simple line details in the background of each section. When you look at the example, you will see what we mean!
With these details drawn, you’re ready for the final step where you can add some color. Before we do that, be sure to add any additional details and ideas that you want.
There are so many ways to make this even more cool and unique! One would be to draw your favorite Harry Potter characters or creatures in the background.
If you know which Hogwarts house you would like to be in, then you could theme the background to match the theme of your chosen house.
Those are just a few ideas, but how else could you make this picture more unique?
Step 6: Now, finish off with some color
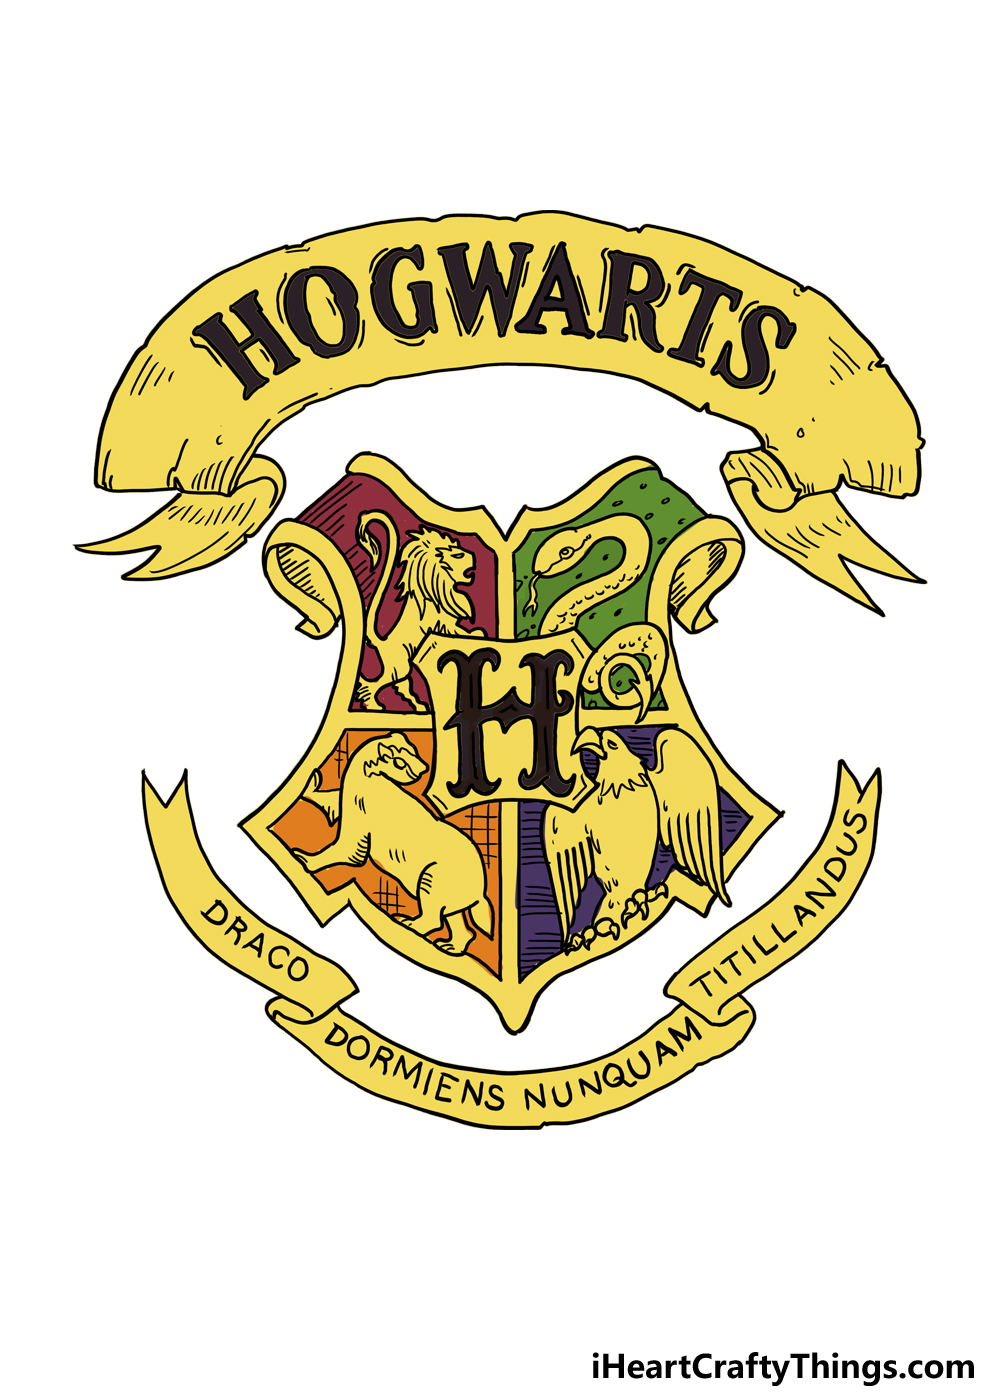
Now comes the moment when you can relax and have some coloring fun.
There are a lot of details to color on this Hogwarts crest drawing, so we would recommend coloring tools that allow for precision.
Examples would be colored pens, pencils and markers. These allow you to color small spaces easily, so they would be perfect for this drawing.
In our example, we used a parchment yellow for the banners as well as the borders and the animals inside the crest itself.
This looks great, but you could also use more specific colors for the animals if you prefer.
Then, we filled in the section behind each animal with the color of their respective Hogwarts house.
That would be red for Gryffindor, green for Slytherin, orange for Hufflepuff and finally blue for Ravenclaw.
With those added, your drawing is complete! If you drew anything in the background, then remember to color those as well. There are also other ways that you can make the colors pop!
One is to mix up the art tools and mediums you use to portray the colors. For example, you could use a different tool and method to color each section.
Using crafts such as glitter or beads could also help to make the colors pop in a whole new way.
We’ve given you something to work with, and now it’s your turn to show off your ideas!
Which colors, art tools and mediums will you use to bring this to life?
Your Hogwarts Crest Drawing is Complete!
You have done an amazing job working through this guide on how to draw the Hogwarts crest, and you should be proud of your amazing drawing!
Every Harry Potter fan is familiar with this famous crest, and now you know how to draw it and incorporate it into all kinds of fun designs.
If you’re striving for accuracy, then the crest can’t be changed up too much, but there are many opportunities for your own creativity in the background and surrounding elements.
Adding characters, creatures, spells and scenes from the books and films can be a great way to do this! You could even make it look as if this crest is sewn onto the uniform of a Hogwarts student.
If you have always wanted to be in a specific Hogwarts house, then you could use that house as a basis for the theme of your artwork. That’s a great way to immerse yourself in the world of Harry Potter!
It’s always interesting to see how these drawings come out, and we know you will do an incredible job!
You can show off how it turned out by sharing it on our Facebook and Pinterest pages when it is complete.