The police endeavor to serve and protect people from many dangers, including other people who would wish to steal from or harm them.
Sometimes, suspects can be dangerous even after being apprehended, and tools such as handcuffs become necessary to restrain them as they’re transported to confinement.
They’re a fairly simple object, but learning how to draw handcuffs can actually be quite a challenging task.
It can be made much easier when you know the steps to take, and that’s what we shall aim to show now! If you’re curious to know how it’s done, then you’ll want to read all the way through this guide.
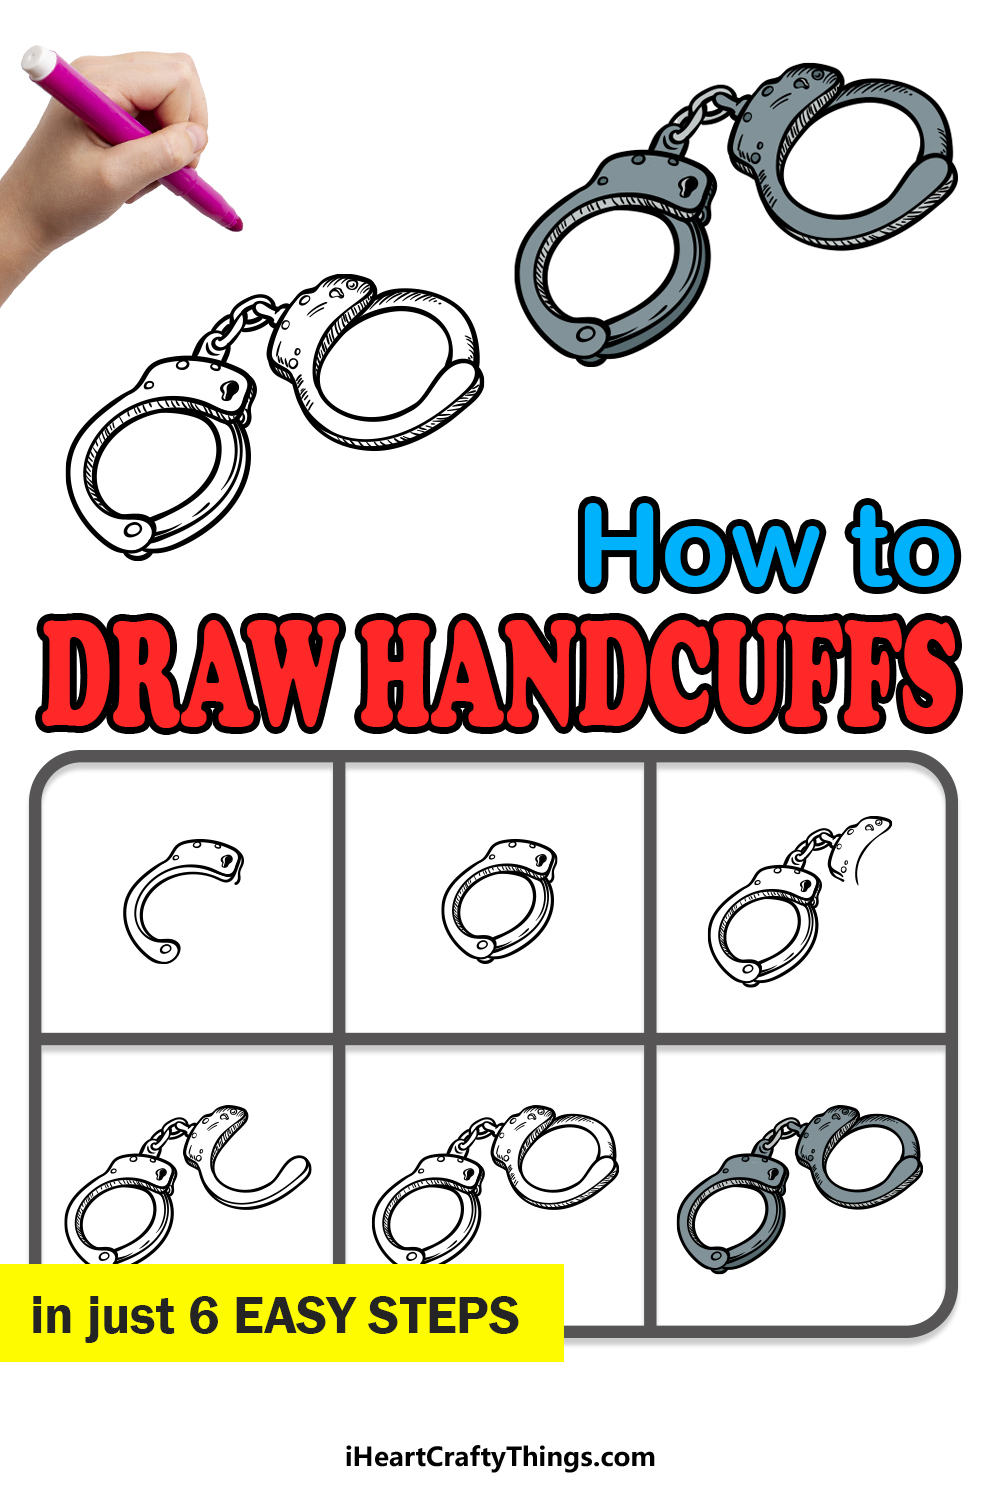
Our step by step guide on how to draw handcuffs will show you how you can draw these securing bracelets!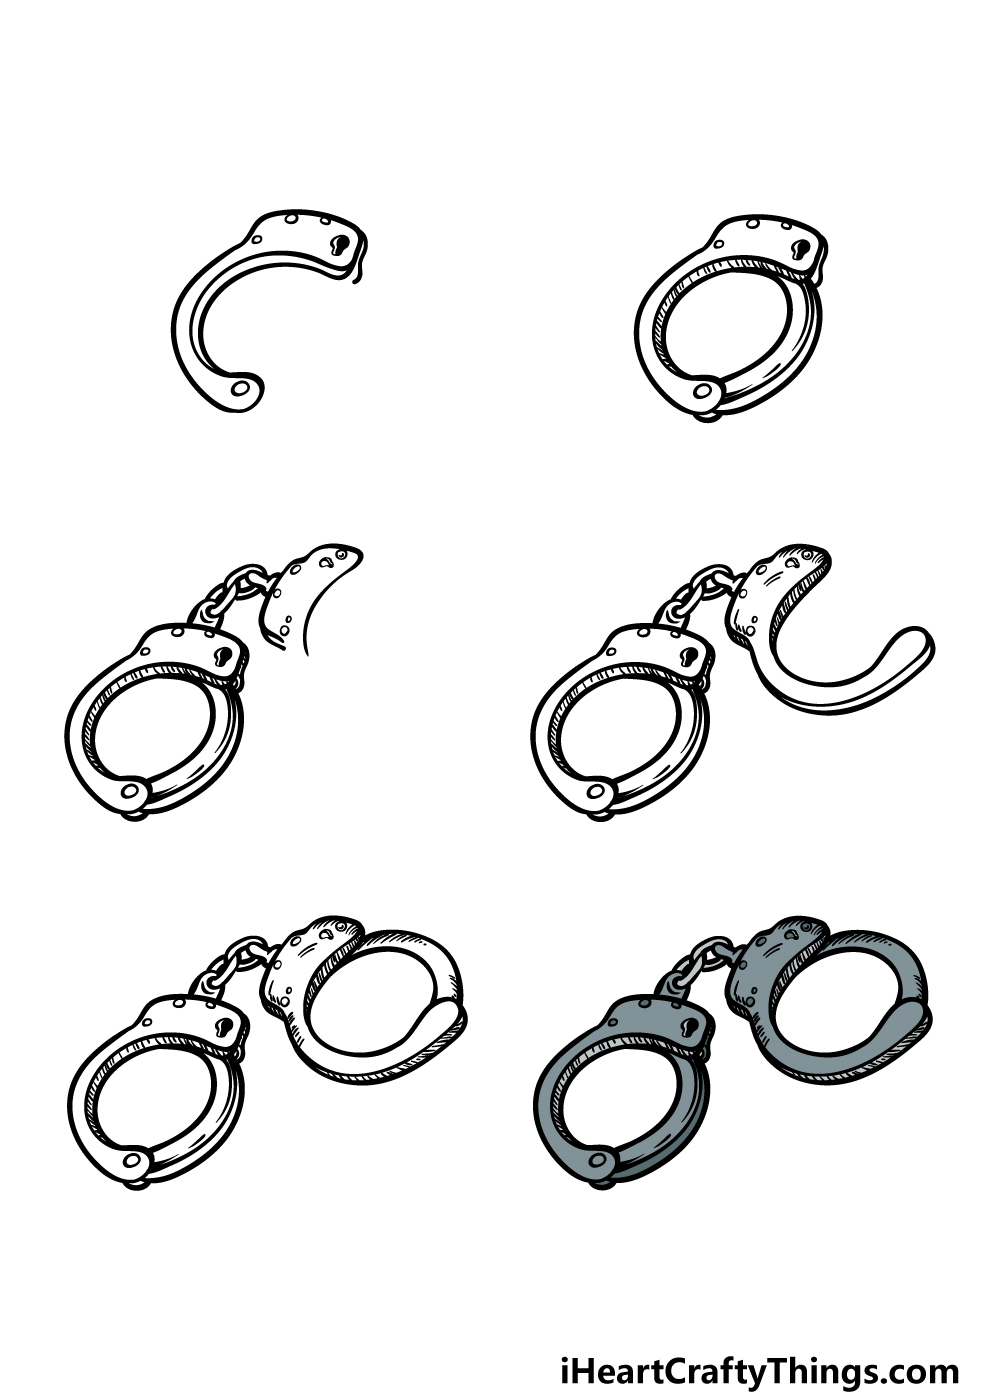
How to Draw Handcuffs – Let’s Get Started!
Step 1
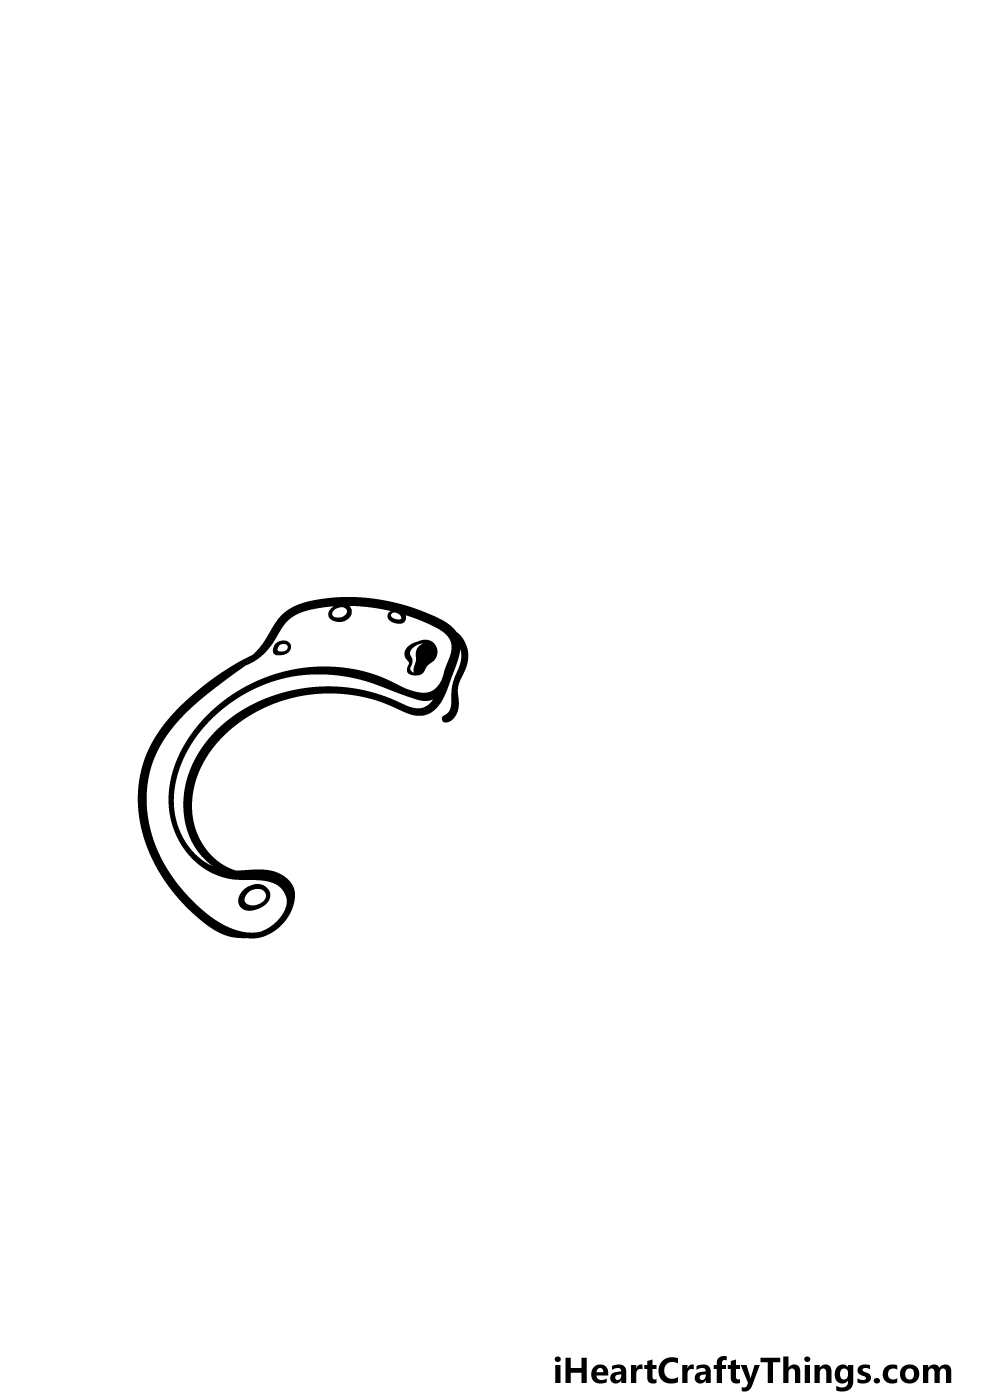
Handcuffs are basically composed of two bracelets made of two separate pieces that are connected by a small chain.
We will start drawing the first part of the first bracelet in this first step of our guide on how to draw handcuffs.
You can start off by drawing a curved vertical line, and then add another curved line next to it. At the bottom of these two lines, you can connect them with a small, curved line.
At the top of the lines, you can draw a long, thin section that connects them. Another line will come down from this section and run down the bracelet.
If this sounds a bit confusing, when you reference the example image it will all become much clearer!
We will then finish off this step by drawing some smaller details. These will include a small circle at the bottom of the handcuffs and a few on top.
You can then finish off by drawing a small keyhole on the top section.
Step 2 – Draw the next section of the handcuffs
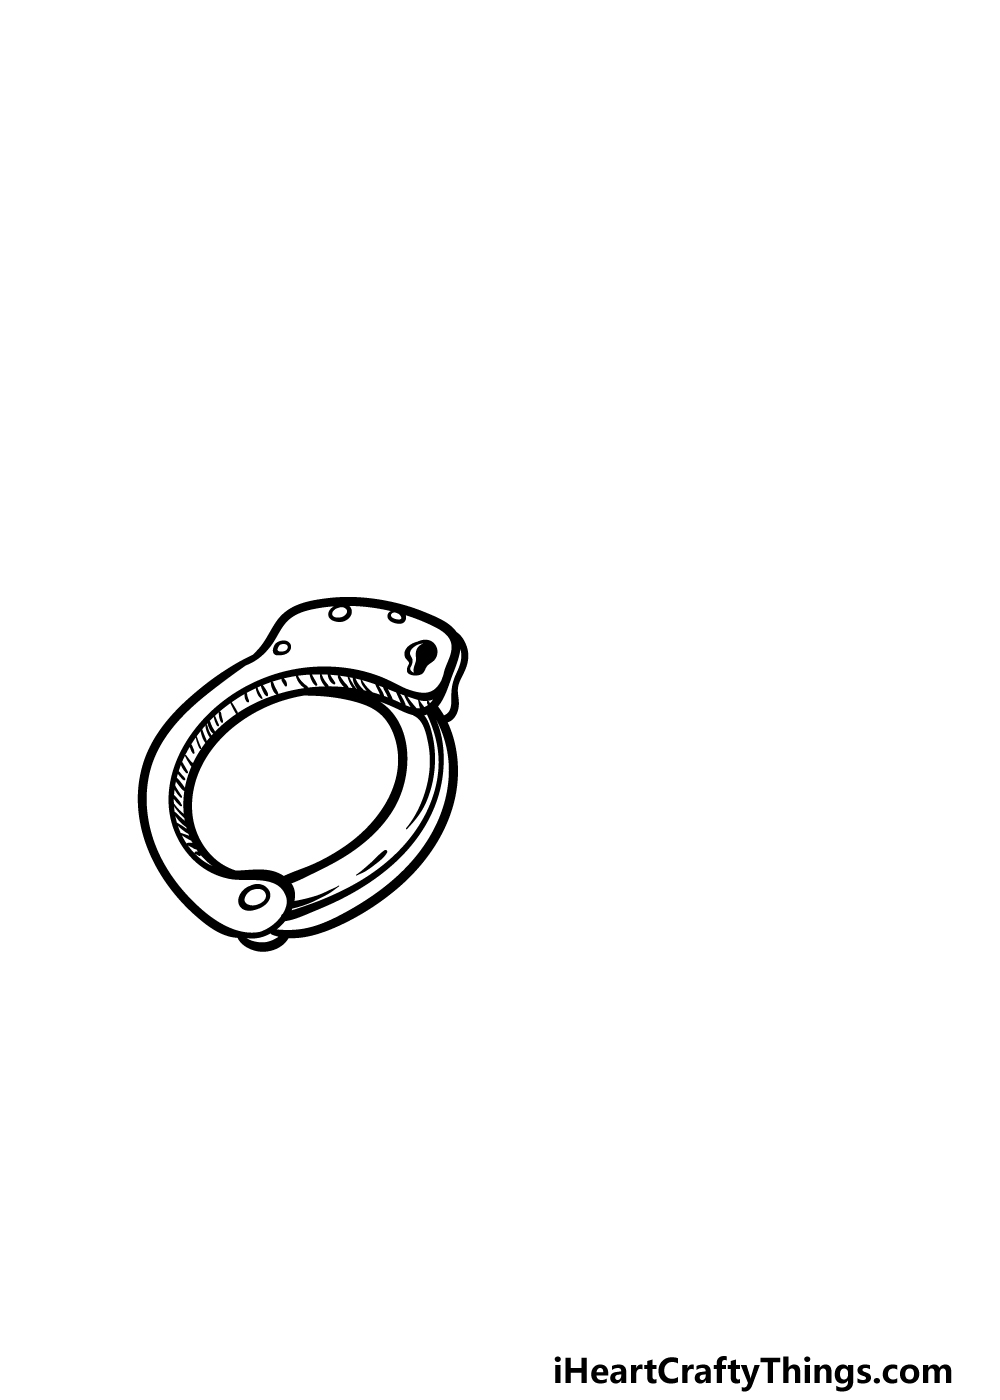
Now that you have drawn the first segment of the first bracelet of this handcuffs drawing, you are ready to draw the next piece.
This next piece will swing out when unlocked and can then click back into place around a person’s wrist. It should also prove quite a simple piece of the handcuffs to draw!
In order to draw this next section, simply extend two curved lines running parallel to one another extending from the bottom of the first section and up until it’s under the keyhole.
The reference image will help you with the angle and placement that this second piece should take.
Once the outline for this new piece is drawn, you can then add some minor line detailing onto it to give it some more texture. Then it will be time to move on to step 3!
Step 3 – Next, draw the little chain between the handcuffs
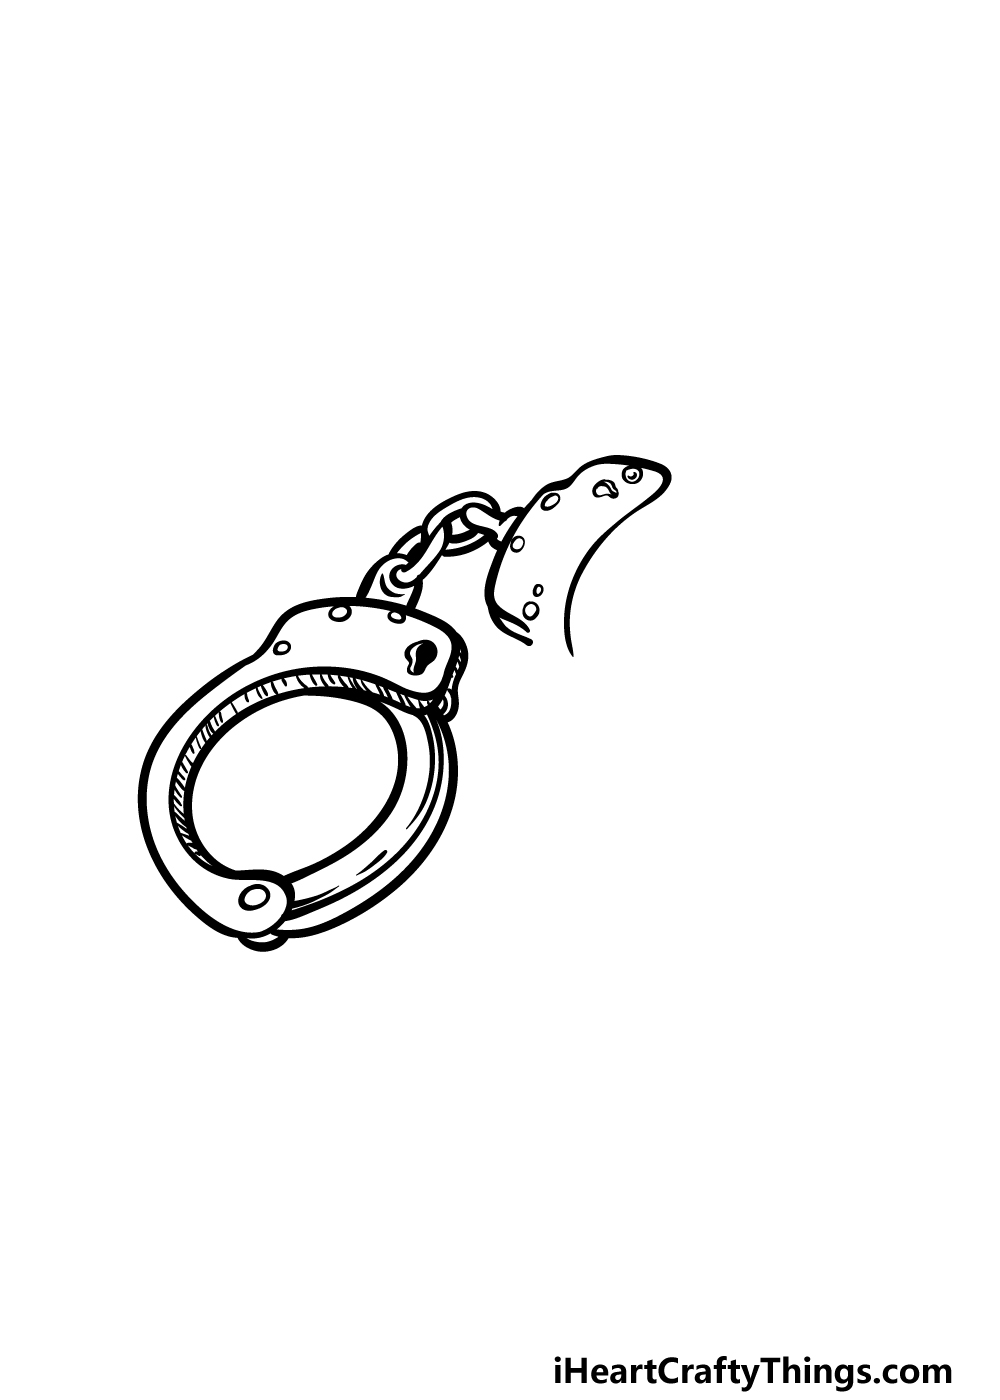
Earlier in this guide on how to draw handcuffs, we mentioned that these two bracelets will be connected by a small chain. This is what we will be drawing in this third part.
First, you can start by drawing a small, rounded shape on top of the bracelet that you just finished drawing.
Then draw some small curved lines going through it for the first link of the chain. Another vertical link will run through it, and then this one will also connect to another small rounded shape.
This small shape will connect to the top of the second bracelet of the handcuffs.
For now, we will only be drawing the top shape of this second bracelet, but there will be a small gap at the bottom which we will fill in soon.
Step 4 – Now, draw some more of the section of handcuffs
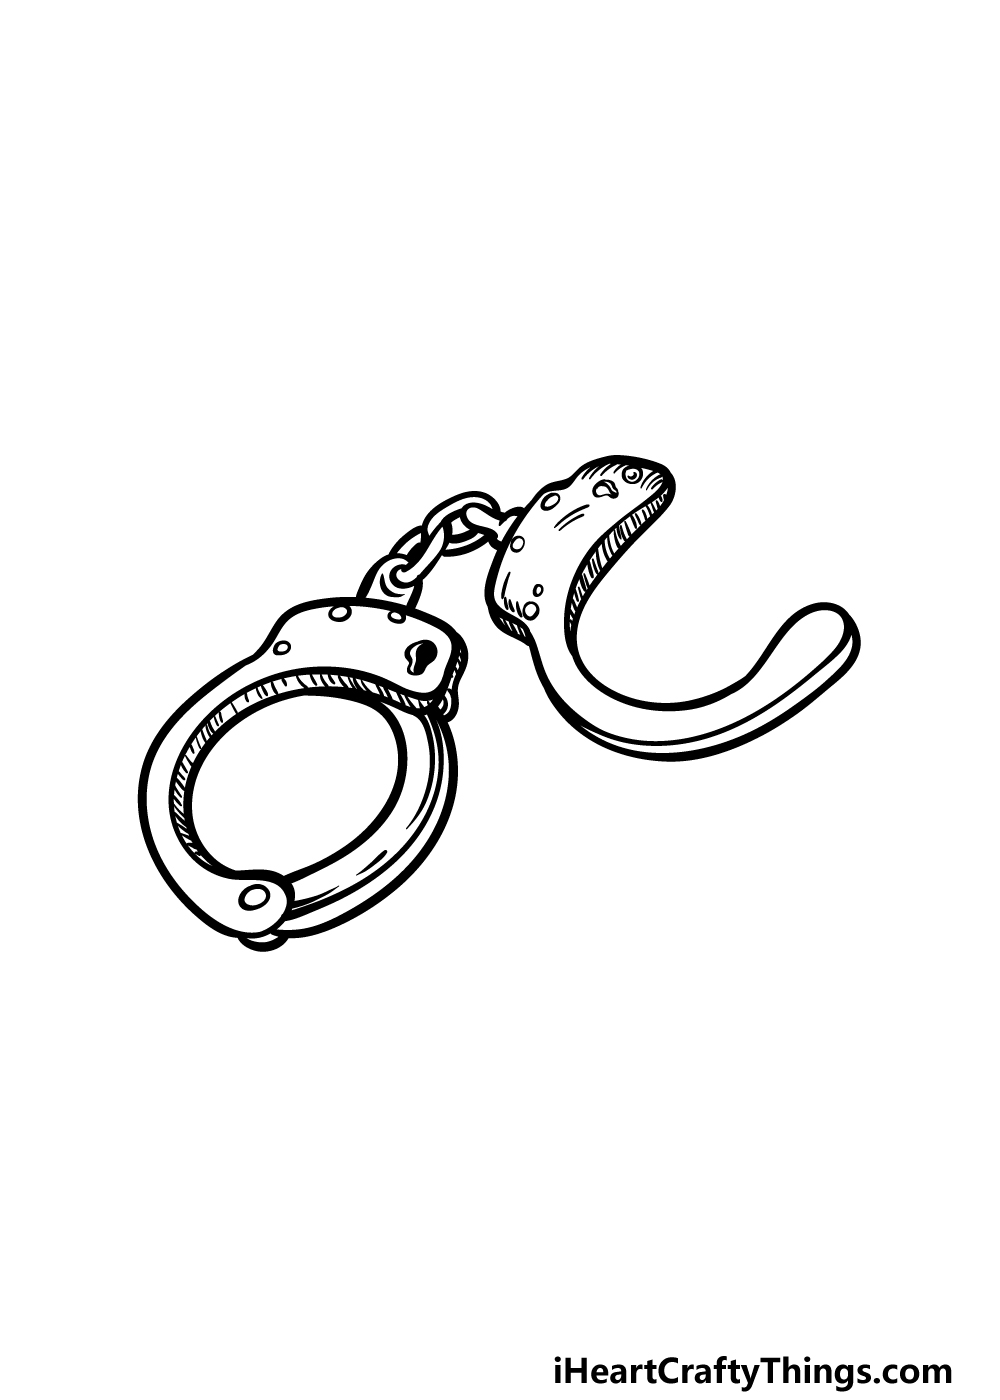
We left a small gap at the bottom of the piece that we drew in the previous step of this handcuffs drawing, and now we can finish the piece by extending it.
To do this, simply keep extending the lines into long, curved lines that then culminate in a rounded edge at the end.
You can also add some line details to the top of this piece to create some shading details.
Once you have drawn this new piece, we will just have one more piece to add in the next step.
Step 5 – Add some final details to your handcuffs drawing
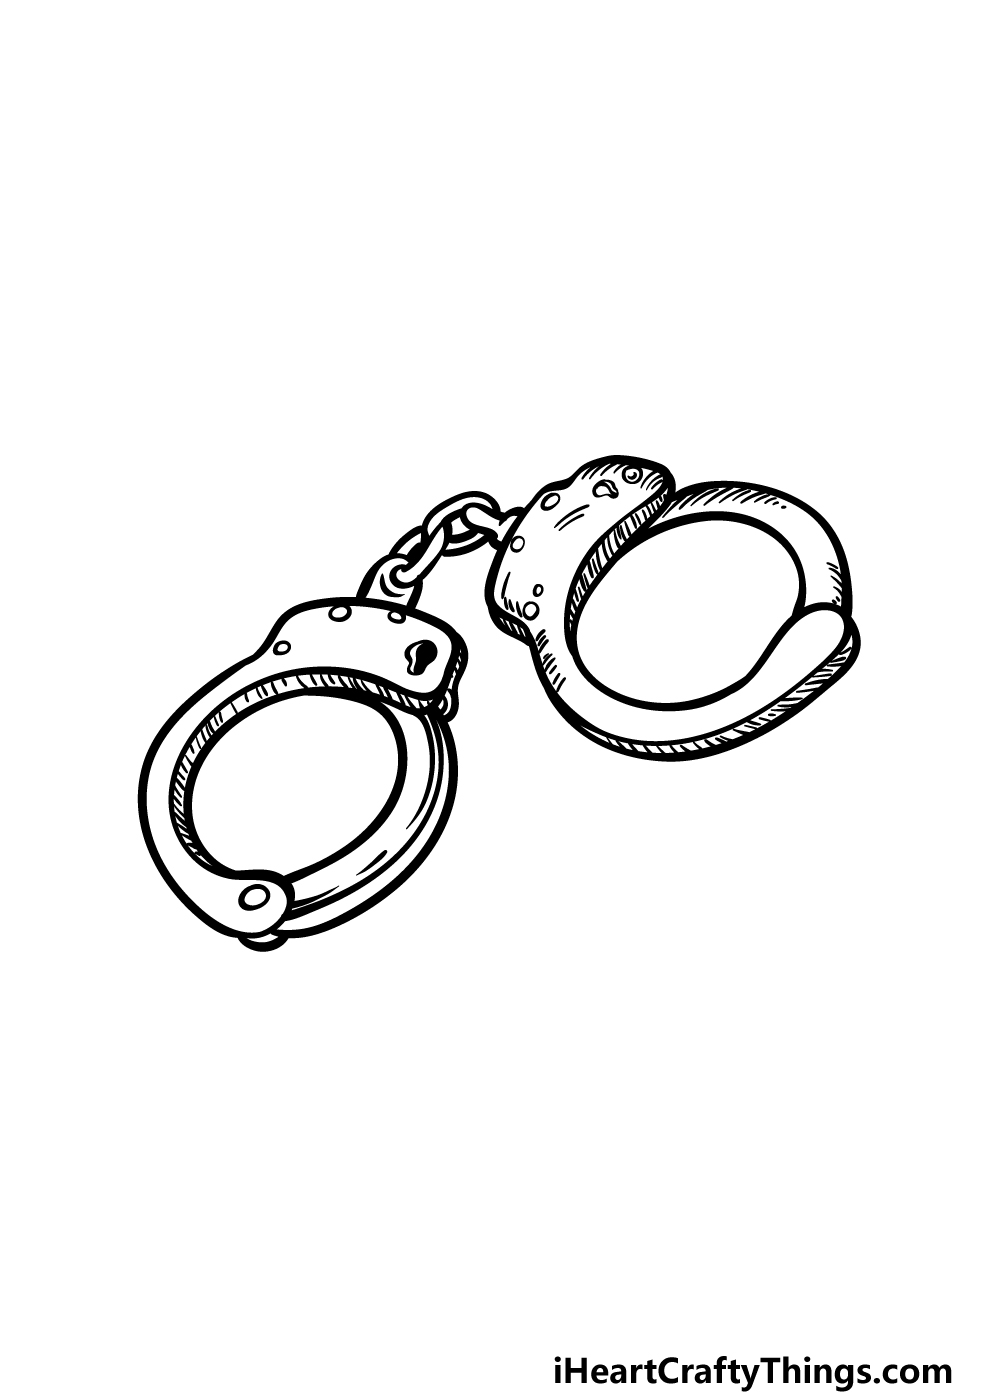
Now we can finish off this picture by drawing the final piece before we color it in when you get to the final step of this guide on how to draw handcuffs.
To finish off the handcuffs, simply add two more curved lines in the empty space on the second bracelet of the handcuffs. Finish off with some detail lines and then you’re ready to go to the final step!
Before you do that, you could draw a background to show what other objects these handcuffs may be sitting on a table with. How will you finish off this drawing?
Step 6 – Finish off your handcuffs drawing with some color
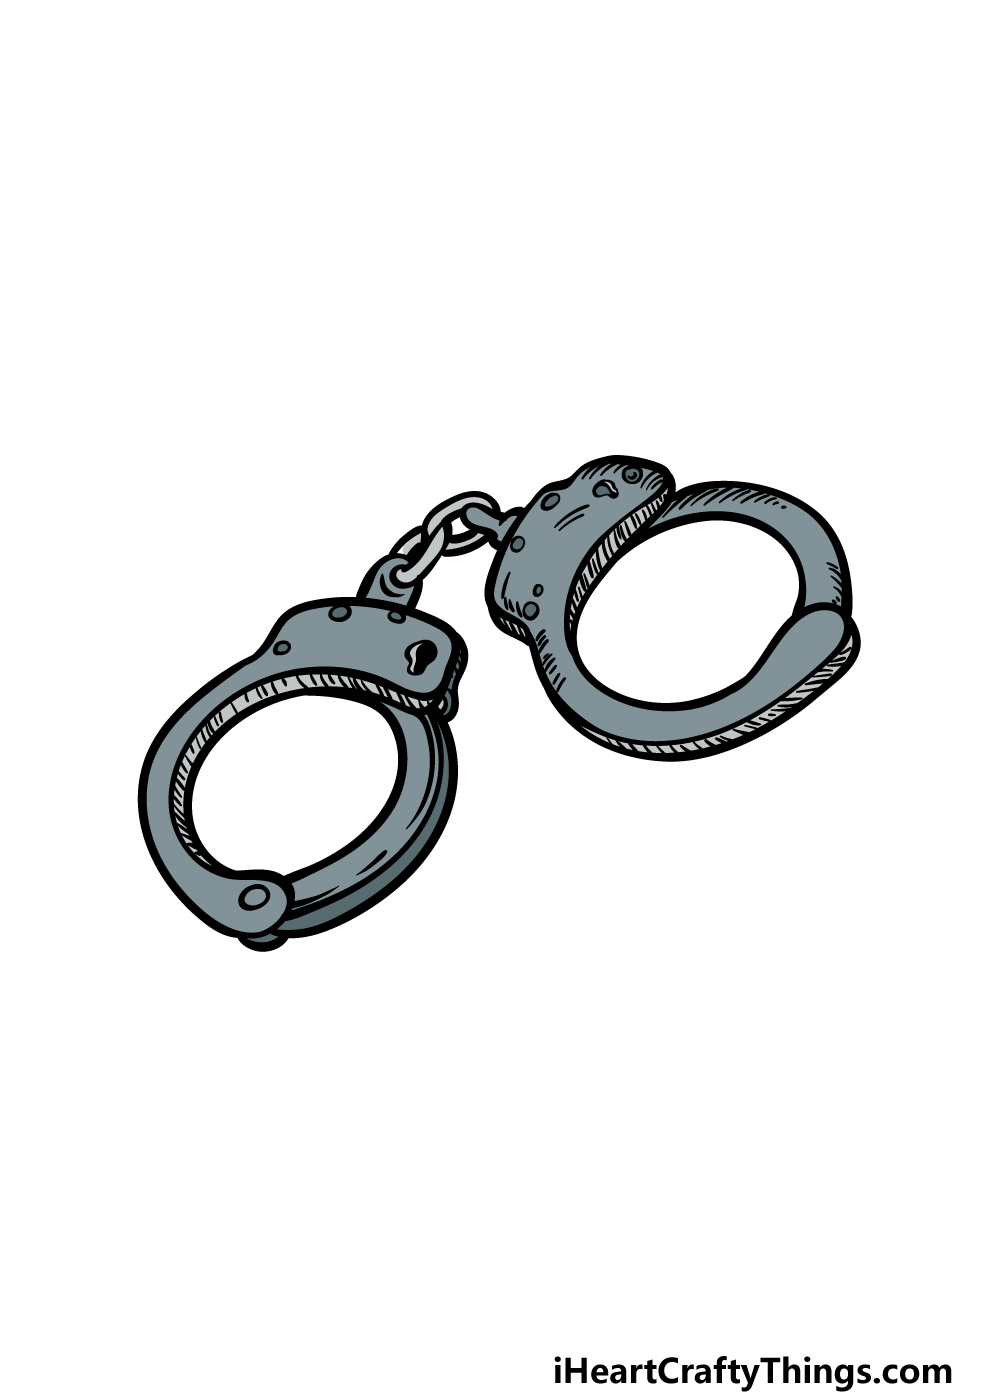
This final part of your handcuffs drawing will see you finish it off with some color. Handcuffs are usually made of metal, so we used some shades of grey for our example image.
By using a combination of dark and light shades, you can create a more dynamic image by having some shading.
These are the shades that we chose, but you should use any colors that you want for it! Don’t forget to color in the background or any other objects you may have drawn.
Which colors, art mediums and techniques will you use on this image?
3 More tips to make your handcuffs drawing easy!
These 3 tips for your handcuffs sketch will make it so much easier to draw!
One of the easiest ways to make this drawing of handcuffs simpler to do would be by using the real thing to help you.
Getting access to real handcuffs may not always be the easiest thing, so you can use photos online to help you.
If you can get hold of a genuine pair of handcuffs, that would be even better! Once you have your reference to work with, try to replicate the curves and angles of the handcuffs in your drawing.
If you use these references along with our guide, you will be drawing accurate handcuffs before you know it.
Next, you can also make this handcuffs drawing easier if you adapt it to a style you are more comfortable with. The style we have here is somewhere between realistic and cartoony.
If you find one of those styles more comfortable, then you can lean into it to make it easier. Making it simple and cartoony may fit into your skillset a bit more comfortably.
Alternatively, some people find highly detailed drawings to be easier to make. It all depends on you, and there are many styles you could go for.
Each would look great in its own way, so what are some art styles you may use?
When a drawing focuses on a single object, it means that all of the attention is focused on the object.
That means that if you’re not completely happy with how it turned out, you’ll be more likely to notice the aspects you don’t like.
You can offset this issue by adding more of a scene around your handcuffs sketch. The obvious choice would be to draw the handcuffs on a pair of hands.
That way, you could draw characters like a police officer and maybe a thief. They don’t have to be super detailed, and it will mean there will be a lot more to look at in the image.
What kinds of scenes could you create?
Your Handcuffs Drawing is Complete!
You’ve reached the end of our guide on how to draw handcuffs, completed all 6 steps and have a great drawing to show off!
This guide was designed to make this drawing easier for you to do, but it was also designed to provide lots of fun while doing so. We hope that both of these goals were achieved for you!
Then, when you have finished this guide and would like a new one to take on, you can head on over to our website. It’s full of awesome guides for you to enjoy, and we upload new ones frequently.
We also always love to see your finished drawings, so please be sure to share your handcuffs drawing on our Facebook and Pinterest pages. We can’t wait to see it!