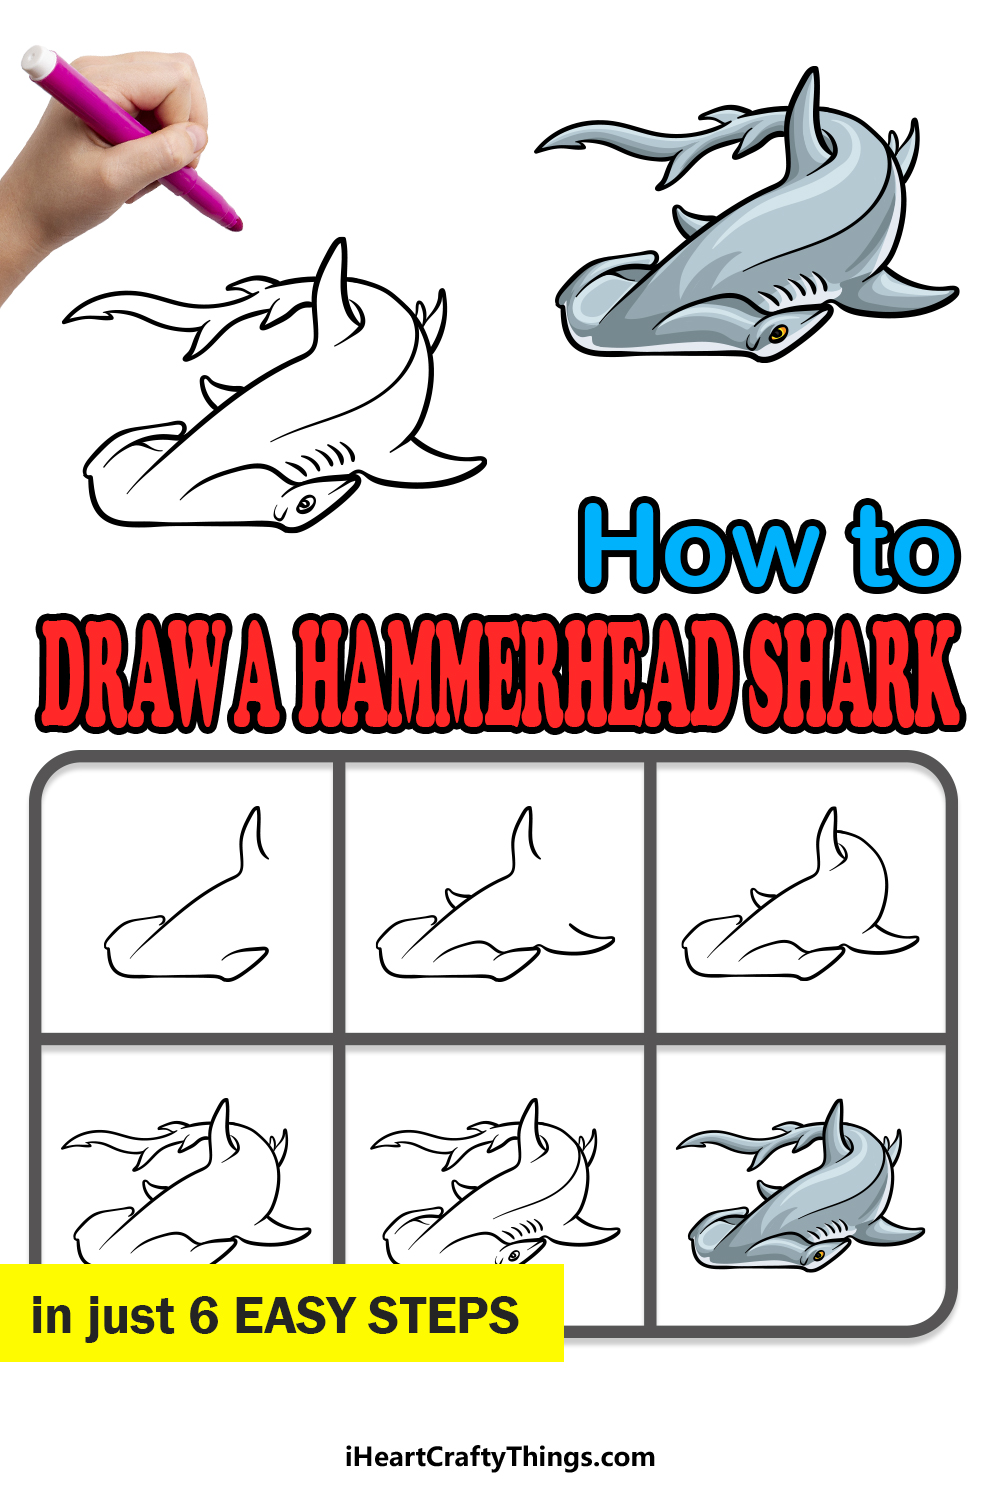
Sharks may be scary, but learning how to draw a hammerhead shark doesn’t have to be! This guide for kids will make it easier to draw this apex predator.
There are so many different kinds of sharks, and they can look wildly different from one another. The hammerhead shark has to be one of the strangest-looking sharks in the ocean, and that’s what makes them so unique.
Their heads have a distinctive shape which they get their name from. Even though I find sharks intimidating, I have always been fascinated with the hammerhead.
If you love this shark too, then this guide will show you everything there is to know about recreating one. I will walk you through each step and explain how to depict the various details.
By the end, you will have magnificent artwork that you can customize with your own ideas and details.
Learn How To Make A Hammerhead Shark Drawing
How to Draw A Hammerhead Shark – Let’s Get Started!
Step 1
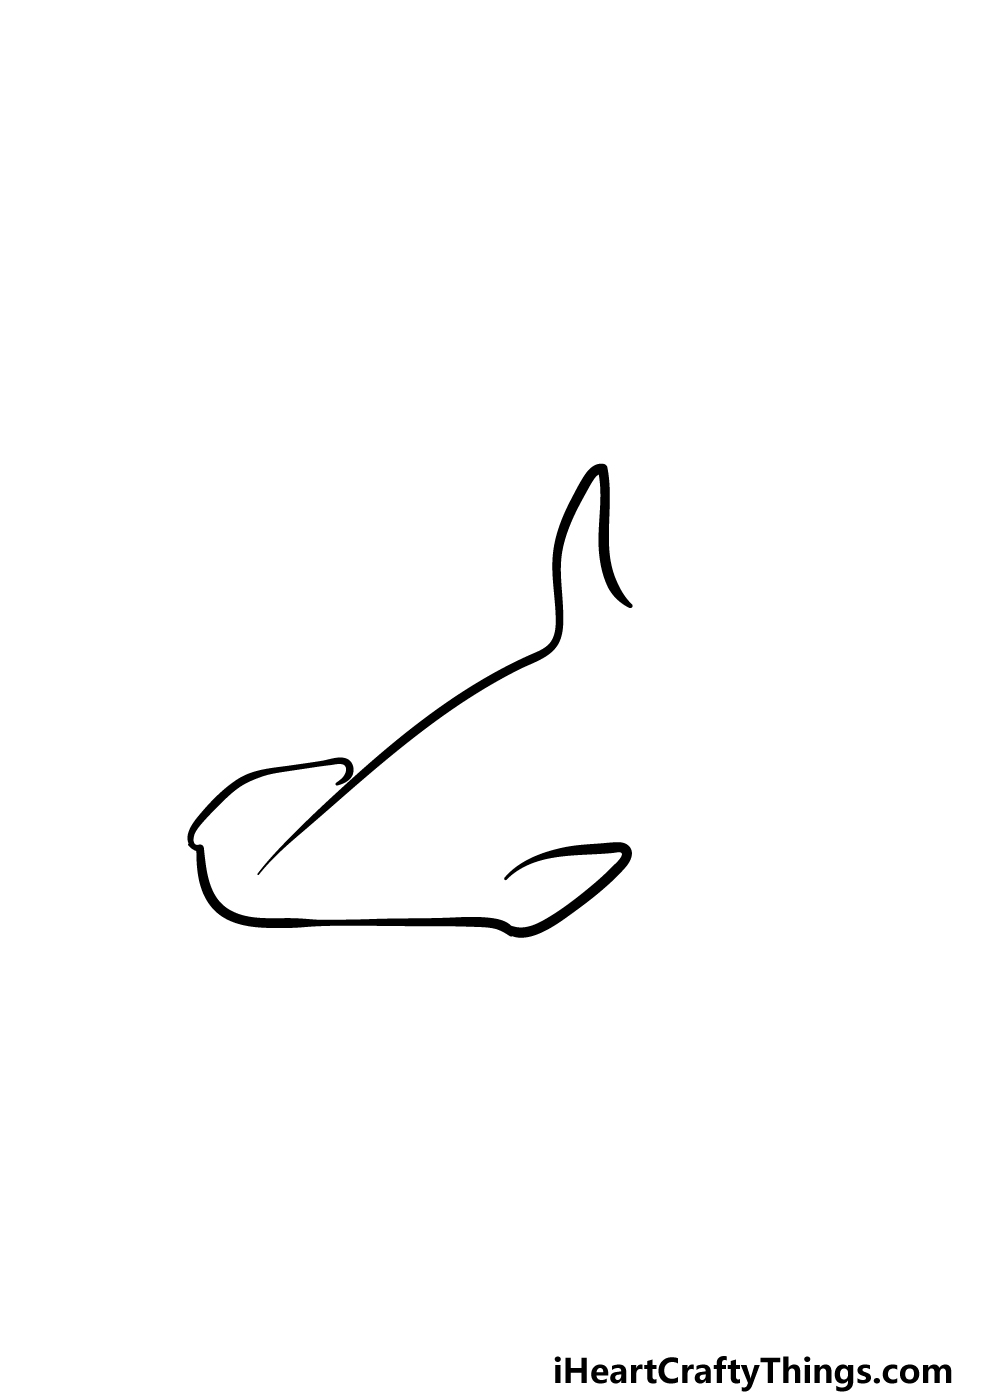
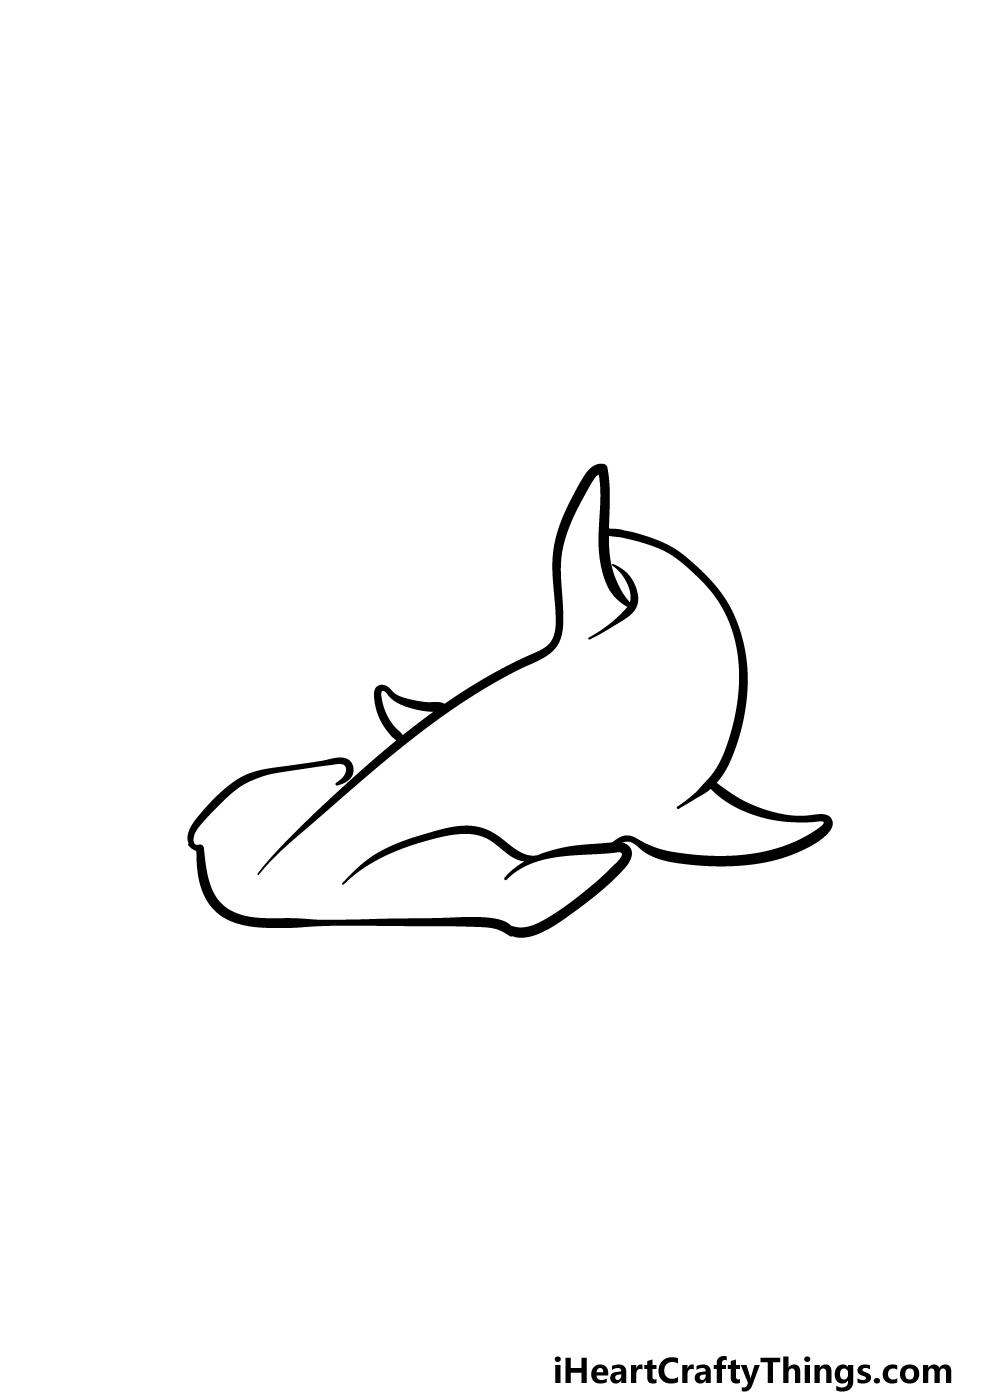
In this first step of our guide on how to draw a hammerhead shark, we will start with the most recognizable feature of the shark, that being its hammer-shaped head!
The head of the hammerhead shark is curved in a sort of boomerang shape. You can use a curved line for the front of the head, and then add some lines that curve inward for the sides where the eyes would go.
You can try your best to copy the lines in our reference image to have it looking accurate!
Once you have drawn the head outline, you can then use a curved line extending from near the center of the head and leading to a sharp dorsal fin on the shark’s back. Then we will move on to the body of the shark in the next step.
Step 2 – Next, you can draw some of the fins for the shark
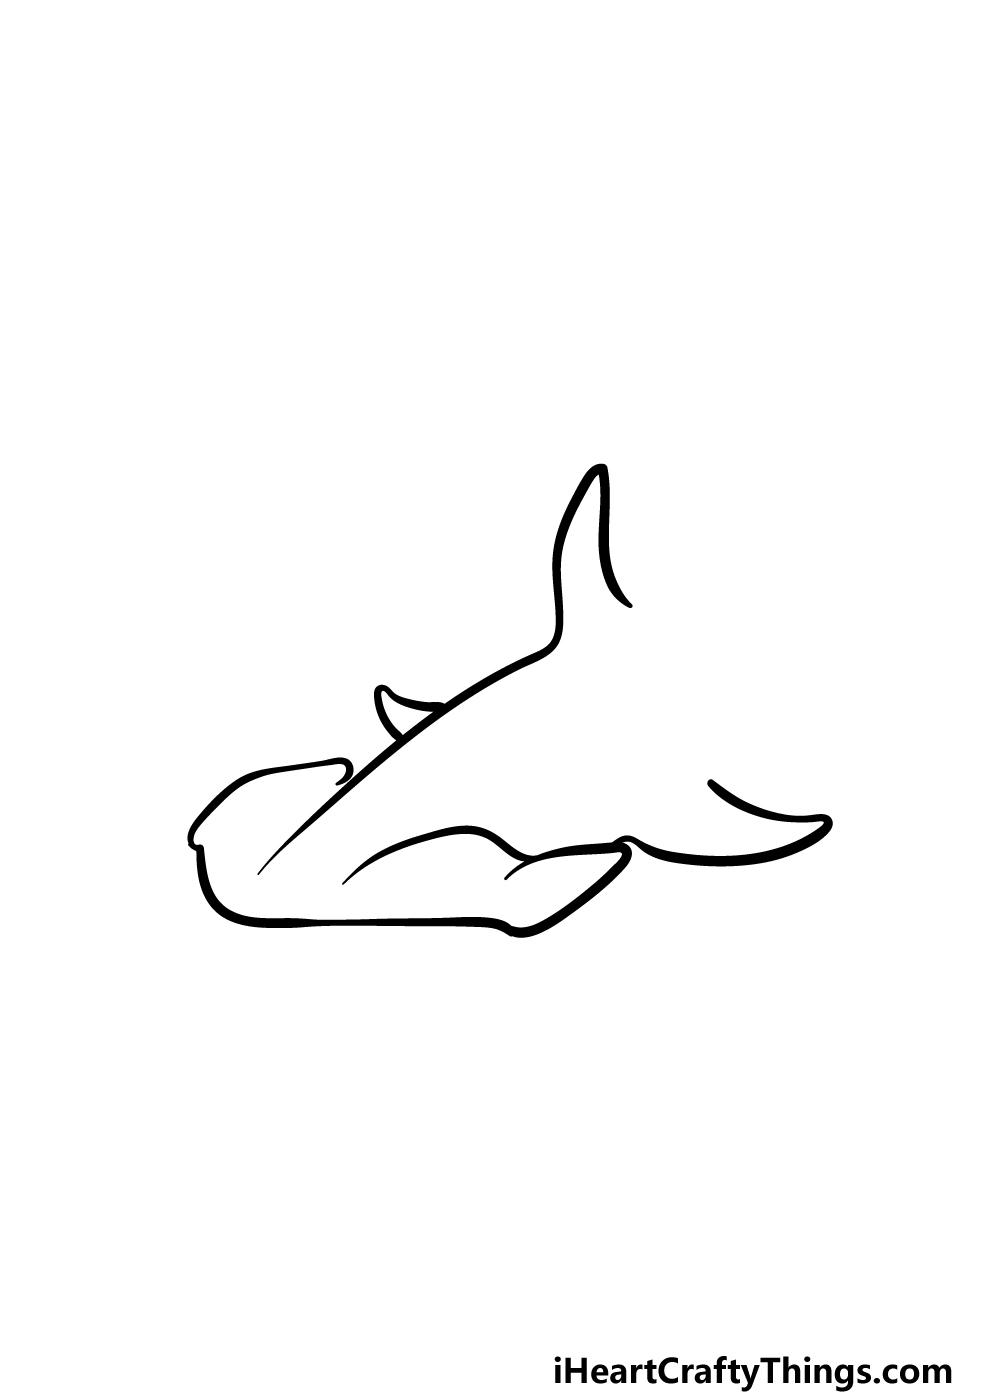
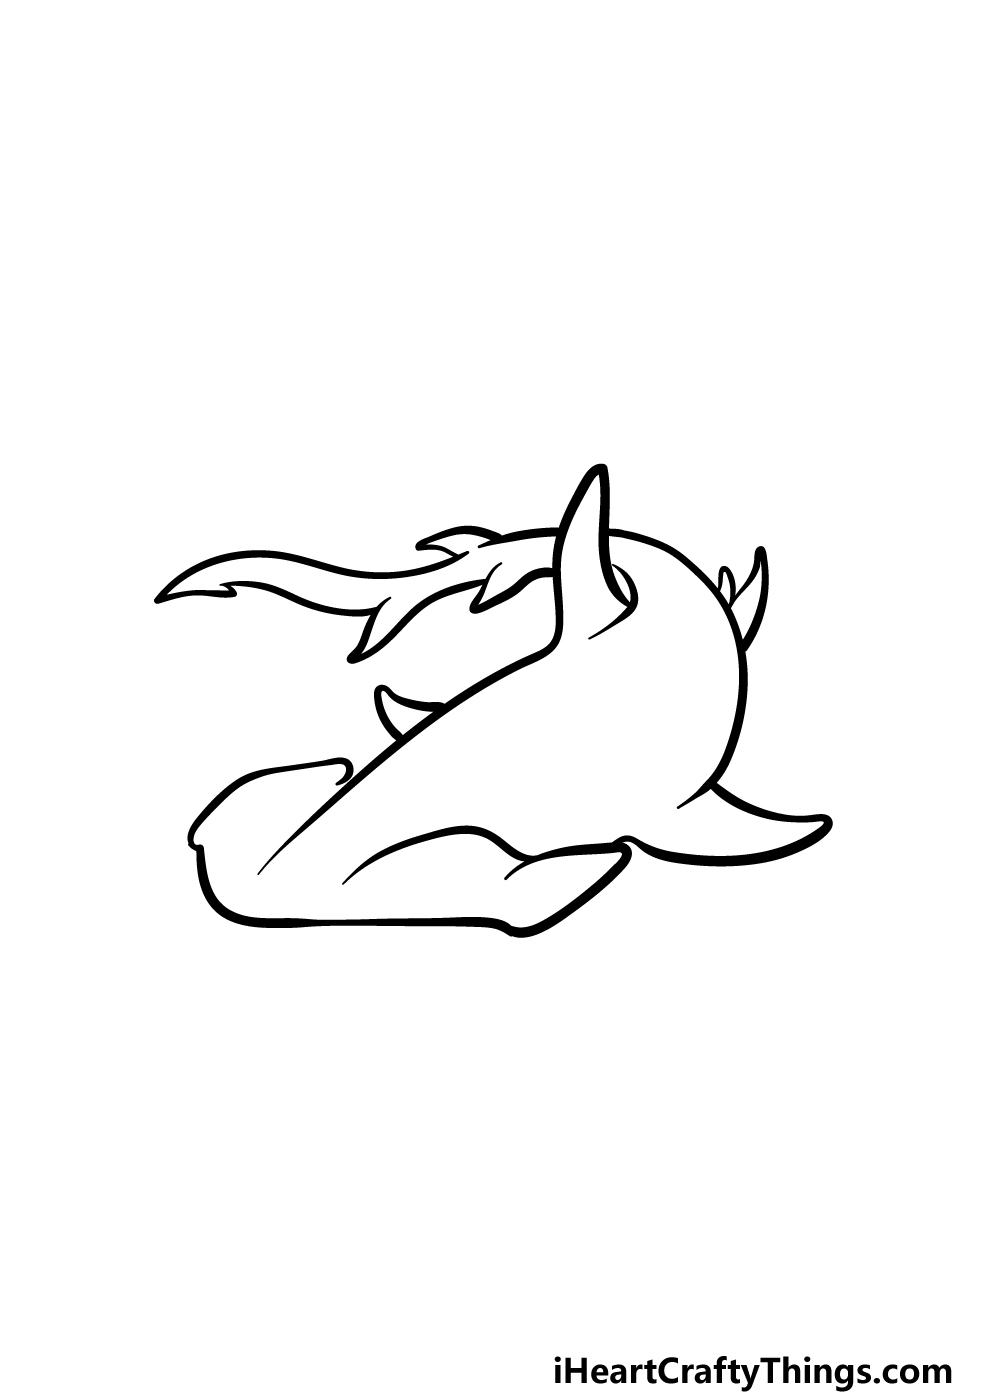
The fins that we will be adding to your hammerhead shark drawing in this step are called the pectoral fins. They are on the sides of the shark and help to stabilize it as it glides through the water.
Before we draw these pectoral fins, we will be adding a curved line inside of the head of the shark, near the part on the right-hand side of the head.
Then, once you have drawn that line we will draw those pectoral fins that we mentioned earlier. To do this, draw a curved line on the body of the shark on the right-hand side with a dull tip to it.
Then we will be adding another fin on the left-hand side of the shark. Due to the perspective, this fin will appear much smaller than the other one.
Step 3 – Draw some more of the shark’s body
In this third step of our guide on how to draw a hammerhead shark, we will be adding some more to the body of the shark.
First, draw a small, curved line extending backward from beneath the dorsal fin at the top of the shark.
Then, draw another longer curved line backward from near the pectoral fin on the right-hand side of the shark.
These lines should get closer together the further back you go in order to make the body get thinner as you get closer to the tail.
Step 4 – Now, finish drawing the tail of the hammerhead shark
We will be finishing off the outline of your hammerhead shark drawing in this fourth step.
The tail will be quite thin, and you can position it in such a way that it looks like it would connect to the part of the body that you drew in the previous step.
The tail will also have several small fins poking off of it, as shown in the reference image. Before you move on, you can also add some more small fins on the right-hand side of the shark’s body.
Once you have finished the outline, we can then move on to some final details in the next step!
Step 5 – Finish off your hammerhead shark drawing
This step of our guide on how to draw a hammerhead shark will deal with adding the final details and touches to your artwork.
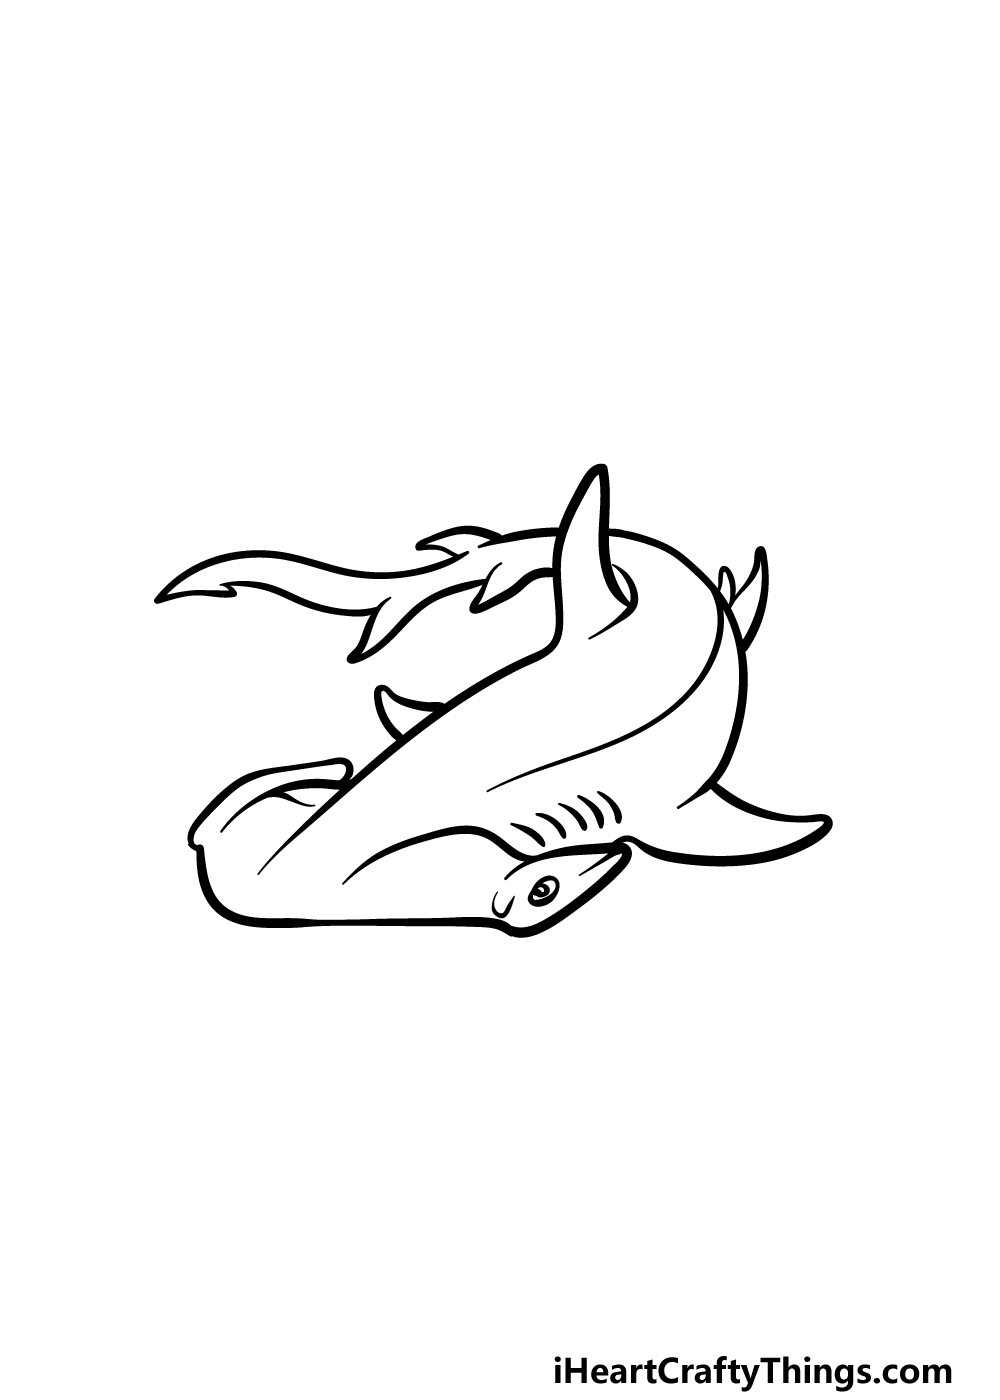
You can start by drawing a small eye at the end of the face, on the side of the ‘hammer’ portion.
Then you can add several small, curved lines on the side of the body for the shark’s gills. Finally, add some curved lines inside the interior of the shark body for some further definition to the shark.
If you would like to personalize this drawing even more, you could do something fun like drawing background with even more awesome sea creatures to go with it!
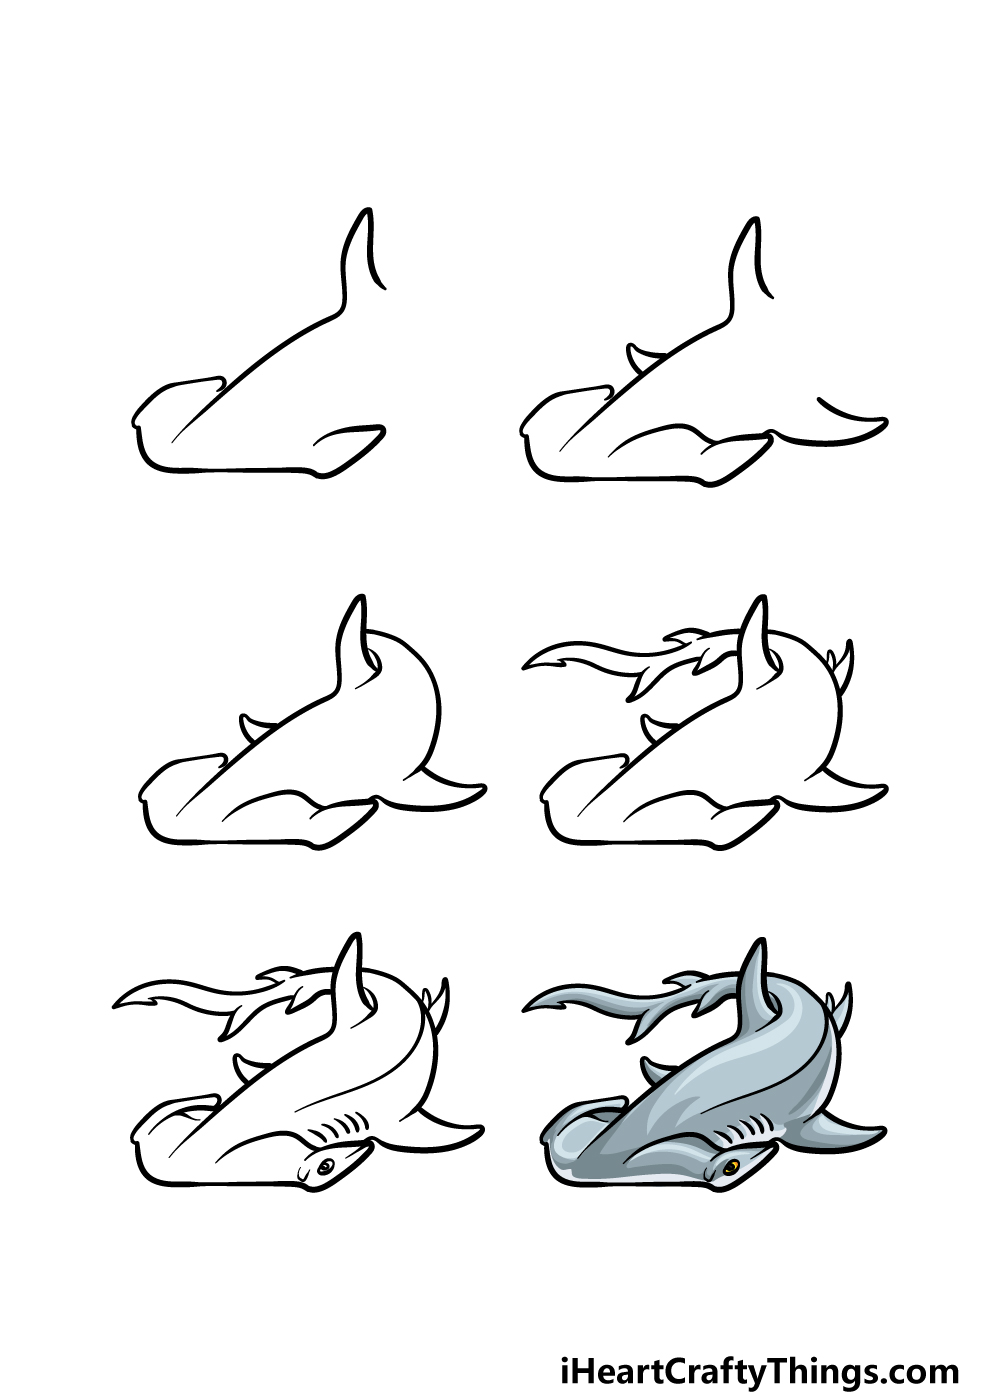
Step 6 – Finish off your hammerhead shark drawing with some color

It’s time to color your hammerhead shark drawing in so that it can be completed in style! In our reference image, we went with a more realistic, muted color scheme of light greys and blues to finish off the shark.
You could go with similar colors for your own drawing, but this is your chance to show off your creativity!
Hammerhead sharks can come in a variety of different colors, but you could also go for more stylistic colors if you would like a more vibrant image.
Which approach do you think you will take to finish off this picture?
3 More tips to make your hammerhead shark drawing easy!
Dive into these 3 tips we have for your hammerhead shark sketch that will make it even easier!
For this drawing of a hammerhead shark, we tried to make a depiction that was fairly detailed and realistic.
If you’re having a hard time with the design or just prefer a different style, you could adapt it to a different art style.
The style you use for this would depend on what you like or find easiest to draw with. For example, you could turn the shark into a cartoon character that is much simpler in design.
Or, you could go for a more detailed, realistic depiction if that is a style you prefer.
The pose we used for this hammerhead shark drawing is really cool, but it could be changed to make the drawing a bit easier.
Right now, it is curled around as if it were changing directions while swimming.
For example, you could have it swimming with its body in a straight line. Or, you could even show it completely from the side so that you can focus on the details and body of the animal.
Basically, any pose that would make it easier for you should certainly be used! If using a different angle sounds complicated, then the next suggestion we have for you will make it easier.
This final tip we have for your hammerhead shark sketch is to use some images of real hammerhead sharks for your picture.
This is something that would help whether you changed the pose or not!
If you search online, you will find many photos of real hammerhead sharks that you could use as a reference.
Even if these ones are posed differently to our example images, they will still help as you draw the finer details.
Then, if you did want to draw the shark in other poses or from different views, any photos you find will help you as you draw these unique takes on this incredible animal.
They will also help you to make it even more accurate!
Your Hammerhead Shark Drawing is Complete!
This guide on how to draw a hammerhead shark was all about recreating this unique and wonderful creature!
We hope that this guide helped to walk you through all of the trickier aspects with ease so that you could focus on the fun and creativity of the drawing.
Then, when you’re done with this picture you can make an entirely unique variation by adding some more details and touches of your own.
Drawing a background and adding some more sea creatures is one idea that you could go for, but there are no wrong answers here! Let your creativity flow, have fun and see what happens!
There are plenty of guides for you to get creative with on our website when you’re finished with this one. The list of drawing guides grows all the time, so we hope to see you there often!
We would also love to take a look at your brilliant hammerhead shark drawing when it is complete. You can show us by sharing it on our Facebook and Pinterest pages for us to see.