Drawing any part of the human body can be a rather intense artistic challenge.
We see other humans and our own appearance every day, but even so, it can be challenging to depict the smaller details and elements that make up the average appearance.
This is especially true of faces, and this means that mastering the art of learning how to draw a half face can be a rather frustrating task.
Luckily, if you have been wanting to know how you can more easily master this challenge, you’re definitely on the right tutorial!
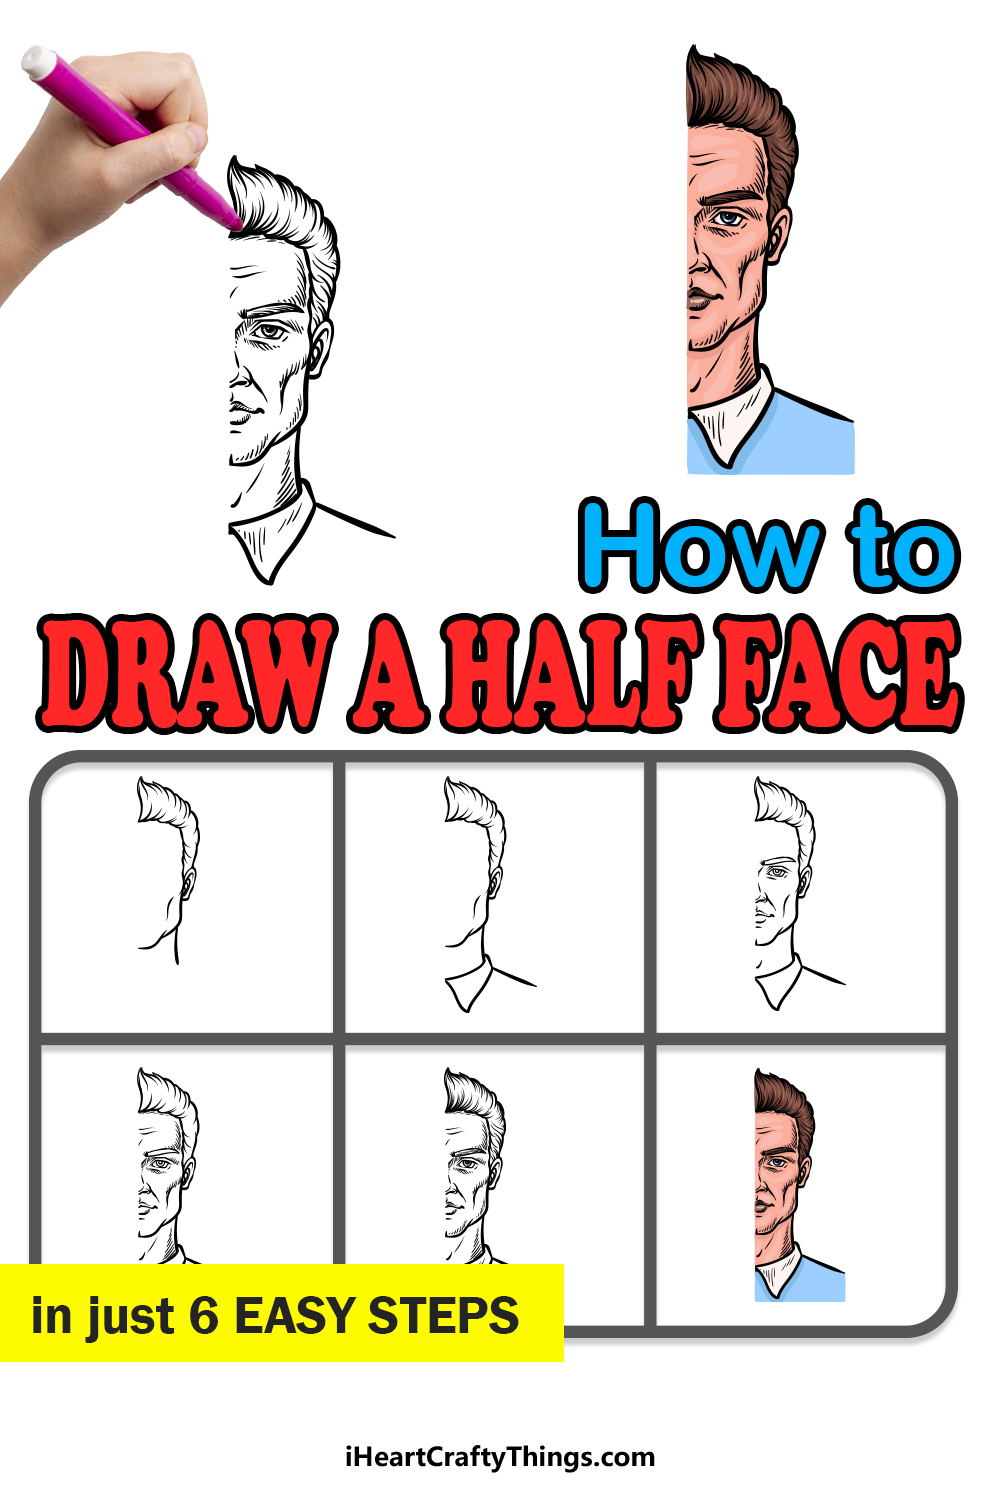
This step-by-step guide on how to draw a half face in just 6 easy steps will show you just how fun and easy it can be when you know what to do.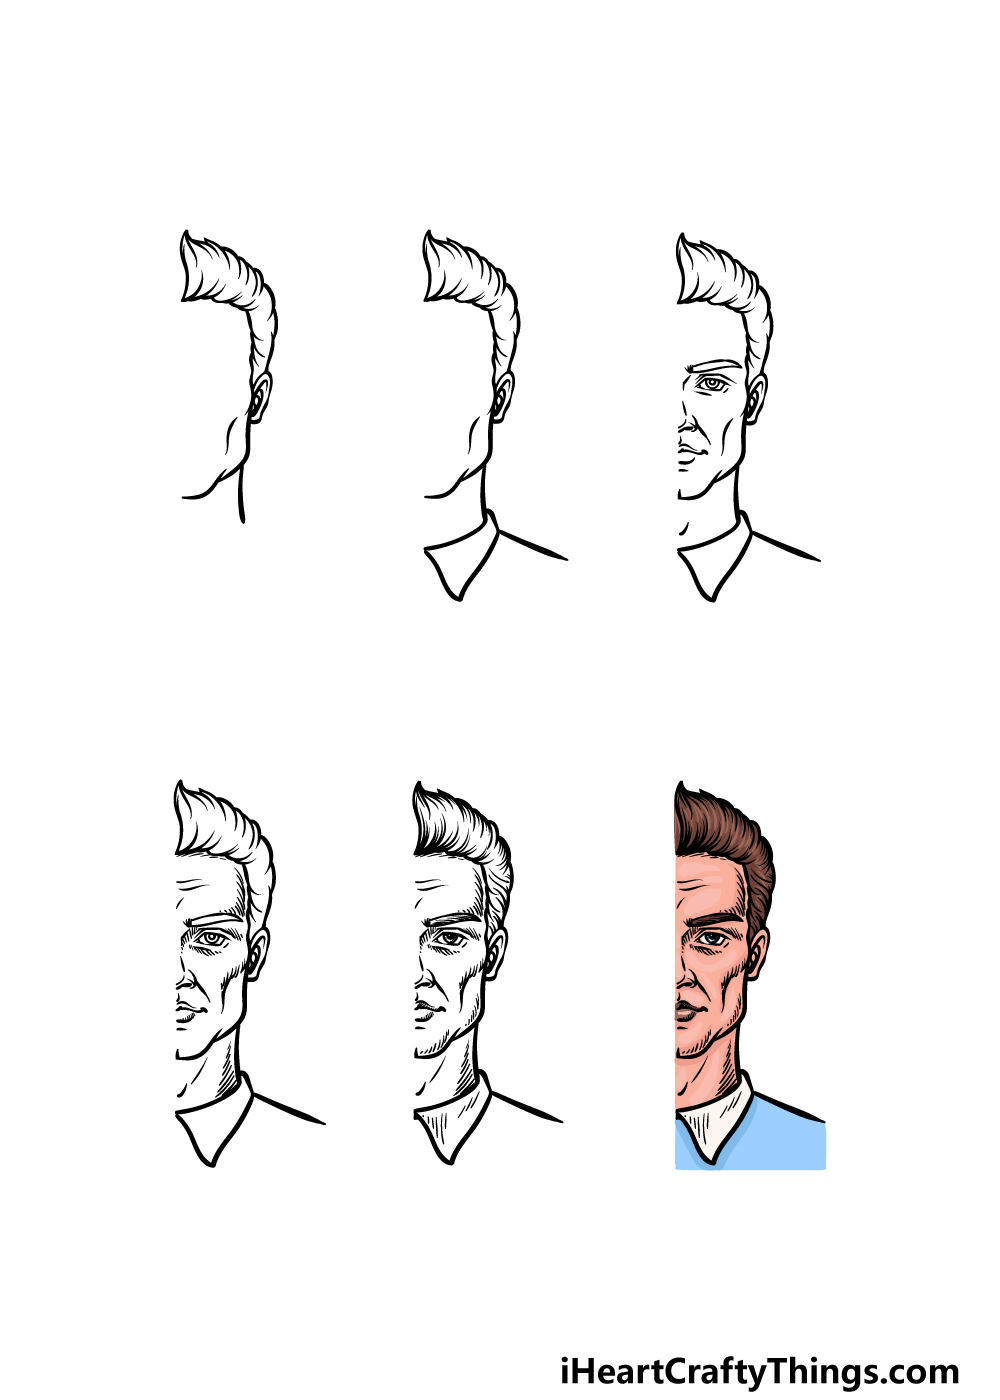
How to Draw A Half Face – Let’s Get Started!
Step 1
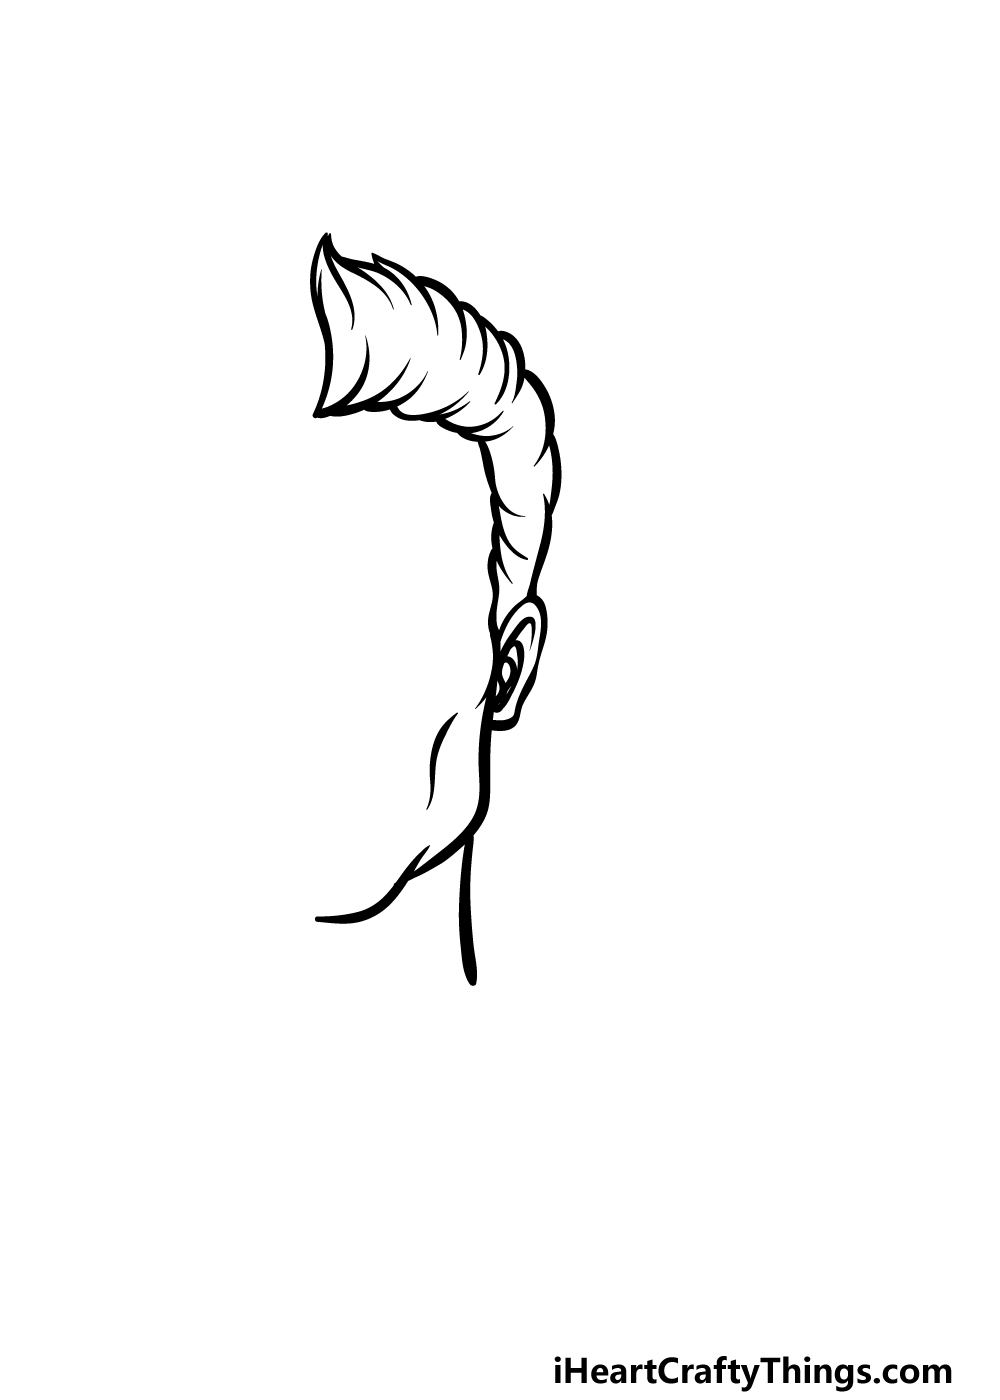
When drawing a face, it’s best to start off with outlines and then add finer details as you go along. This is the approach that we will be taking in this guide on how to draw a half face.
First, we will be using a lot of curved lines with some pointy tips on top for the man’s hairstyle. This section of the hairstyle will get thinner until it reaches his ear.
With the ear drawn, you can use some more angular curved lines for his jaw extending beneath it.
Finally, add another slightly curved vertical line coming down from the jaw for his neck, and then we can proceed to step 2 of the guide!
Step 2 – Now, draw the collar of his shirt
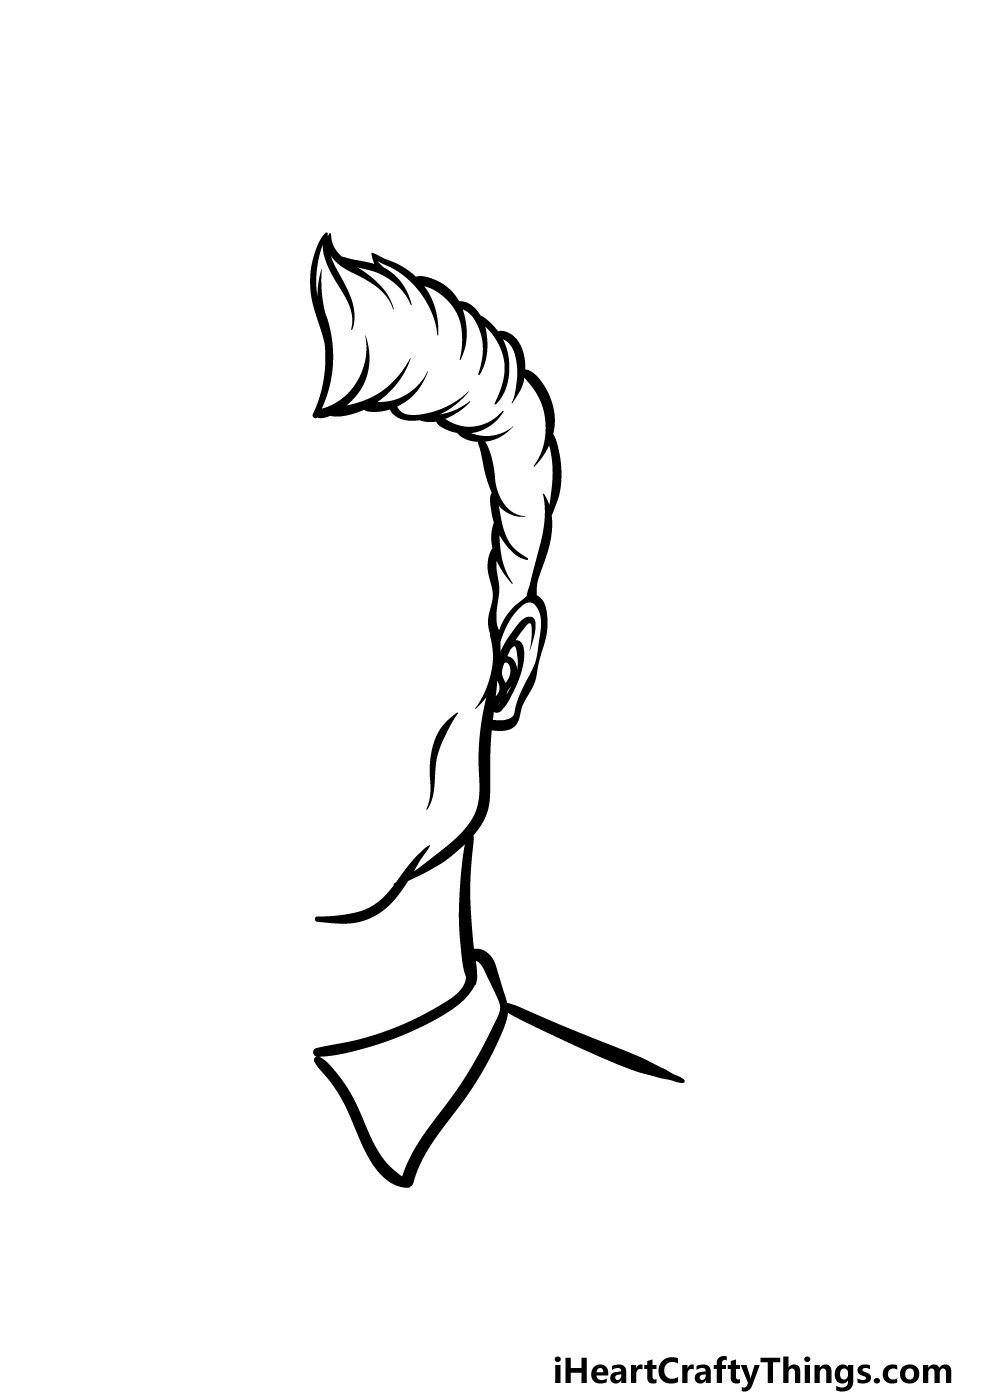
We will keep things simple in this step of your half face drawing! For this part, we will primarily be focused on the collar of his shirt.
Use a curved horizontal line for the top of the collar, and then draw the pointy underside using some more curved lines.
Then, use a straight line for the top of his shoulder, as shown in the reference image.
That’s all there is to it, and then we can move on to the third part so we can add more details.
Step 3 – Draw some facial details

The outline of this drawing is done, and for the next few steps we can focus on adding some inner detailing.
To do this in this third step of our guide on how to draw a half face, we will be adding some facial details.
First, you can draw an eyebrow using some curved lines with pointy tips at each end. Next, draw the eye and add some lines around it for more definition.
Then, you can finish off this step by drawing half of the nose and mouth, and then add some simple details around them.
These particular details can be rather tricky, so try your best to copy the lines exactly as they appear in the reference image before moving on.
Step 4 – Next, draw some definition details for the face

Before we move on to the final details of this half face drawing, we will first add some definition details to the face.
You can do this by drawing many small, curved lines all around the various lines of the face, and this will help to add some texture and depth. Then we can move on to thos final details we mentioned!
Step 5 – Add the final details to your half face drawing
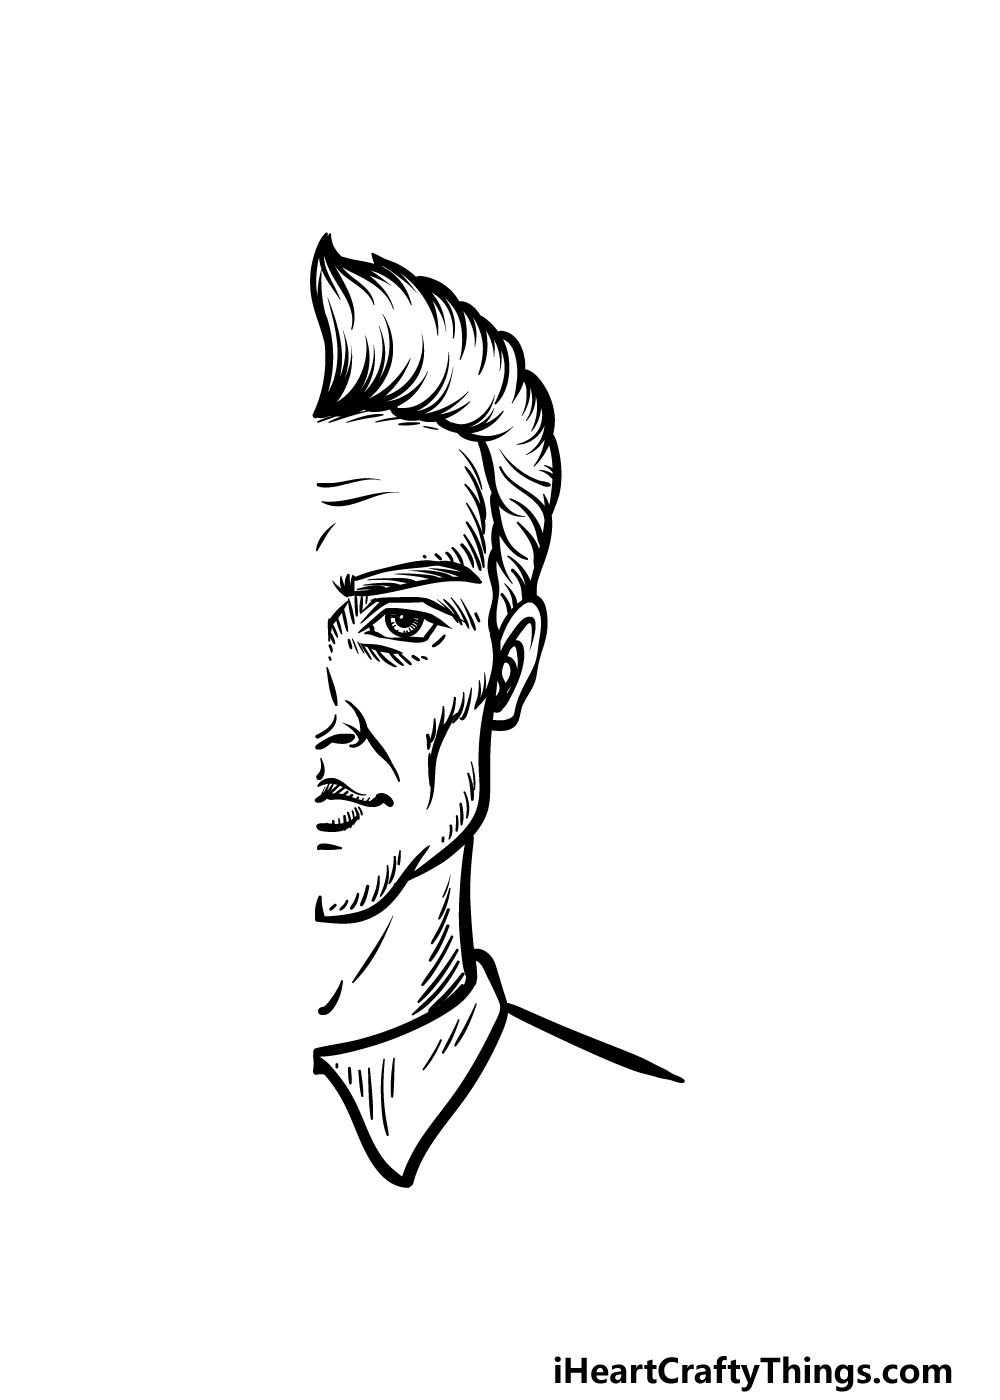
You’ve finished all of the outlines for this image, and in this step of our guide on how to draw a half face we will focus on finishing up the final details.
To do this, you can add some line details to elements such as his hair, eyebrows and facial features. These lines may look simple, but they help to add texture and depth to these different elements.
When you have finished these final touches, be sure to also add any extra details of your own! There is a lot that you can do to finish off this design.
For starters, you could draw a background to show what kind of setting this man is in. For a fun touch, you could draw the background on the opposite side of the image from where the half face is.
You could even try and draw the other half of the face or even draw a completely new face using these steps! How will you finish off this image?
Step 6 – Finish off your half face drawing with color
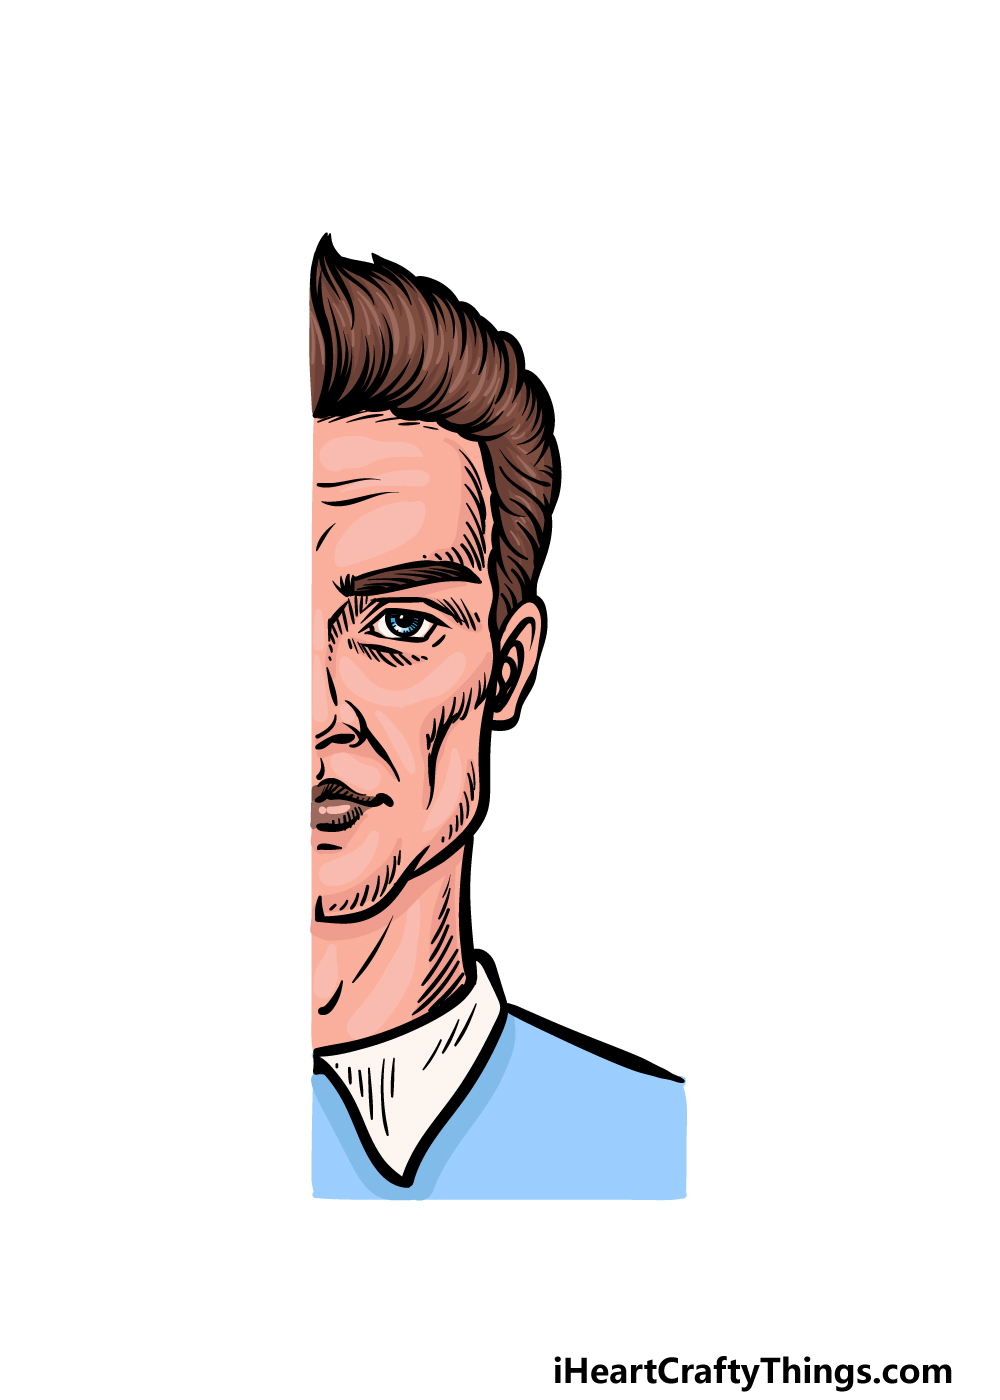
Now you’re ready to finish off this half face drawing with some color! When it comes to adding color to a drawing, there should be no limits to your creativity.
That means that while you could go for similar colors to the ones we used, you should also feel free to go for any other colors you love!
You can change up the colors that you choose for elements such as skin tone, hair color and the colors for visible clothing.
Another way to keep things fresh is by changing up the various art tools and mediums you use.
Mediums such as acrylic and watercolor paints are popular when painting humans, as they allow for more subtle and realistic colors.
We can’t wait to see what colors and art mediums you choose for this incredible artwork!
3 More tips to make your half face drawing easy!
Find out how to make your half face sketch easier with the help of these 3 tips!
Even though this drawing of a half face was specifically designed this way, you may find it a bit easier to draw if you add the other half of the face.
Doing this would make it a bit less abstract, and you would also be able to visualize it easier. All you would need to do is follow through the steps of the guide again and do the steps in reverse.
Not only can it make the drawing a bit easier to get your head around, but it would also result in a more complete image.
When drawing a face, you will often see artists using a pencil to map out their drawing before starting the final face.
You could do this for your half face drawing whether you draw one half or the whole face.
First, start by using your pencil to draw a rough outline for the head. This will be a rounded shape that is wider on top and thinner at the chin at the bottom.
Then, you can use lines vertically and horizontally across the face to map out where elements such as the eyes, nose and mouth will go.
Once you have these pencil lines, you can slowly start adding finer details to the image.
Finally, we would recommend using a real person’s face to aid you as you work on your half face drawing.
If you can find someone who looks similar to the character in the drawing, then that would be perfect.
Even if they don’t look similar, you may still find it helpful. Using a real person’s face would be great as you will have a reference for how different parts of the average face exist in relation to one another.
It would also help with finer details and proportions of the face, and it would also allow you to create a different variation on the face that could look completely different.
Your Half Face Drawing is Complete!
We mentioned at the beginning of this guide on how to draw a half face that drawing any human face can be a rather intense challenge to take on!
That’s why we designed this guide to break it down into smaller steps that would take out the frustration and leave you with the fun of creativity. Hopefully the guide achieved these goals for you!
Now that you have finished this design, you can keep the fun going by exploring your own creative ideas and details.
If you’re feeling ambitious, you could draw the second half of the face, add a background or even use what you learned to draw a different half face. Have fun getting creative and see what happens!
There is plenty more drawing fun to be had on our website, so be sure to keep checking in there to never miss out on the new drawing guides we upload often!
It would be great to see your finished half face drawing as well, so please be sure to share your creation on our Facebook and Pinterest pages!