When thinking of reptiles, you may first think of the big scary ones, such as crocodiles and alligators.
There is a huge variety of different reptiles on our planet, however, and some of these are possibly living in your house right now!
The gecko is one example, as they are found in many households around the world. On top of being cute, they are also handy at catching unwanted pests such as mosquitoes and spiders.
Learning how to draw a gecko is a great way to show your appreciation for these cute lizards!
This tutorial is here to show you exactly how you can go about doing that, so be sure to read all the way to the end!
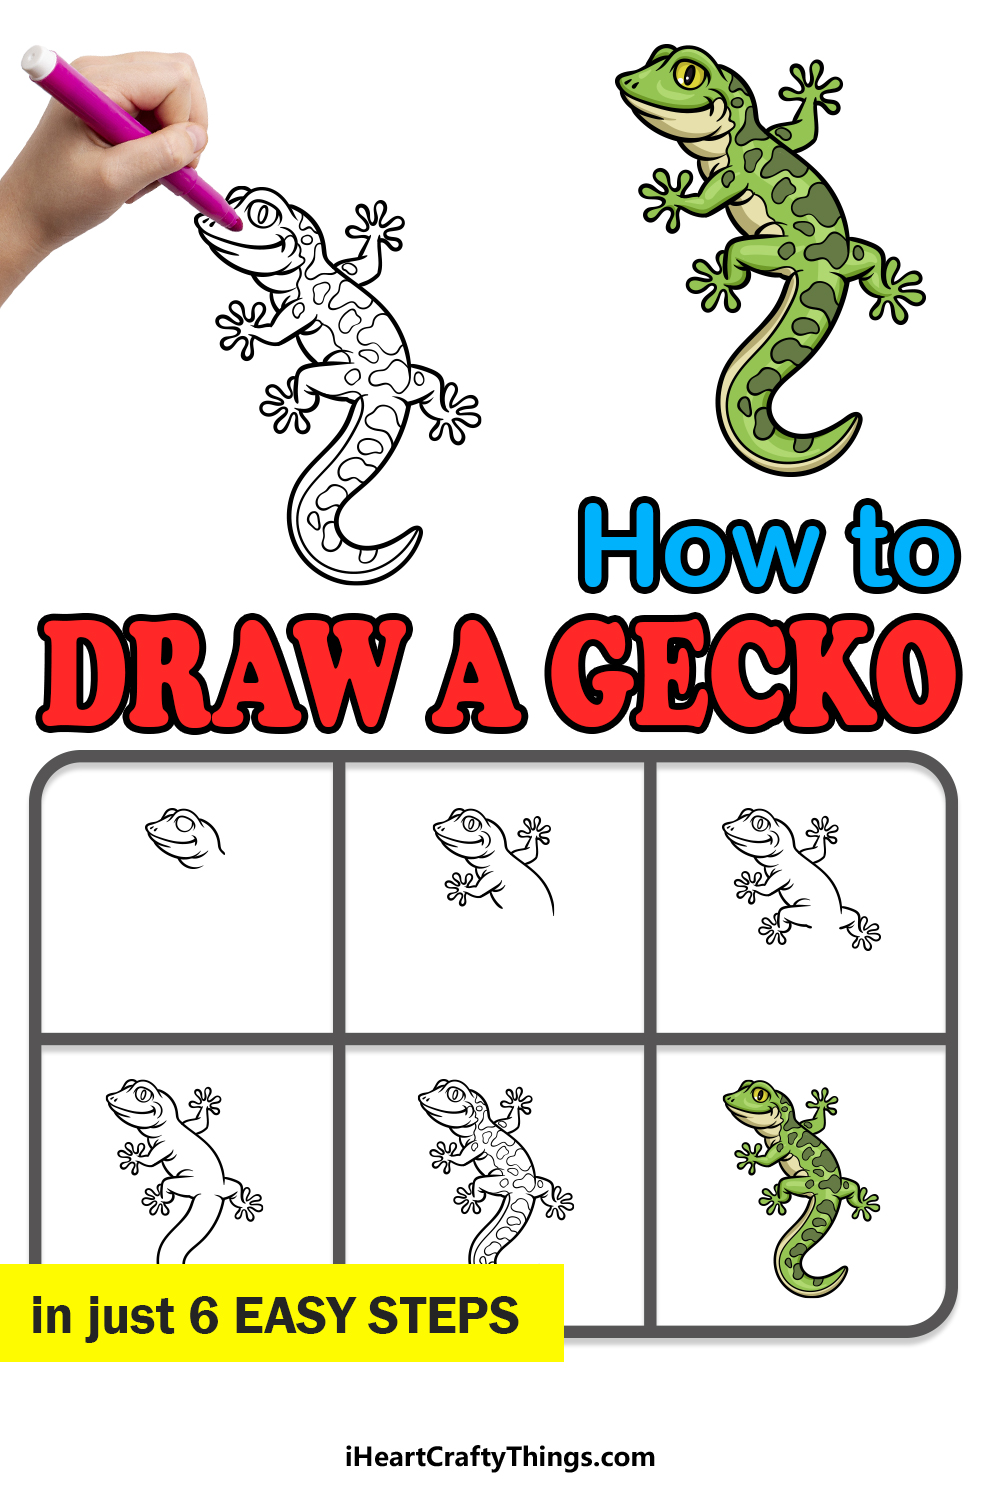
We hope you enjoy this step-by-step guide on how to draw a gecko in just 6 steps!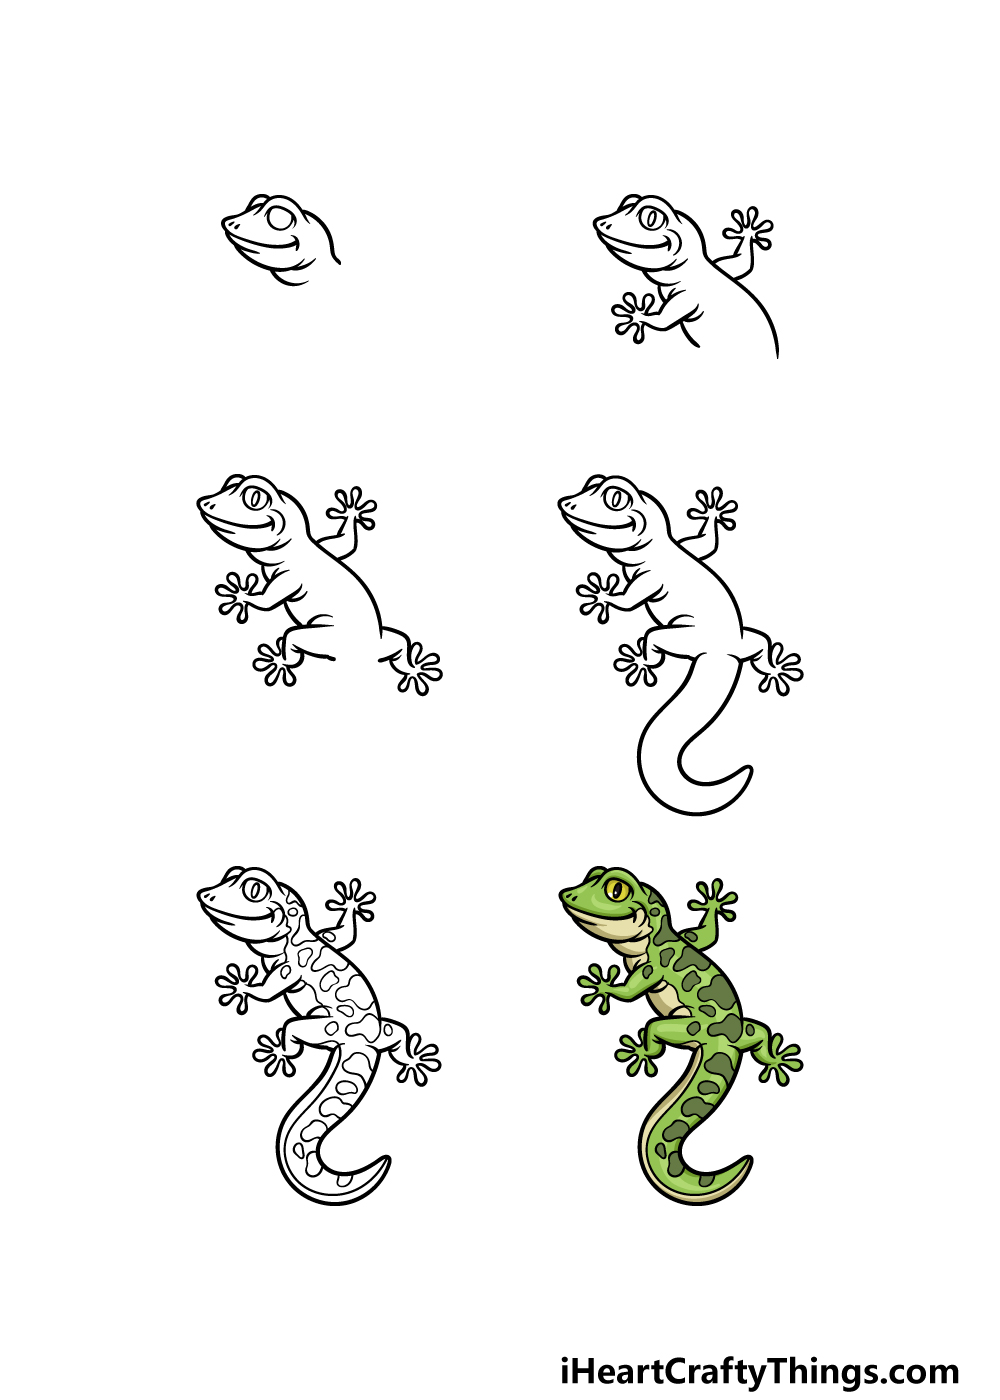
How to Draw A Gecko – Let’s Get Started!
Step 1
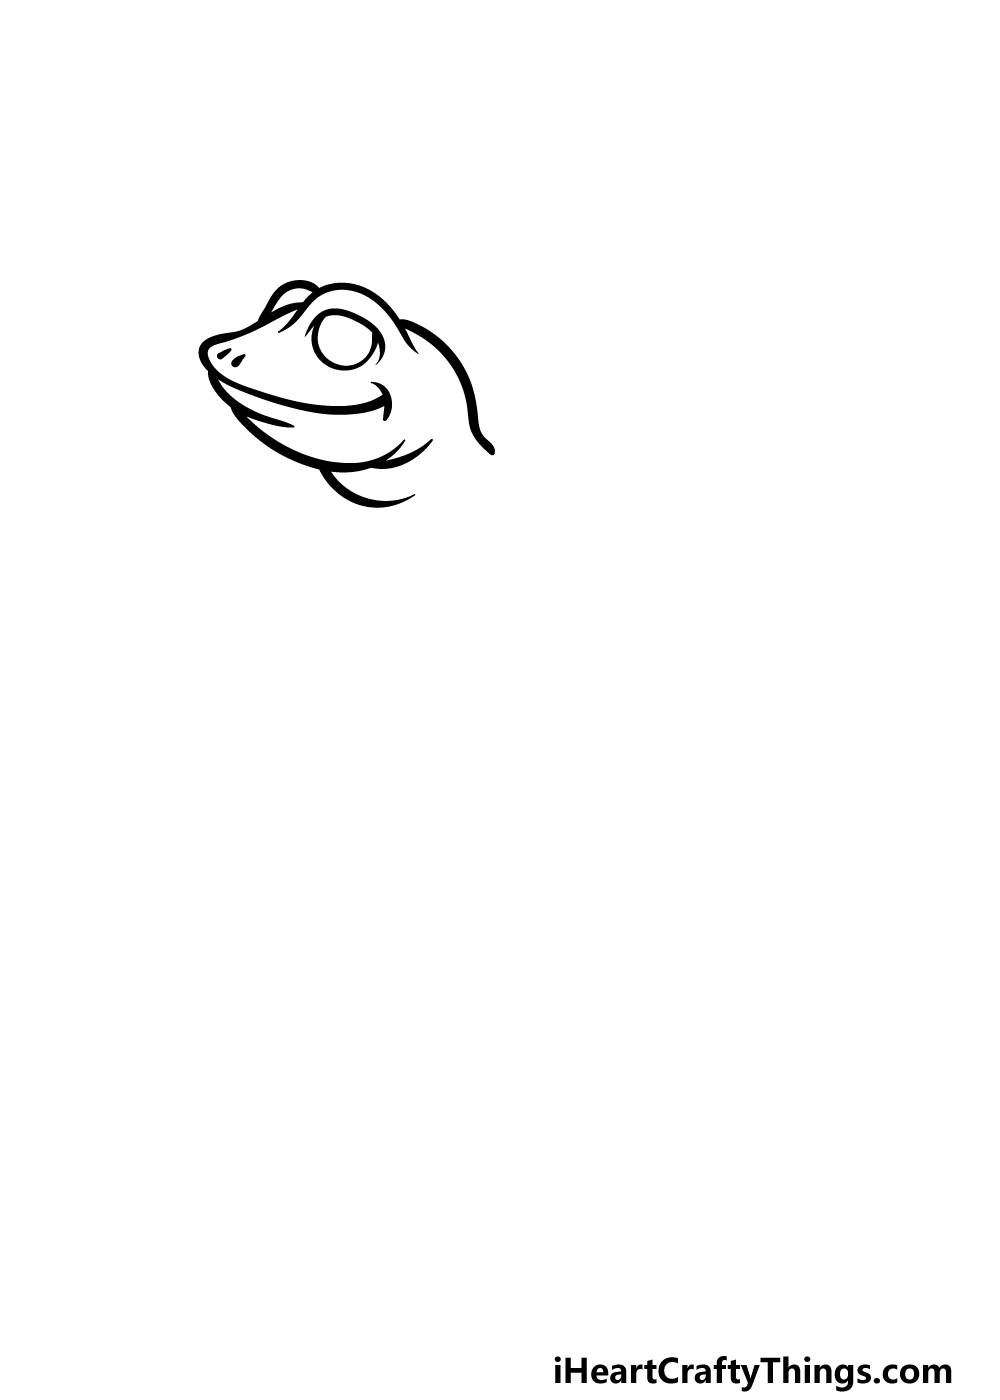
In this guide on how to draw a gecko, we will be creating a cartoony portrayal of this adorable little lizard.
To get this process started, you can begin by drawing a circular shape for the large eye of the gecko. Then, this will have some curved line details above it to give it a more defined facial expression.
Then, there will be another curved line above the eye, and this will connect to the top of the head. The front of the face will be fairly short and rounded, and it will extend into a smiling mouth.
Finish off by drawing some dots for the nostrils and the base of the neck, and then we can proceed to step 2!
Step 2 – Now, draw some facial details and the first legs for this gecko
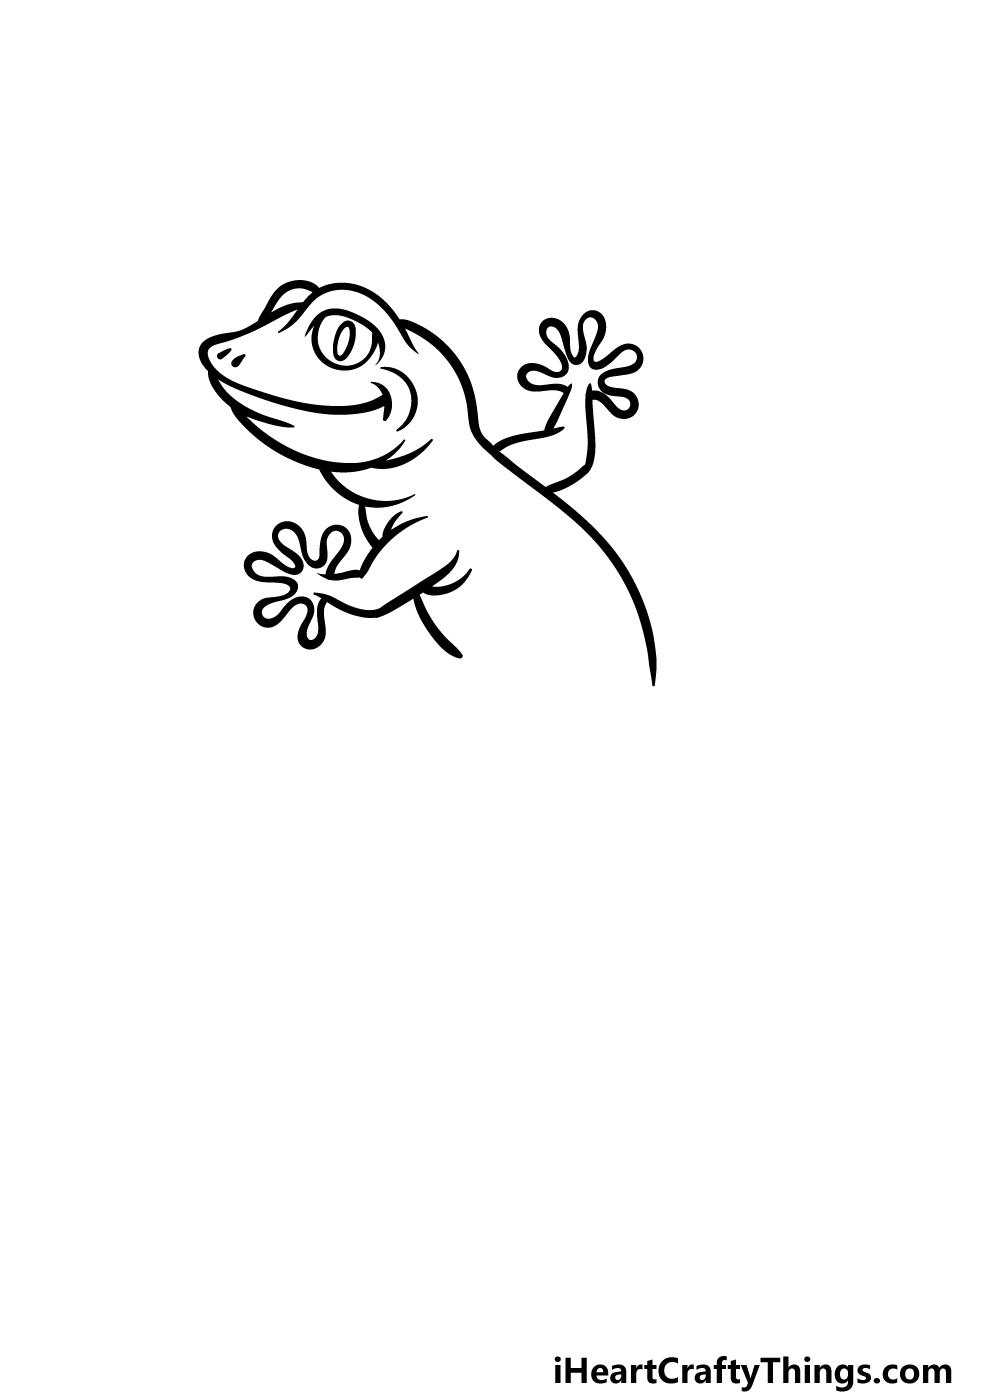
Continuing with this gecko drawing, we shall now be adding some facial details along with the first legs.
You can begin by drawing a small thin oval shape inside the eye outline for the pupil.
Then, we will be adding a curved vertical line around the corner of the mouth to further develop the facial expression of this gecko.
Next, we will be drawing the front legs of the gecko. The outlines for the legs will be drawn with some curved lines, and they will lead to the little feet.
These feet are drawn with some thin, rounded little toes, and adding them will finish off this step. Then you can move on to step 3 to continue.
Step 3 – Draw the back legs for this gecko
You added the first two legs in the previous step of this guide on how to draw a gecko, and in this one we shall add the back legs.
These legs will look rather similar to the previous front legs that you drew, but their bases will be slightly thicker.
Other than that detail, they will end in the same distinctive feet as the first ones, and you can add some curved line details to the joints to show the skin bunching up a bit.
When you’re happy with how it looks, we shall proceed!
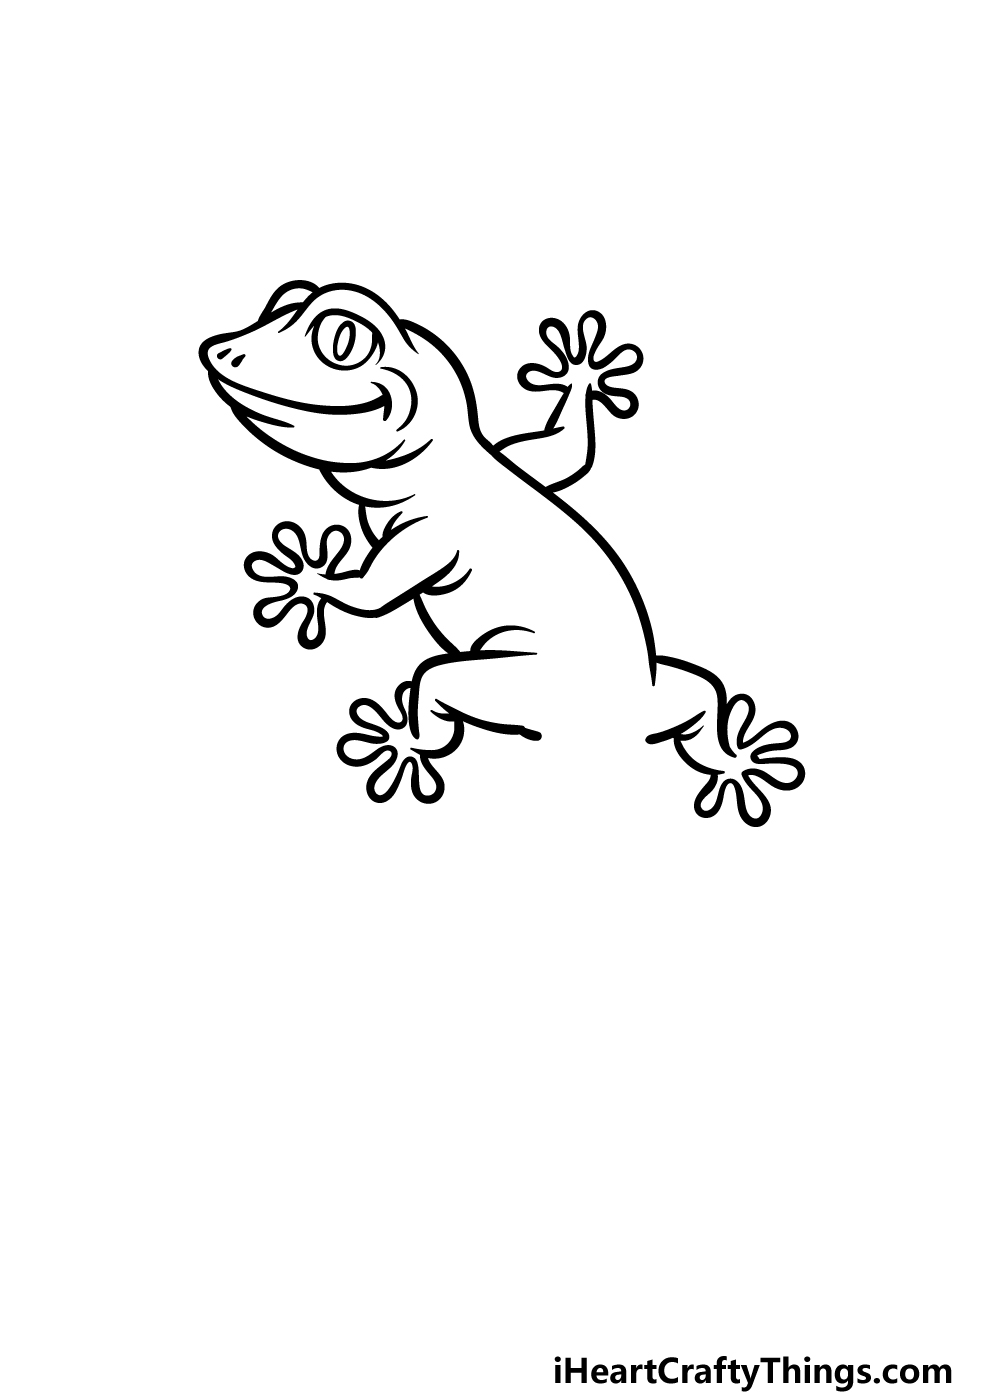
Step 4 – Next, draw the outline for the tail

Before you add some pattern details to this gecko drawing in the next step, we will first finish the outline. This will mainly focus on the tail for the gecko.
As shown in our reference image, the tail will be rather thick, and it will be a fairly consistent width until you get to the thinner tip.
The tail will curl over quite sharply near the end as well, and you can reference our example to make sure you get the length and scale looking right.
When this tail is complete, we shall move to the next step to take care of any final details and touches.
Step 5 – Add the final details to your gecko drawing
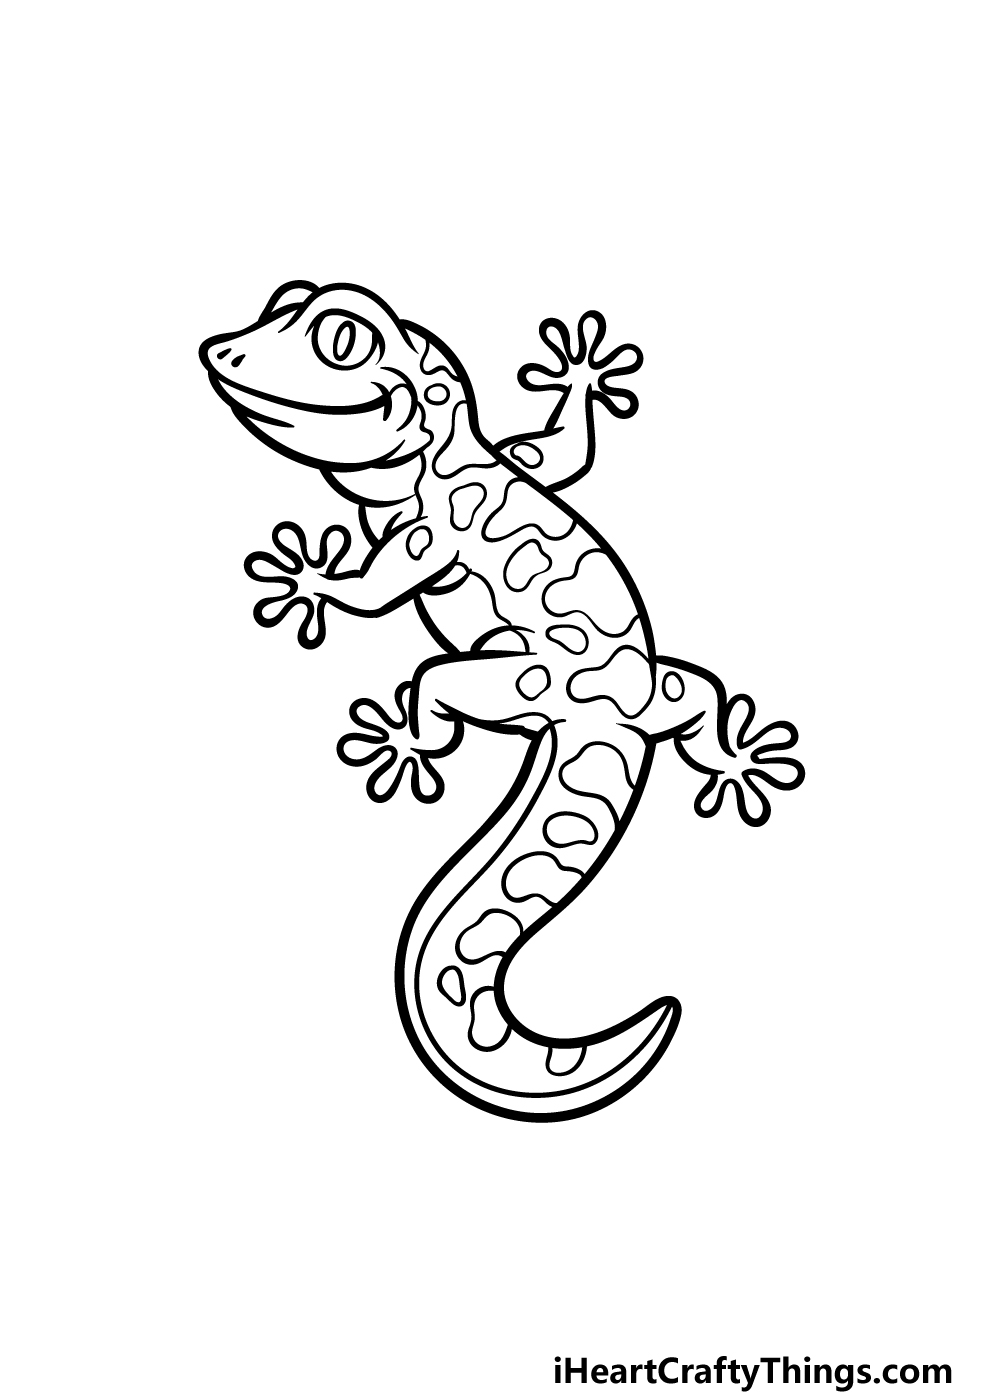
This breed of lizard often has patterns on its back, and these are what we shall be adding in this step of our guide on how to draw a gecko.
This is a step where you could also change up the details that you use to create your own unique design, but for now we will focus on the design in our example.
To draw this pattern, we added lots of rounded shapes onto the back of the gecko.
Finish off by drawing some more lines onto the belly and the base of the tail, and then you will be ready for the final step!
Before you move on to the coloring stage, be sure to also add any additional details and background elements that you feel would suit this image.
Step 6 – Finish off your gecko drawing with color
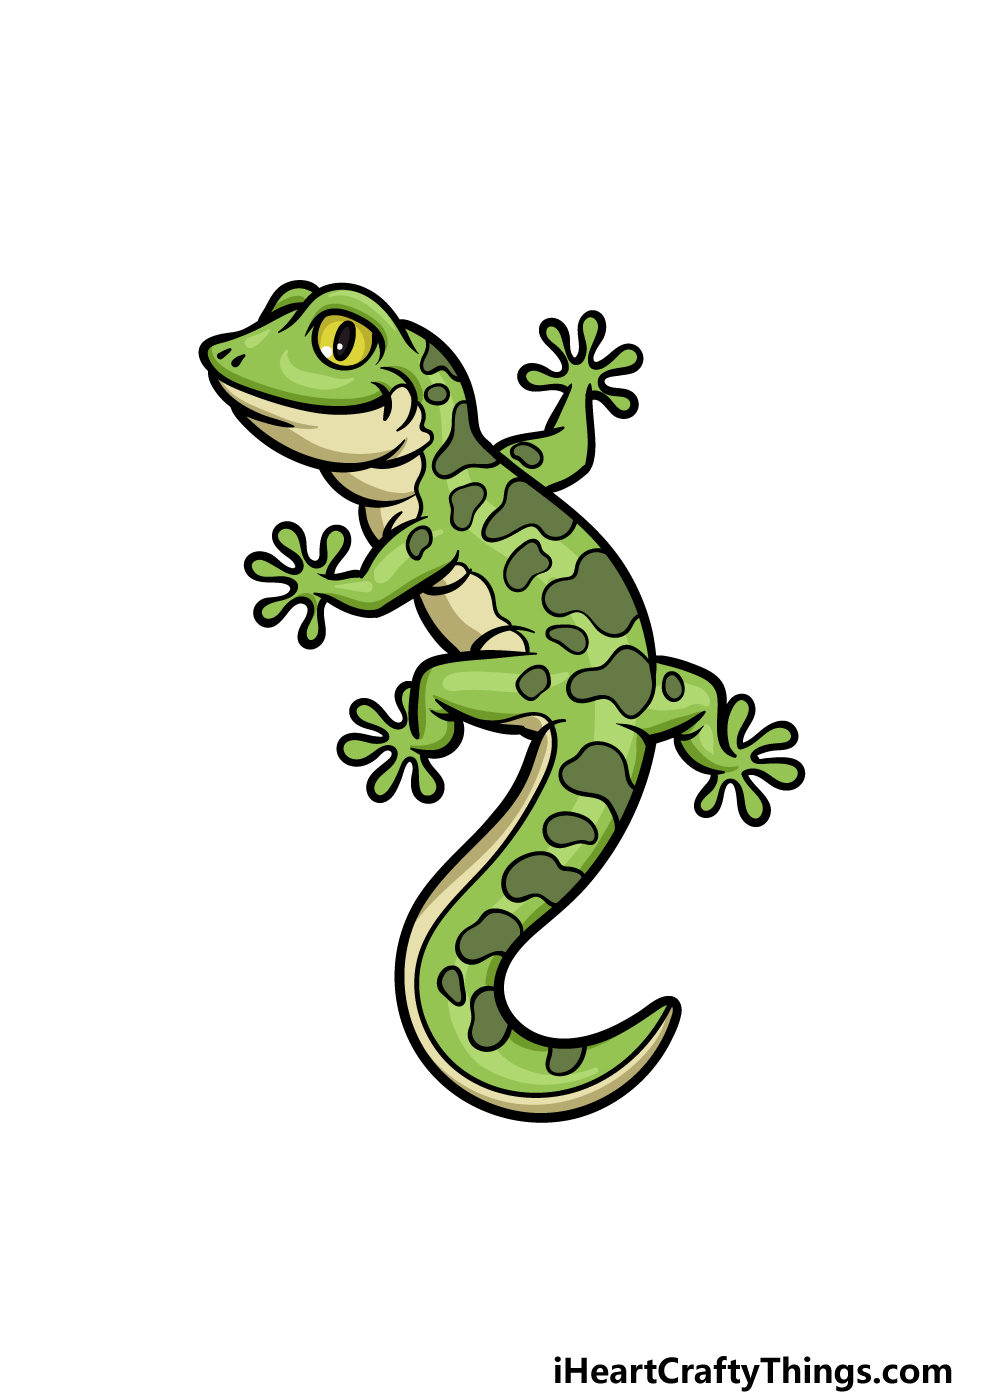
Now you’re ready to finish off this gecko drawing with some color! In our reference image, we used a light green for most of the gecko’s body, and then we incorporated darker greens for the spots.
Finally, for the underside of the gecko we used some pale yellow shades.
These are some of the colors you can use for this picture, but you should definitely feel free to change them up or go for a totally unique color scheme!
When coloring, you can also play around with different mediums depending on the kinds of color intensities you’re looking for.
What colors and art mediums do you think you will use to finish off this image?
5 Tips To Make Your Gecko Drawing Even Better!
Make this gecko sketch even cooler with these 5 tips!
For this gecko drawing, we went with a fun spotted pattern on the gecko’s body. If you’ve ever seen geckos in real life, you will know that they can have all sorts of patterns on their bodies!
If you wanted to put a unique spin on this gecko, you could give it a makeover with new patterns. They could be realistic or something weird like spirals or smiley faces!
If you like the design we used for the drawing of a gecko but also want to design some of your own, there is a way! You could do it by drawing more than one of these geckos.
Now you know how to draw a gecko, so you can add as many as you want to the image. You could change a few details to make each one unique and then decorate them as you wish.
Adding more geckos is one way to populate this gecko sketch, but it isn’t the only way. You could also draw some other little creatures!
For instance, maybe there could be some other little lizards or maybe some weird and wonderful bugs. What other creatures could you add to the drawing?
Another thing about geckos is that they can come in many different colors. Once you have finished the patterns on its body, you could really express yourself with the colors you use!
They could be more muted and realistic, but you could also use any of your favorite bright and vibrant colors. What are some colors you would like to use?
The gecko is a really wily creature, and it can be found in the strangest of places. That means that if you wanted to add a background for this gecko drawing you could pick any place you like!
It could be somewhere simple like the ceiling of a house, but that’s just one of many ideas. We’re sure you can think of some crazy ideas, so what else could you use as a background?
Your Gecko Drawing is Complete!
This adorable little lizard is a common and welcome sight in many homes, and we hope you had a great time recreating it in this guide on how to draw a Gecko!
Our goal in this guide was to create a fun representation of this lizard while making it much easier for you to master once it has been broken down into smaller steps.
Now you can take over and further personalize the image by adding your very own details, elements, ideas and color choices. We can’t wait to see how you finish it off!
Then, you’ll want to check out our website for access to many amazing drawing guides. We will also be adding many more guides to enjoy soon, so checking in often is the best way to never miss out!
Lastly, we would love to see how your gecko drawing turned out! You can show us by sharing your creation on our Facebook and Pinterest pages when it is done.