There are many ways that you can enjoy a tranquil time of peace and quiet to gather your thoughts and get away from it all.
One of the best ways to do that is to visit a lovely pond or a river to enjoy the soothing rippling water as you relax.
While this is relaxing in and of itself, it can be made even better when you have some Japanese koi fish to admire in the water!
These beautiful fish come in many amazing varieties of color and pattern, and learning how to draw a Japanese koi fish can be as fun and relaxing as admiring them in real life!
If you love these beautiful fish, then you will love this tutorial we have prepared for you just as much.
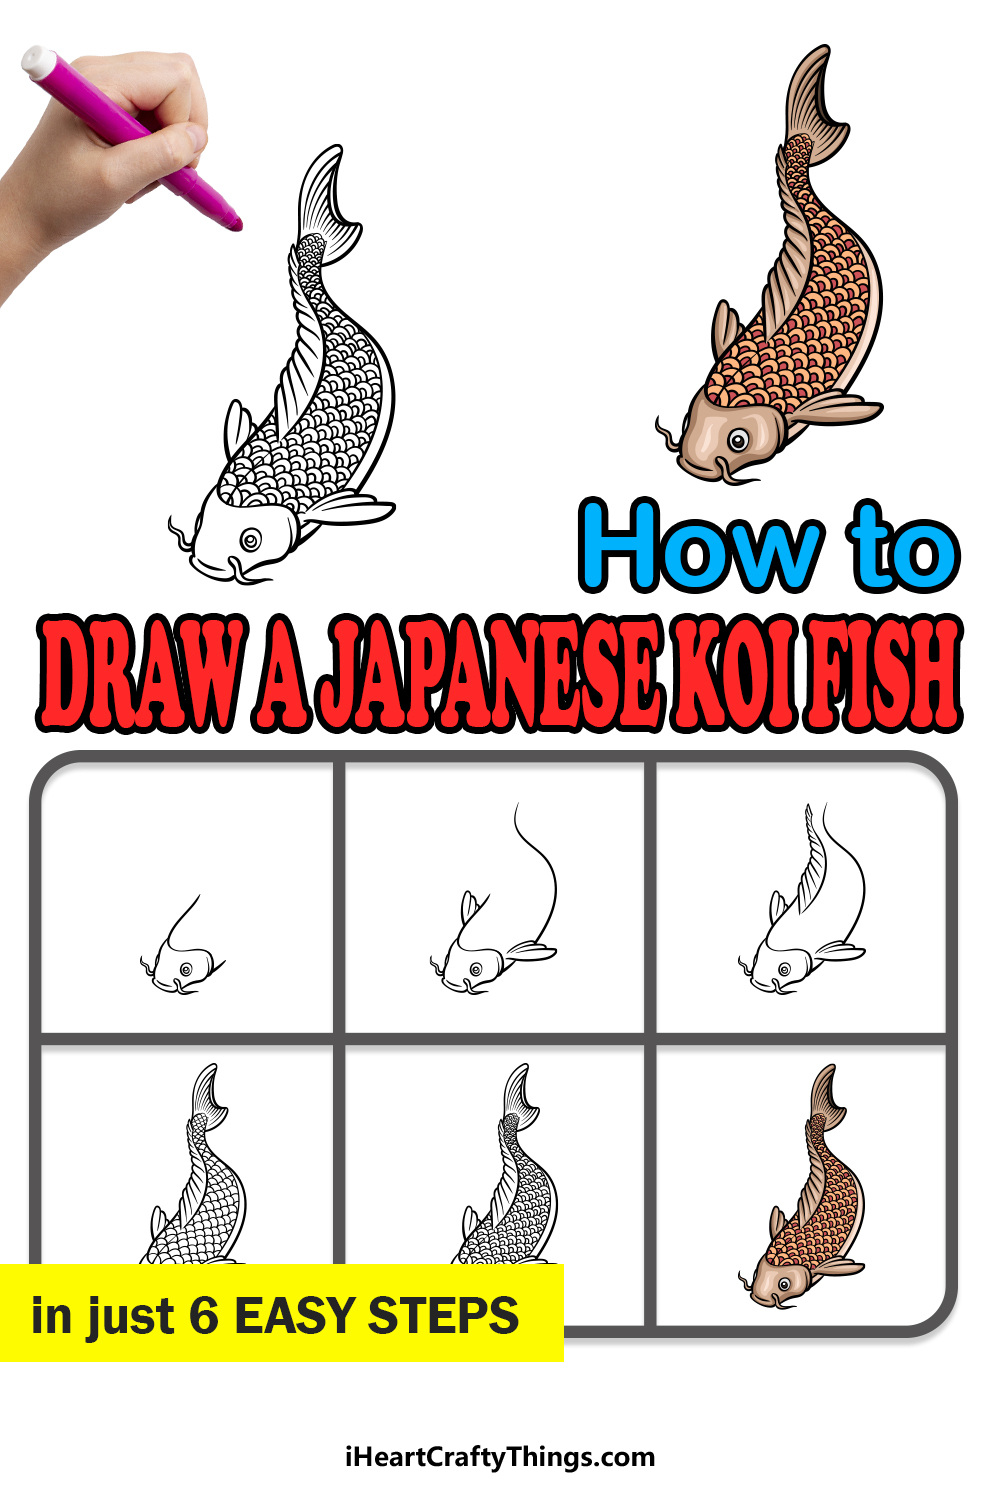
Our step-by-step guide on how to draw a Japanese koi fish will show you everything you need to create some beautiful koi-based artworks.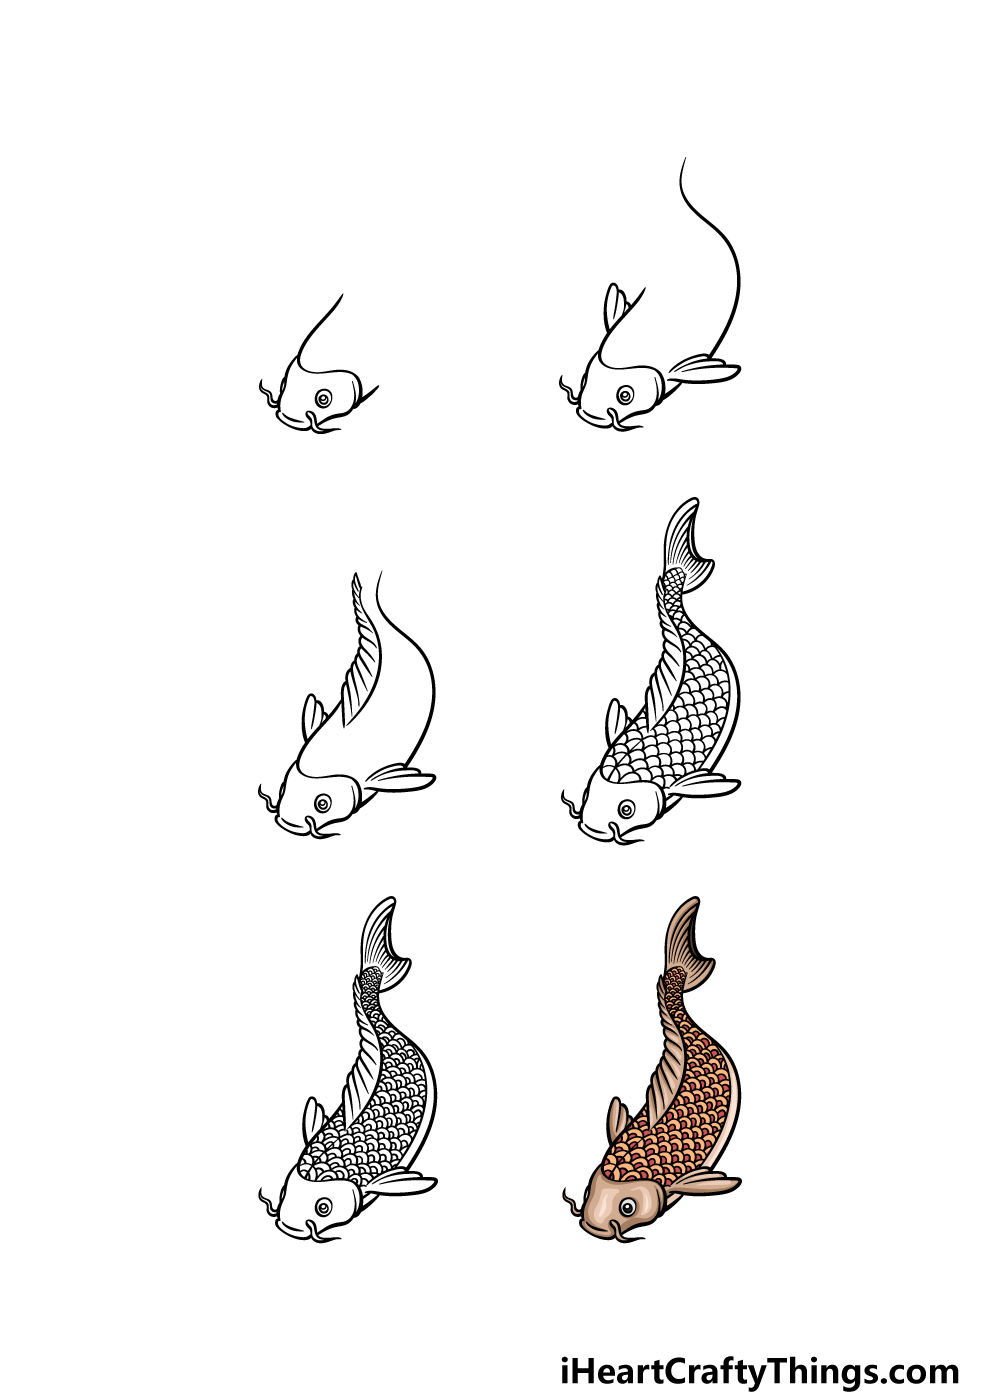
How to Draw A Japanese Koi Fish – Let’s Get Started!
Step 1
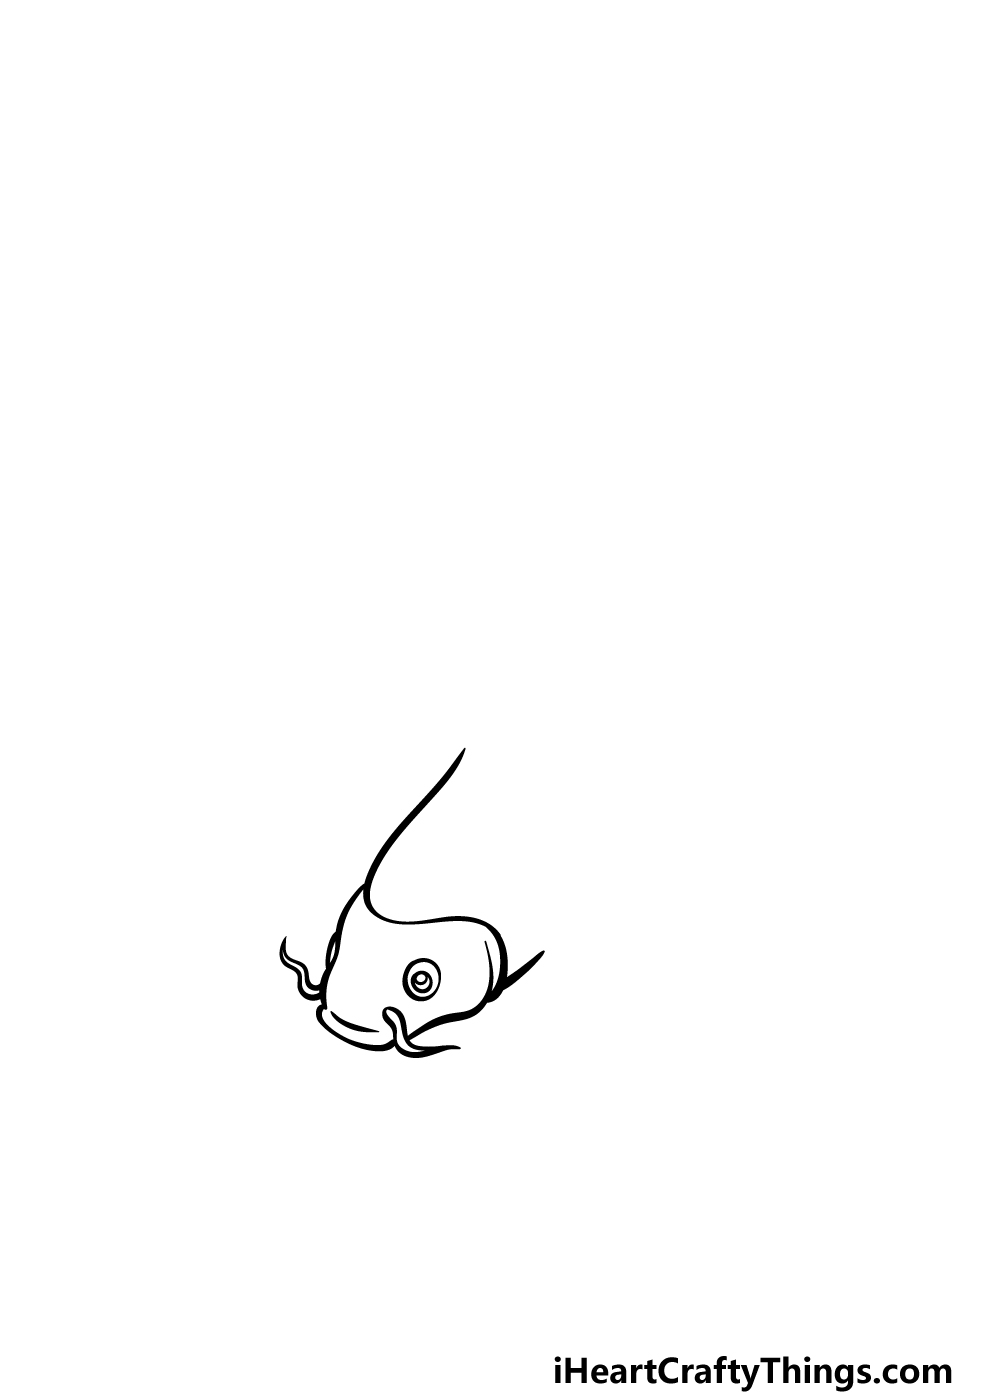
We will start with the head, face and first section of the body in this first step of our guide on how to draw a Japanese koi fish.
This fish has a distinctive look, and we will be aiming to capture that look in this depiction of the fish.
The face outline will be quite wide at the base, and then it will get narrower closer to the tip. The facial section will be separate from the rest of the body as well.
Another aspect that is recognizable for these fish are the whiskers they have extending from their faces.
You can also draw their eyes using a simple rounded shape with a smaller one inside of it. Finally, use some more curved lines for the start of the fish’s body, and then we can proceed to step 2!
Step 2 – Now, draw some flippers and more of the fish’s body outline
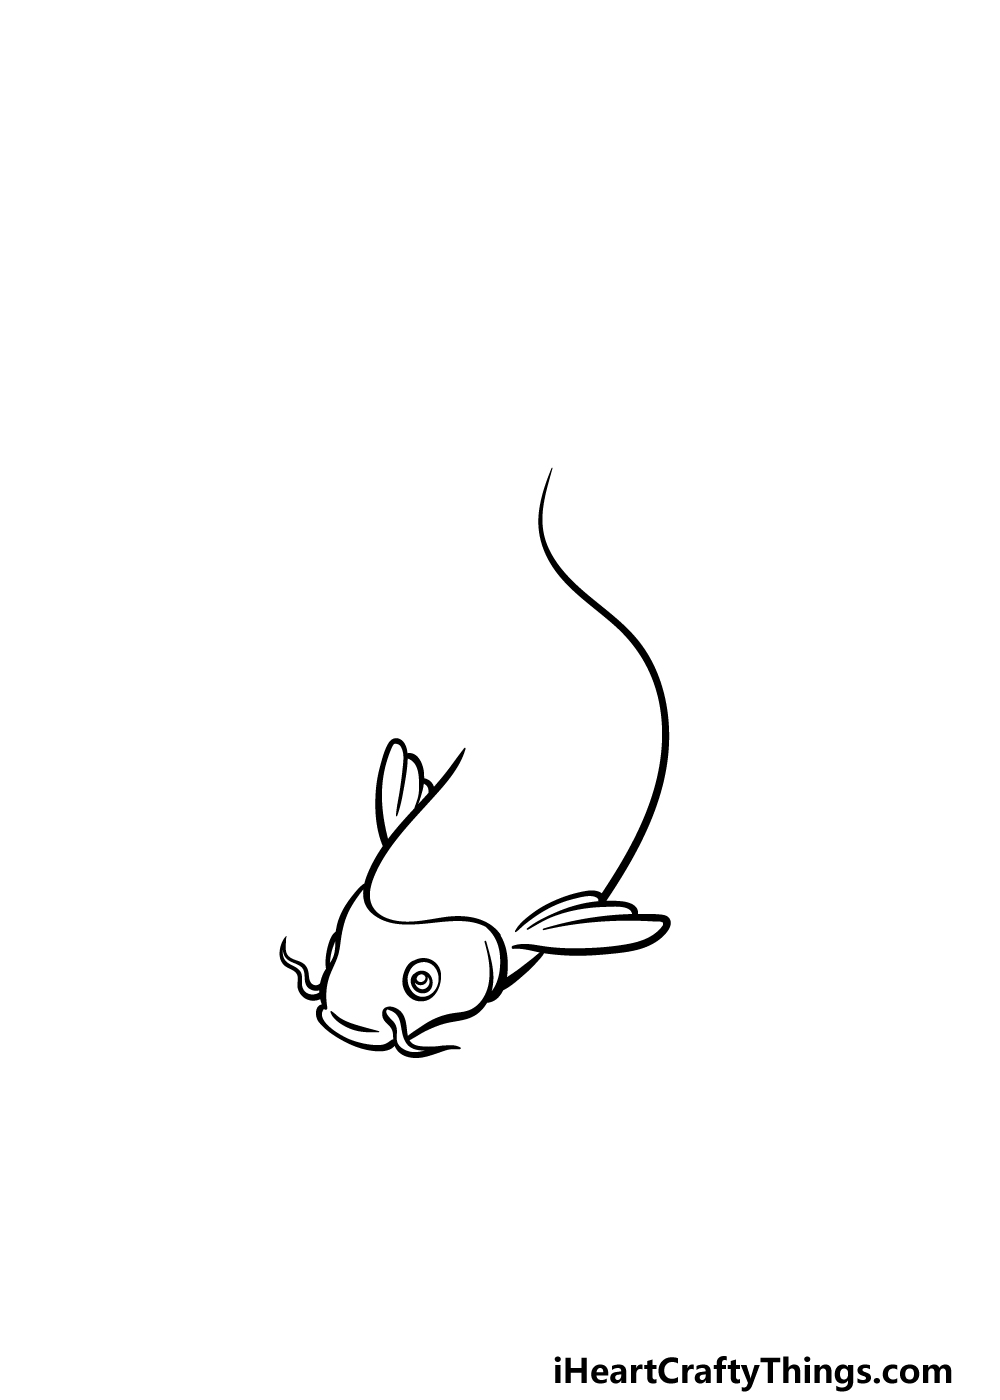
With the face of this Japanese koi fish drawing done, we can start adding more of the body in this second step. First, we will be drawing the flippers on the sides of the body.
These will be drawn using some long, rounded lines so that each fin looks as if it’s made of three separate sections.
Once you have drawn these flippers, we will then draw a wavy line extending backward for the belly of the fish. Then it’s on to step 3 of the guide!
Step 3 – Draw the top fin on the fish

In this third step of our guide on how to draw a Japanese koi fish, we will be adding the fin that runs along the top of the fish.
This will have a smooth curving line for the base, and then the fin itself will be drawn using lots of smaller rounded lines that connect to form the many sections of the fin.
The reference image will guide you in how this fin should look, so try to follow it closely. Then, you will be ready for the fourth step of the guide!
Step 4 – Next, draw the tail and start drawing the scales
We will be adding quite a lot to this Japanese koi fish drawing in this fourth step of the guide. First, you can finish off the outline of the fish by adding the rest of the tail.
This will be drawn using some curved lines, and the top of the tail fin will be longer than the bottom. You can also draw some lines inside of the tail fin to add some texture to it.
Then, we will be drawing the many scales on the body of this fish. This can take a bit of patience, but there’s no hurry!
To draw these scales, simply add rows of small, rounded lines all along the body of the fish. When these are drawn, we will then add some more details to these scales in the next part.
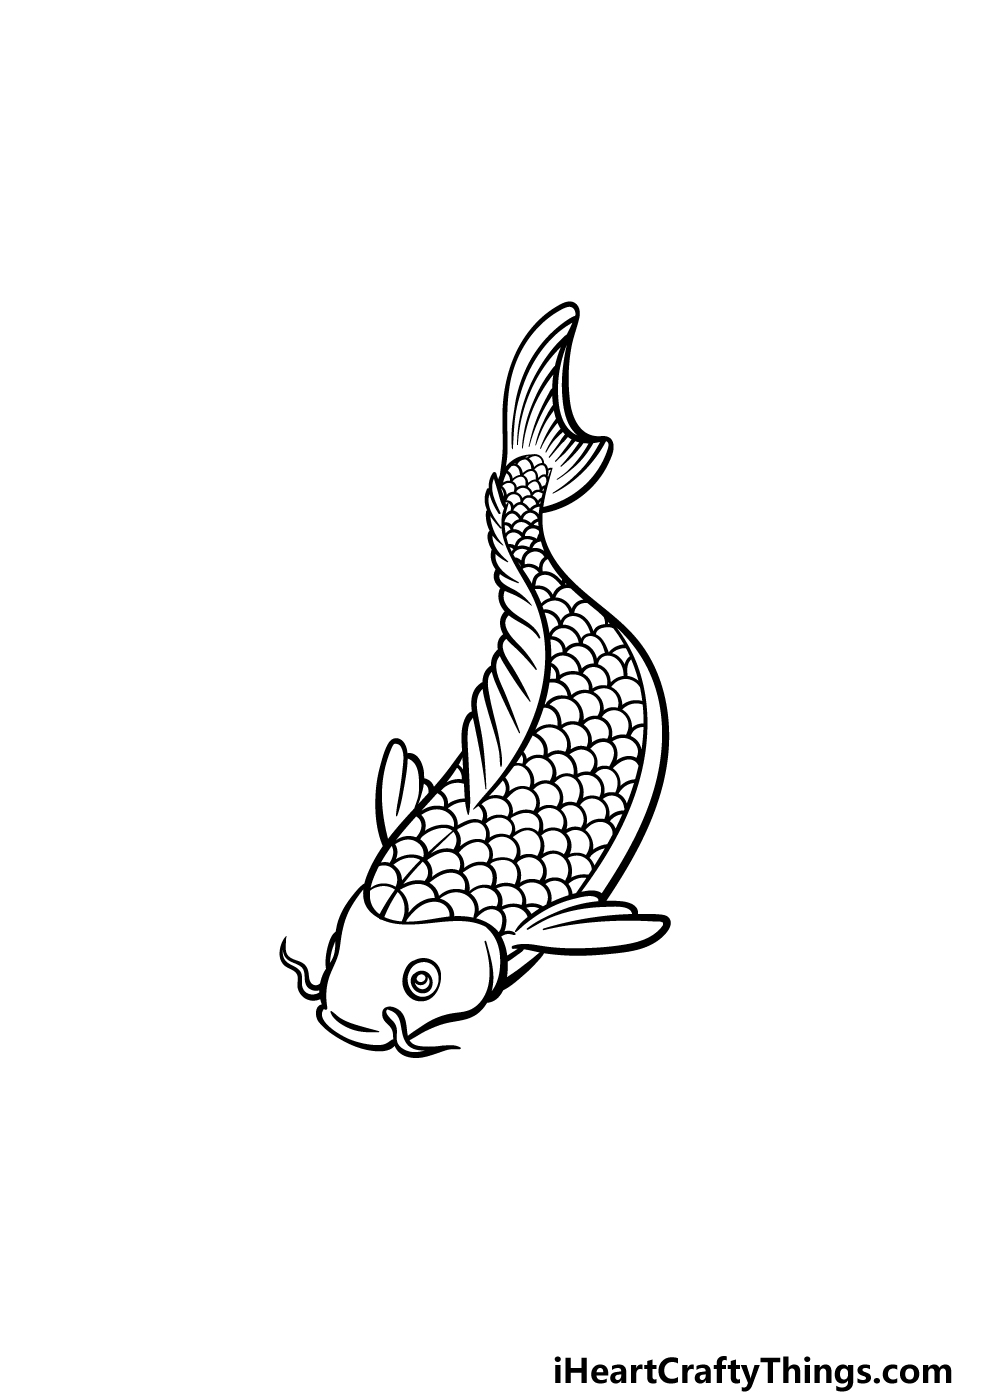
Step 5 – Add the final details to your Japanese koi fish drawing

Now you’re ready to finish off the final details of this picture before having some coloring fun in the final step of this guide on how to draw a Japanese koi fish!
To do this, we will be adding even more detail to the scales to really finish it off. To do this, simply draw a small circular shape inside of each scale at the point where it intersects with the next one.
Then, you could add some details of your own! Maybe you could draw a lovely peaceful pond background to really finish it off! That is just one idea, but what else can you think of?
Bonus: Get Creative With How You Color This Drawing
Very soon, we will take on the final step of this guide on drawing a Japanese koi fish. In that step, we will cover some of the colors you can use for your drawing as well as some of the mediums you can use.
Before you start coloring this drawing with your regular coloring tools, we had a few ideas for some ways you could color this drawing in more unconventional means.
This could be a way to make your art more unique, or could be fun if you plan to make a few different attempts at the drawing. First of all, we feel it would be cool to have a sparkling element to the drawing.
The best and easiest way to do this would be to use some glitter or even special glitter glue. You could make it a subtle effect, or you could really lay it on to make this Japanese koi fish super sparkly.
It would also be interesting to use some transparent craft paper, and this could be used in a few different ways. If you have a lot of patience, you could cut out some scales and stick them on.
Or, it would be pretty to use this paper for the fins of the fish, which you could do by cutting them out and sticking them on. There are also some things you can use if you want a sillier look to the image.
For example, you could stick some flat googly eyes on the face to make the fish look more comical. These are just a few of the fun mediums you could use to bring this image to life!
What are some other fun crafts you could use for this drawing?
Step 6 – Finish off your Japanese koi fish drawing with color
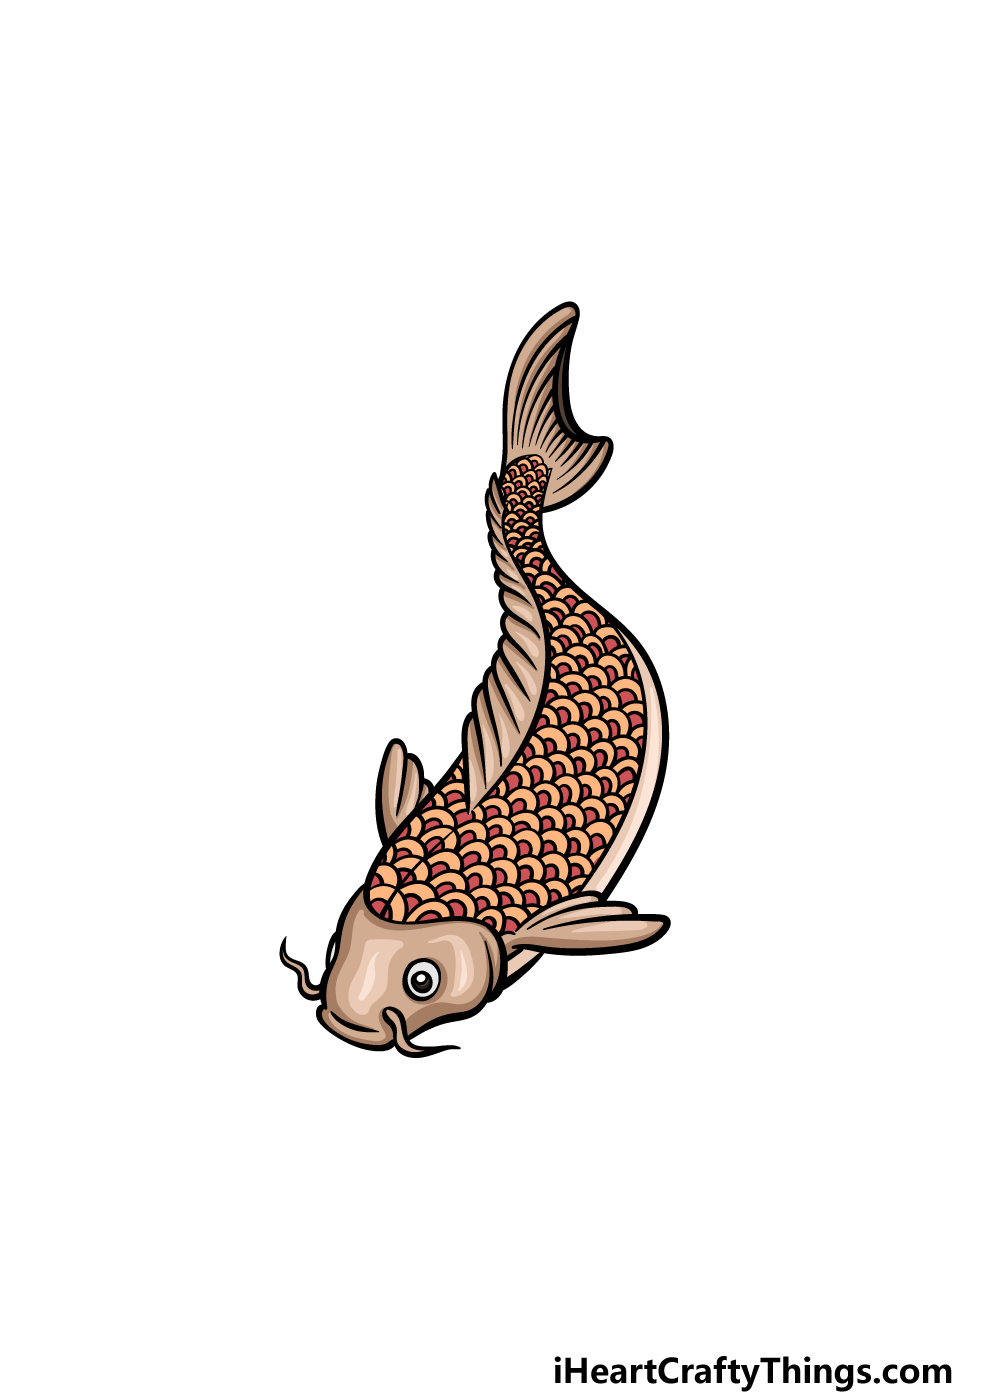
For the final part of your Japanese koi fish drawing, we will be finishing it off with some colors.
In our reference image, we showed you just some of the colors that you could use when finishing up this image.
These colors are just a suggestion though, and you have a lot of freedom with how you could finish it off.
Because of all the small details, you may want to try and use some mediums that allow for greater precision, such as colored markers and pencils.
What colors and mediums will you use to finish off your picture?
4 More Ways To Make Your Japanese Koi Fish Drawing Unique
Create a tranquil artwork with these tips for your Japanese Koi Fish sketch!
If you have a pond with Japanese Koi fish in it, you will usually have a few swimming around. For that reason, it could be fun to add a few more to this Japanese Koi fish drawing!
You have everything you need in order to add more now that you have completed this guide.
Changing just a few details and posing elements would be enough to make each one unique.
How many more Japanese Koi fish could you add to this little pond?
This fish can also be found with other kinds of fish, and these could be another option to add to this drawing of a Japanese Koi fish. There are so many options to choose from!
For a few examples, you could go with goldfish, carp or maybe even a catfish. These are just a few, but you could use any you like.
If you look up your chosen fish online, you will find many pictures you can use to help you.
Once you have decided on what to add to this Japanese Koi fish sketch, you can then add a background. This could be really simple and yet still be effective!
You could draw a pond or a lake setting and just show the waves and reflection of the water. Adding other details like rocks and plants could also really elevate it.
What kind of setting would you like to create for this image?
The final step to finishing off this Japanese Koi fish drawing would be to play around with the colors and mediums you use. This is a peaceful fish, so we think softer colors and mediums would be perfect.
For example, you could go for some watercolor paints or colored pencils. These are great for a softer look, but they are not your only options.
If you would prefer stronger colors, then that would look amazing as well! What colors and mediums would you like?
Your Japanese Koi Fish Drawing is Complete!
All of the steps in this guide on how to draw a Japanese koi fish have been completed, and that means that you have successfully finished this picture!
This quite was crafted to not only make finishing this drawing much easier, but also to be a lot of fun. We hope that we succeeded in both these goals for you!
With the guide complete, you can now go ahead and finish up this image by adding your own awesome extra details, ideas and color choices.
Have fun getting creative with it as you finish this artwork!
When you are ready to take on a new drawing challenge, you can find it on our website where many new guides await you!
We upload new ones frequently, so you’ll want to keep checking in to never miss out!
It would be great to see how your Japanese koi fish drawing turned out, so please be sure to share it on our Facebook and Pinterest pages for us to enjoy!