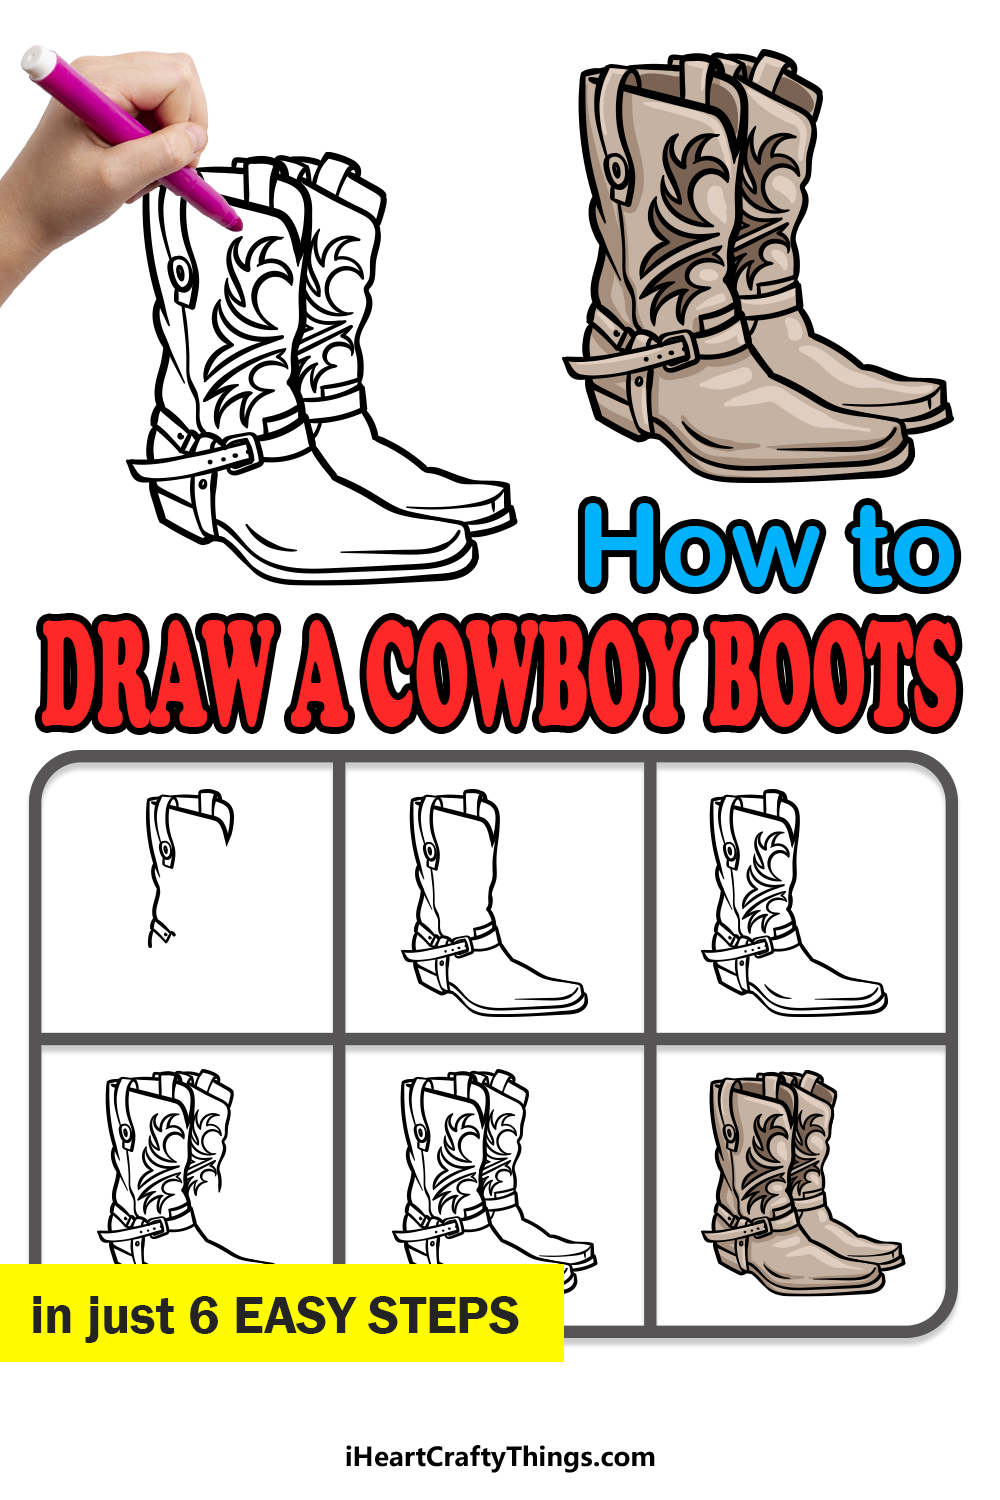
Have a creative adventure as we learn how to draw cowboy boots together. This tutorial for kids will help you live out the fantasy of being in the Wild West!
Every cowboy worth his spurs needs some good cowboy boots. They have been a practical part of attire for many cowboys out on cattle drives or working on ranges and serve both style and function.
Of course, they have also featured in countless Western films on stars like John Wayne and Clint Eastwood. Even today, they remain very popular around the world!
Once you have worked on this guide, you can customize your cowboy boots to suit your exact style and specifications. You could even draw a background to show where you would wear these incredible cowboy boots.
So put on your cowboy hat, get out your drawing tools and get ready to start this guide!
Learn How To Make Your Cowboy Boots Drawing
How to Draw Cowboy Boots – Let’s Get Started!
Step 1
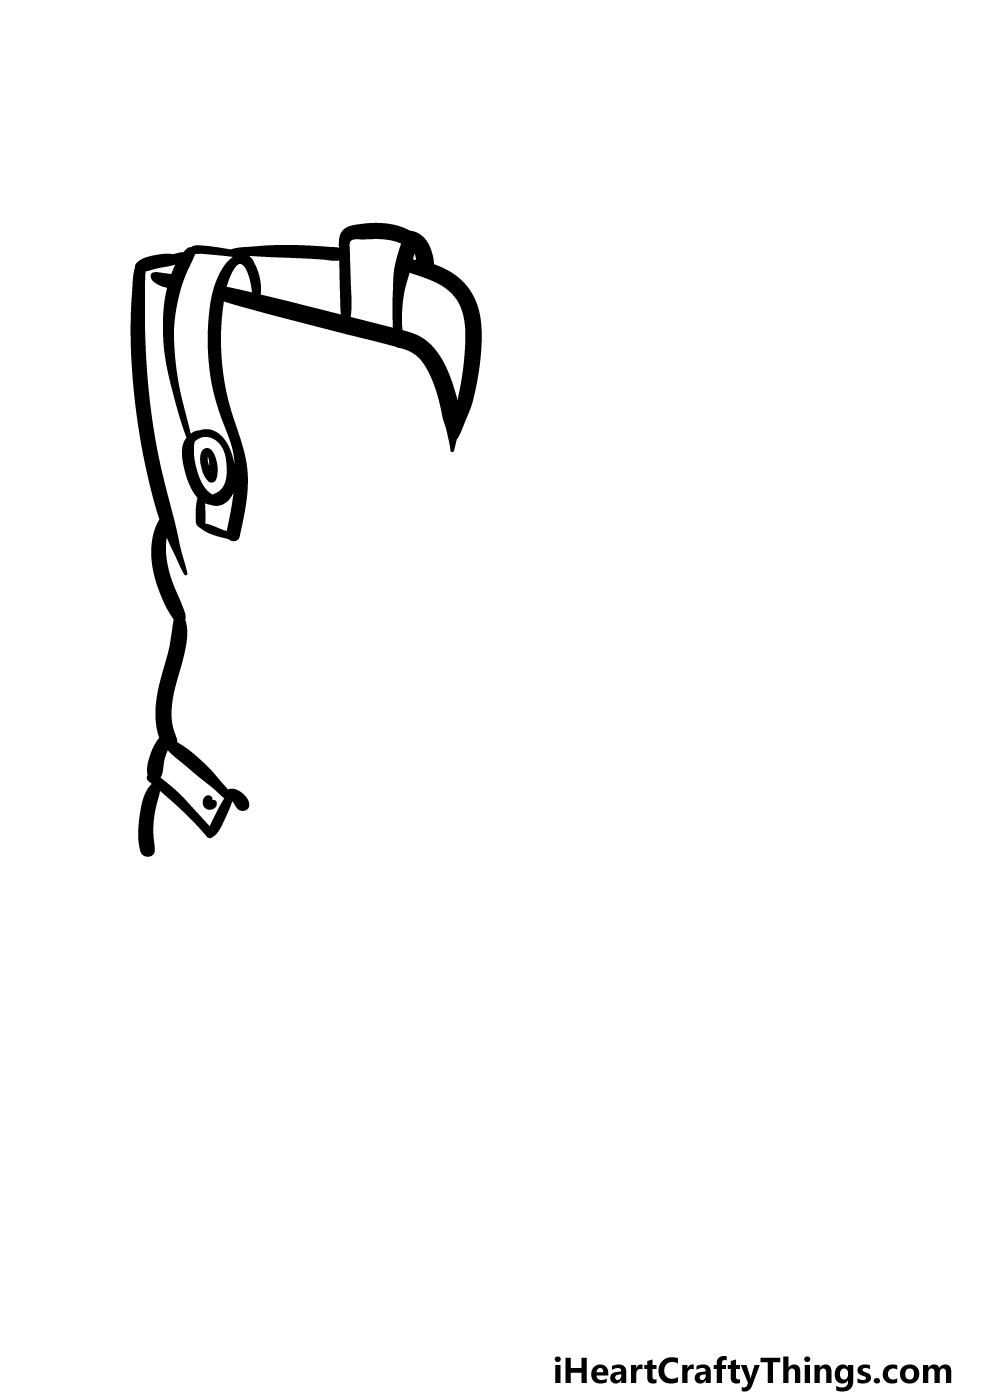
The boots that we will be portraying in this guide on how to draw cowboy boots will be a classic design.
That means that they will be rather tall and thin, which is a design most cowboy boots will follow!
First, use some slightly wavy lines with some circles on them for the strap that’s emerging from inside the boot.
Then, you can draw the opening of the boot. This will be fairly flat and at a bit of an angle. There will also be a sharp dip in the rim at the front of the boot.
Be sure to also draw another strap on the other edge of the rim! Finally, draw a slightly bumpy line for the back edge of this boot, and then we can move on to step 2.
Step 2 – Now, draw the rest of the outline for this cowboy boot
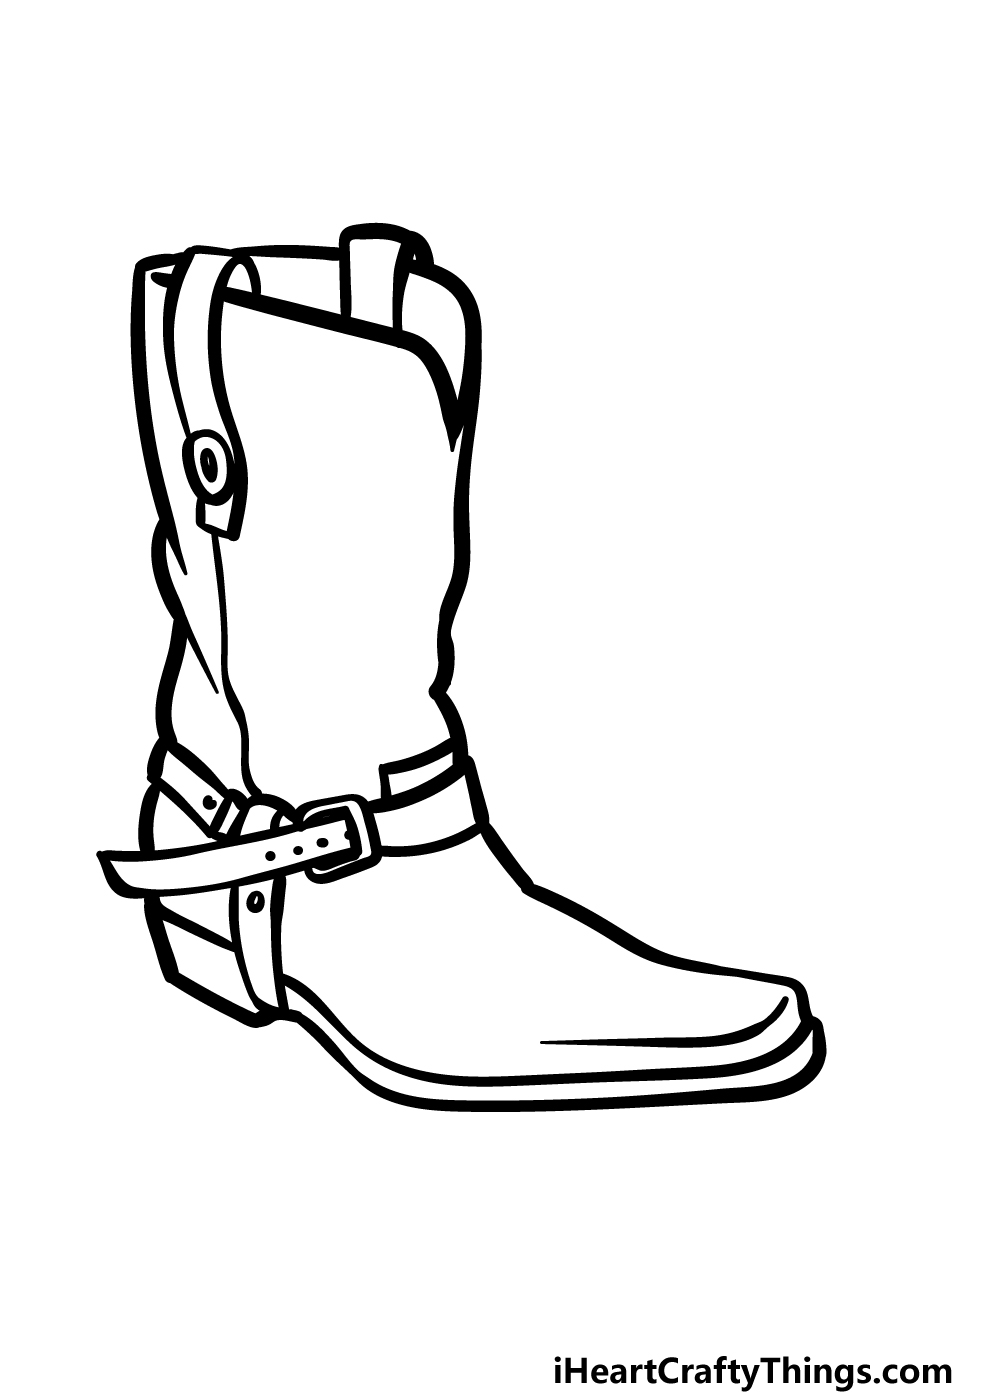
We will be adding quite a lot to your cowboy boots drawing in this second step, so you may want to take it slowly.
First, use some more bumpy lines to extend the front and back edges of the boot. There will then be three straps connecting to one another near the base of the boot.
Finally for this step, we will draw the base of the boot. Another slightly bumpy line will be used for the downward angle of the front of the boot towards the tip.
There will then be a rather thick sole at the bottom of it.
Try your best to replicate our example image as closely as you can while you draw, and then it will be time for step 3!
Step 3 – Draw some detailing for the boot

Often, cowboy boots will be personalized by some detailing on them, and this detailing can come in many different styles.
In this step of our guide on how to draw cowboy boots, we will be adding a cool design that is drawn using lots of sharply curved lines to create a wavy look.
You could also go for this design, but you could also add some unique detailing of your own if you prefer!
Step 4 – Next, draw the start of the second boot
It’s time to add a second boot to your cowboy boots drawing! To do this, all you need to do is repeat what you did for the first boot.
You can add the top half of the second boot, and this will comprise the rim, straps and detailing. You will then be ready to add the rest of it in the next step, so let’s proceed!
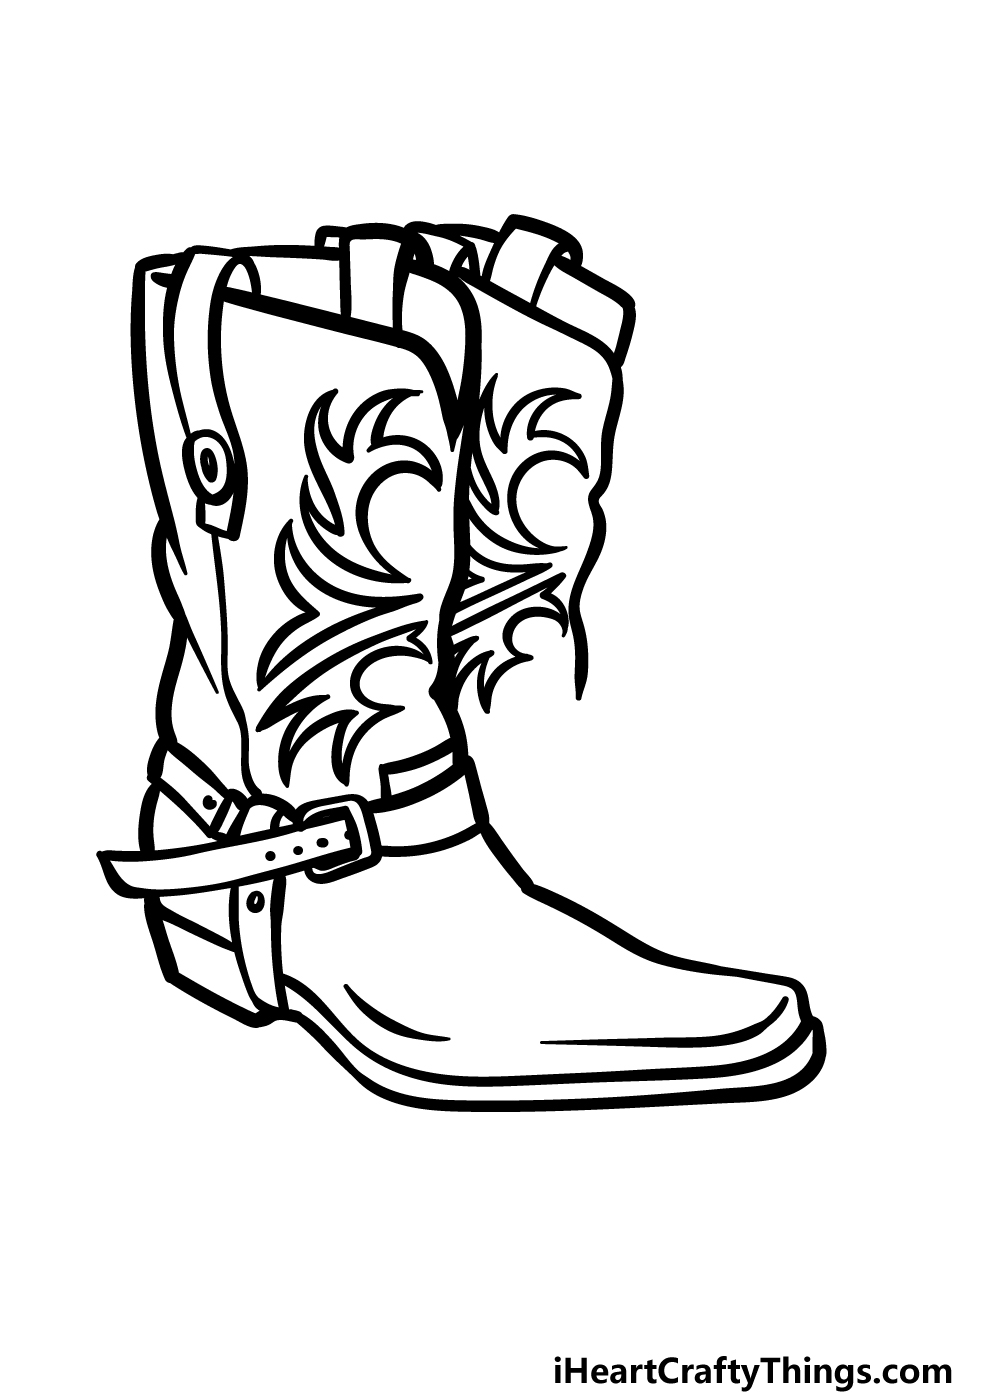
Step 5 – Add the final details to your cowboy boots drawing
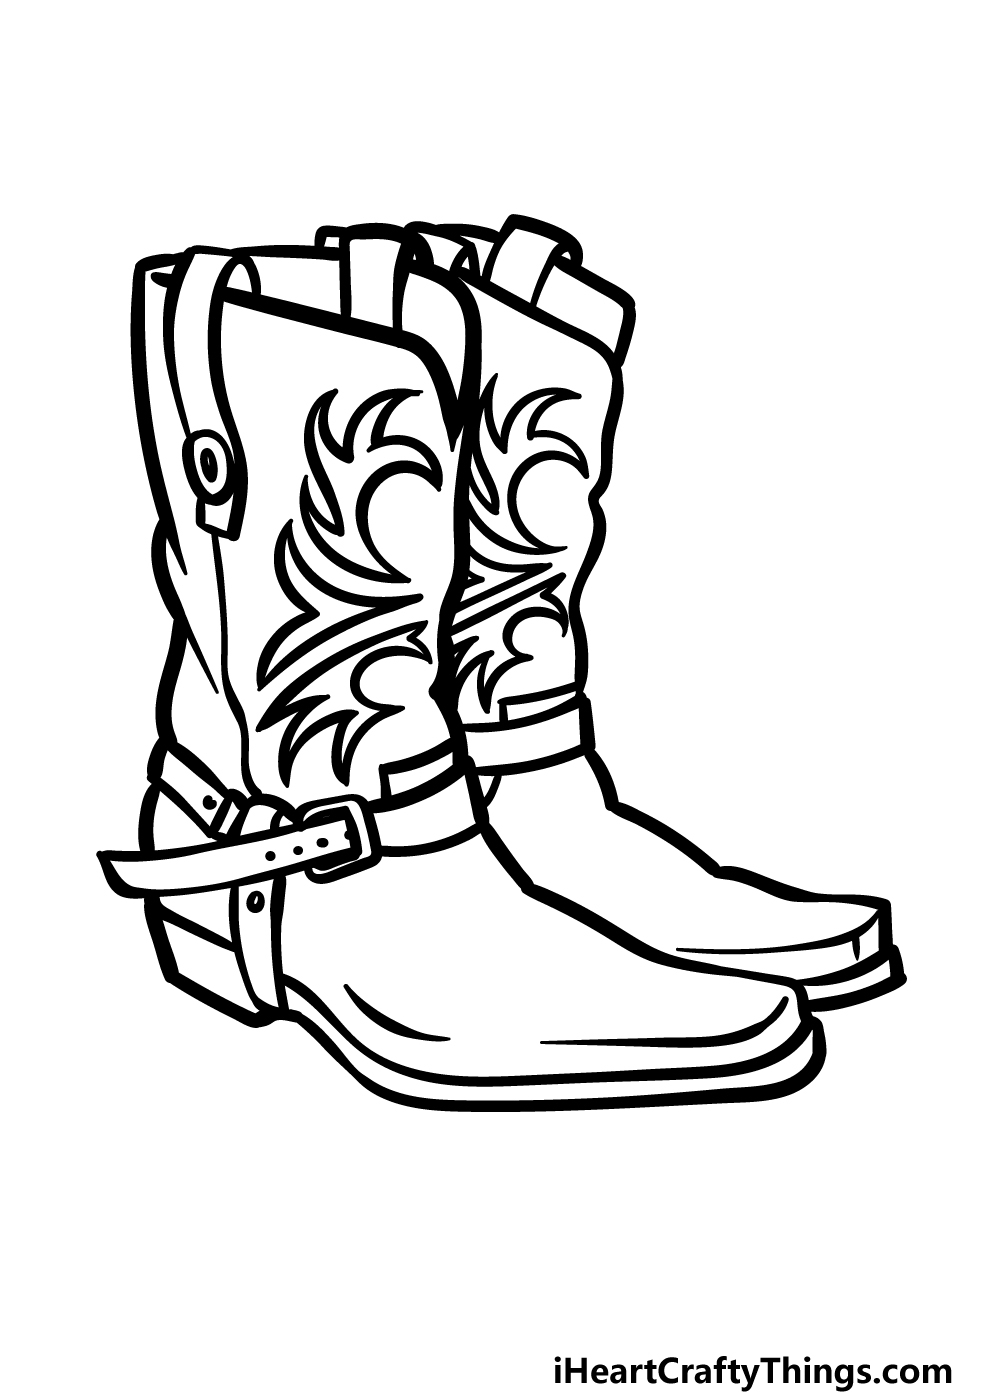
This step of our guide on how to draw cowboy boots will see you finishing up the final outlines and elements before you proceed to the last step.
This will mainly entail drawing the tip of the shoe on the right. You can start by drawing another strap using some slightly curved lines.
Then, draw the top and front of the boot and add a base. This should make it look very similar to how the boot on the left looked, so you can pretty much replicate what you did there!
Once you have completed this boot, you can finish up with your own details and additions. cowboy boots will often have intricate detailing on them, so you could add some details of your own to suit your taste.
You could also finish off by drawing an awesome background, and this would be a perfect way to finish off the setting that these boots are in.
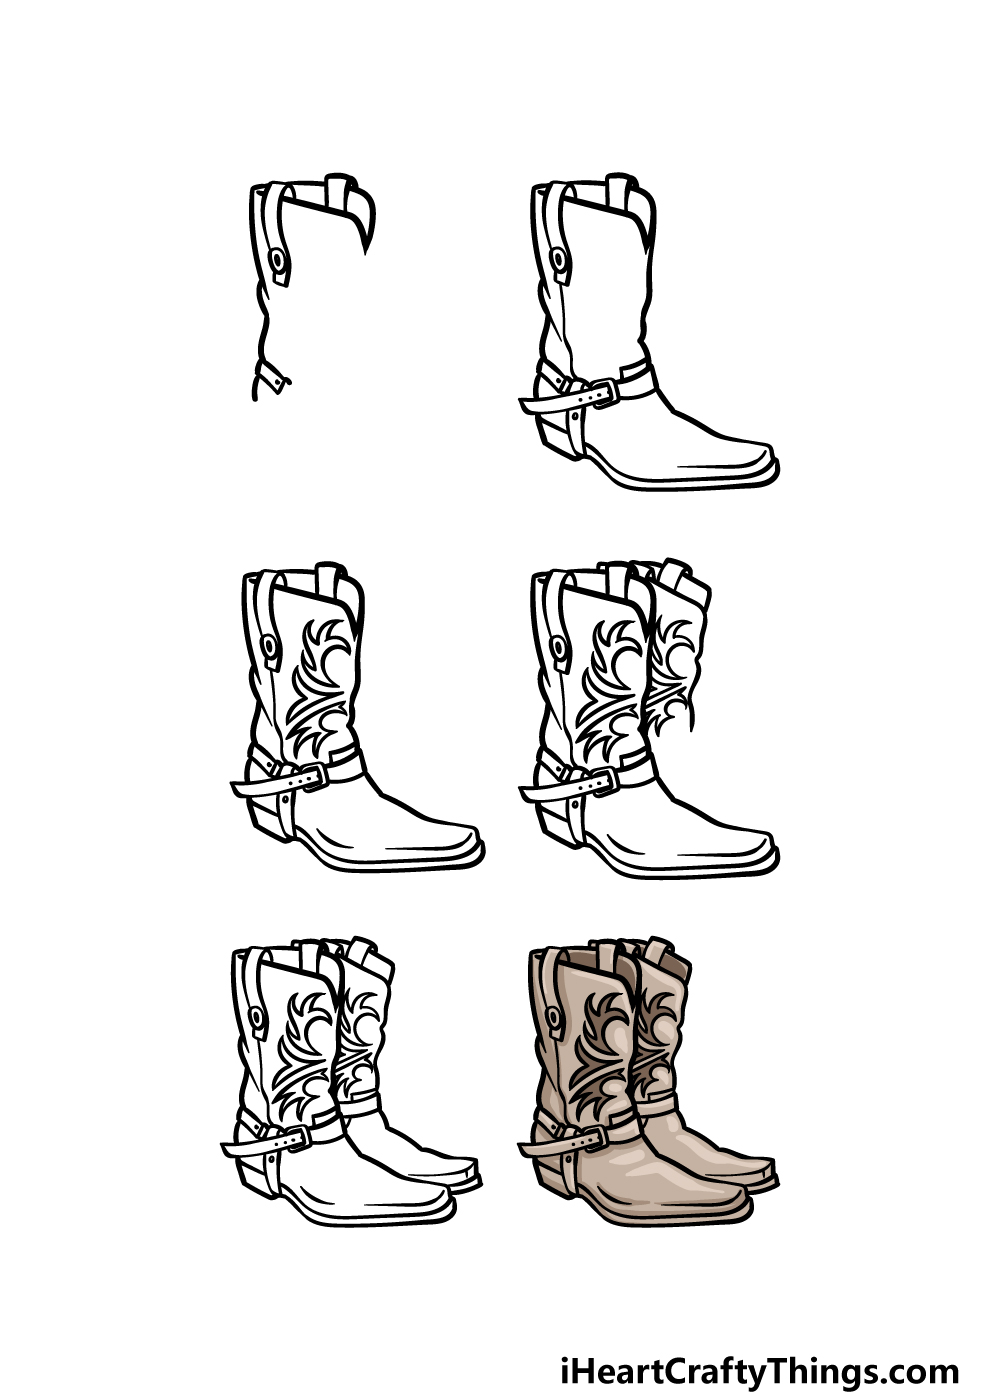
Step 6 – Finish off your cowboy boots drawing with color
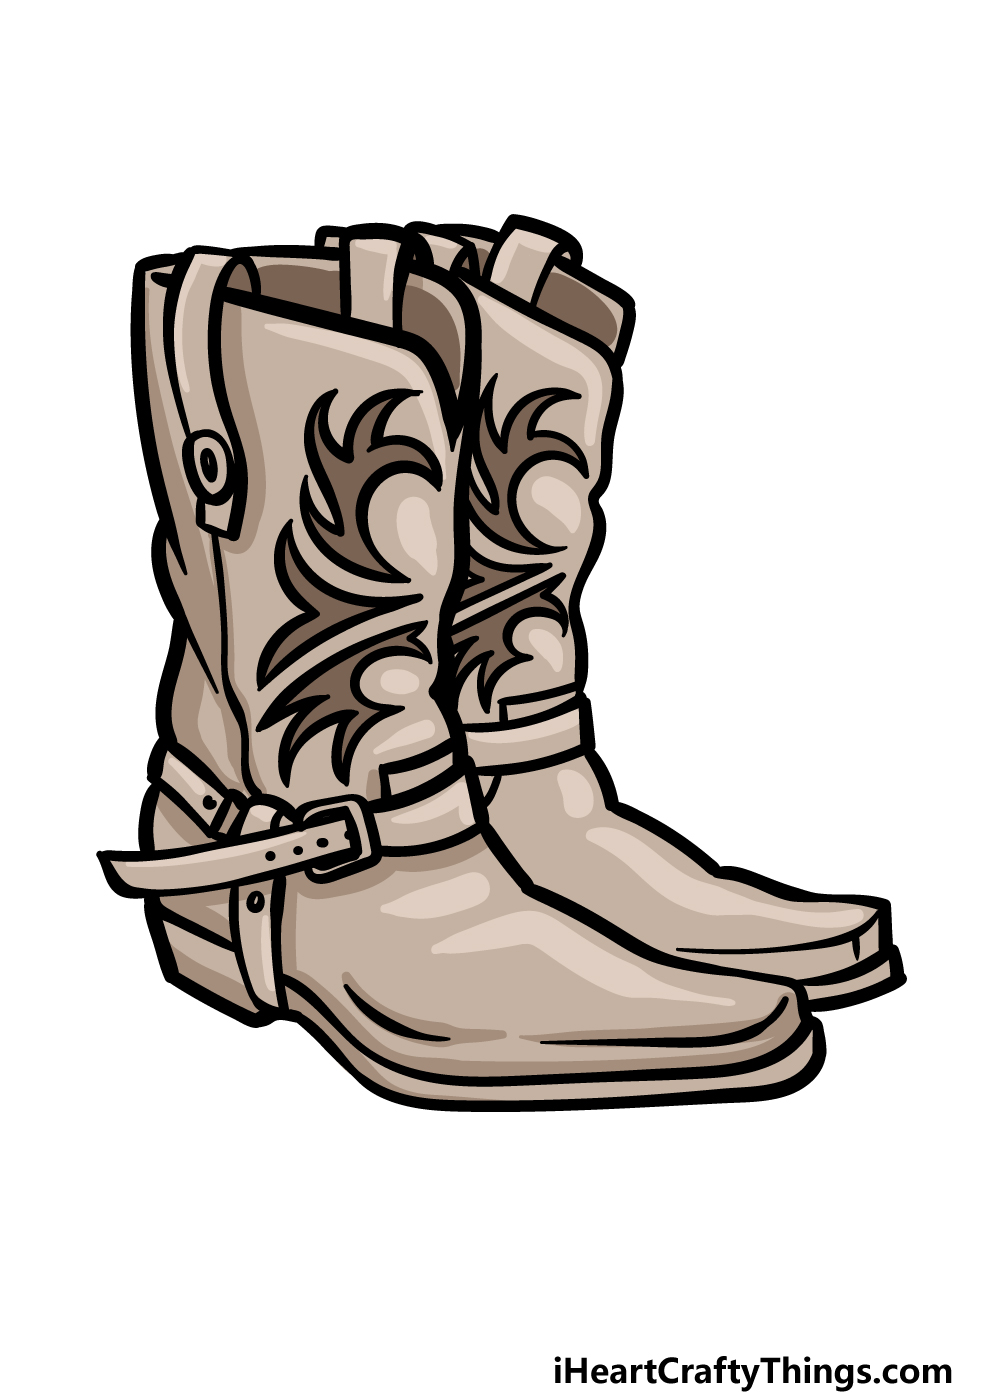
Cowboy boots can be made from many different materials, but they’re most commonly made from leather.
In this final step of this cowboy boots drawing, we will be coloring the picture to further show what they may be made of.
In our reference image, we used some lighter greys and browns for the boots to give them a cured leather look.
This is one step where you have a lot of freedom with how you could color it in.
You could use some darker browns for an even stronger leather look or incorporate brighter colors you love for a dyed look.
When coloring, you can also achieve the kind of look you want by changing up the art mediums you use.
Acrylic paints or colored markers are great for more intense colors, whereas watercolor paints and colored pencils are perfect for more muted tones.
Do this to take your cowboy boots drawing to the next level
Travel to the wild West as we make this cowboy boots sketch even greater!
This drawing of cowboy boots that we worked on in this guide have a really great elaborate style to them.
A pair of cowboy boots can come in many different styles, so you could customize the pair you’re drawing here.
The style could be simpler and more rugged, or you could lean even more into the elaborate style.
It depends on your own preferences, but this is a chance to create your very own perfect pair of cowboy boots!
What sort of style would you like to choose for this pair of cowboy boots?
When wearing cowboy boots, there are other pieces of clothing and accessories that you could wear with them. These could be added to this drawing to make it more complete.
For a few examples, you could have a cool belt and maybe some spurs that would go on the cowboy boots. Maybe you could add a gun holster to really finish off the cowboy theme!
This cowboy boots drawing would also benefit from a human character, and that would be a fun way to take this artwork in a new direction.
The character could be based on anyone you like or be drawn in any style.
One approach would be to draw the character based on a real person you know, perhaps even yourself. Or, they could be based on a classic cowboy actor such as Clint Eastwood.
Who would you base this cowboy character on?
Finally, no matter what you decided to add or take away from this cowboy boots sketch, you could finish it off with a background.
If you kept characters out of the composition, then you could draw them with some other equipment, perhaps in a bedroom. If you did add a cowboy, then maybe the background could be a dusty town or a saloon.
These are just a few of the many background locations you could use, but it’s up to you to decide where you would like to set this image!
Your Cowboy Boots Drawing is Complete!
This drawing adventure draws to a close with the final step of this guide on how to draw cowboy boots completed.
We hope that this guide was lots of fun for you to work on, and we also hope that it showed you how easy it can be when you know what to do.
As long as you follow all of our steps, you’ll be designing awesome cowboy boots in no time!
With this awesome pair of cowboy boots drawn, you can now take them even further with your own details!
We mentioned how you could add some decoration to the boots or draw a background as some ideas, but how else would you like to add to this depiction?
If you enjoyed working on this drawing guide with us, you can find your next guide to enjoy on our website.
There’s a huge selection with something for everyone, and we plan to bring new ones out soon!
It would be interesting to see how you finished up this cowboy boots drawing, so we hope you’ll share your artwork on our Facebook and Pinterest pages.